Ages ago, I bought china hutch on Craigslist to use as extra pantry storage. I had ever intention to paint it at the time, but then… I didn’t. Flash forward three years and I finally got around to it! You probably saw it in my kitchen reveal, but I wanted to check in and share the whole process with you!
I’m getting ahead of myself though, let’s throw back, now. Remember when the hutch looked like this back when I lived at the Duplex?
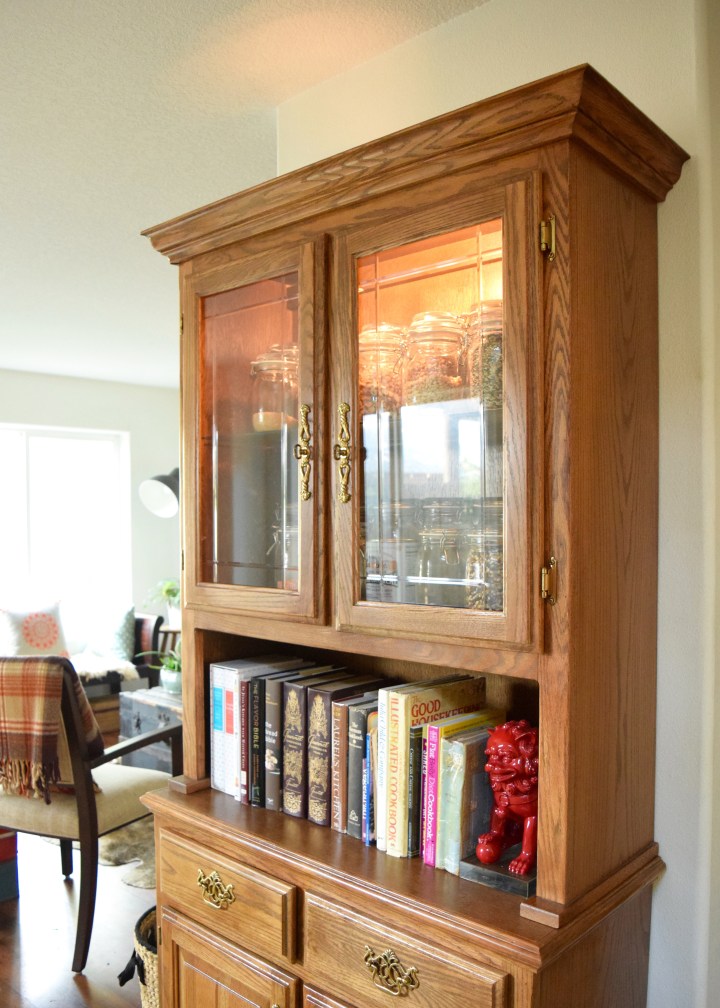
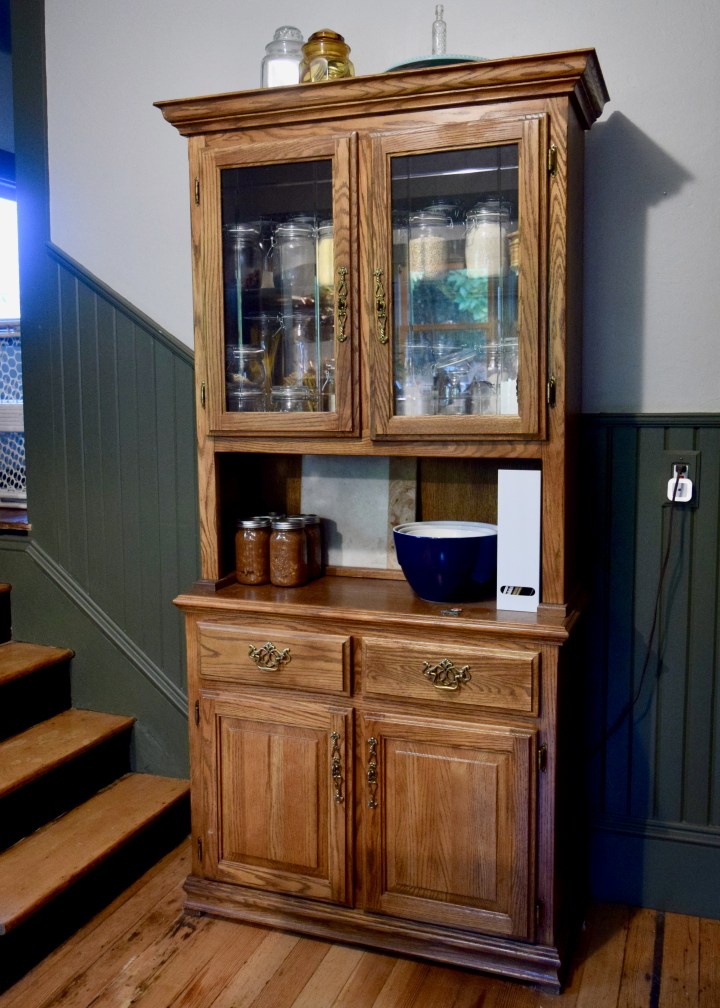
Then it landed here in at Berrybrier in the kitchen. I actually almost didn’t paint it, because I did like the look of the wood against the green wainscotting in here. In the end though, I still had to go with my initial intent to paint — the wood was decidedly 1980s and new hardware wasn’t going to help.
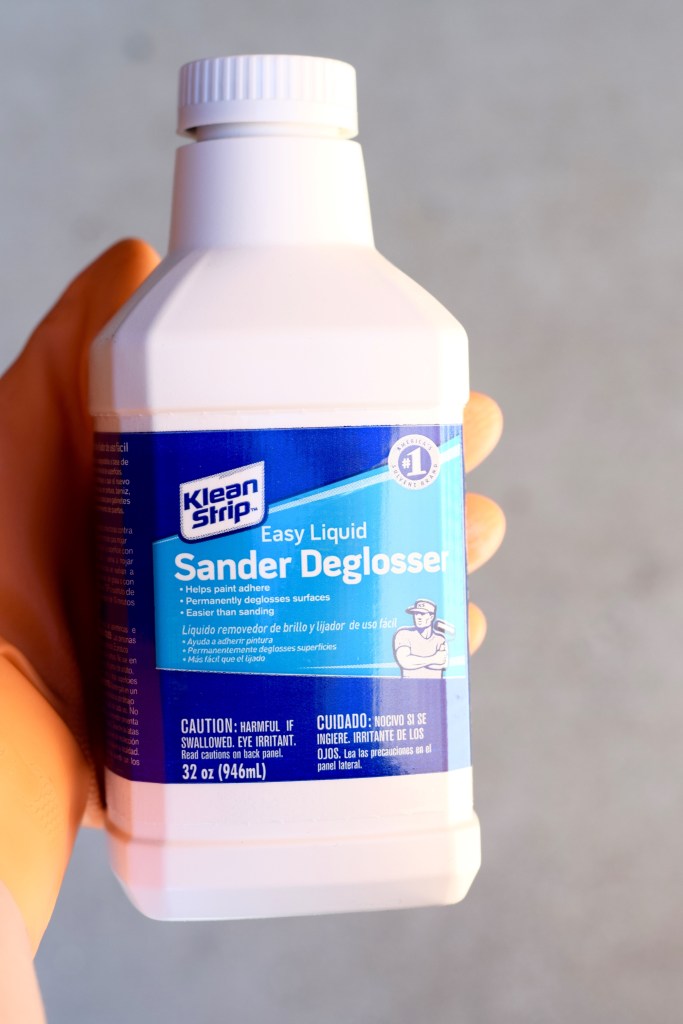
The first thing I did was remove all the hardware and plug all the holes with wood filler. Then I wiped everything down with liquid deglosser. I bought a container of it years ago and it’s still going strong. I took an old rag to apply the liquid to the surface of the pantry cabinet, making sure to work it into the grooves of the trim details as much as possible.
After that dried, I jumped on to give it a coat of my favorite primer. I rolled the primer on most of the surface and used a paint brush on the trim. It went fairly quickly, though I had to do quite a bit of maneuvering to to prime the inside and bottom of the top of the hutch! Seeing everything primed was so exciting! It looked so much fresher all of a sudden. My dining room, however looked like something had exploded in it!
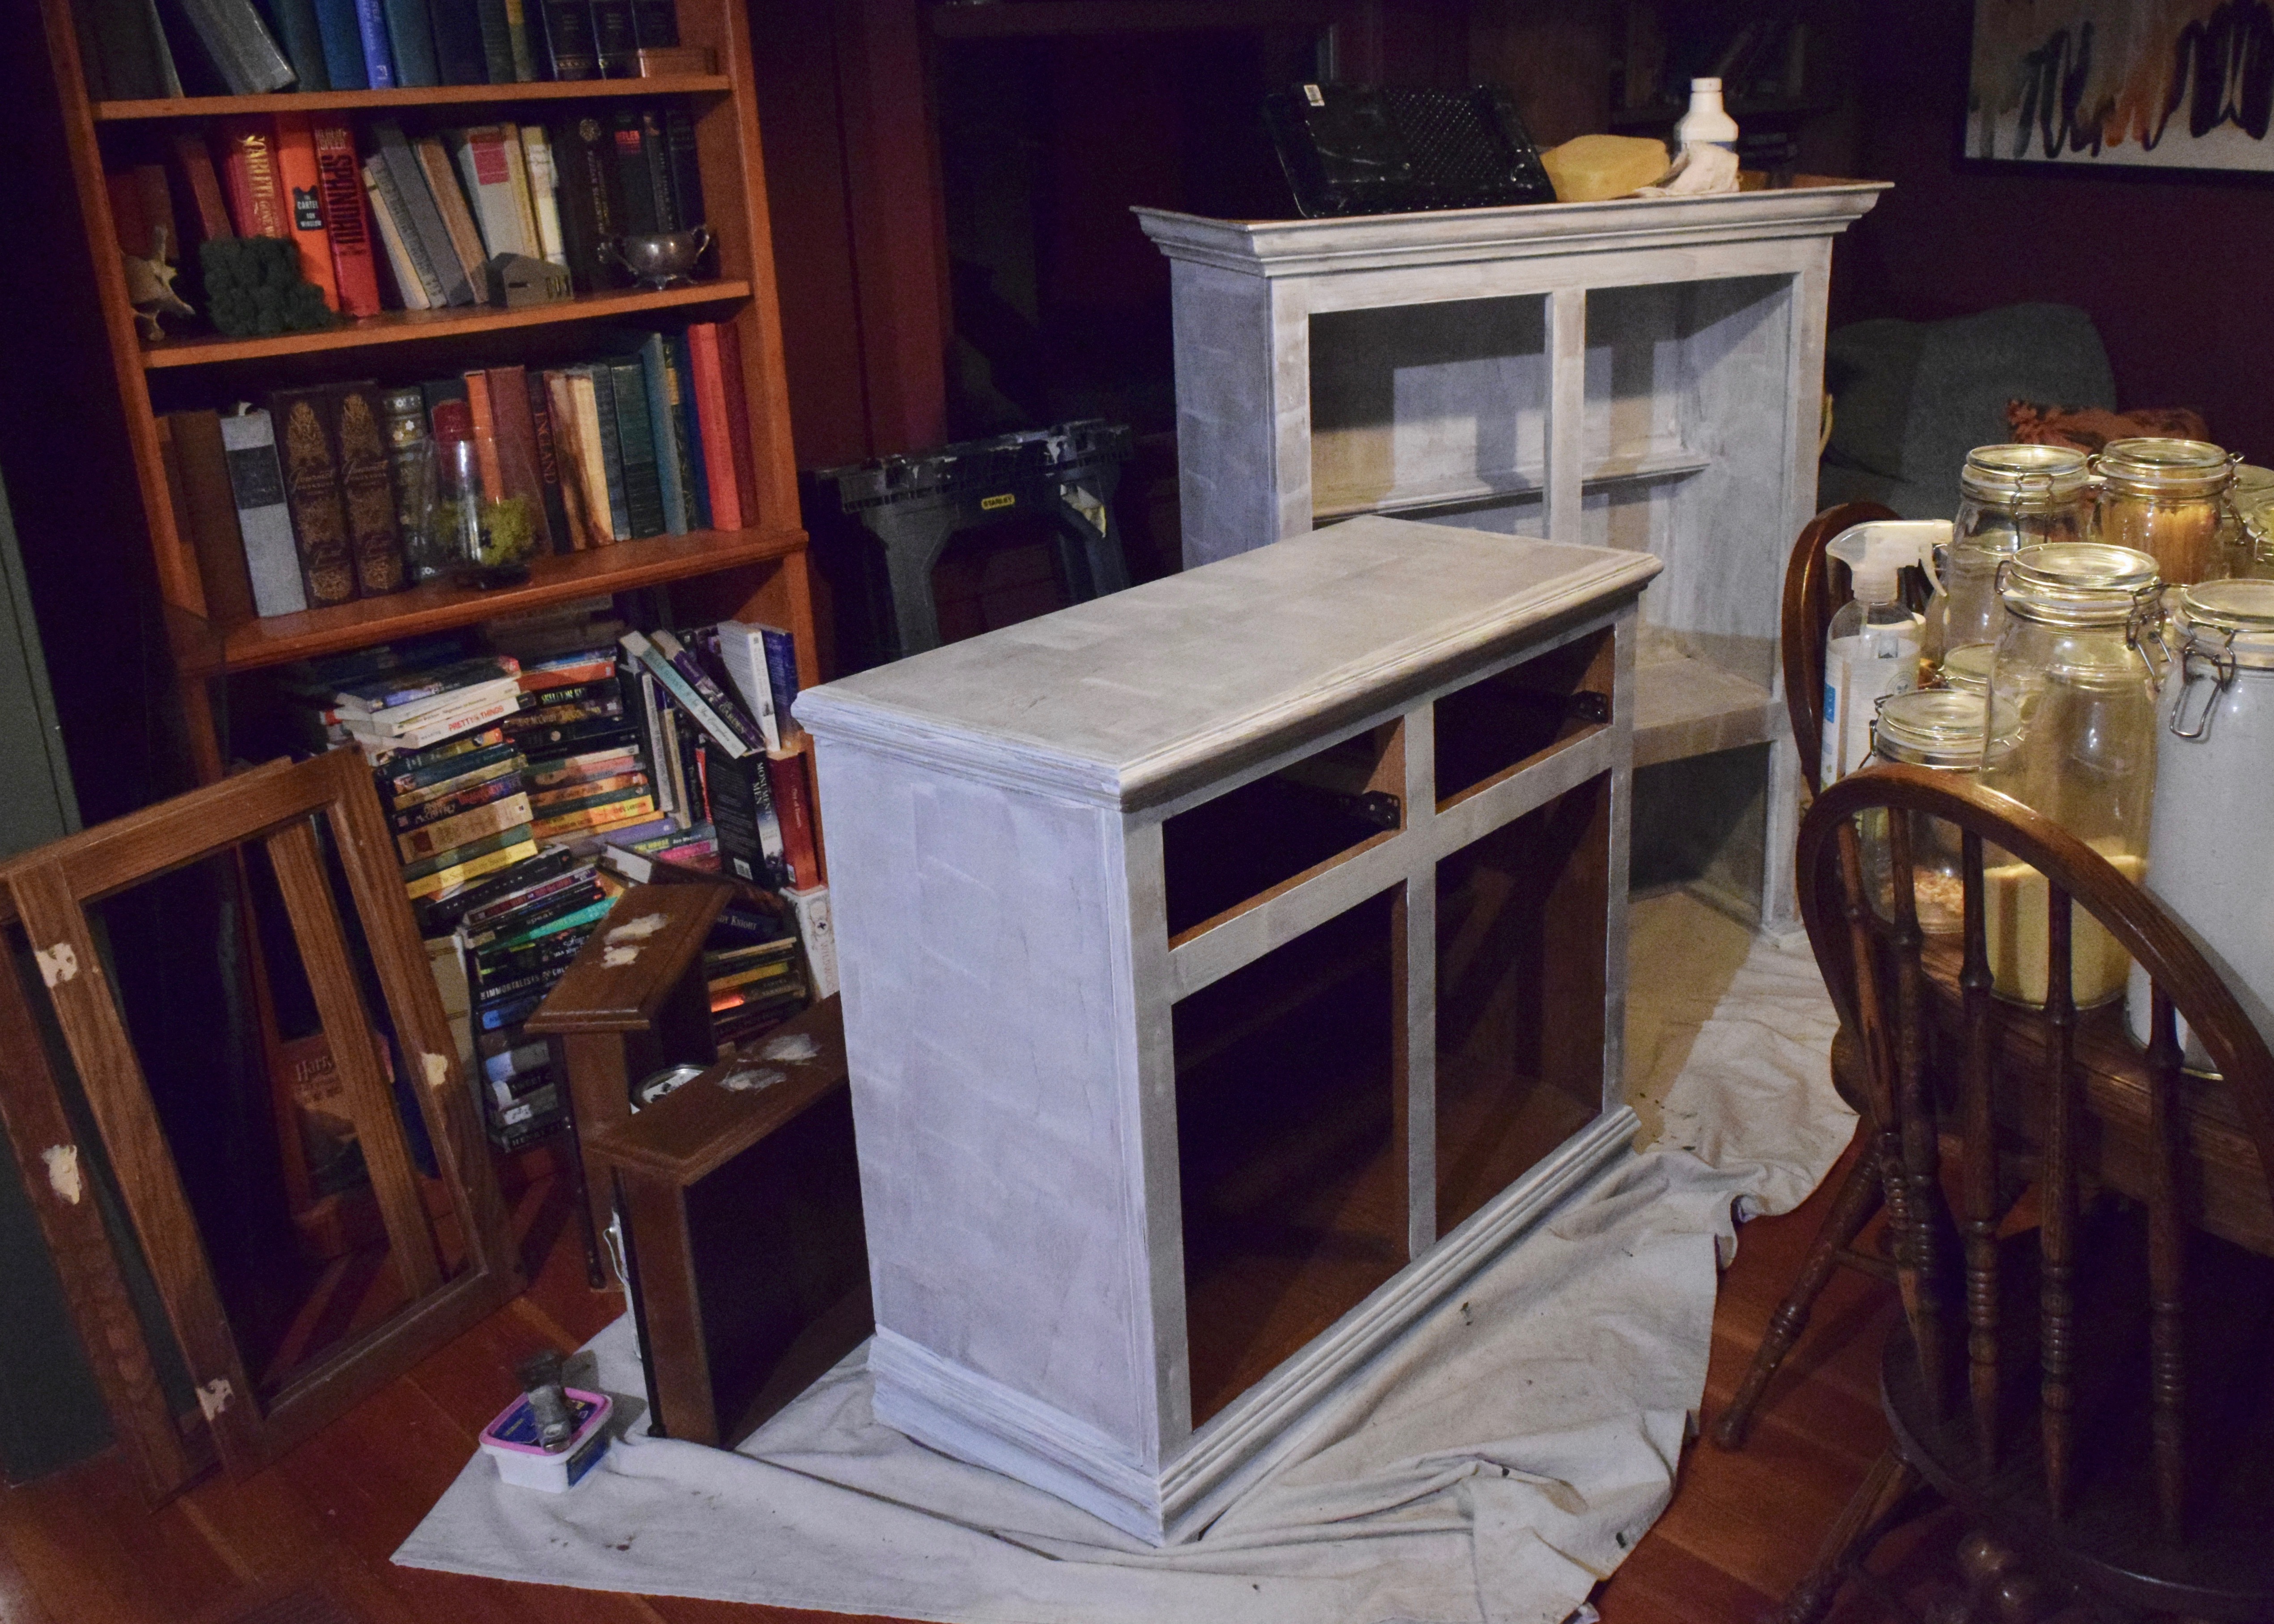
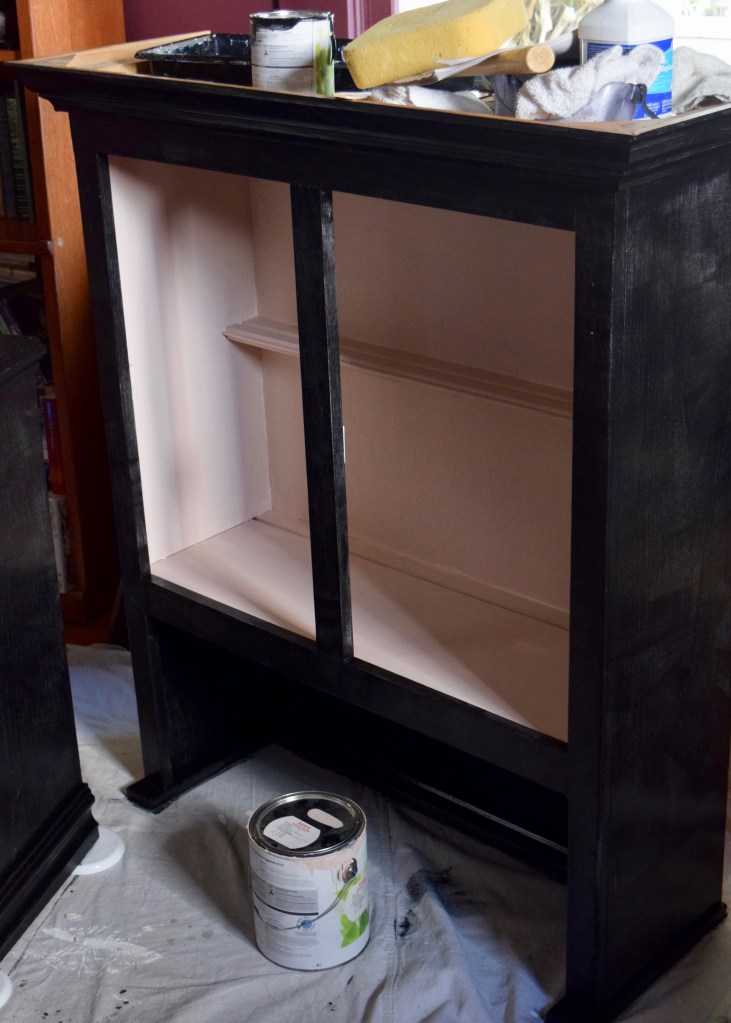
I had some extra Benjamin Moore Pink Beach paint on hand from painting my tiny master bathroom. Since that room took like 1 drop of paint to complete, by “some extra” I really mean 90% of a gallon. So I knew I wanted to use that on the interior. A black exterior on the cabinet just made sense since it would match the cabinets. I had about 20% of a quart (never buy a quart — you always need more paint, Laurel!) of the same black paint I’d used on the cabinets: Black by Benjamin Moore. Boom: easy! Nope. Then began the journey of a thousand coats of paint. By one thousand, I really mean 4, but it felt like one thousand. Because dark paint requires so much pigment, the paint becomes much, much thinner than light paint. I always use Benjamin Moore’s Natura paint which I absolutely love, but I was dying on this paint job. This is what the cabinet looked like after two coats of black paint and one of the pink interior. The pink was completely covered, the black however clearly needed work.
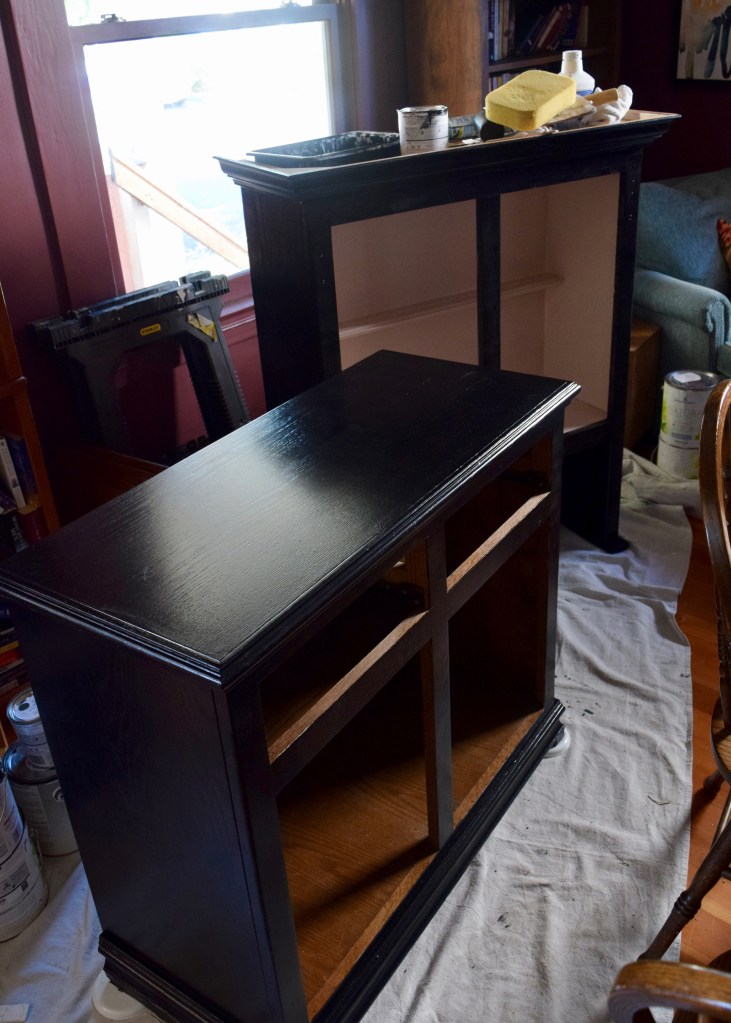
It was so frustrating. This wasn’t how it went on my 1930s cabinets at all – their wood graining had already been filled with layers and layers of paint over the last 100 years. The deep graining of the 80s oak made using the roller highly impractical, and after three coats I finally clued in and started using a paint brush over all the surfaces. Finally, real coverage! Of course, I ran out of paint and had to go to the store to get more for the final coat. UGH.
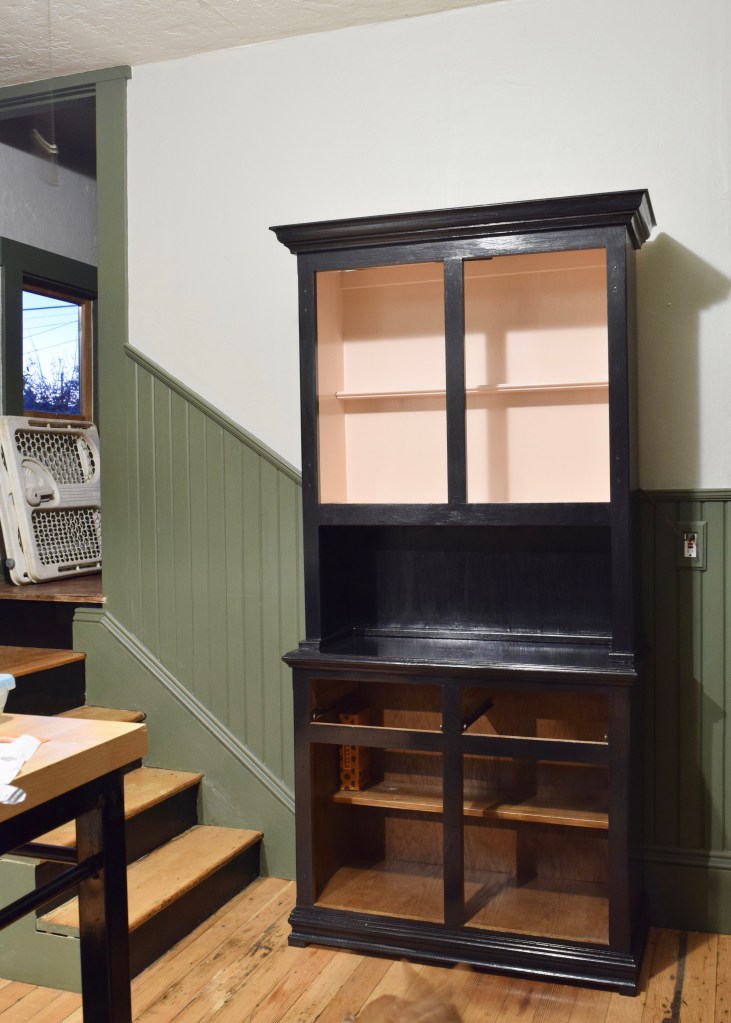
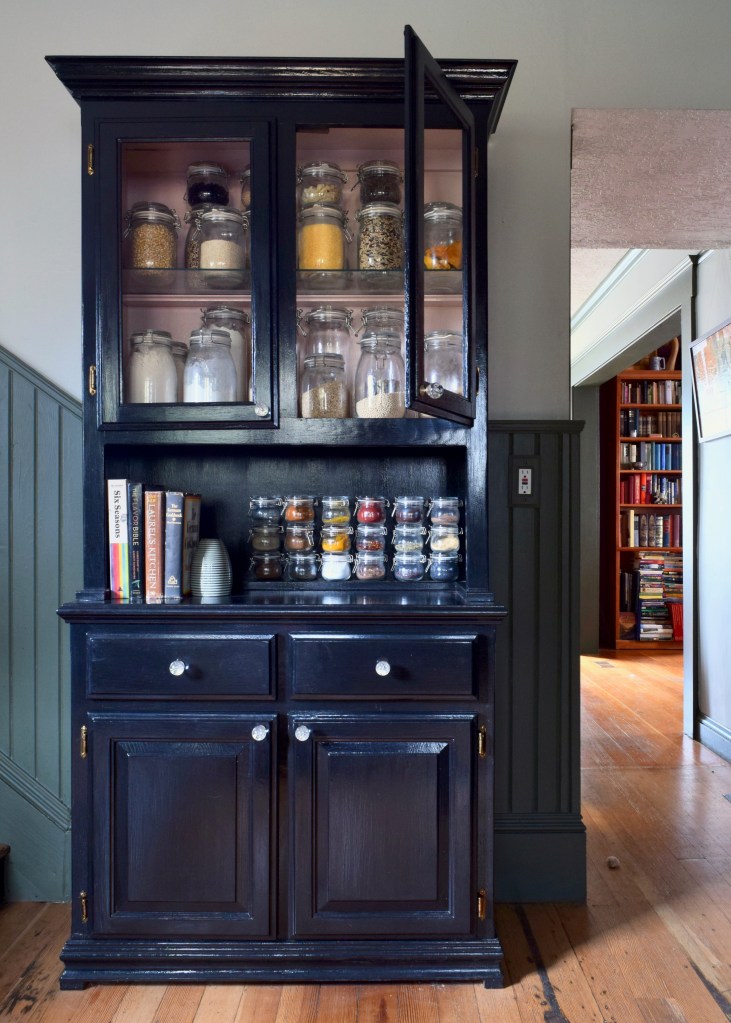
After ten thousand years and as many layers of black paint, I had completely coated the cabinet in paint. I finished it off with three coats of Safecoat Acrylaqc to provide a durable, wipeable, and food safe finish! Plus it gives it a little extra gloss.
I did the same thing on the cabinet doors once they were ready, but used the paint brush the whole time. Even with the paint brush – I still did four entire coats on each door! Then it was time for hardware! I found these knobs at Home Depot. I liked that they were cheap and real glass, but they were satin nickel, not a finish I have any where else in my house.
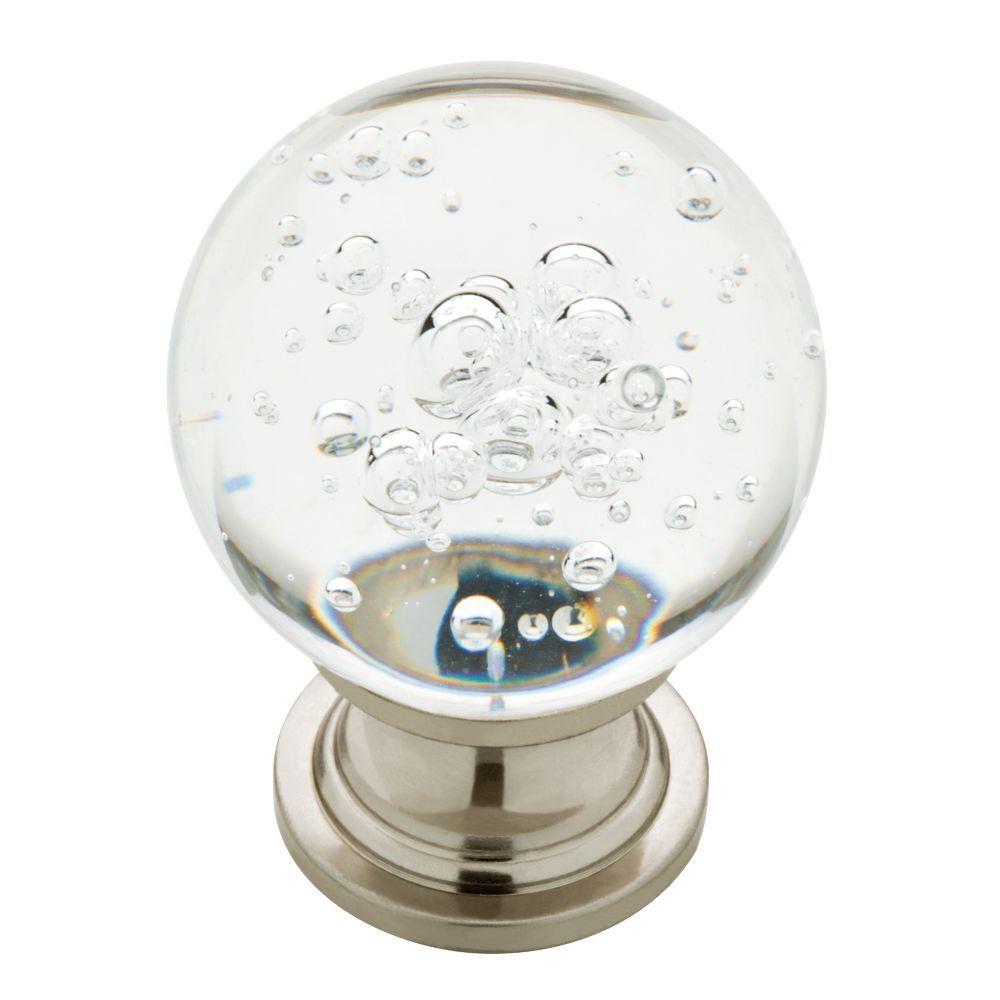
I covered the glass with blue painters tape and grabbed a can of spray paint from my basement and gave the base of the knobs a couple coats of gold paint. Then I installed the hardware on the doors and this thing got a whole new look! Don’t mind the mutifooted cat photobombing this long exposure photo. This is a metaphor for my life.

I love the new look of the cabinet! It’s always been super functional and I do enjoy having all my grains and drygoods on display and within easy reach and now it doesn’t look terrible doing that either. The jars are all from Ikea’s Korken collection. They’re awesome and I highly recommend!
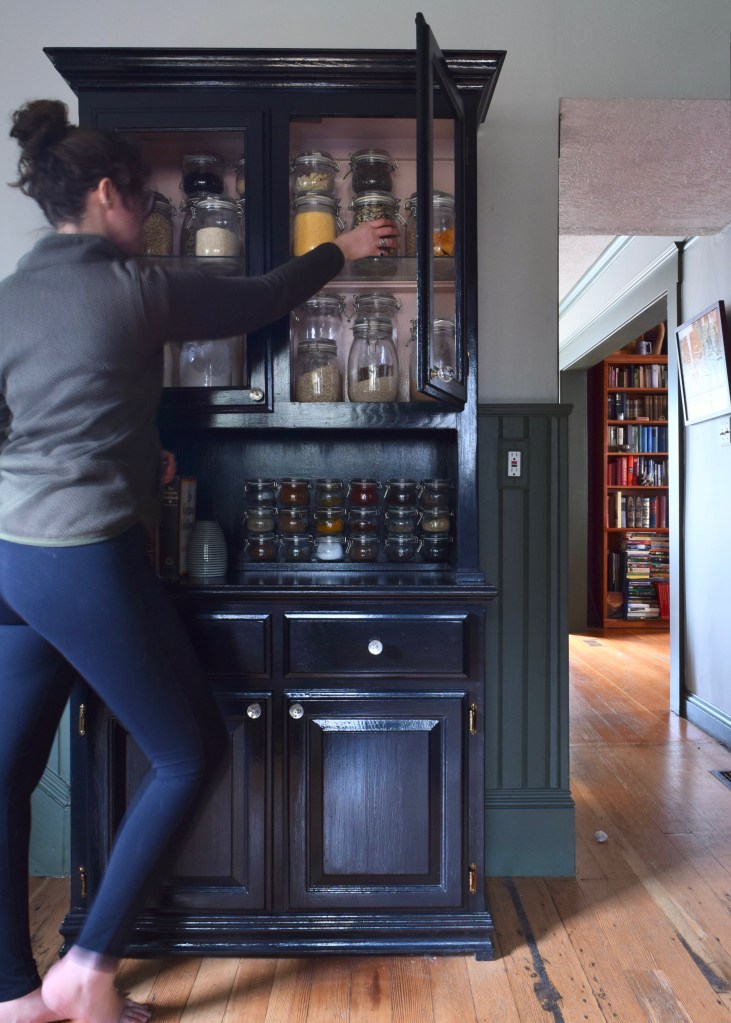
Now I just need to start cooking more. I have all these grains to use up! Who wants to come over for some tri-colored wild rice… with… with… what goes with tri-colored wild rice?
Have you ever transformed a piece of furniture? How did yours turn out? How did it hold up? Let me know in the comments below.
**Links may contain affiliates. Thank you for supporting the brands that support this blog.

Its beautiful
Thank you! xo – LO
Chicken. Chicken goes with everything. 😉
Looks great! It actually looks a bit antique, too, which goes great with the rest of your kitchen.
I can’t get over that this is the EXACT same hutch I had growing up, lol. My grandma gave it to my mom and my mom could never stand how big and bulky it was. I offered to paint it for her, but she didn’t think it would help. If only she had seen this post then, all those years ago!
How funny!! I can’t believe it’s the same one! Small world! -xo, LO