I’m chugging right along with my tiny Master Bathroom renovation. You can check out my plan for the space on the Week One post for my One Room Challenge. One of the first things I needed to do in this space was to actually finish demolishing the homasote that covered the right wall.
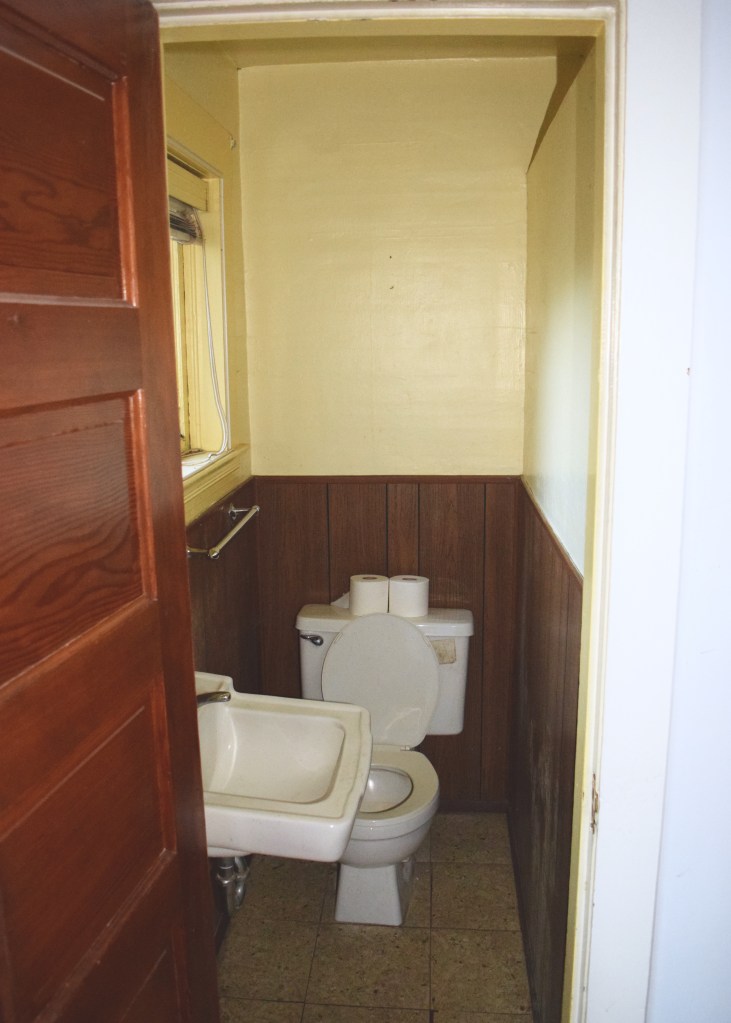
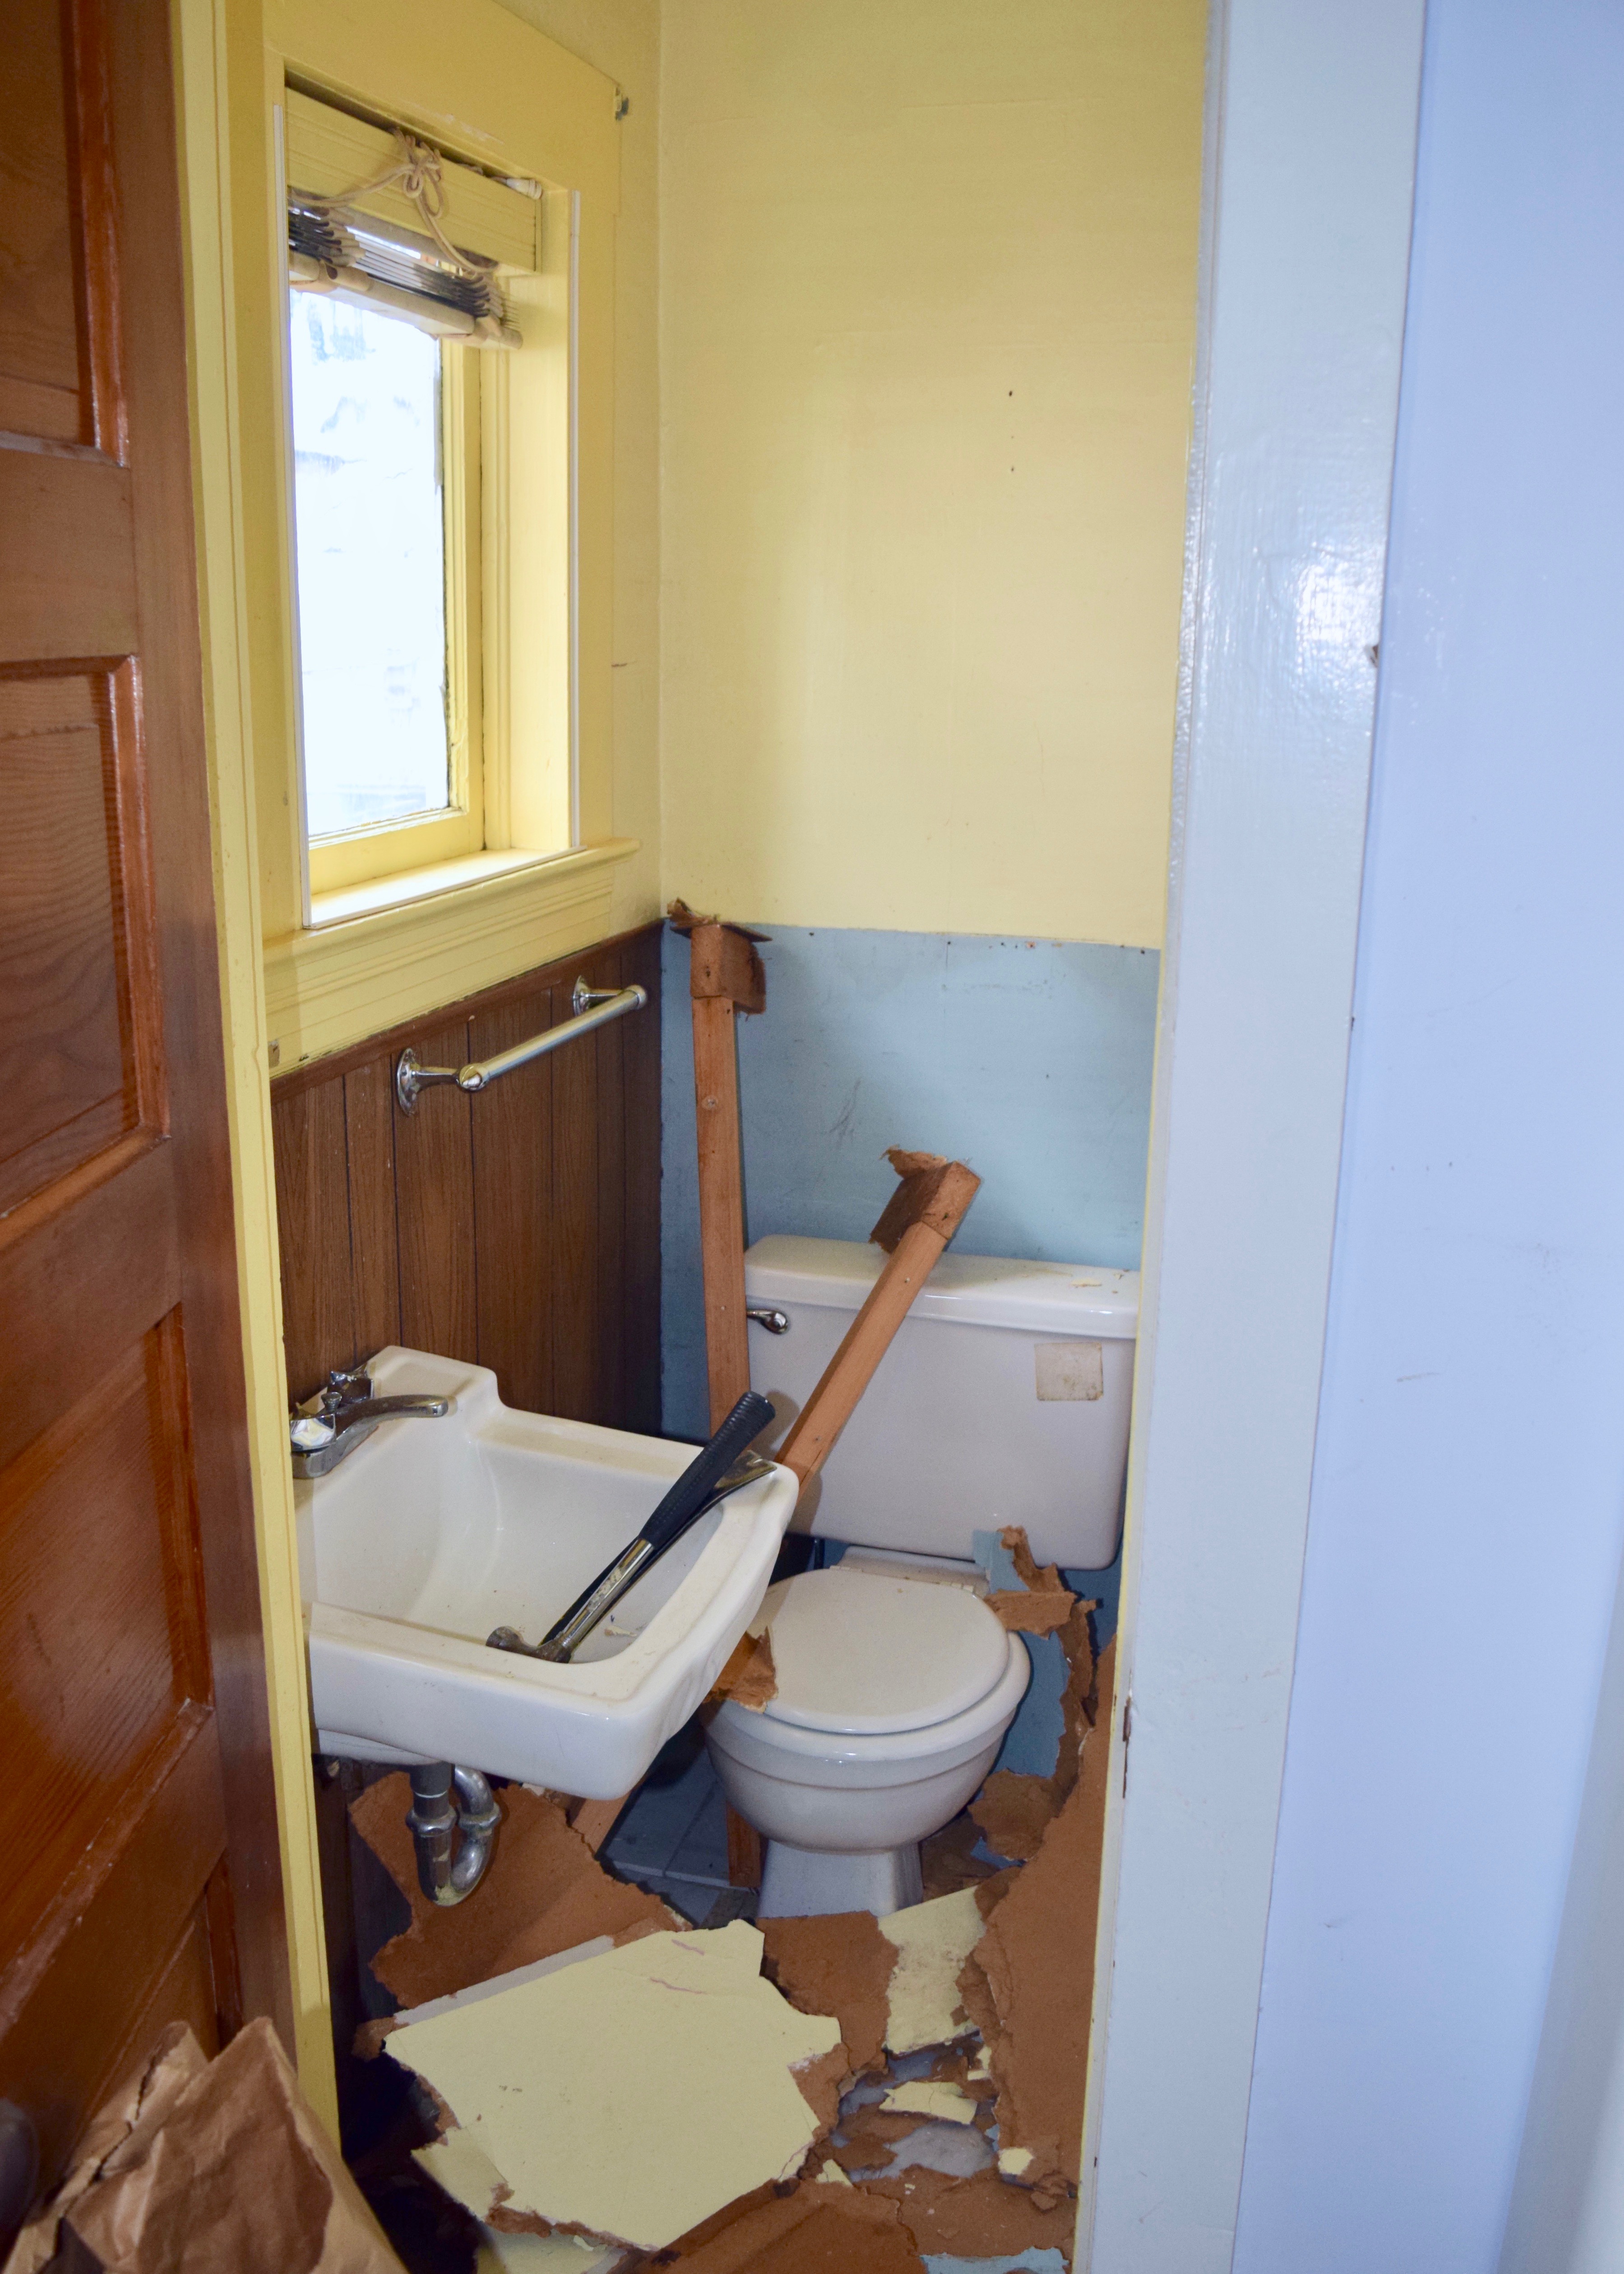
Demo is something that is just so satisfying! A few quick hours and you can completely transform the space, every swing of your hammer is progress. So quickly a space can go from this lovely little 70s space…
…to this hot mess. And then you have to clean it all up. Whomp, whomp, whomp. And this stuff gets heavy too! Make sure to use contractors bags rather than normal trash bags since they’re so much stronger and don’t get ruined by the rogue nail! I probably should have removed the plumbing in the bathroom before doing this, but I was hoping to maintain the basic function of this room as long as possible.
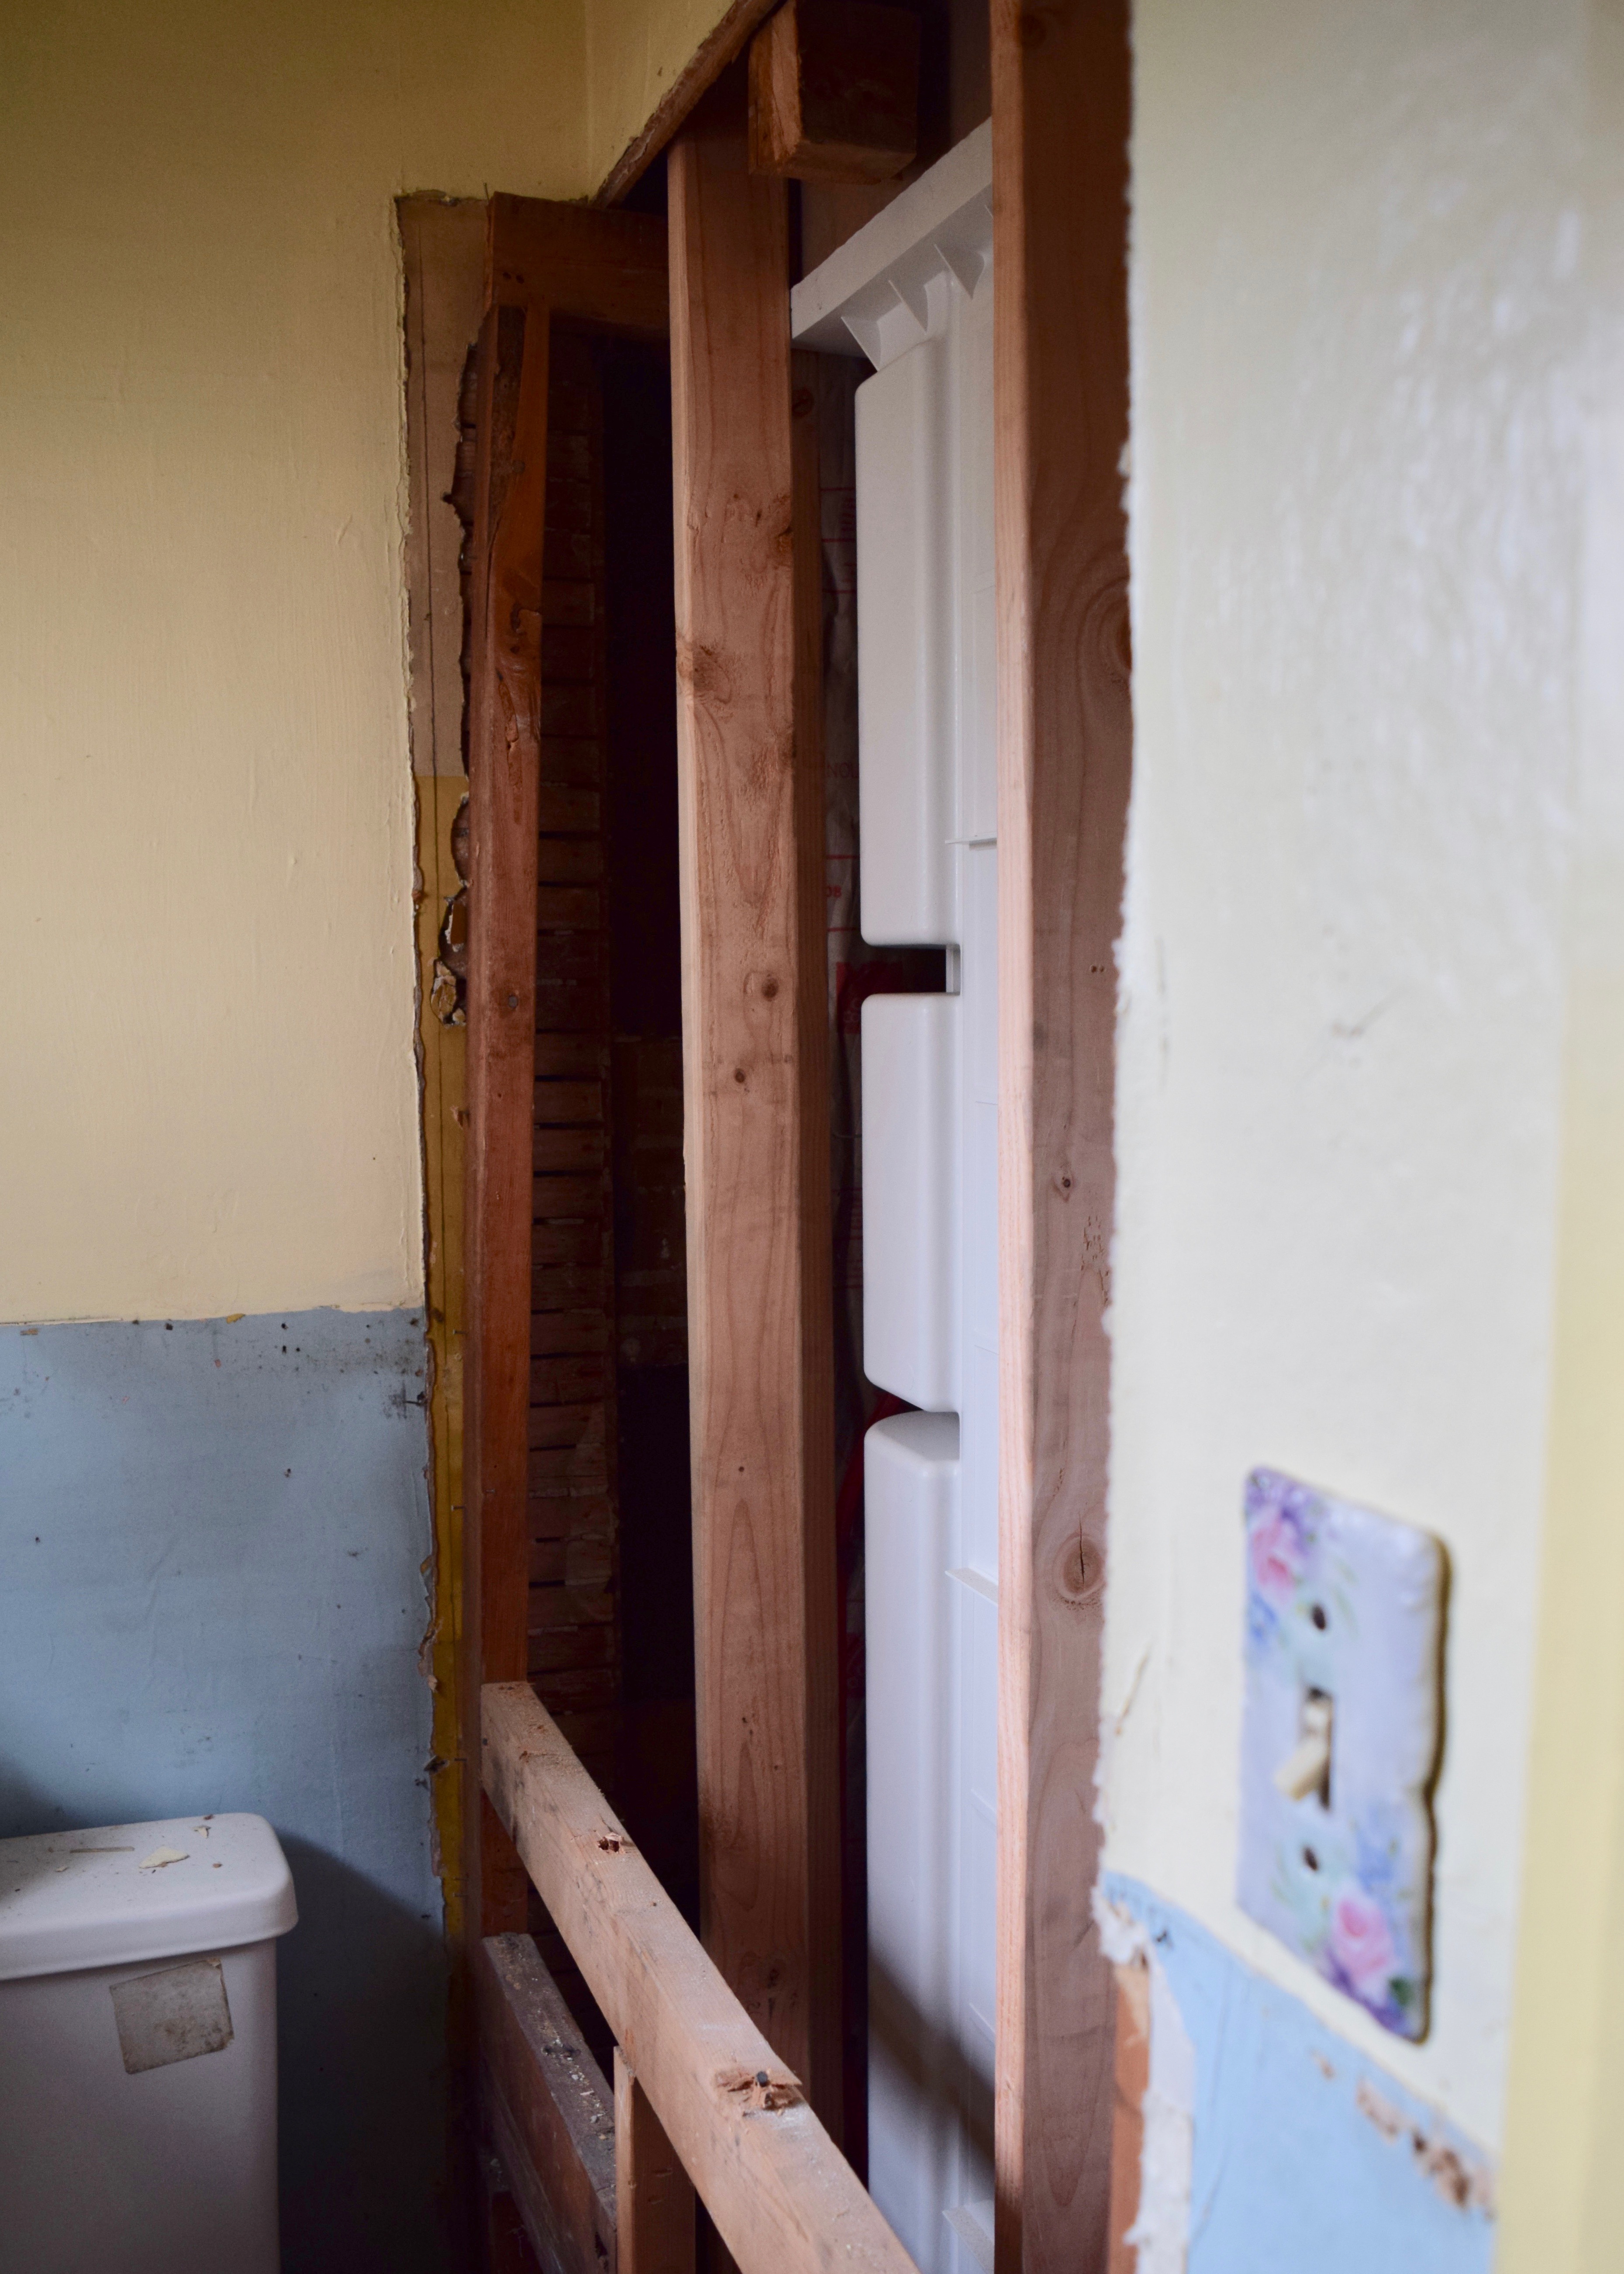
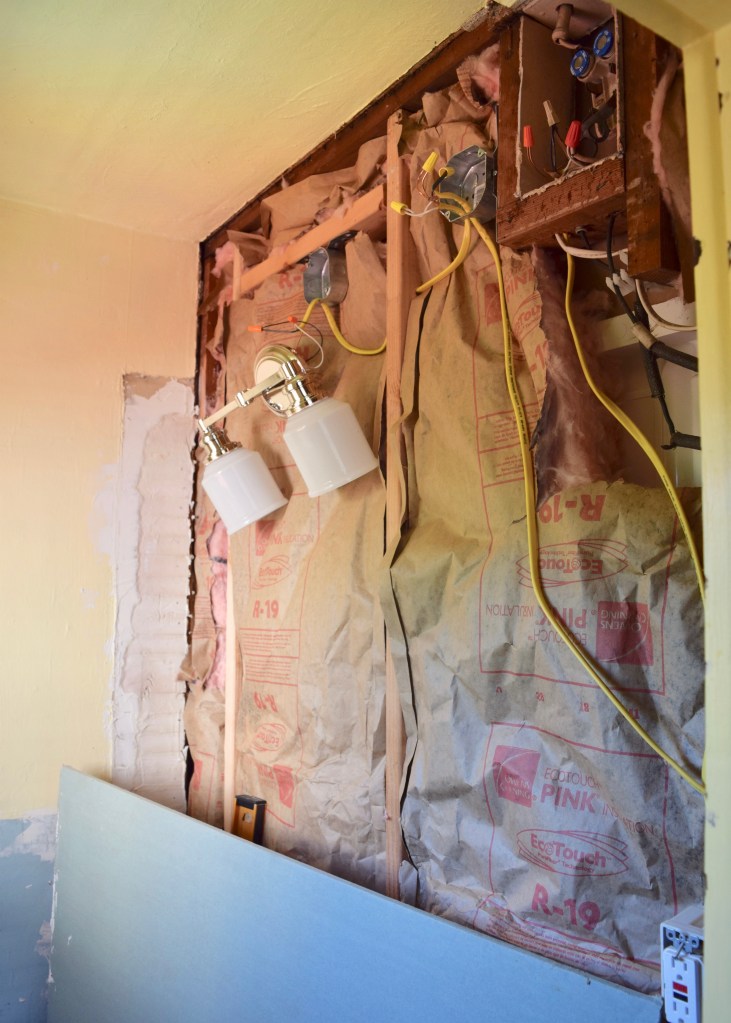
It resulted in a whole lot of crazy, but demo’ing this wall allowed me to get a good look at the electrical situation that was going behind it. This house (like most older homes) has a whole lot of secrets hidden in it’s walls. When I opened this space up, I was able to see the new electrical my electricians had installed in the house back in October 2017 and where they’d tied in some older electrical to the new lines. It also exposed some of the willy nilly “structural” supports that were added when some previous owner decided to bump the wall out to fit in the old bathtub in the main bathroom. You can also see the new framing I added to support the original wall location and the backside of my new shower surround.
Once I got my eyes on the electrical I was able to figure out what was going on and replace the existing older wires with new in the locations I wanted. I’d gotten two free light fixtures from my Aunt Stephanie who’s neighbor was replacing some newly installed fixtures after buying their house. Since the original light in this room was above the door, once I’d removed the homasote walls, I could just pull that wire over to the location I wanted my new fixtures. I planned for two sconce fixtures in the space to wash the room with light. Then I could install my medicine cabinet beneath one and a framed picture beneath the other. I also moved an outlet to be next to the light switch for convenience. For the most part, this wiring was already in the walls, I just shifted the locations and switched out any really old wires for new.
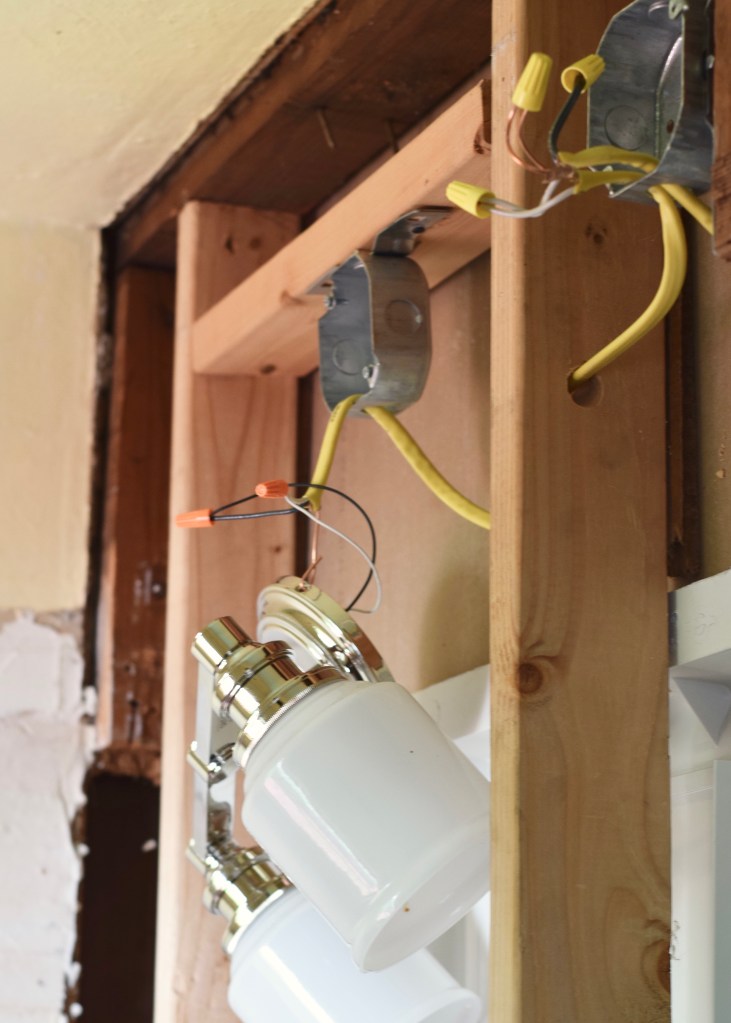
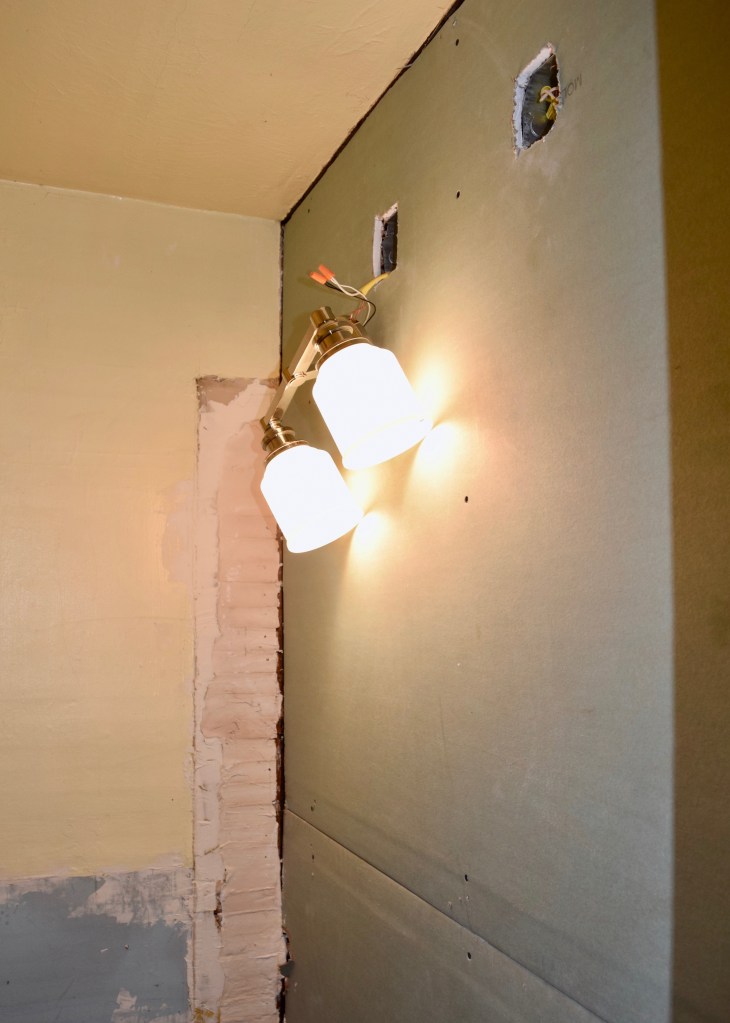
Once I’d measured where my new sconces should be I nailed up a horizontal board to hang the far sconce off of and wired up the second sconce to the first.
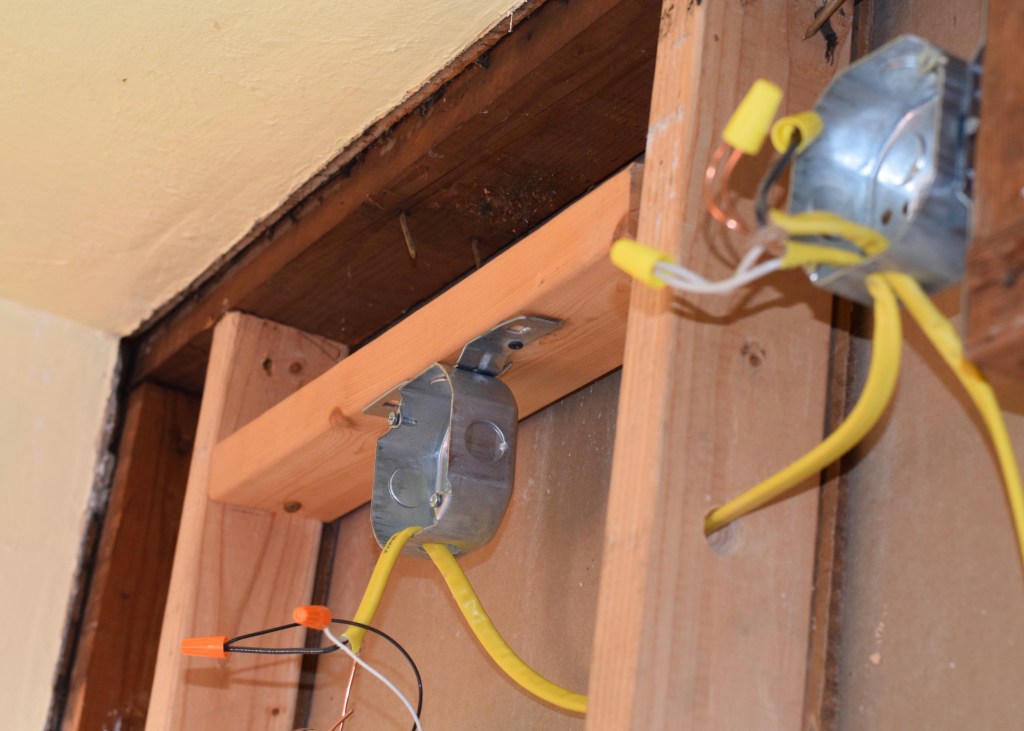
Simple! Since I needed light to work by in the evenings, I ended up wiring the last sconce in and then hanging it from the grounding wire. Which is probably not the safest idea, but it was very effective and approved by my contractor neighbor. I also had him double check that the electrical all made sense and I wasn’t going to kill myself or burn my house down. He said it looked good, and I breathed a sigh of relief. I’m super nervous about fires now, so it’s nice to have a second pair of eyes. Thanks, Erik!
Then it was time to stuff the wall full of insulation to create more of a sound barrier between the two bathrooms and to keep the bathroom off the kitchen warmer. I just filled in the space and stuffed it all behind the wiring, I tried to make sure it was less compressed than in this picture before I closed up the wall with drywall! Mostly I wanted to keep that main bathroom nice and toasty.
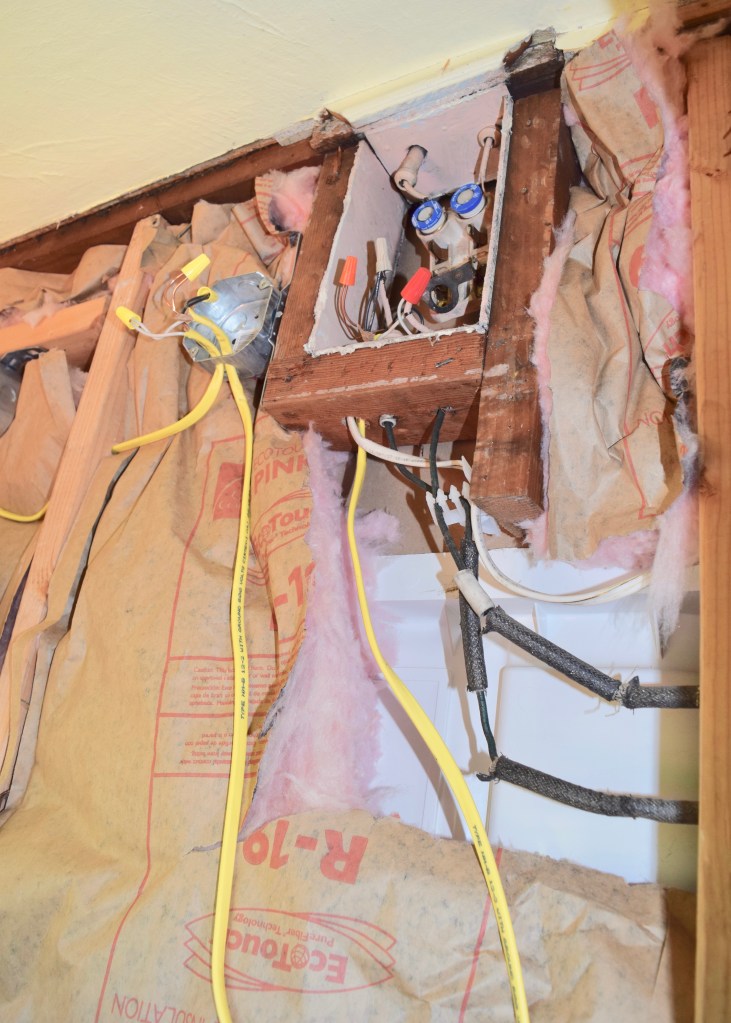
You may have noticed this old fuse box in the picture above. It was the reason the old wall was bumped out only in the lower portion! See how the right wall recesses at the very top in this picture from when I first got the house? The shadow kind of gives it away. I guess the old owners didn’t want to mess with it. I wonder if they put plants or anything on that ledge? That would almost make sense… except the bathroom has a north facing window about 20′ from my neighbors house so it gets no light…. Hmmm… so many questions!!
And even after I had my electricians rewire the main bathroom and tweak this box, it still looked like a mess! The fuses are misleading though, my electricians had switched the wiring to hook into my new circuit breaker, but left these fuses in place… connected to nothing. They used this box as a place to tie all of their wiring together. Which mean it would need to be accessible still. Since one of my sconces was right next to it, I knew that a simple double outlet cover plate would be pretty hidden and allow enough access to this spot. Doesn’t the old wiring look super weird though… I was told it’s not knob and tube, just old.
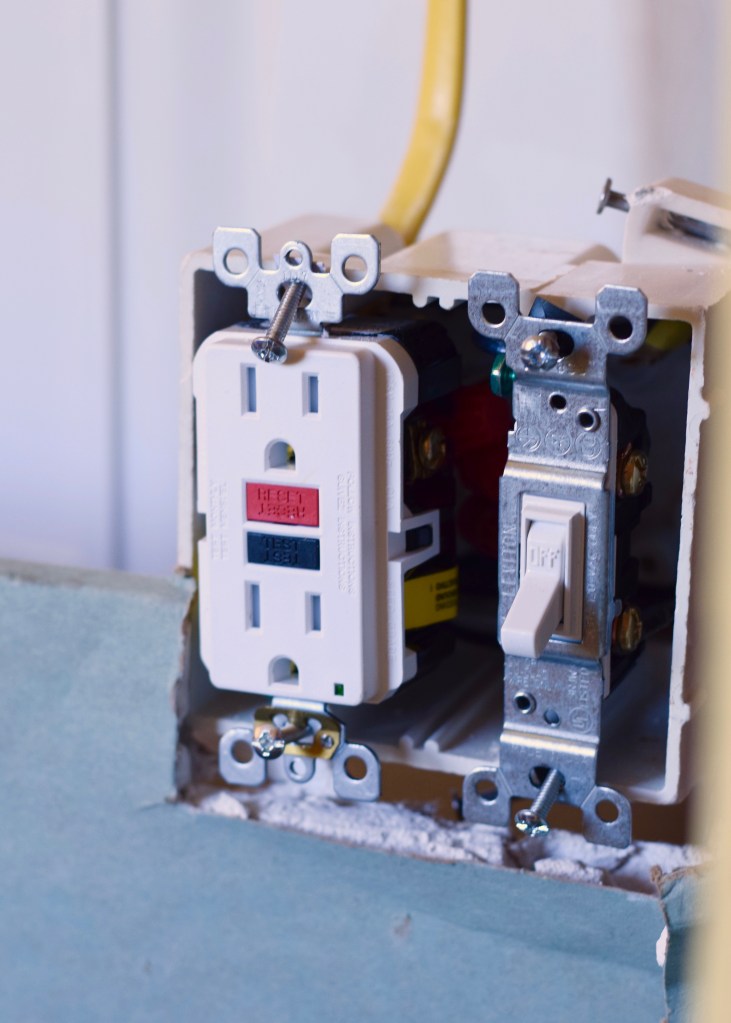
I knew having an outlet would next to the light switch would be a lot easier to access and prevent me from having to make even more cuts into my beadboard, so I moved it up and placed it right where I wanted it in a new electrical box. Now when I blew dry my hair (which is never) or straightened my hair (once every two years) I’d be prepared! Seriously though… what else do people use bathroom outlets for? Electric toothbrushes?
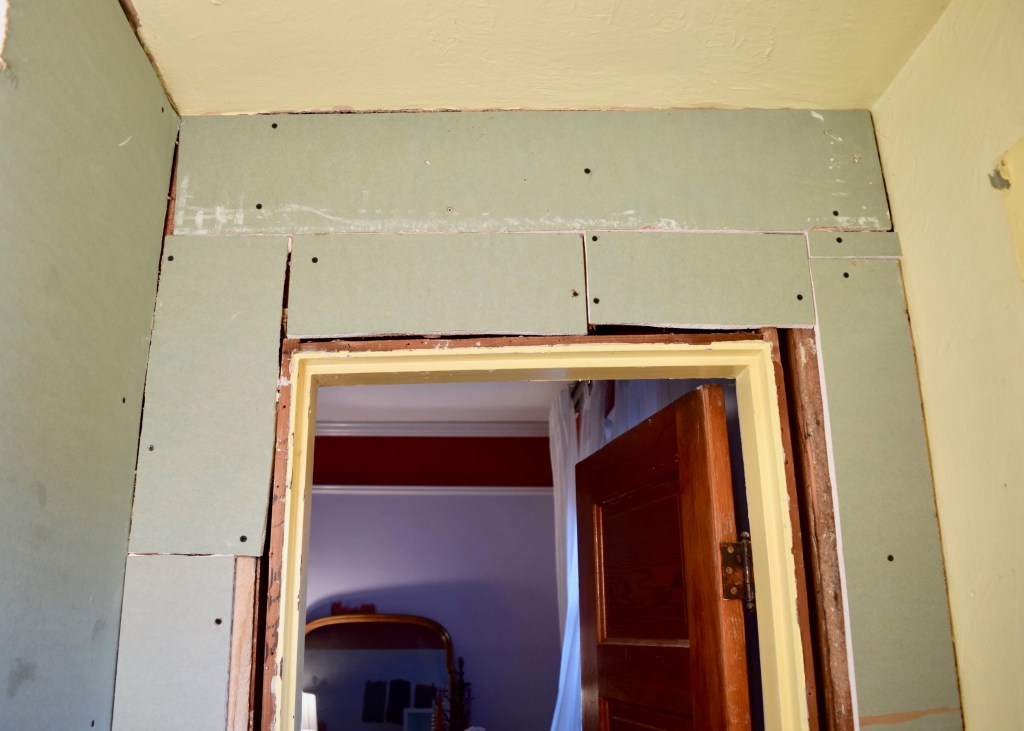
And finally, it was time for drywall! I bought one sheet of drywall for $15 from Home Depot for this project. I knew it would take care of this wall and I could use scraps from the bathroom and the kitchen to cover up the wall with the door. You can also see here where the old wall was when I bought the house, with the top of the wall niched back. Such an odd arrangement. I filled in a little bit of plaster to help even out the back wall here. Since I was covering everything up with beadboard, I knew exacts didn’t much matter.
And thank god for beadboard, because trying to smooth out all these drywall pieces patched together would have been no fun at all!
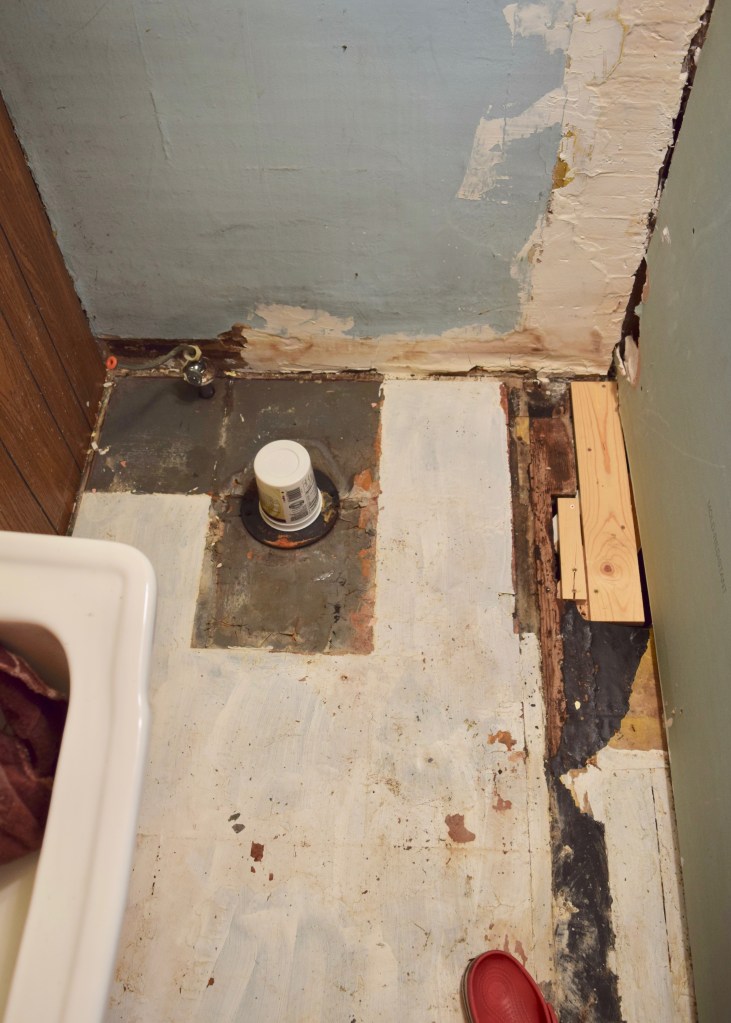
Meanwhile, that wasn’t the only thing that needed to be patched either! The former space in the bumped out wall had holes in the floor as well as in the old wall where the plumbing for the original bathtub from the other bathroom had been. I patched these in the same way I patched in the floor in the main bathroom using scrap wood and some clamps. You can also see where I’d slapped a coat of primer on the subfloor after removing most of the peel and stick tiles at one point. It was so much “nicer” this way. Hahaha! Since the peel and stick tiles were coming off and sliding around anyways, there was all sorts of gunk beneath them. Covering it all up with concrete board and tile was going to be amazing!
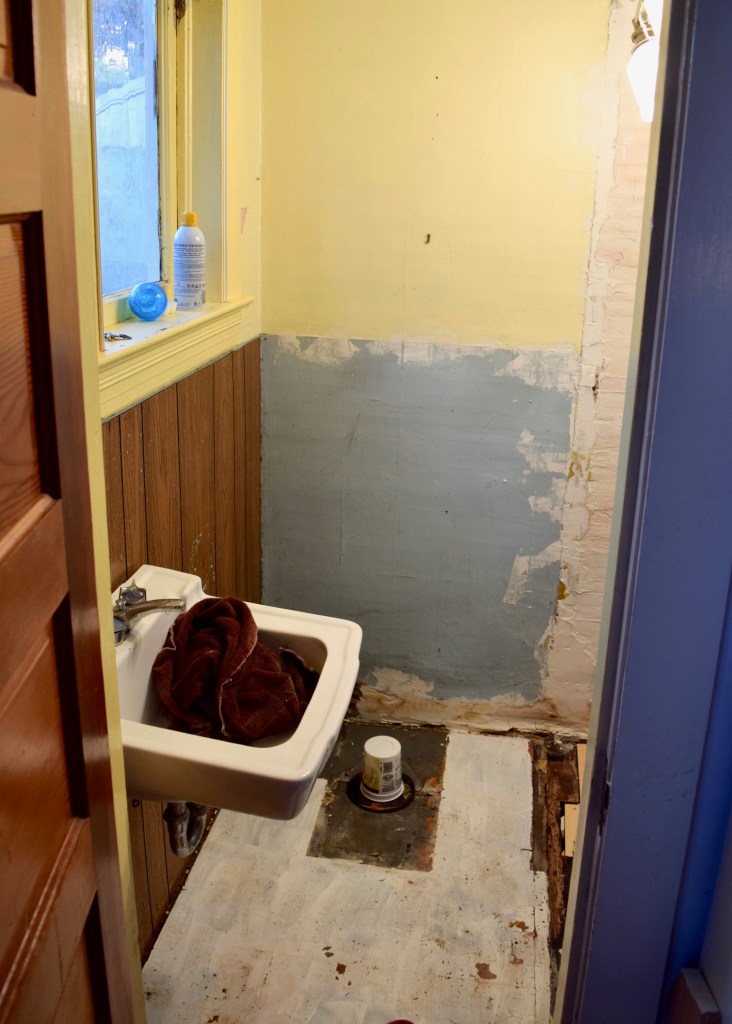
Now, I can’t say this space was looking a whole lot better yet. But progress is progress, and the middle makes no sense! At least I had the lighting in and the space was suddenly bright and ready for the big transformative touches! I still needed to remove the sink and address the left wall, but everything else was ready for beadboard!
So Week Two is now wrapped up and it’s now on to tiling for Week Three! It’s my second tiling project after the main bathroom, so fingers crossed all goes well. I have just baaaaarely enough tile left over from my parents’ bathroom renovation to complete the floors in here! Soon this little room is going to be looking completely different from when I bought the house. Hopefully, more authentic feeling with more storage and function and much, much prettier to boot!
Boy will I be excited when this is finally done! It’s a pain storing all my bathroom stuff in my bedroom and to encapsulate all the old gross with clean and new is going to feel so amazing.
Definitely check out some of the other participants in the One Room Challenge. There’s a ton of amazing talent out there, it’s so fun to join in for the first time!


Interesting read on the benefits of lighter drywall—it really makes handling and installation easier. Choosing the right materials upfront saves time and effort, and when combined with proper commercial drywall repair techniques, it ensures walls stay smooth and durable. Great practical insights here.