It’s lovely to have a concrete plan for a space before you dive into a project. That’s why people hire interior designers! When you’re working on your own space it’s a lot easier to make decisions as you go… but doesn’t always create the best results. That’s why this One Room Challenge is so nice! I’ve got my plan and am slowly making progress. It also encourages me to actually finish the project, rather than getting it to 90% and leaving it there. Ha!
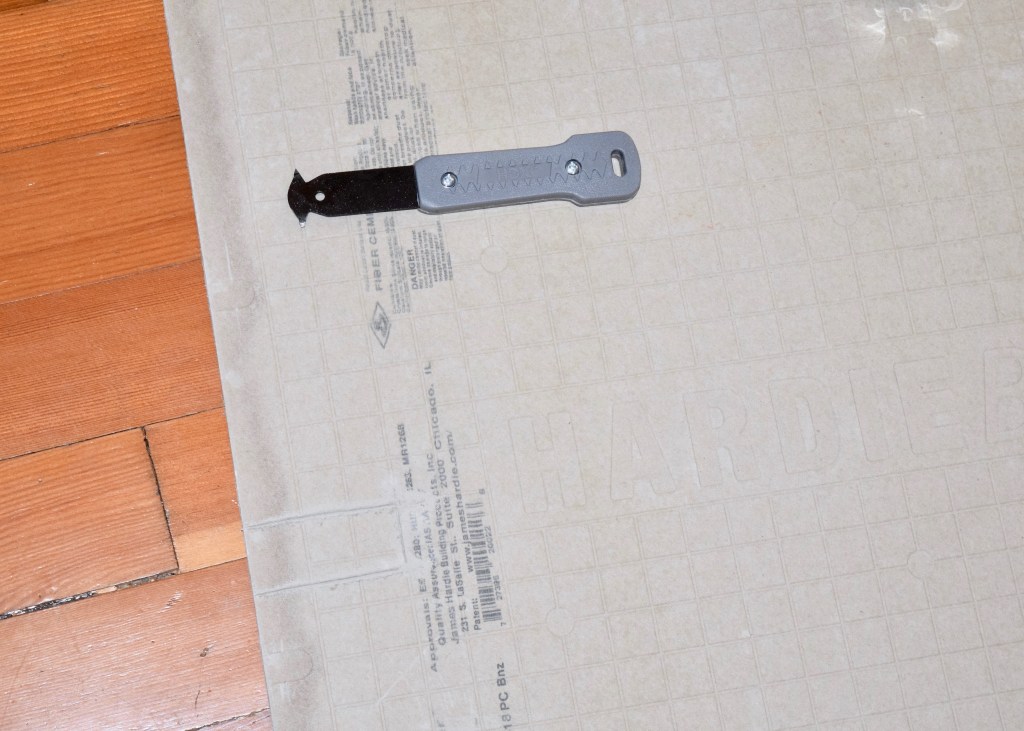
After last weeks bathroom demo, electrical, insulation, and drywall, I was ready to tackle the bathroom floors! I was excited to start tiling again. The first time I’d tiled, I’d run into a few bumps so I felt a lot more prepared this round. I picked up another sheet of concrete board from Home Depot for $10 as well as this nifty little concrete board cutting tool which was also $10. Oh my god, you guys, this tool is amazing! It made cutting the concrete board SO MUCH EASIER. Last time I tiled, I’d used a simple box cutter and it took way longer and didn’t work nearly as well as this tool. 100% worth the $10!
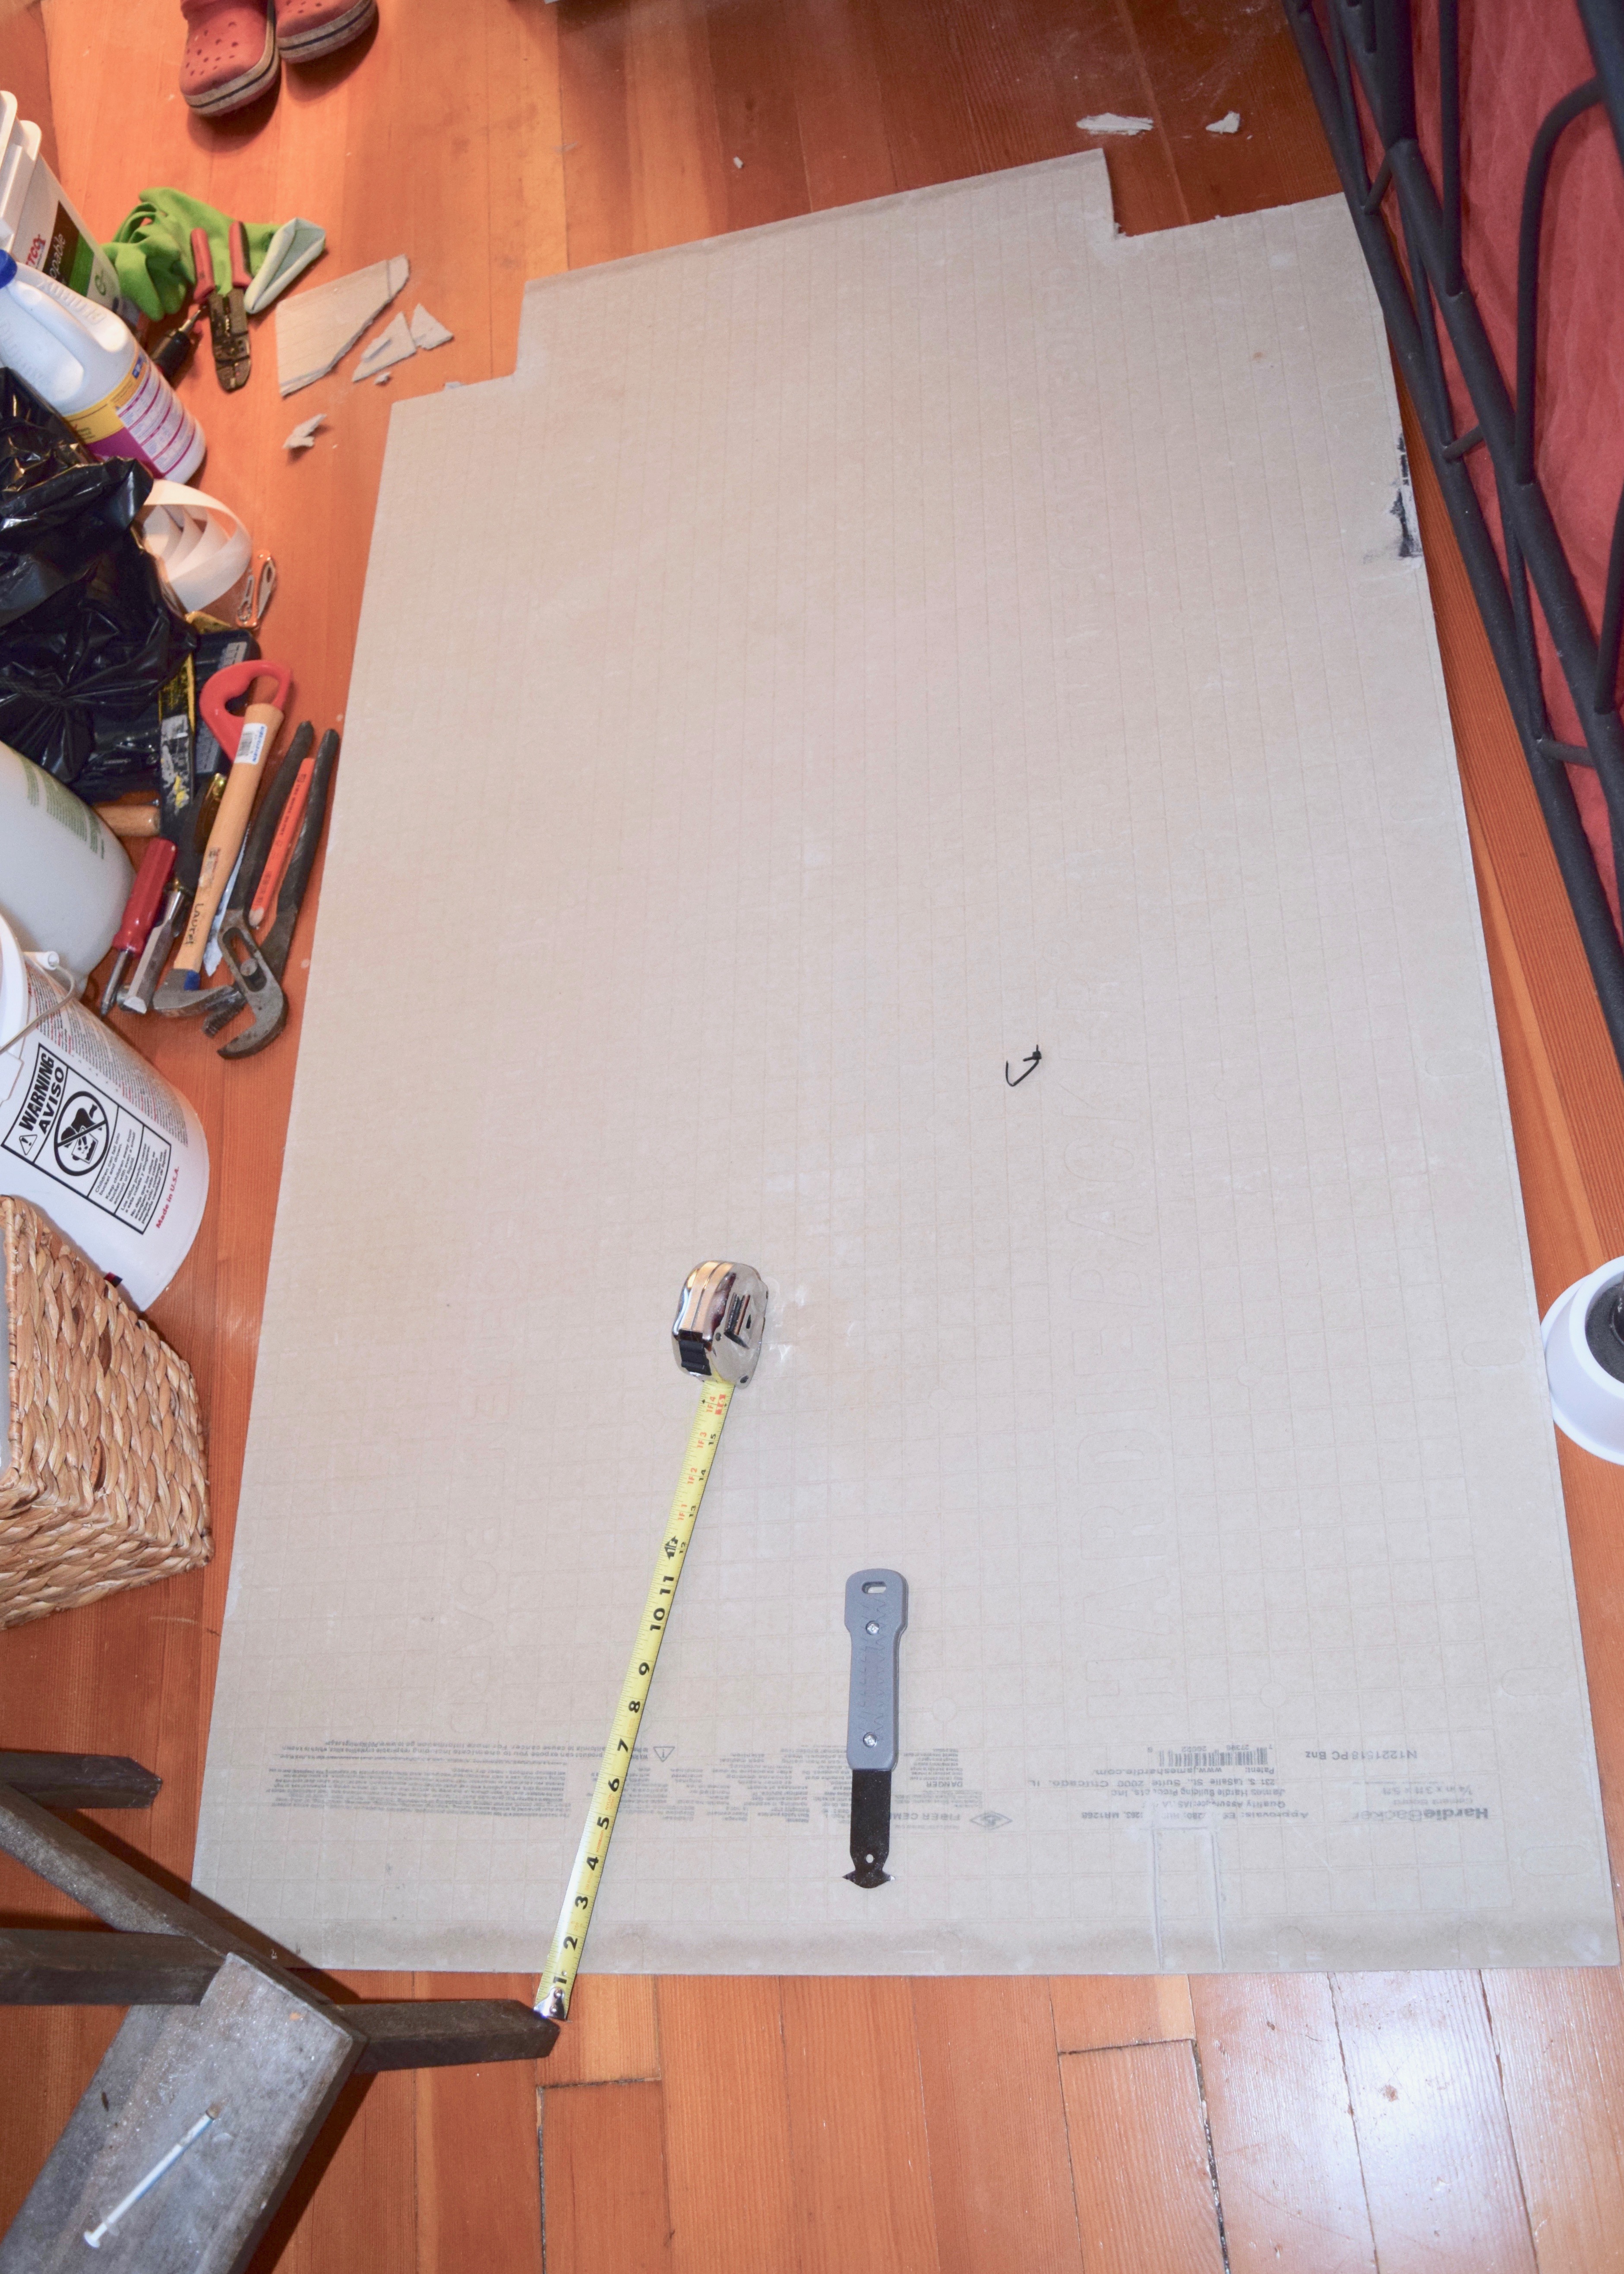
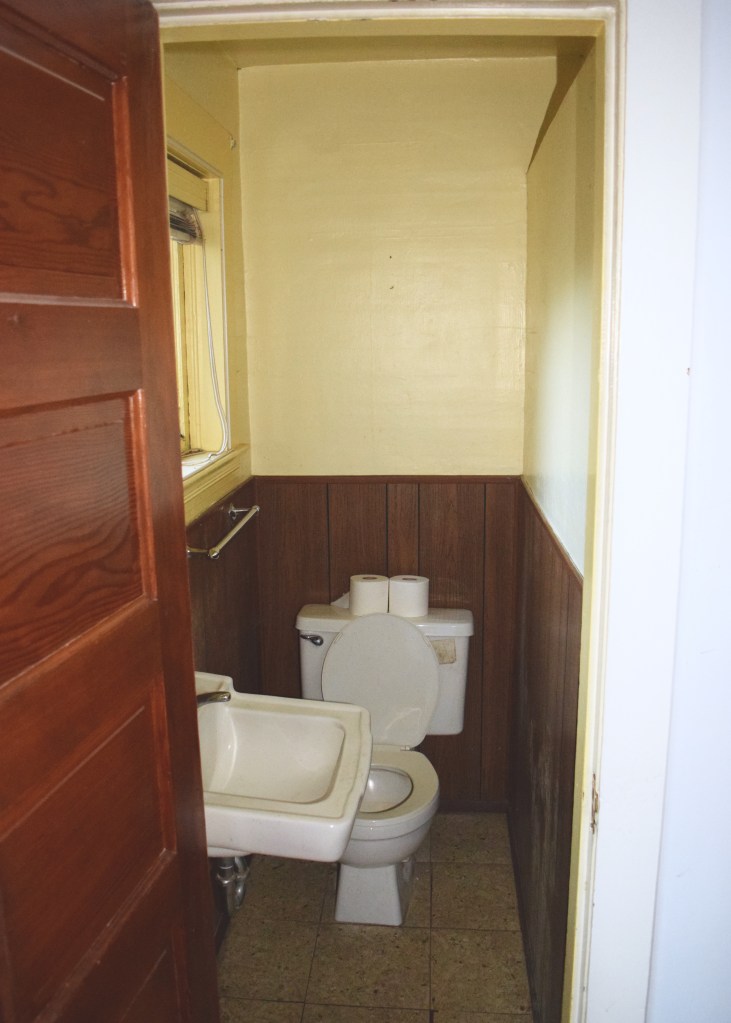
I laid out the hardibacker in my bedroom and marked where I needed to make my cuts for the doorway and toilet. Then I started chugging away at my cuts. I then ended up cutting the entire thing in half, because I wasn’t actually able to get it into the bathroom in one piece.
Then I simply took my trowel and scraped out a bunch of mortar left over from tiling the Main Bathroom. I like to make lots of long grooves, but I don’t stress about making them perfect.

It took three sections of Hardibacker to cover the room. The larger sections were from what I had bought for this room and the little scrap on the right was left over from the Main Bathroom.
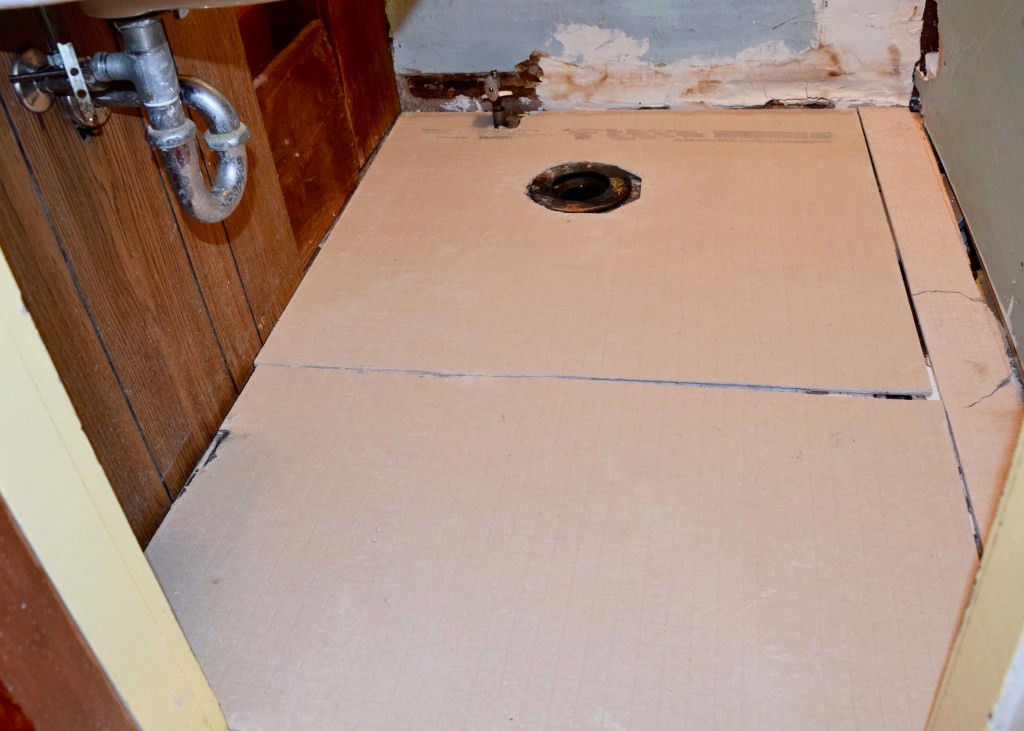
It was strangely wonderful to finally have this laid down. The room instantly felt so much cleaner! I just wanted to walk all over it barefoot. Ha! You can see I continued to leave the sink up. Excellent tool storage spot, you see.
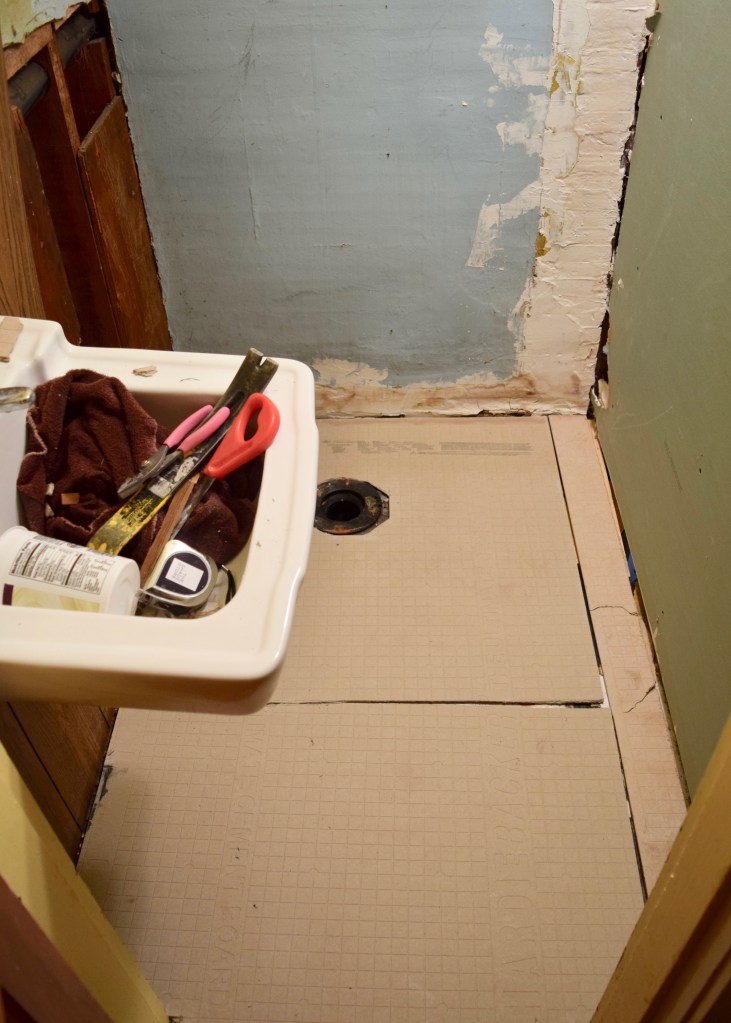
After the Hardibacker was laid, I waited 24 hours and then went ahead and used the last little bit of mortar I had to tape all the seams and smooth any bumps. This was the final step before I could begin tiling the next day! Woohoo!

Tiling is kind of soothing, so I couldn’t wait to start. I dry laid the whole things to start to see how things would need to sit. Then I made all my cuts and got out the rest of my mortar, so I was ready.

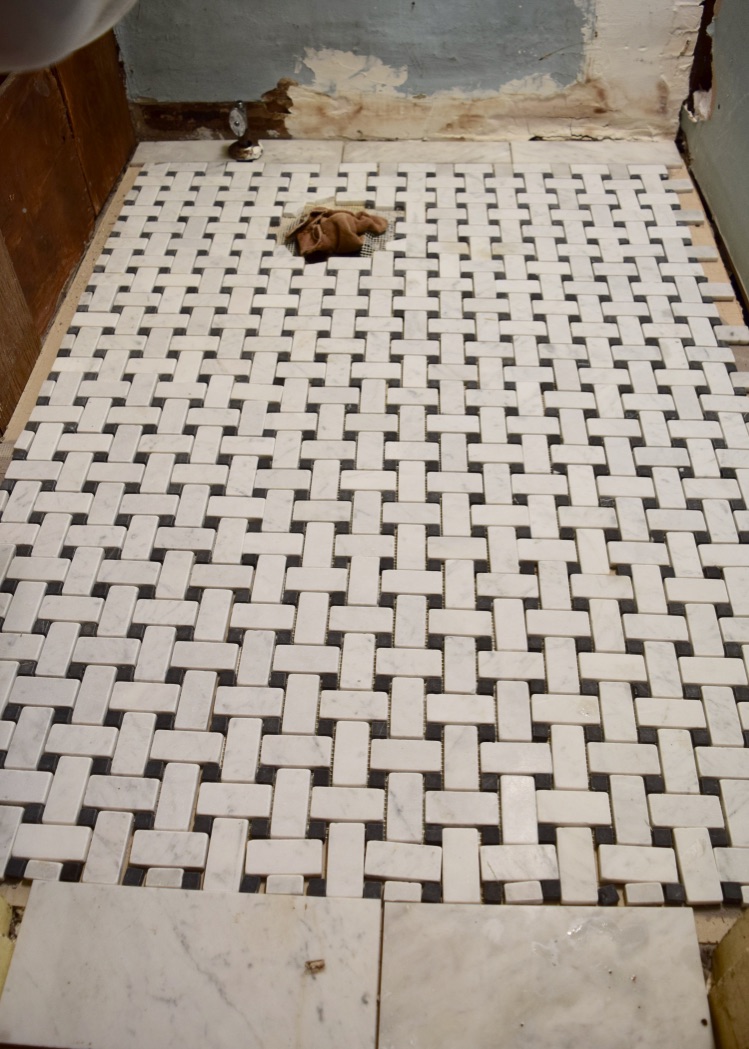
I was very tight on tile for this project, so at the back of the room I put in three inch by 12″ pieces of marble. They’d be mostly hidden behind the toilet and a basket of toilet paper, but I kind of liked how it mirrored the transition at the entrance to the room. On each side of the room I barely had enough tile. I measured out where the baseboard and shoe base would be and laid just enough tile to tuck beneath that.
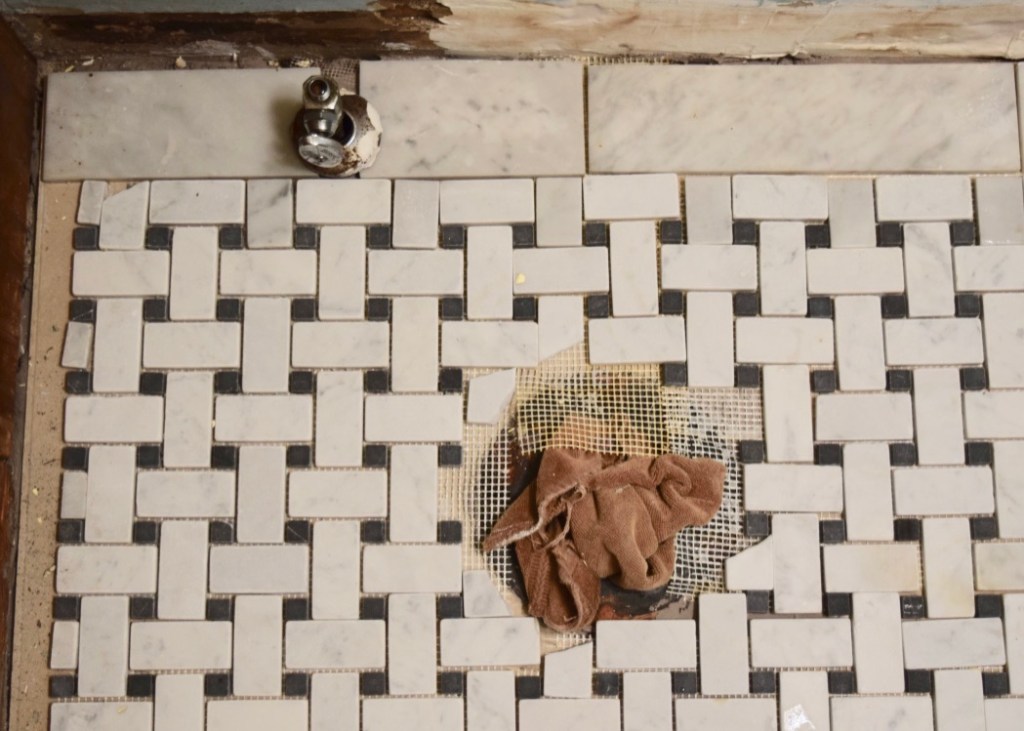
It was very tight on both sides. But I crossed my fingers and double checked my measurements and was pretty sure it would work out.
On the right side of the room, I was even tighter, but the longer white marble part of the basketweave would nicely support the baseboards.
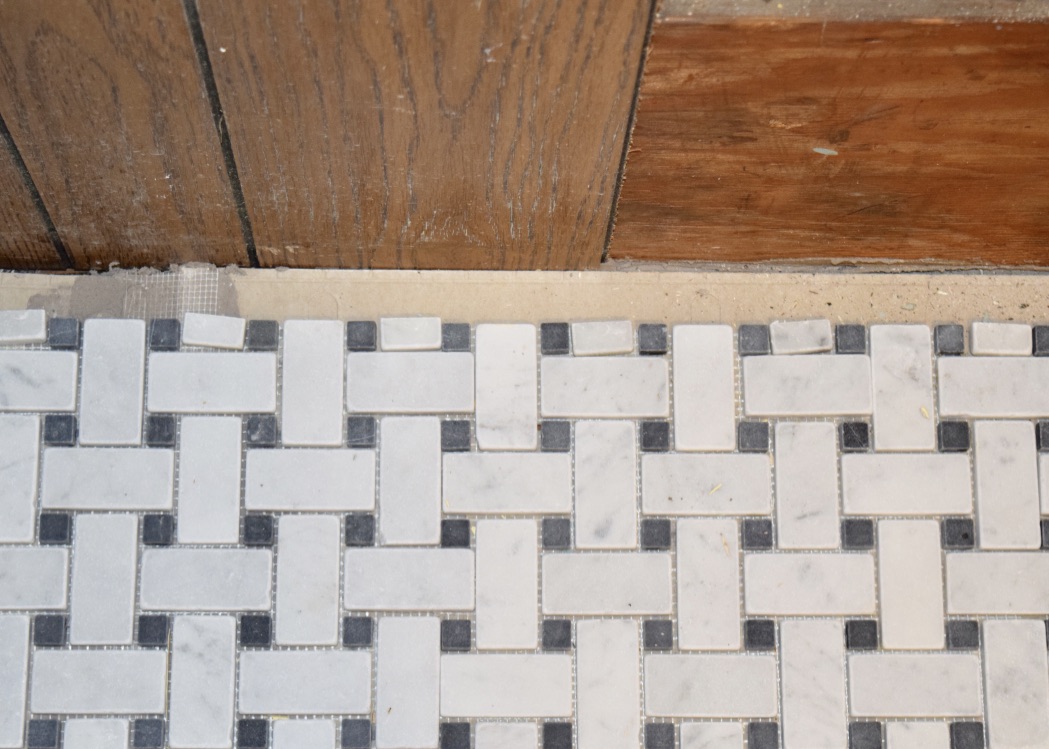
At the front of the room, my tile transition strip was looking pretty good. I knew I would finish it with another fir transition strip at the edge so no one ever stubs their toes.
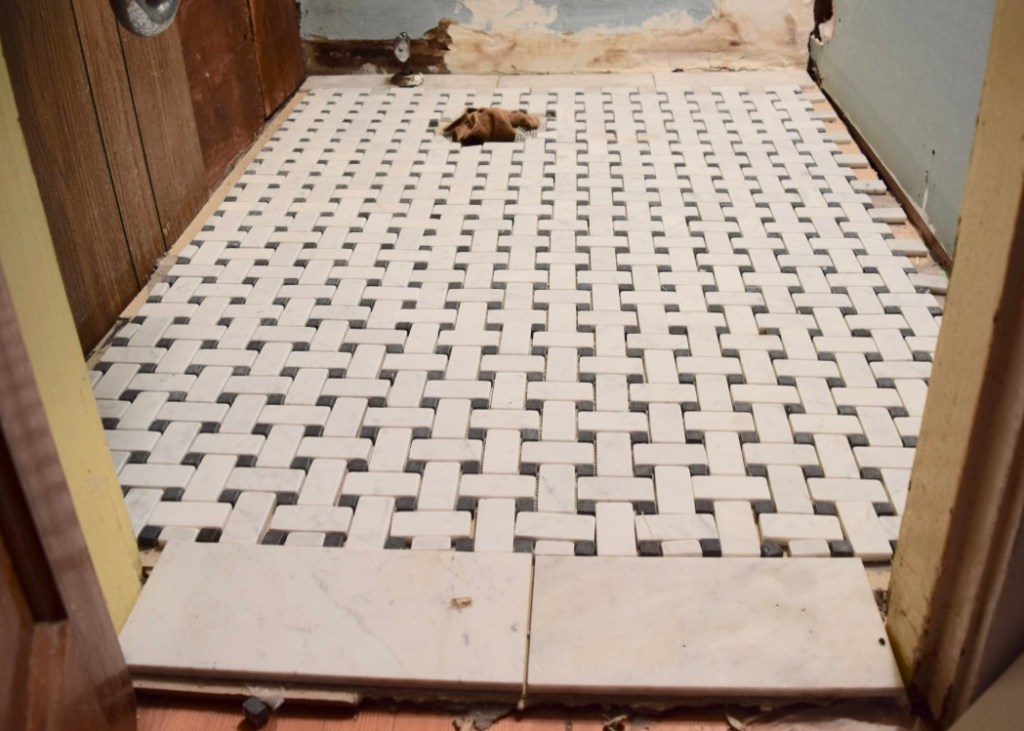
Then it was just time to lay it down with mortar. It looked soooo good! I really like the impact mosaics like this one and the one in the main bathroom make. It’s super easy to lay, since it’s attached to a sheet, though I did need to cut the marble mosaic tiles with a tile saw I borrowed from my next door neighbor, Erik. The hex tile in the main bathroom, I was able to cut by hand with a simple tile nipper. I was excited to get the grout in and finish it off the next day.
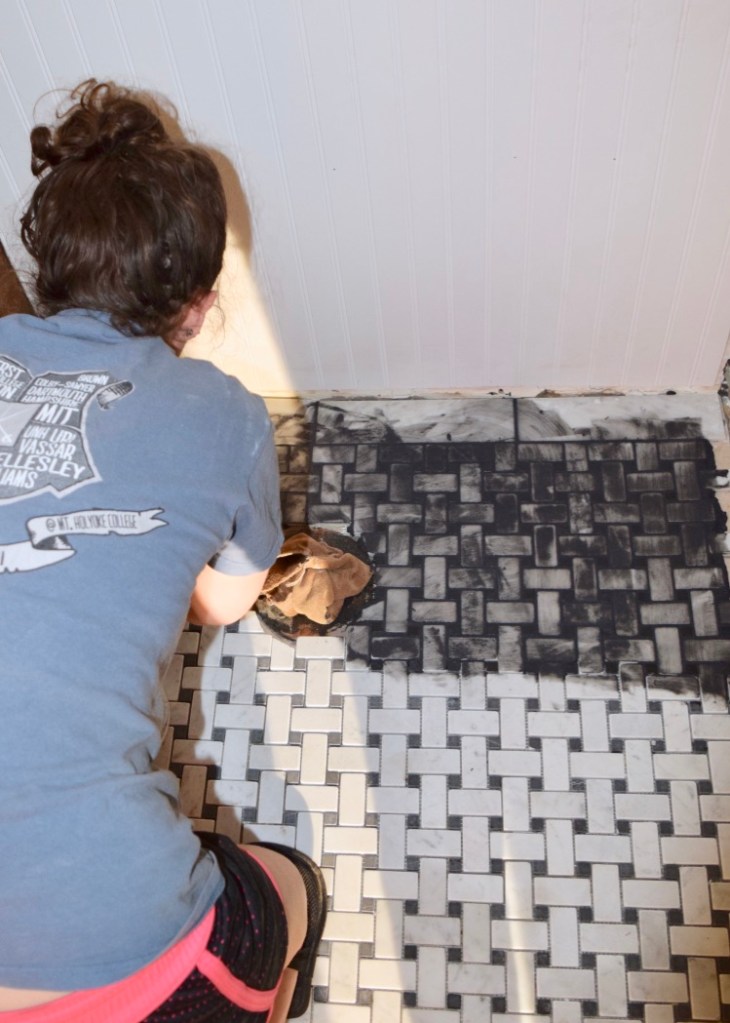
The next day, I opened the container of black grout I had left over from the main bathroom and got to work! I love a high contrast grout for making the colors pop out! I had about 5/8ths of a large container of grout left from the Main Bathroom so I expected to have plenty for this room. One thing I hadn’t considered though, was the depth of the tile! Even though this room was about half as large as the Main Bathroom, the tile was probably more than twice as deep. It ate up the grout and I ended up back at the store to get another quart of grout for $20. I like the Fusion Pro grout since it doesn’t need to be sealed or anything. It makes the process even easier.
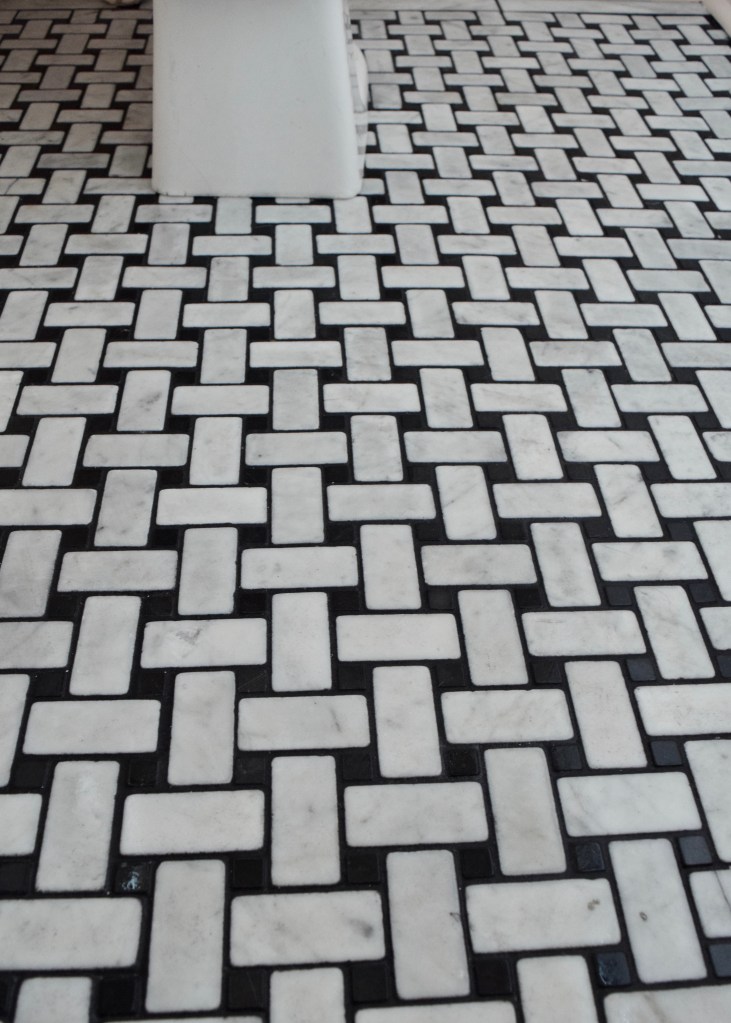
Once I’d gotten that grout in, wiped up all the excess, the space looked SO GOOD. I adored the floors! They have an excellent presence and really feel like they speak to the character of the house. It makes the bathroom feel older and more authentic. And, let’s be real, it’s 100% better than the original un-stuck peel and stick tiles that came with the house!
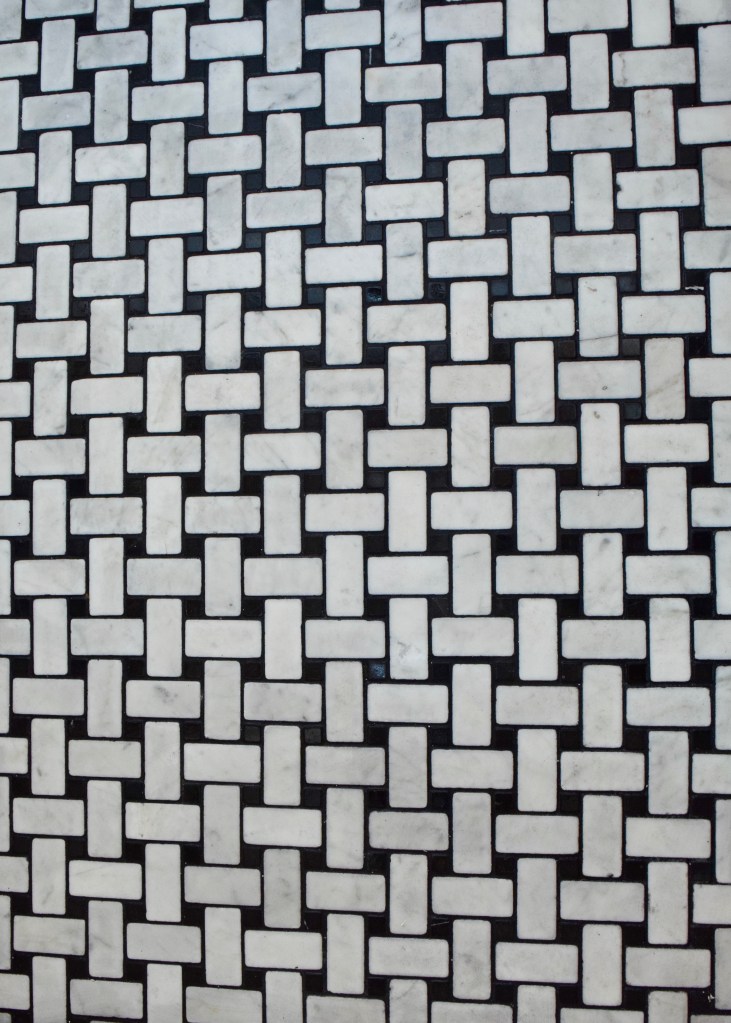
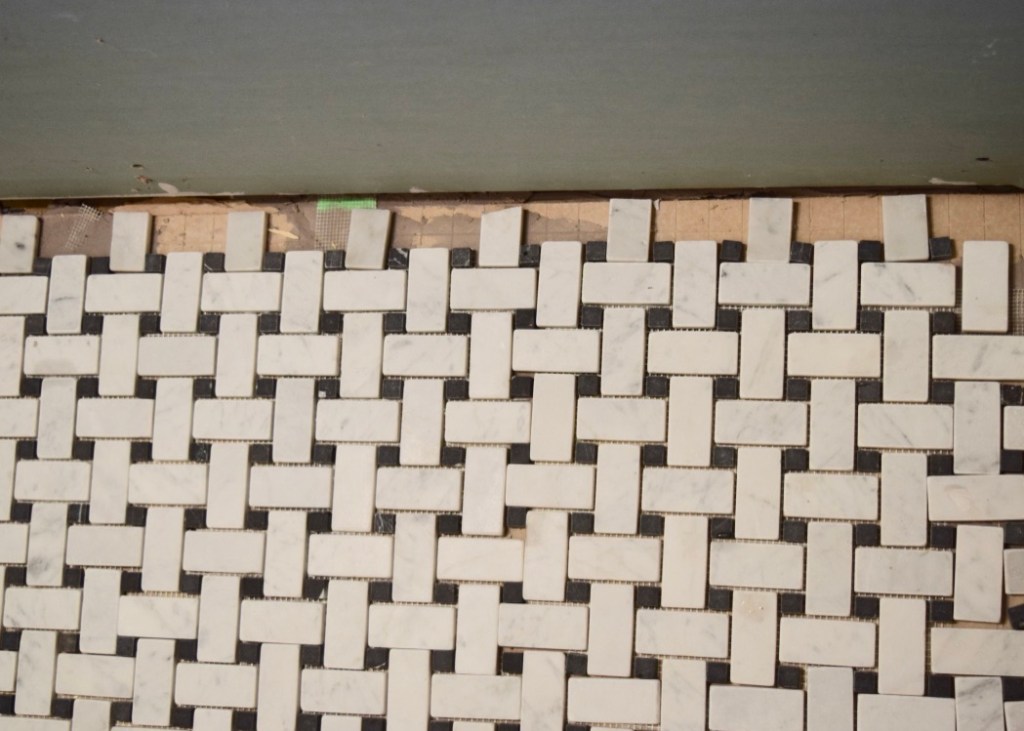
I love that the black grout adds so much contrast and drama to the floors. It makes it feel so much more dynamic. You can see here below how my little trim pieces at the top of the bathroom turned out. I don’t think it looks that bad!

I’m just so ecstatic to have real floors in this space for the first time ever. It’s like Christmas morning walking in here now! I will say, that marble tile is COLD underfoot in the mornings though. As a dedicated slipper wearer, that’s fine for me. If it was a bigger space, I’d have considered using one of those electric heated floors underlayments. It would definitely be worth it in a bigger room. This tiny little one though works just fine as is.
I can’t wait to show you how the space looks with all the beadboard and trimwork next week! It’s such a huge transformation for this little room and so, so much nicer to get ready in!
Have you done any fun tiling projects recently? How did they turn out? Are you happy with the end results? Do you like contrasting grout or more subtle grouts better?
Be sure to check out the rest of the participants in the One Room Challenge! There are so many cool spaces shaping up, I’m ecstatic to see the final results of all these spaces in three weeks!


Omg looks so good! Can you still pee and wash your hands at the same time?
Hannah, yes you totally can! Don’t fear, I’d never get rid of that handy little benefit of small space living! Haha
The floor looks great! Good use of materials on hand as the tiles and marble slabs meld together well. cant wait to see the next phase
Thank you! Yes it was so fun to use what I already had! In such a small space it wasn’t hard to do either!
I LOVE basketweave tile.. Looks so nice!
Thank you so much!
Just came across this project . Loving this basket weave but really like it with a dark grout.
Makes the “weave” really pop, detailed.
My project will just use it for shower floor and niche, but with my darker field tile, I think it’ll look great.
Thanks for the post.