First off, hello to all of you new to this blog! I’m so excited to be guest posting as part of the One Room Challenge this Spring 2019. I’m Laurel and I’ve been working on my house — which I named Berrybrier after the brambles of blackberries and raspberries in the backyard — since I bought it in Summer 2017. It’s been a huge project full of ups and downs and I’ve been living here throughout it! I painted the house a happy, salmonberry, coral pink color and finished a DIY gut reno on the Main Bathroom all by myself. I am currently working on the Kitchen as well as the other main spaces! Click around and check out the progress while you’re here!
But while other renovations were taking place, the little Powder Bathroom off my Master Bedroom was neglected! So this room has become my One Room Challenge guest project! It’s difficult to force myself to finish and style a space before moving on to the next one, so this is a great incentive!
This space was a delightful shade of yellow when I bought the house. A 24″ wide door (very narrow!) allowed you to squeeze into the room from the Master Bedroom. 1970’s or ’80’s faux wood wainscot paneling did not help the overall space. The room was absolutely tiny at 54″ deep and only 30″ wide! You could barely scootch yourself around the sink to get to the toilet, let alone use this space to get ready for work! It felt immediately dated and old in here and it didn’t belong with the house. The layer of dirt, grime, and gross that coated the space did not help at all!
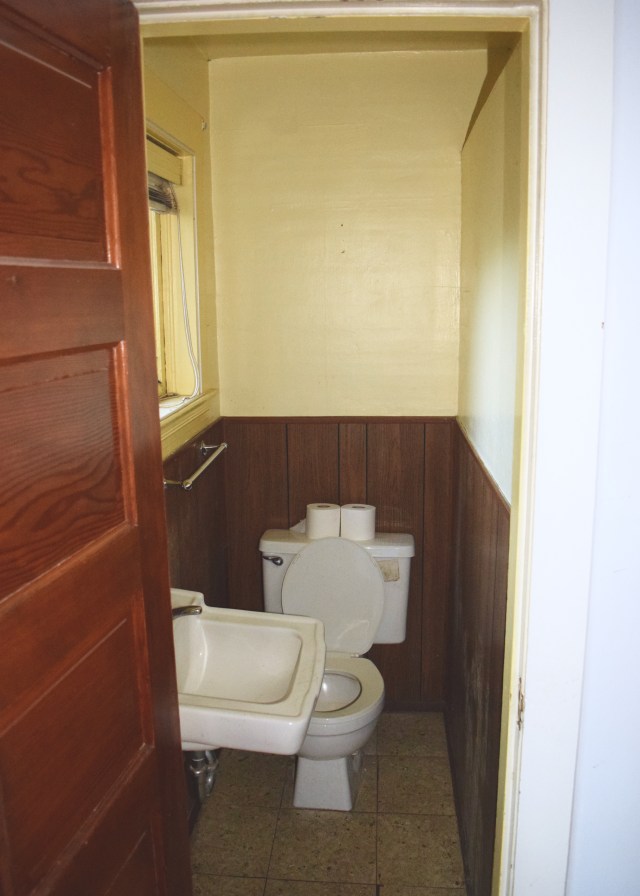
The sink in the Powder Bathroom was falling off the wall since the bolts holding it to the wall had missed the backing. It was so large for the space you could quite literally wash your hands while sitting on the toilet. During the demo of the Main Bathroom at Berrybrier I ended up removing some of the paneling in the room in order to get at the bath tub pipes which had to be cut from this side in order to remove the tub. When I took off the paneling I discovered that there already was a nice, small, square hole underneath to access those pipes, so that’s probably why that paneling was added!
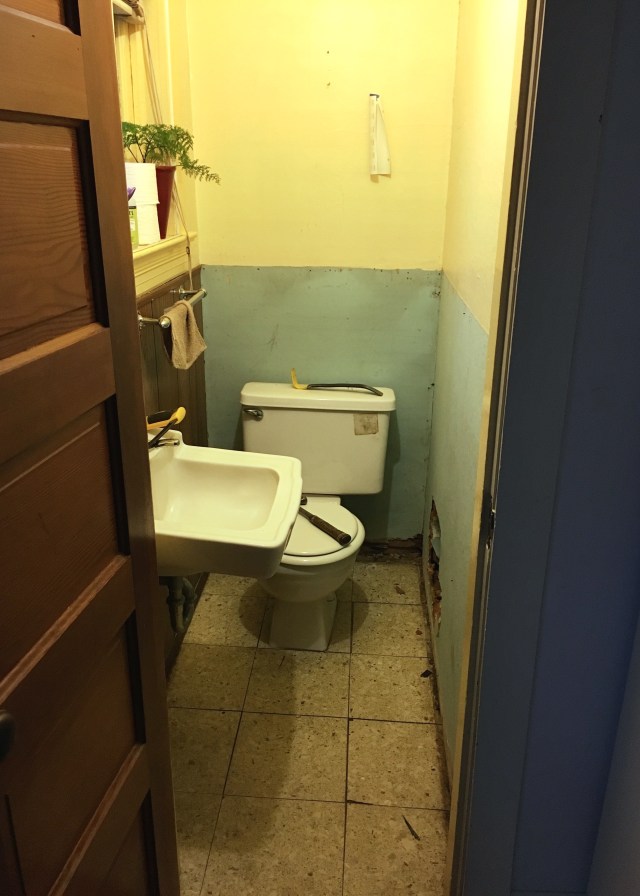
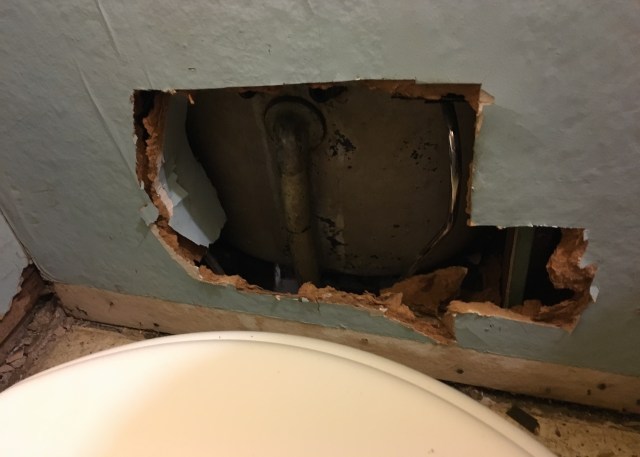
I made the hole a LOOOOT bigger to cut the pipes and then I left it like this for four months. And yes, I did still use this bathroom every single day to brush my teeth and get ready for my 9-5 job. Go me!
After I completed the Main Bathroom, this space still got ignored until the rest of the house improved. But no longer! I am finally ready to attack this poor room and make it something that functional for getting ready in the mornings, packed full of storage, and beautiful to boot!
Since I love a challenge, things are a bit tight at the moment, and because I don’t plan this to be a long term bathroom, my renovation budget is going to be $650. That’s right, a full gut renovation of my bathroom for less than $650! In order to meet that goal I’m going to use as much as I can get for free and make some other smart decisions.
So let’s check out some inspiration so you know where I am headed!
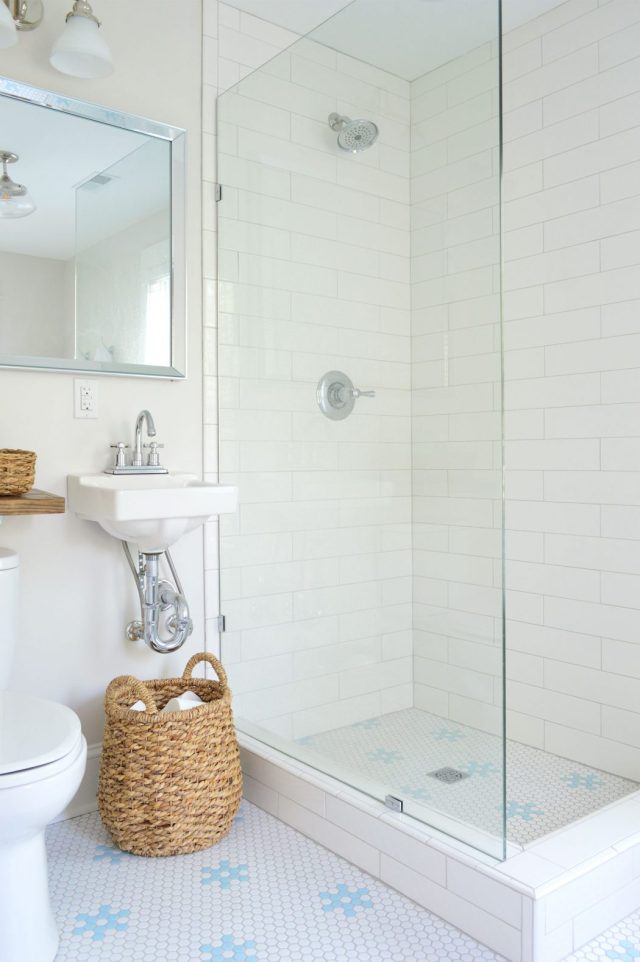
I will need to significantly reduce the size of the sink so this room is easier to navigate around in! The one now is a pretty average size, but this room is just not an average size. As much as I’ve tried to make the existing sink work to save money, it’s just not working. So I’m taking a page out of Young House Love’s book and splurging on a tiny sink! I know they didn’t think their sink was right for their large Master Bathroom and eventually replaced it, but it’s the perfect size for my tiny Master Powder! I found something similar on Wayfair and bought it.
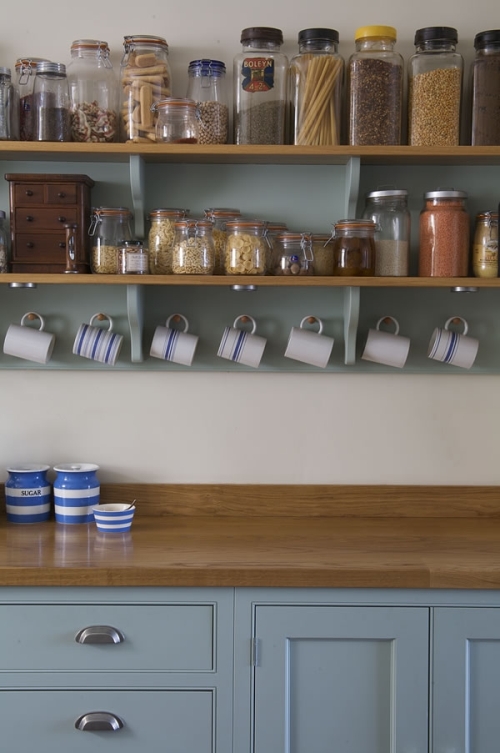
The plumbing will all be staying in the same locations, but I’ll be adding lots of storage around it. I’ve decided to add wall to wall shelving above the toilet and use simple wooden brackets to keep costs down. I love this picture of a kitchen which shows how classic and aged this look can be. It doesn’t feel cheap at all, even though it is super affordable at only a few bucks a bracket!
I watched Sharp Objects around the time I first started brainstorming for this room and fell in love with the pink beadboard in the bathroom featured heavily on the show. Since the walls were a mess in here and I decided to use as many of the scraps of drywall I already had, trying to tape and mud would have taken a thousand years. I decided the best use of my budget would be to cover the drywall with beadboard panels from floor to ceiling. The Sharp Objects bathroom served as an inspiration for the beadboard and the color though.
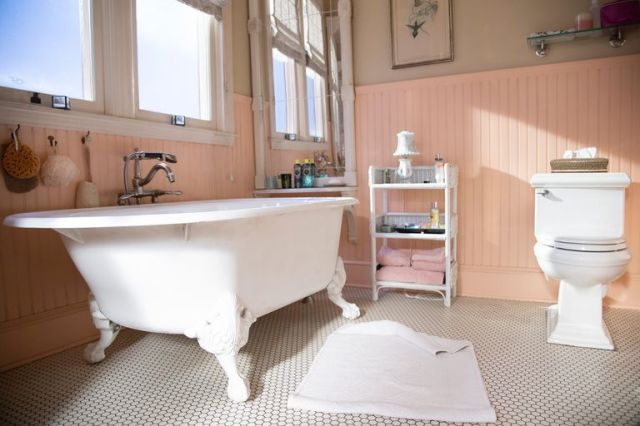
This color was going to be tricky! I want this space to be blush against a formerly white cheek; hint of pink in a white climbing rose; a calm pink, mature, pale, and barely there. It was a tricky color to land on! This color was the closest inspiration I could find. It’s just a drop of pink in white without too many overt undertones.
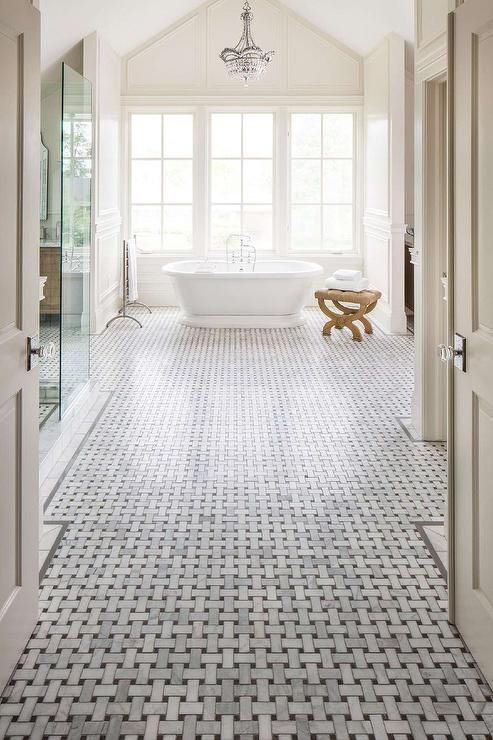
For the floor, I didn’t need much tile at all since it was such a tiny space! My parents had some left over tile from their bathroom renovation and offered it up. A marble mosaic for free? Yes, please! It’s a pretty two tone basket weave like this here. They also gave me a few leftover 12×12 marble tiles from the same renovation which I am planning to try to use as transition strip into the bedroom. The tile is very similar to what’s in this shot below, but I’m planning on using a black grout instead which will give it more contrast. Now if only my bathroom could expand to be this big too!
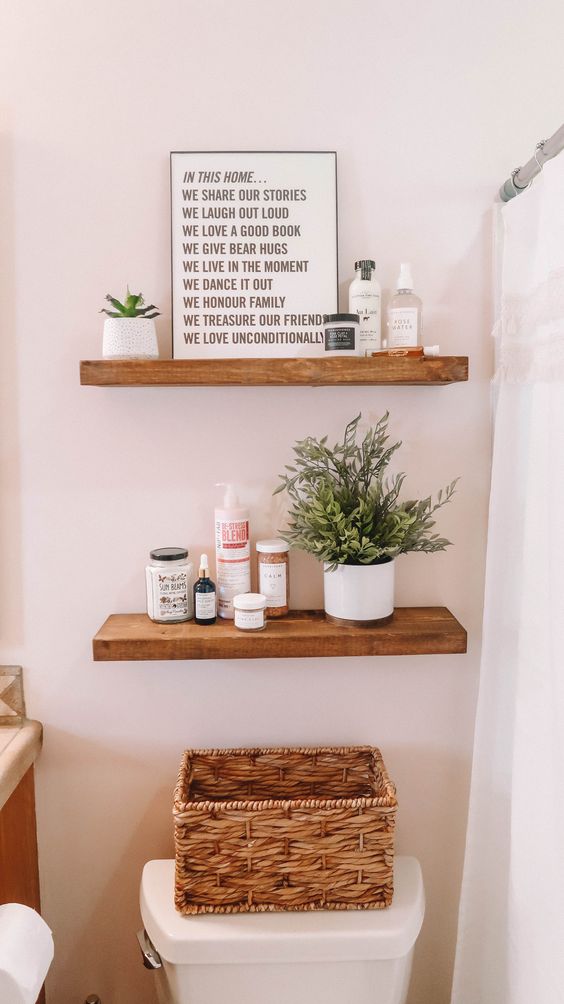
I want the new bathroom to be packed with the storage I need, while still feeling light and open. It’s important that the space feel like it belongs to the rest of the house and isn’t a dated addition. Overall, I want the room to be light-filled and bright, with just the palest of calamine lotion pink on the walls and ceiling. After much debate, I landed on Benjamin Moore’s Pink Beach as the perfect barely pink and not beige color. The soft pink tone with be juxtaposed with a more dynamic black and white floor, a black faucet, and black accessories. The chrome accessories and lighting should thus fade nicely into the background. And of course, I’ll fill the shelves with houseplants!
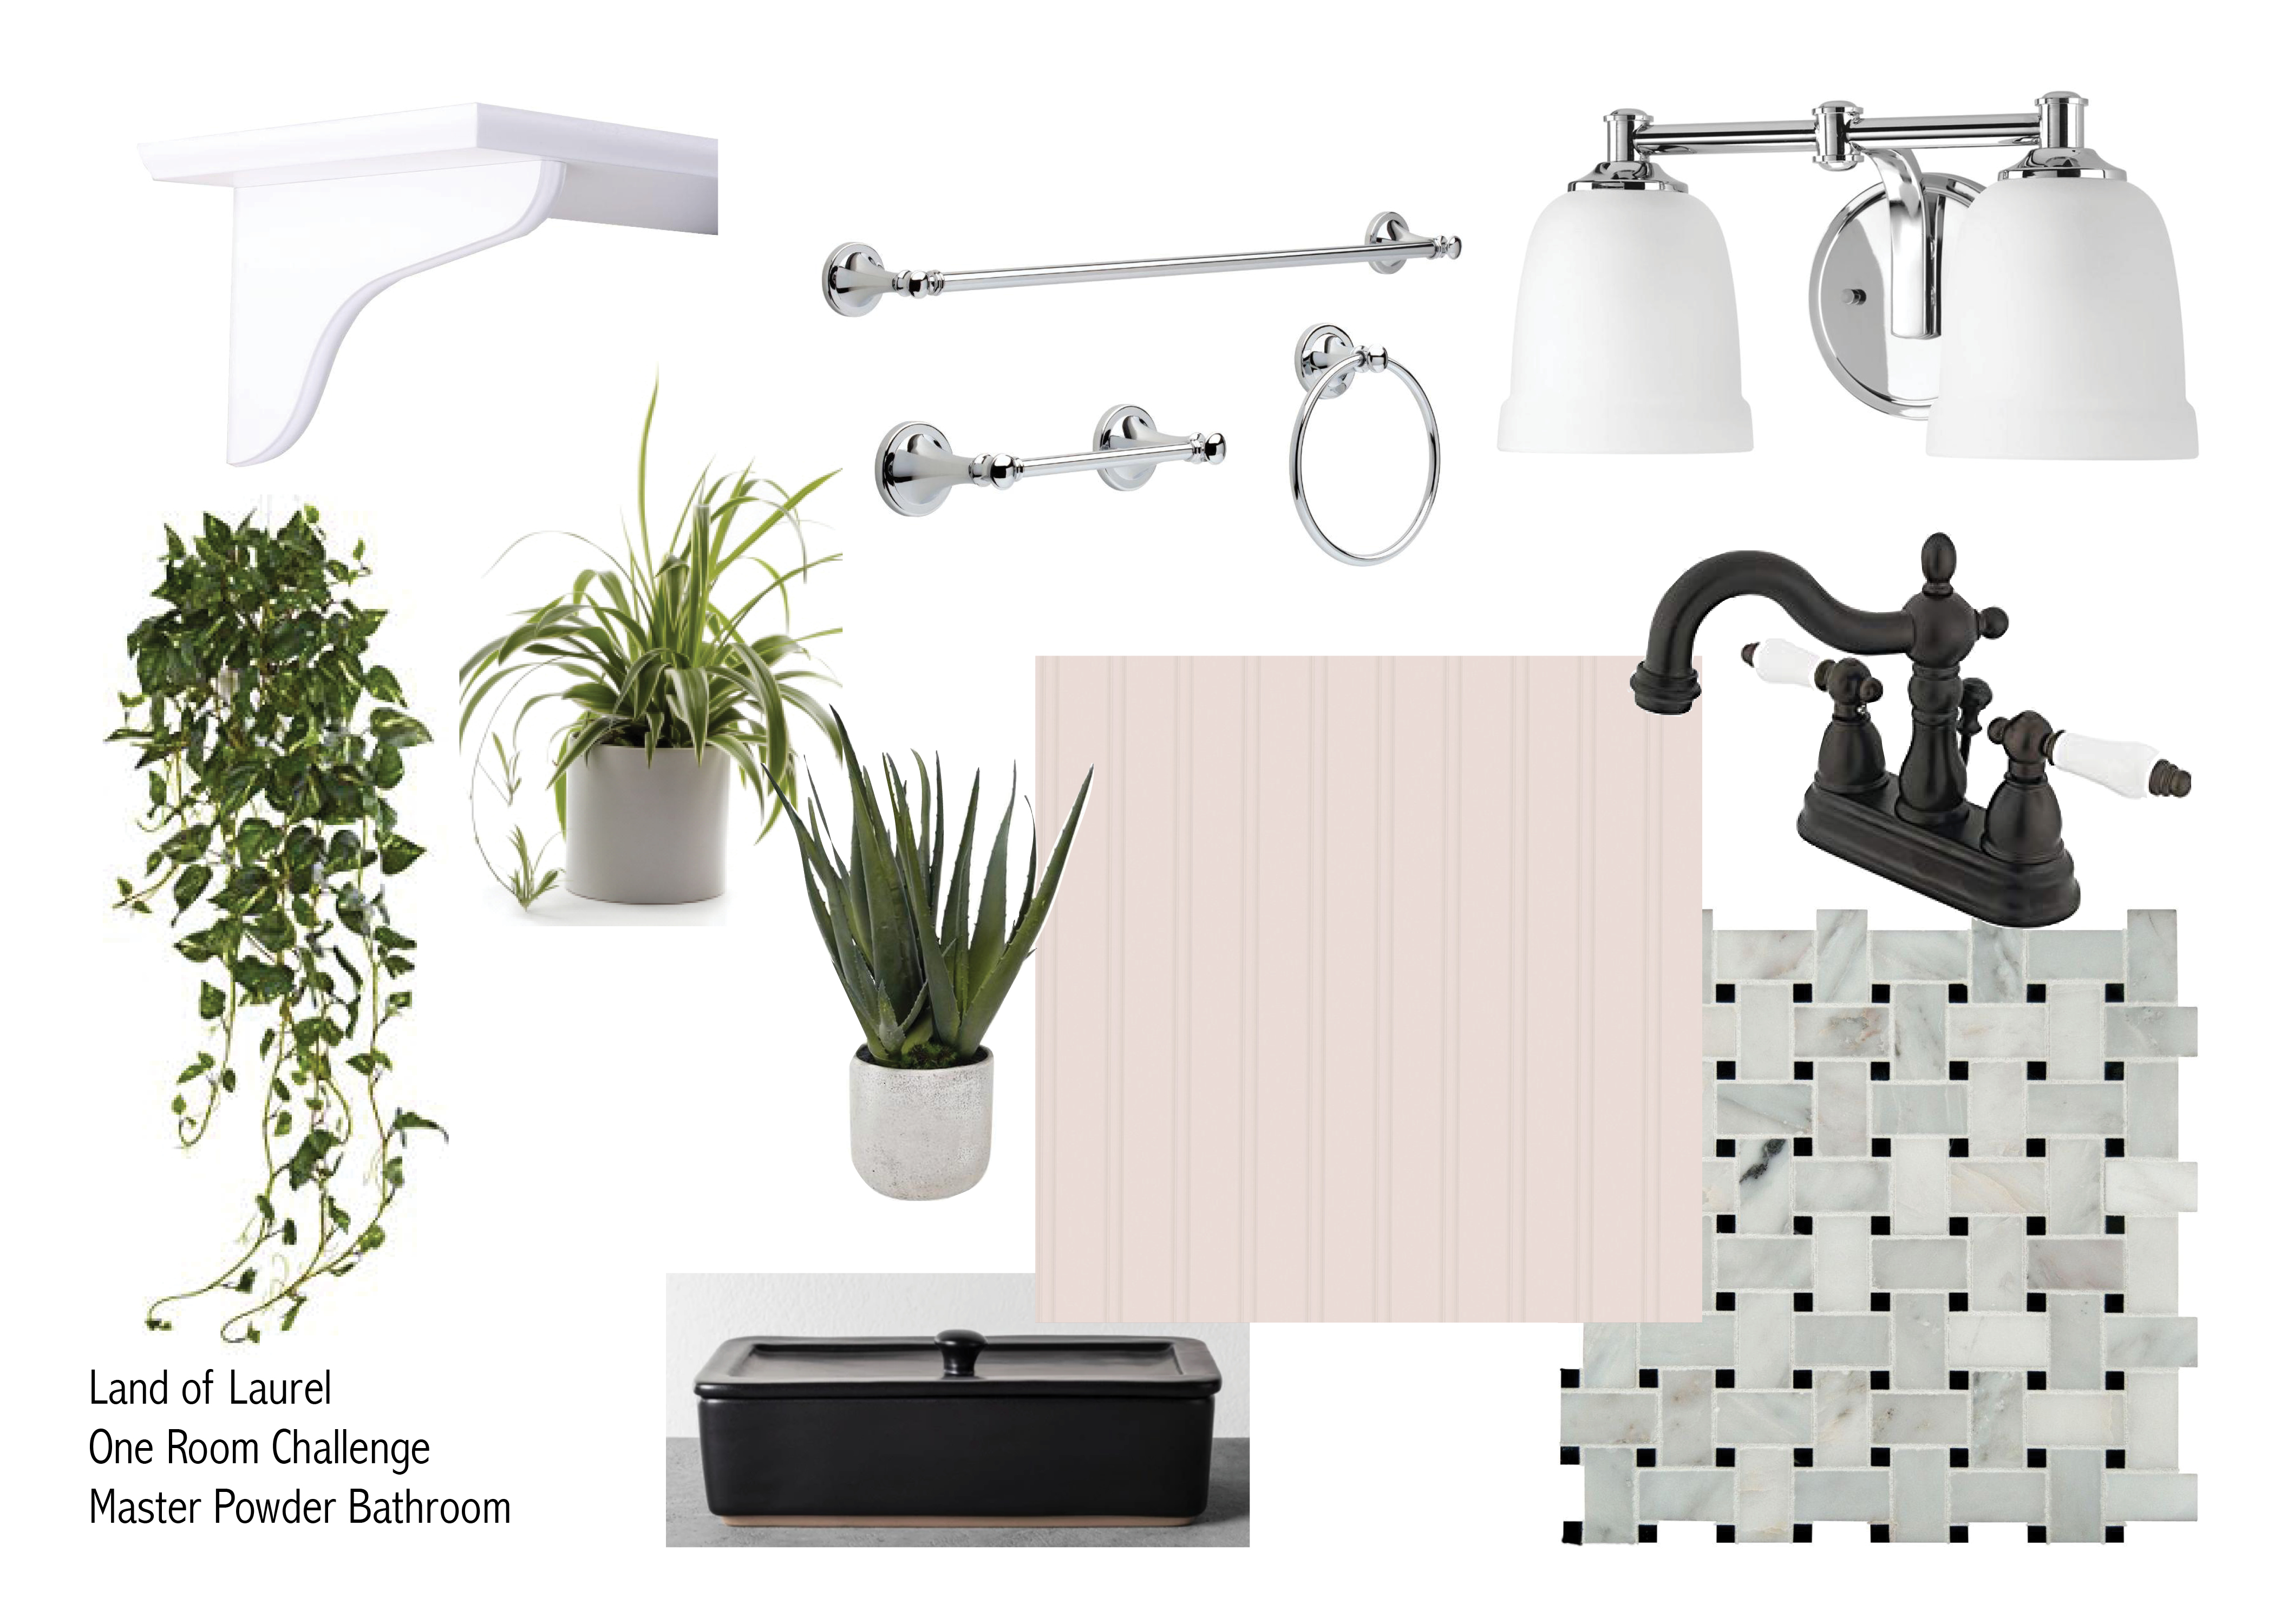
Bath Accessories | Sink | Tile | Beadboard | Lighting (Similar) | Paint | Bracket | Faucet
Check out all the other One Room Challenge Guest Participants here!

What do you think of my plan? Would you get ready in the master bathroom as it currently is or would you hold out for the renovated space? Have you ever tried to put together a renovation project with only the cheapest and free materials you could find? Let me know in the comments!
