We demo’ed the bathroom! It’s all gone now. Actually it’s been all gone for many months and I’ve just been too busy putting it back together to actually blog about it. 🤣 Anyways, I thought I’d give you the run down of the demo days and some excellent after pictures… of my filthy demo face. Overall this was my second time demo’ing a bathroom and I have to say it went vastly better than the previous time as I did not end up in the hospital with a cornea infection. Yup. That happened a few years ago when I helped demo my parents master bathroom and it hurt like a motherf***er! But that was last time and this is this time. Let’s concentrate on Berrybrier today!
Let’s start with how the bathroom started out. Do you remember this magenta madness? The bump out above the mirror floated there like an overly long soffit that just might fall off while you were on the toilet. There were only about 12″ between the sink and the corner of the tub for you to slink by to get to the toilet. The shower head was not operational, but someone had used it previously which is why everything was rotting. Everything was filthy. I can’t even talk about the floors, but I will say someone decided to wrap the flooring vinyl up onto a teensy counter by the sink. That tub was amazingly comfortable and taking baths is my favorite, but this tub was ginormous. WAY too big for such a tiny bathroom.

Demo day got off to a slow start as I was exhausted and slept until 8am; which isn’t really even that late honestly. My mother was still staying here and she had planned to have a visit with our cousin Mary that am. So I slithered out of bed half comatose and made myself some toast and jam and was munching away on that sitting in my bathrobe when Mary arrived. Let me clarify: Mary arrived in work clothes ready to help with demo. Somehow my mom had missed that memo and here I was totally unprepared to start with lots of helping hands. Ofph! 🤭
Once the confusion was sorted out, I threw on some proper clothes and we got to work. First we removed the mirror on the back wall and Mary and my mom tackled the weird wooden tub surround.
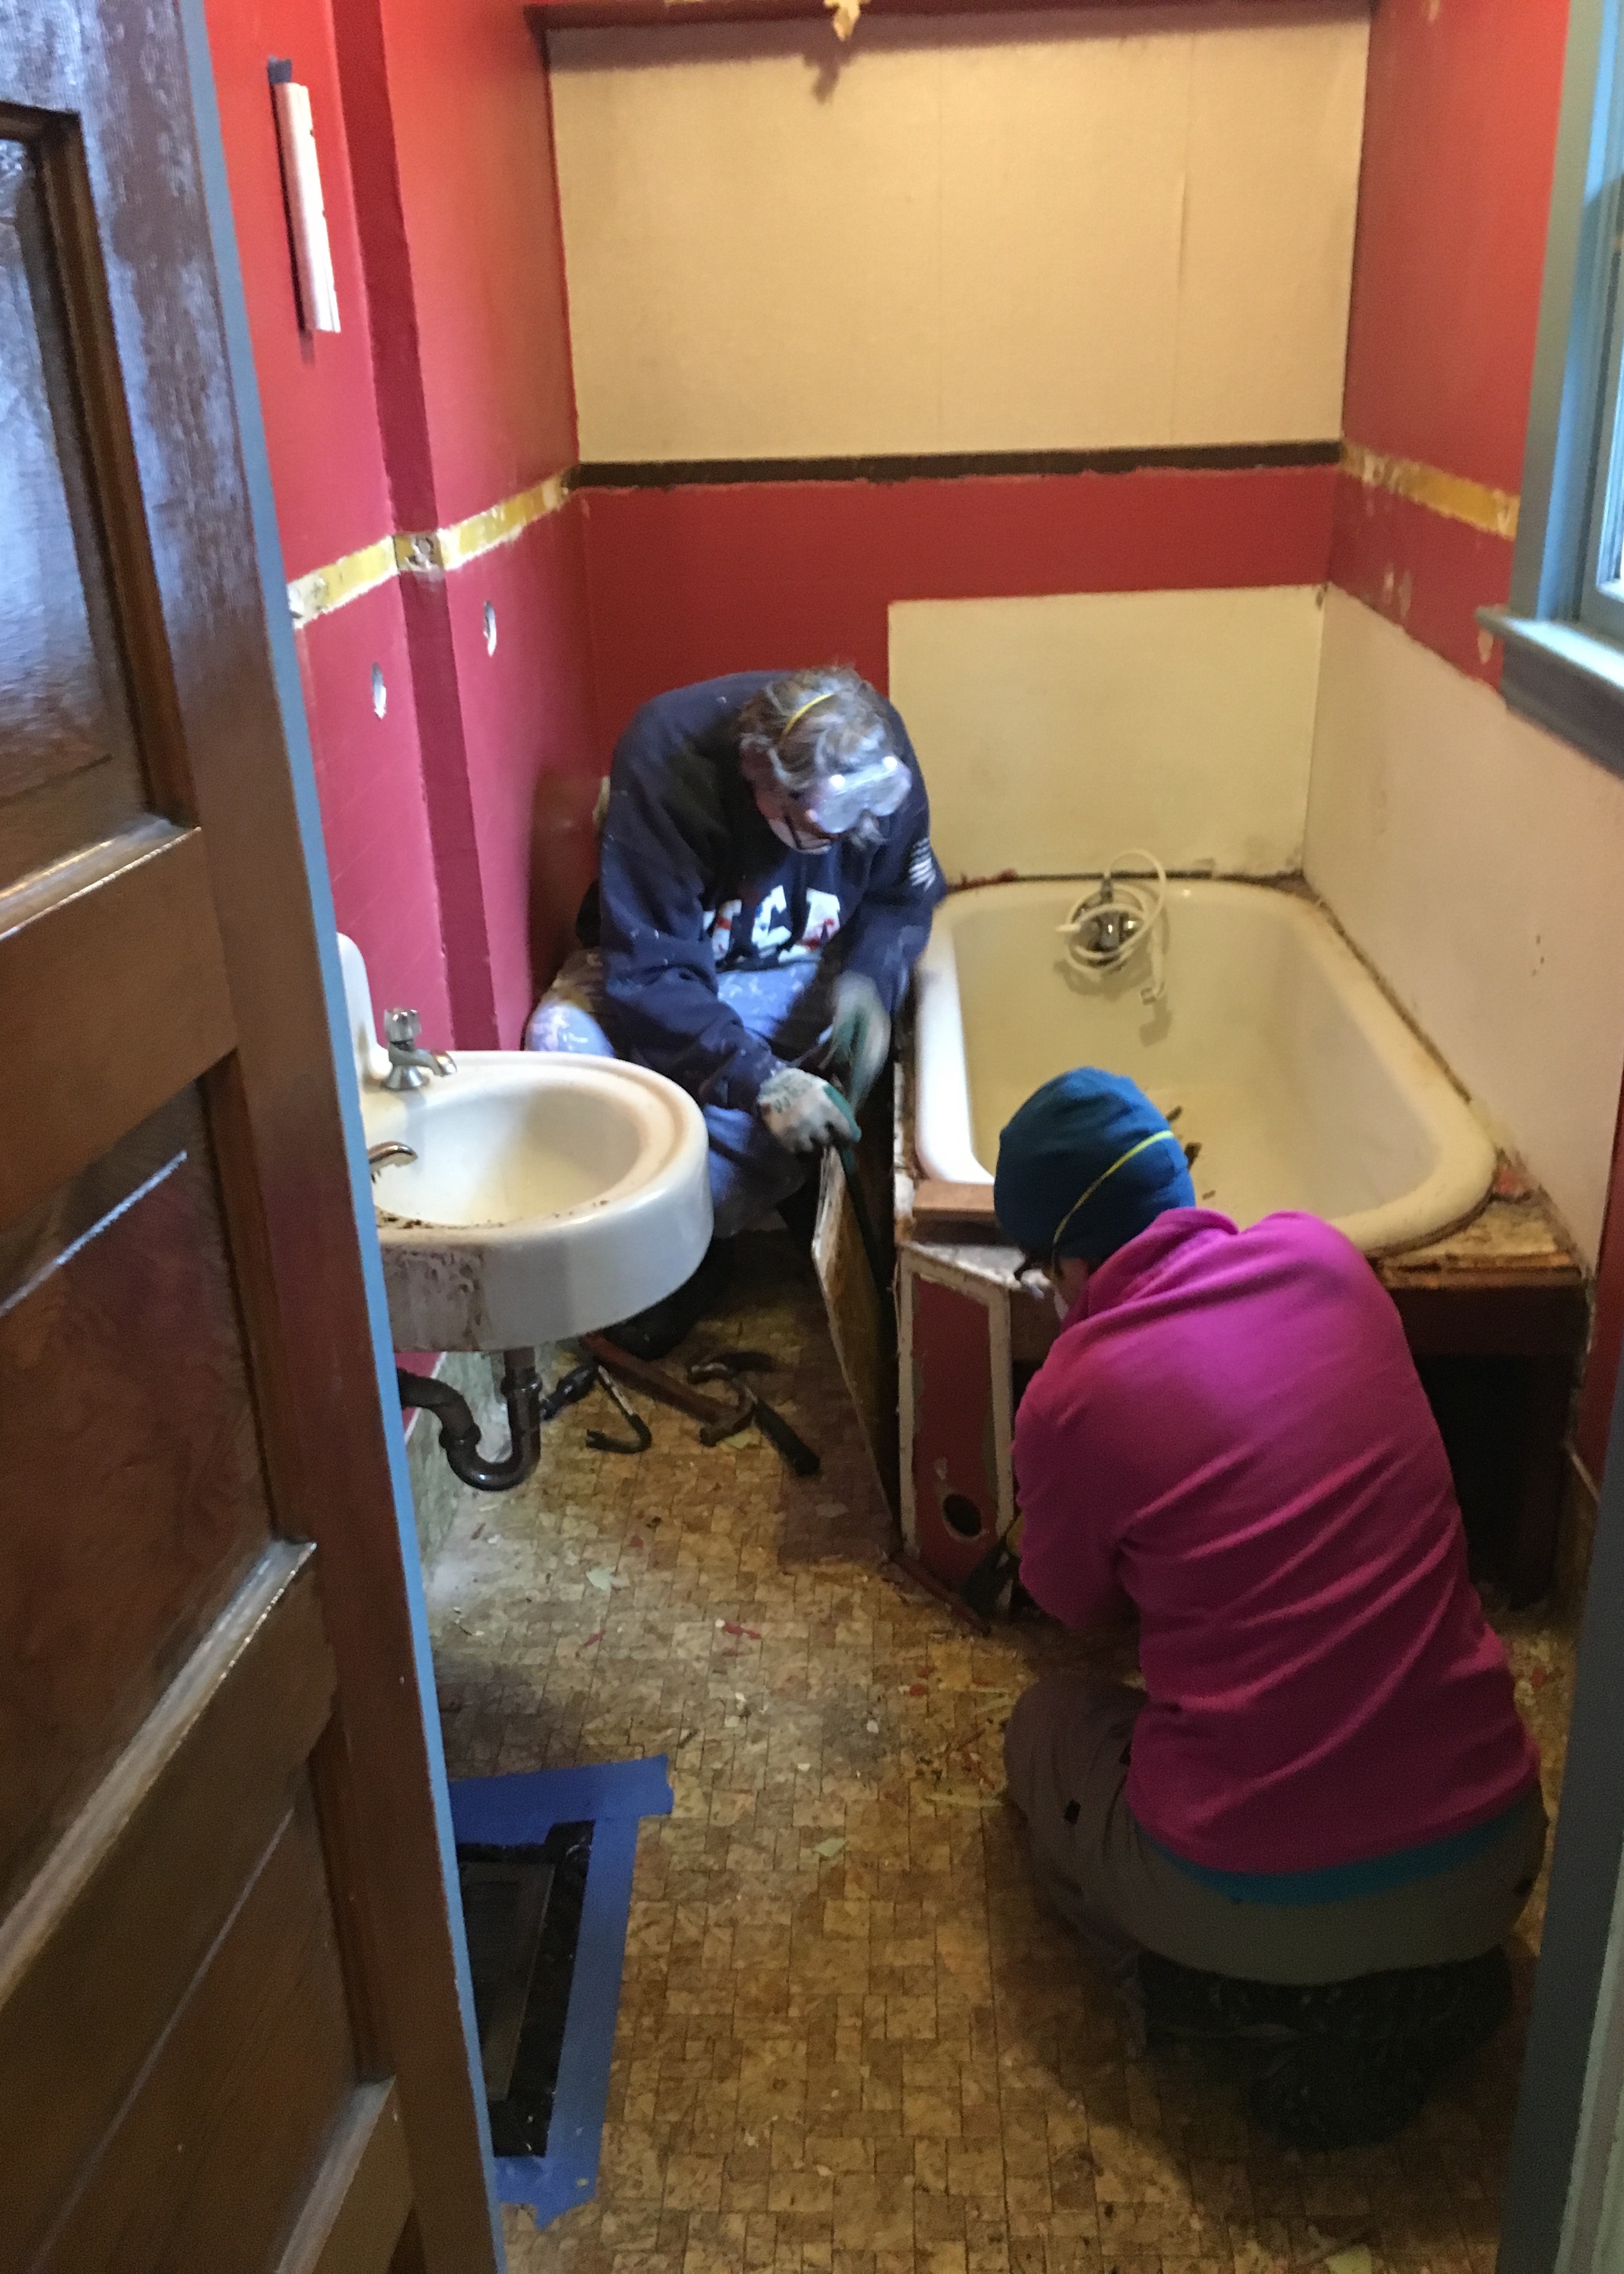
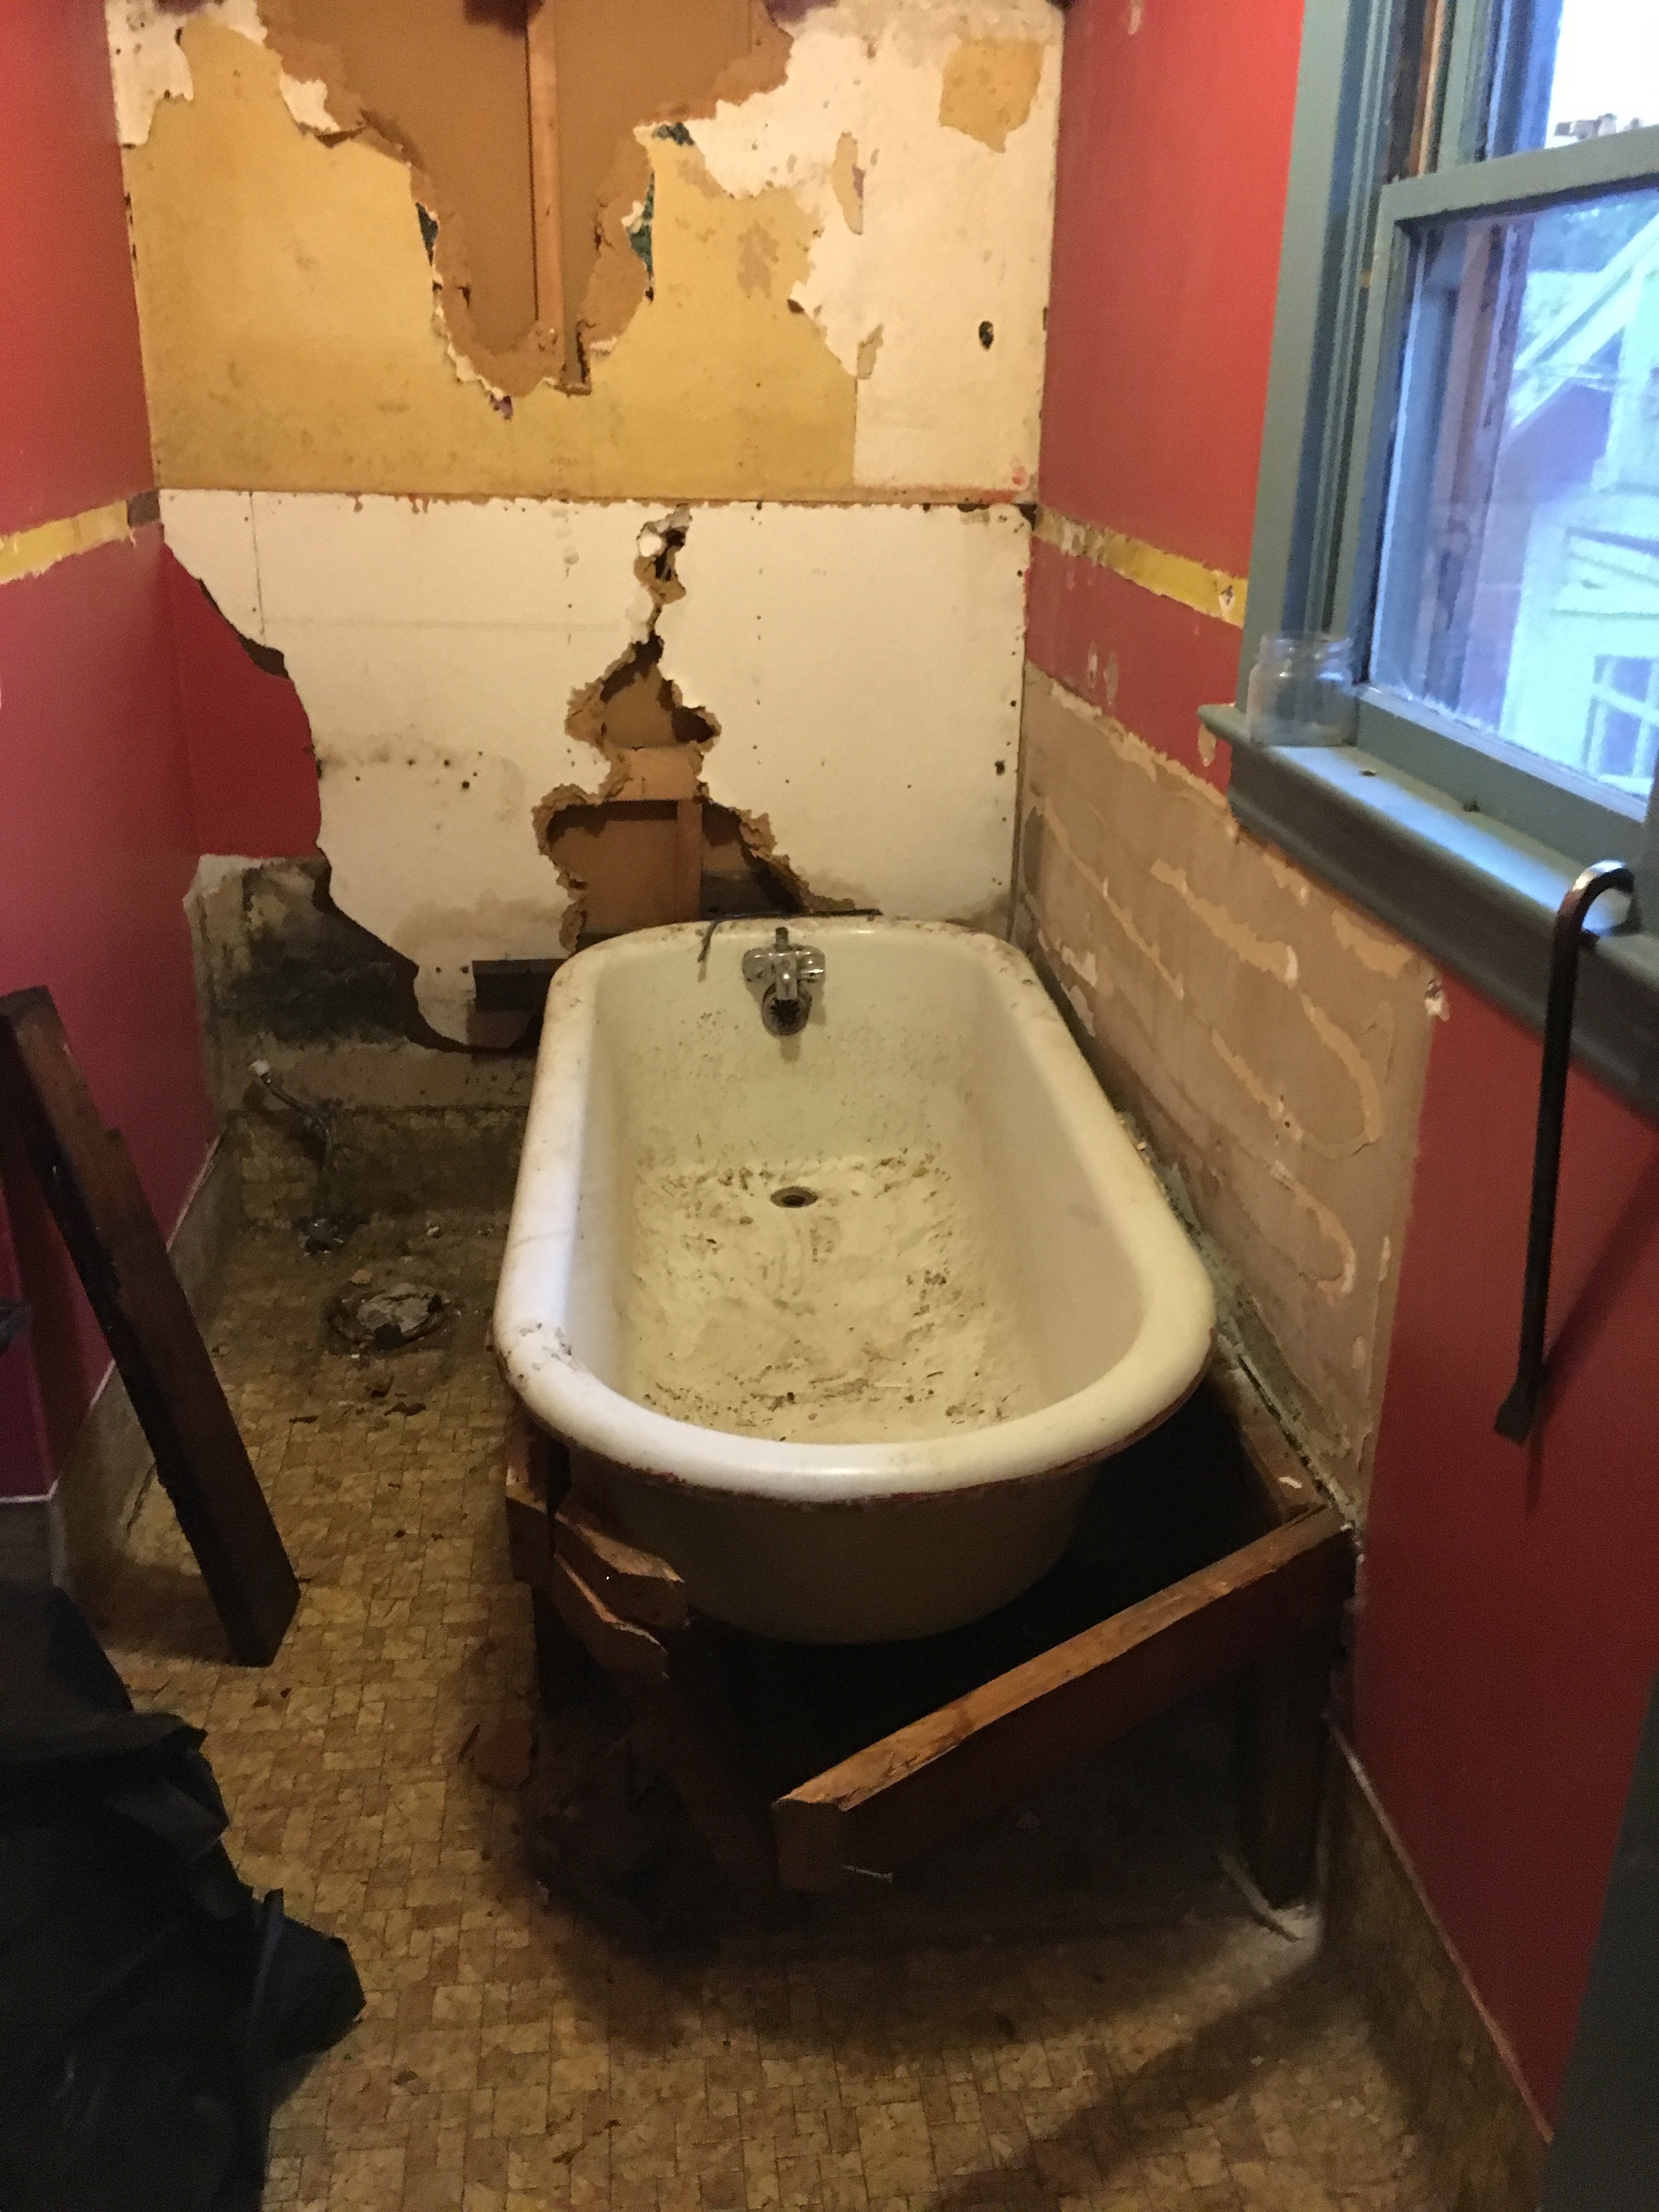
They were removing the decorative molding and flat panels so we could see properly what was going on beneath it. We’d already drilled enough holes in it to know that it was not a clawfoot. Cue the ugly crying. But! This worked out because knowing it was a clawfoot would have caused me to try and save it and this bathroom is just WAY TOO SMALL for a bathtub that large.
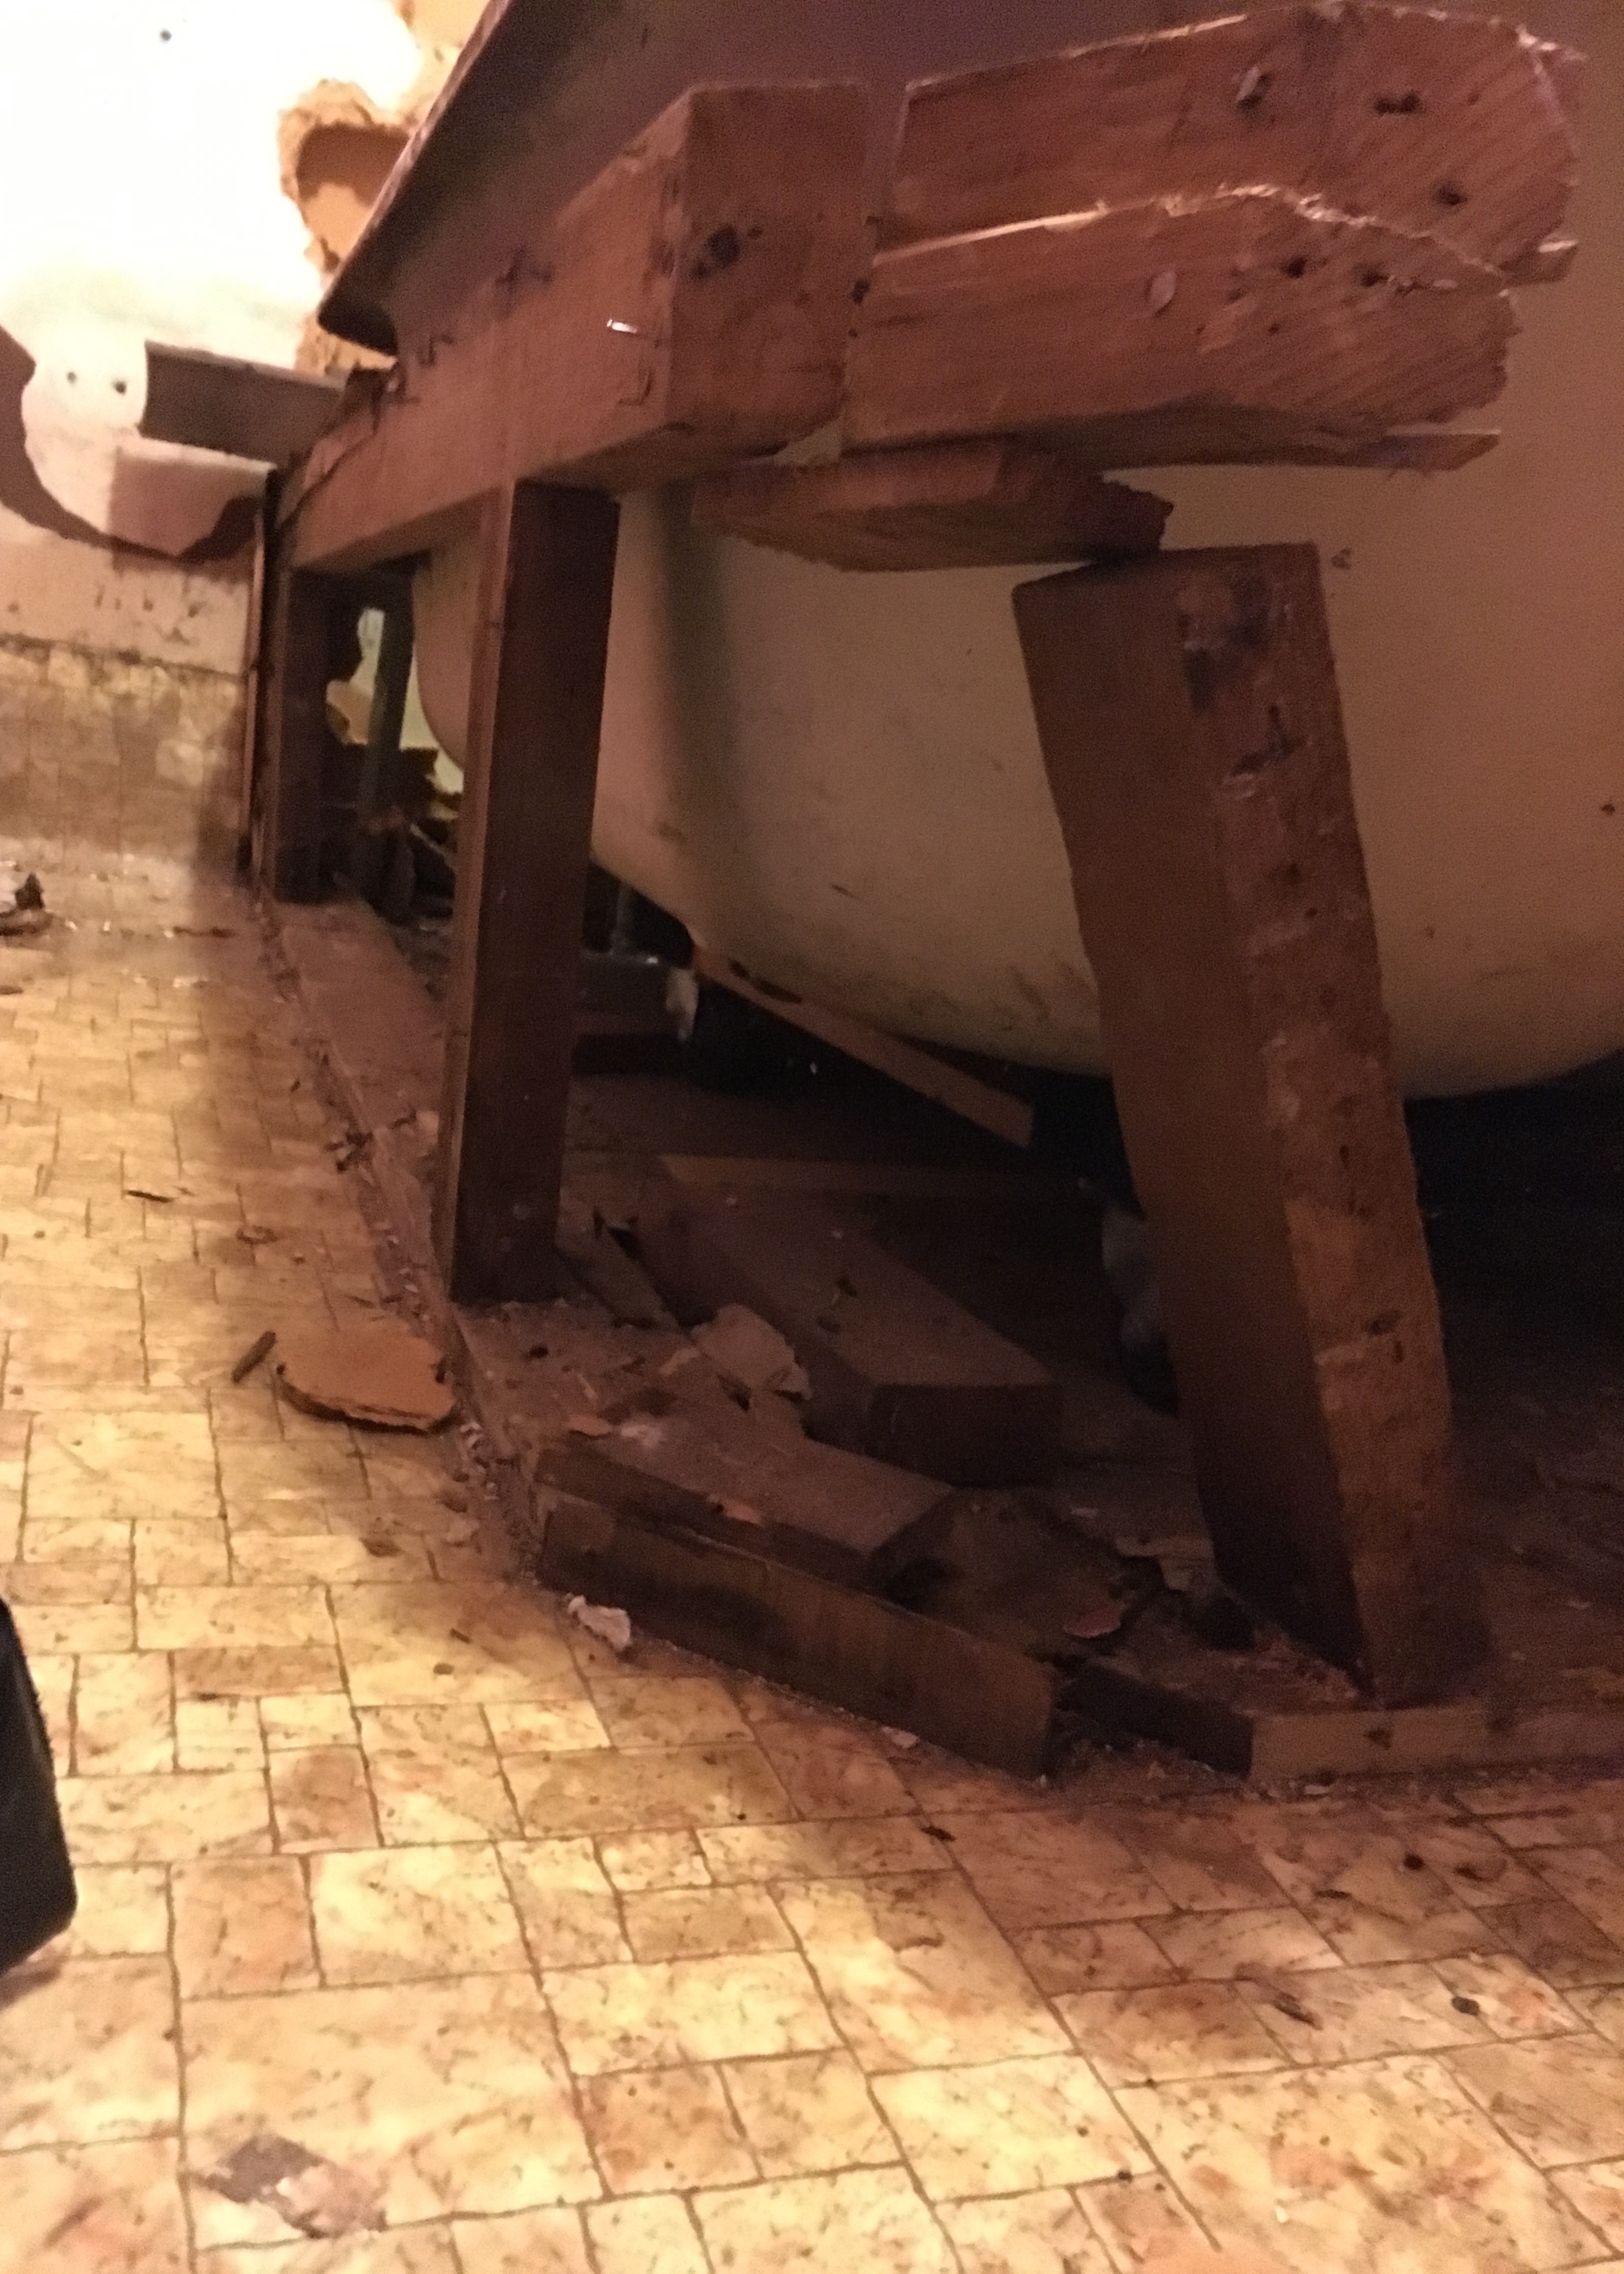
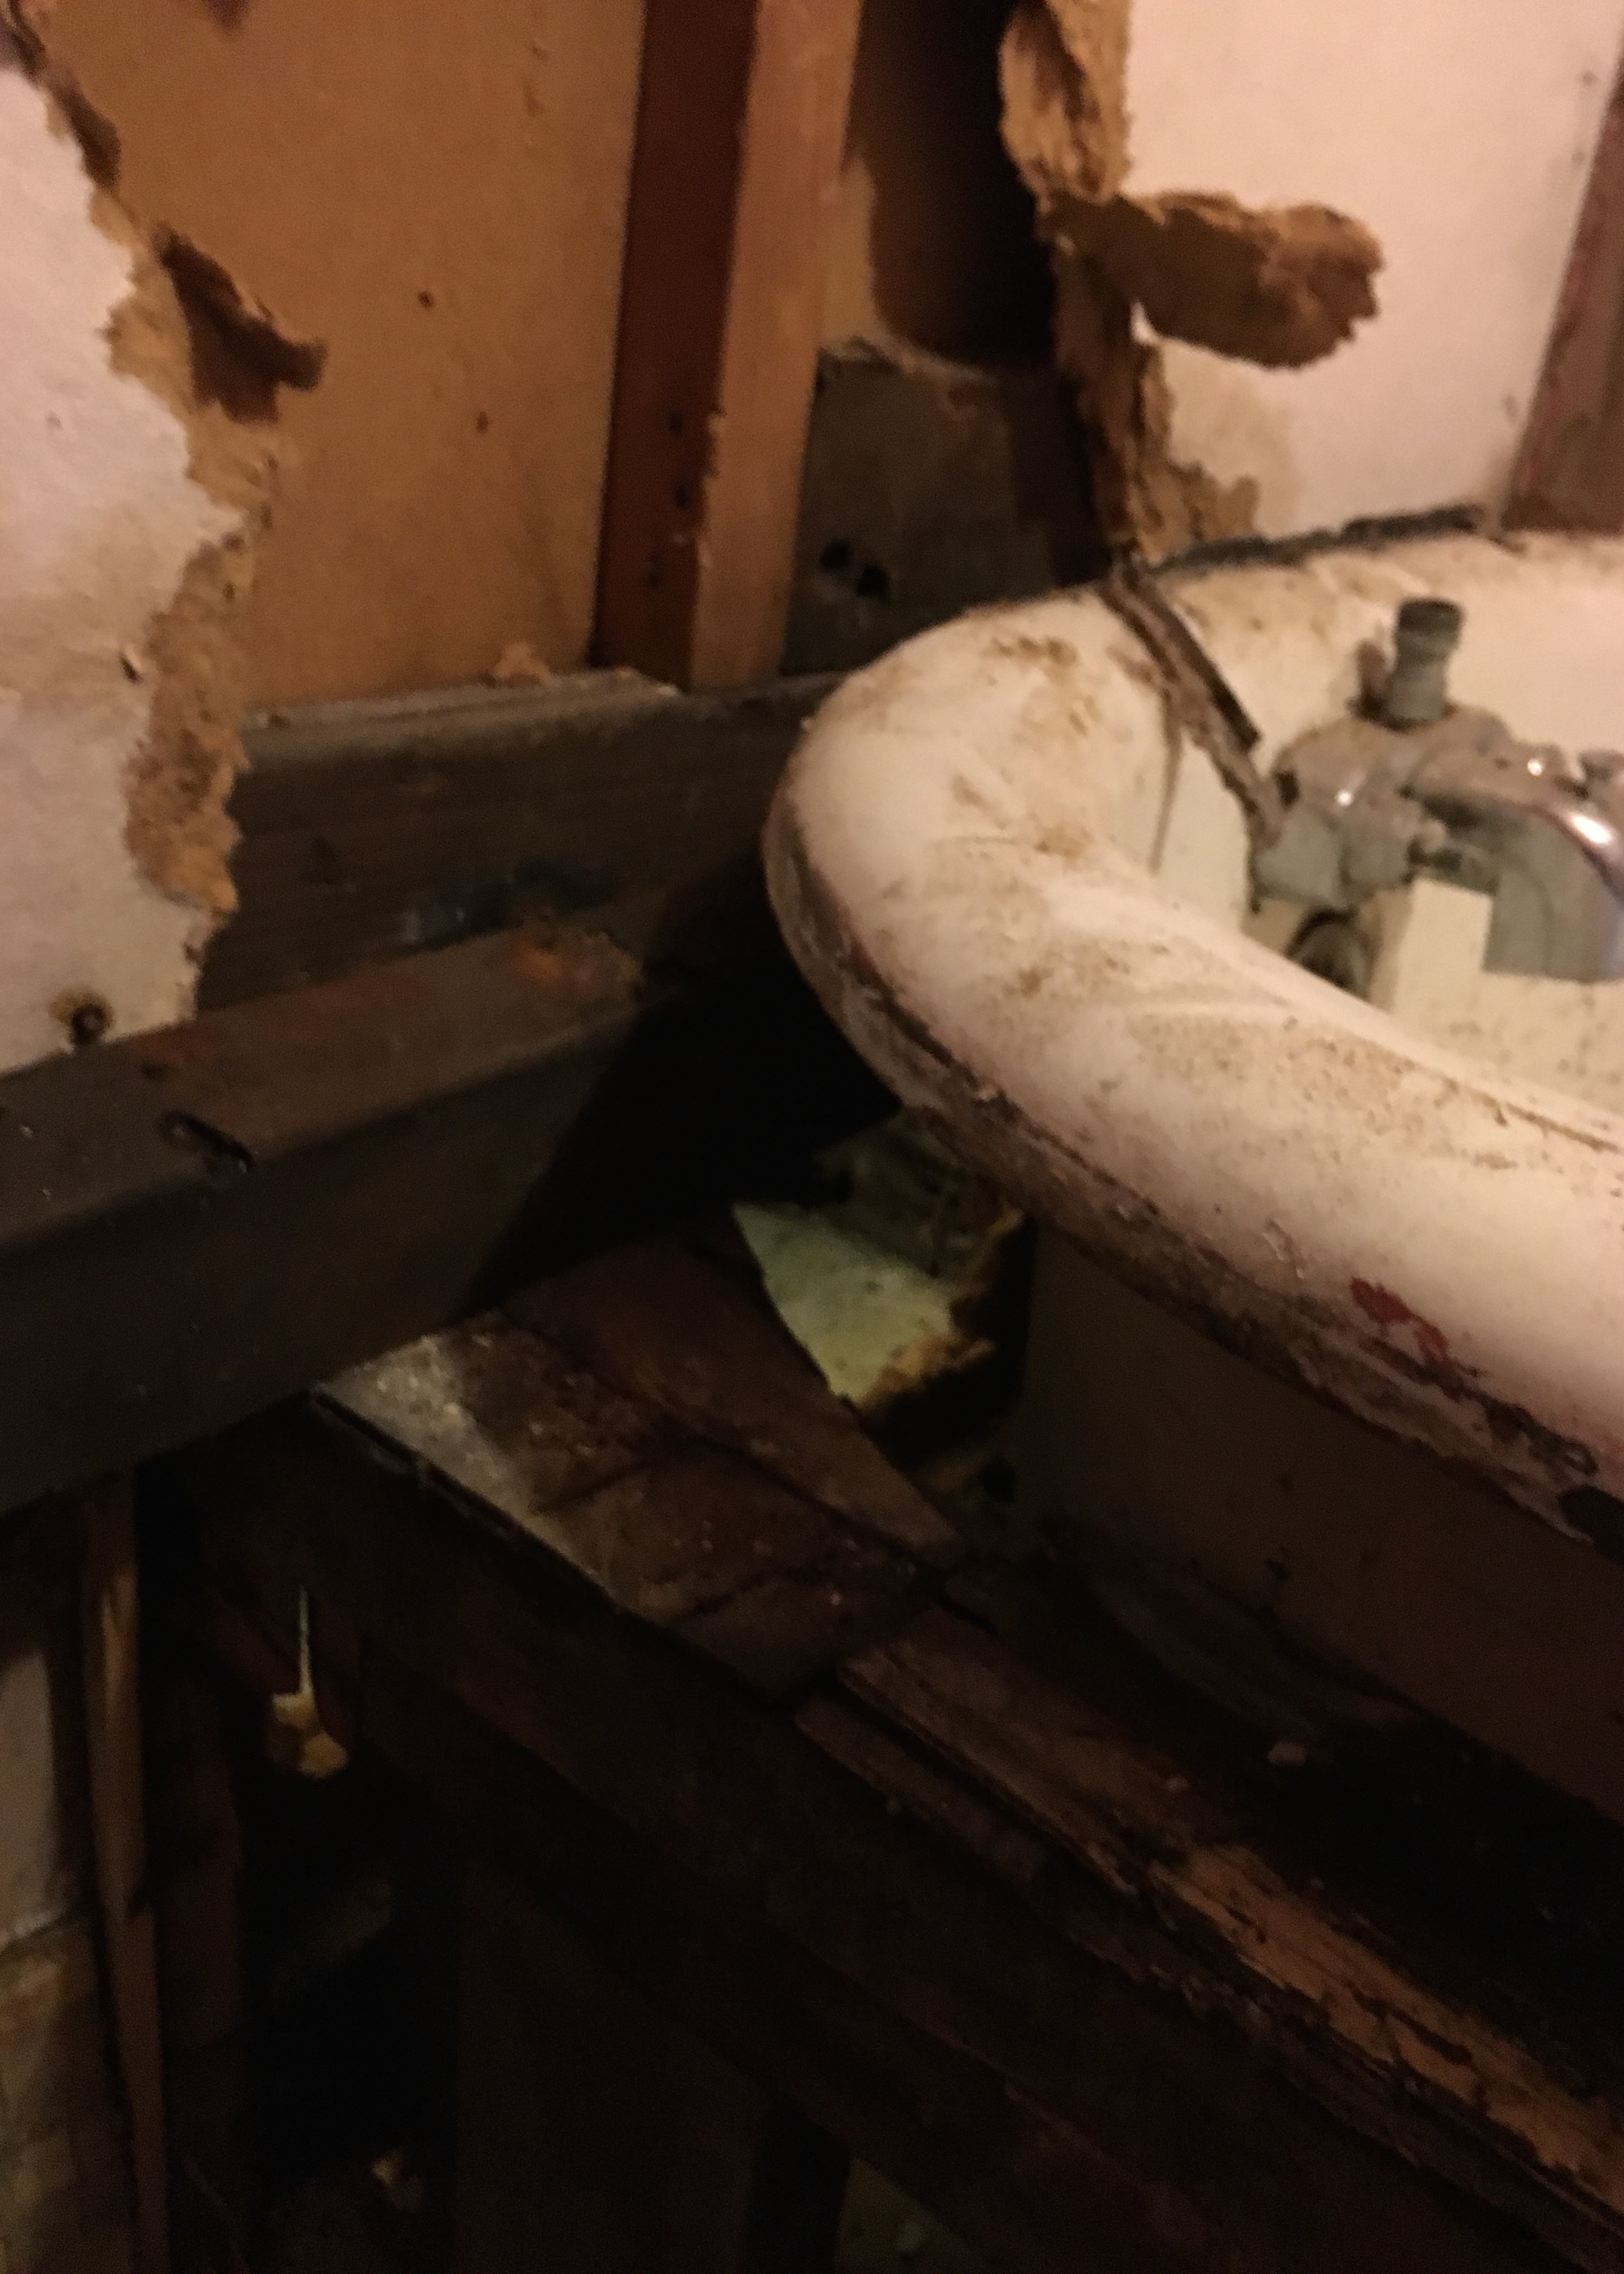
Underneath, you can see this tub was barely supported from the upper lib, nothing was supporting it below. We eventually wedged a furniture dolly beneath it in hopes we’d later be able to roll it out of the bathroom that way.
After that, we moved on to tackling the removal of the sink and toilet. Since none of the water shut off valves in the bathroom actually functioned, this involves turning off the water at the main. Eek! Which in turn meant my house no longer had a functioning shower or a bathroom or even running water in the kitchen. Yay! Also… I had to google how to remove a toilet. Thank god for the internet, it’s basically teaching me everything these days.
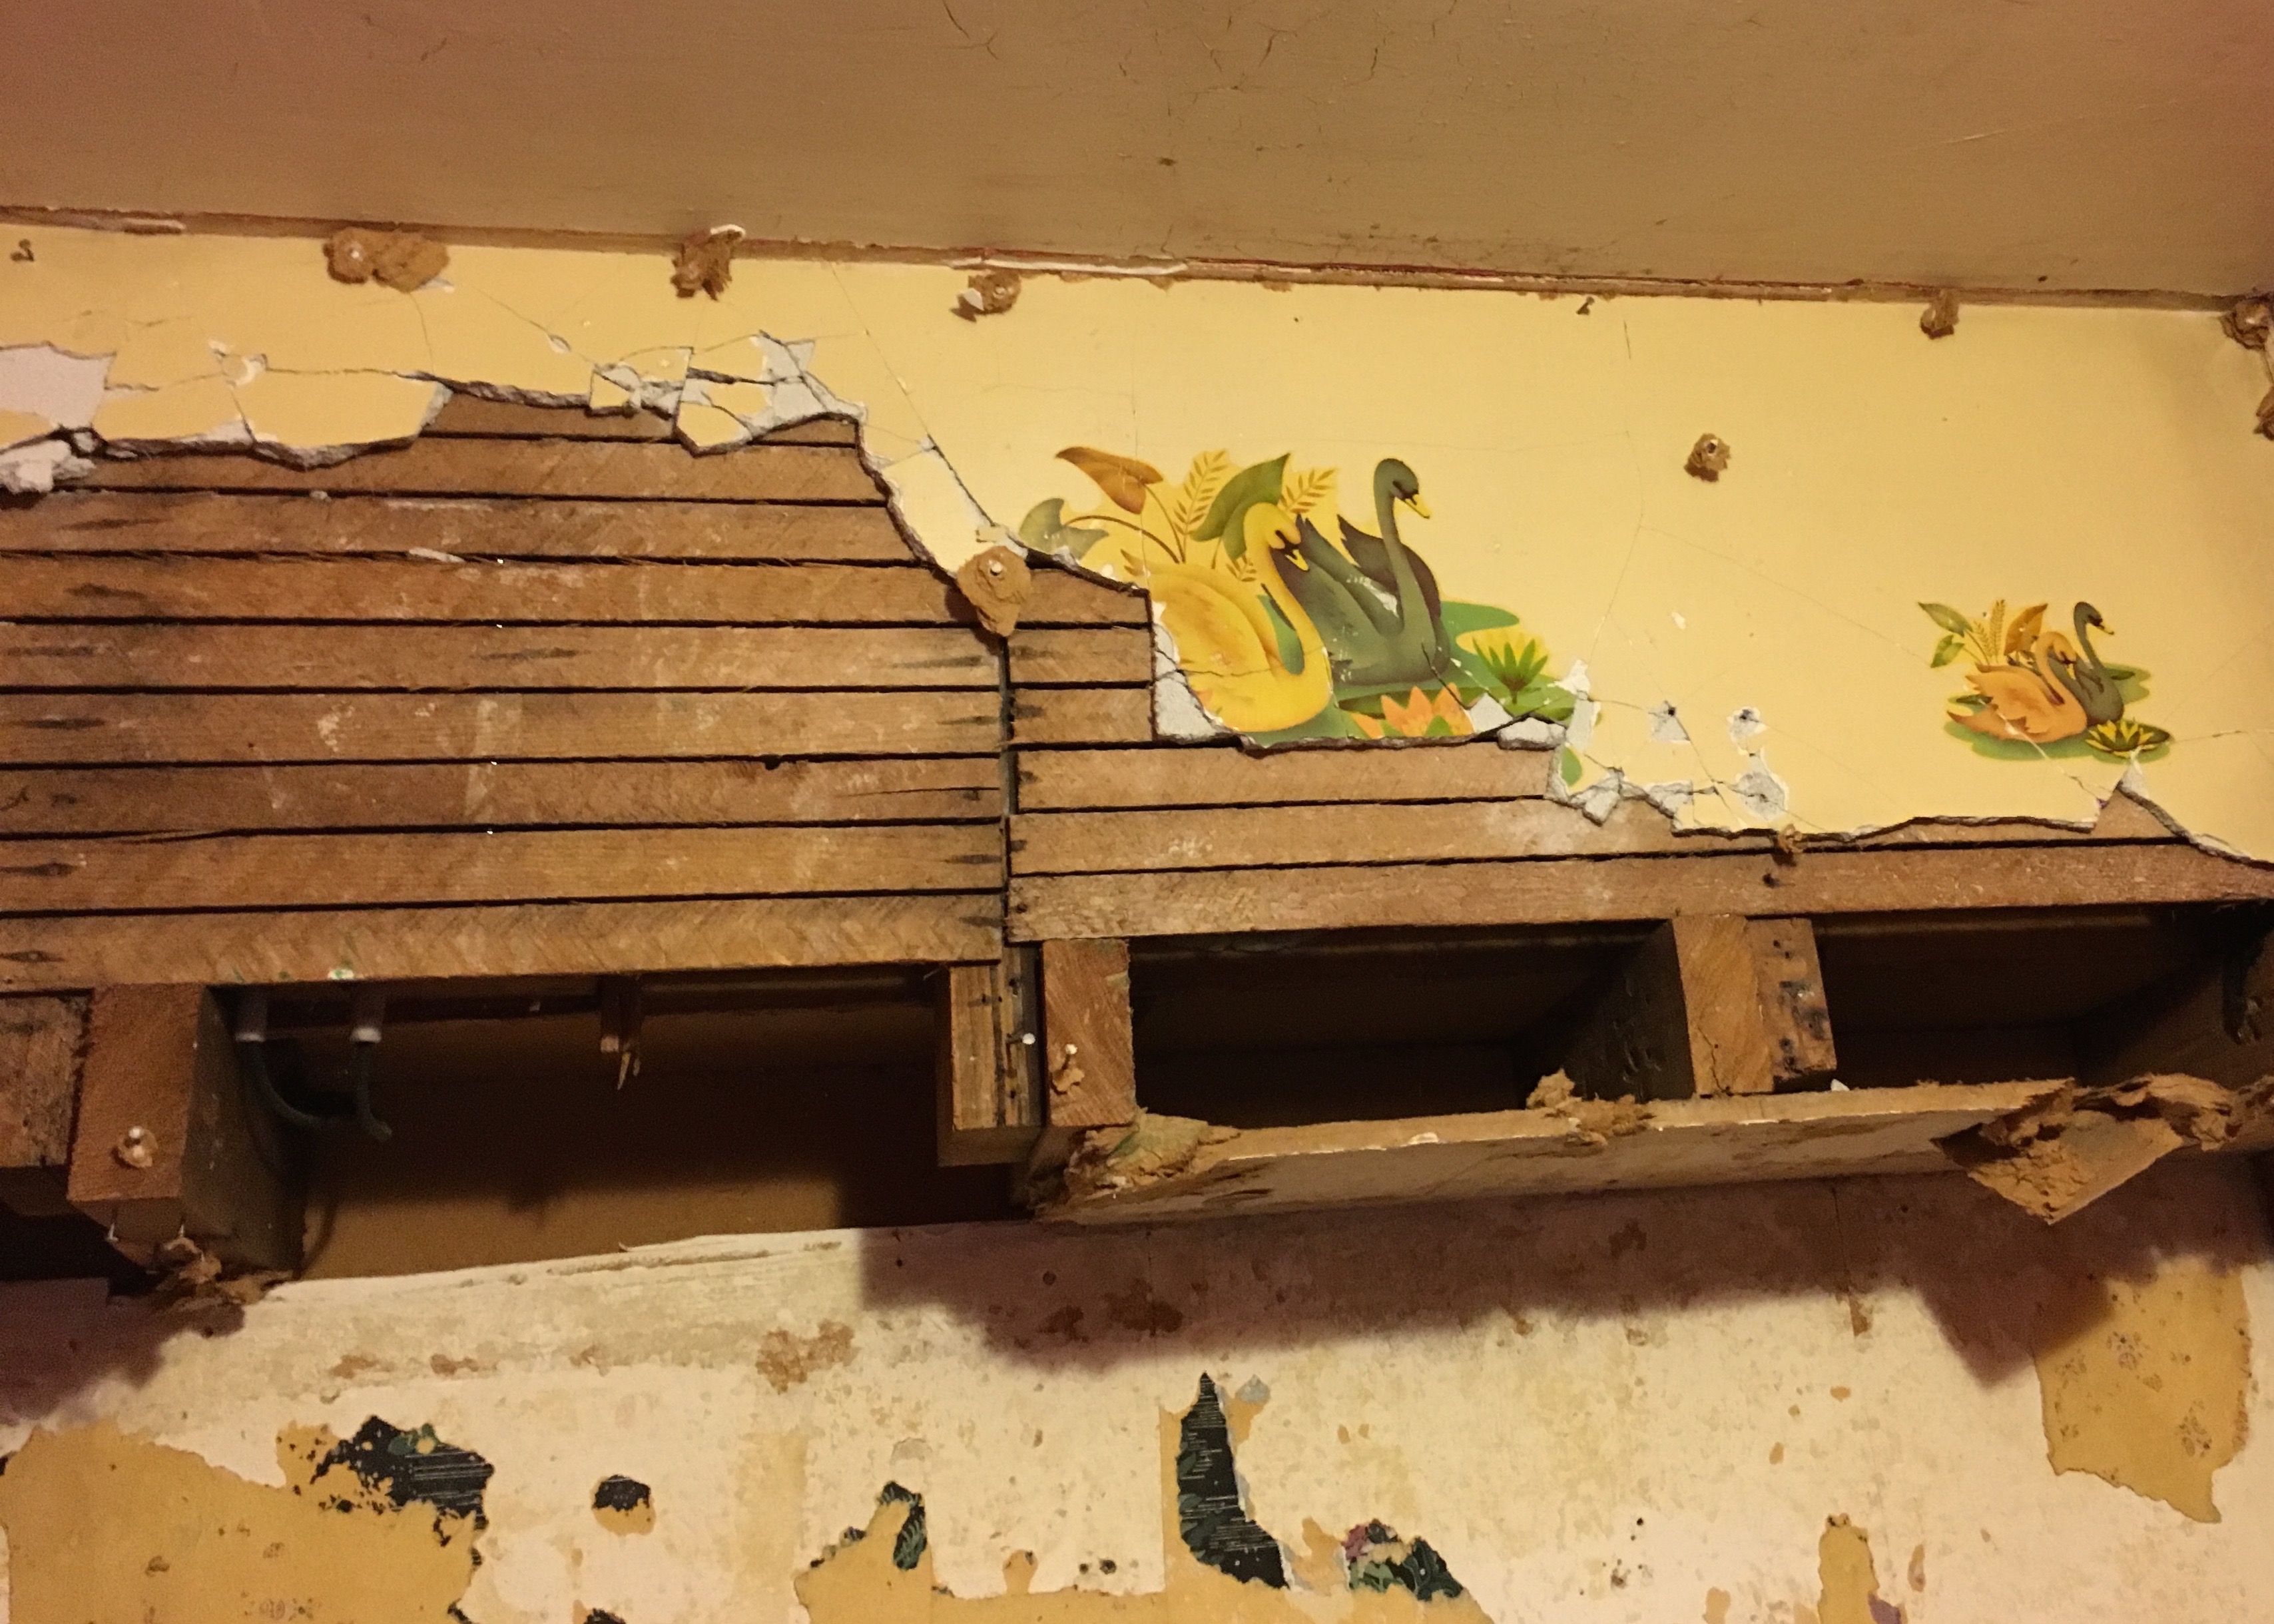
The more we removed, the more we found, like this cute swans wallpaper!
At this point, things were looking… better?
Seems like a good time for a simple, easy task like removing the little corner Ikea cabinet, right? Well, that came down quick, but we also discovered some gnarly mildew behind the Ikea cabinet! At this point, Mary had to leave, which was extremely understandable. Ha!

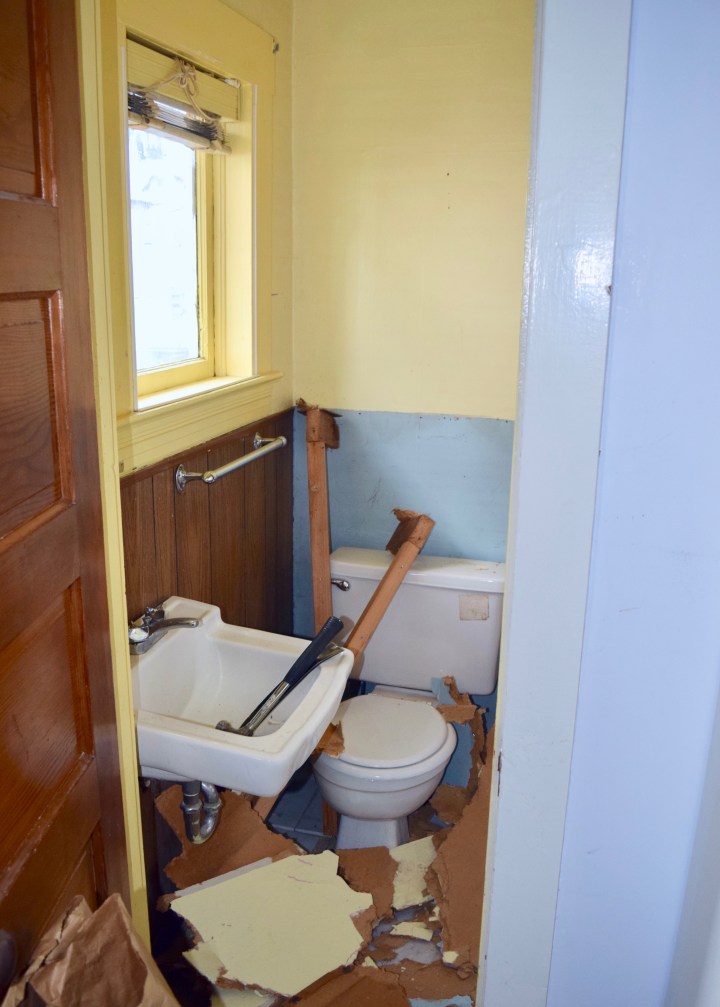
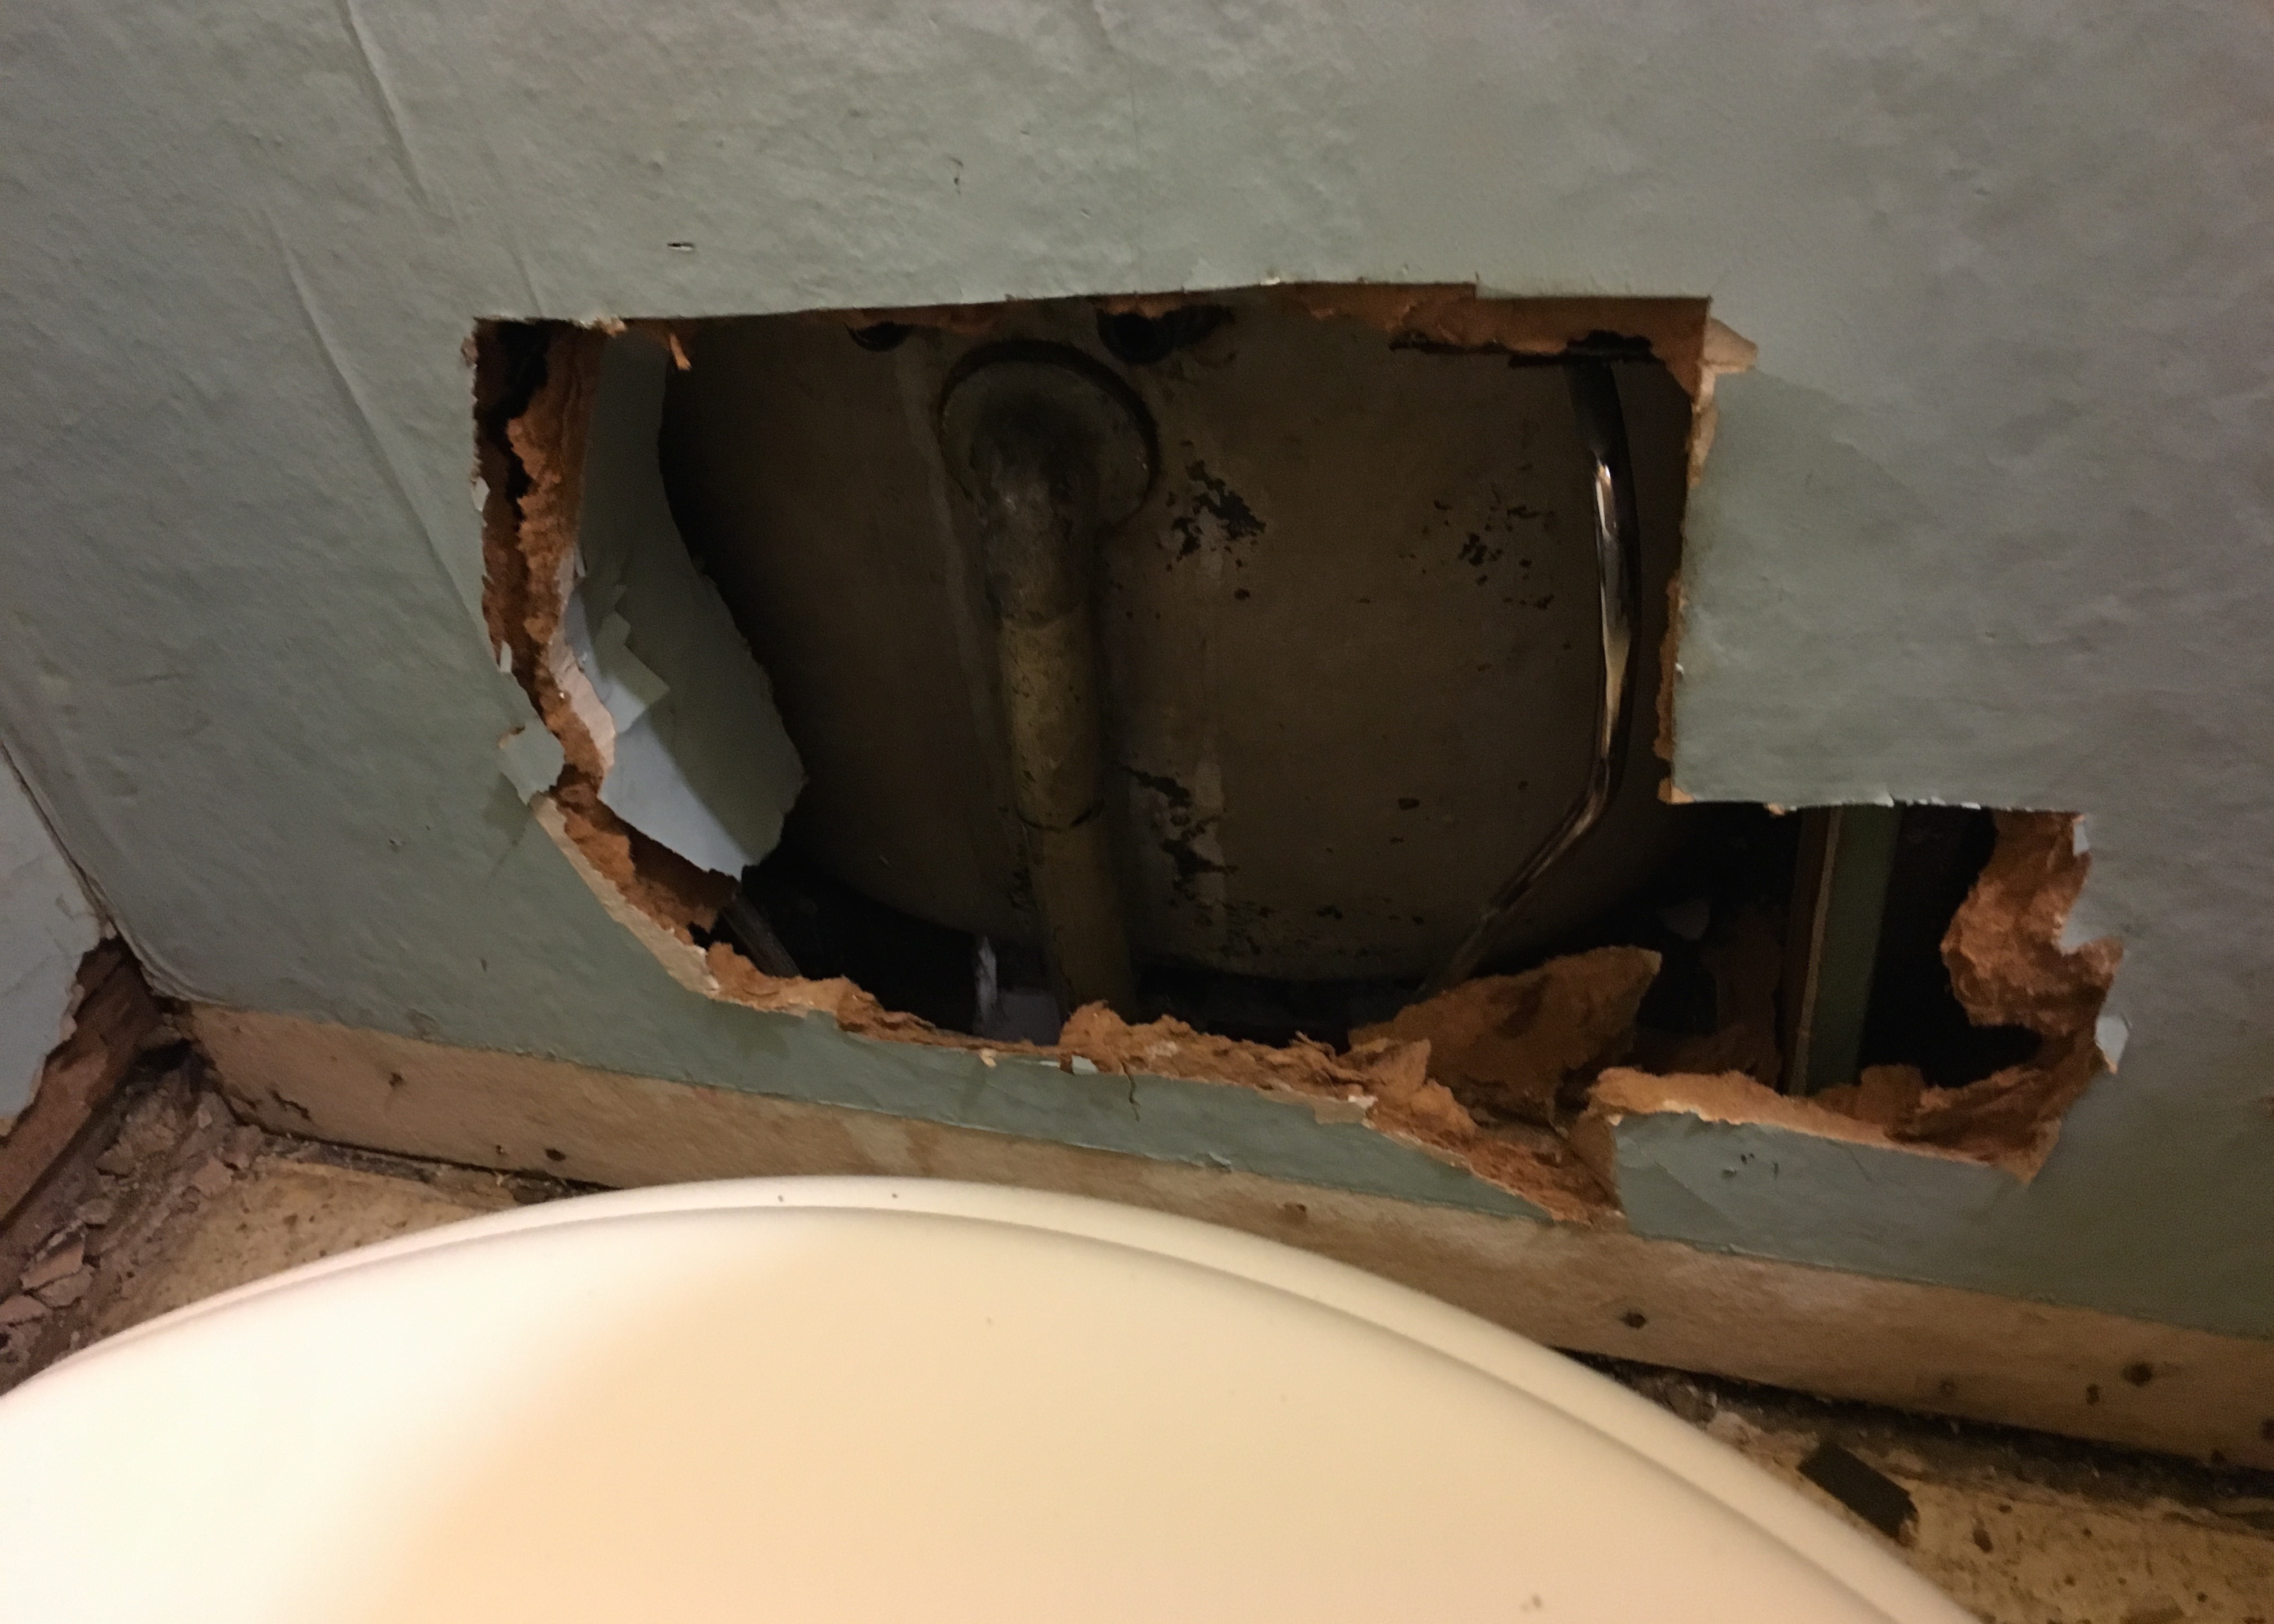
After Mary was on her way, it was time to turn our attention to the elephant in the room: the overly large (but extremely comfortable) bathtub. In order to move that tub anywhere, I had to disconnect the plumbing. Well… the pipes I needed access to were in the wall, so I had to do a little demo in the half bathroom as well! I removed the faux wood paneling from two of the bathroom walls with a mini crowbar and hammer in less than 15 minutes and what to my wondering eyes should appear? A miniature sleigh and eight tiny reindeer hole already cut into the wall! This is probably why that paneling went up!
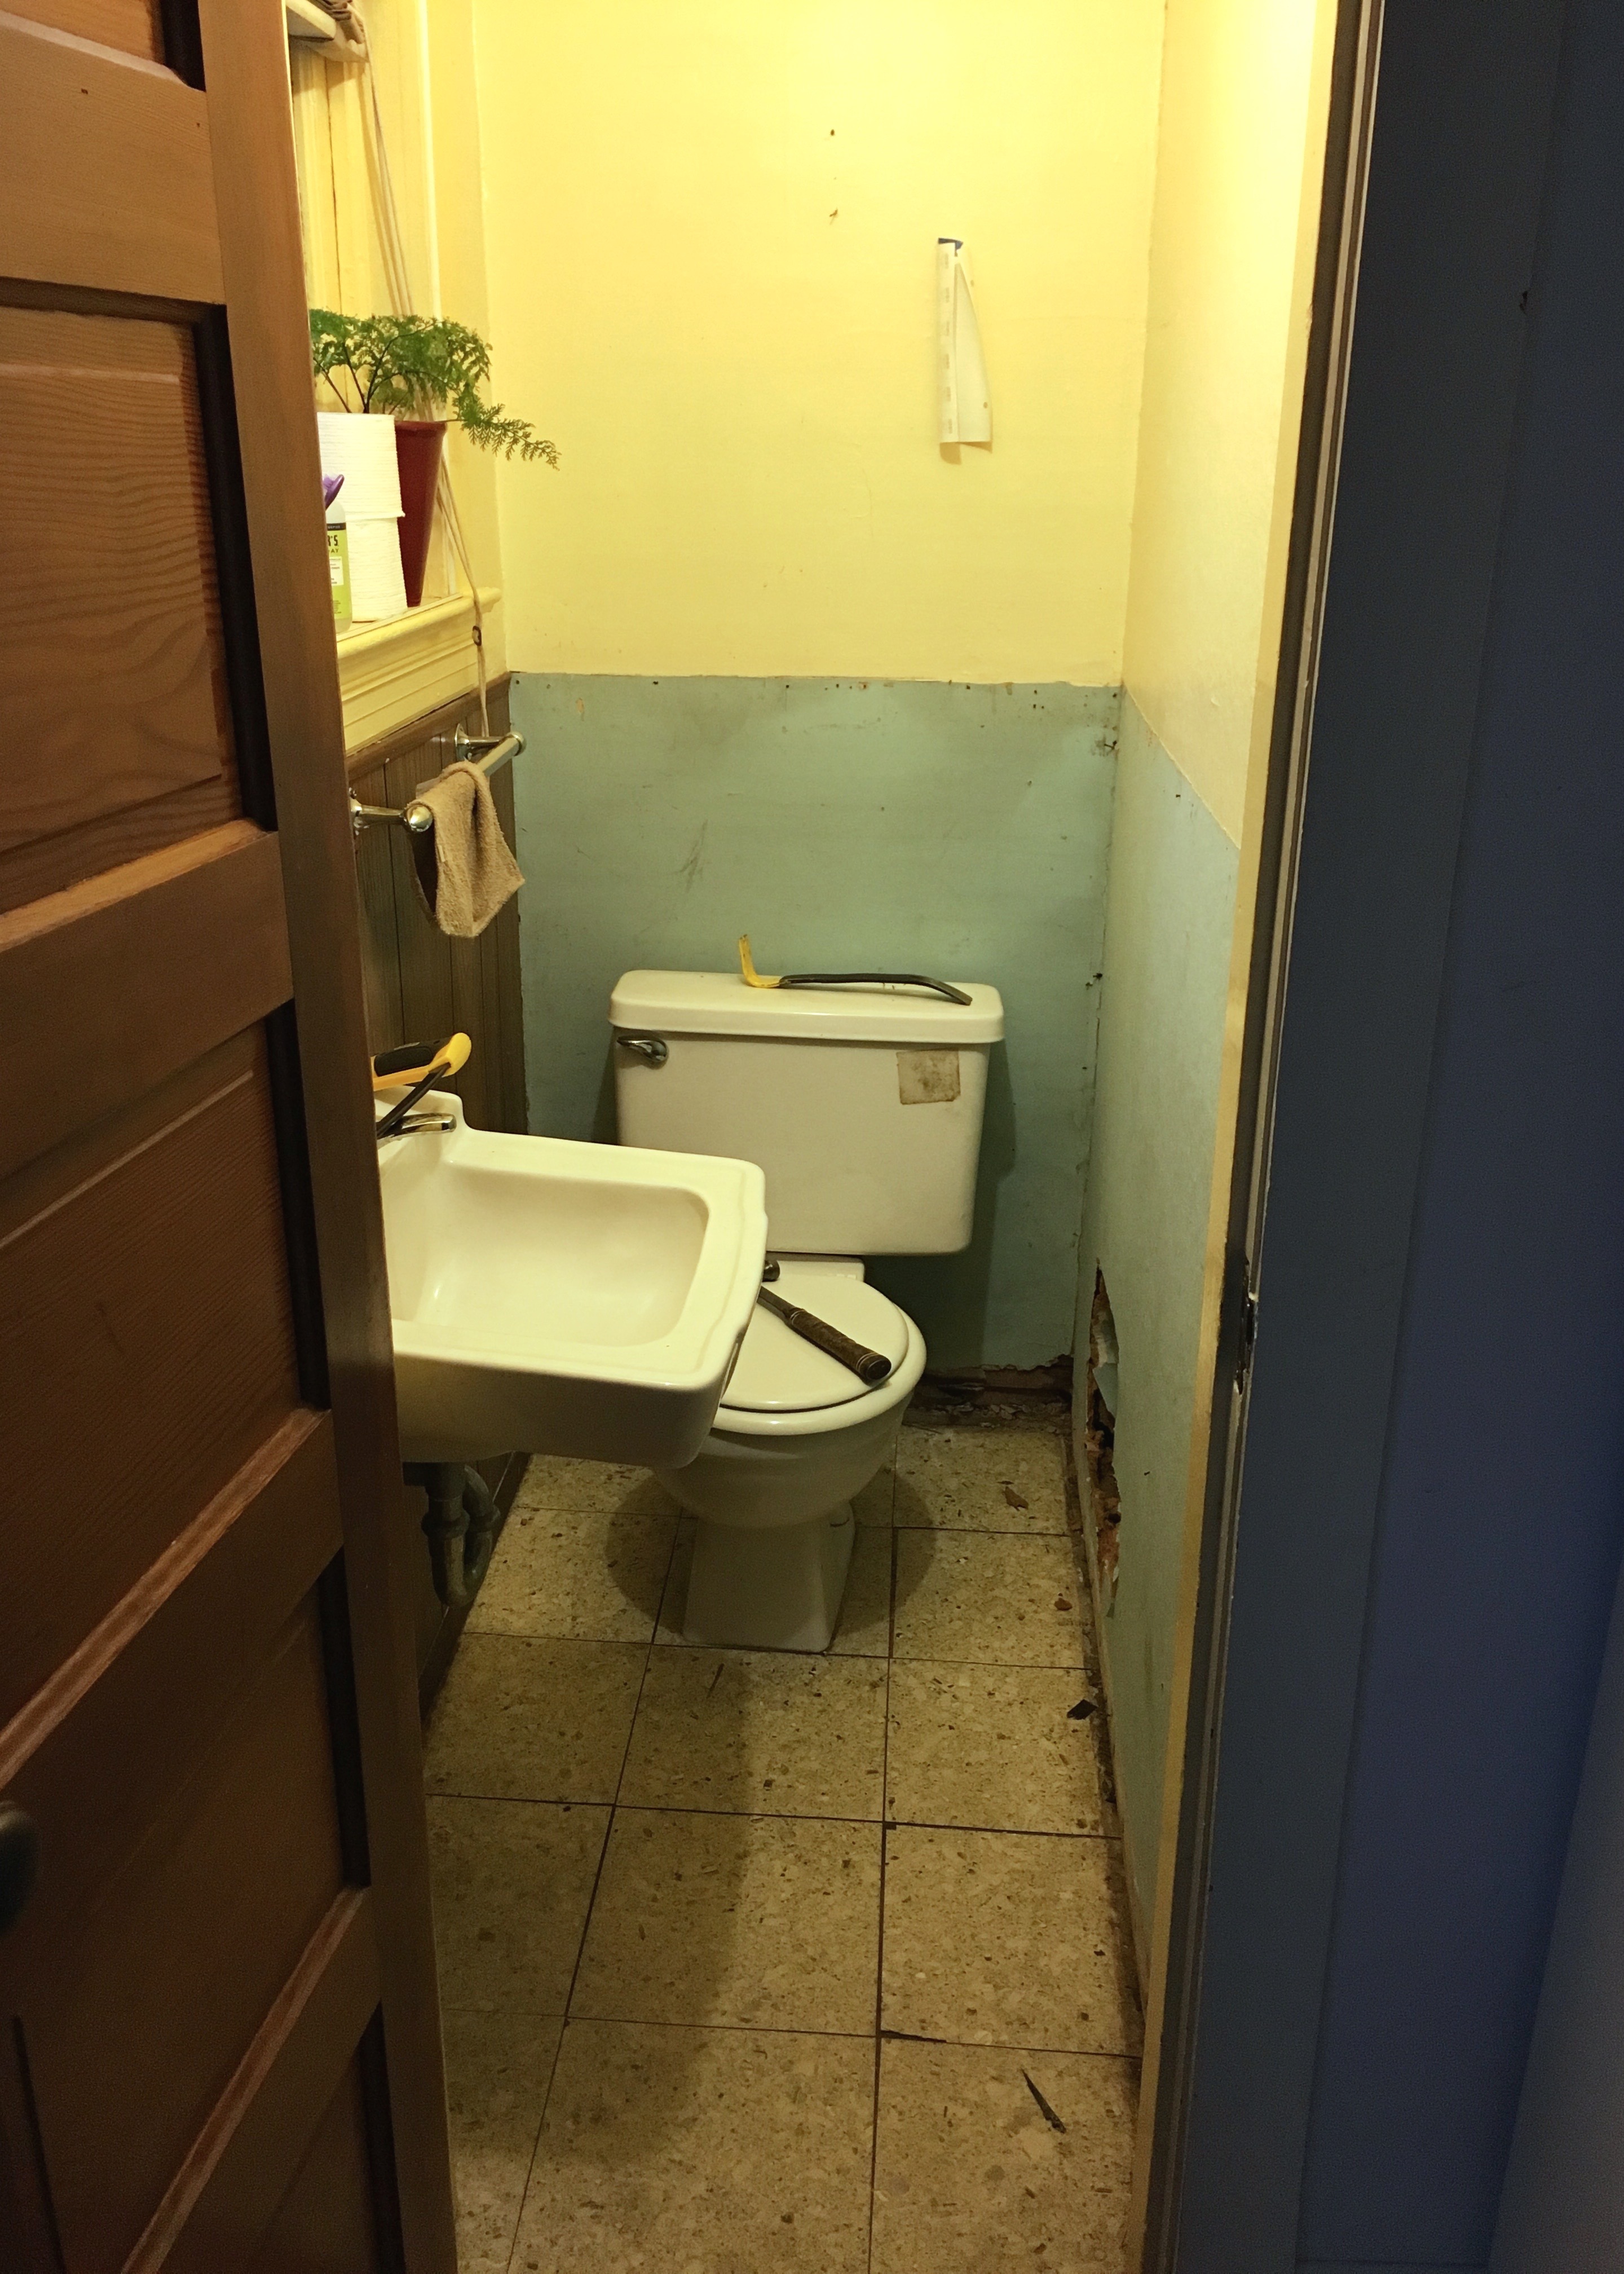
I made the hole bigger with my hammer, grabbed a metal blade for the sawzall, and started cutting. Bing, bang, boom and the tub was no longer connected to the house! Yes that is the toilet in the foreground of the picture below. The half bath is VERY TINY. It’s basically a quarter bath, but don’t that to him, he’ll get all offended.
Once it was disconnected, it was time to try to get this tub out of the bathroom! With enough prying of the tub with a spare 2×4 we were able to raise the tub high enough off the supports to get the furniture dolly wedged nearly all the way under the tub. Once that was done we were able to a remove the rest of the rotting wood surround and supports and the bathtub was freed! I know this is a terrible photo below, but you get the idea.
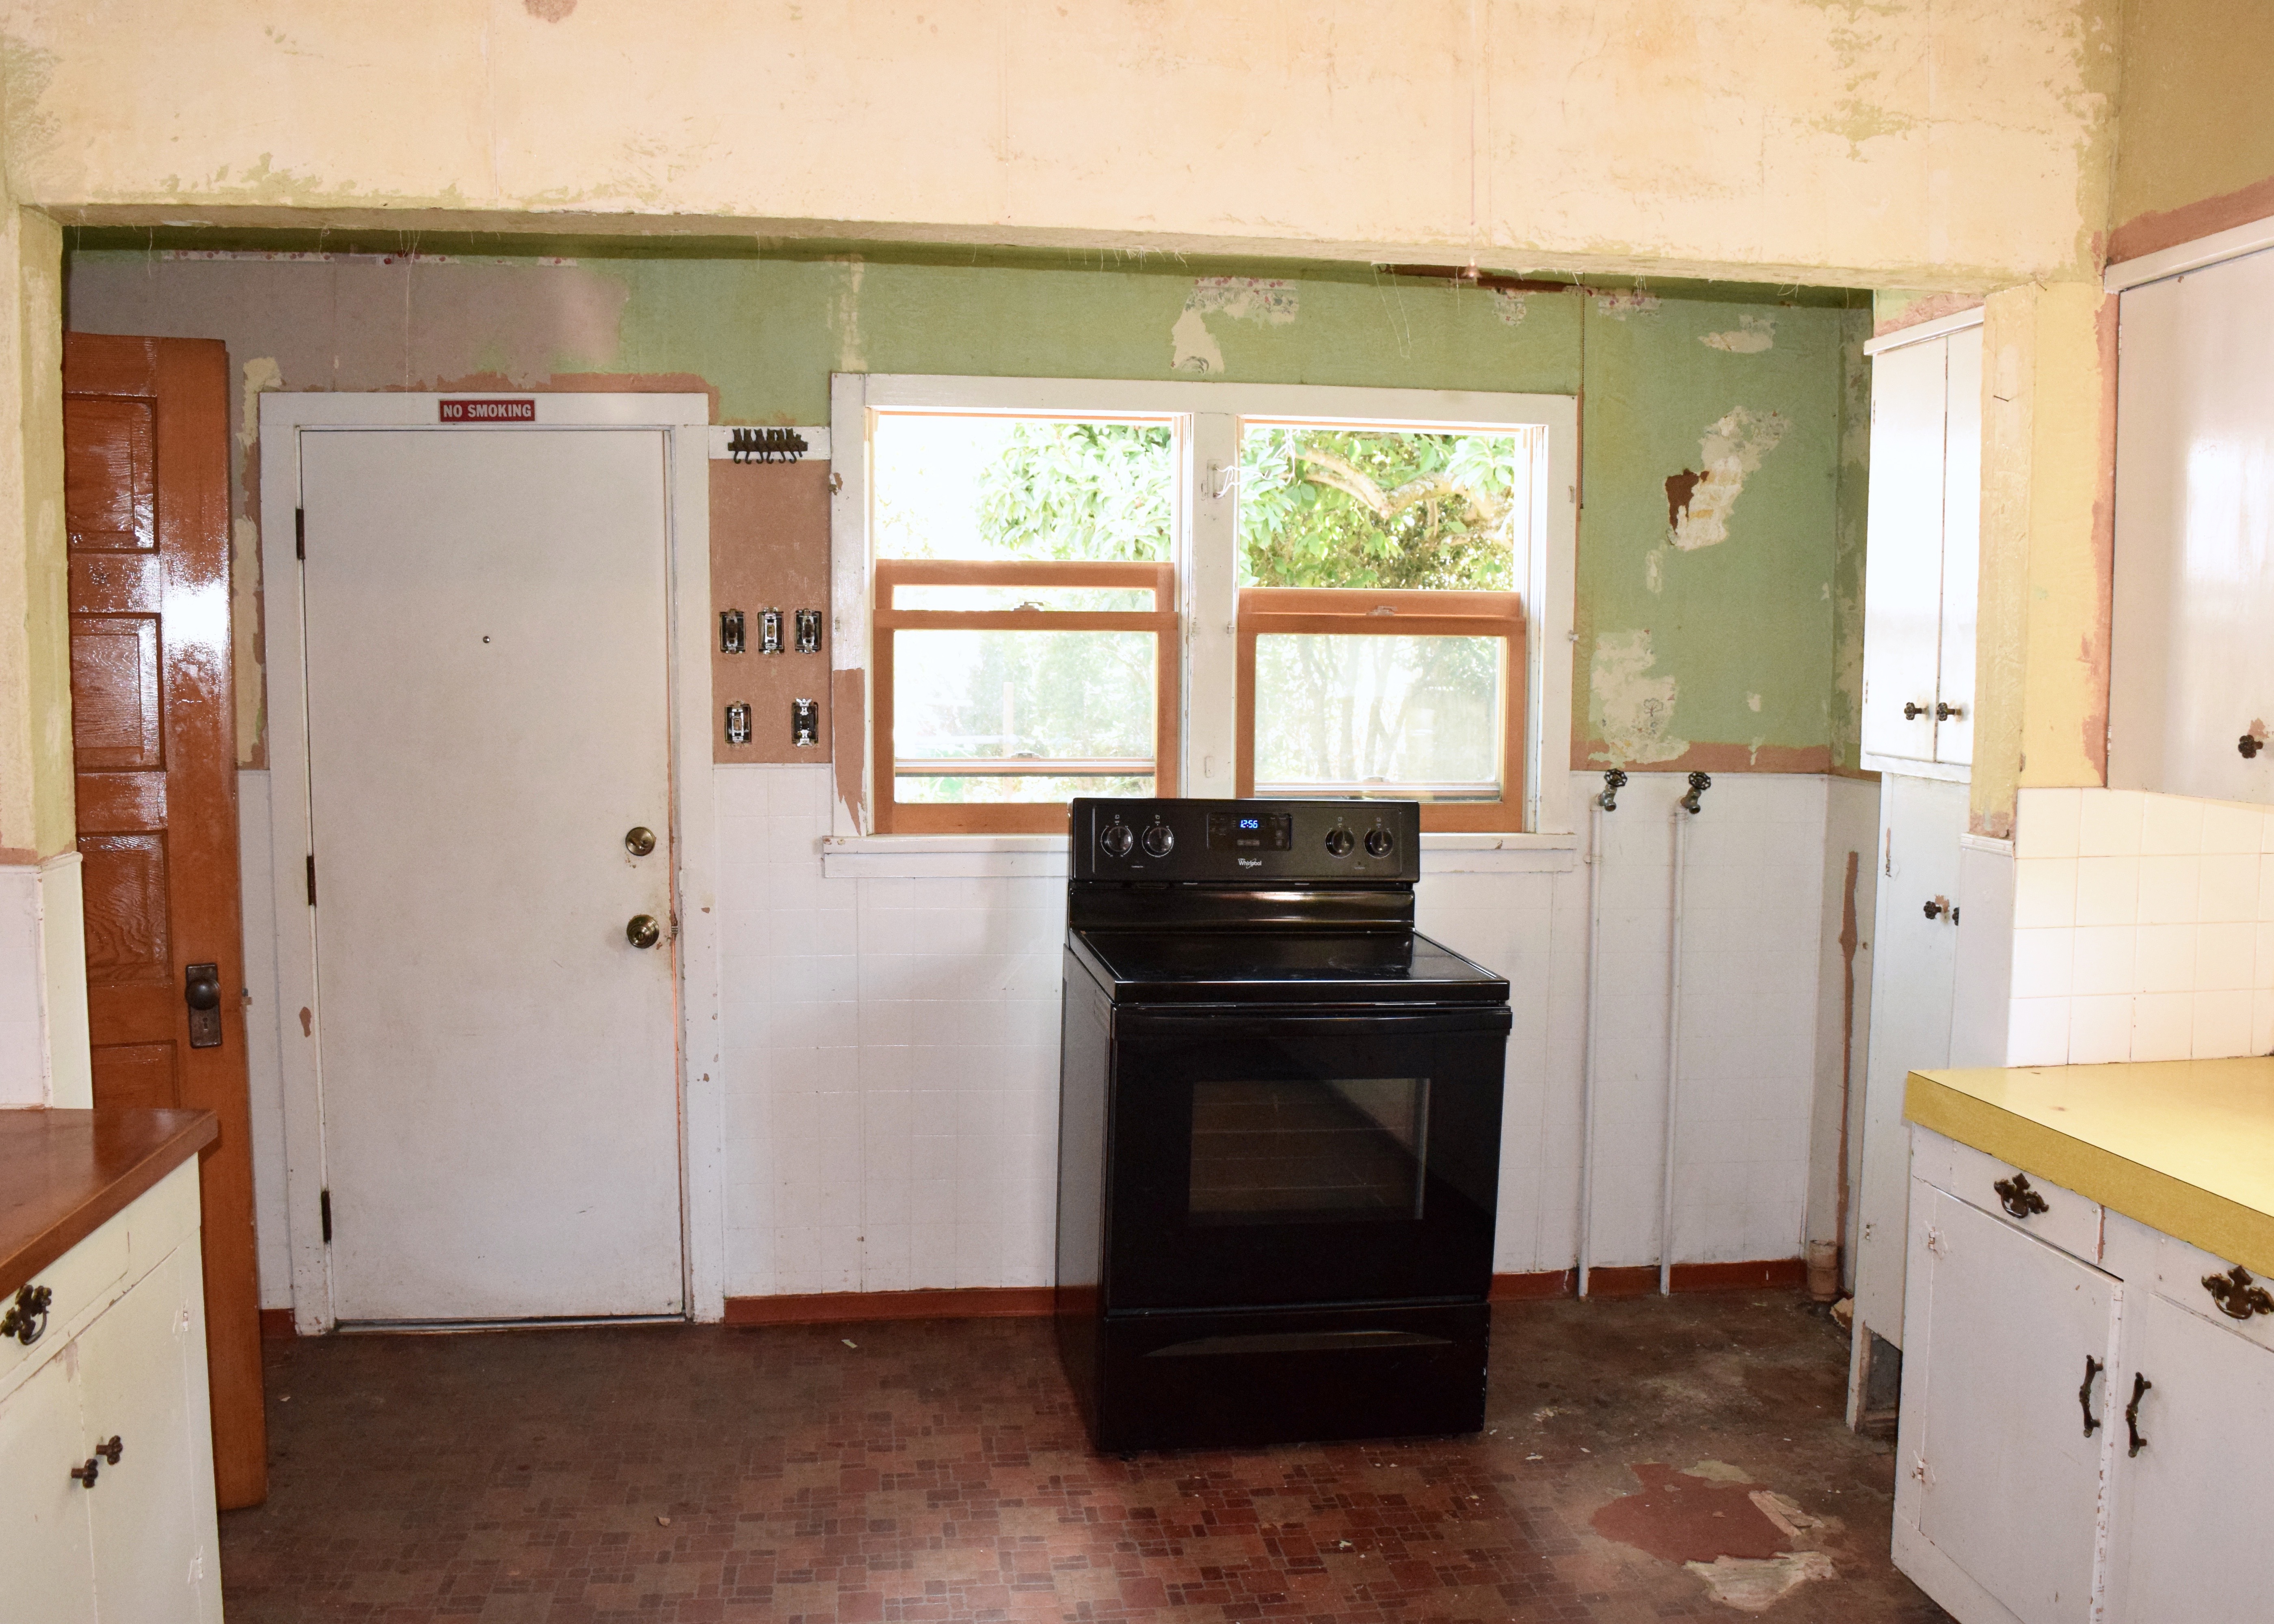
We wheeled the bathtub out of the bathroom, taking out the door frame in the process and left it in the kitchen, because that was as far as two people could move it alone. Now that bathtub stayed in my kitchen until early February when my Aunt Stephanie and Uncle Mike came to visit and helped me conquer a few tasks around the house. The two of them, plus my sister and I were finally able to move it out of the house lifting together! But don’t let me get distracted, back to demo day 1: after the tub was out of the bathroom and into the kitchen, though, it was time to go to sleep. We were exhausted.
The next day was lathe and plaster demo day! We spent the entire Sunday taking out as much of the lathe and plaster as possible. It was crazy town and filled the floor with debris. We filled 7 contractor bags full of lathe and plaster from this little room, despite me keeping a ton of the longer pieces of lathe!
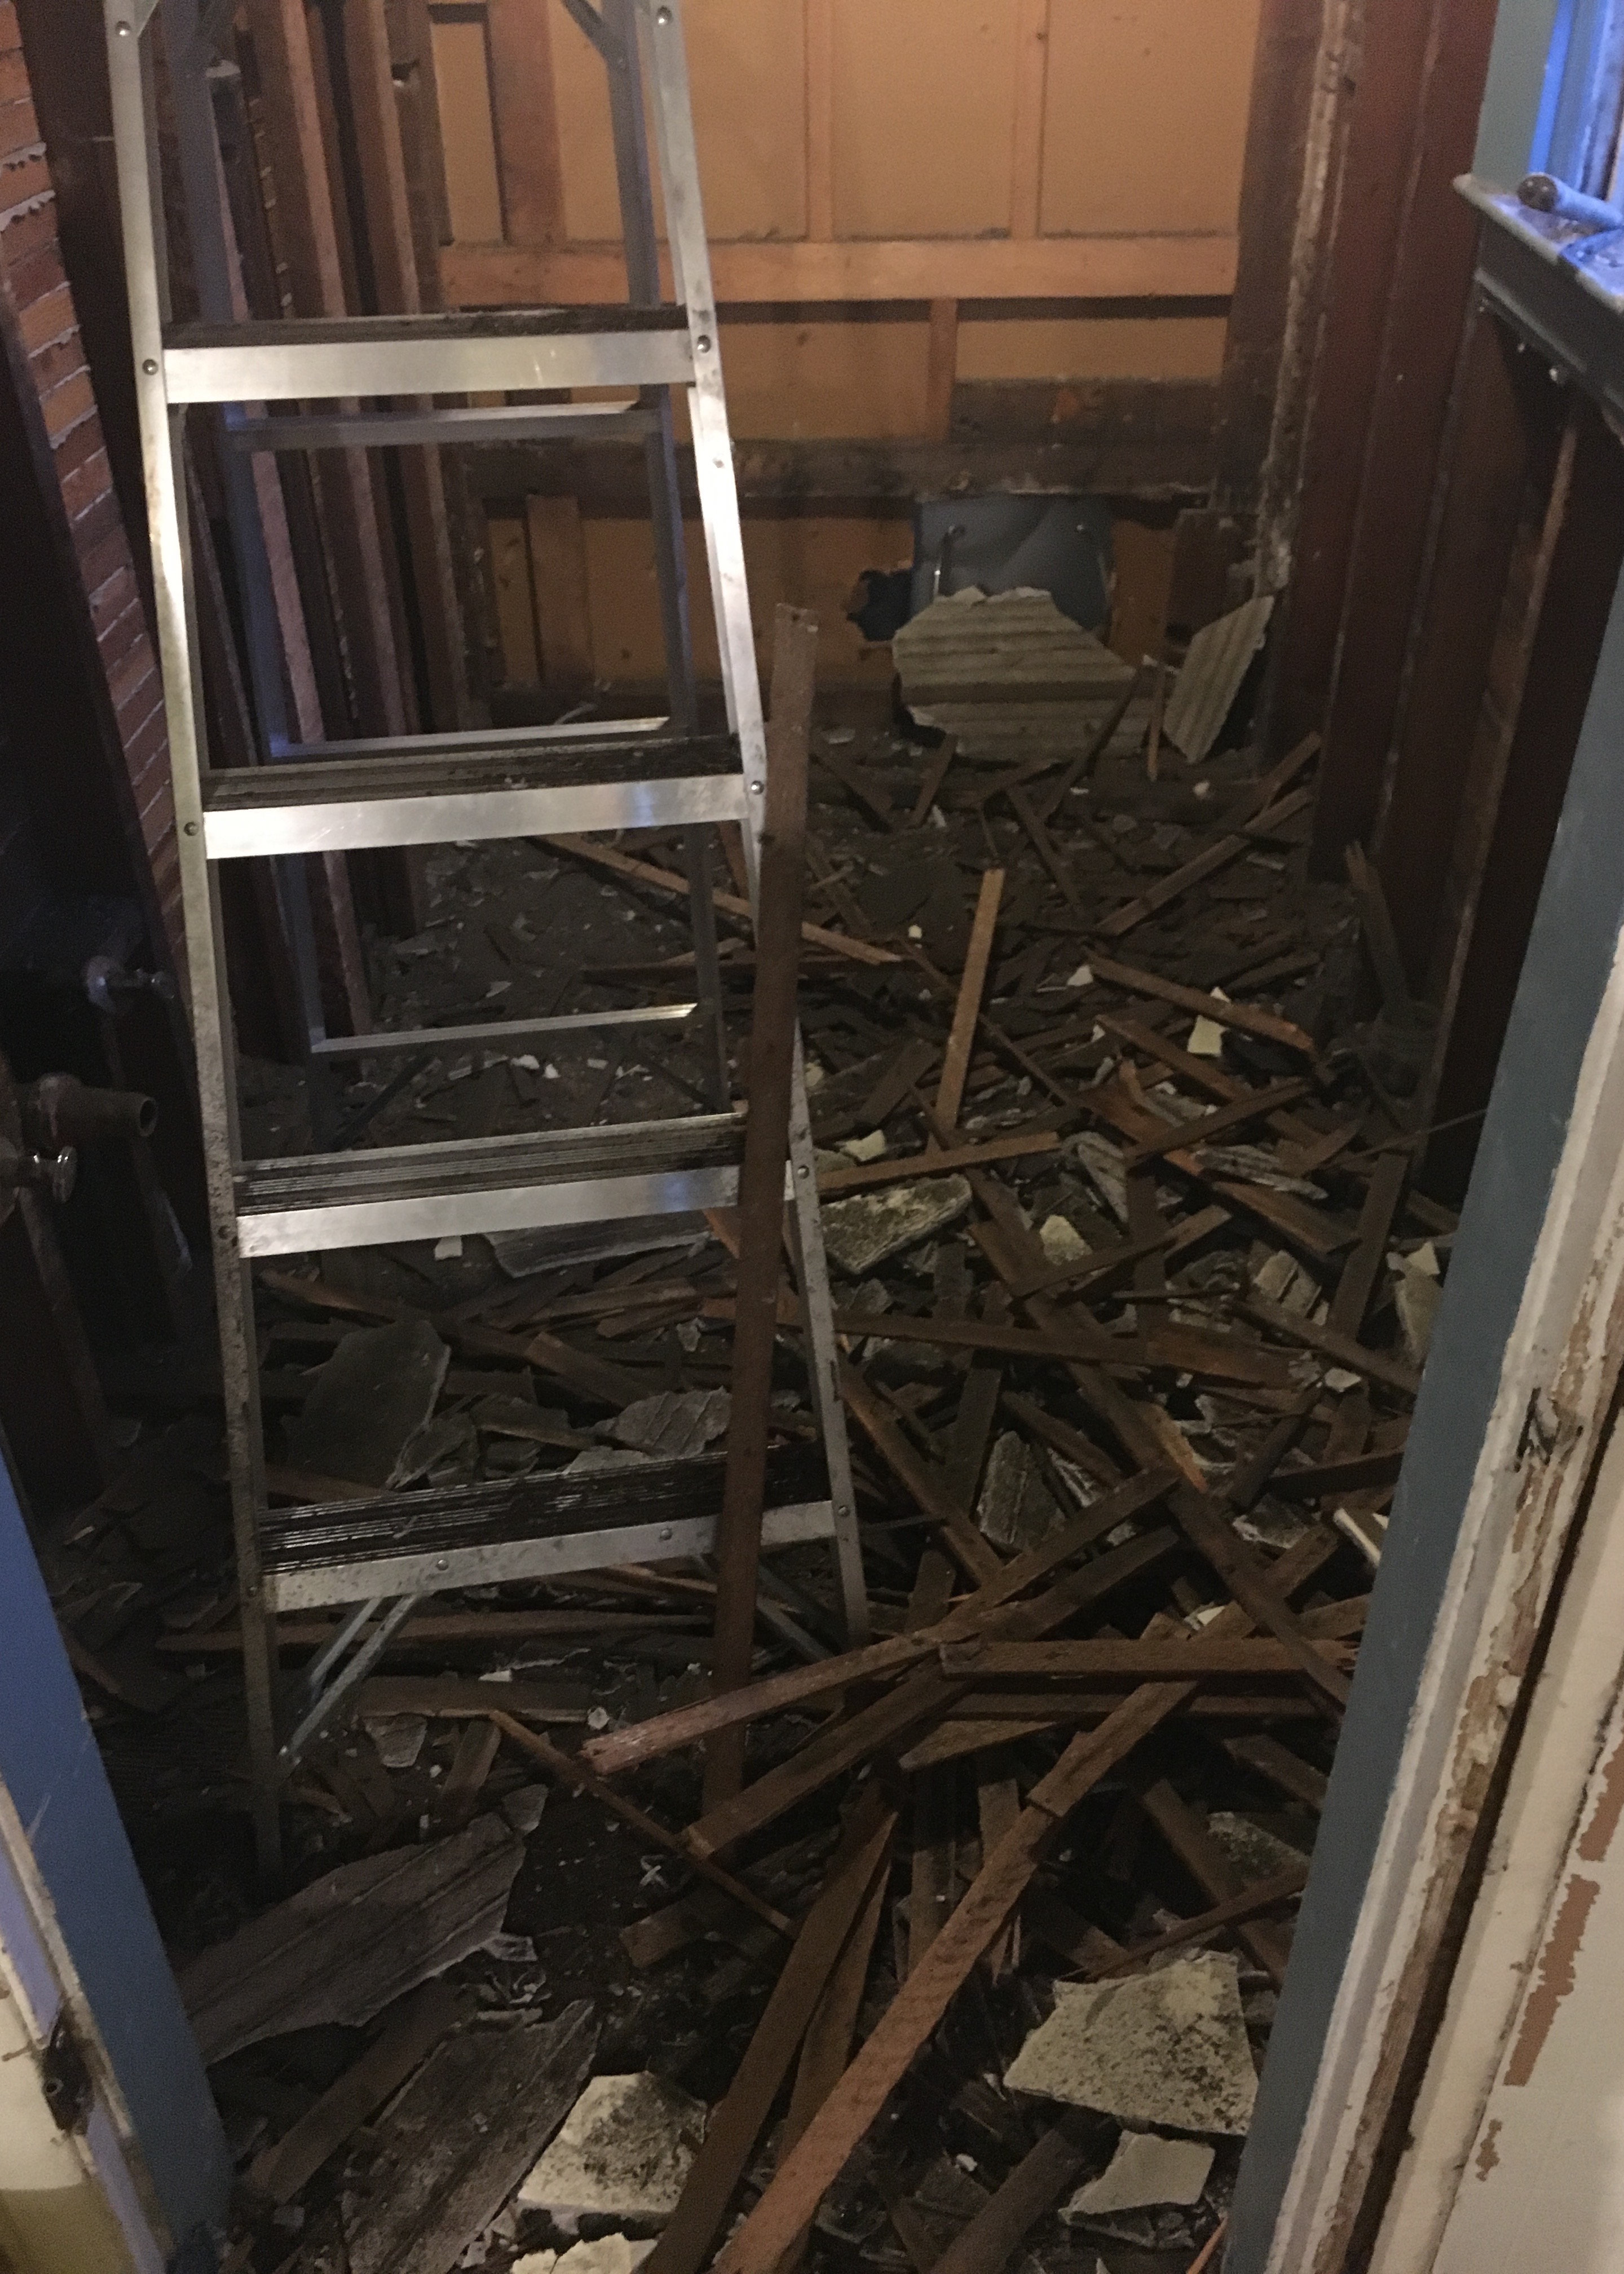
Seriously, you think that it’s a small room, but oh. my. god. The whole room was 2 feet under lathe and plaster. We filled SO MANY BAGS! All stuffed and weighing a bazillion pounds, full of lathe and plaster!
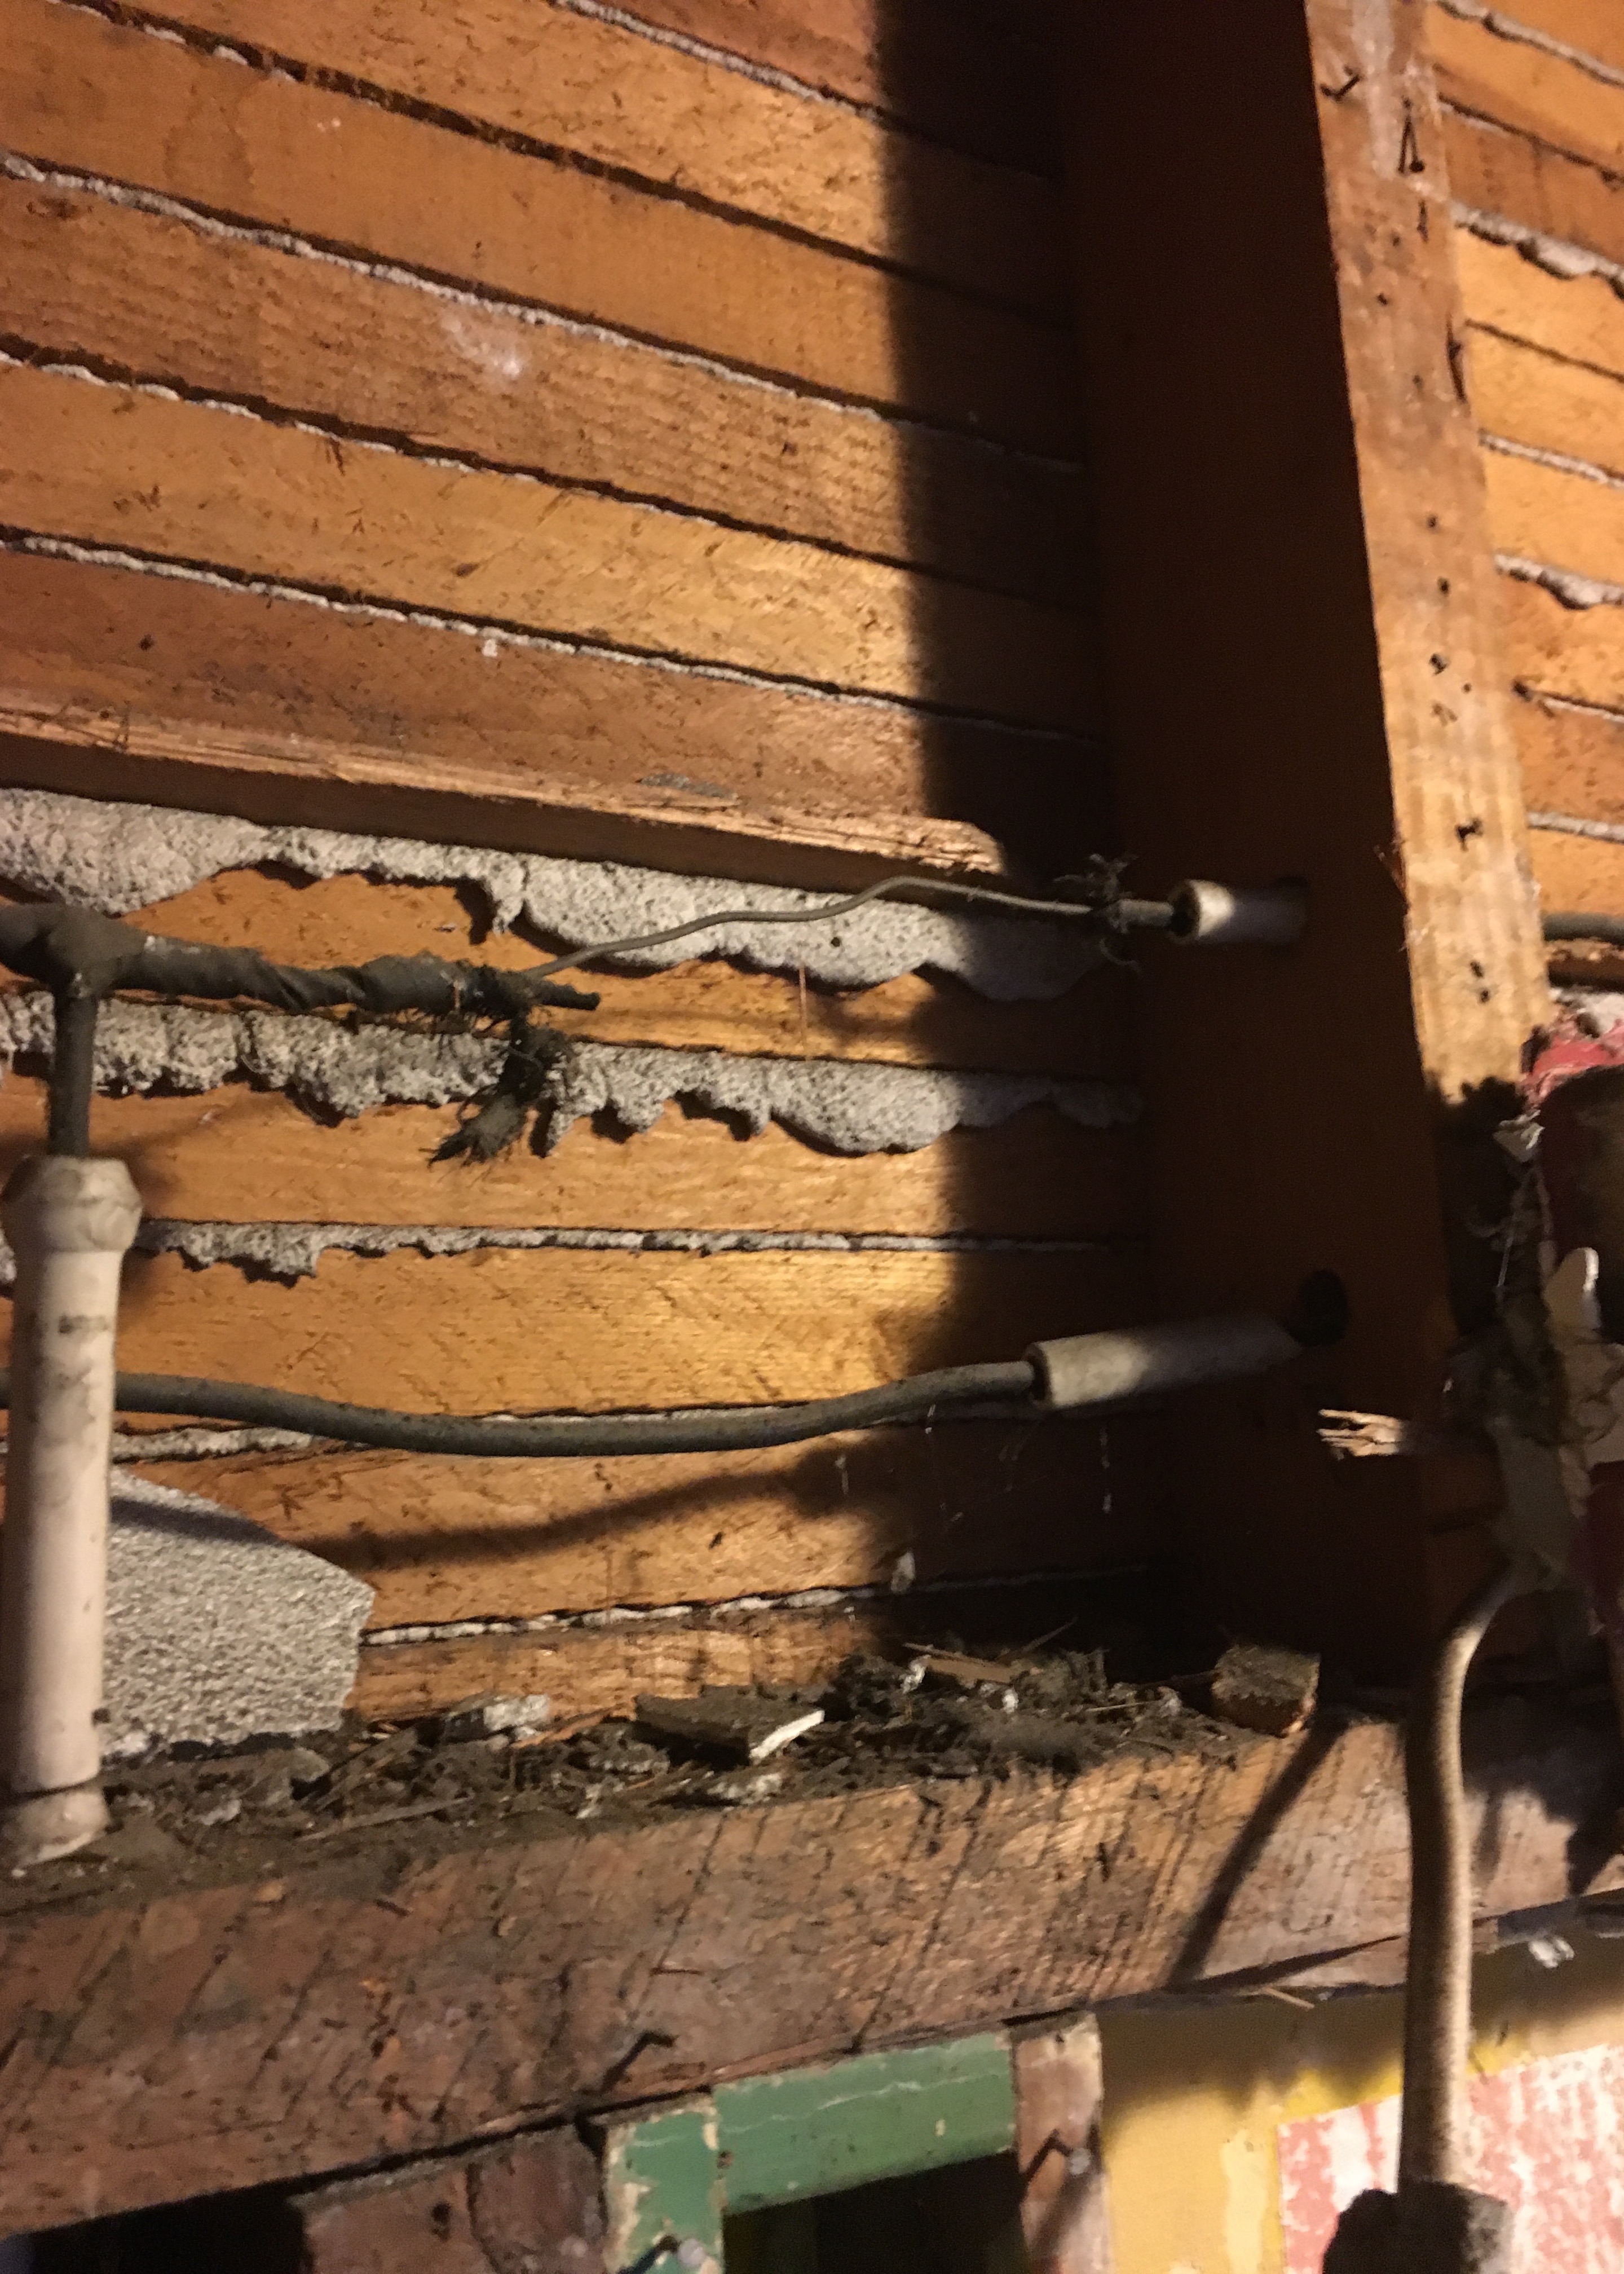
Once the lathe came down, we found some not so great things, like exposed knob and tube wiring. And knob and tube wiring that just ended in the plaster after someone removed some sconces… Yeah, not good. Luckily, electricians were scheduled for just a few days later!
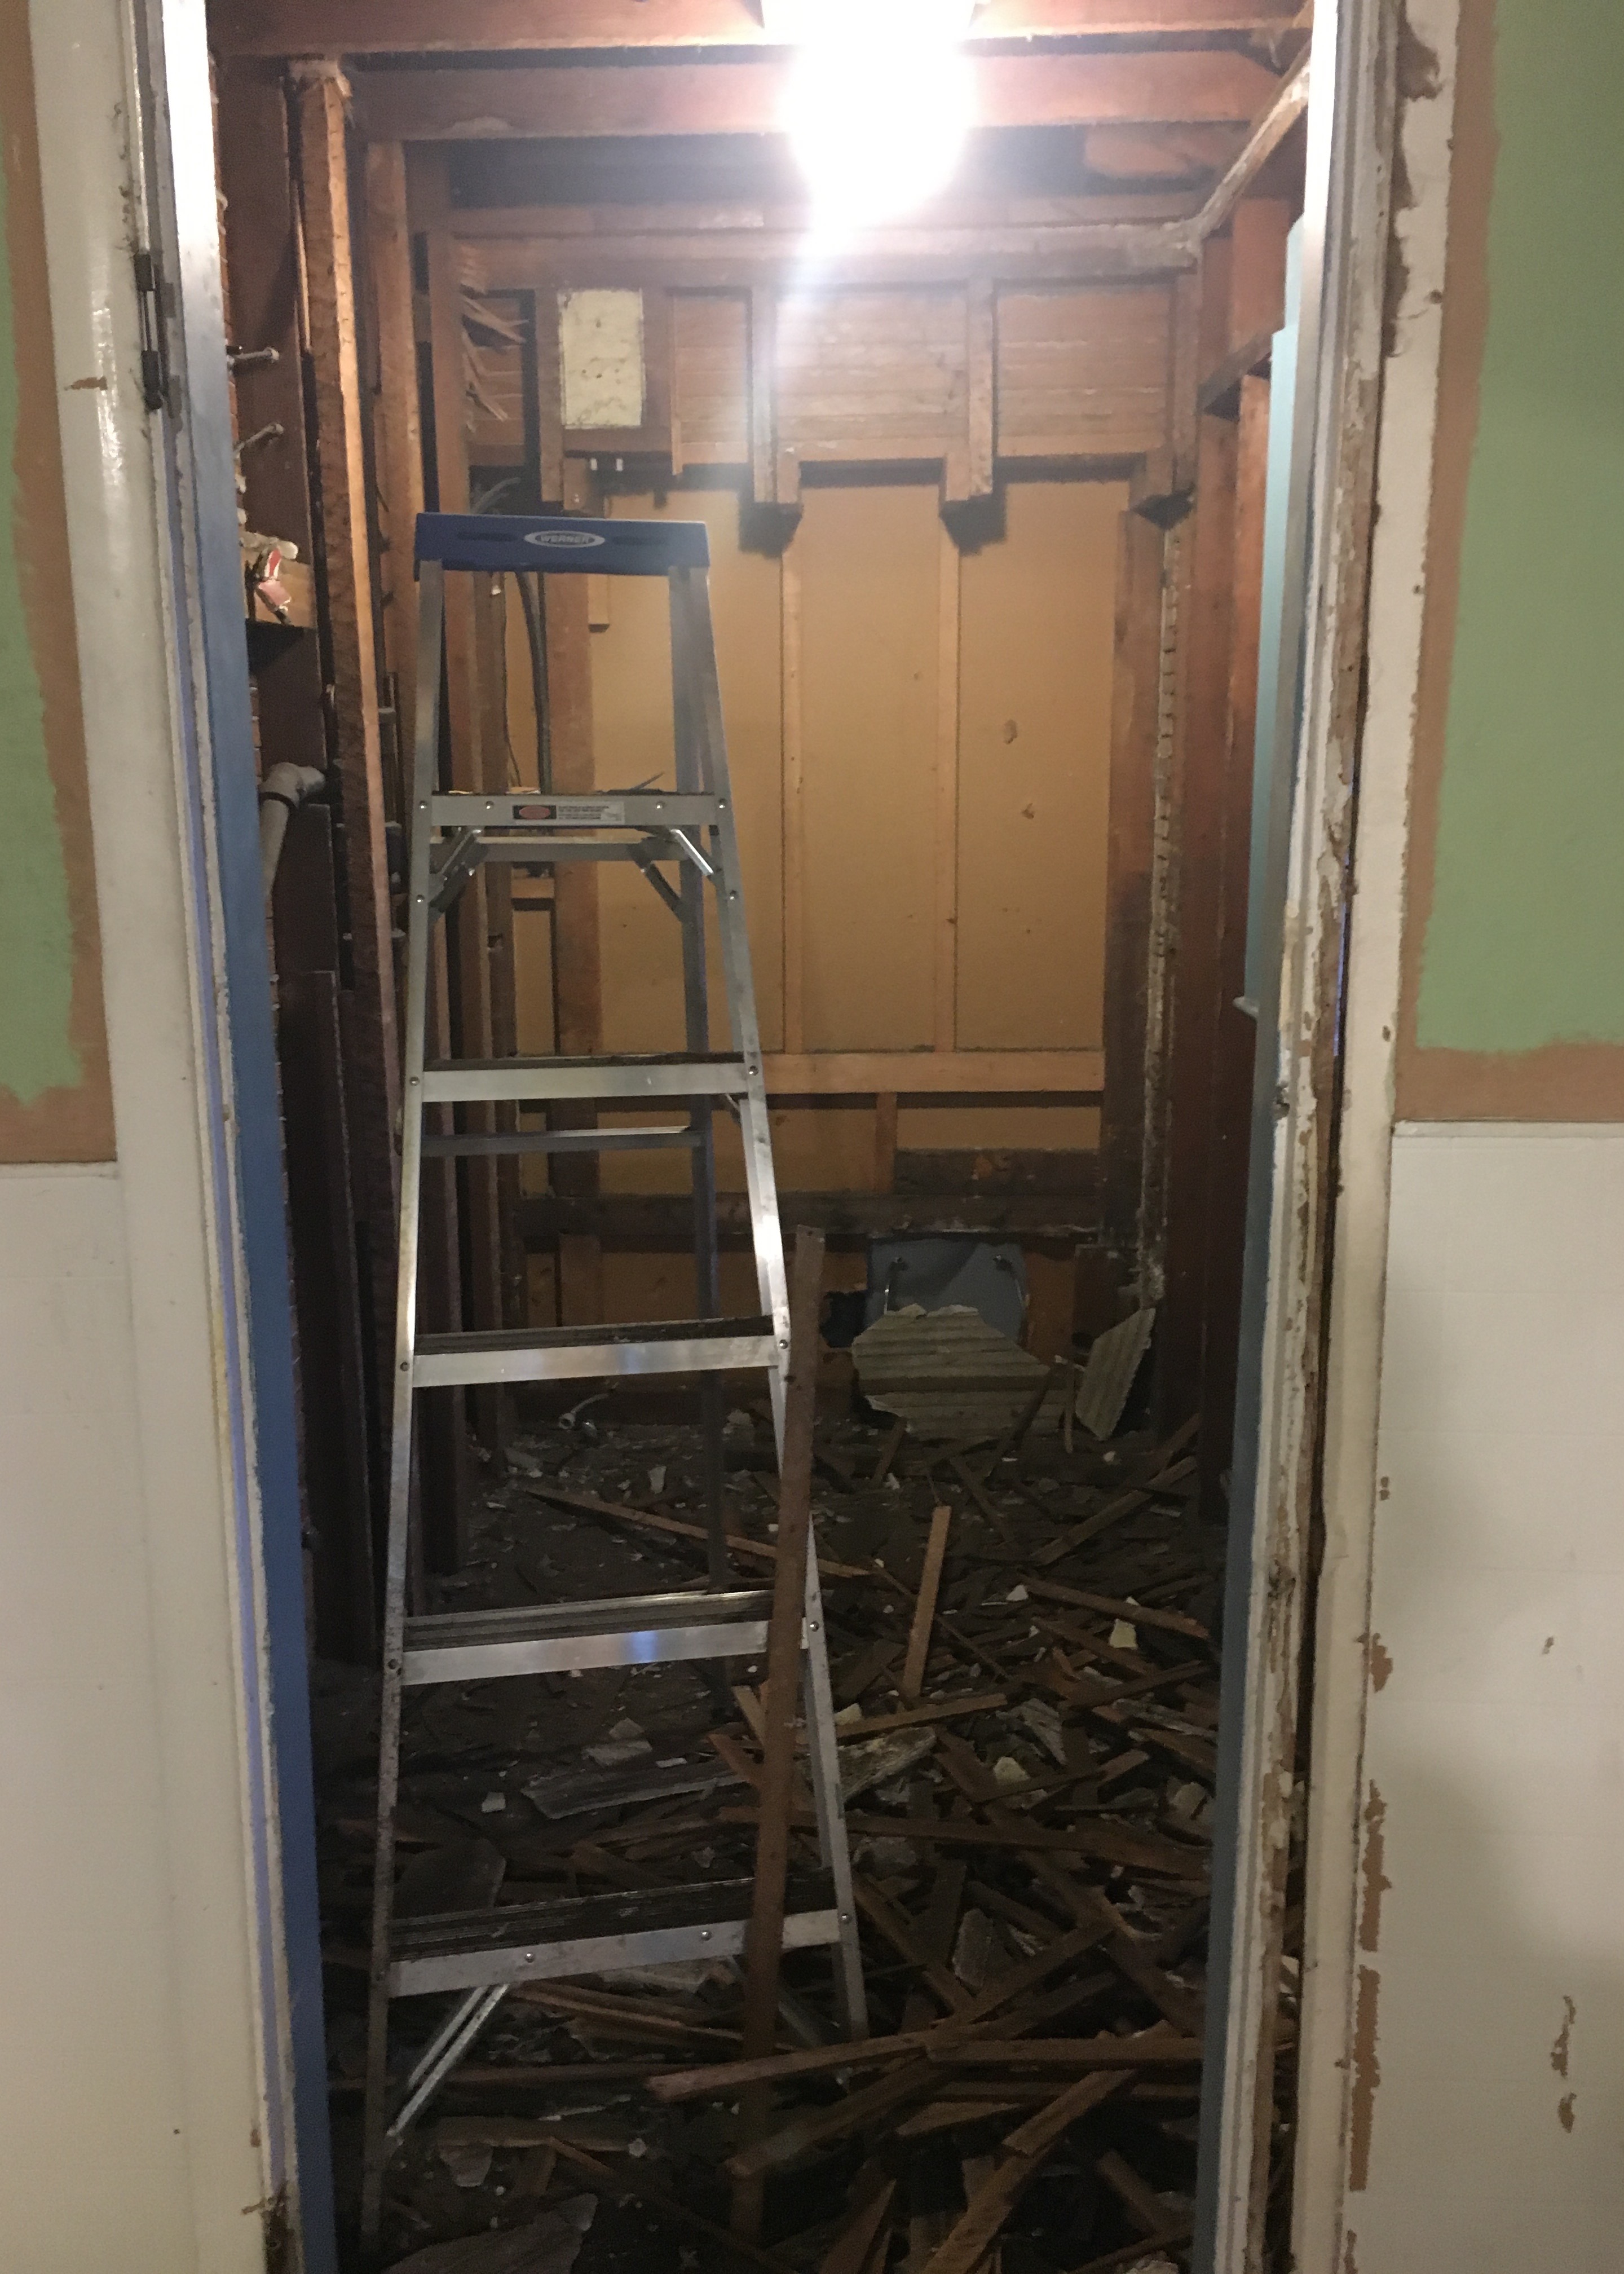
Once the floors were swept clean of all the debris and the little discoveries were made, we were even more tired than the night before and we were absolutely filthy. Oh, and my mom was so ready to fly home he next day to her comfortable bed and house that requires no demo. She was ready to relax!
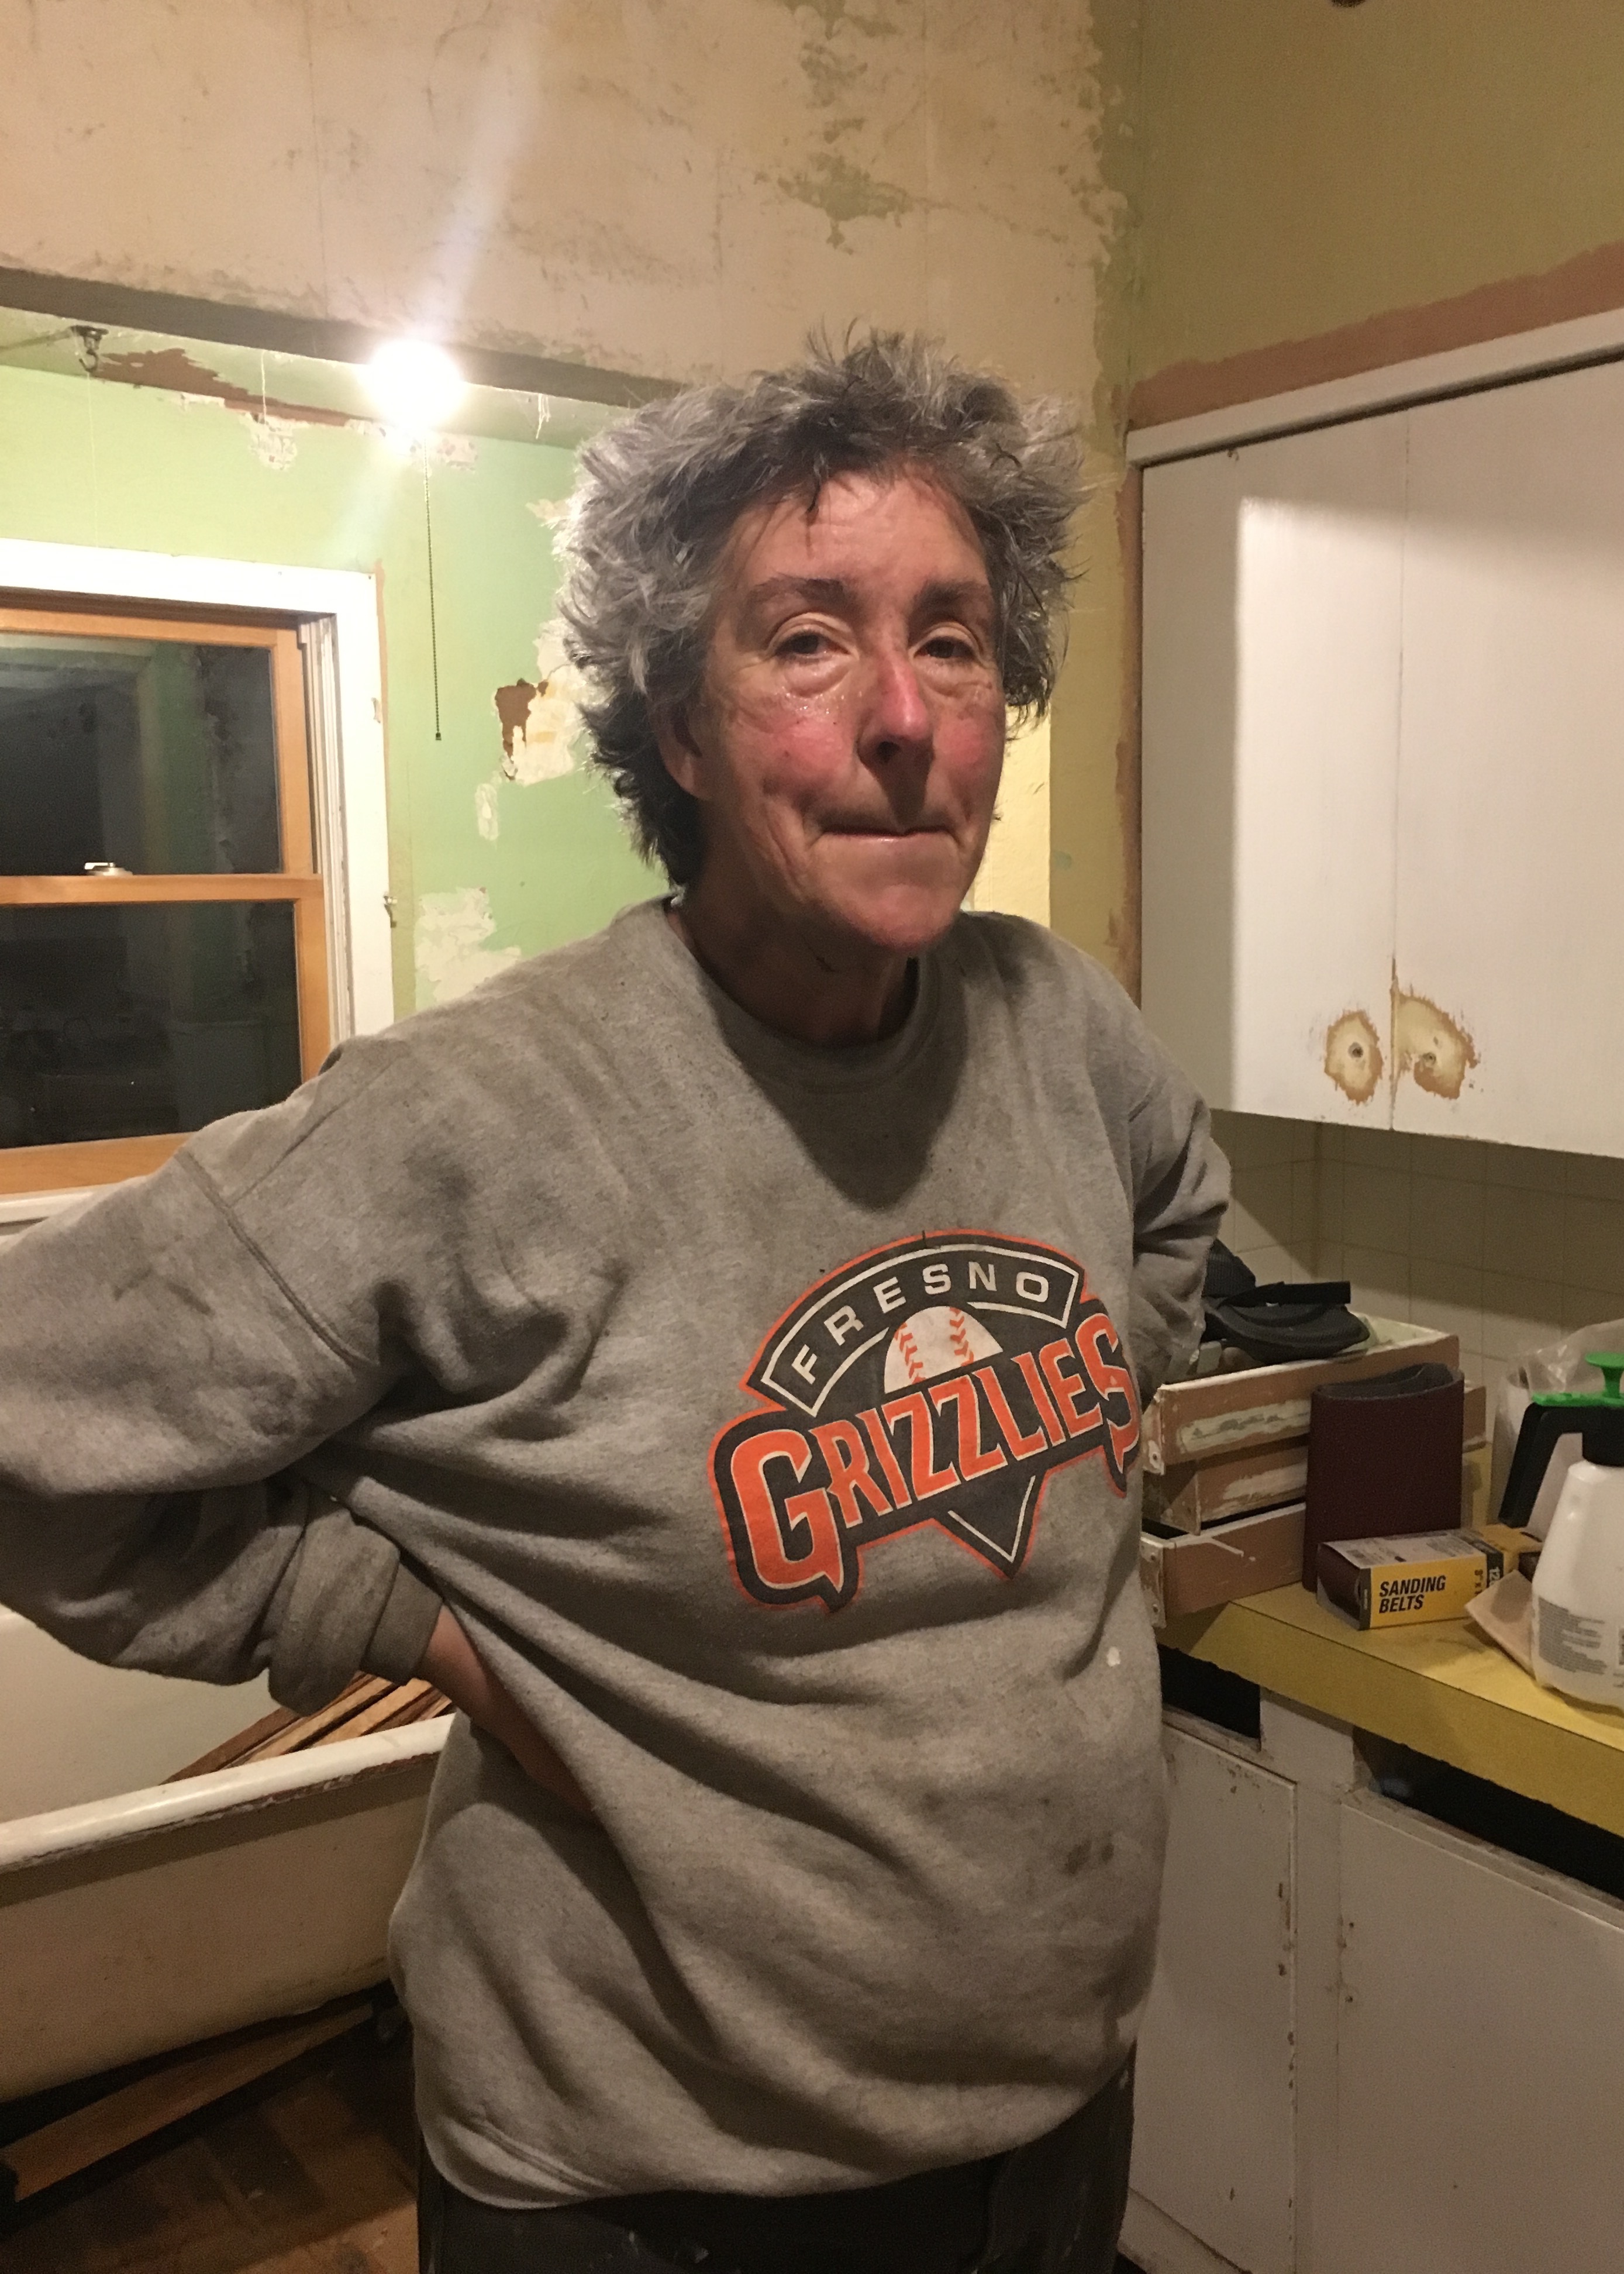
I was also filthy, but very much excited for the projects ahead! I knew that this was a huge step, but a super exciting one because soon I’d have a fully functional bathroom and it was going to be so freaking pretty!

Of course… finishing that bathroom took me about 2 months longer than I thought it would and in my incessant push to finish, I neglected this blog. But don’t worry, y’all. I still took pictures and am here to overshare.