So, it’s the first week of January 2018. My bathroom is finally functional again now that it’s painted, tiled, and the toilet’s installed. My sister moves in and it’s time to hop on to the final task for a functional bathroom: installing the sink!
I’d originally ordered a pretty pedestal sink for my bathroom, but I realized that the pedestal would take up precious floor space. Floor space I needed for storage. In particular, toilet paper storage. So, I returned my original sink and ordered a new wall mounted sink. Now, because the walls weren’t tiled in here, I wanted a wall mounted sink with a little bit of a backsplash. The sink had to be pretty small in size too, in order to meet code requirements and for ease of access to the room. The sink is immediately to the left inside the bathroom, right beside the door, and there’s only about 14″ depth available before the sink is sticking out. I couldn’t move the sink over closer to the toilet because code requires 15″ from the center of the toilet to any other element. It was a tight fit! I ended up landing on the Kohler Greenich Sink because it fit both my constraints.
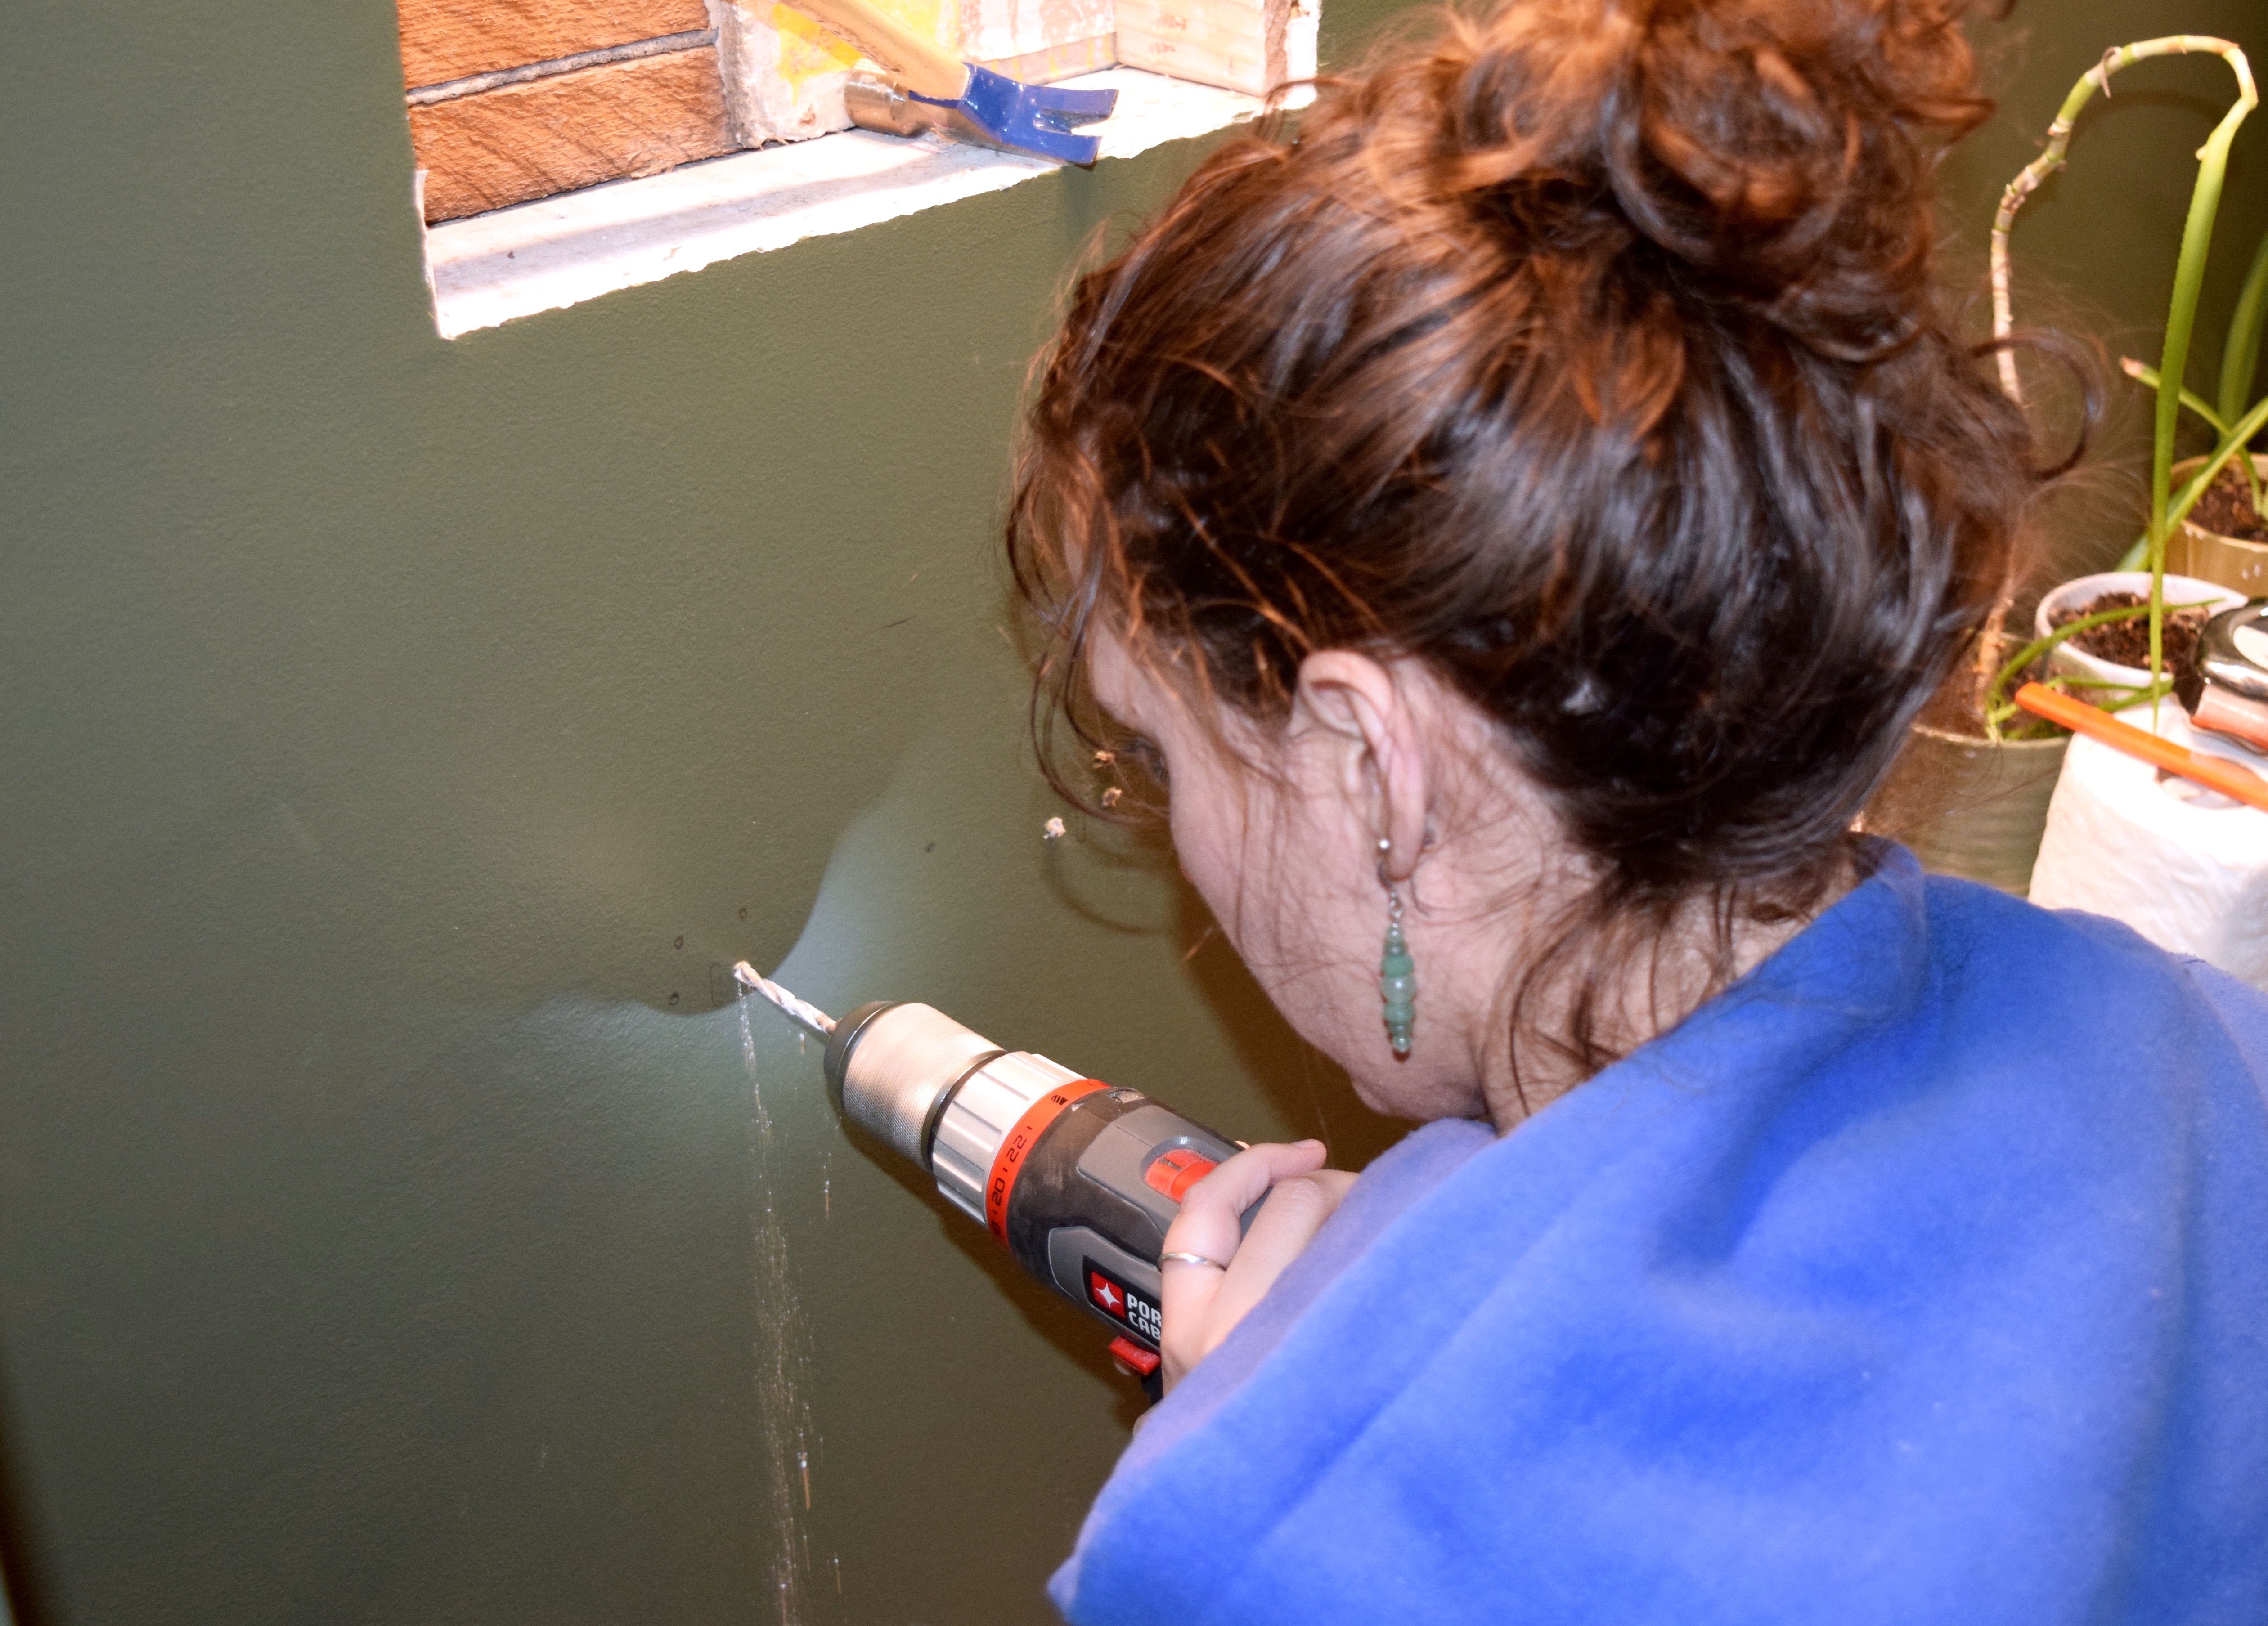
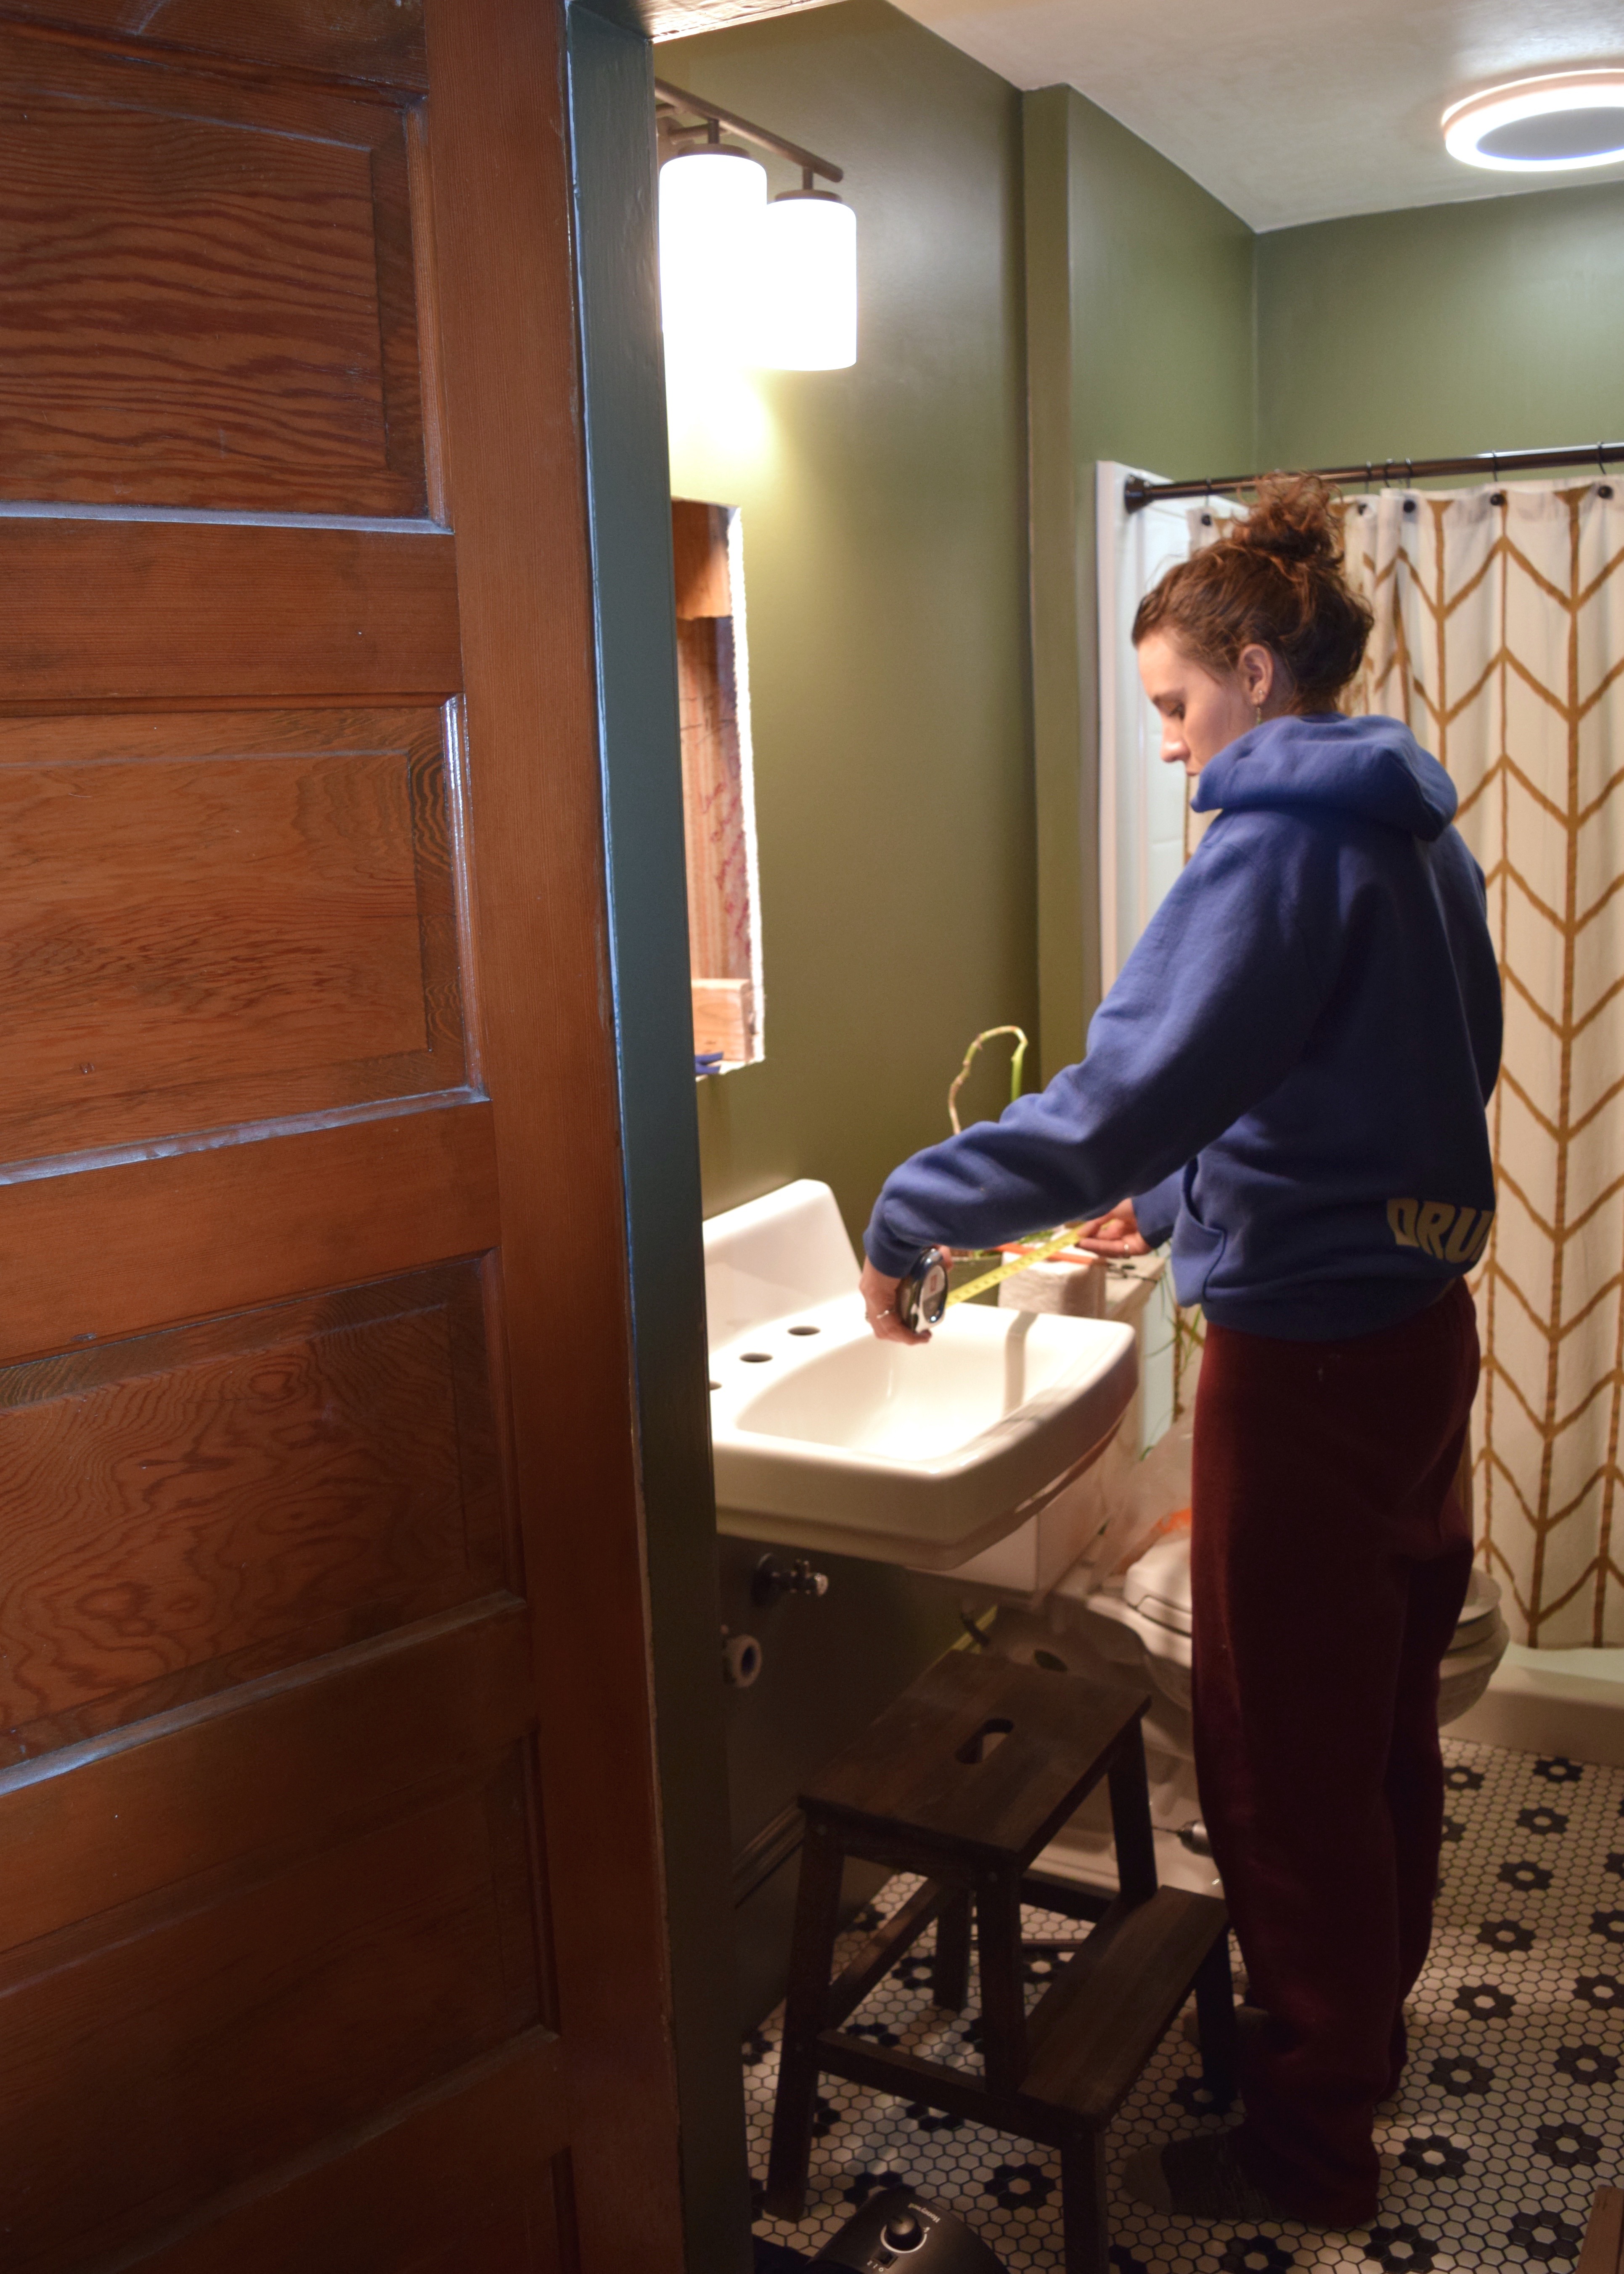
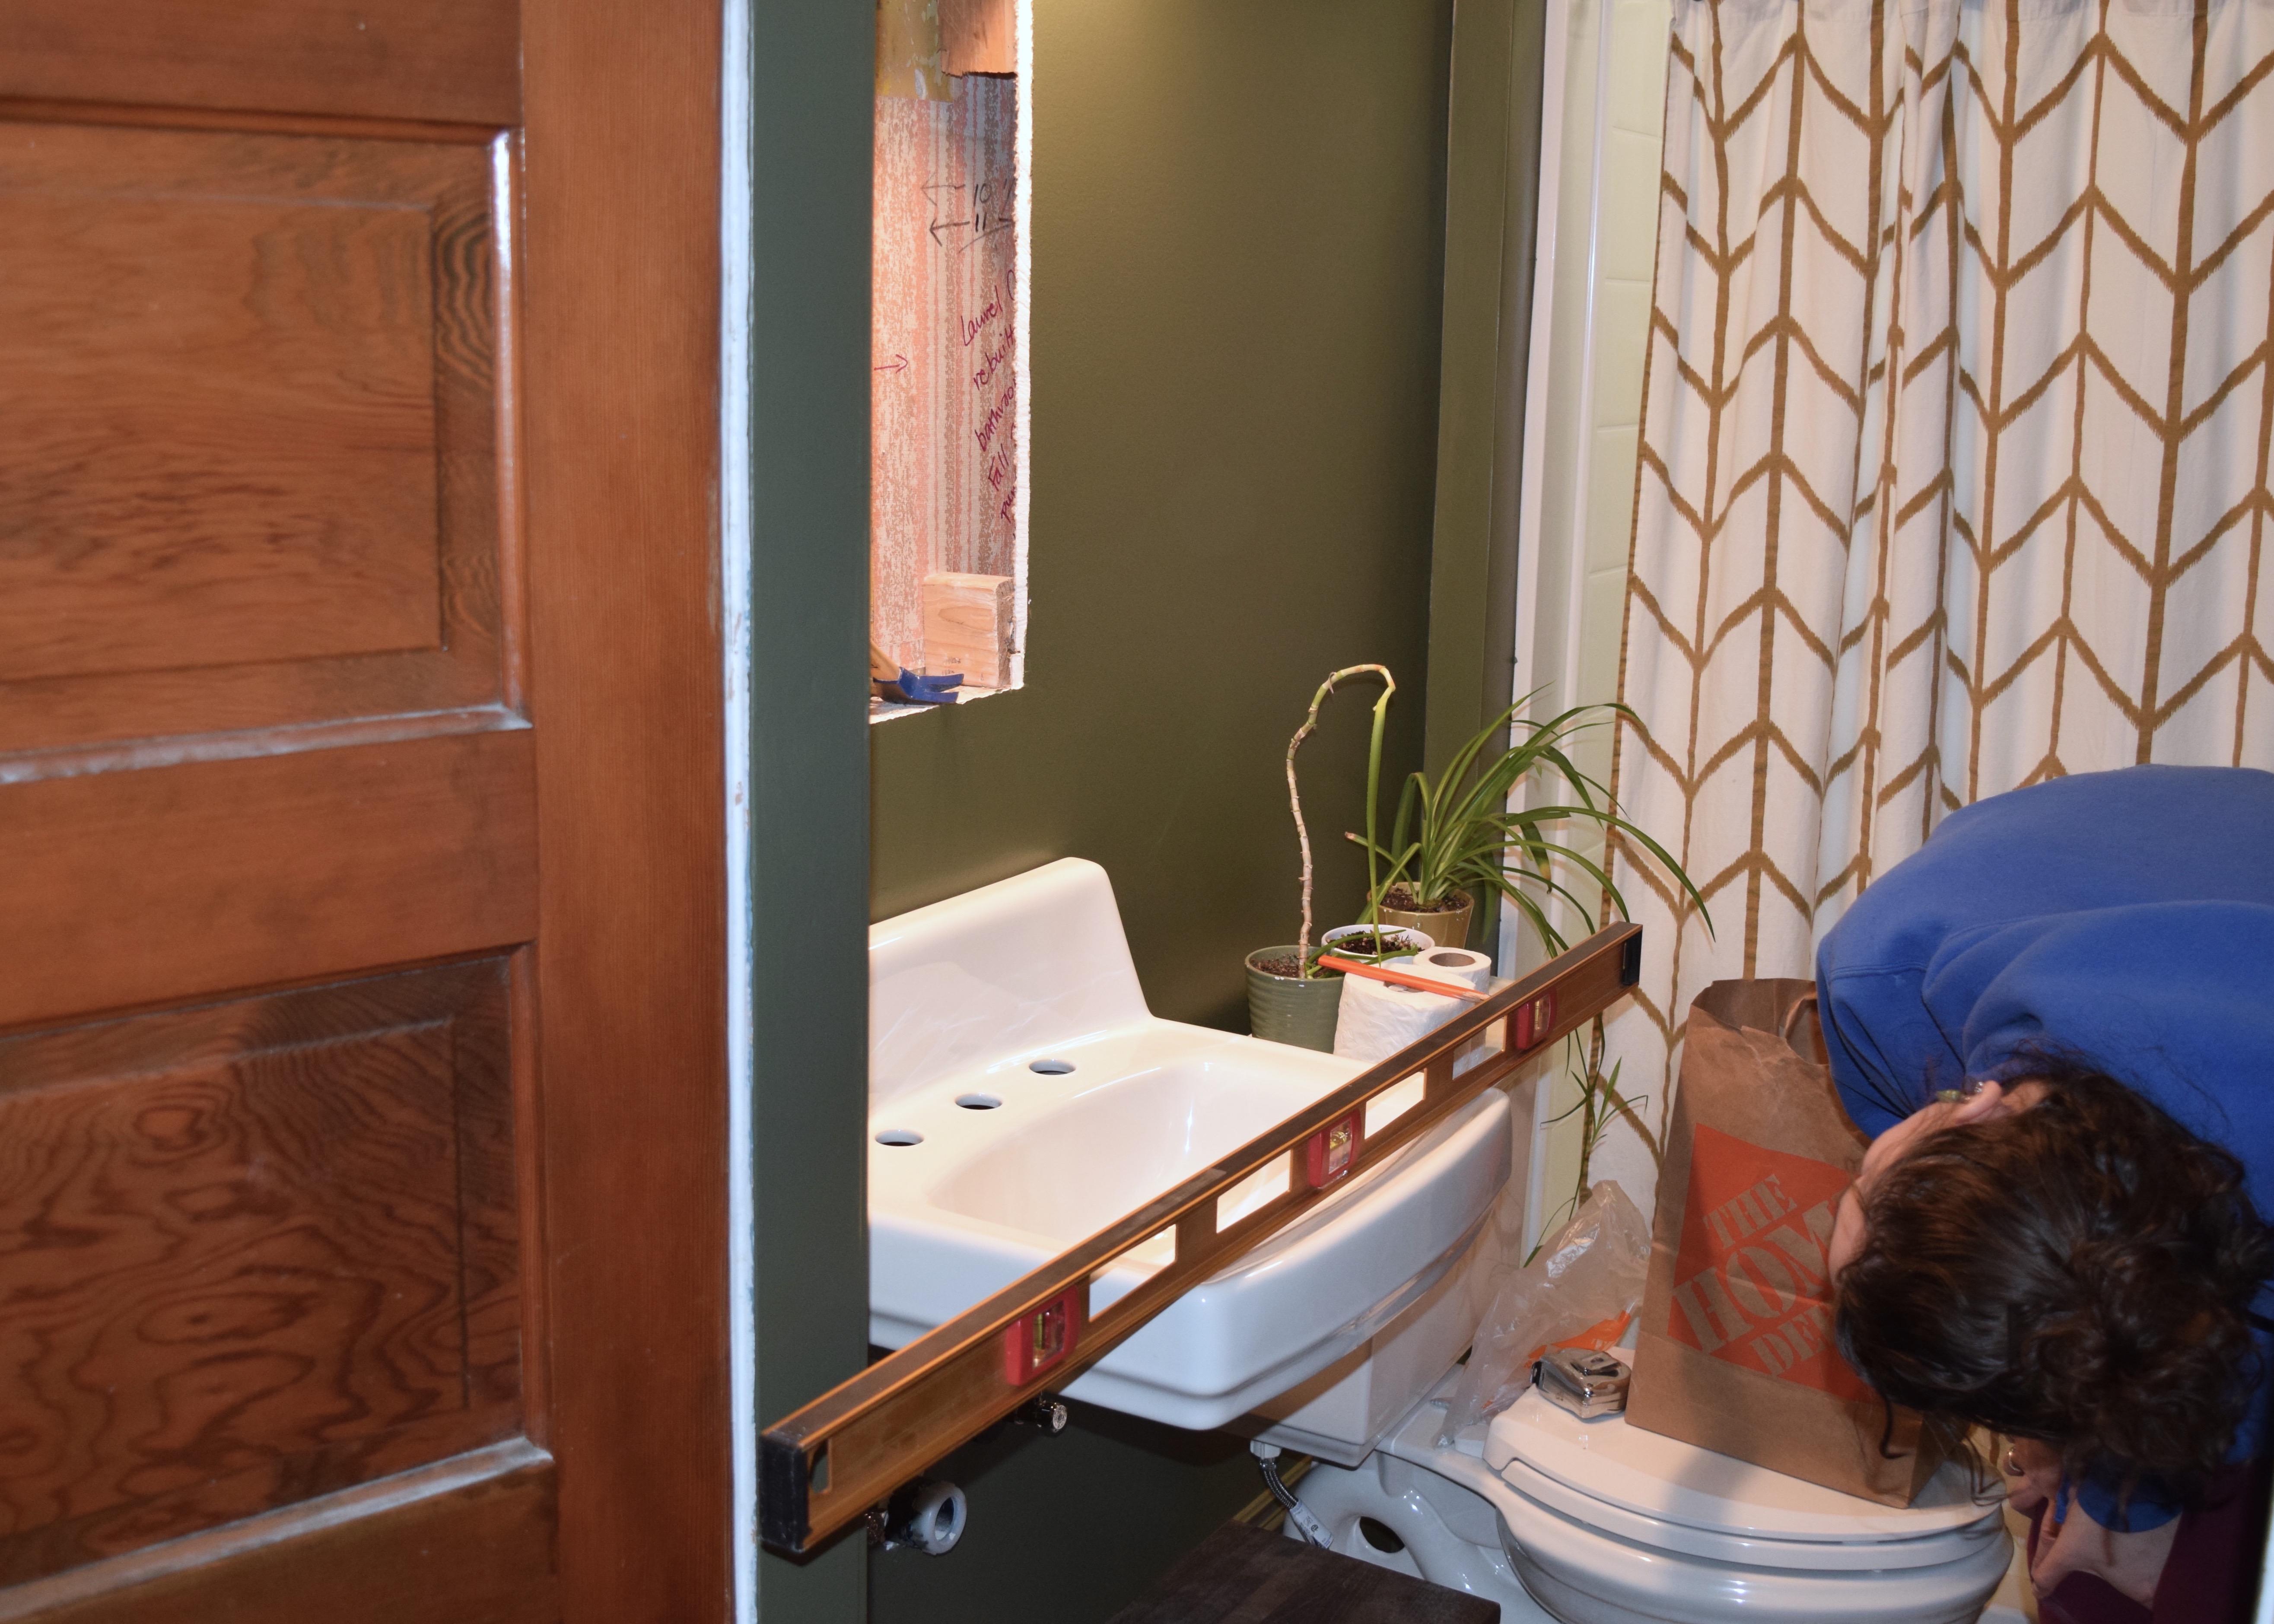
The sink arrived the week Bronwyn moved in. So technically she lived in my house without a bathroom sink for at least a couple of days. But really, we didn’t have a kitchen either, so the sinkless bathroom was a total luxury. When it finally was in hand, I didn’t waste a second getting it installed though! After measuring my locations I marked out where my brackets needed to go, checked for level, and predrilled holes for the bracket bolts into the plywood backing behind the drywall.
I dryfit my brackets and checked again for level before tightening them fully.
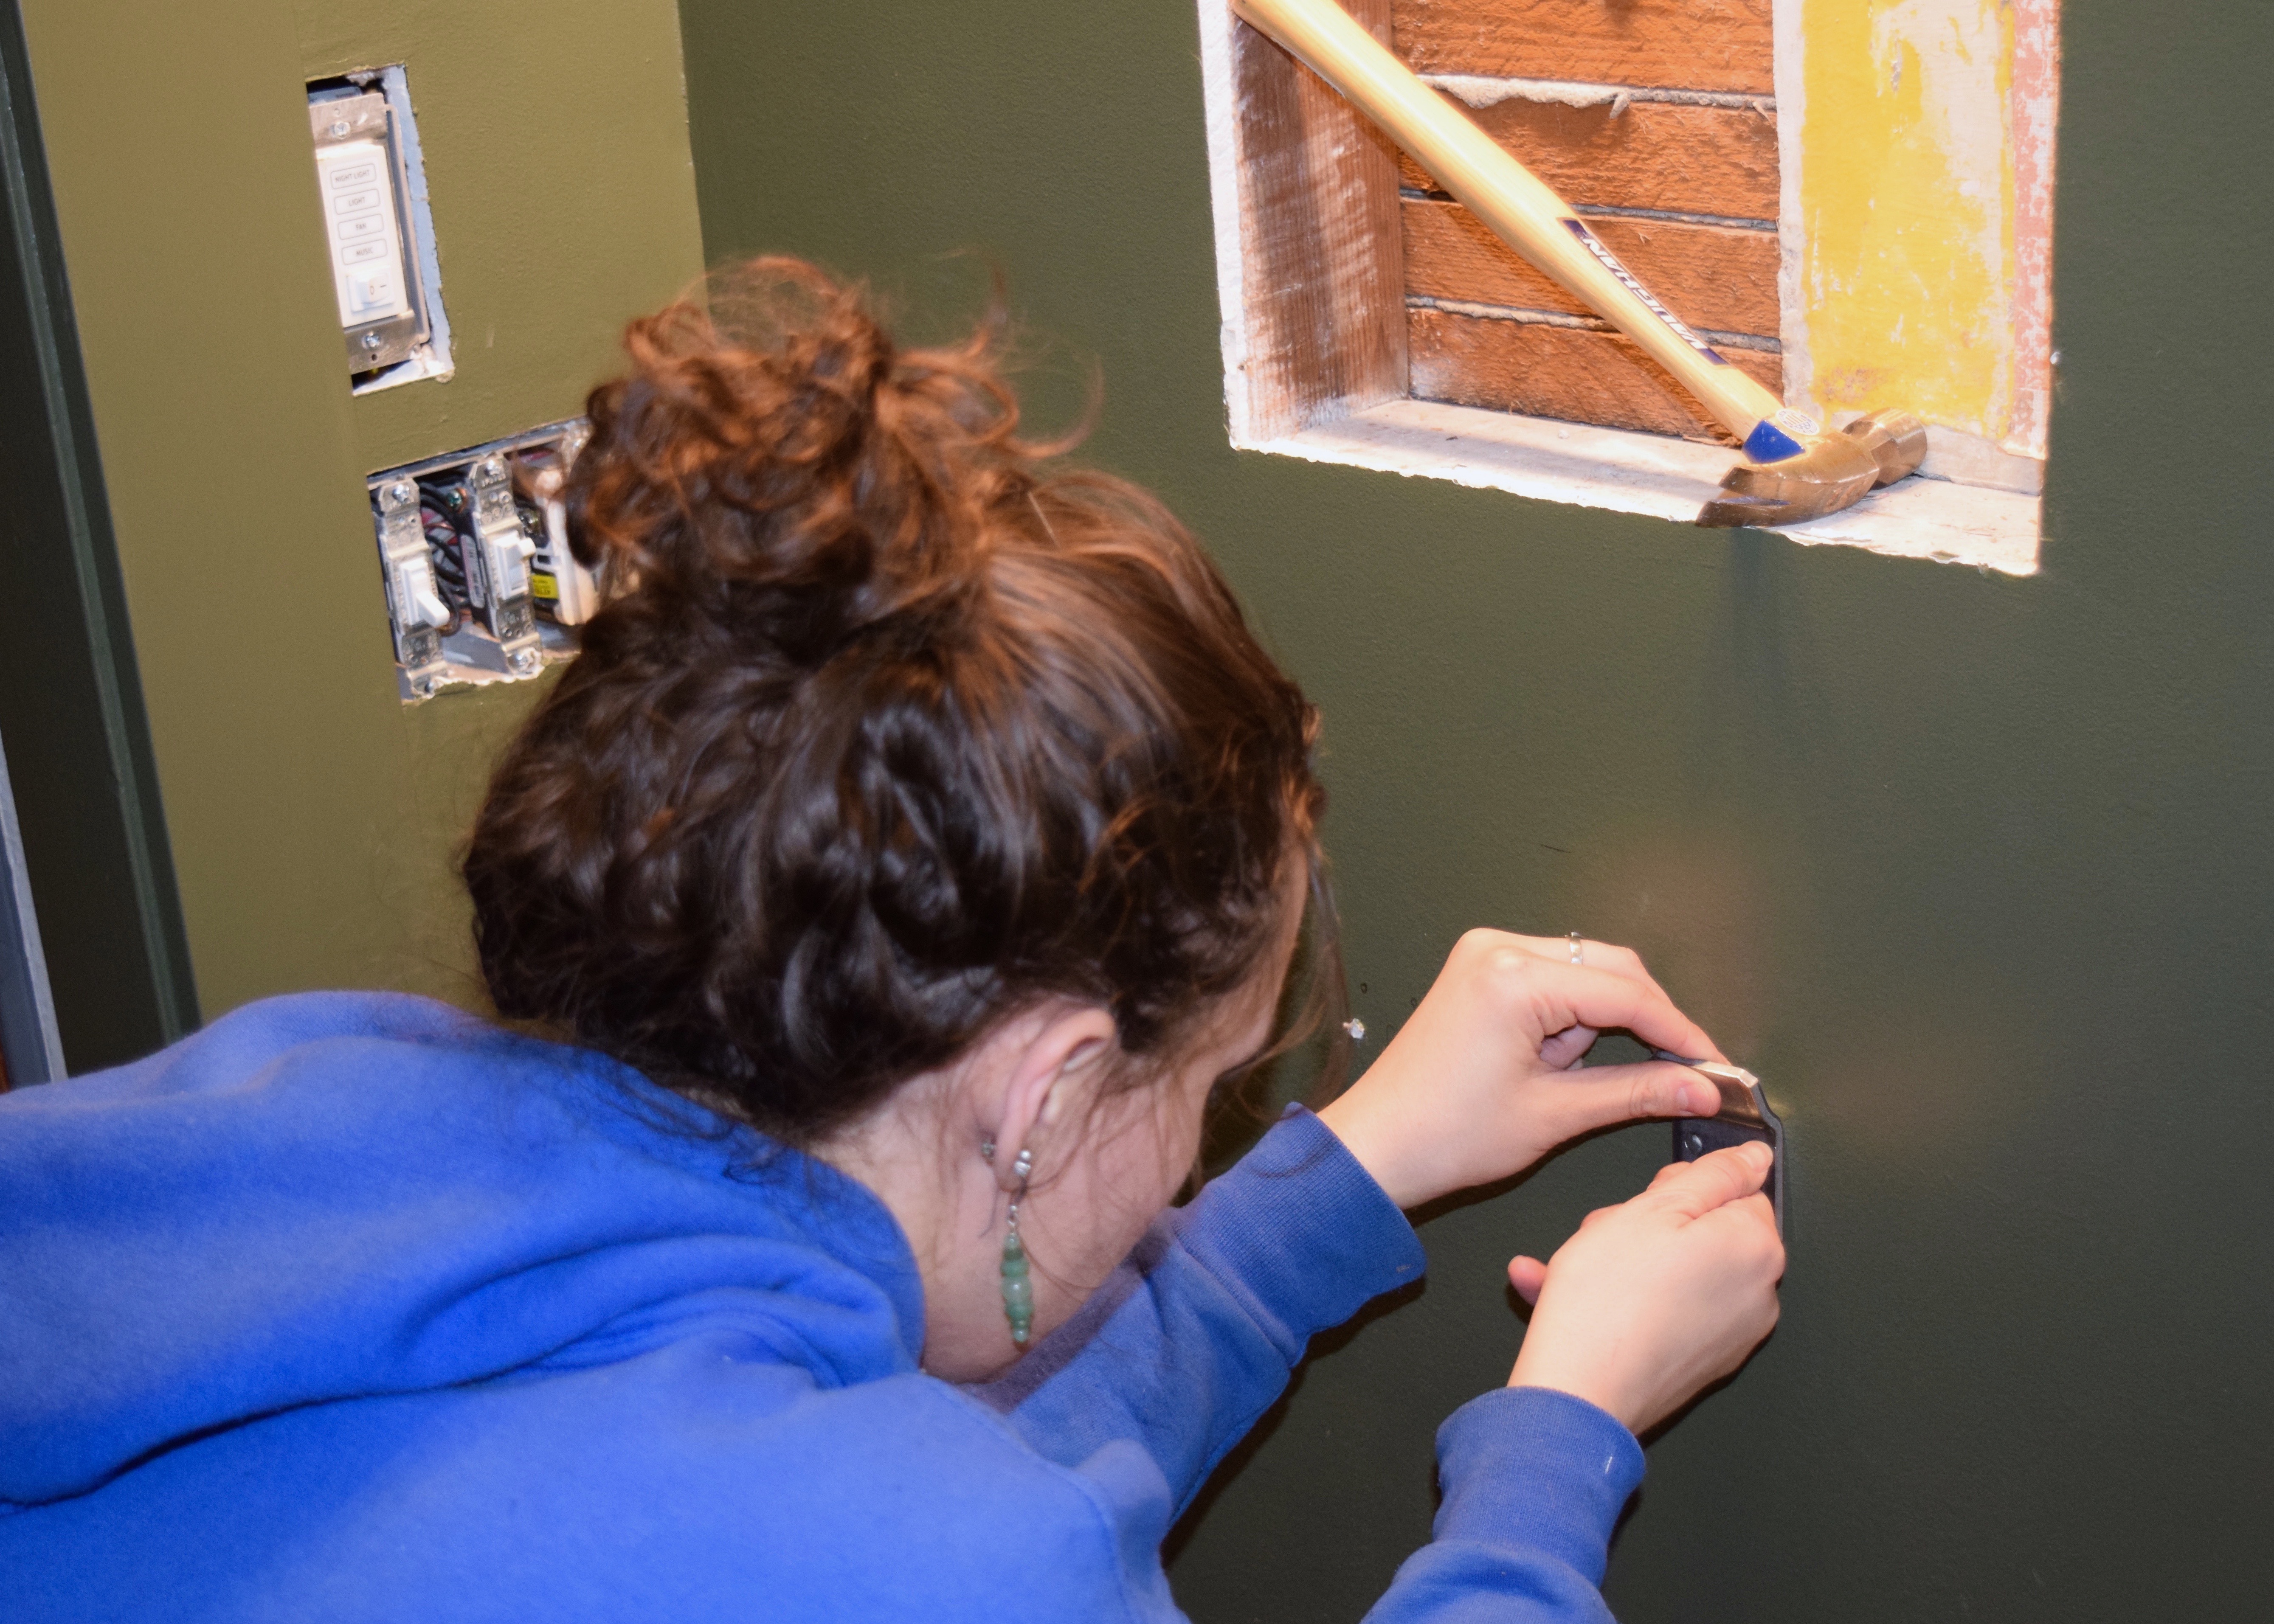
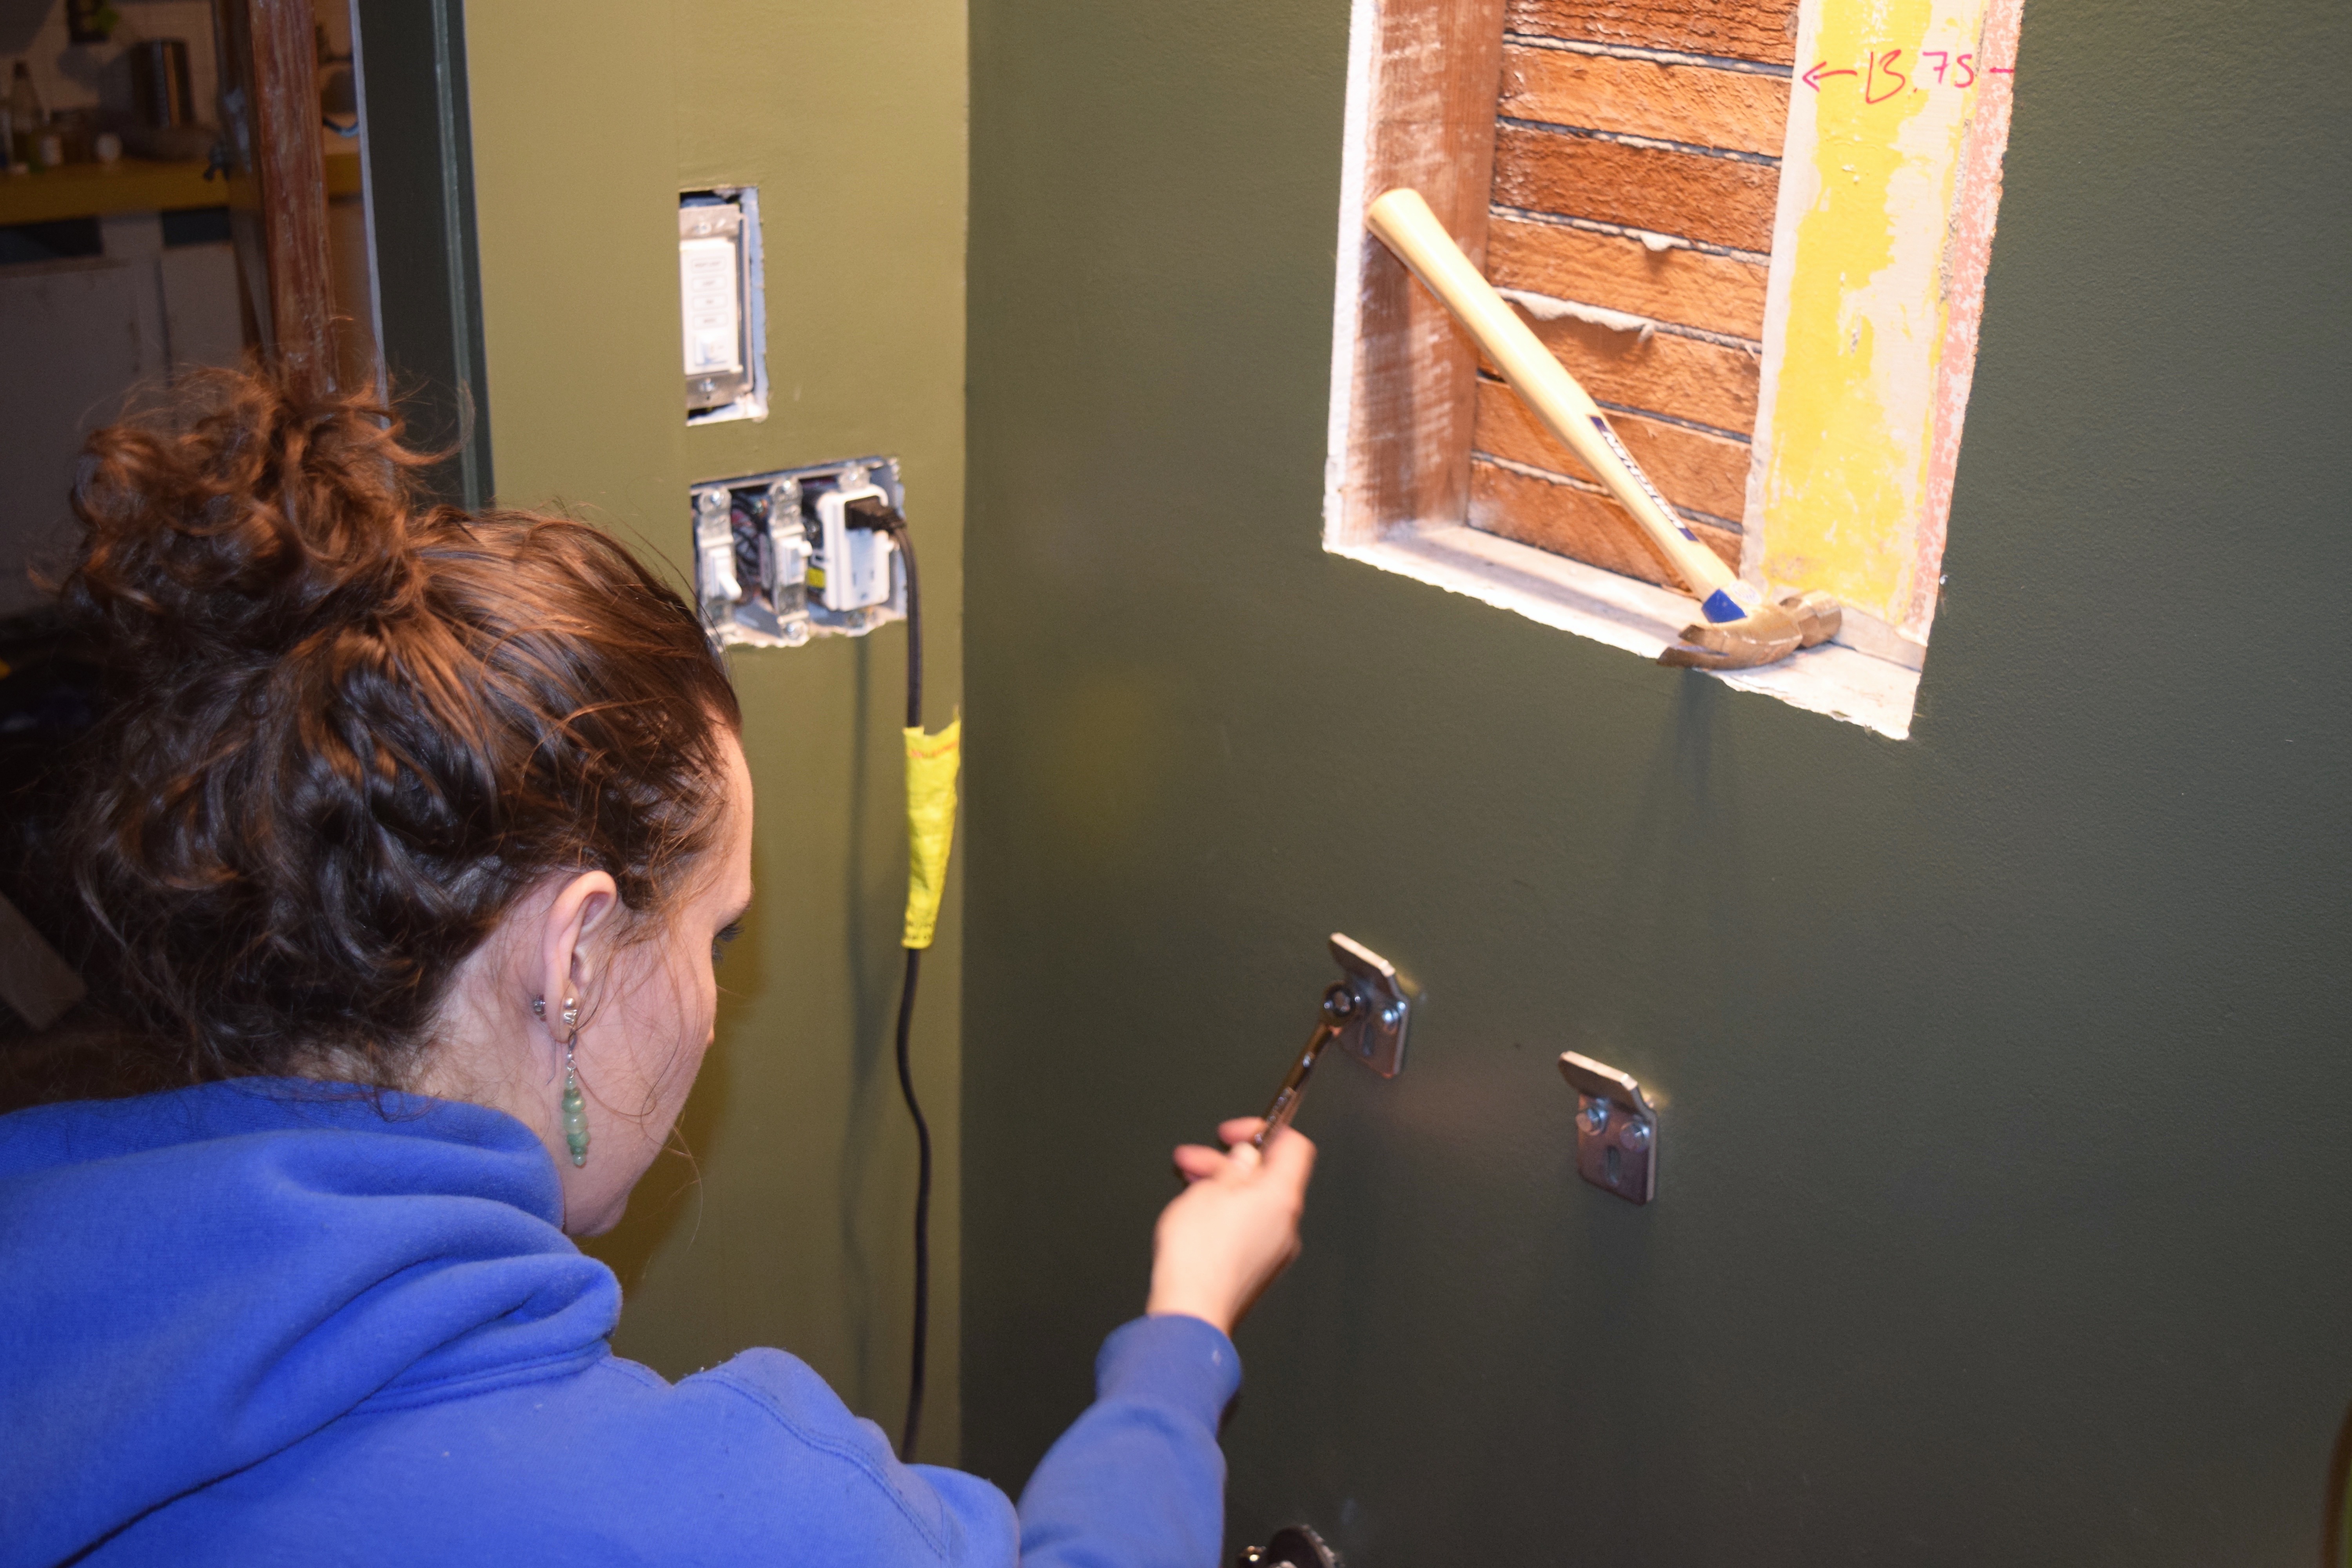
The brackets were easily secured to the wall with the bolts into the predrilled holes and just needed to be hand-tightened a wrench. Try to ignore the big empty space above where the medicine cabinet is supposed to go! Not sure why that hammer was balancing all precariously there either…
Once the brackets were tightened it was time to place the sink on top. I gently lifted it on making sure to aim so the brackets caught.
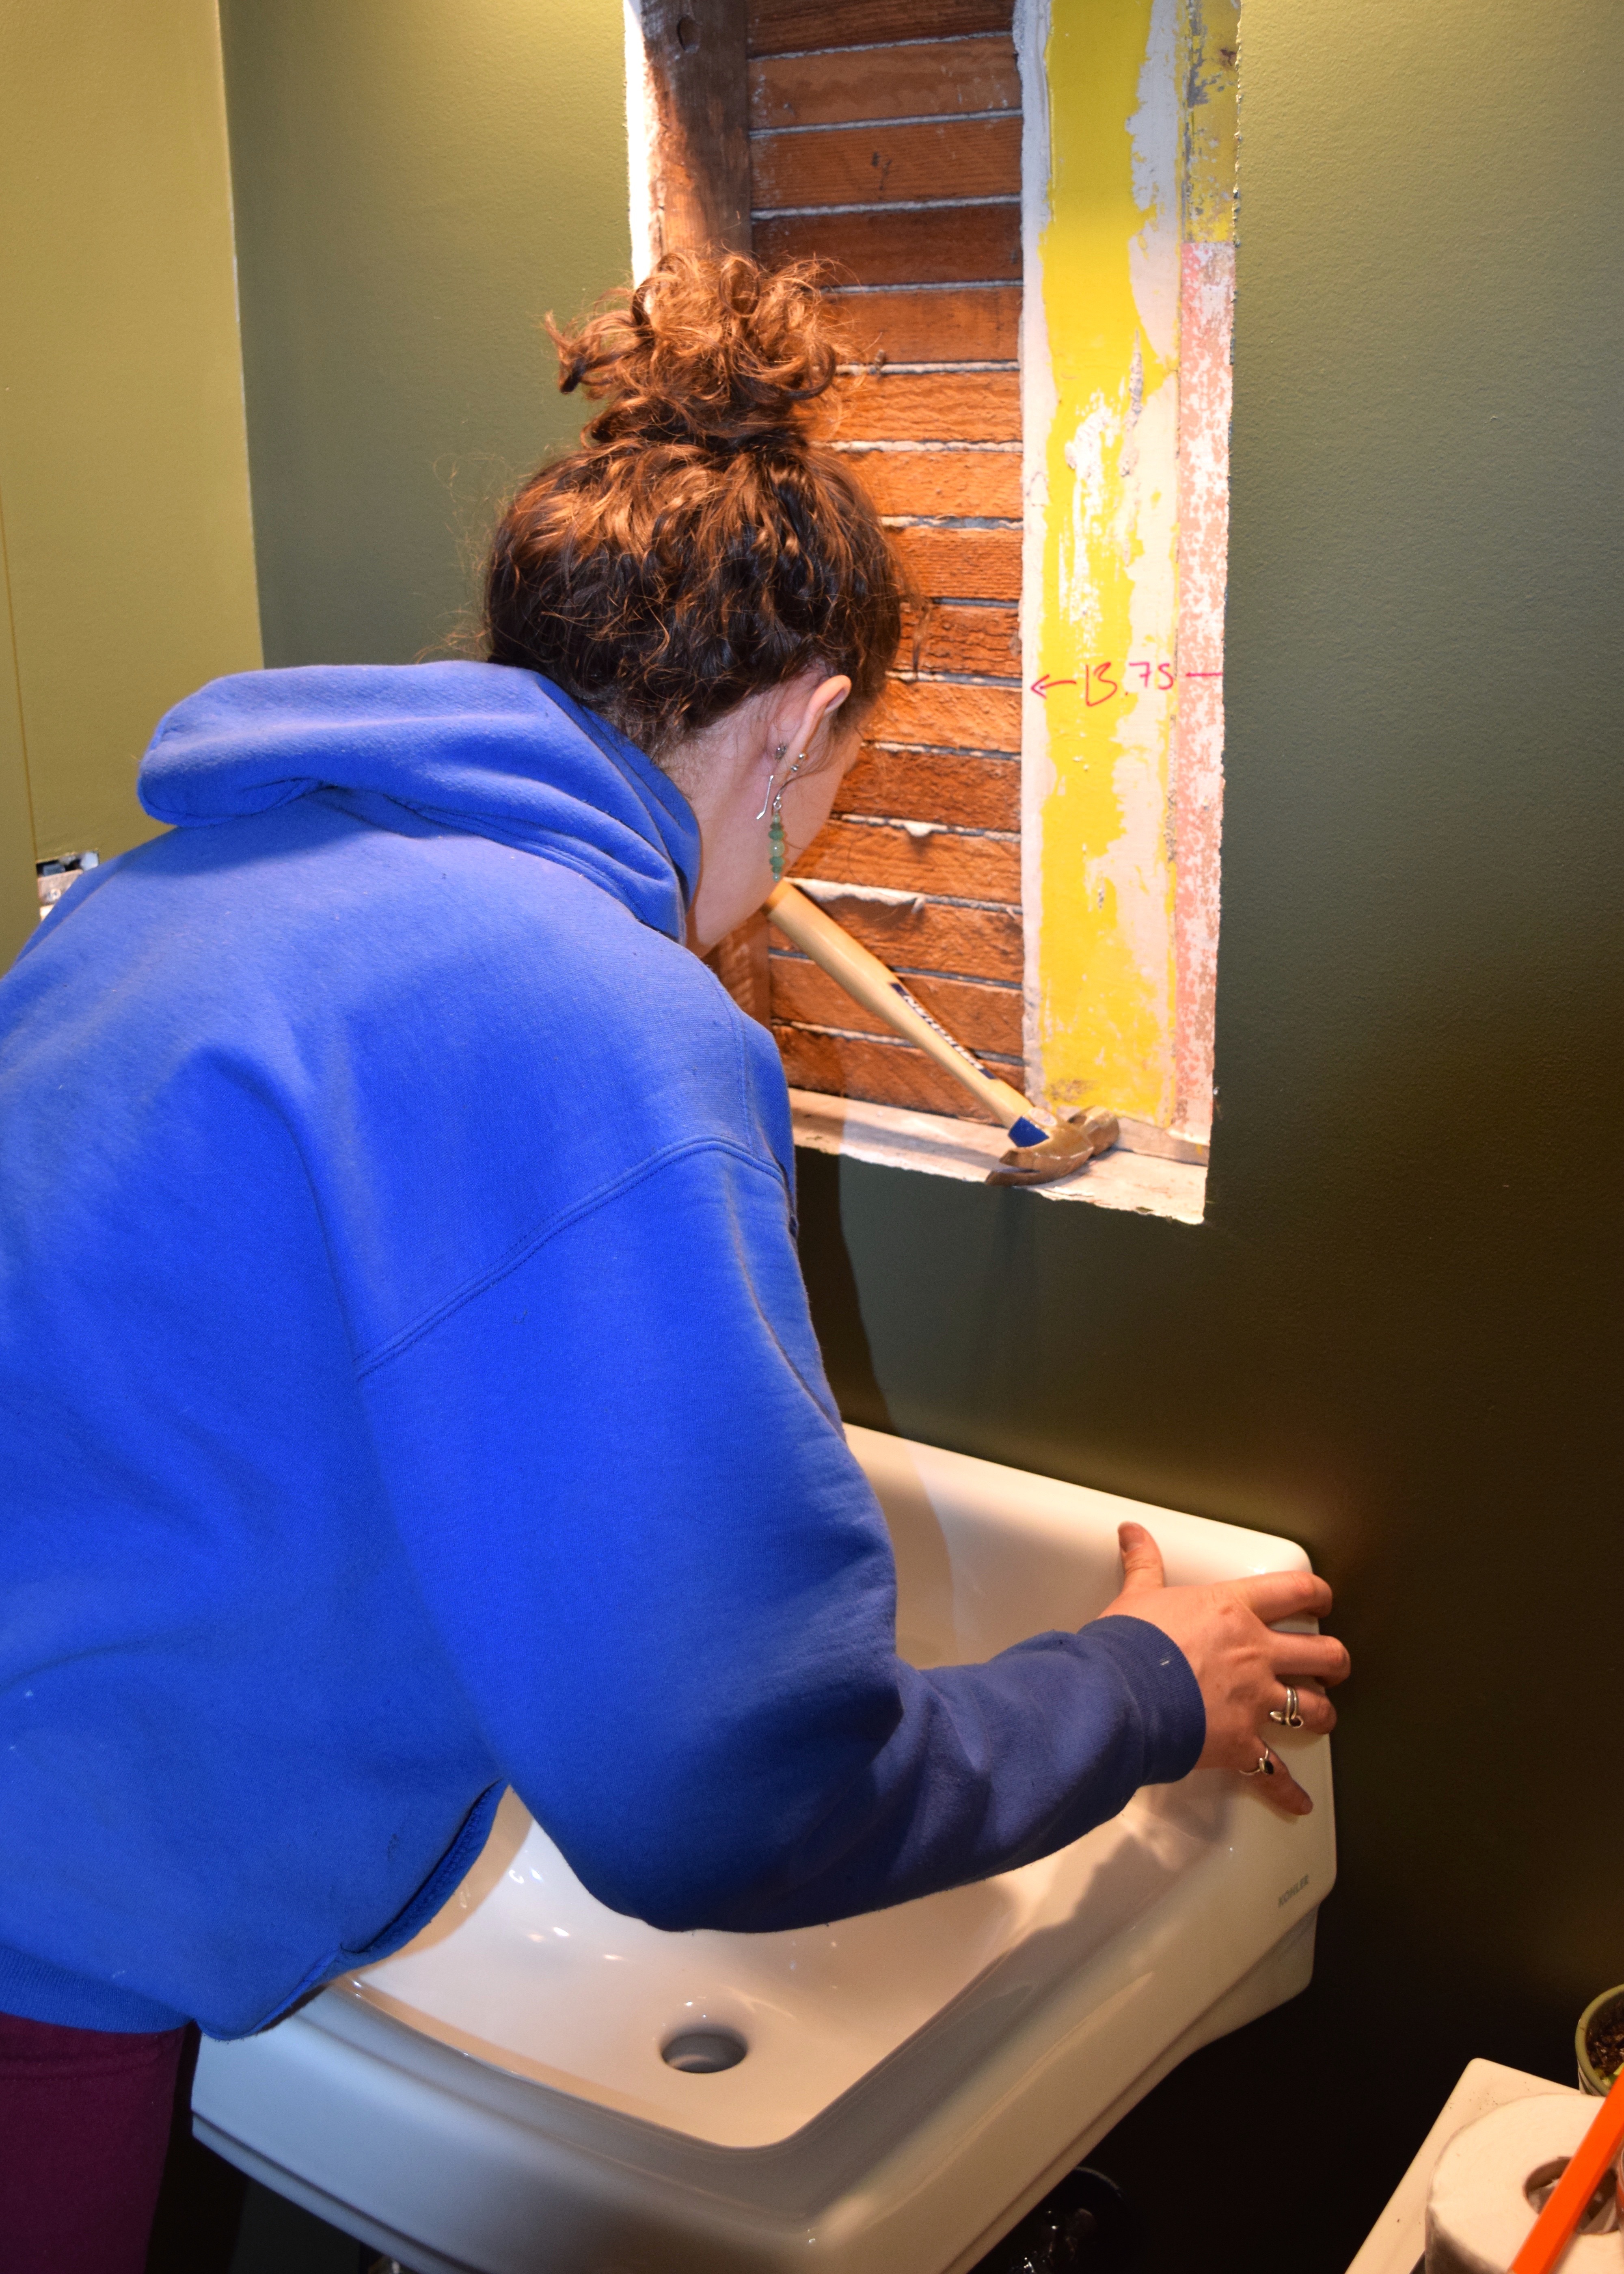
Since the brackets still allowed for the sink to move side to side I took out my measuring tape again and confirmed the distance from the center of the toilet.. I needed that to be 15″ in order to pass my plumbing inspection and I was not about to fail another inspection! Once my sink location was perfected, I could screw in two more bolts to the bottom of the sink that would prevent it from sliding to one side or the other. I didn’t want to do that though, because 15″ from the center of my toilet had my sink about 2″ off center from my vanity. I’d known this going in and after the inspection, wanted to be able to slide the sink over slightly to get things lined up. So I left off those two bolts for the time being.
I did however confirm the sink was level and my bracket alignment correct. Everything was looking good, so it was time to install that faucet next!
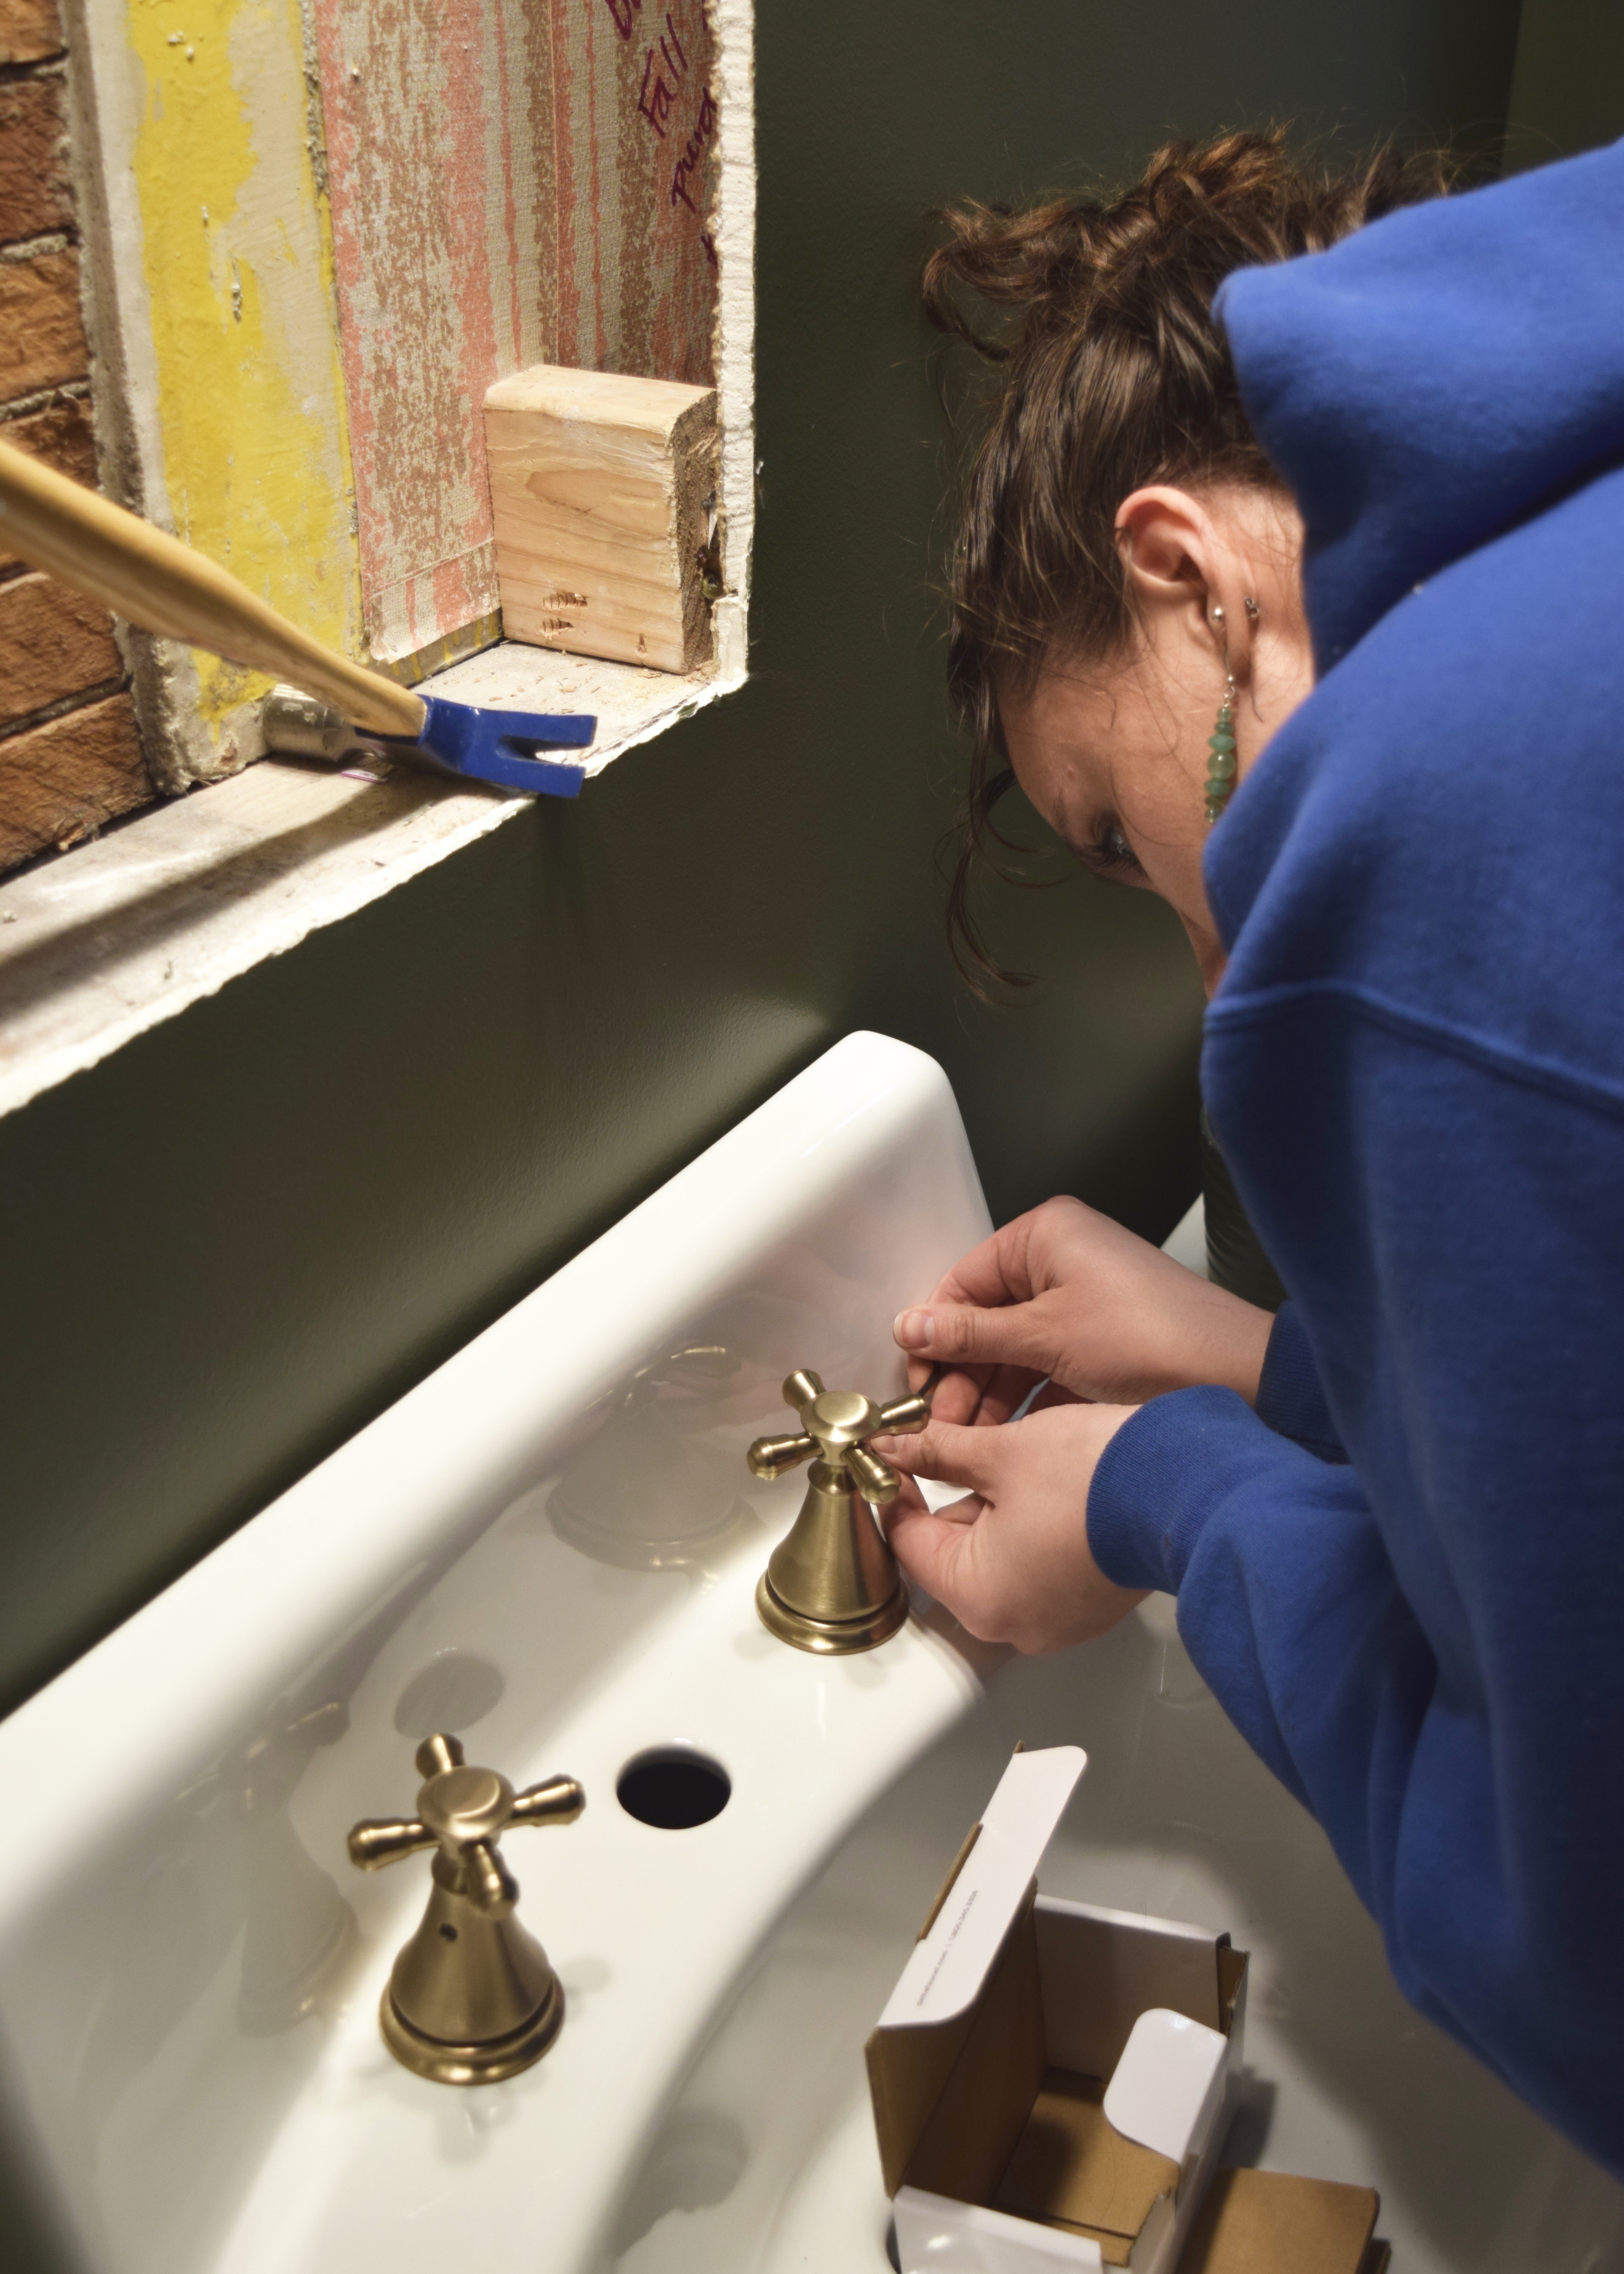
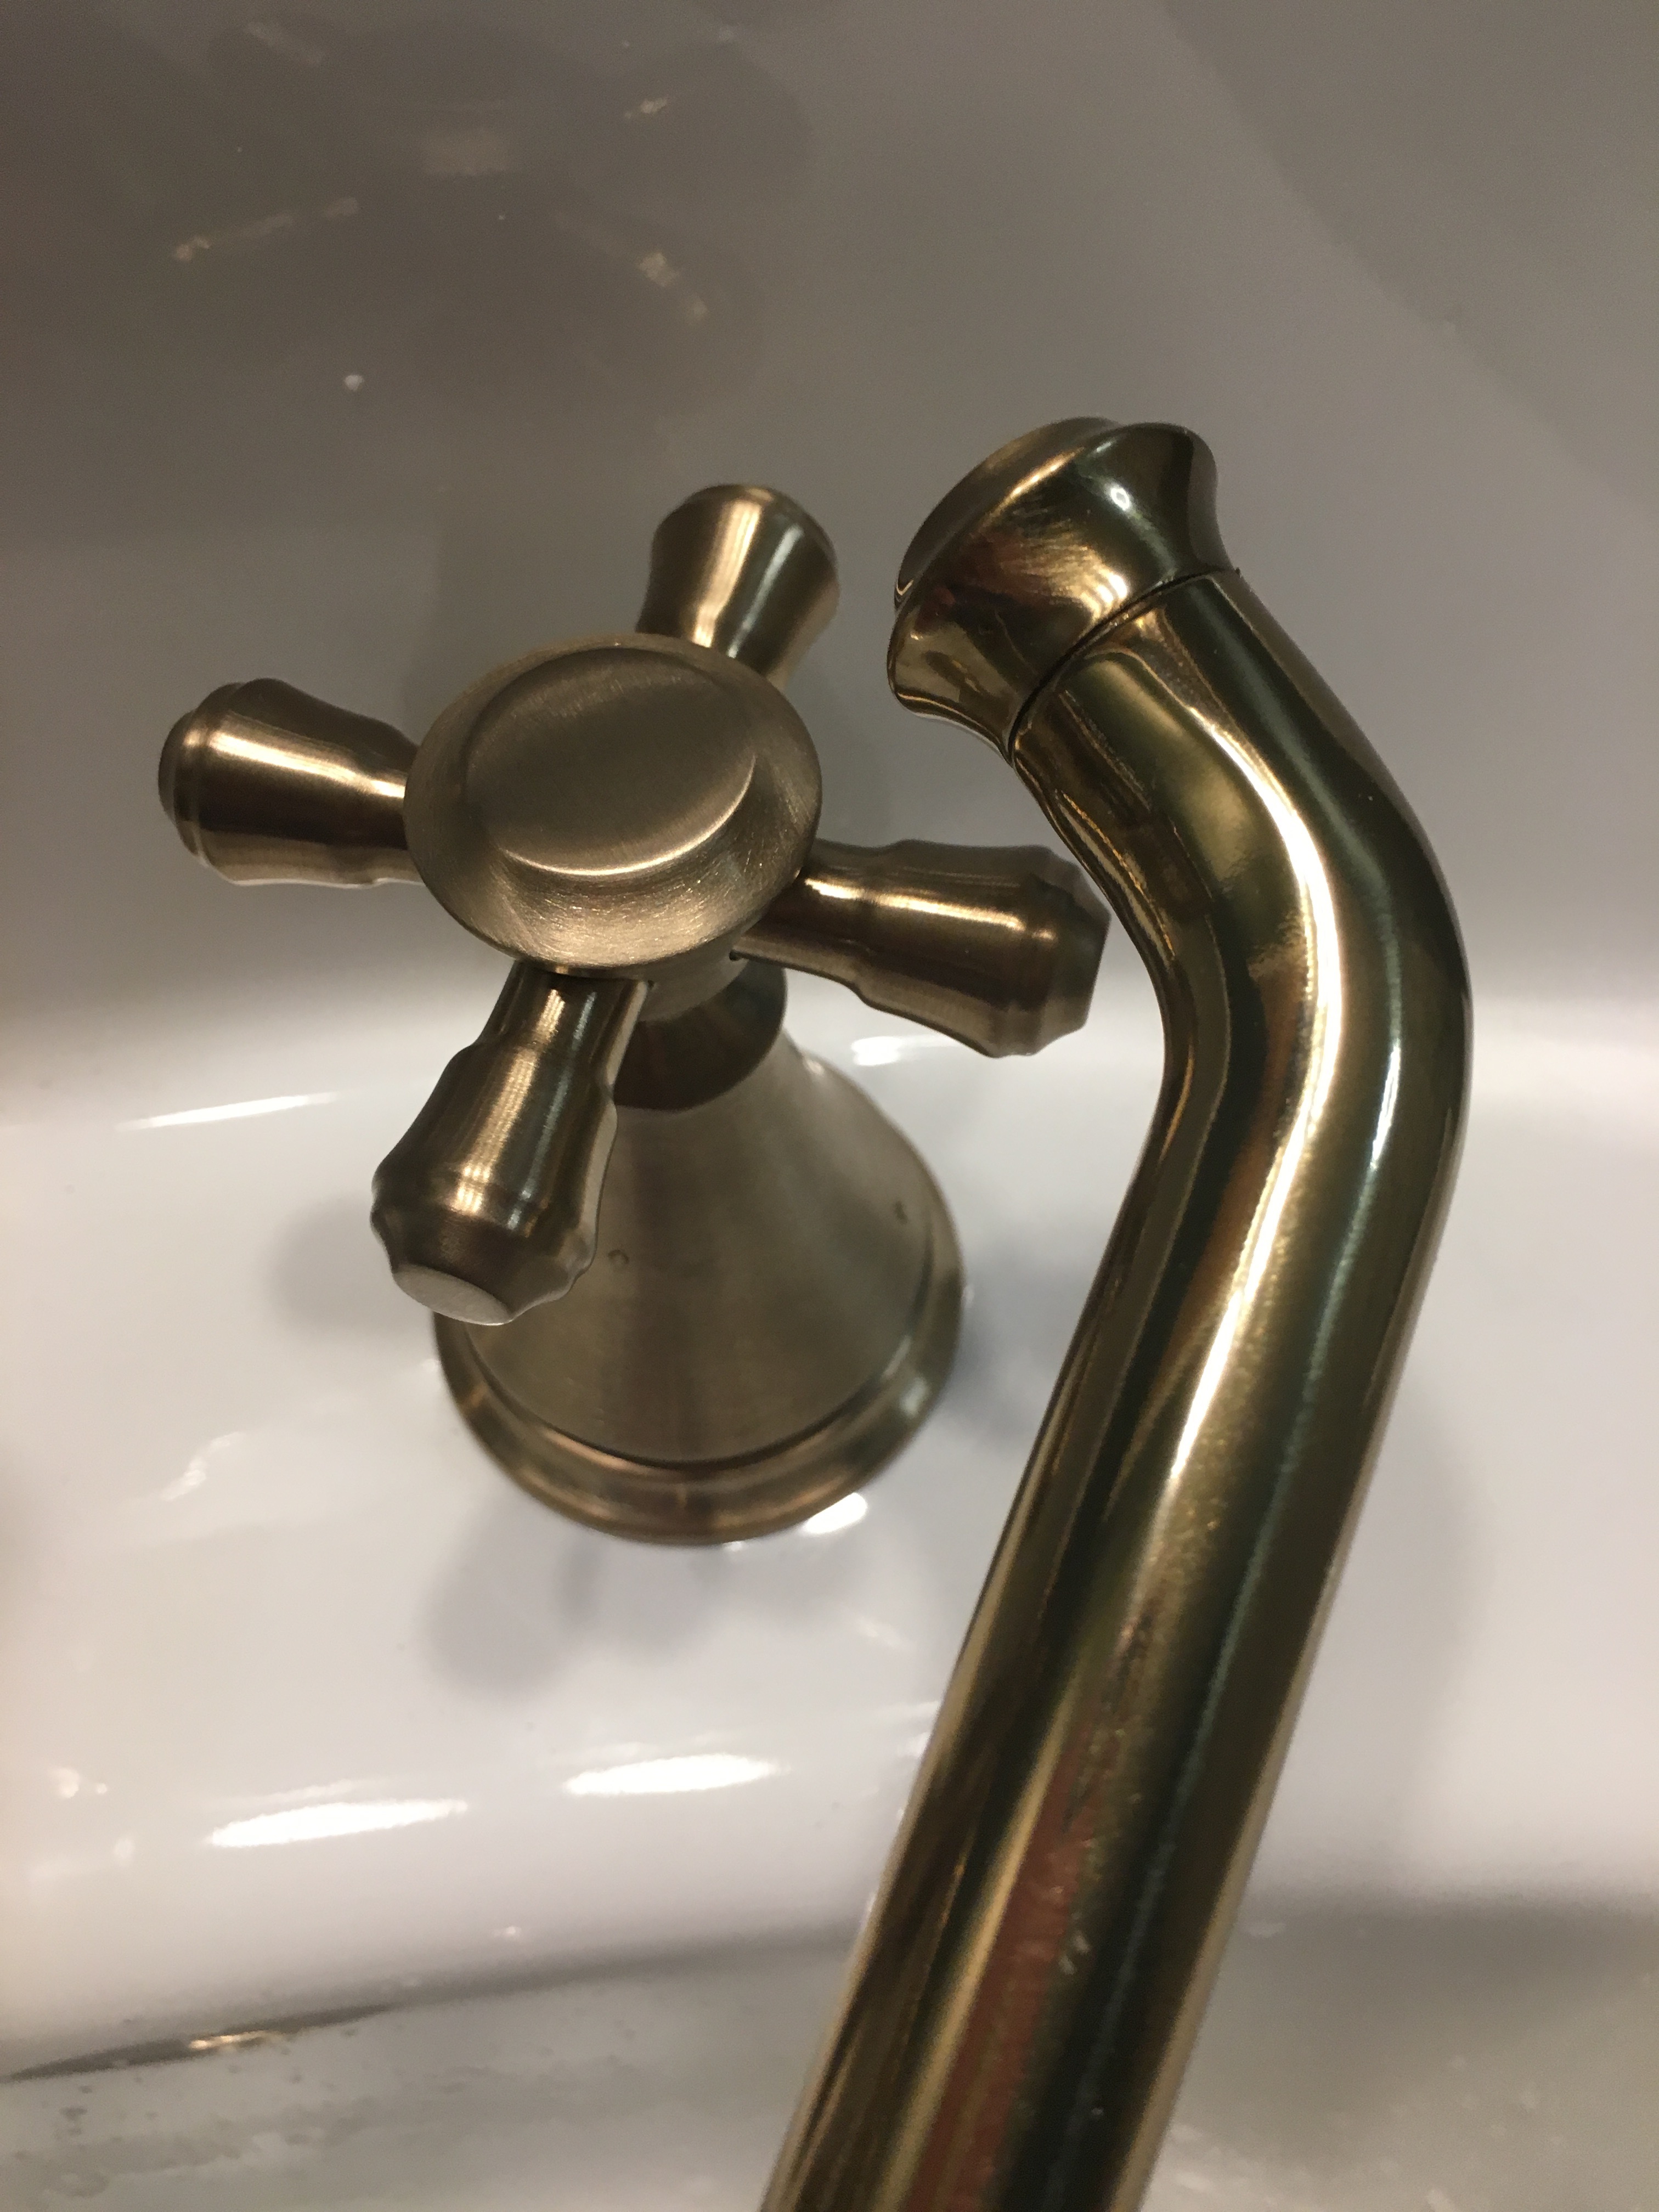
Then I opened up my new faucet from Delta’s Cassidy Collection and started putting together the handles. They have handle options and I picked the cross handle option since I think it looks the most traditional. It was fairly easy to just follow the included directions and tools to put these together and install the set screw to secure handles. Again, I’m constantly surprised by how easy it is to DIY things around my home. I can do this, you can do this, your little brother can do this! It just takes a little patience and the right tools.
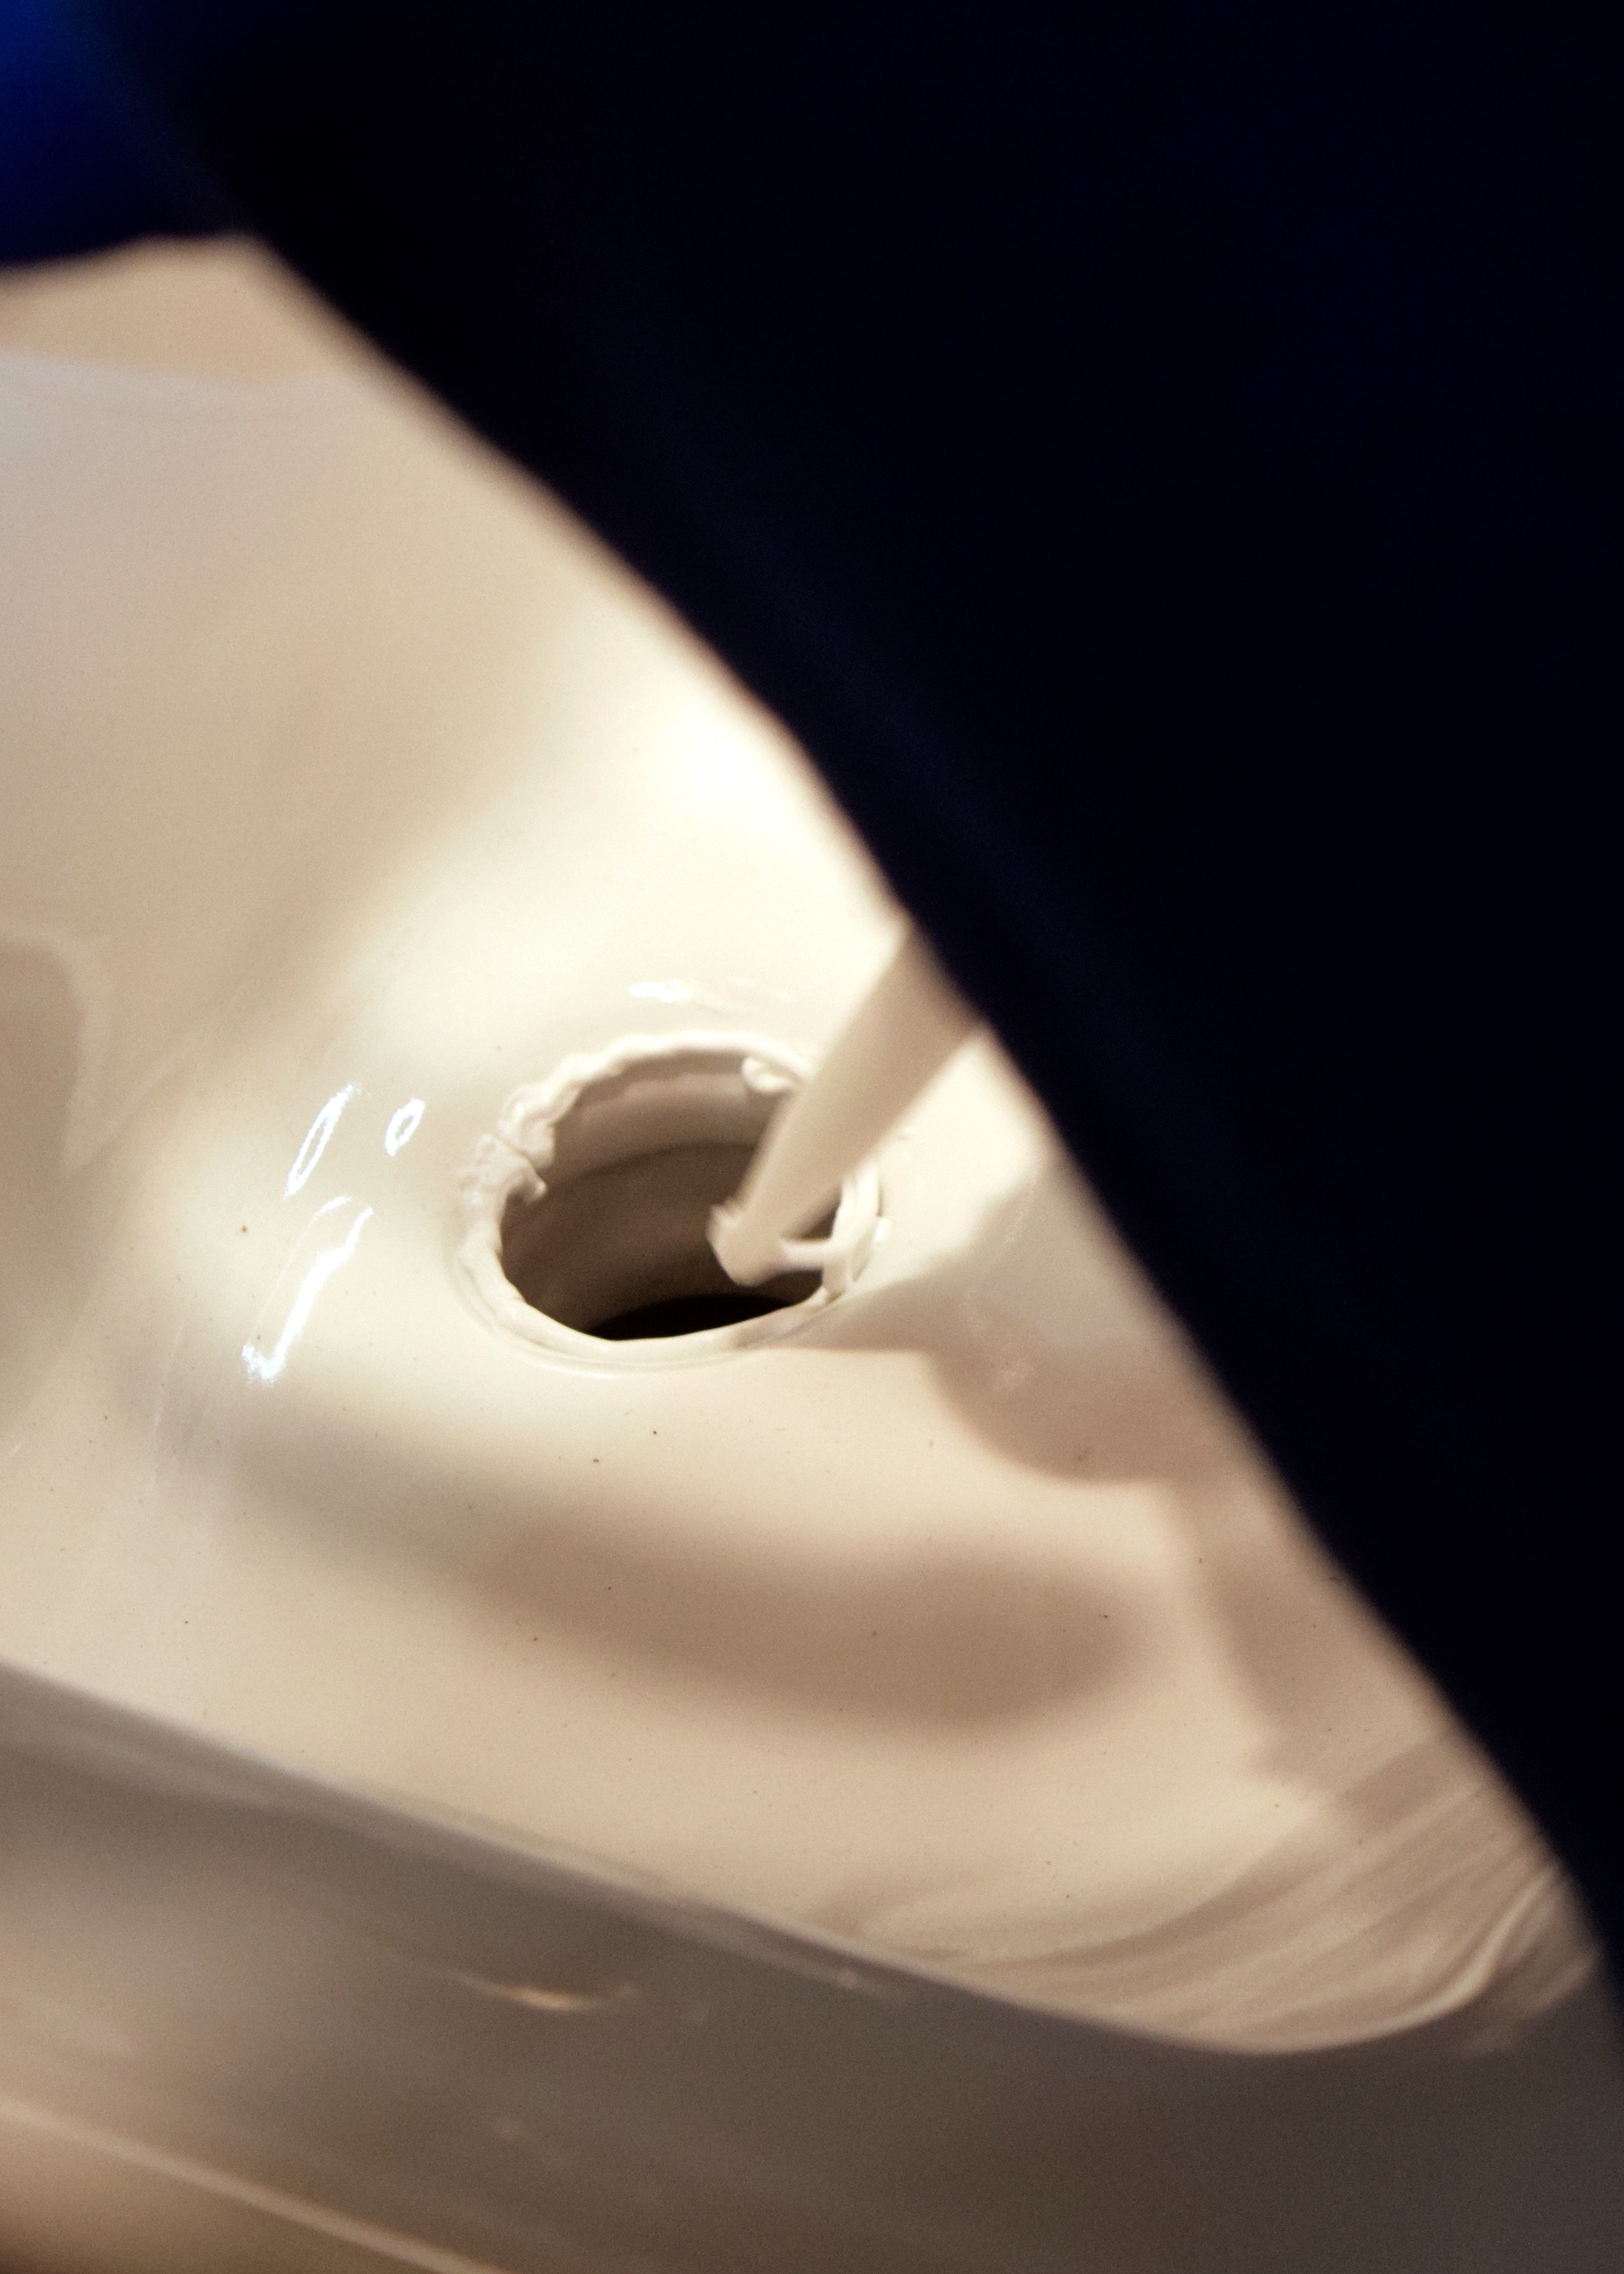
Once that was done, I placed the faucet on the sink and hooked up the handles to it. Then I moved on to the drain, placing a ring of caulking around the piece that sits into the sink to prevent water from leaking out.
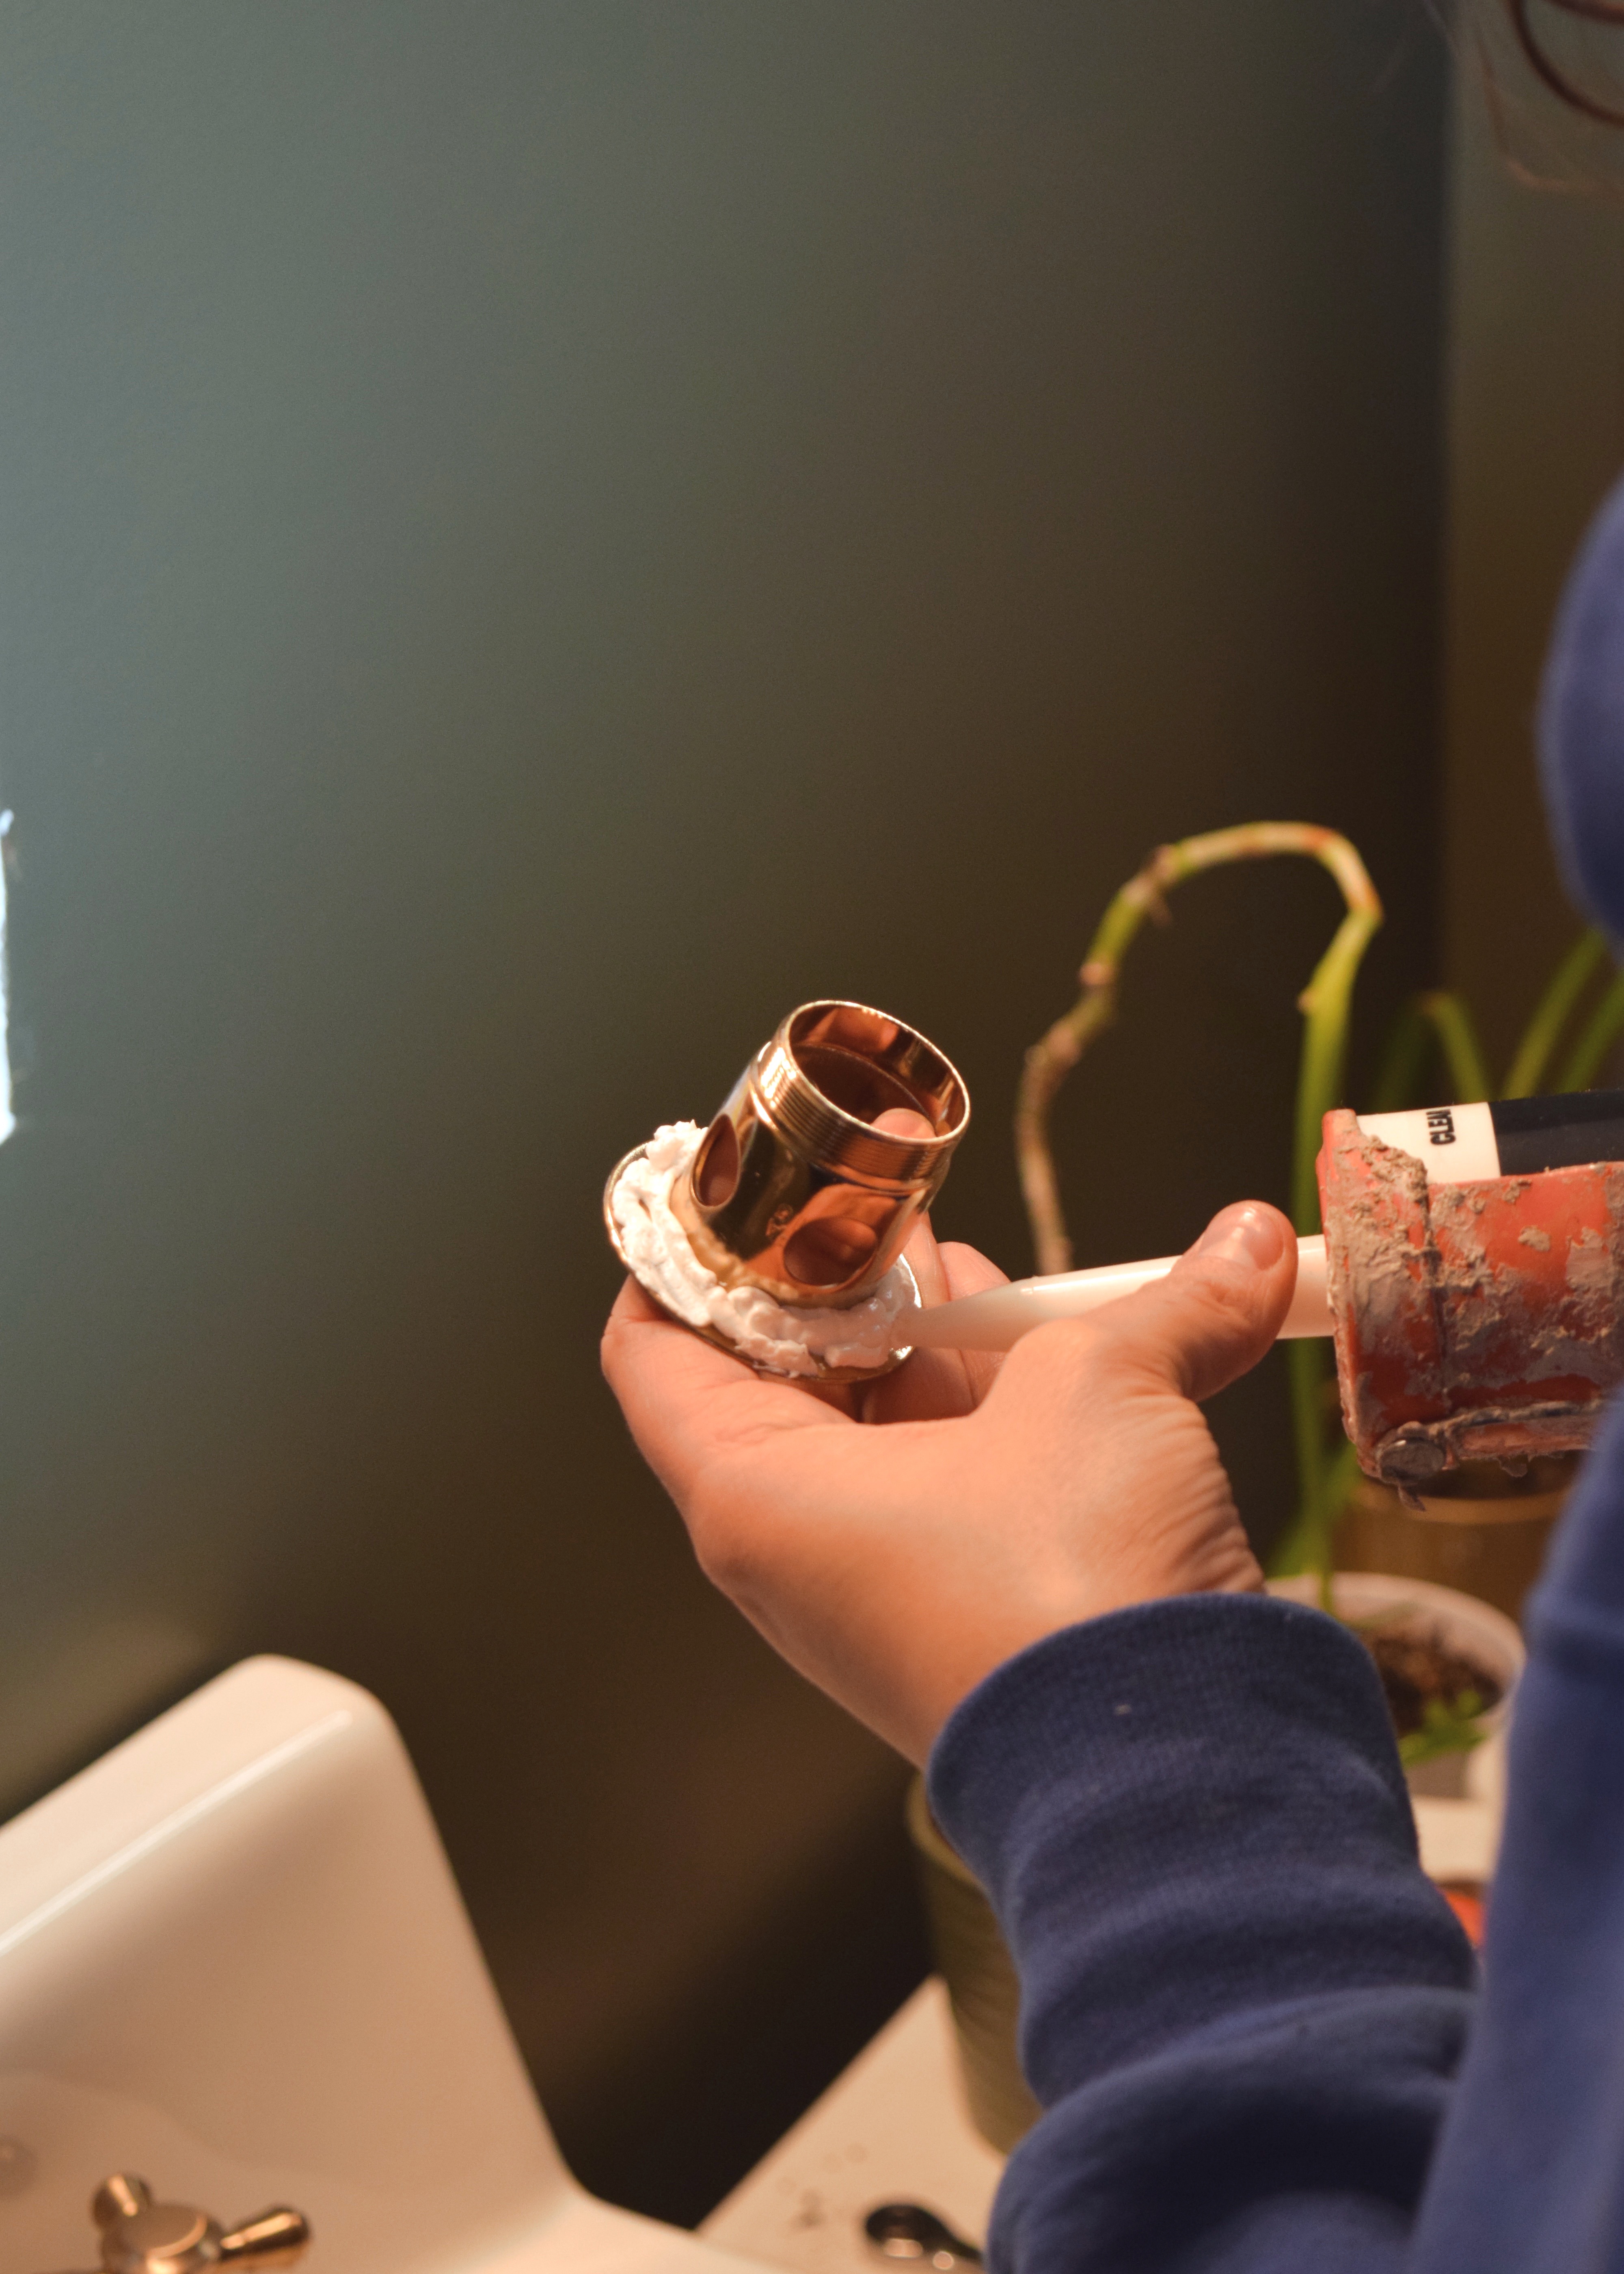
The sink itself also got a bit of caulk to make sure things fit together tightly.
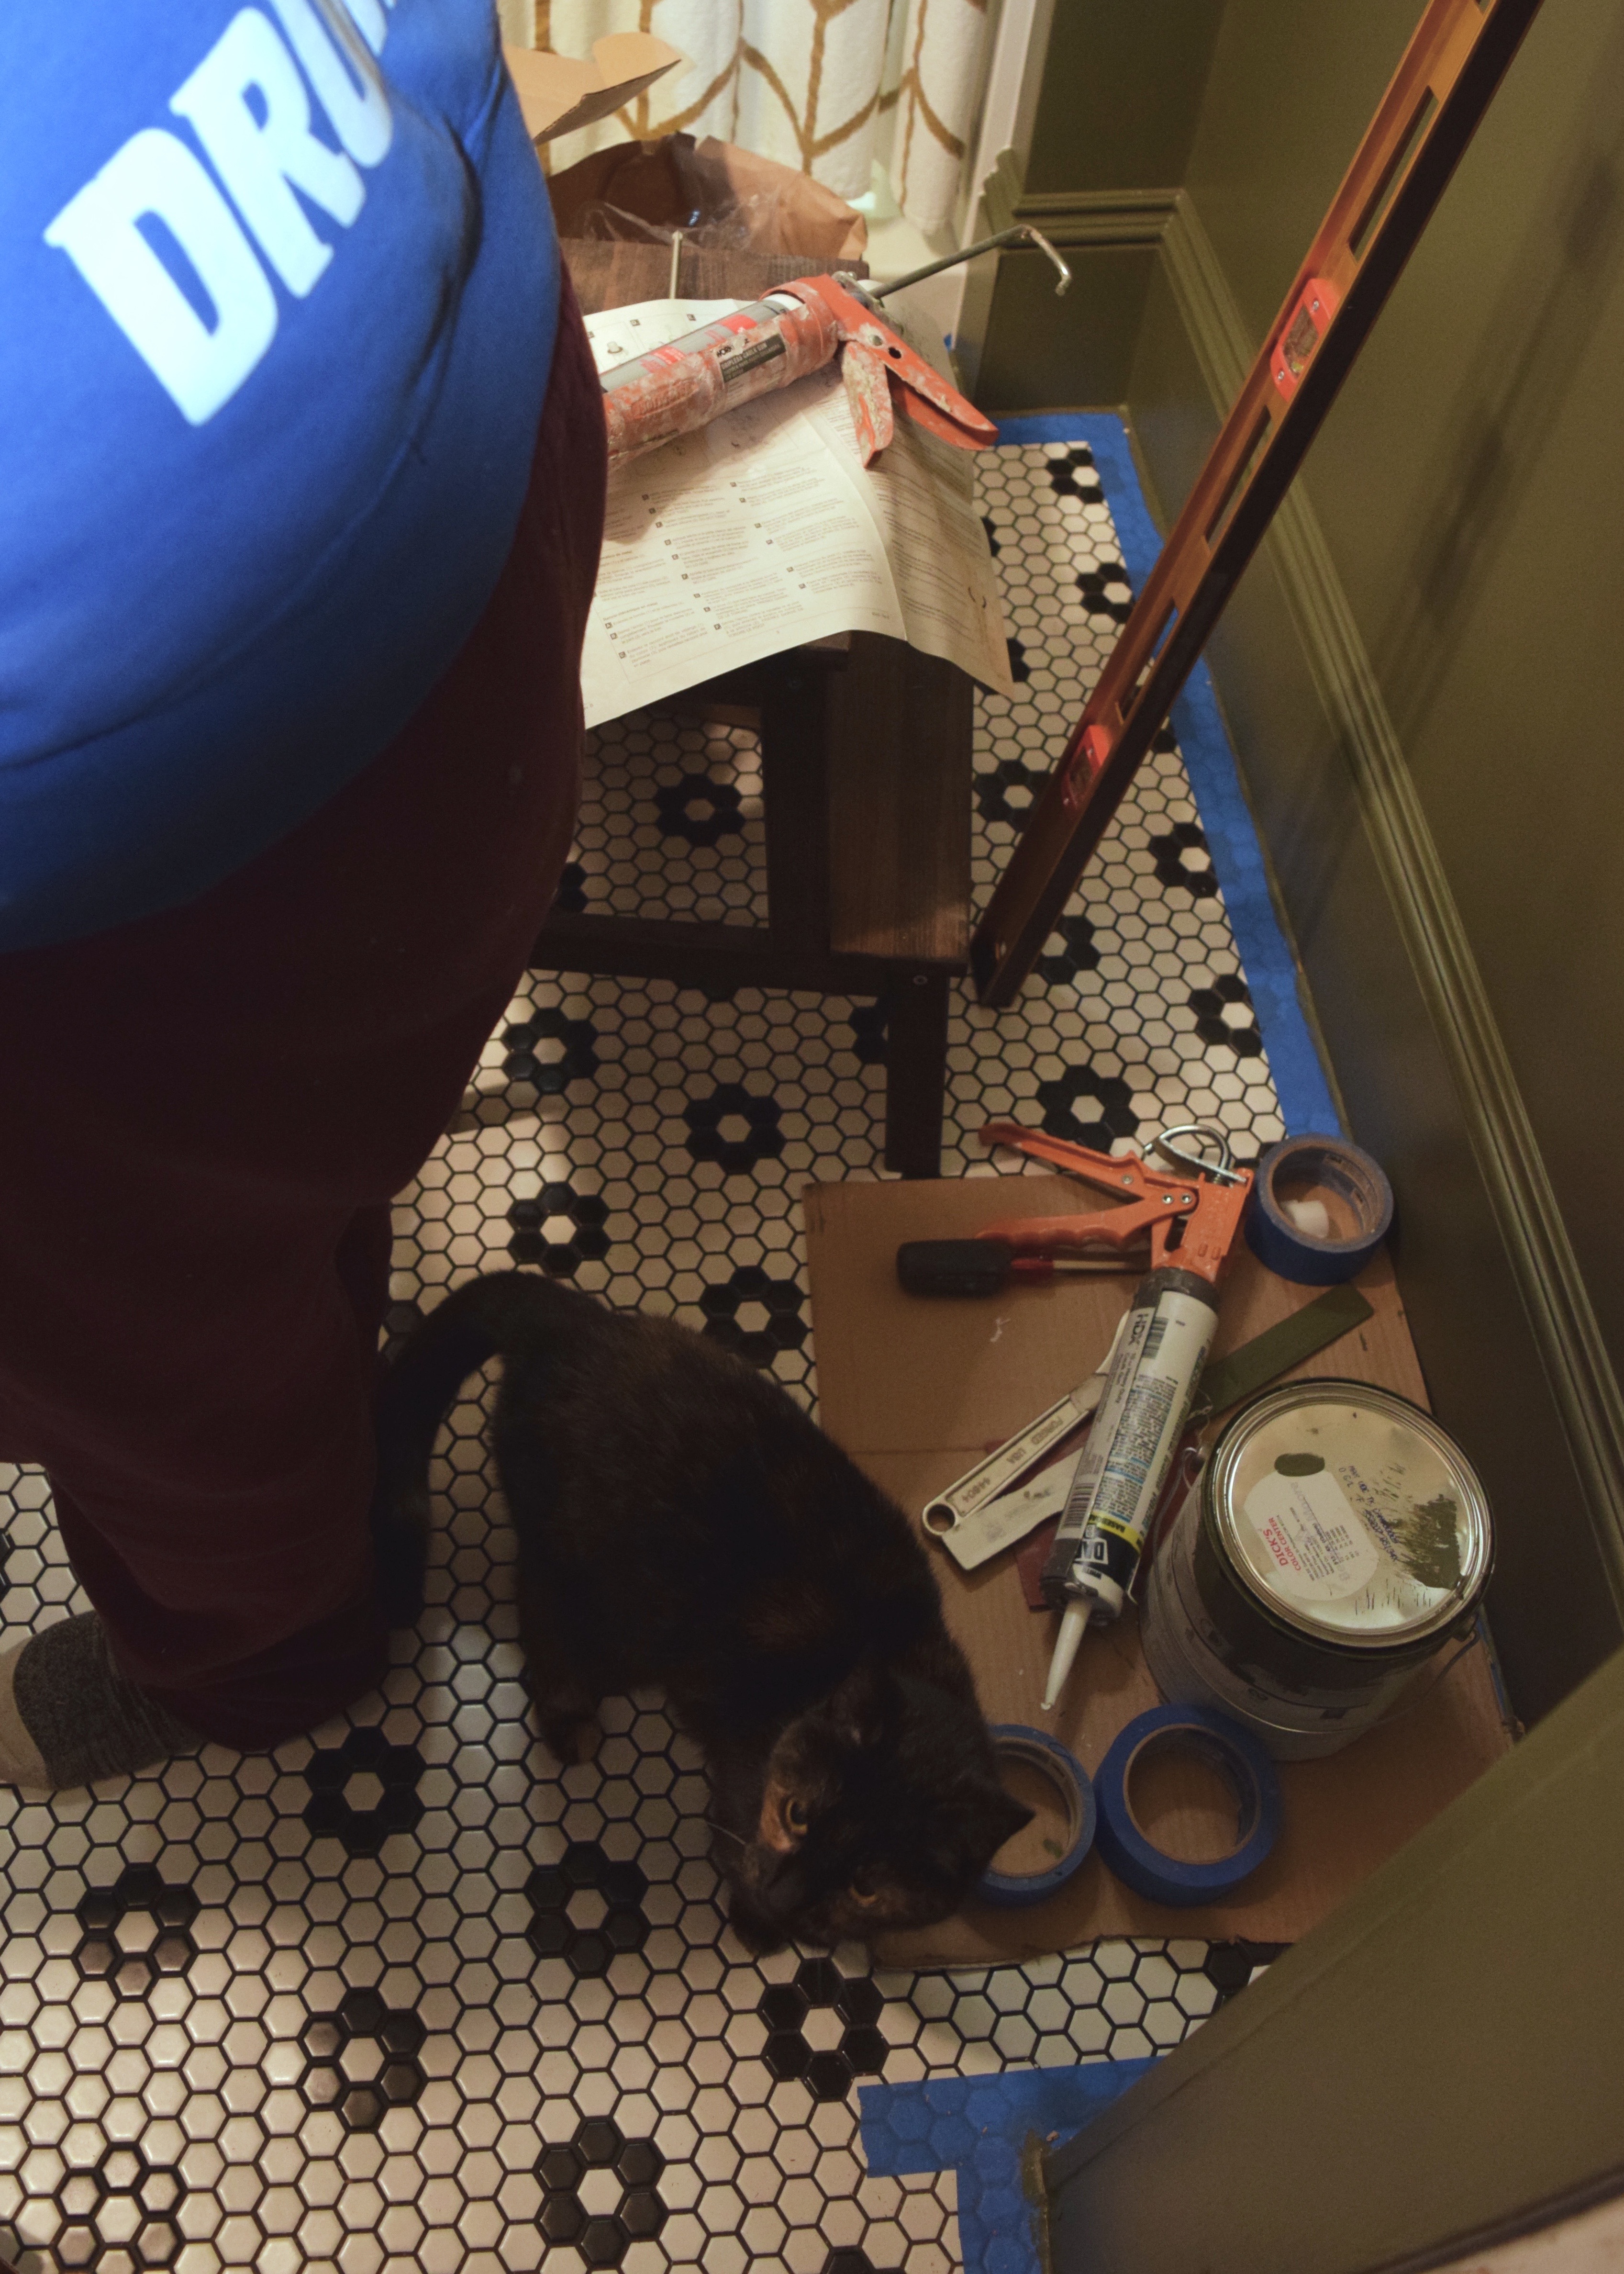
I was heavily supervised during this activity by Queen Malary who periodically checked in to make sure a) I was doing things correctly, b) knew she existed, and c) knew that it was dinner time.
The drain is also secured to the bottom of the sink with a plumbing washer with a tube extension, so with the caulk too, it was very tight. I used a couple of large plumbing wrenches to make sure it was water-tight!
The drain stopper is kinda annoying to hook into the drain stopper lifter, but with a little finagling of all the different parts and tubing below the sink, I got it to lift smoothly and straight.

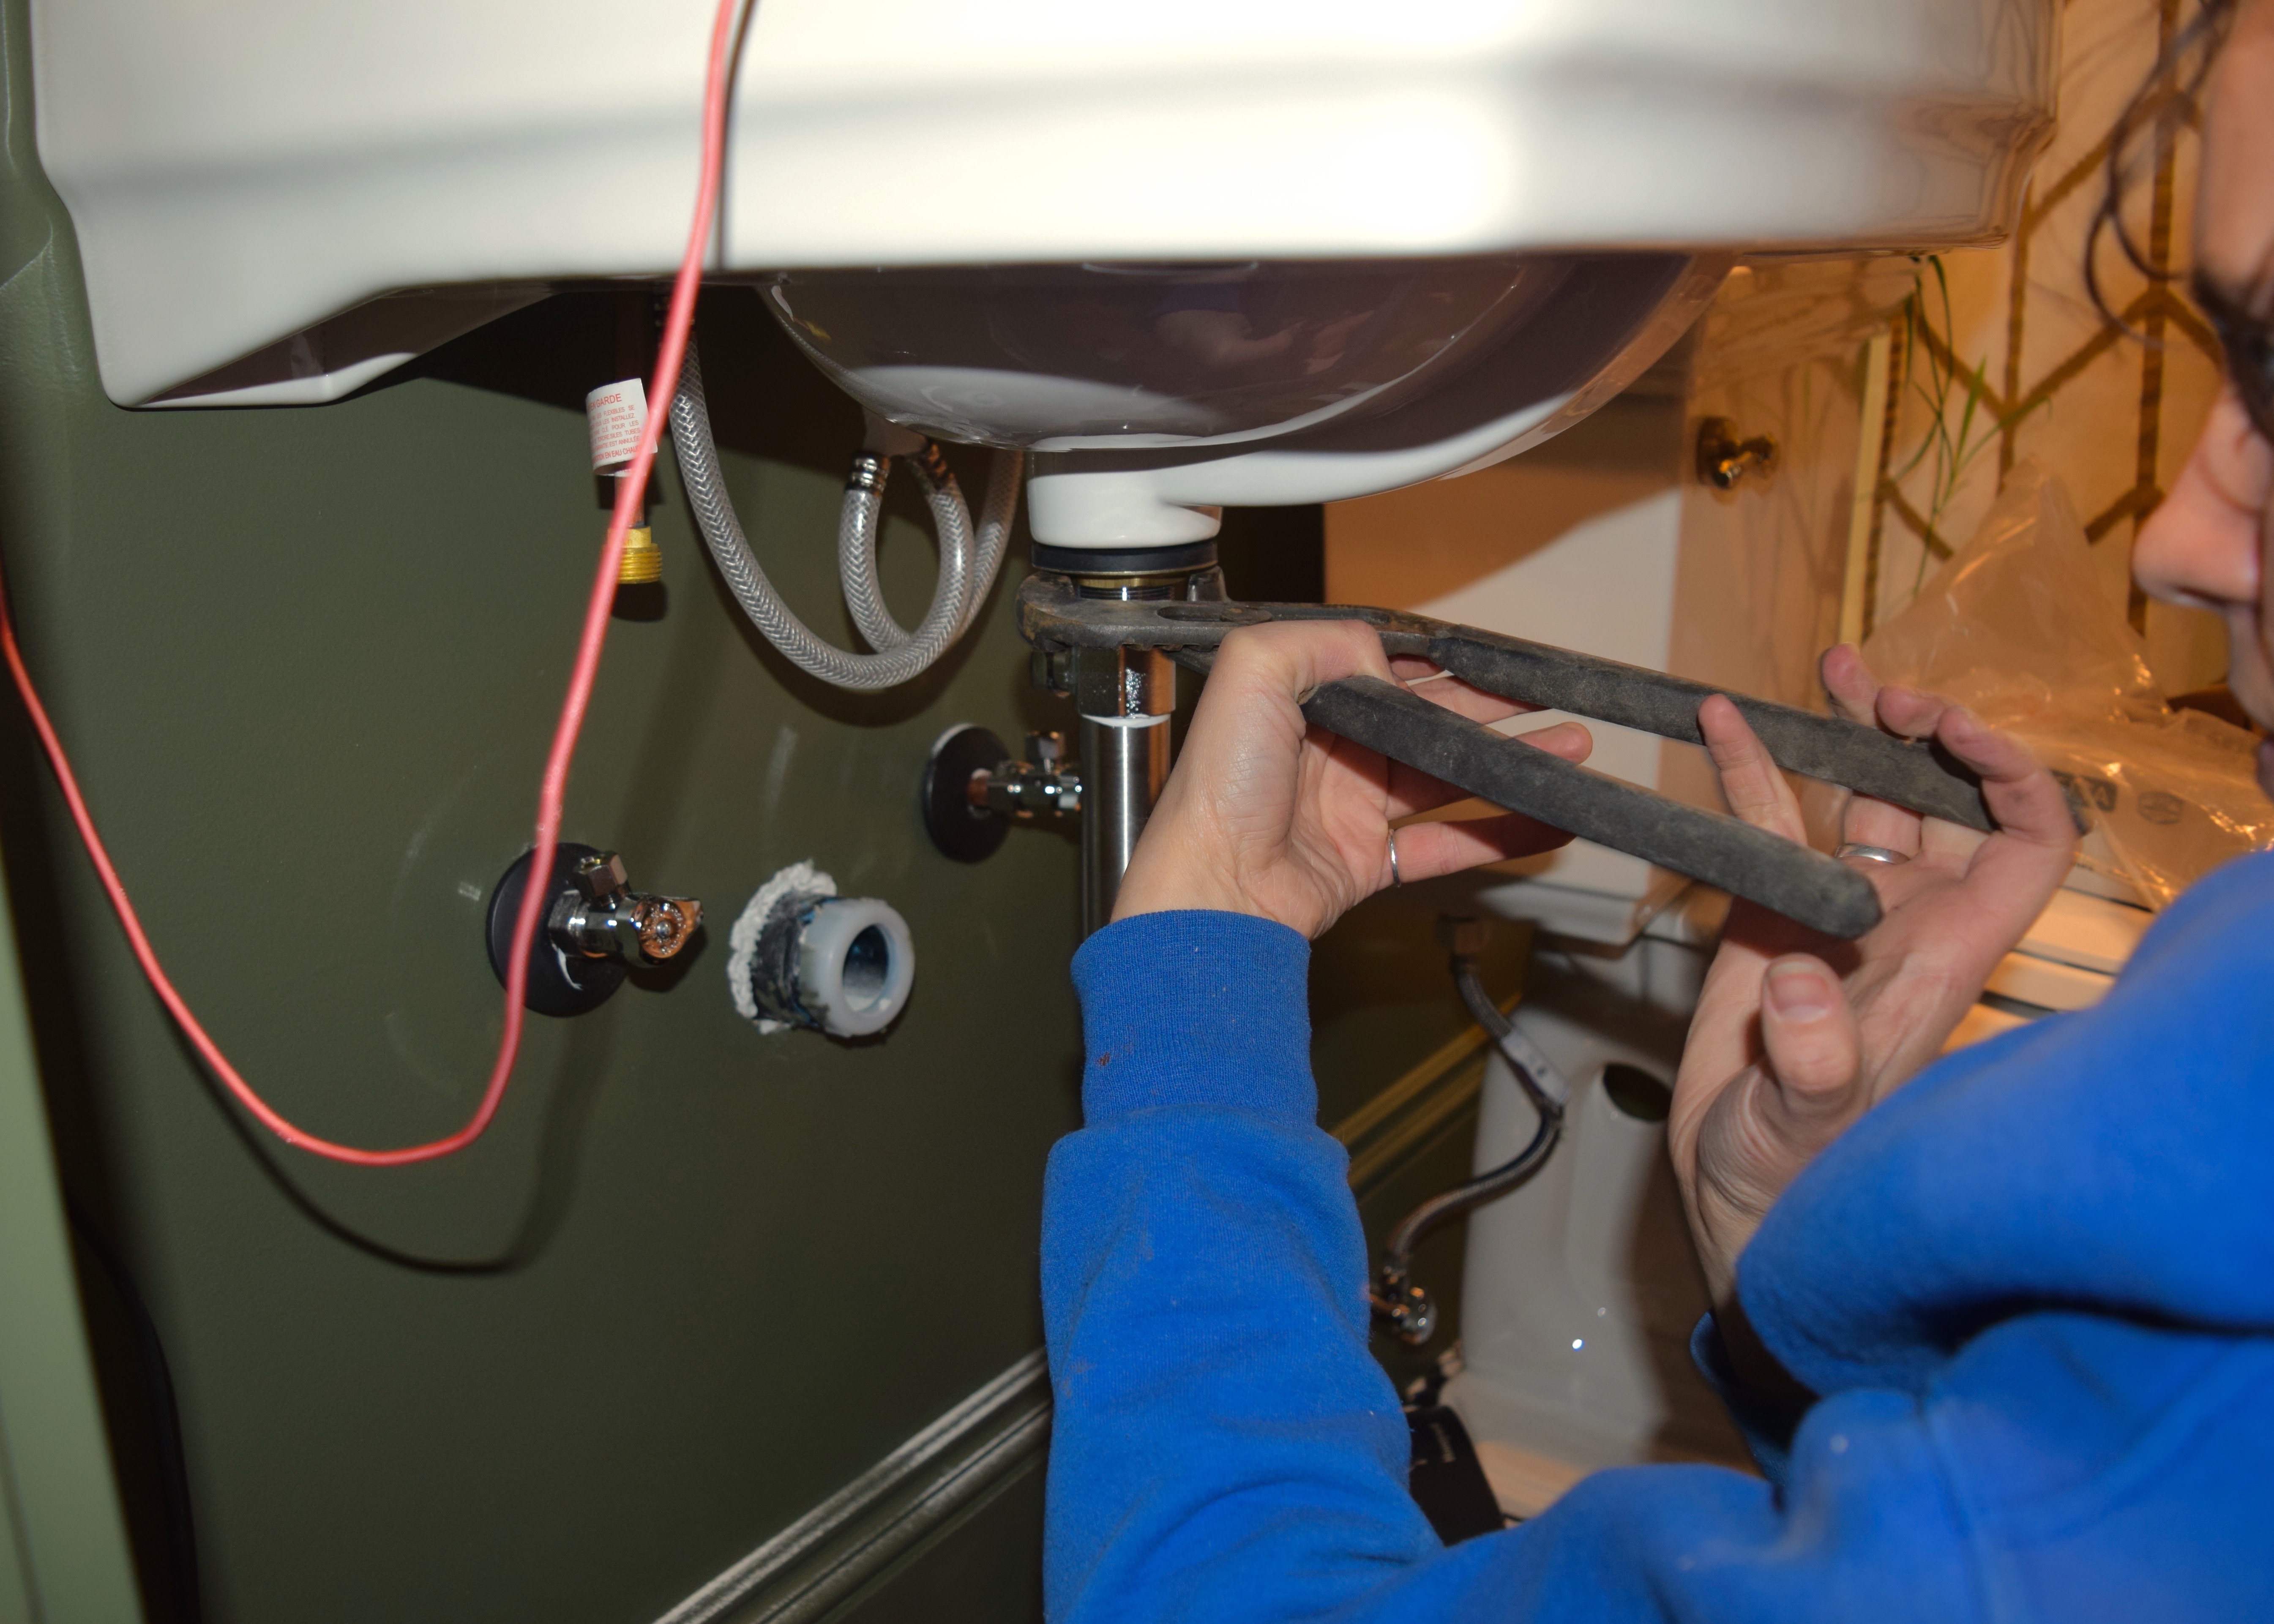
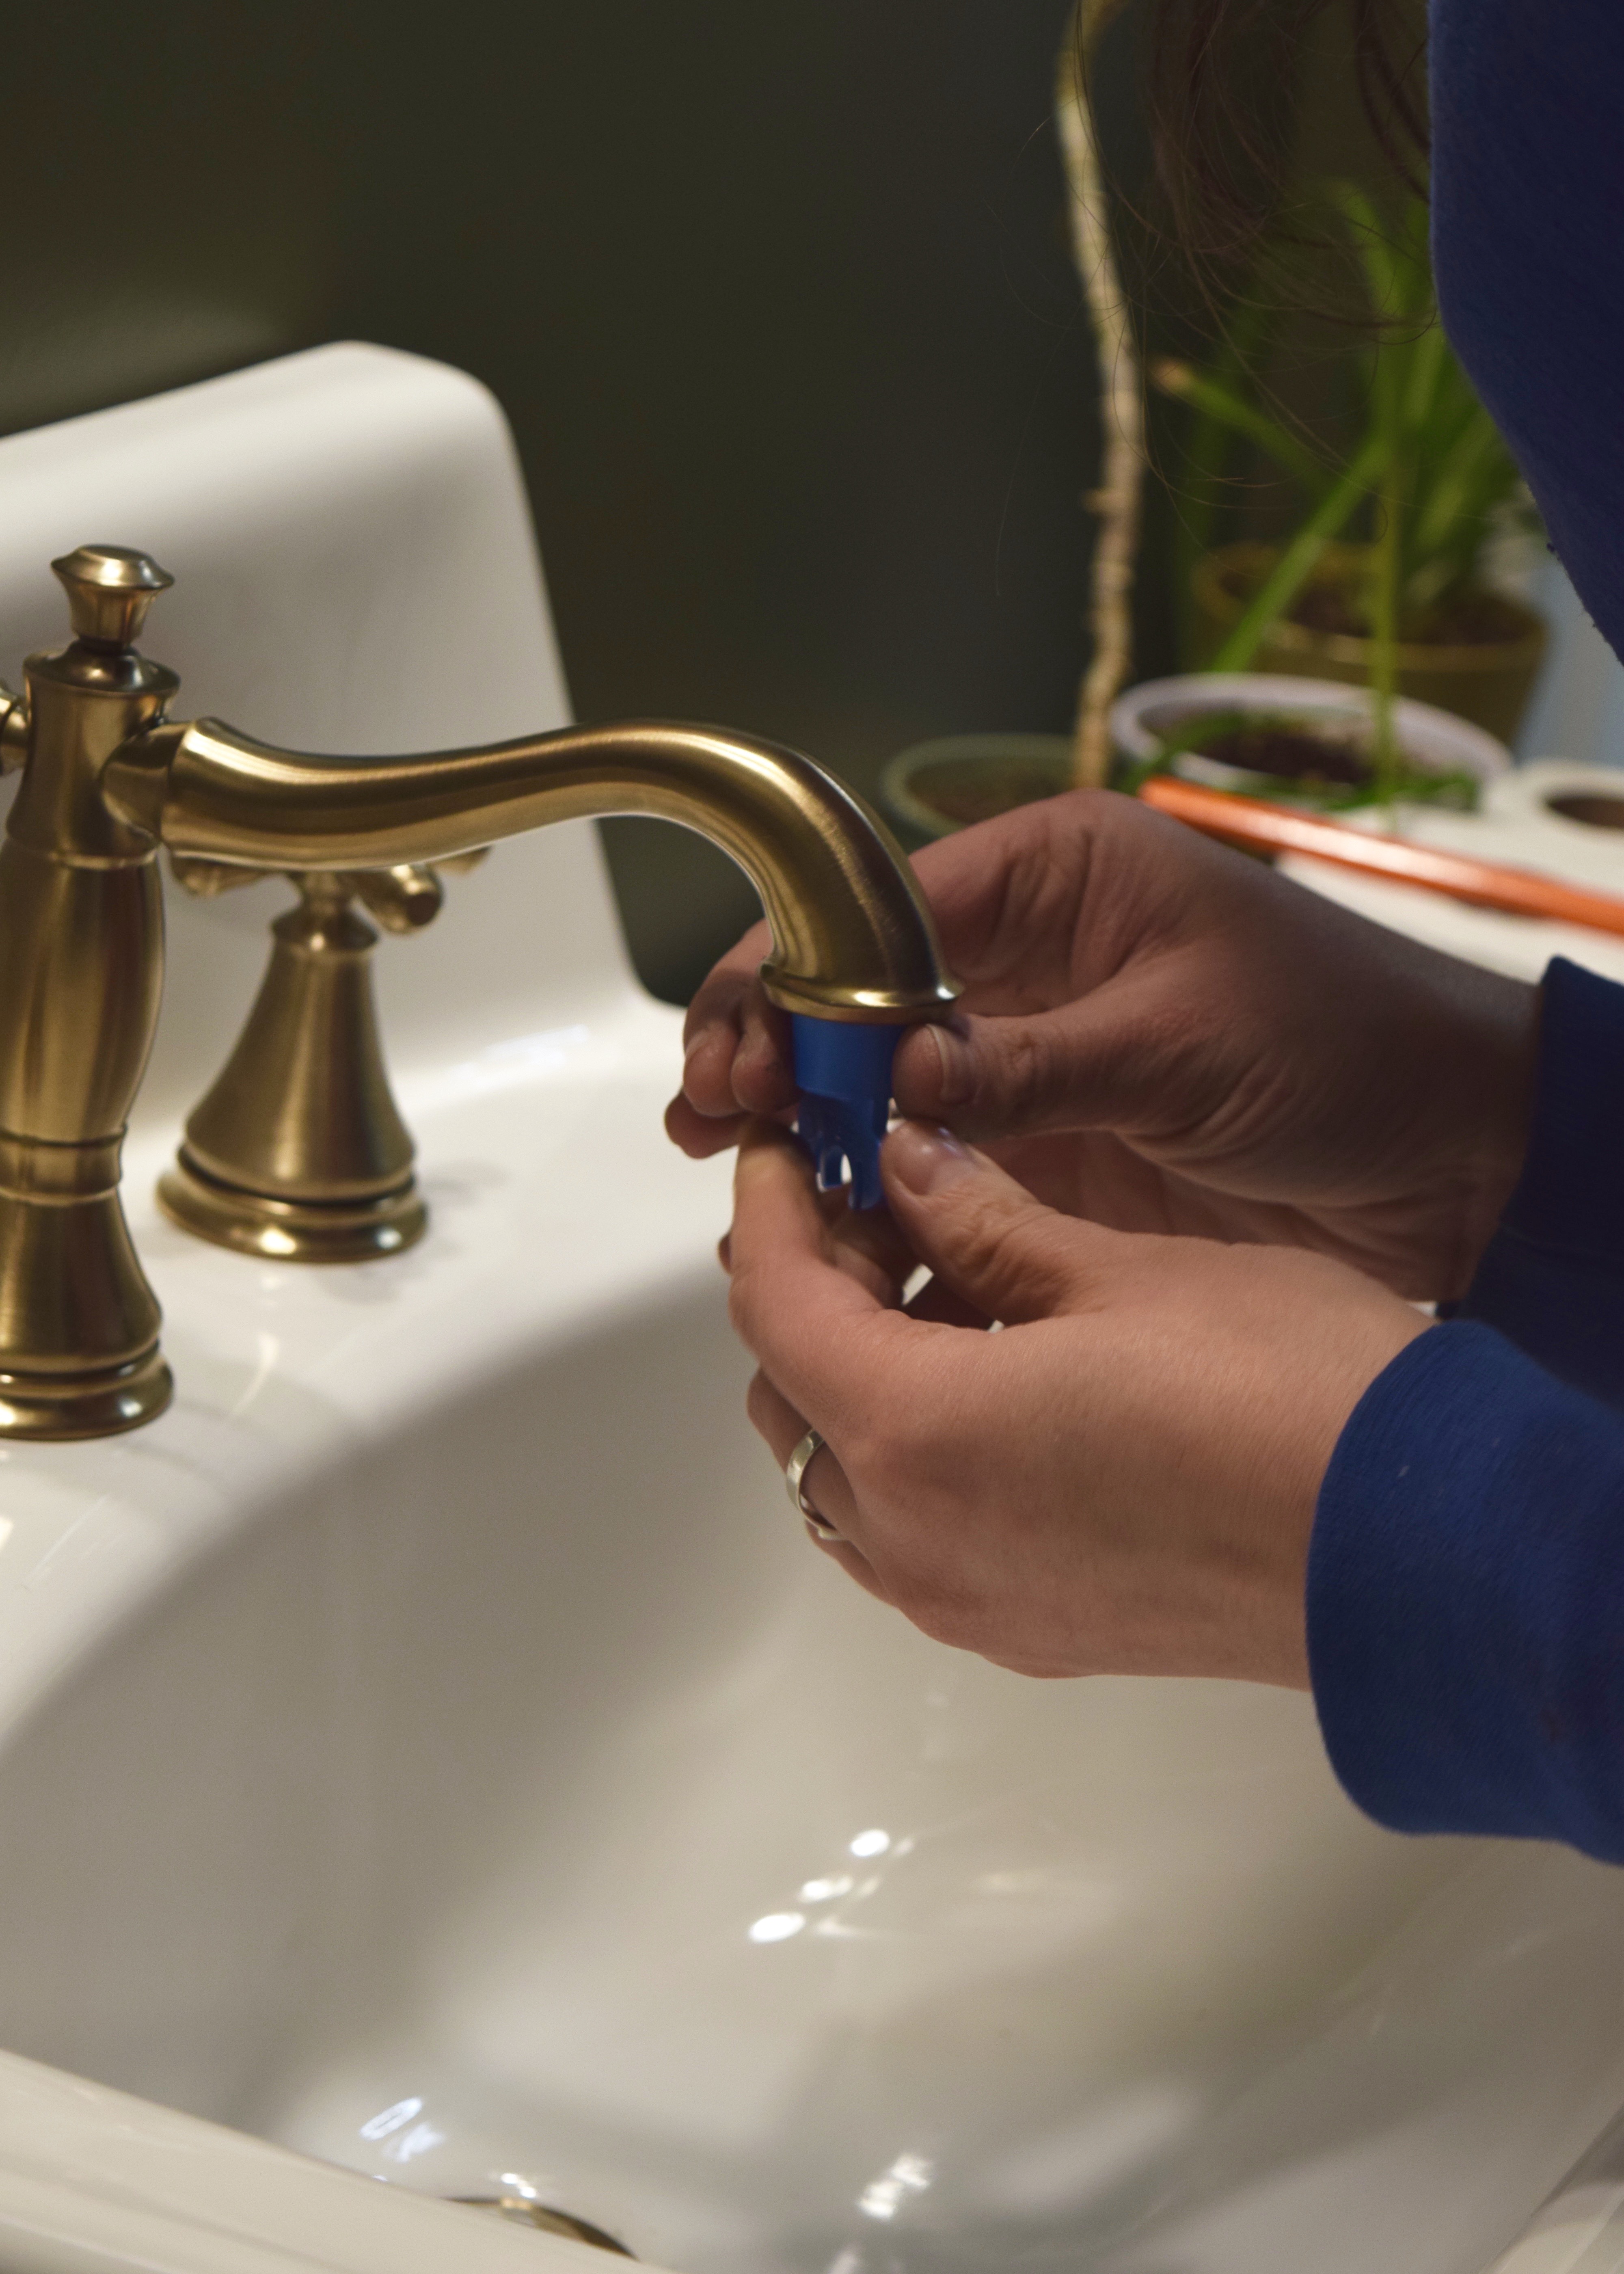
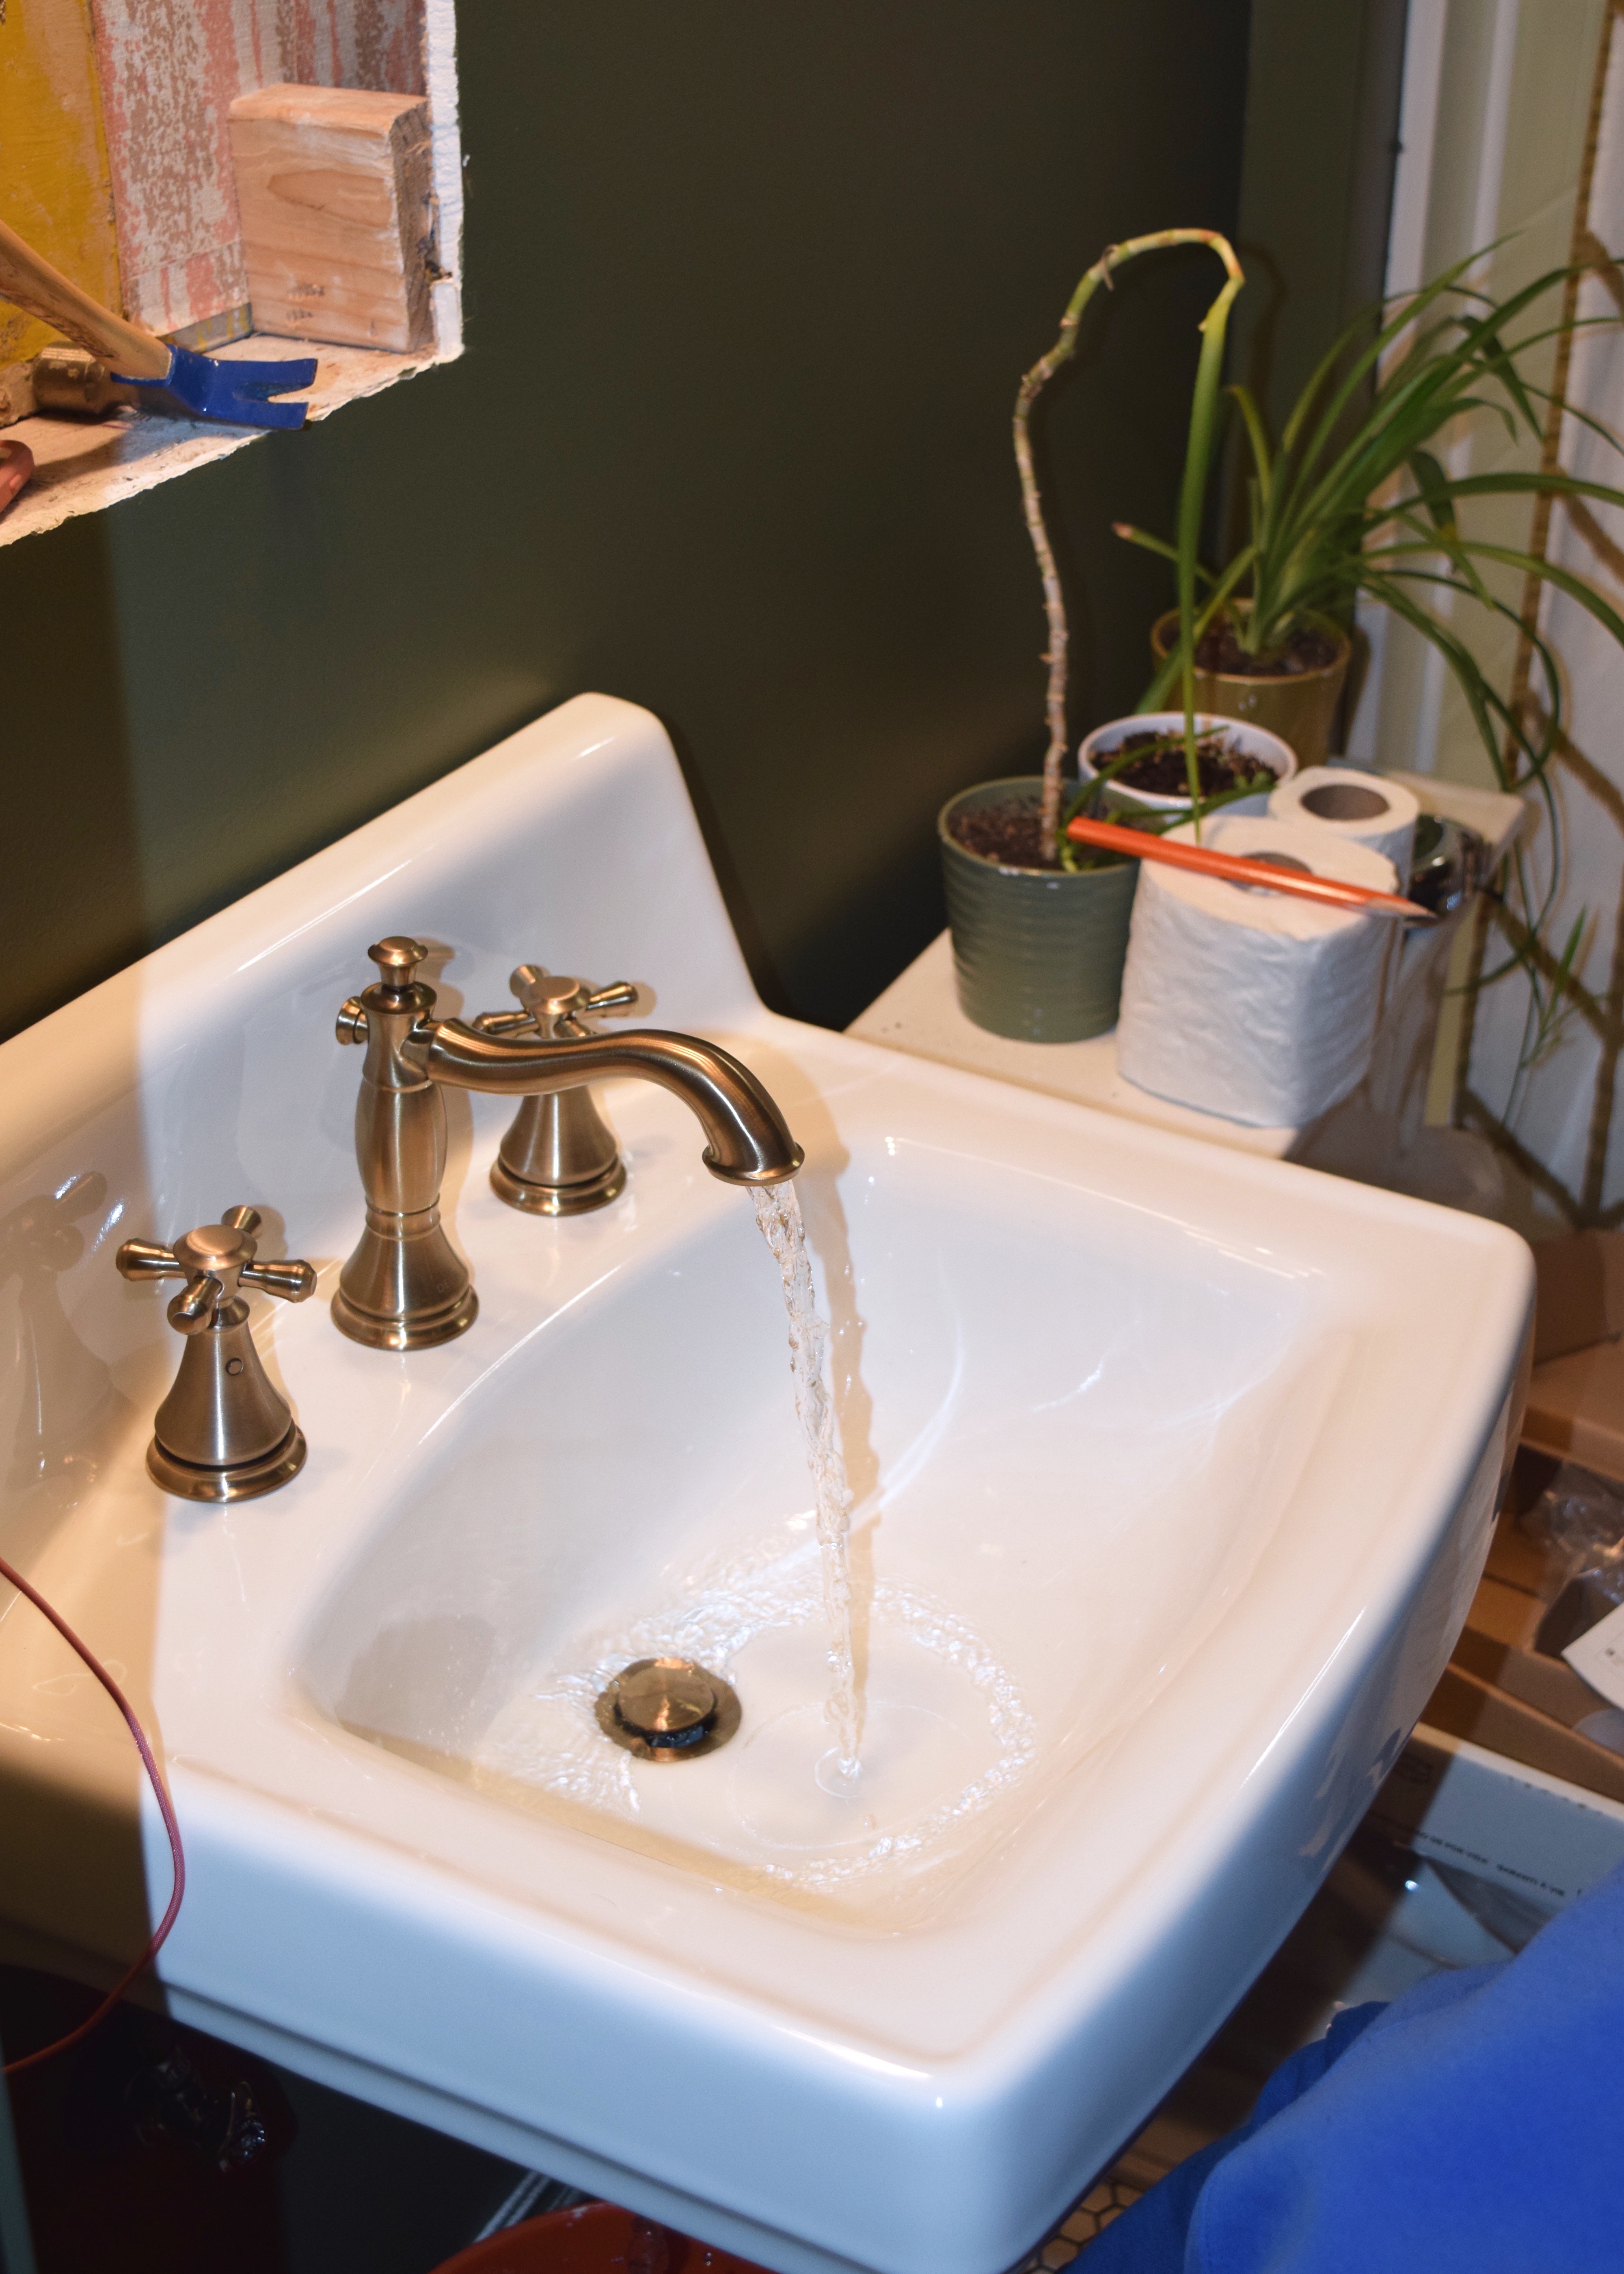
Then it was time to see how thing were working! I hooked up the water lines and removed the faucet’s aerator (the little bit that makes the water come out less splashy) to test the water lines. You want to remove the aerator first so any sediment in the new plumbing lines can be flushed out and not clog up the aerator.
I hadn’t installed the P-trap yet, so I just stuck a bucket below the drain for the sink to drain into. I wanted to make sure this was working correctly before I put more things in my way down there!
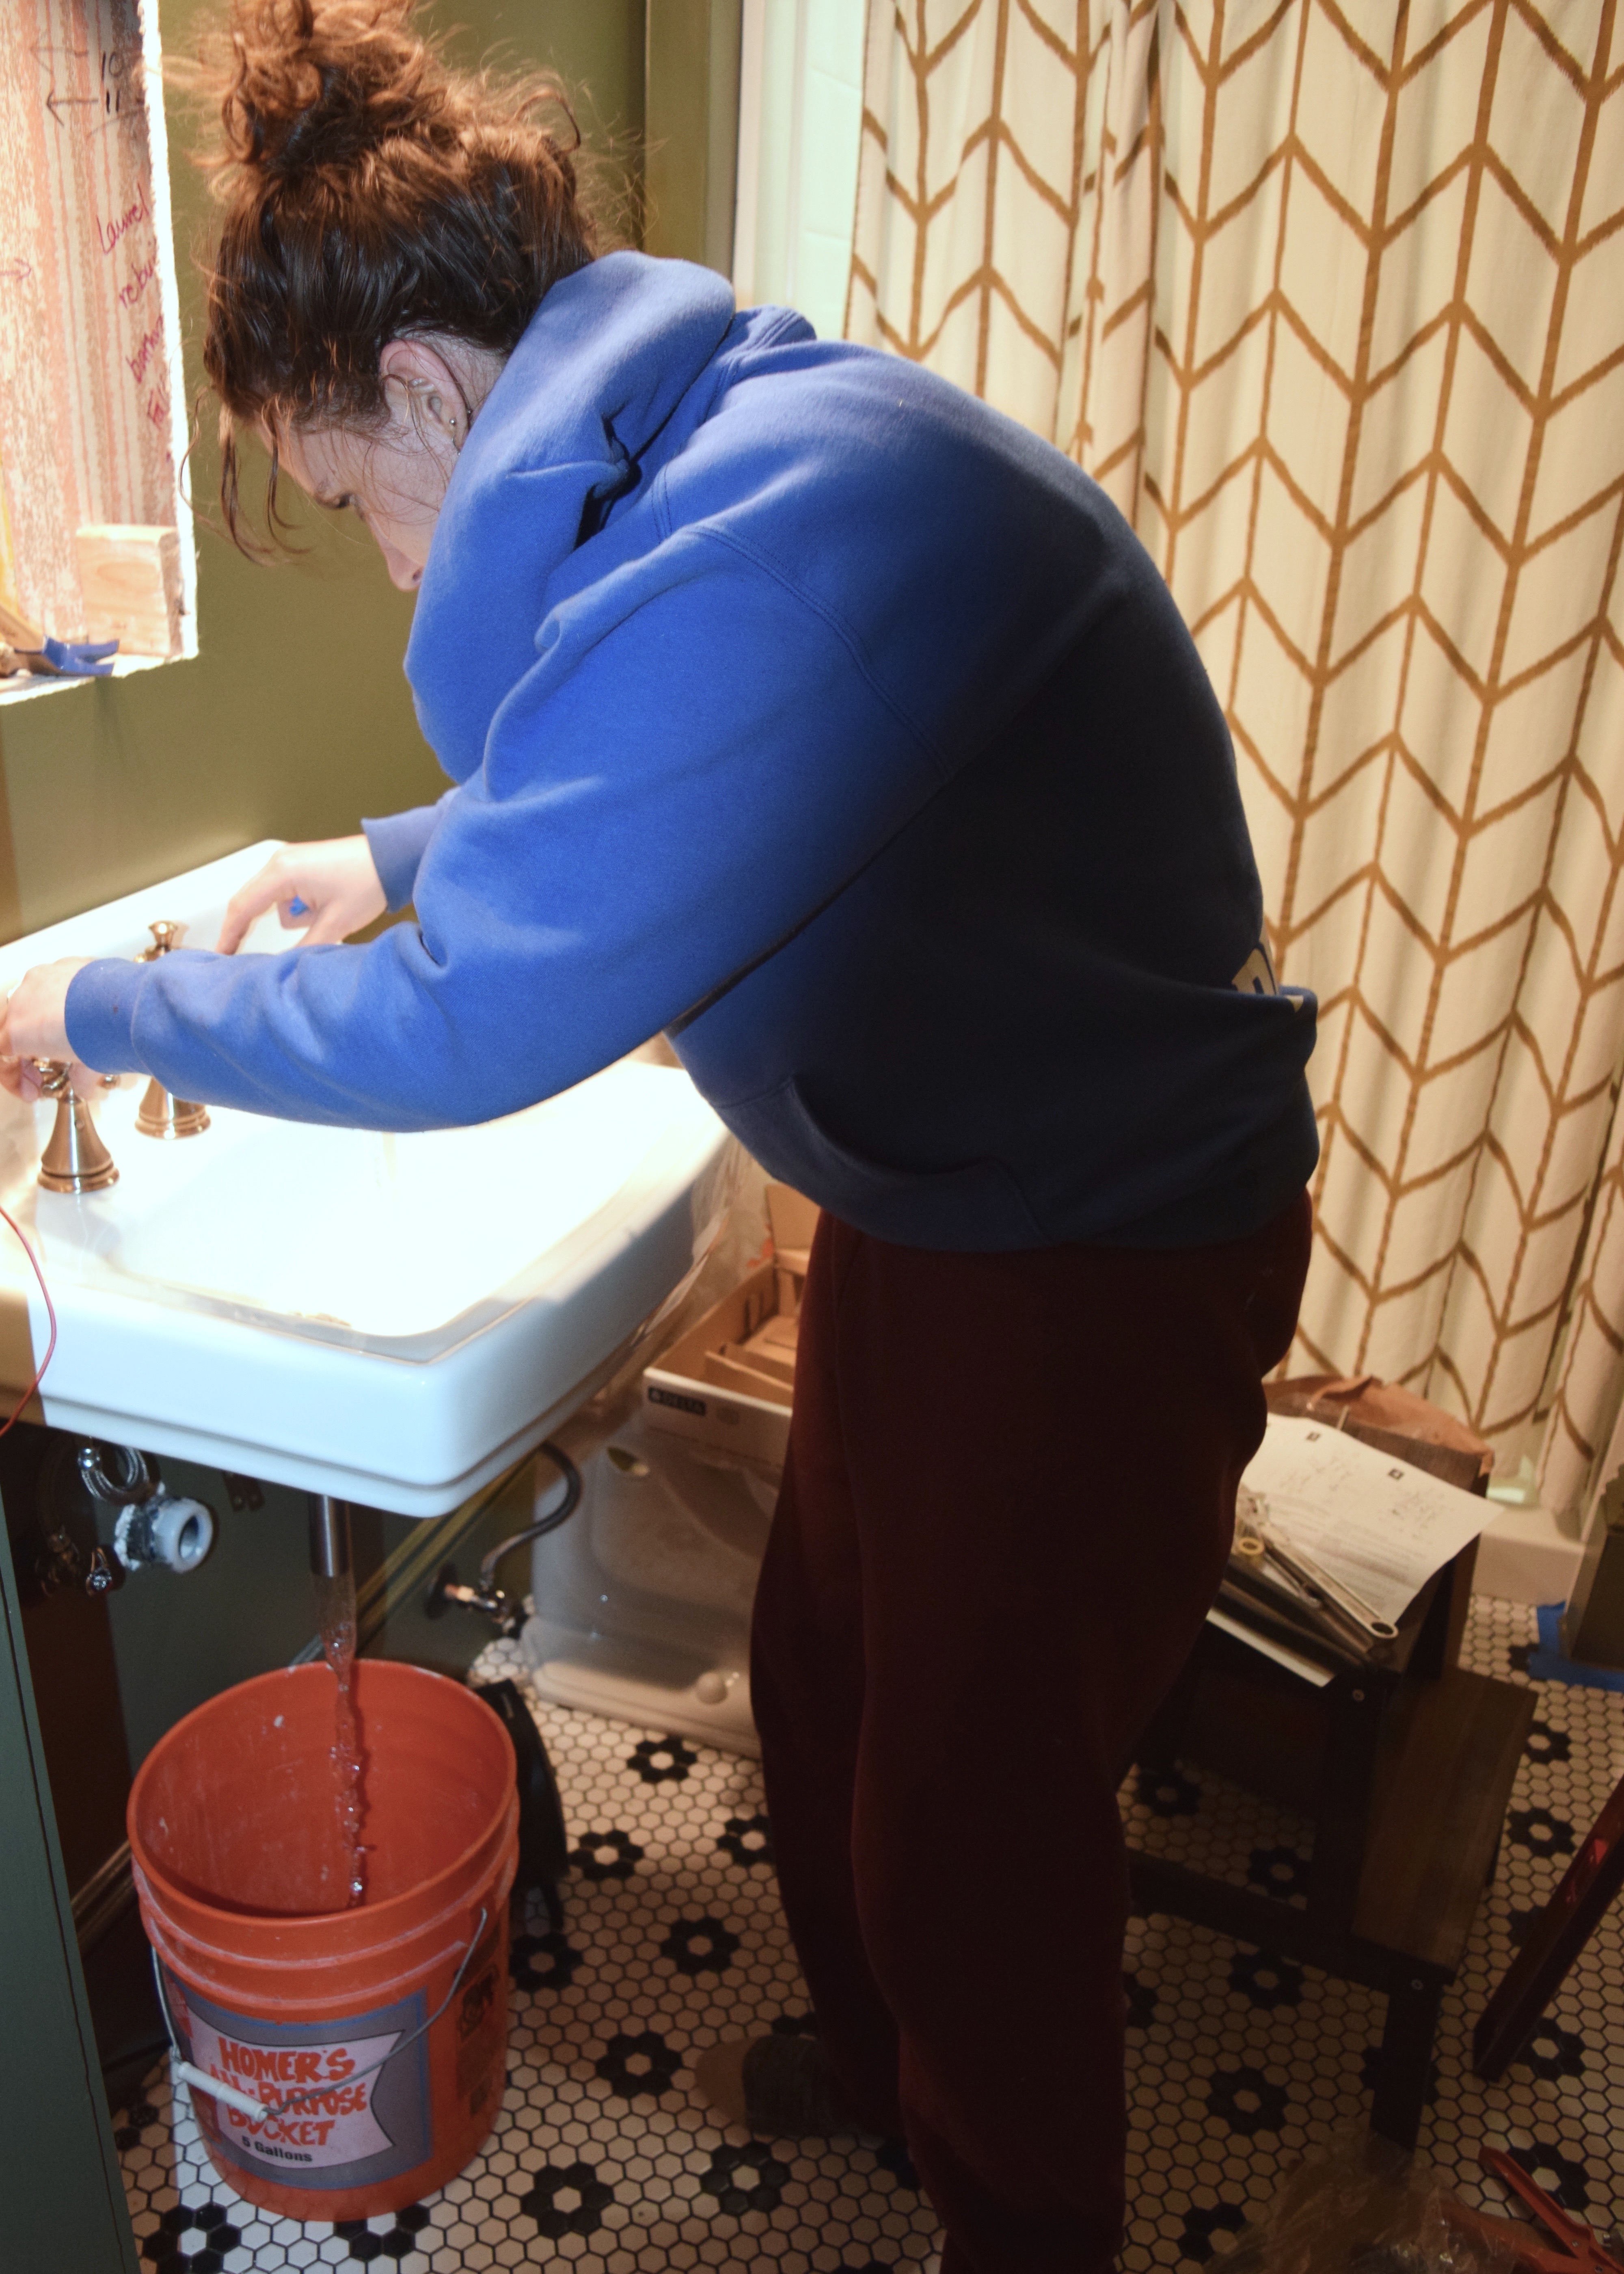
The faucet was working great and after a few minutes (and an almost full bucket of water!), I wasn’t seeing any sediment, so I went ahead and used the little included tool to reinstall the aerator before moving on to the final step!
The P-trap came together easily. I bought a chrome metal P-trap kit and extension tube from Home Depot. It included everything I needed plus a nice little pictogram with instructions. I spray painted the plumbing parts matte black to match the water shut off valve flanges and cut the extension tube to the right length for my sink. Then it was just a matter of placing the included rubber gaskets between the different components and tightening the washer joints.

Wah-lah! A working bathroom sink! Who’s fancy now?!

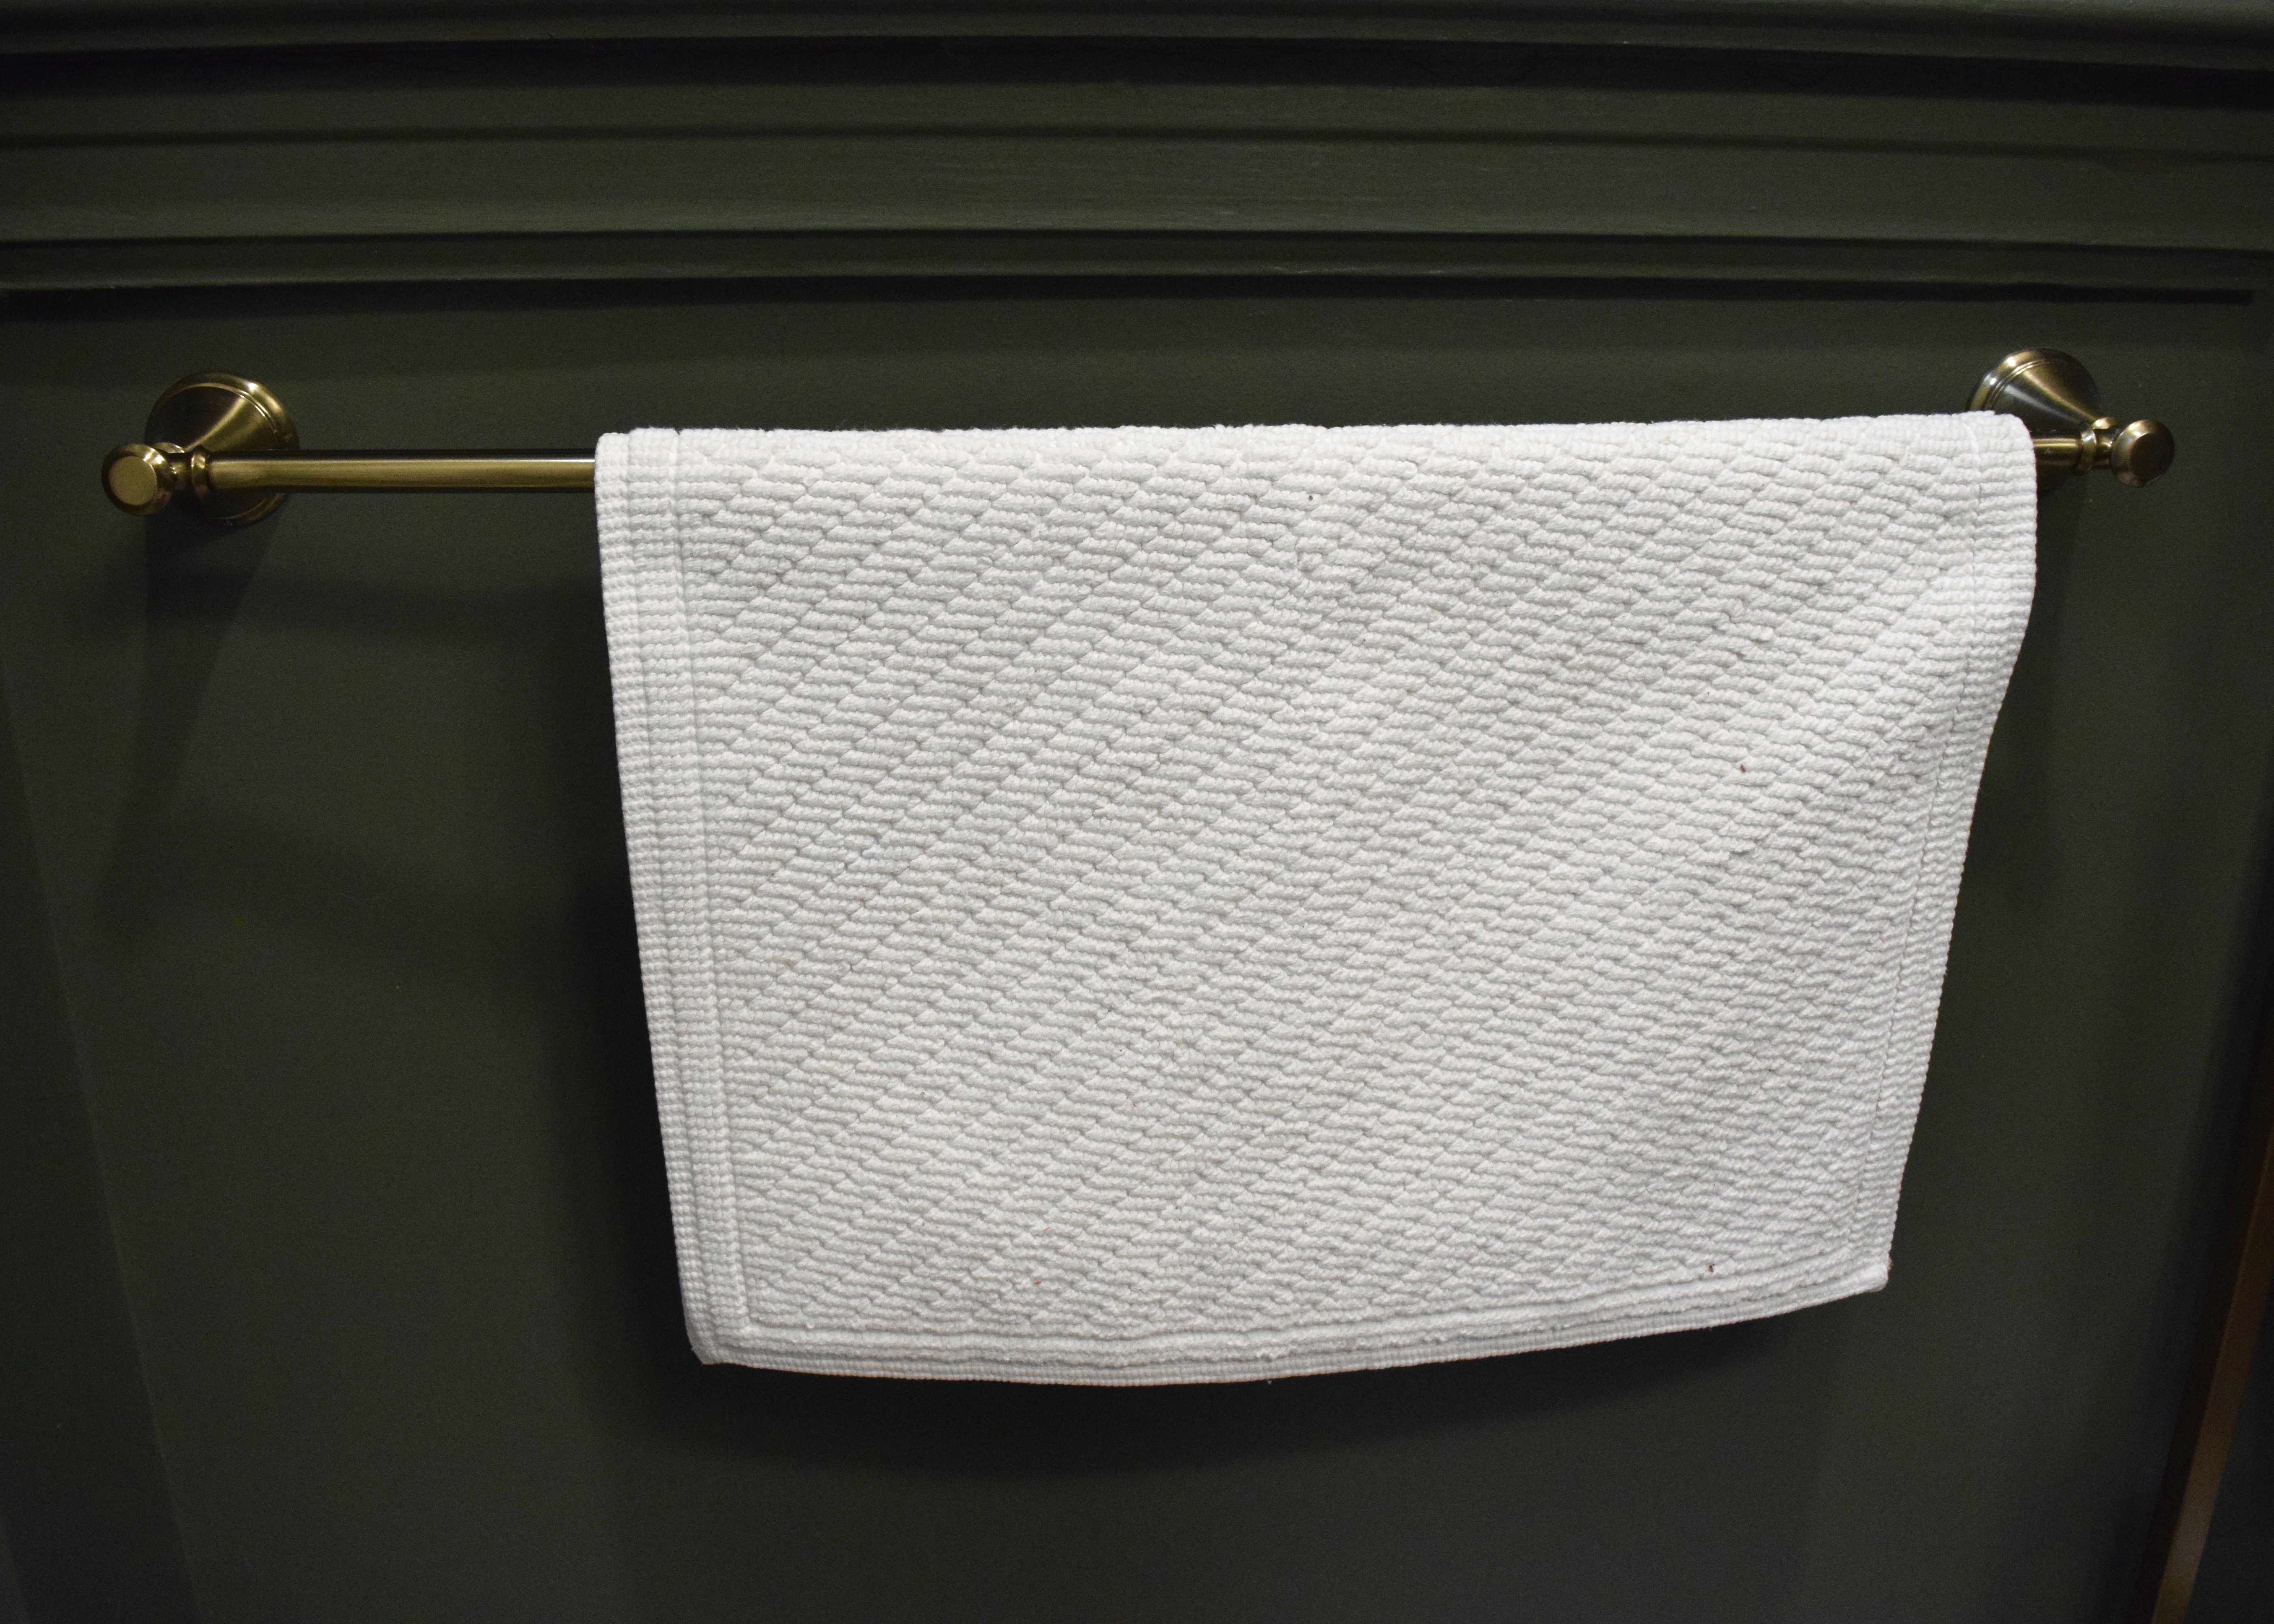
Before the night was over though, I wanted to finish up installing the other accessories I’d bought from Delta. I’d gotten a toilet paper holder from the Cassidy collection and a hand towel ring from the Victorian collection (I switched to the Victorian because I liked the detailing better).
I realized when I went to install the toilet paper holder that there was a finish discrepancy. It was slighly shinier than the other Champagne Bronze pieces. It was subtle, but definitely different. I thought maybe it was accidentally mislabeled and actually a polished brass piece. I snapped the quick pic below and sent to the Delta rep who’d helped me with my purchases and they quickly replied that I could have another piece for free. In the mean time, though I realized a toilet paper holder wasn’t actually going to fit in here… Whoops! So I asked for a towel bar instead.
The towel bar arrived promptly after and looked just like the tissue paper holder for some reason! I wondered if they were made in a different factory from the faucet and showerhead and toilet lever or something. I just wanted a functional bathroom though, so I didn’t bother telling Delta this was shinier as well, and installed it. Now it’s installed I can’t even tell the difference.
Installation was simple for the towel bar too since it came with a template! Tape template to wall, drill holes where marked, install brackets, slip towel bar over brackets, install set screw!
The plumbing had installed the showerhead for me when we passed final inspection so that had been complete for a long while and was off my plate. One less thing to do is always good in my mind!
Overall, these pieces were where the majority of the bathroom cost came in. I’d managed to make affordable selections everywhere else and splurged a little here. It became even more of a splurge when I picked the champagne bronze finish, but I really wanted the fixtures to feel more old world and aligned with the period of the house. Boy was I pleased with the end result too!
- Sink $75
- Faucet + Widespread Cross Handles + Drain $230
- Shower Trim/Handle + Valve + Showerhead $355
- Towel Ring $22
- Toilet Paper Holder $33
- P-trap $15
- Extension Tube $11
- 24″ Towel Bar (free, see above)
Total bathroom plumbing fixtures and accessories: $714
The bathroom’s come a LONG way from the magenta madness that was going on when I bought Berrybrier!
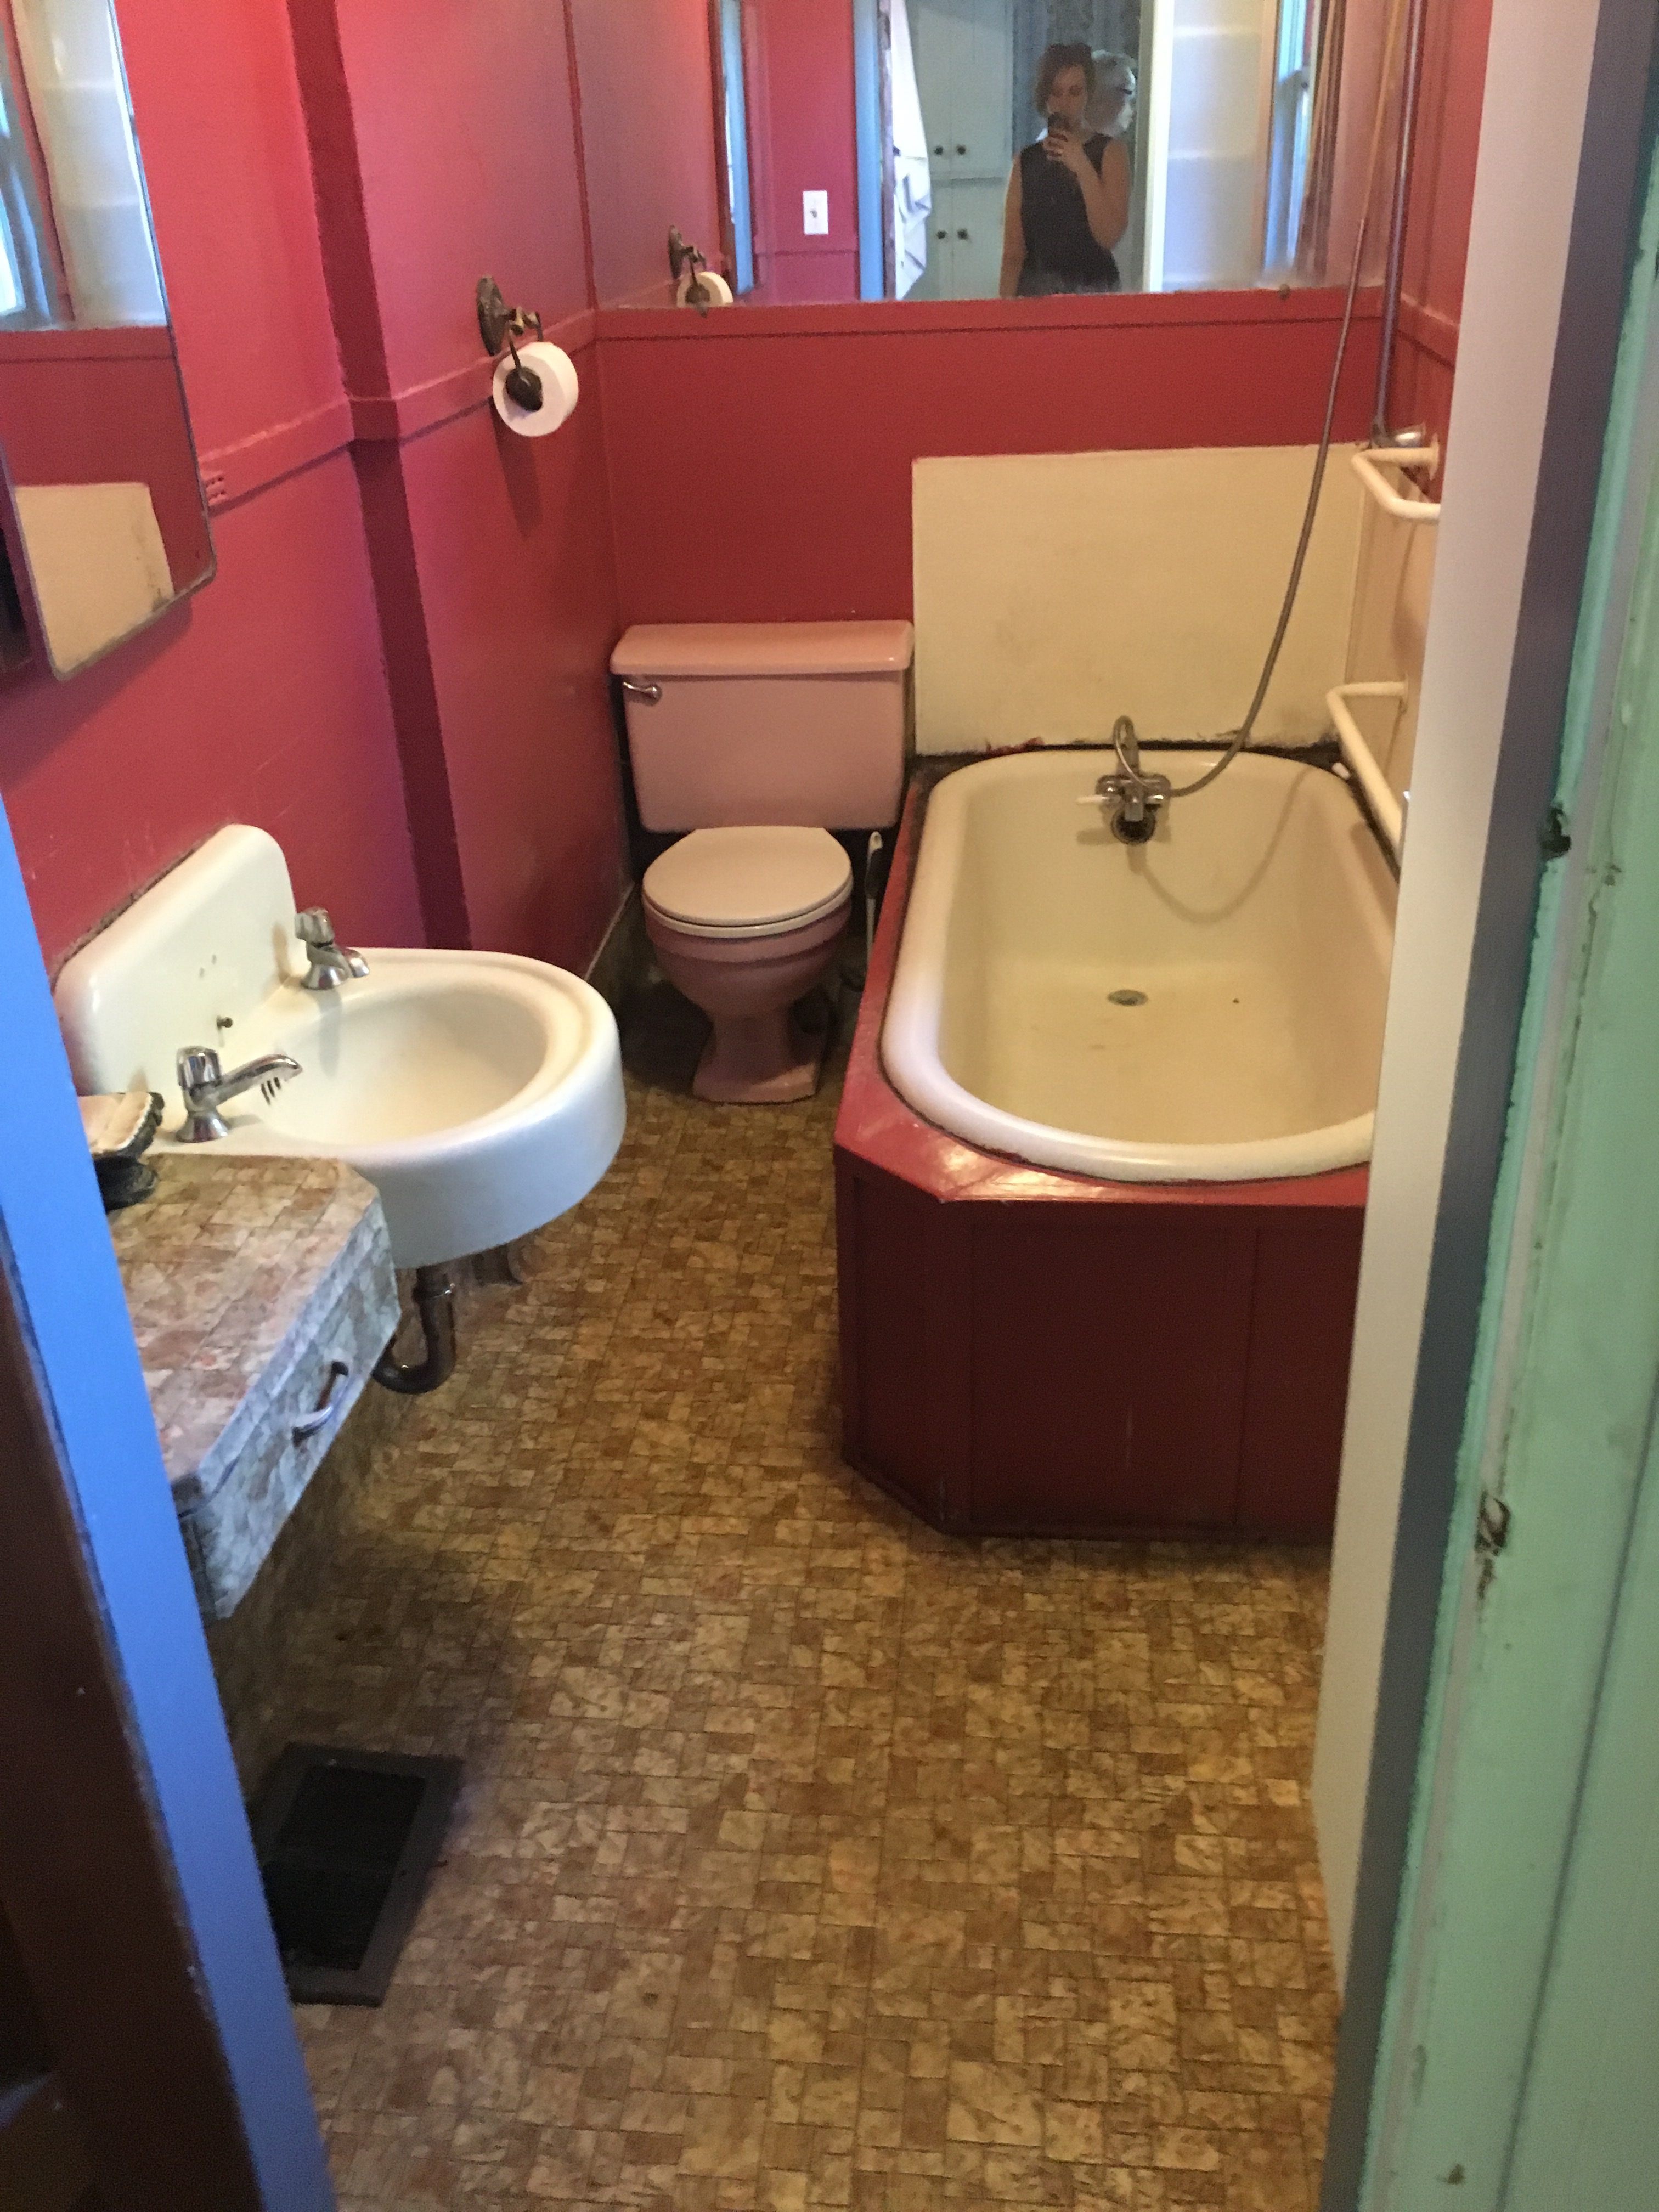
Boy I feel dirty just looking at that bathroom. Gross!
Have you worked on any plumping projects recently? Were you pleasantly surprised by how doable it was? It’s always nice to know you can do things like installing a sink or fixing a sewer line and don’t need to hire an expensive plumber to figure it out!

What a lifesaver! This post makes installing bathroom essentials feel like a breeze, even for DIY novices like me. Love how it breaks down the process into simple steps without skimping on details. Thanks for turning my bathroom upgrade into a stress-free project! Ready to dive into some serious home improvement!