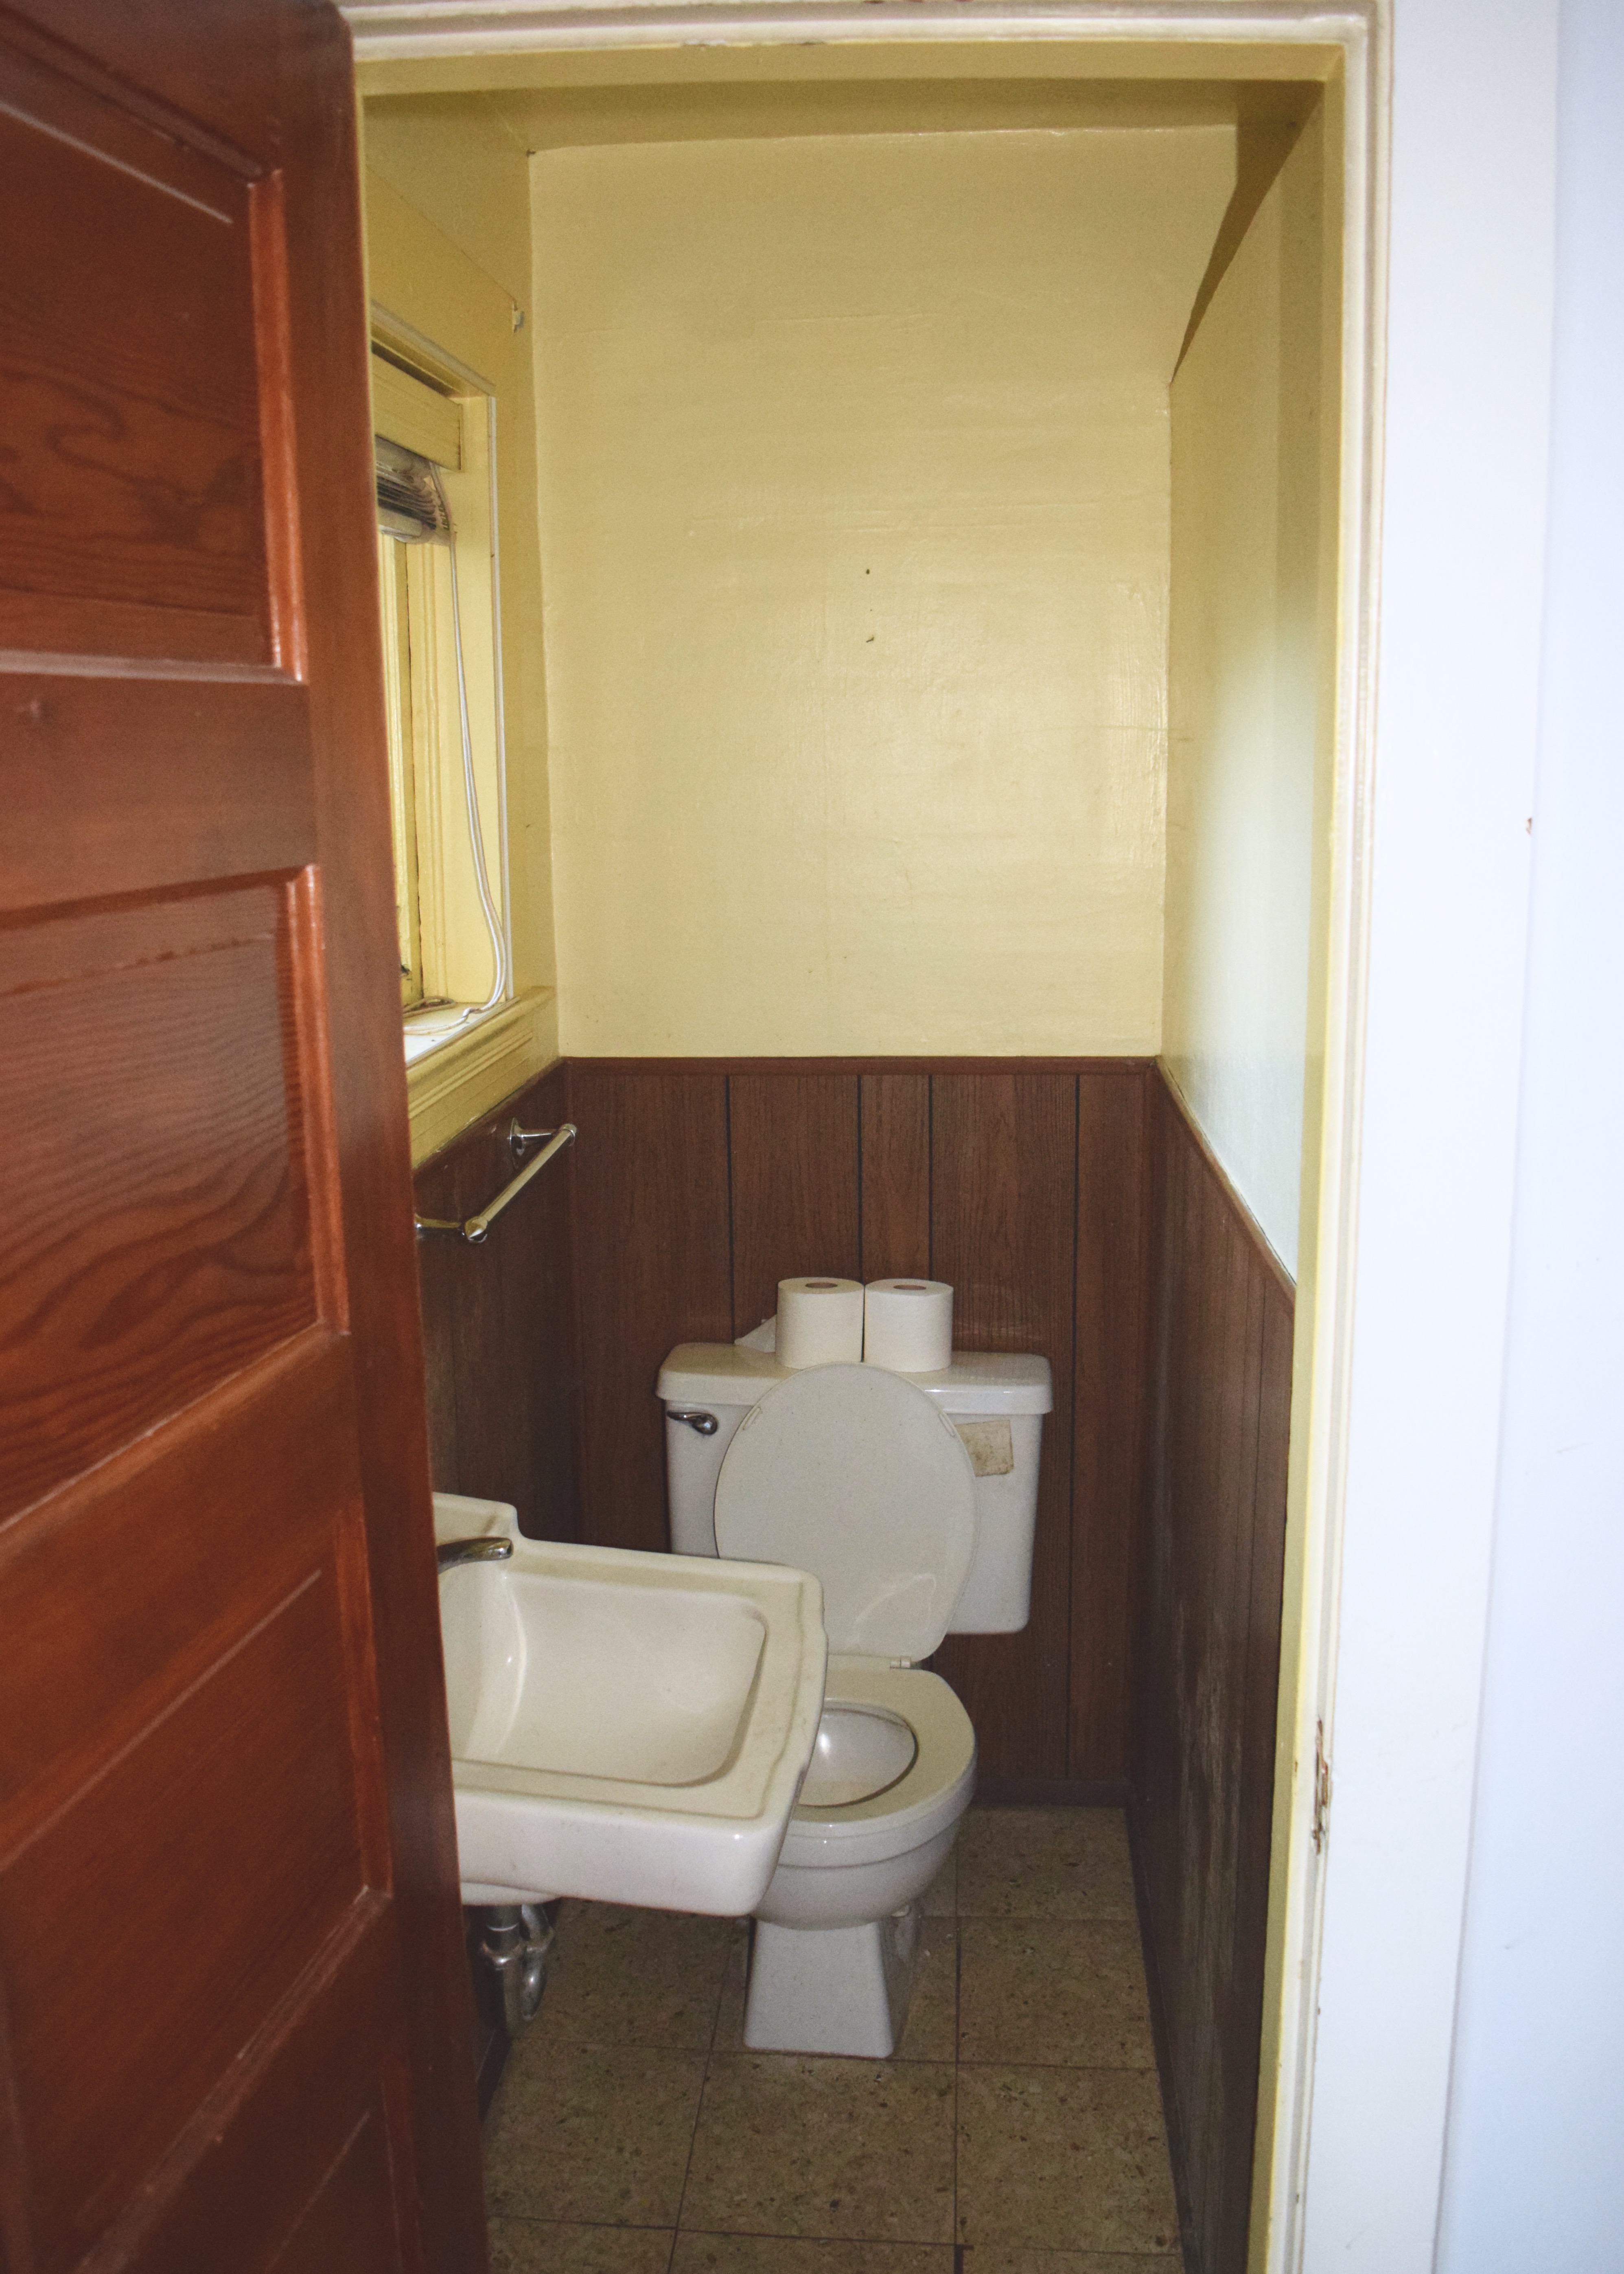
There’s a new throne to bend the knee to in the Land of Laurel and it ain’t made of iron. That’s right! I’ve got a gorgeous porcelain throne for ya’ll to fawn over today. It’s downright spectacular. And oh so necessary. You see, back in early January 2018 I was just over 2 months in to my bathroom renovation and it was time to kick it into high gear. I had a deadline, one not set by me, one I couldn’t just ignore as it passed by, a big, important deadline. My little sister was moving into Berrybrier to live with me! Hi, Bronwyn! And well… she needed a place to relieve herself that wasn’t the tiny hell bathroom off my own bedroom. As much as that delightful little space worked for me, she was going to need a space a bit more… accommodating and far less… disgusting.
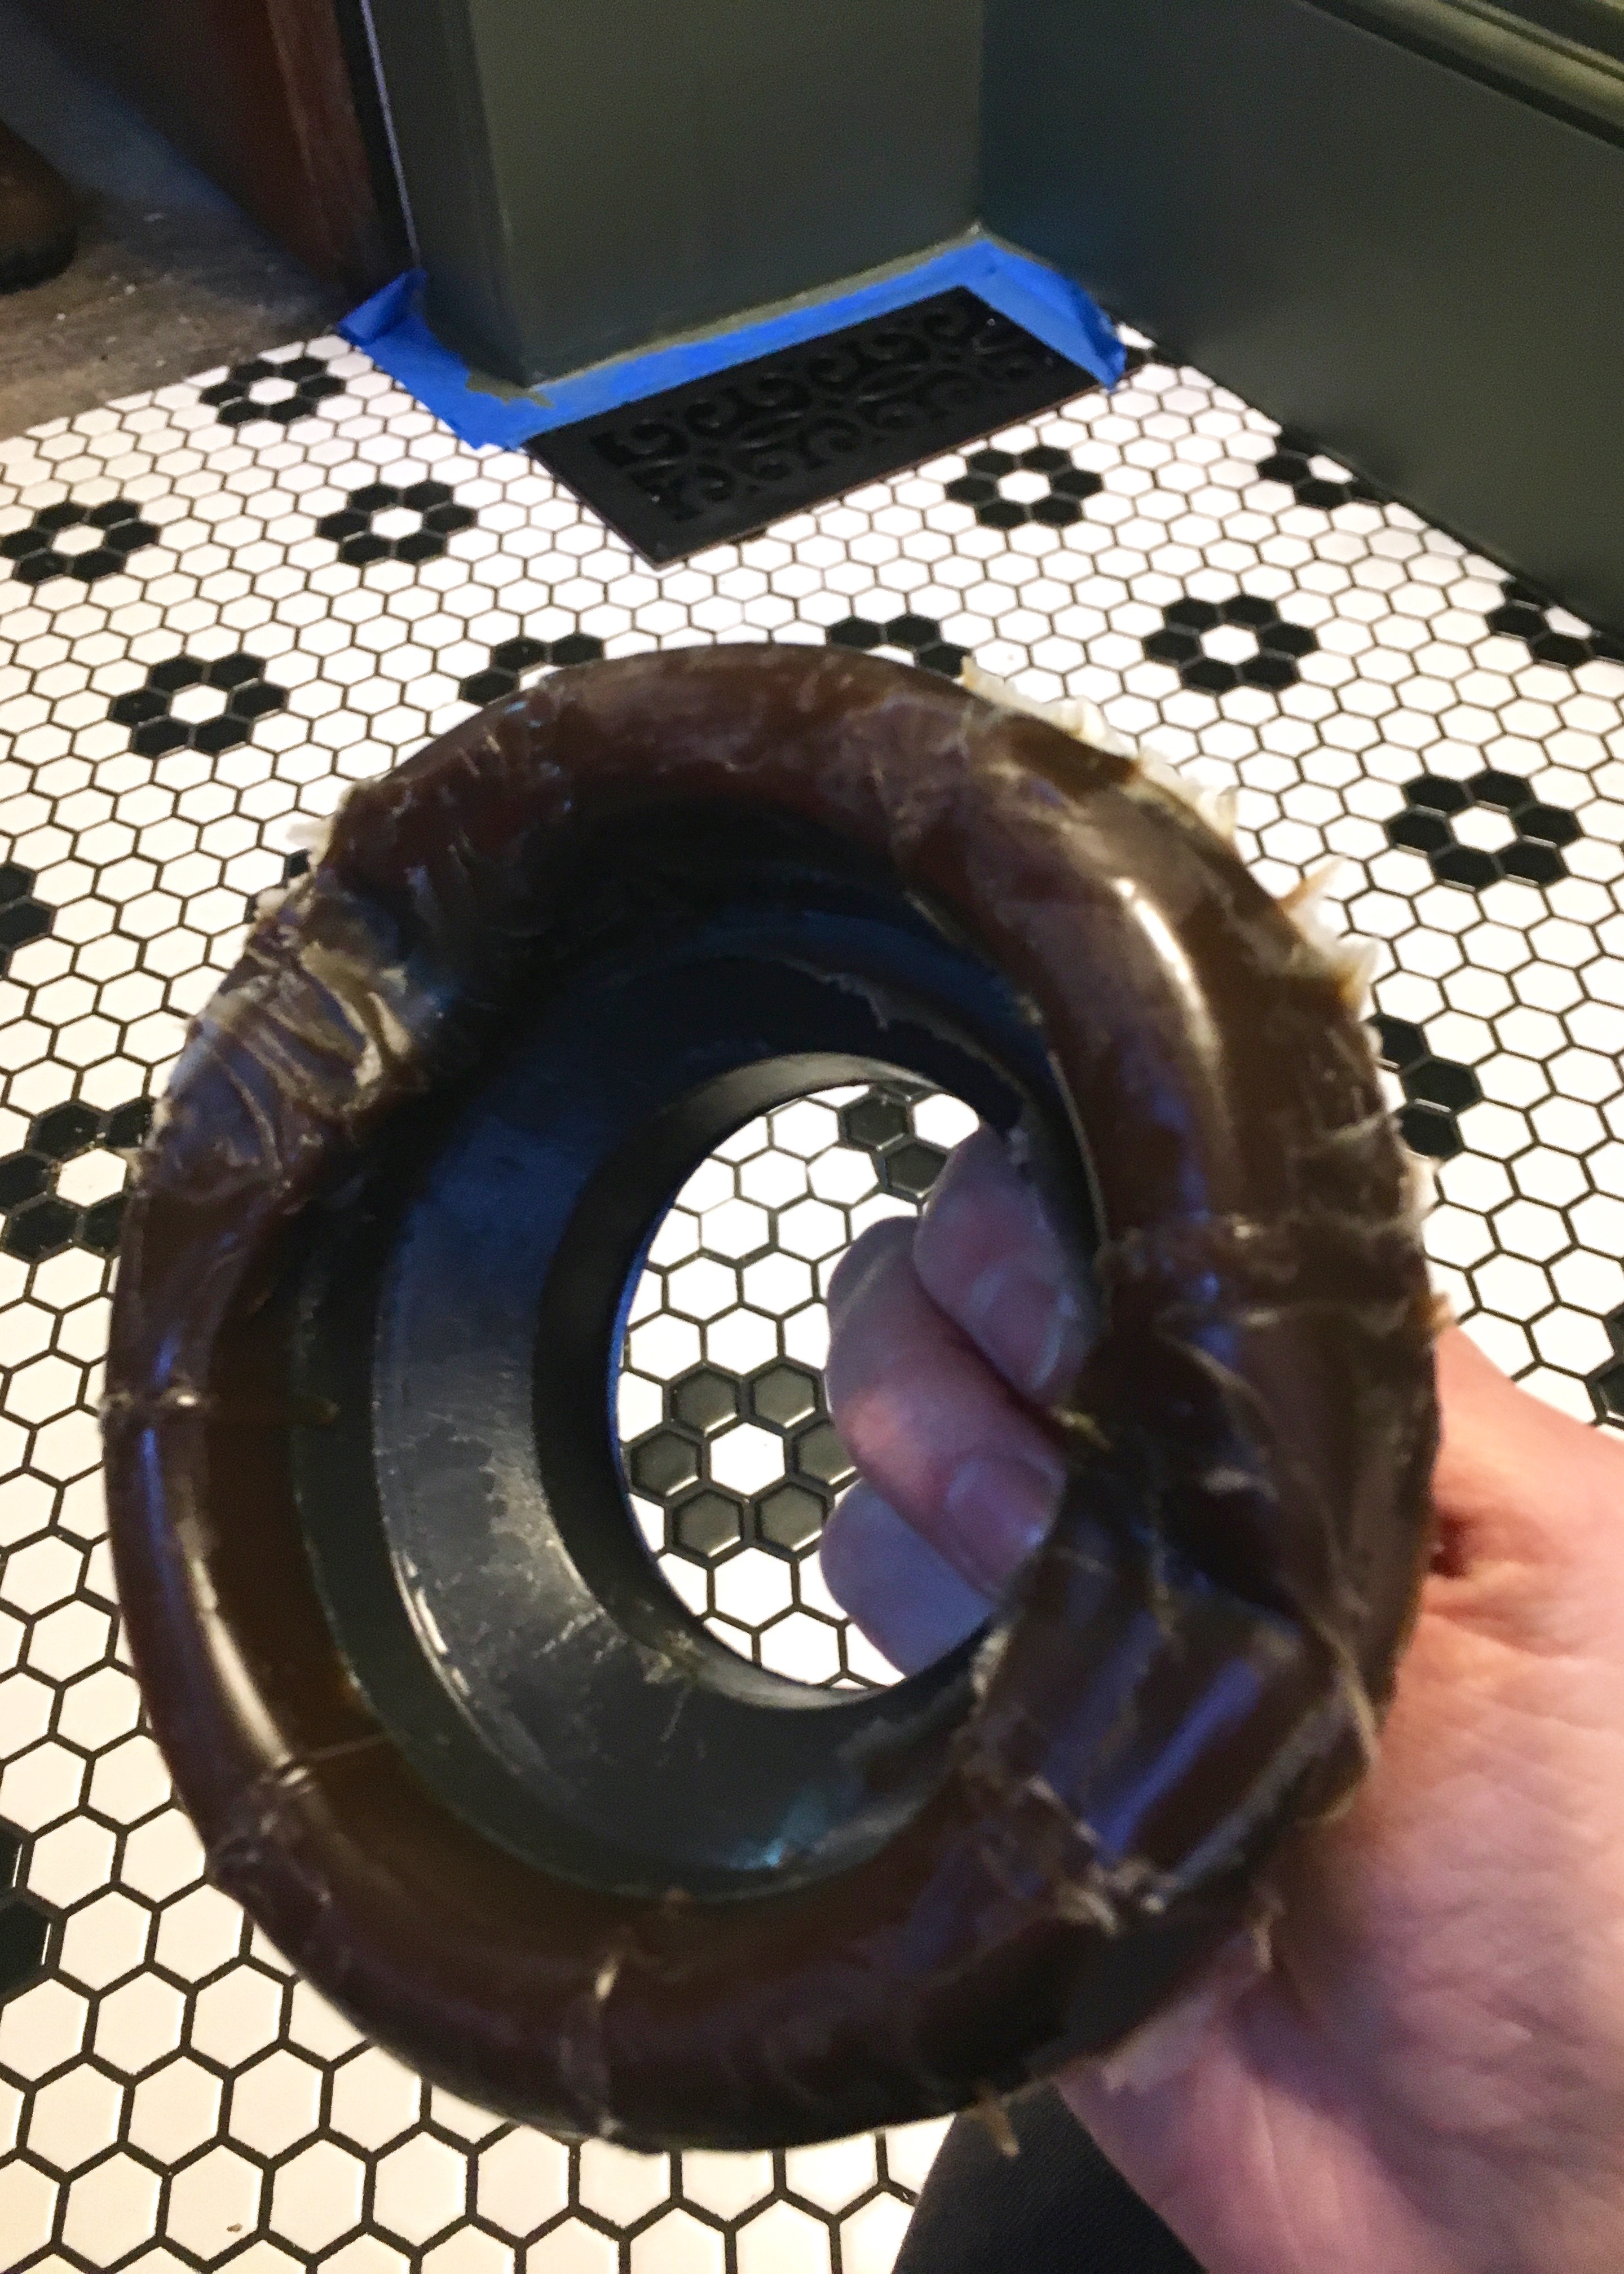
Luckily, I had a space that was pretty darn close! See the capped toilet flange below? That was my first step for getting the bathroom into more of a… useful… space. The plumber had installed it when he was doing rough in and after I’d tiled around it, and drywalled, and painted, the flange was finally ready for a toilet. The center part was just a cap that prevented the sewer gases and smells from coming into the bathroom. For which I was grateful. I popped it off with a screw driver and exposed the hole beneath.

Then I grabbed a reinforced wax ring toilet install kit from Home Depot and stuck it in the hole. The reinforced plastic part keeps it pretty centered.
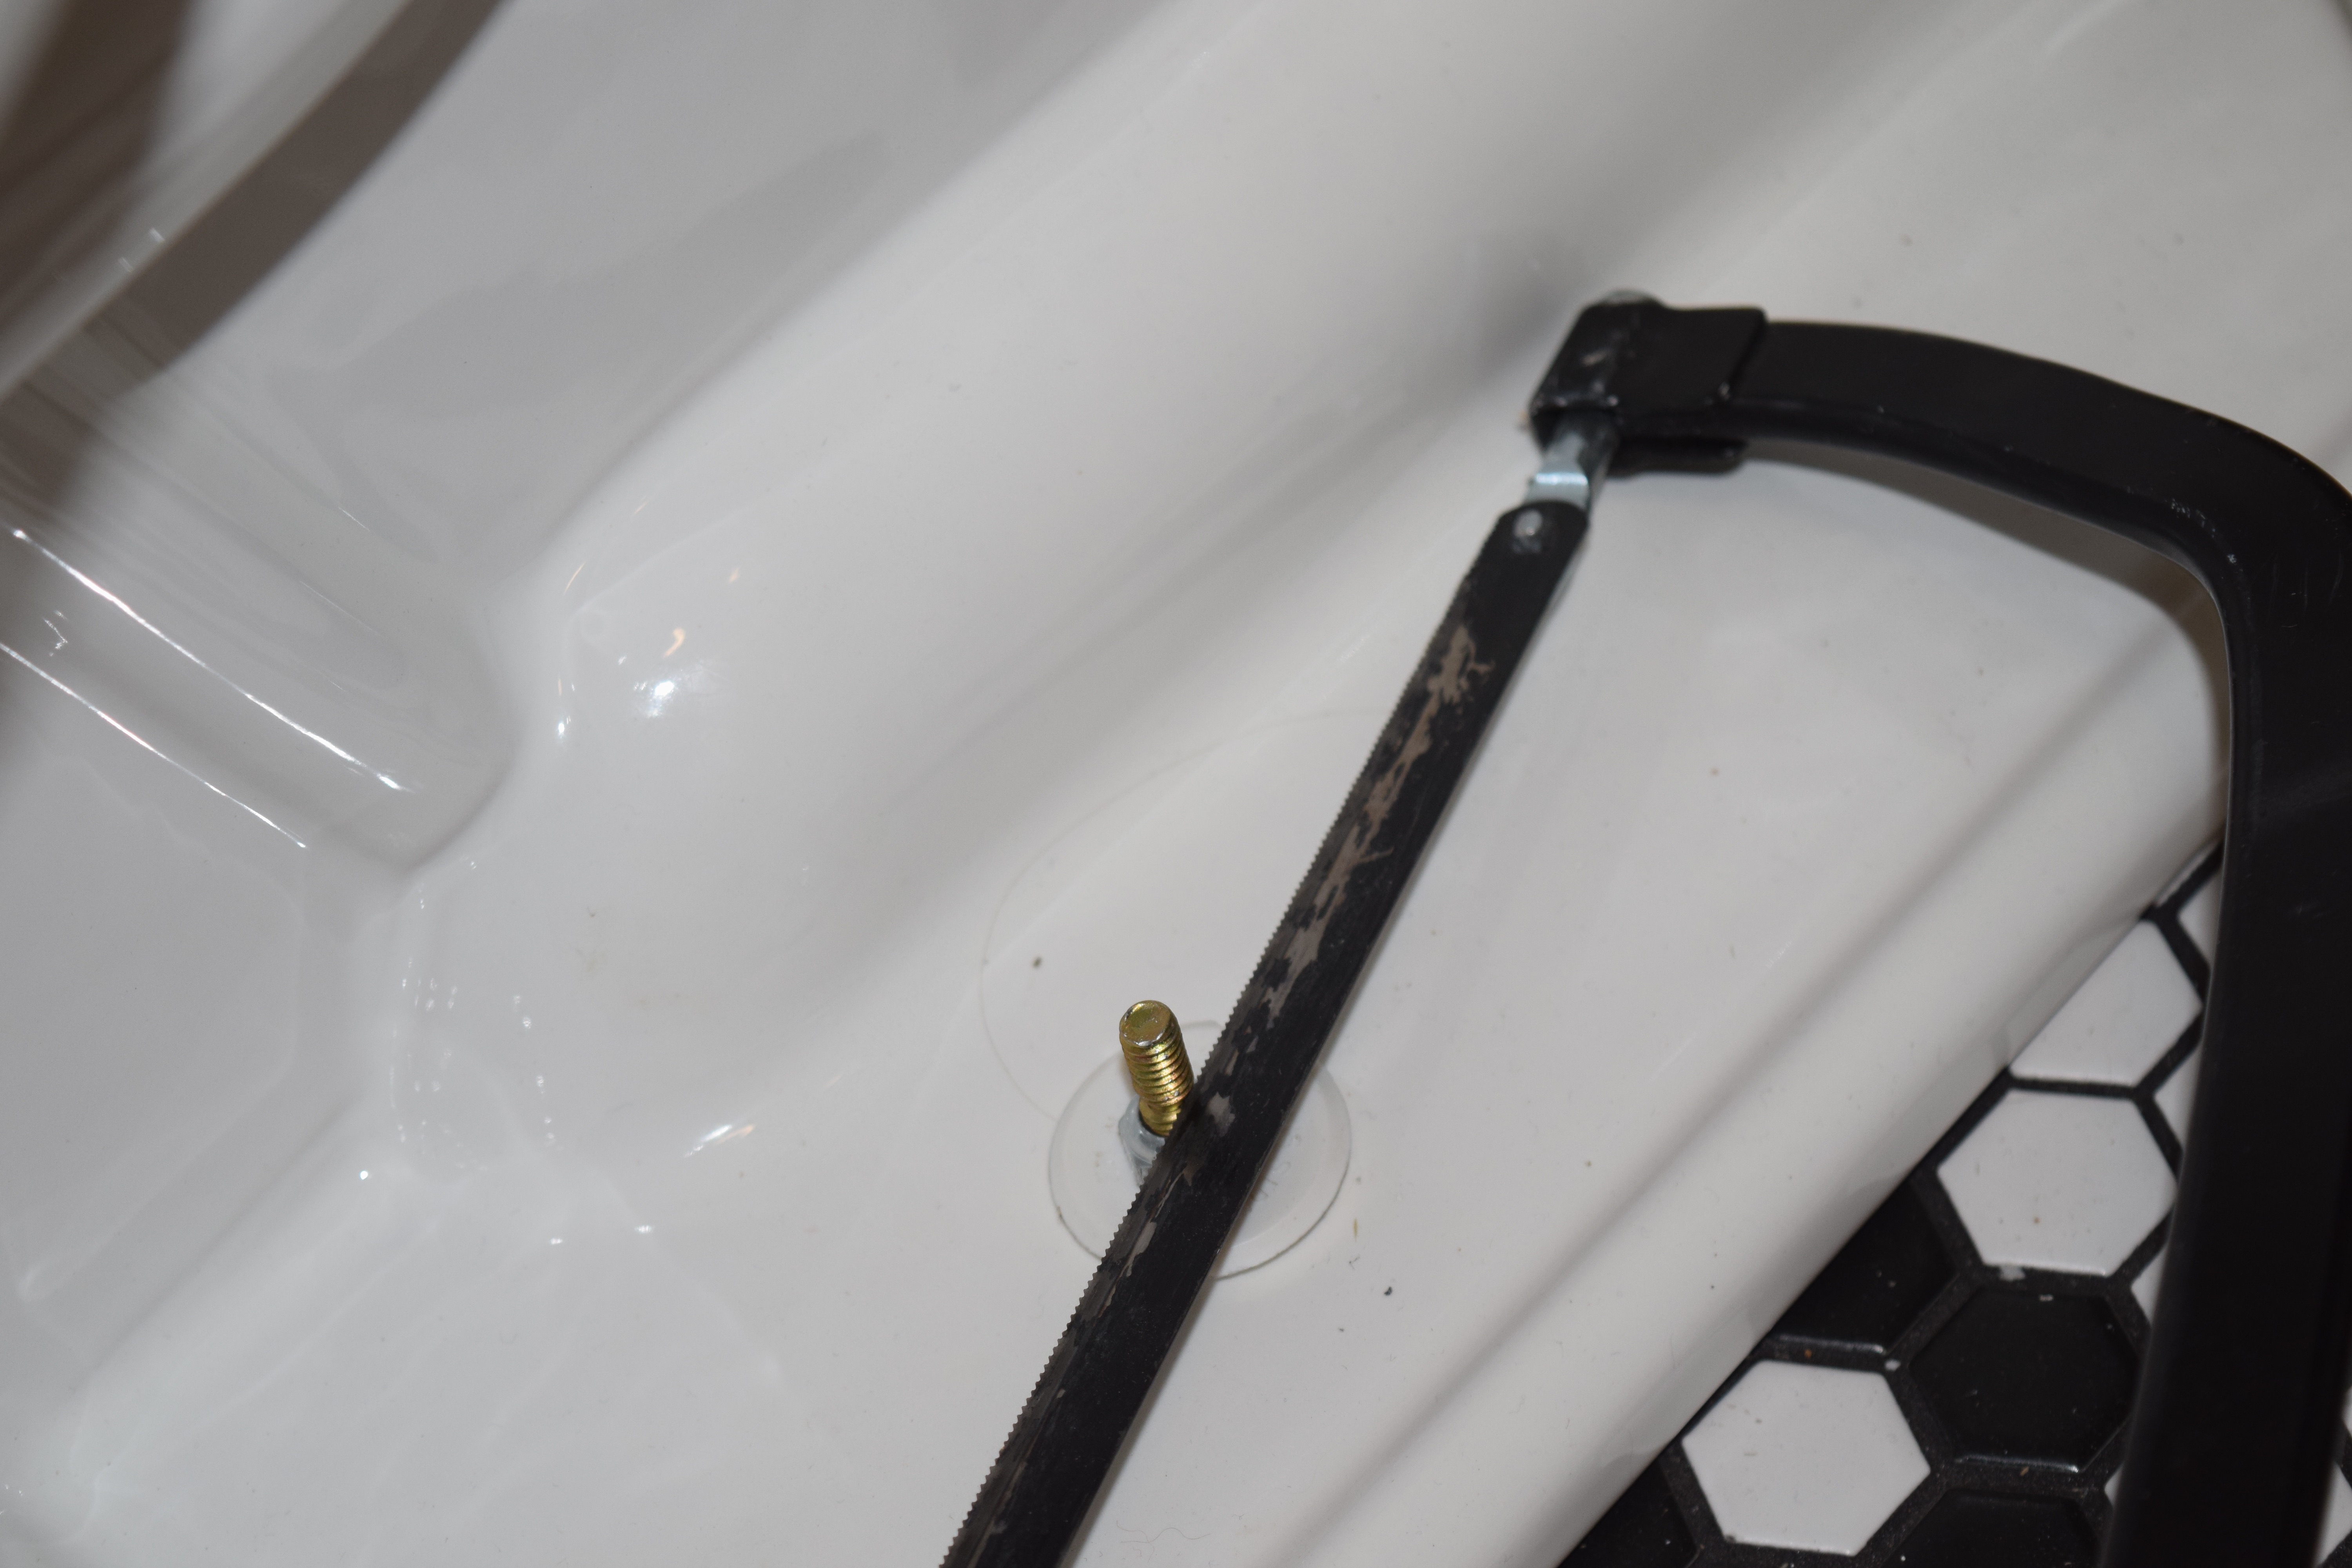
Then I took the bolts that came with the kit and stuck them into the toilet flange. They slide nicely into place upside down, which is better than ones that screw into the flange from above since it’s easier to aim your toilet. I had bought the Kohler Memoirs Two Piece Toilet which is easier to install since it literally comes in two pieces. I lifted up the bottom part with the help of my friend Nikki and aimed it at my bolts and wax ring while her dog chased Malary around my house. With a little finagling we landed it just so for a perfect fit! Then I slipped the plastic covers that came with the toilet over the bolts to protect the porcelain and screwed on a nut to hold the toilet in place. I tightened the nut enough to keep everything snug and then simply sawed off the excess bolt with my hacksaw. Easy, peasy.
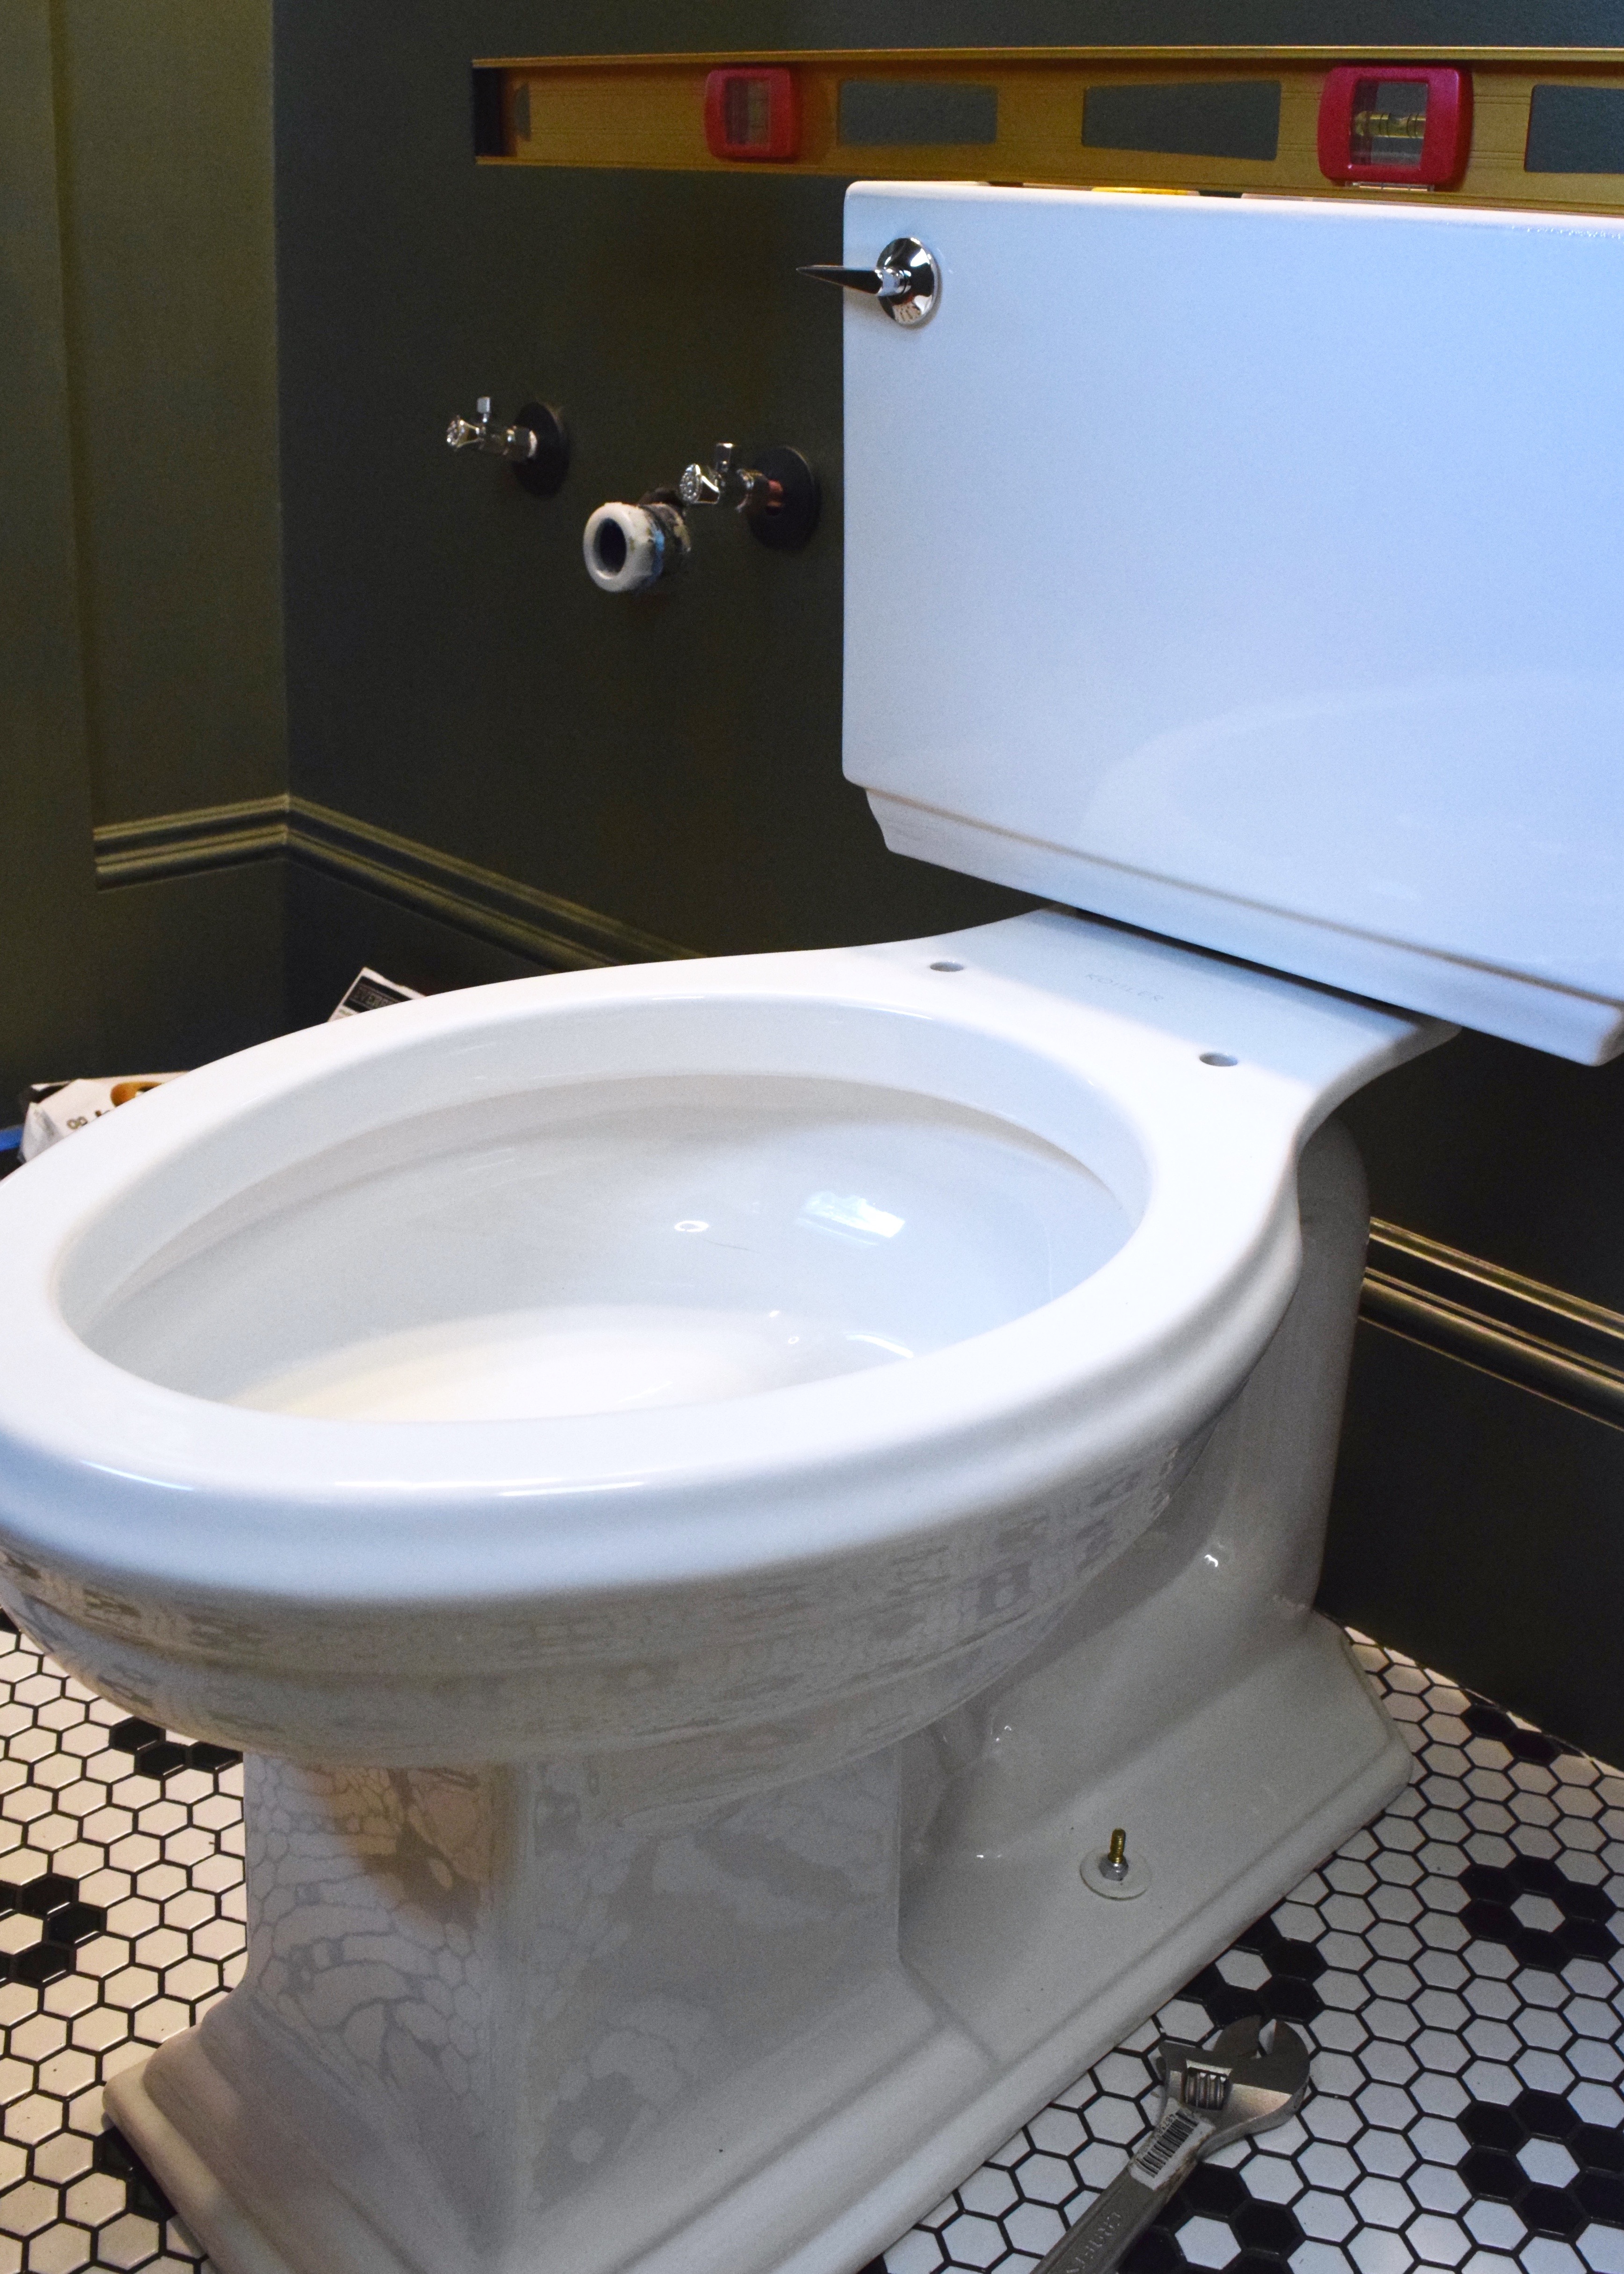
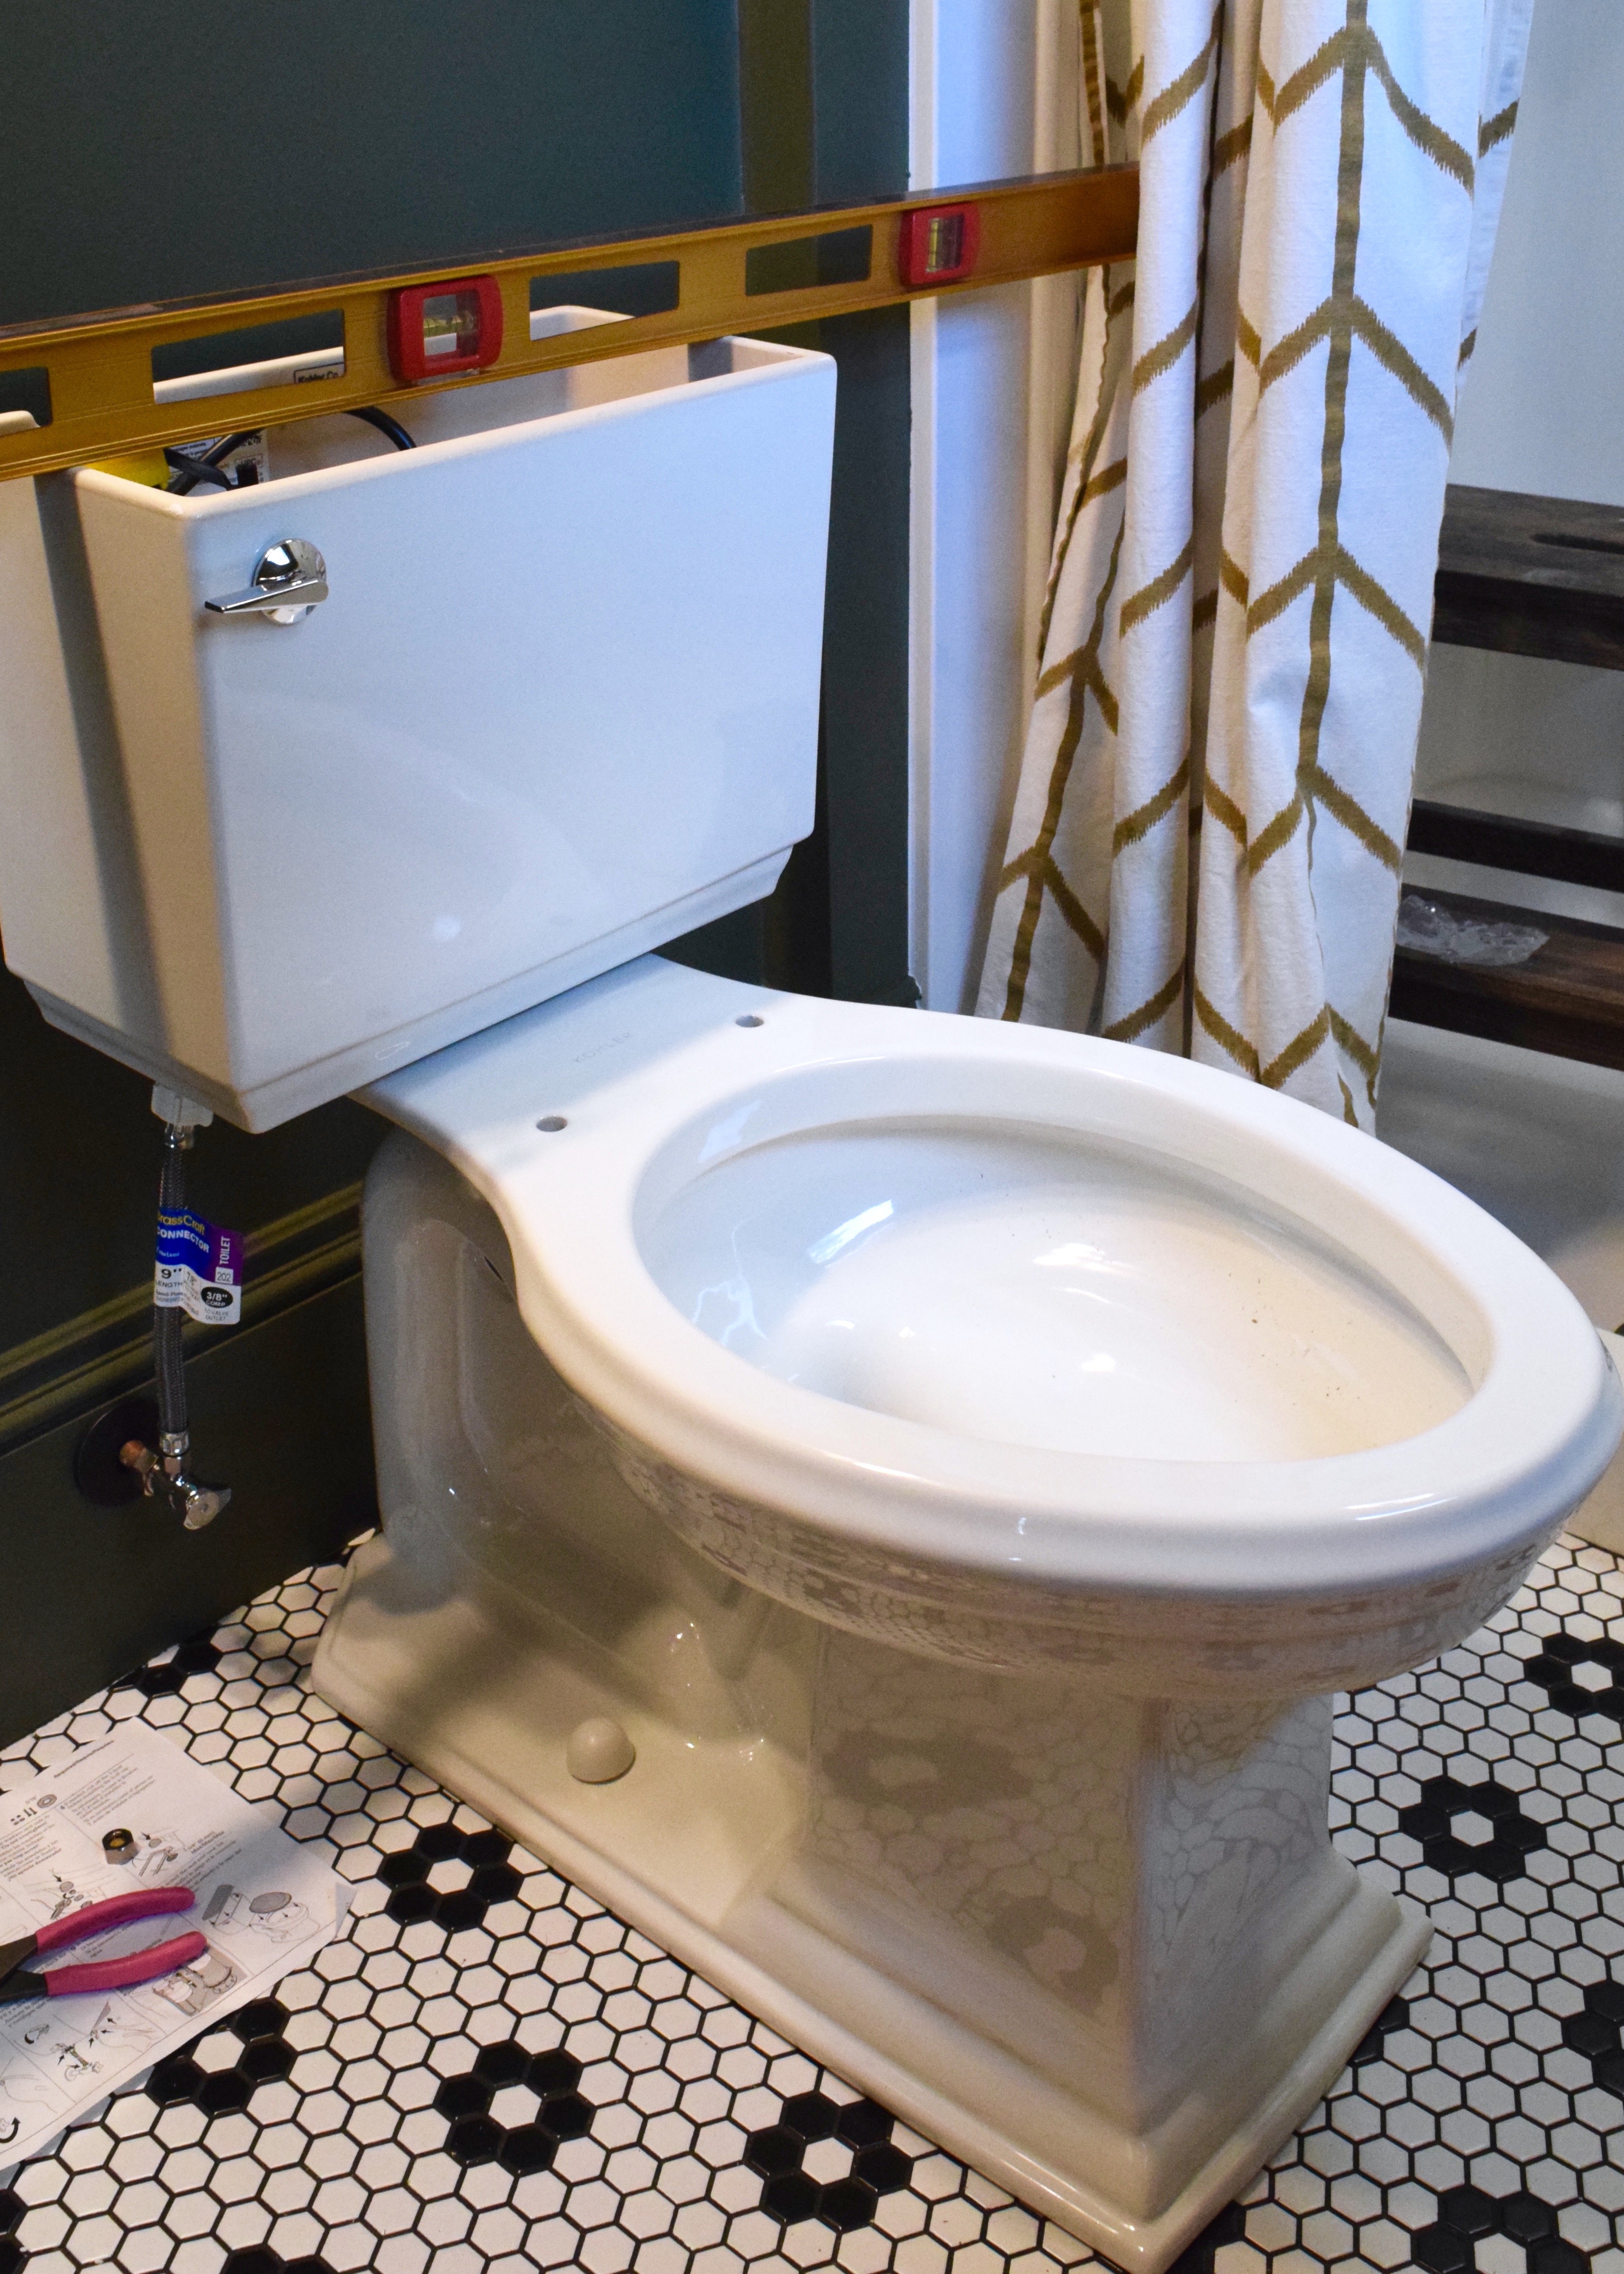
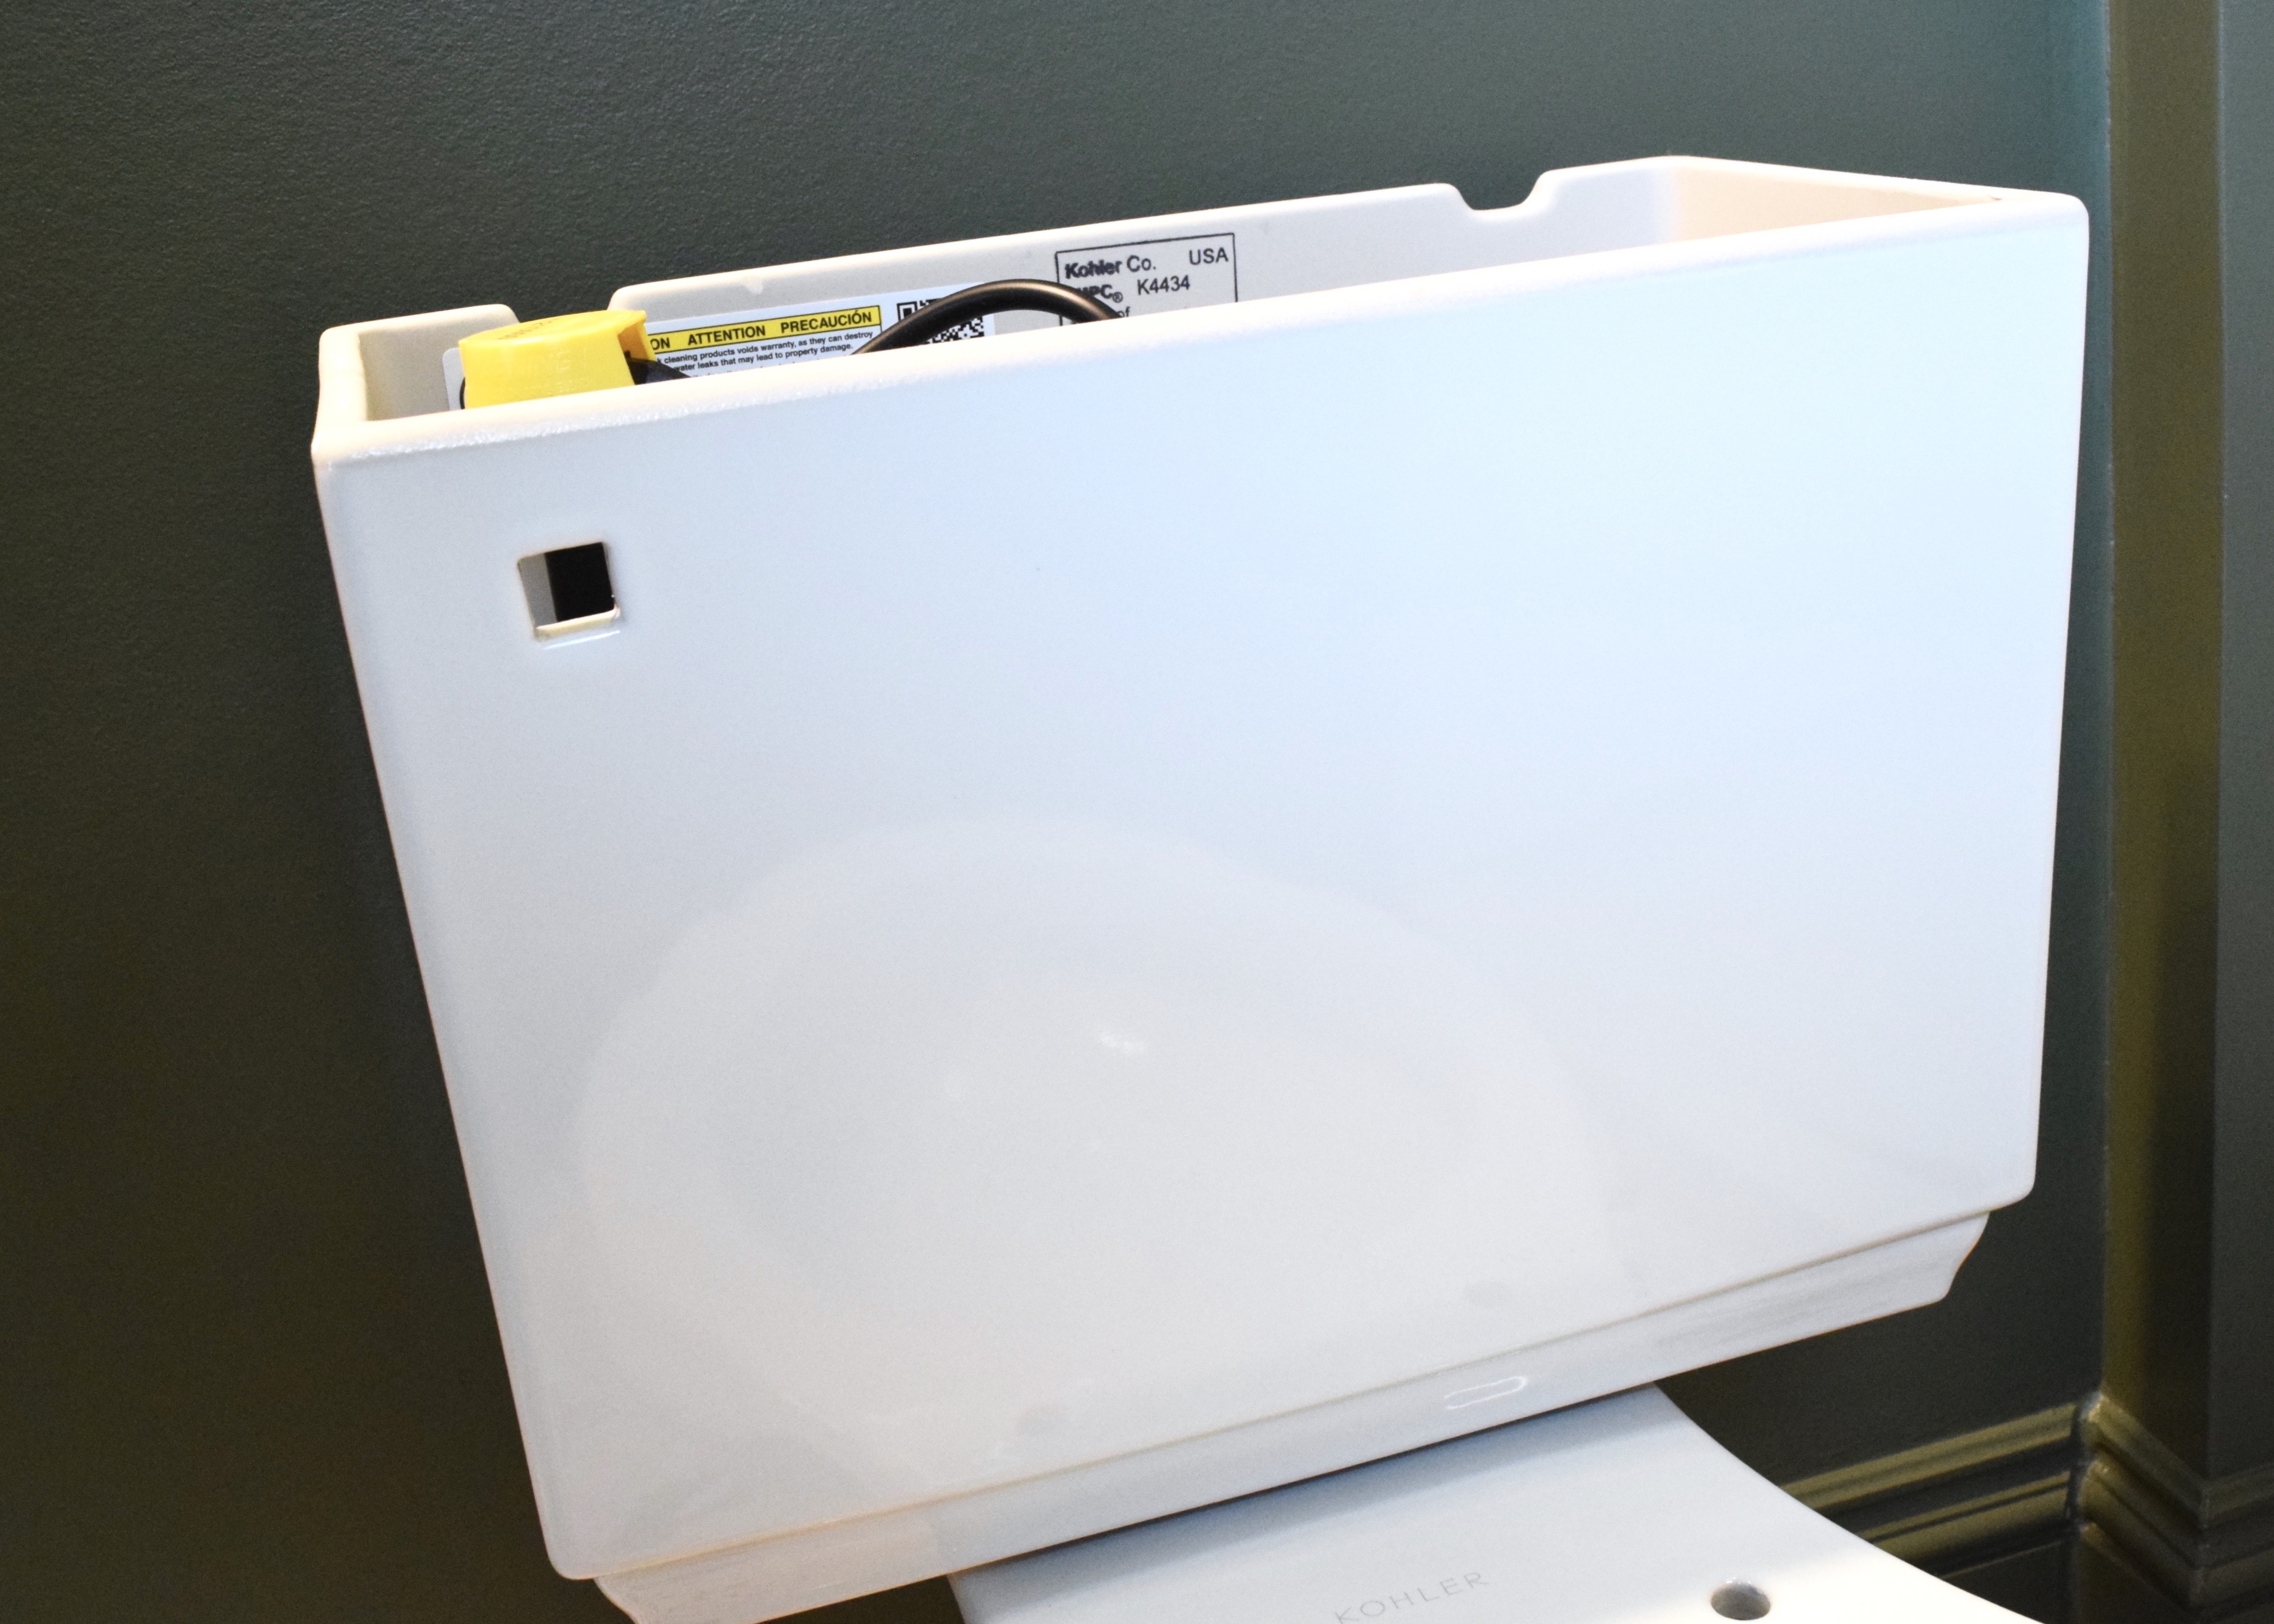
I snapped the bolt cap covers on and then it was time for the tank. This guy I was able to place on myself after Nikki left. It came with bolts already placed in the bottom of the tank and again I just aimed those bolts at the holes in the bottom part of the toilet. Then they got nuts which I tightened with a wrench being careful not to tighten too tightly which could break the porcelain. As I did that I stuck my level on top to make sure I was keeping things plumb.
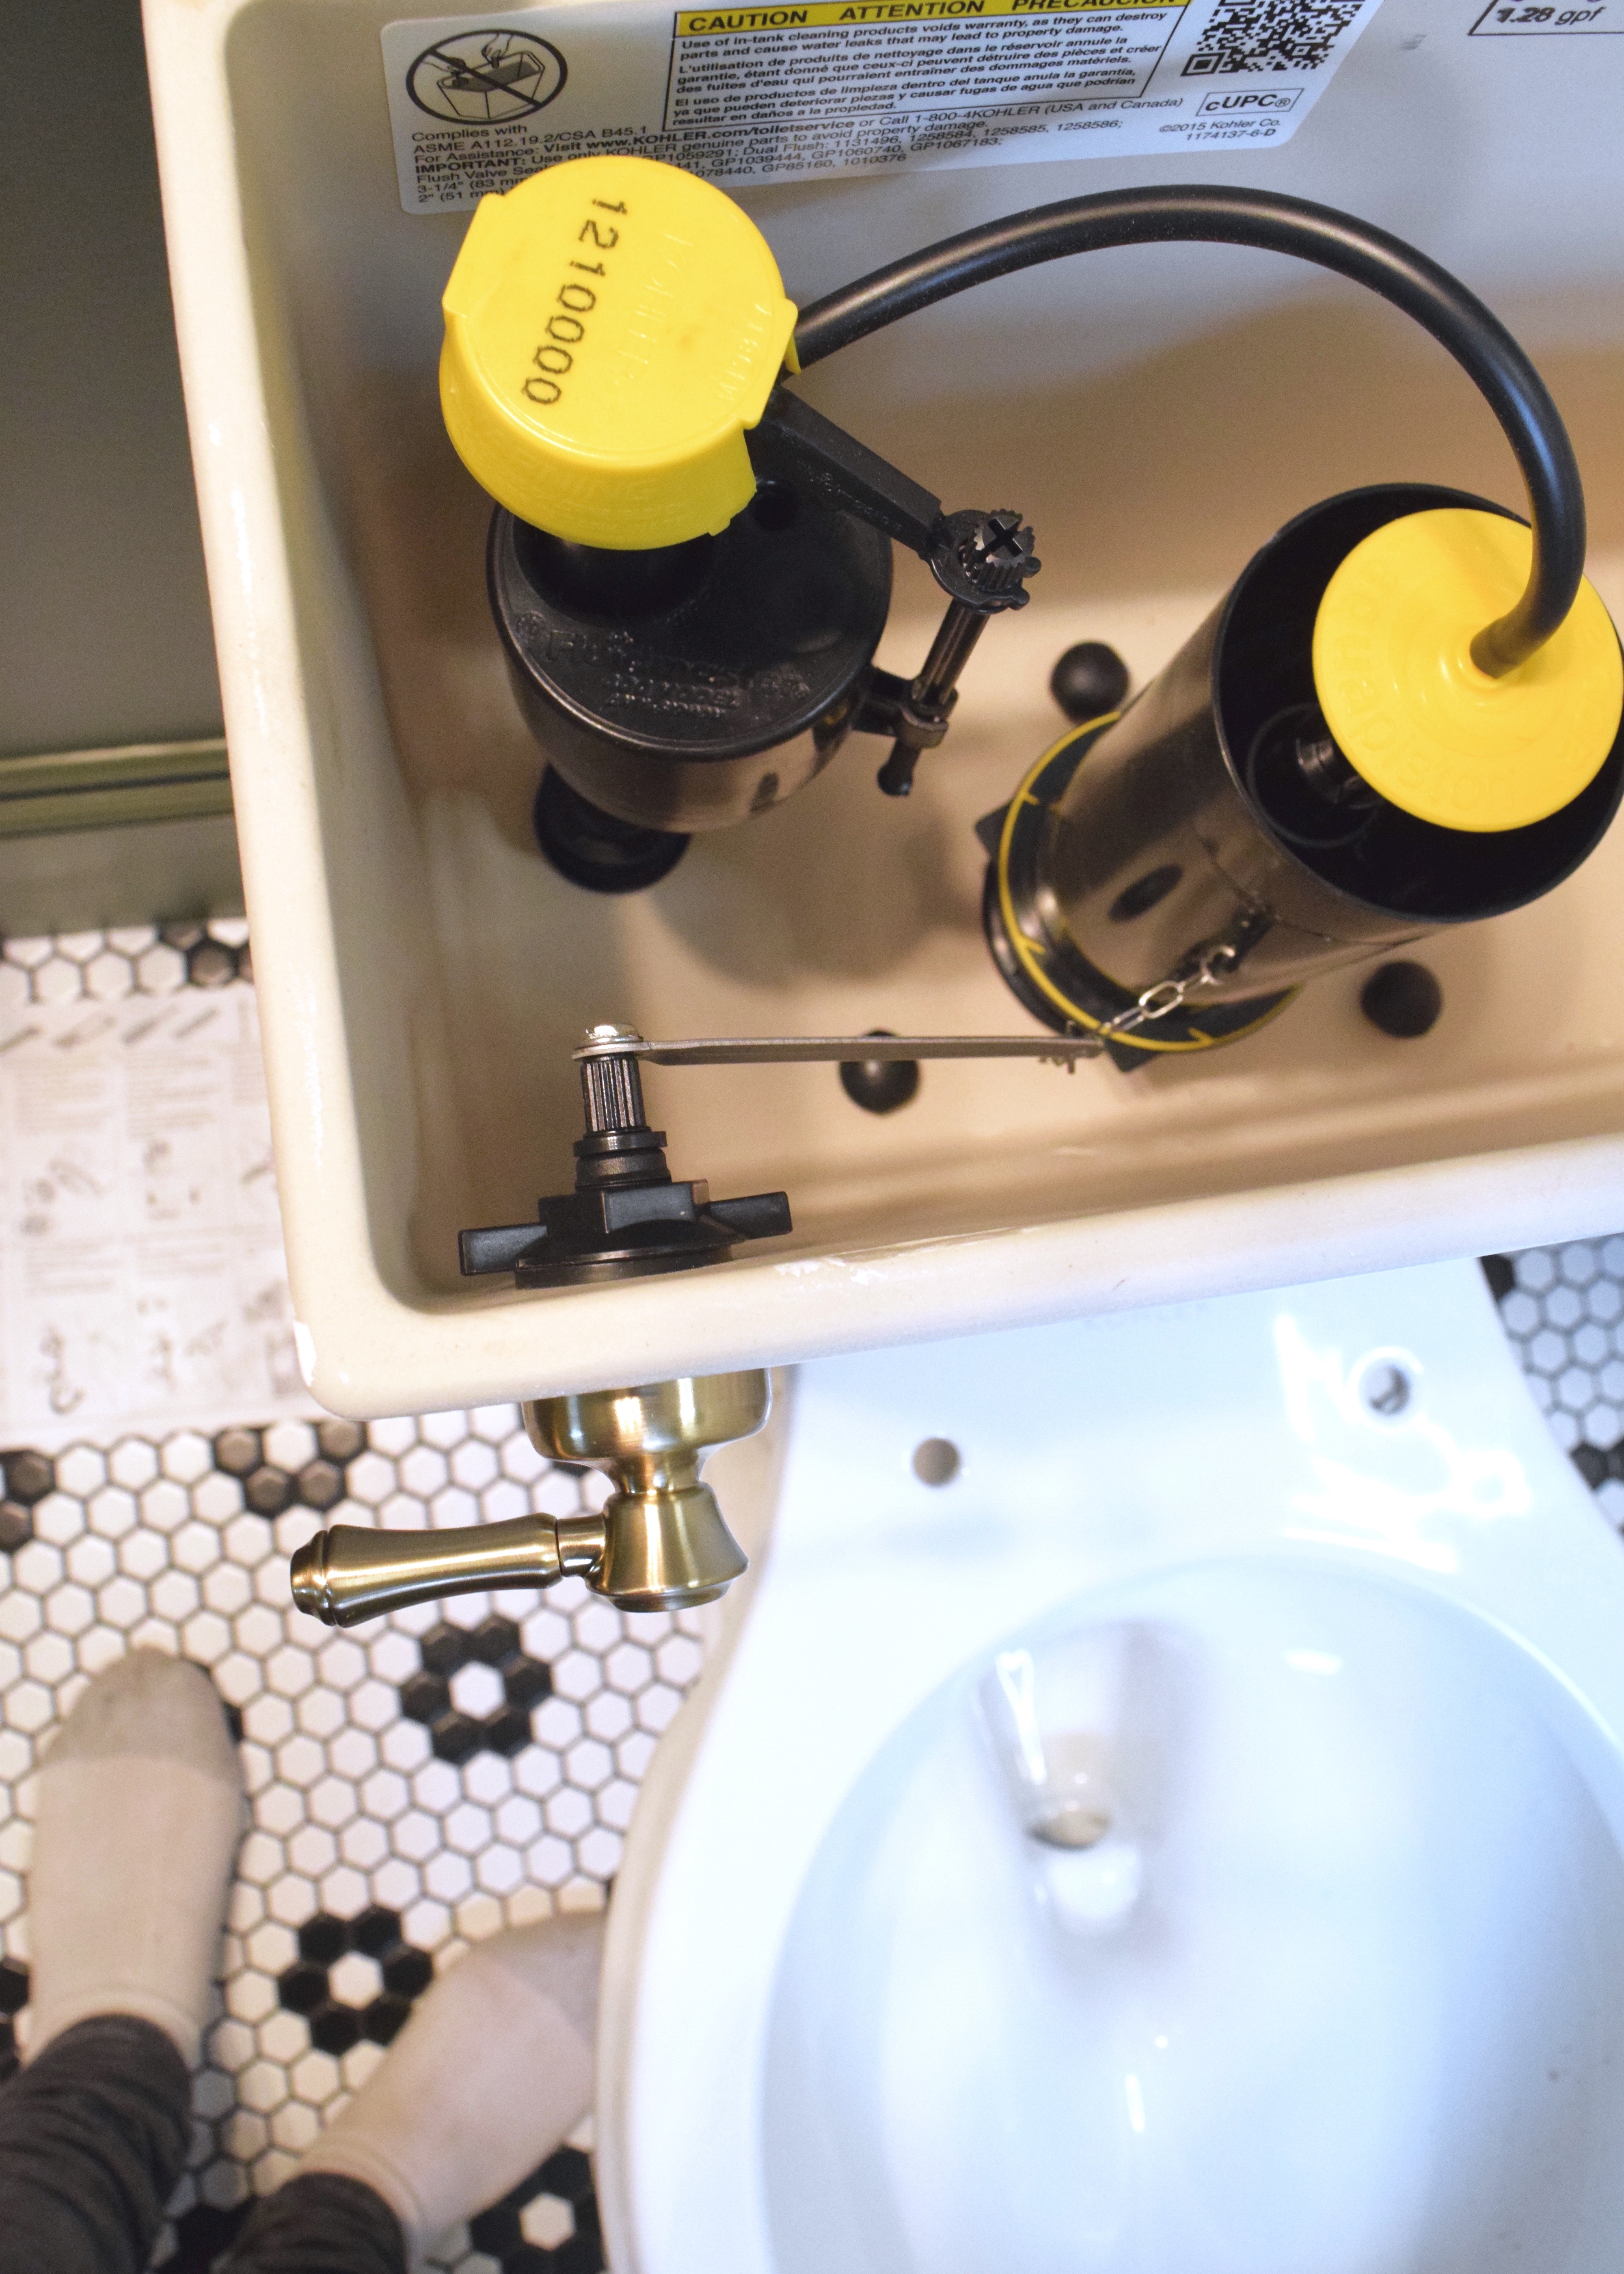
One more check that it was level and I was ready for the fun stuff! The toilet lever that came with my toilet was already installed when I unboxed it. That’s convenient right? Wrong.
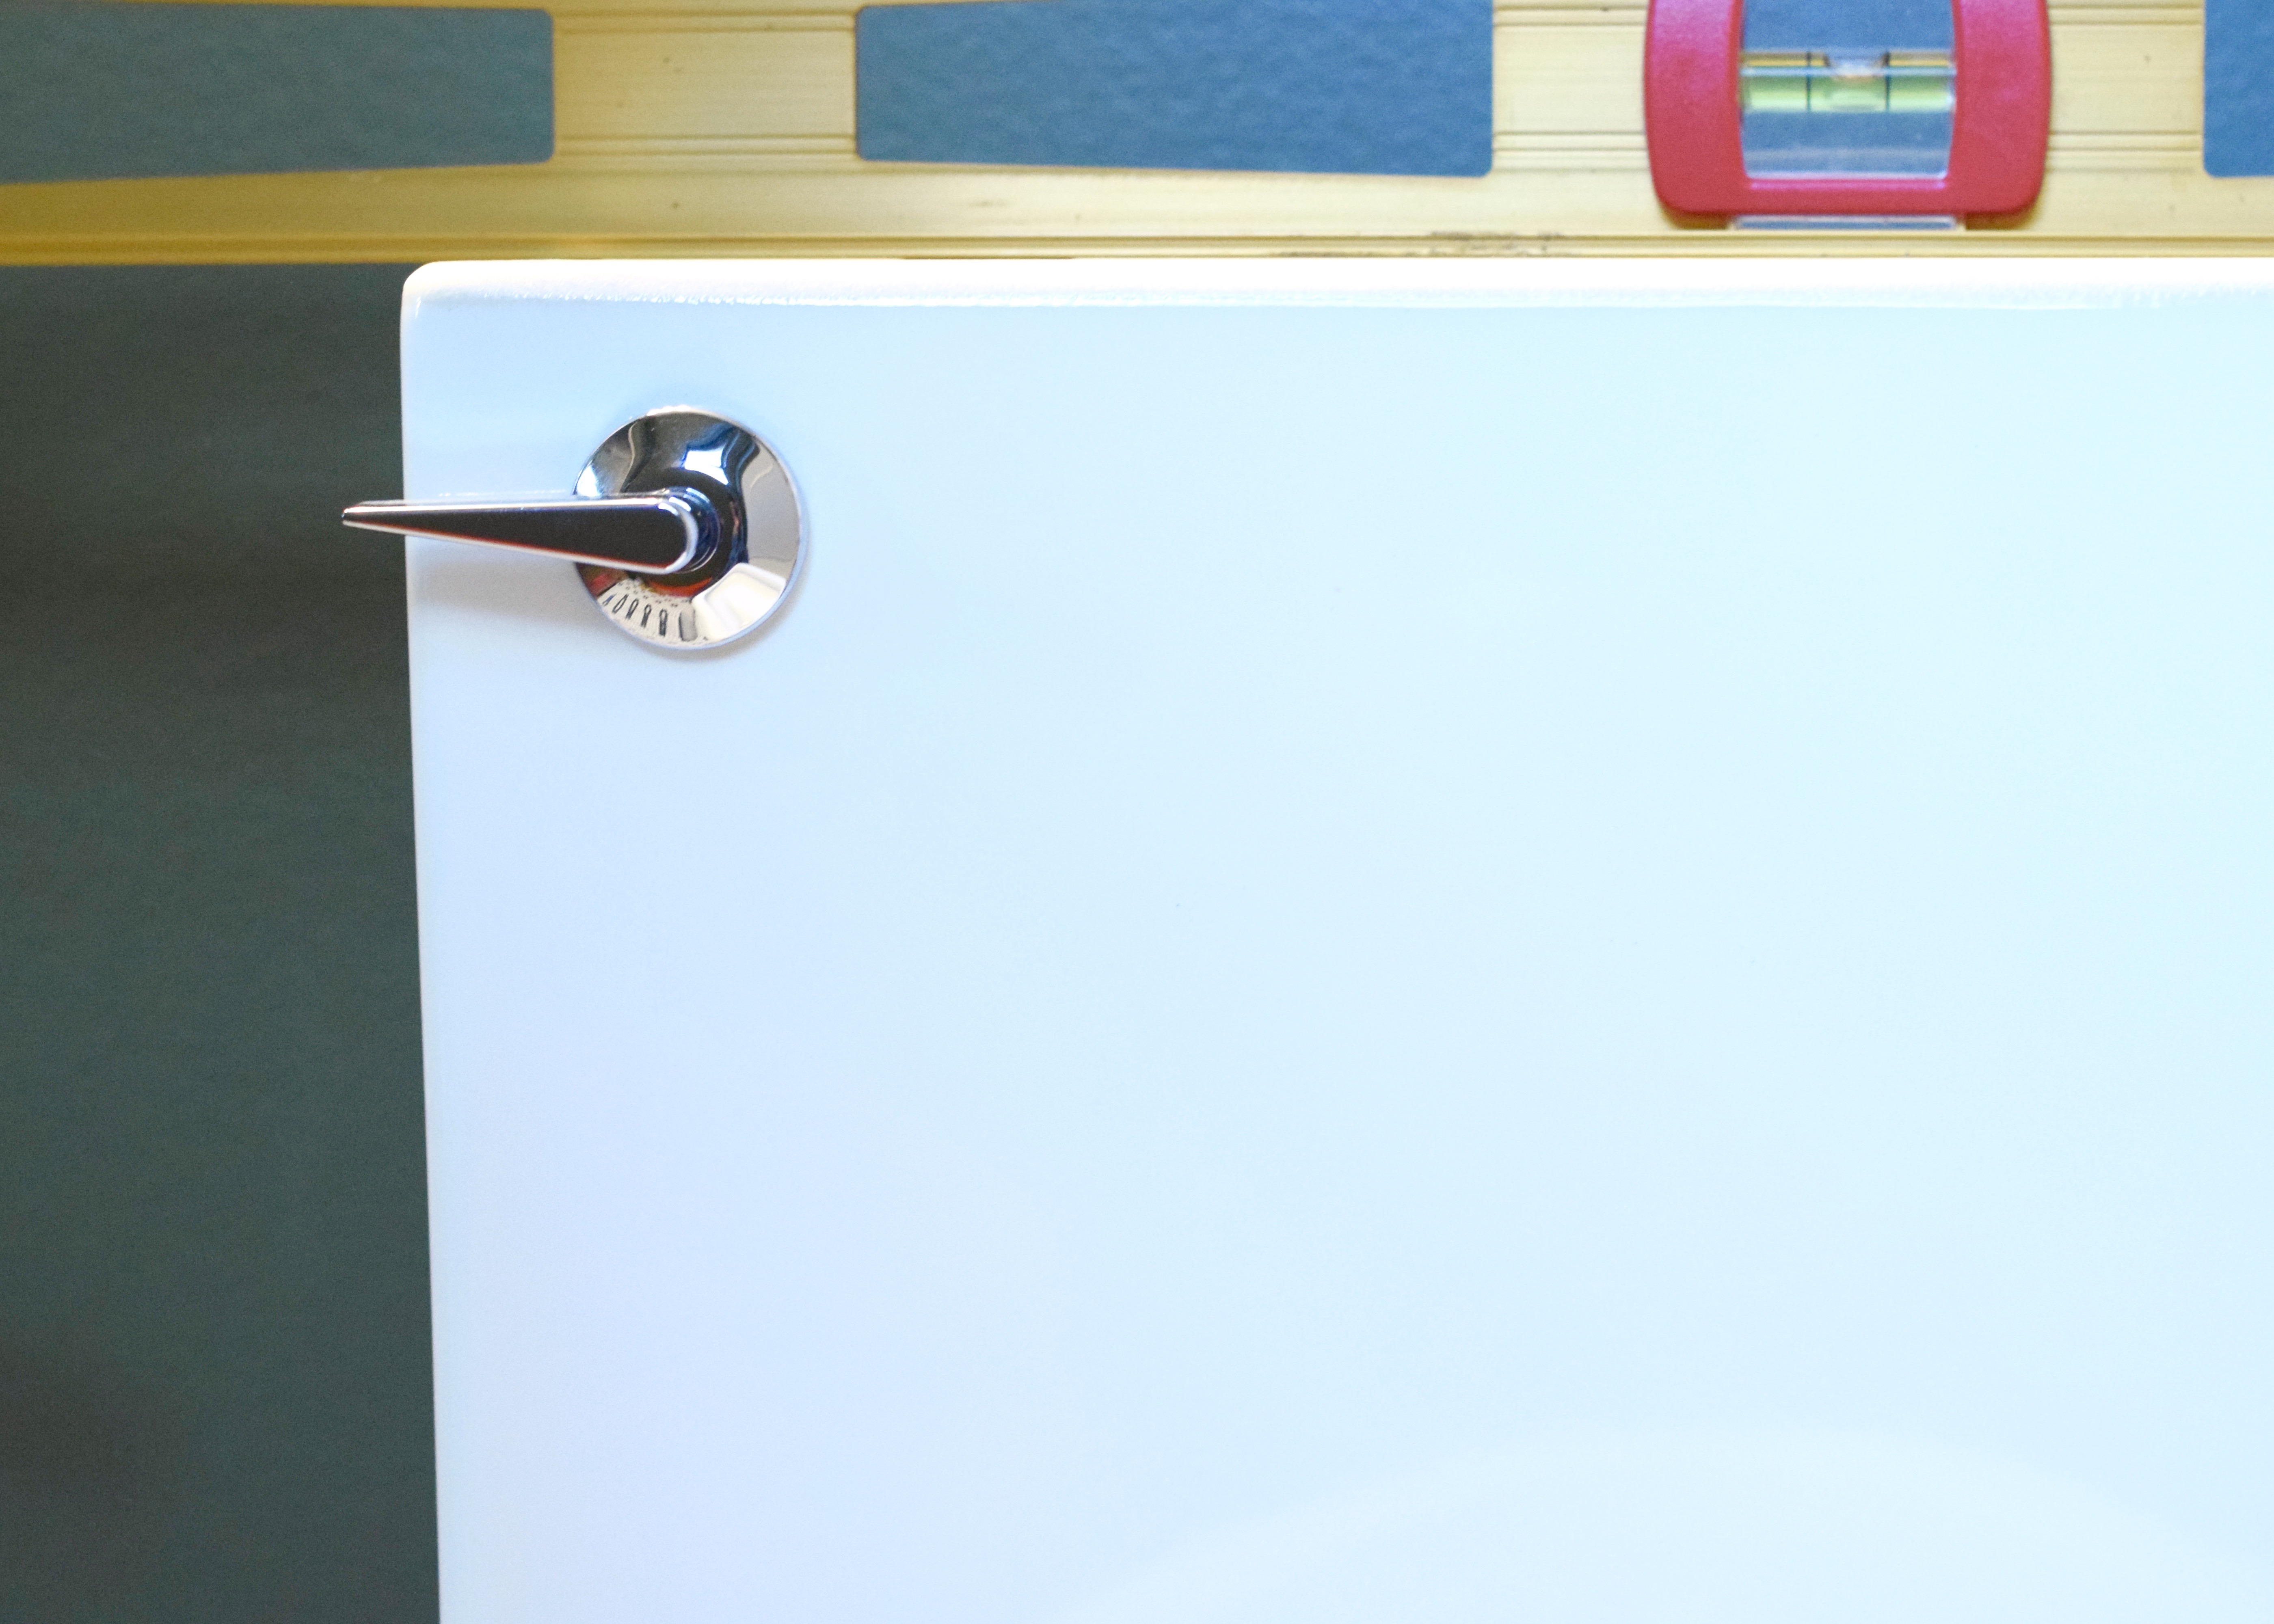
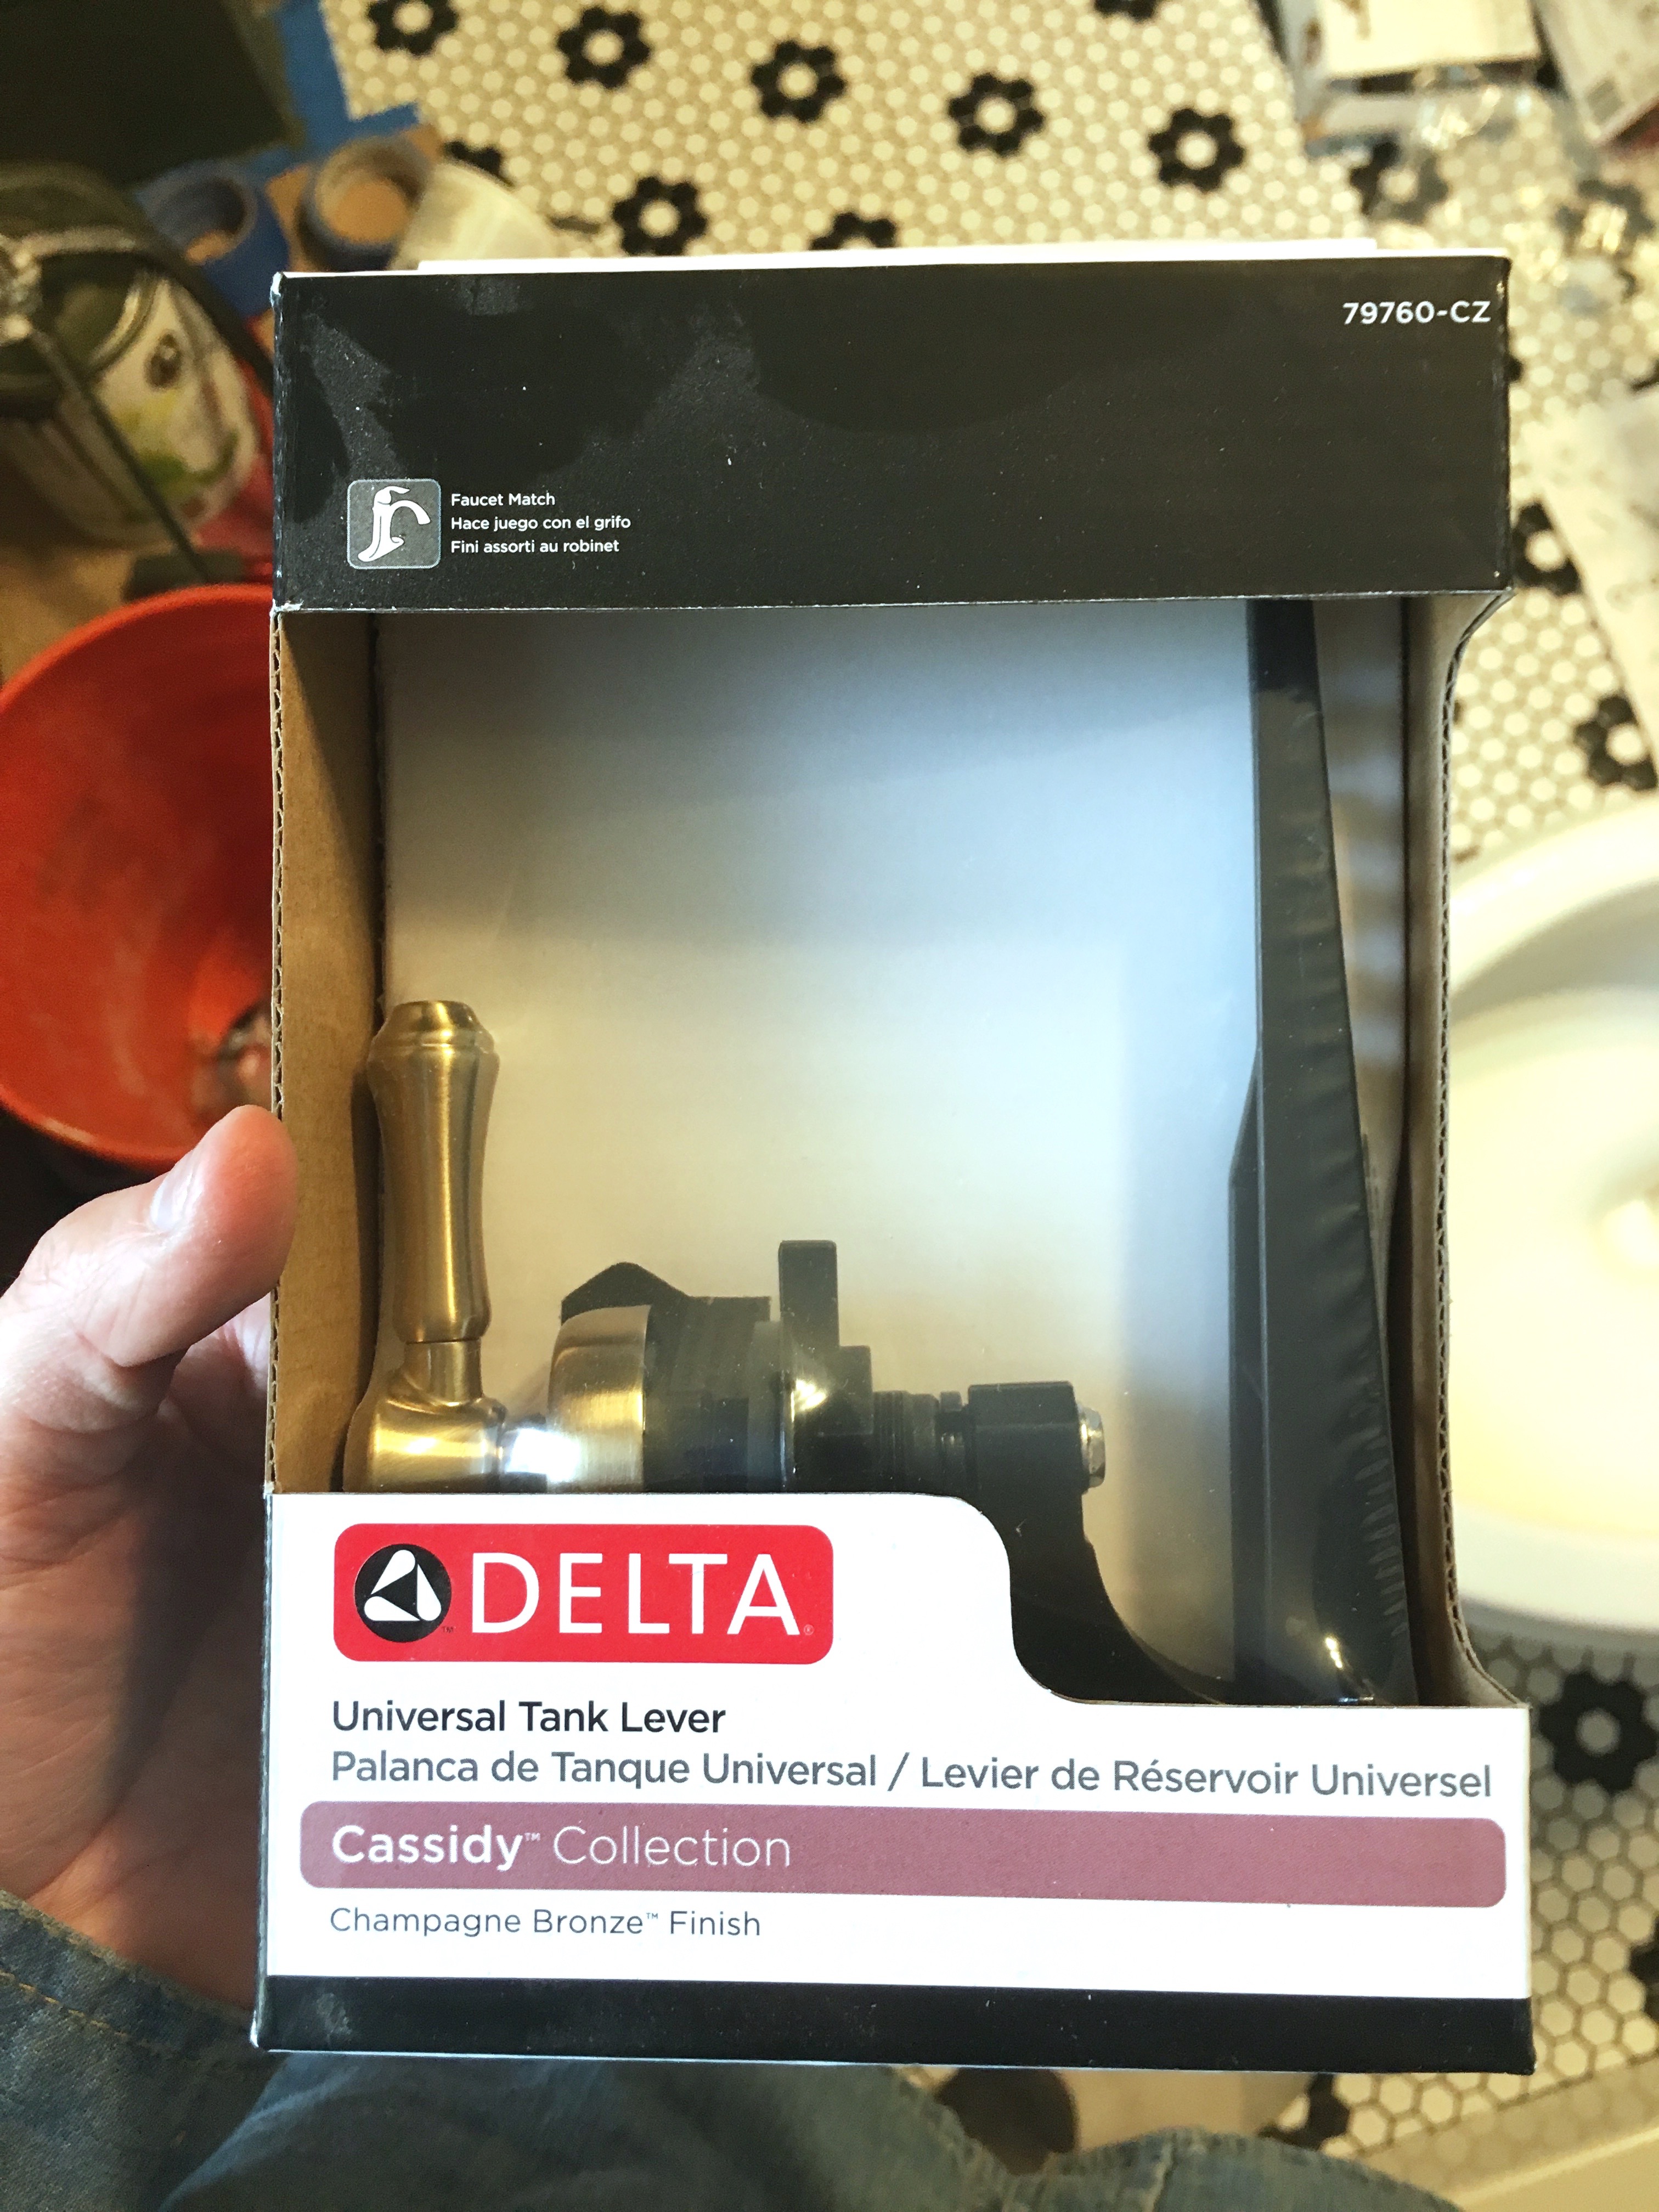
Lovely polished chrome in finish, there was nothing wrong with it, except I was using Delta’s Champagne Bronze (a brass /gold look) finish on all the other plumbing fixtures. So I popped one of Delta’s Cassidy Collection Toilet Levers into my cart and got ready to switch it out.
I also went ahead and screwed in the toilet water supply line into the tank and into my favorite water shut off valve that looks so cute coming out of the baseboard. I kept the water off still, but I wanted it to be ready to go once the lever was switched out.
Switching out the lever was also super easy. I took a short handled screw driver and just unscrewed the single machine screw that was holding it in place and popped off the lever.
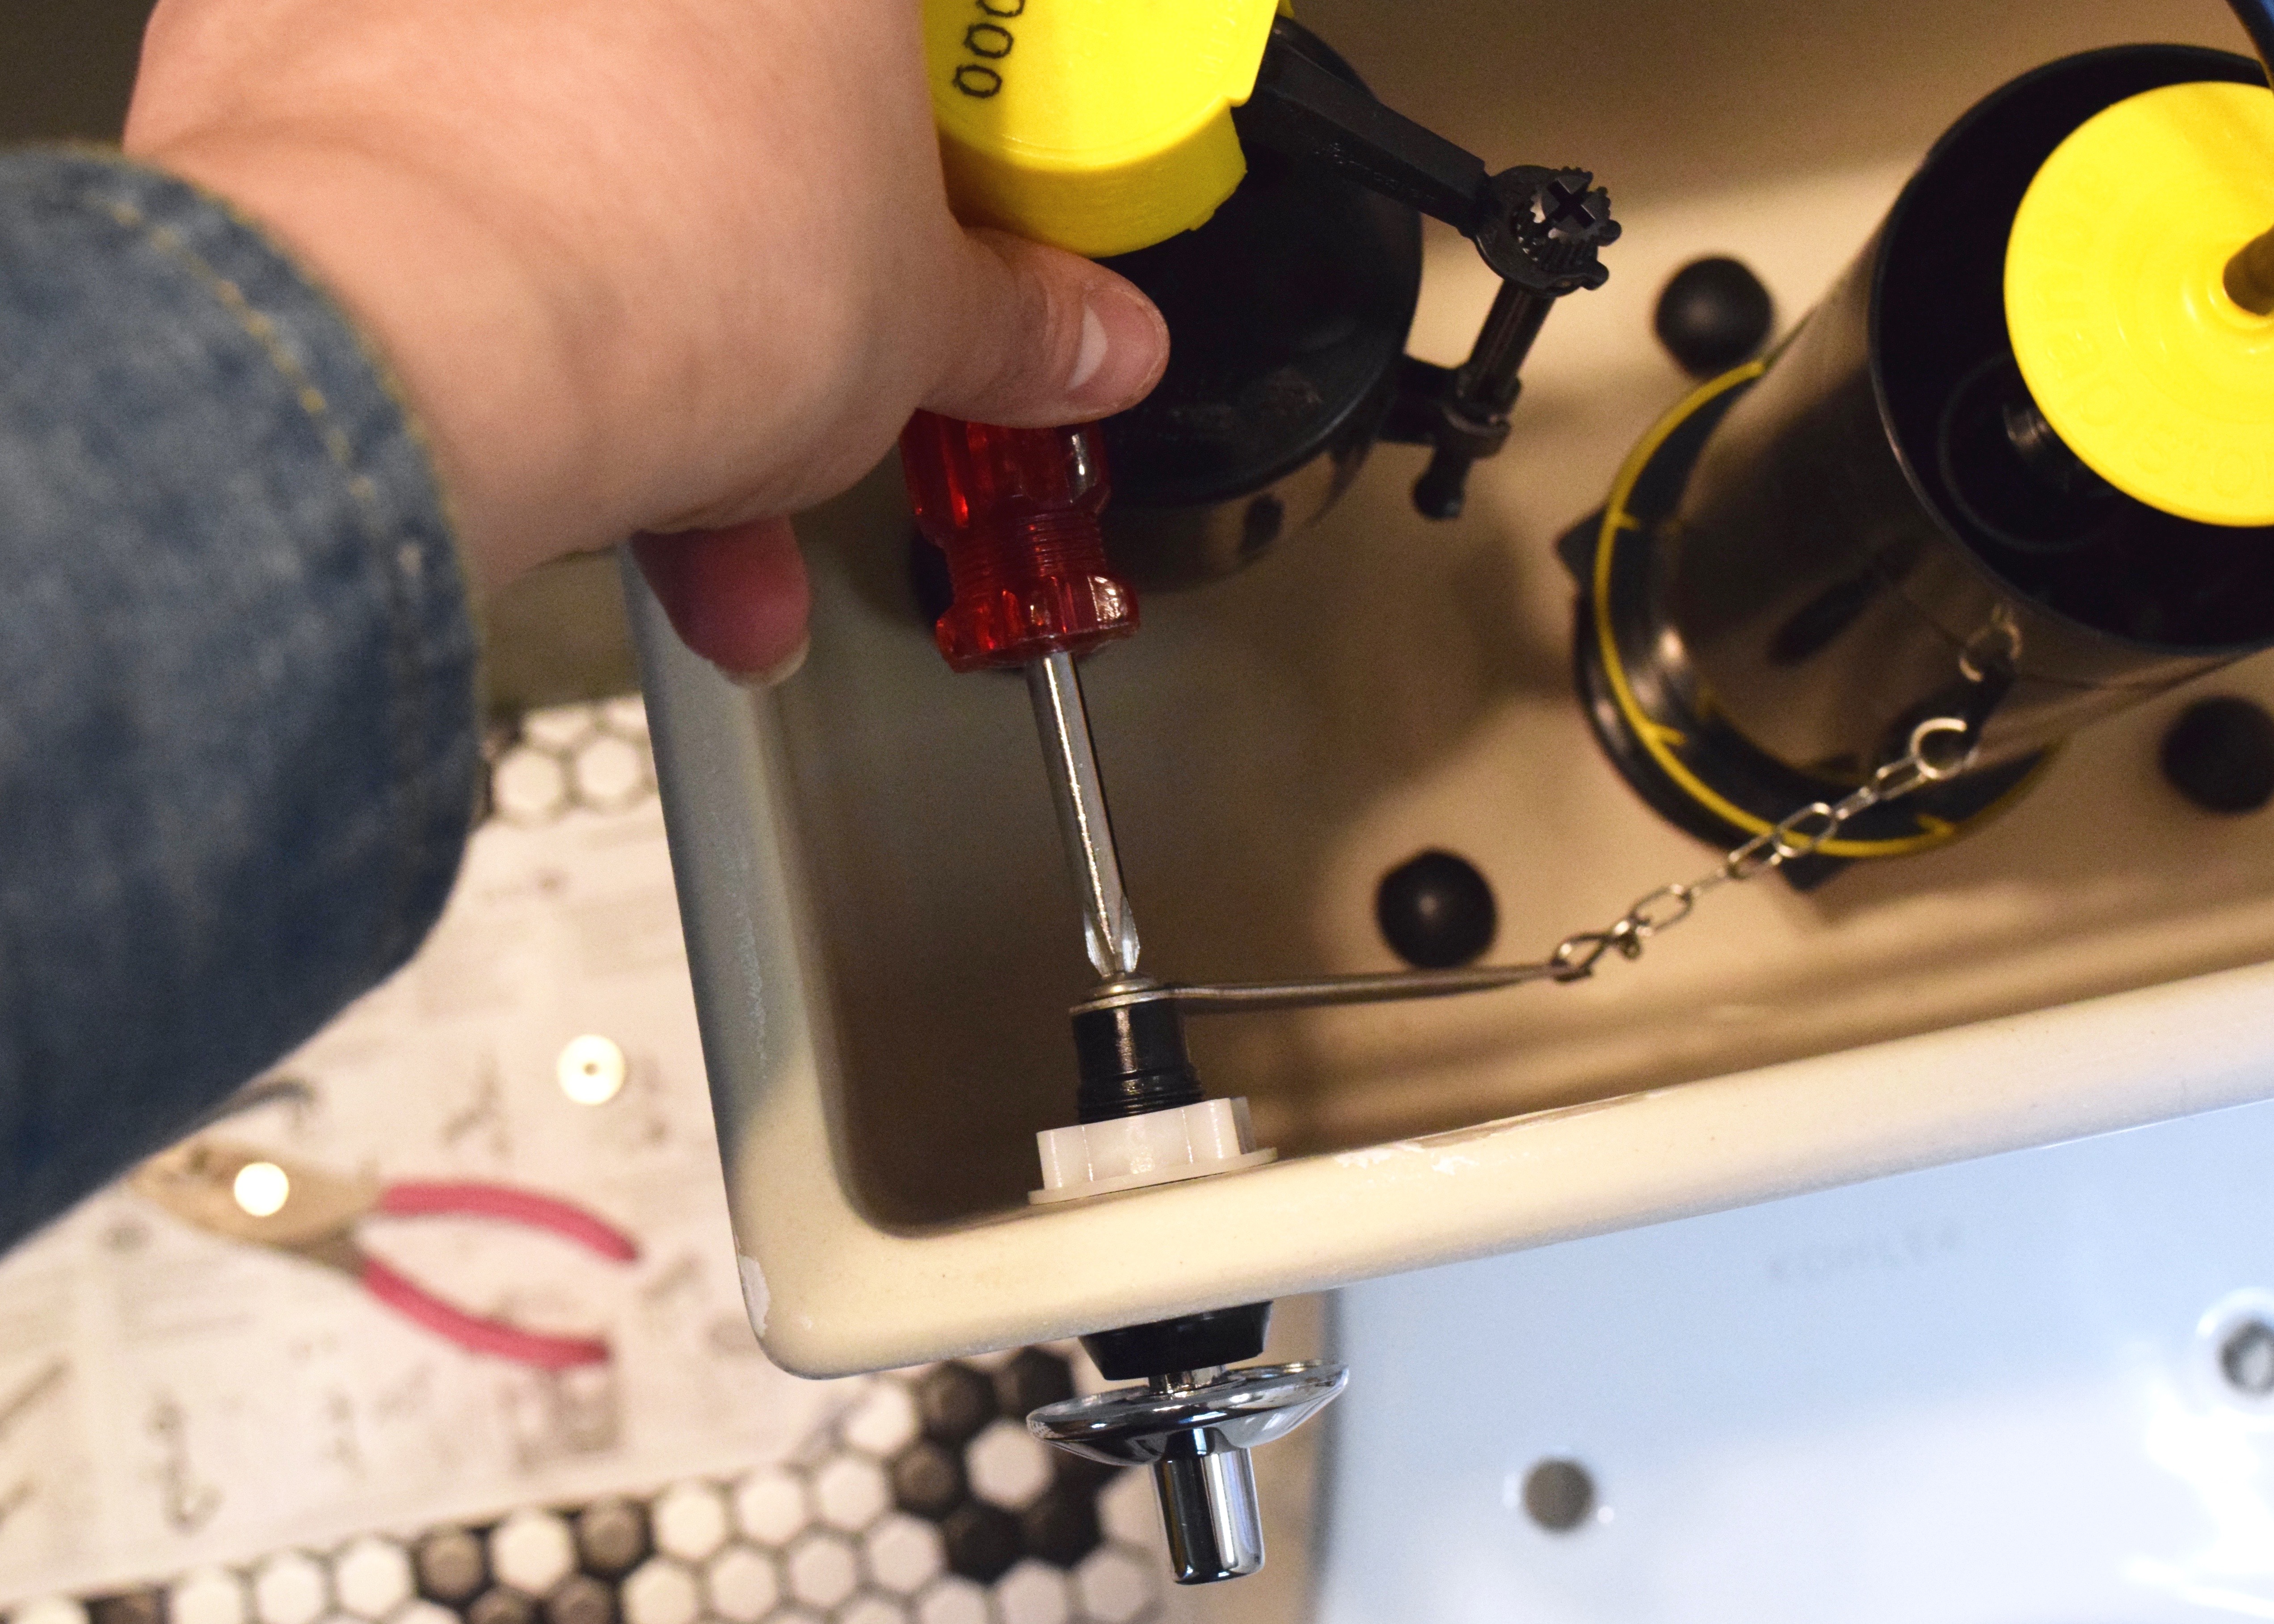
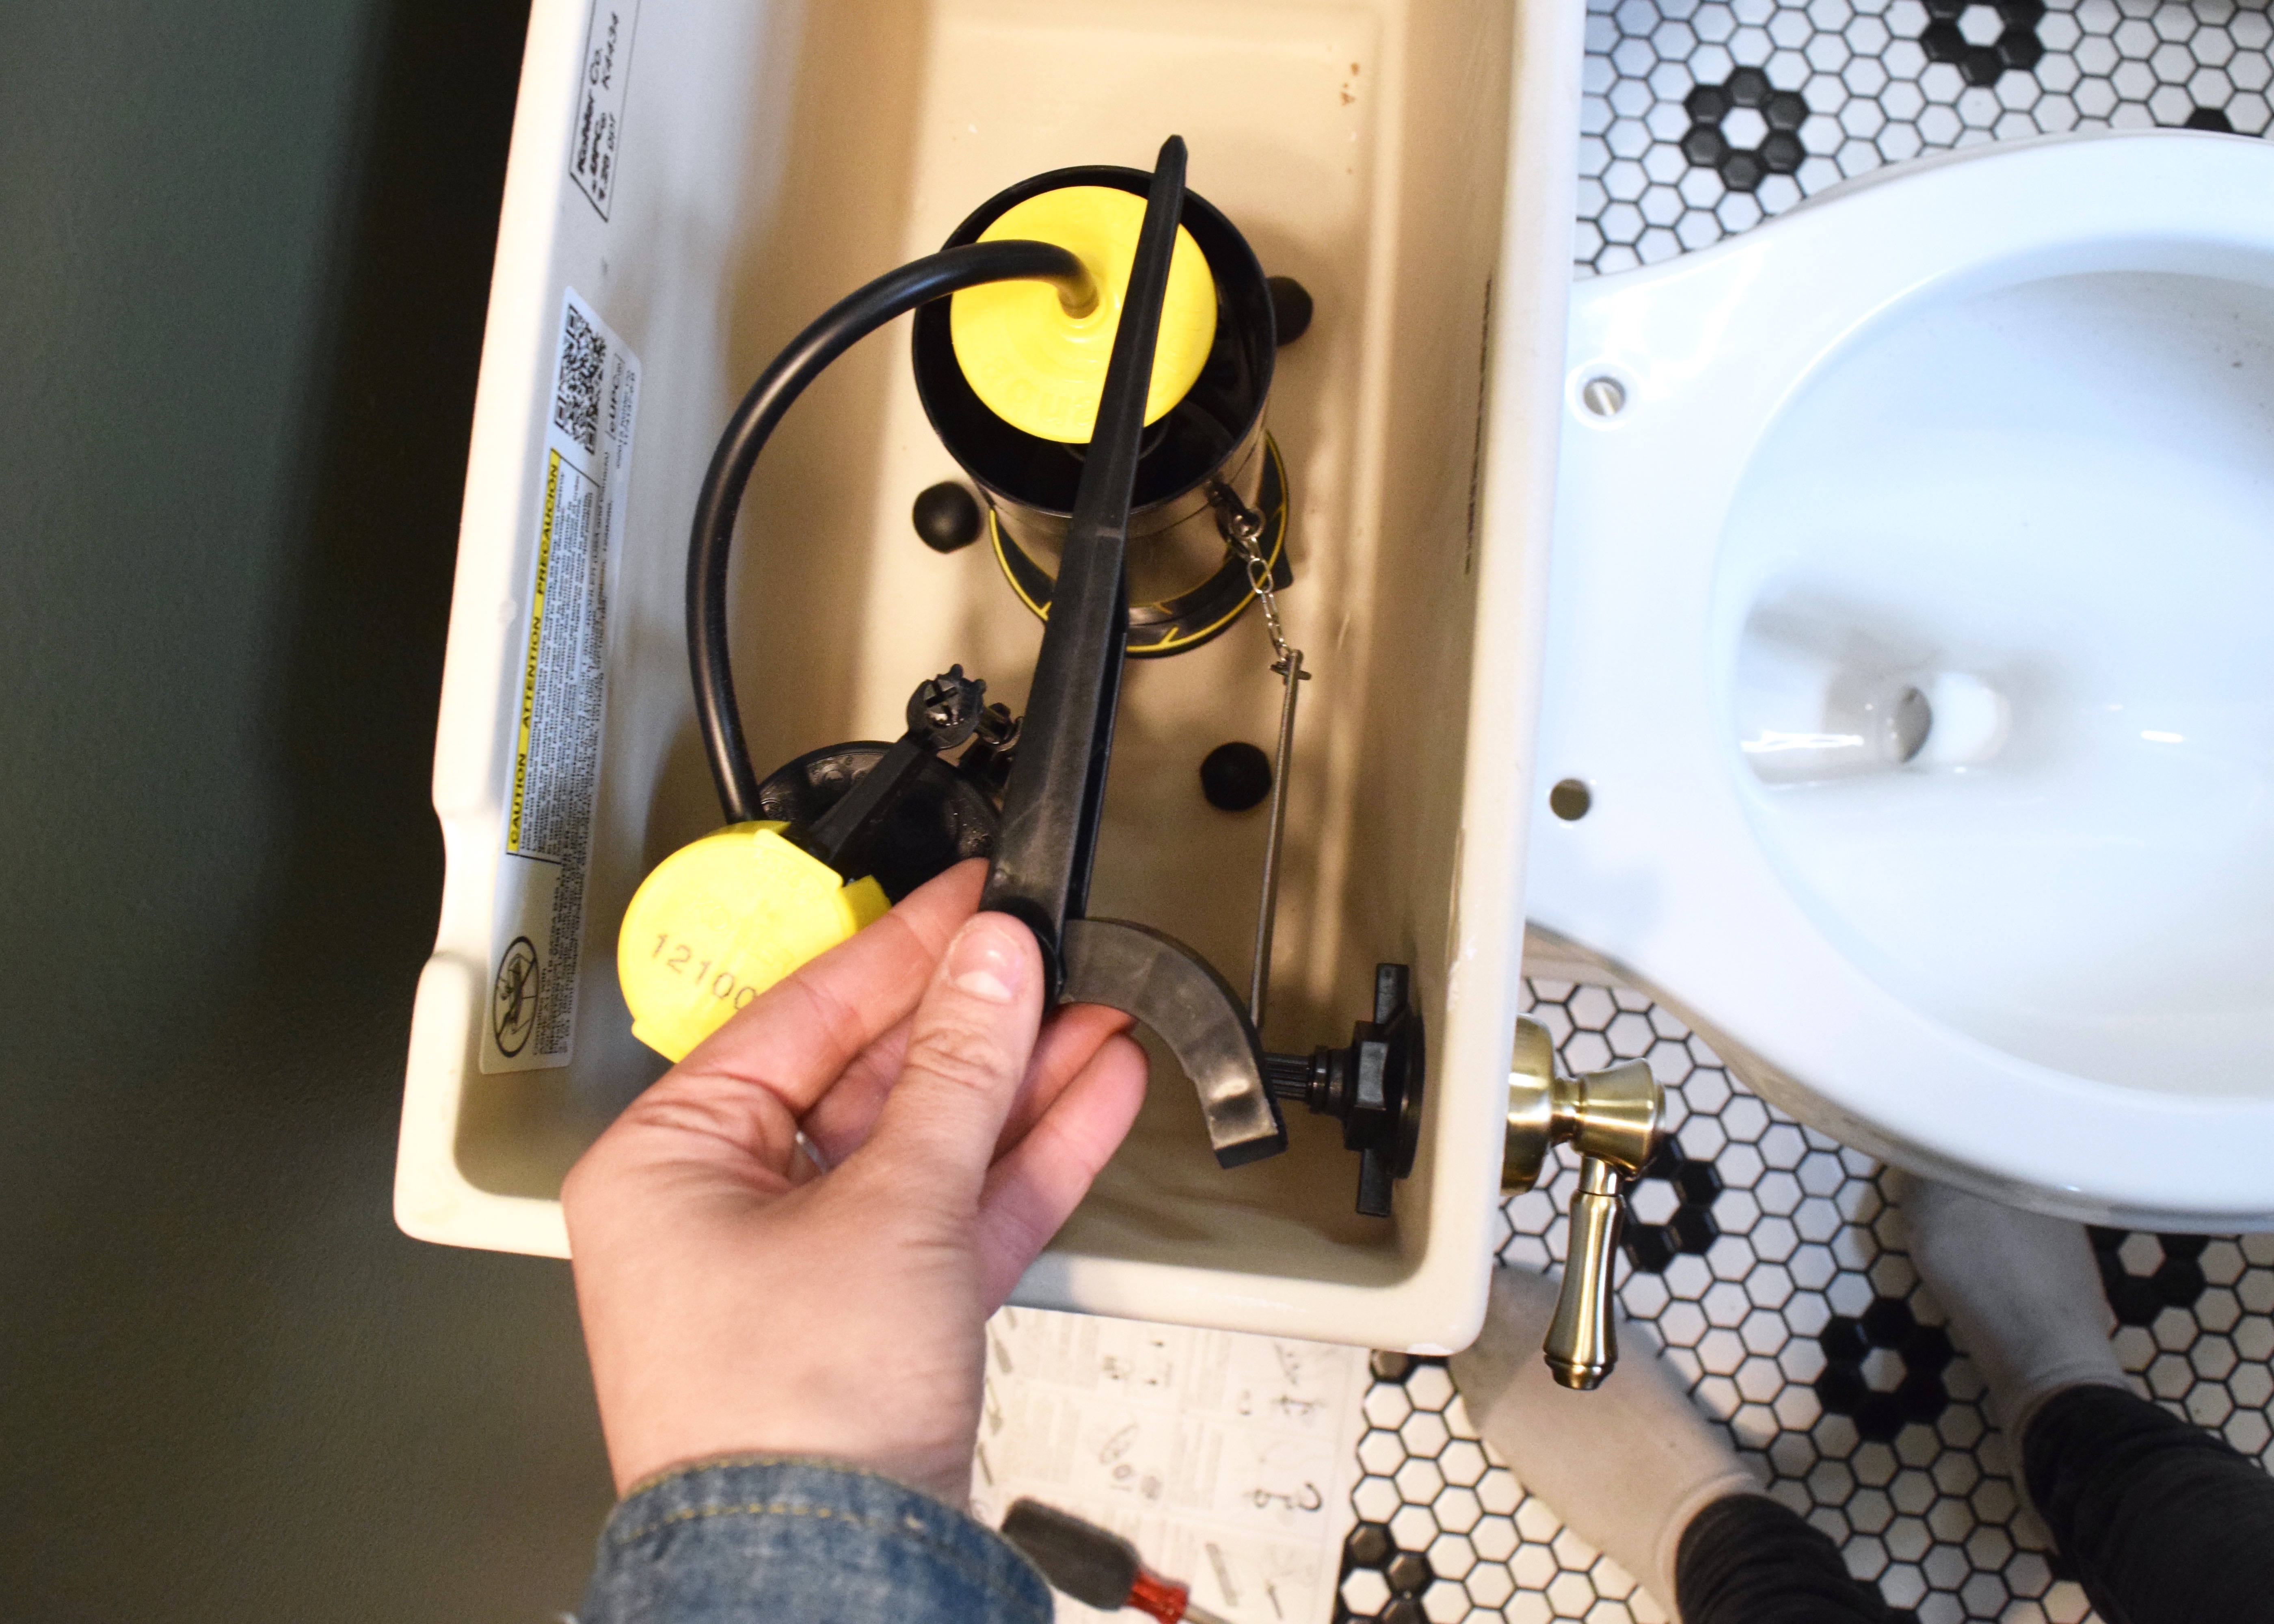
The Memoirs toilet looked kinda cute all handleless and naked too! But.. that wasn’t going to stick around for long! I’d carefully noted the placement of the original nuts, washers, and other bits that came off the original toilet lever and meshed those in together with the new Delta parts.
I kept the delta parts that held the lever to the toilet themselves and screwed the original Kohler handle arm and chain into the new lever. That way the interior of the tank was mostly the same.
The Delta lever had some with a plastic handle that was supposed to replace the handle and chain, but that seemed like opening a larger can of worms than I was ready for so I just ignored that bit.
I checked several times to make sure the combination of parts together were still raising the flapper and thus “flushing” the toilet before I even considered turning on the water to this new throne!

But after it passed that test several times, I decided it was ready, got my bucket and dry towels ready and turned the water shut off valve to on. The tank and bowl began filling with water until it magically stopped at it’s capacity point. The moment of truth: would it now flush?!
Yes! It worked! And with no issues or re-dos or mishaps along the way! Turns out installing a toilet is really not as hard as what you’d think. And when everything in the bathroom is brand new and never before used, it’s not even the little bit gross!
So now I had a toilet! A whole toilet to myself! Well, for myself and my sister who moved in the very next day! Sure… we had to wash our hands in the kitchen sink until I got around to installing the bathroom sink and faucet a few days later, but eh, no big deal! Plus a functioning toilet and shower felt a thousand times better than the gross original bathroom!
In all the plumbing fixtures were one of the most expensive parts of this bathroom renovation. BY FAR. Which is to be expected since they are the fancy finished bits! Here’s the breakdown of the toilet bits and pieces:
- Reinforced Wax Ring $8
- Toilet Water Supply Line $6
- Sink water Supply Lines about $20 for two lines
- Toilet $380
- Toilet Lever $25
Now, you could totally spend a whole lot less if you went to Home Depot and bought some cheaper fixtures, but since I was trying to restore some of the original character of Berrybrier back into this house and I wanted a specific look, I splurged a bit for pieces I liked and would like for years to come.
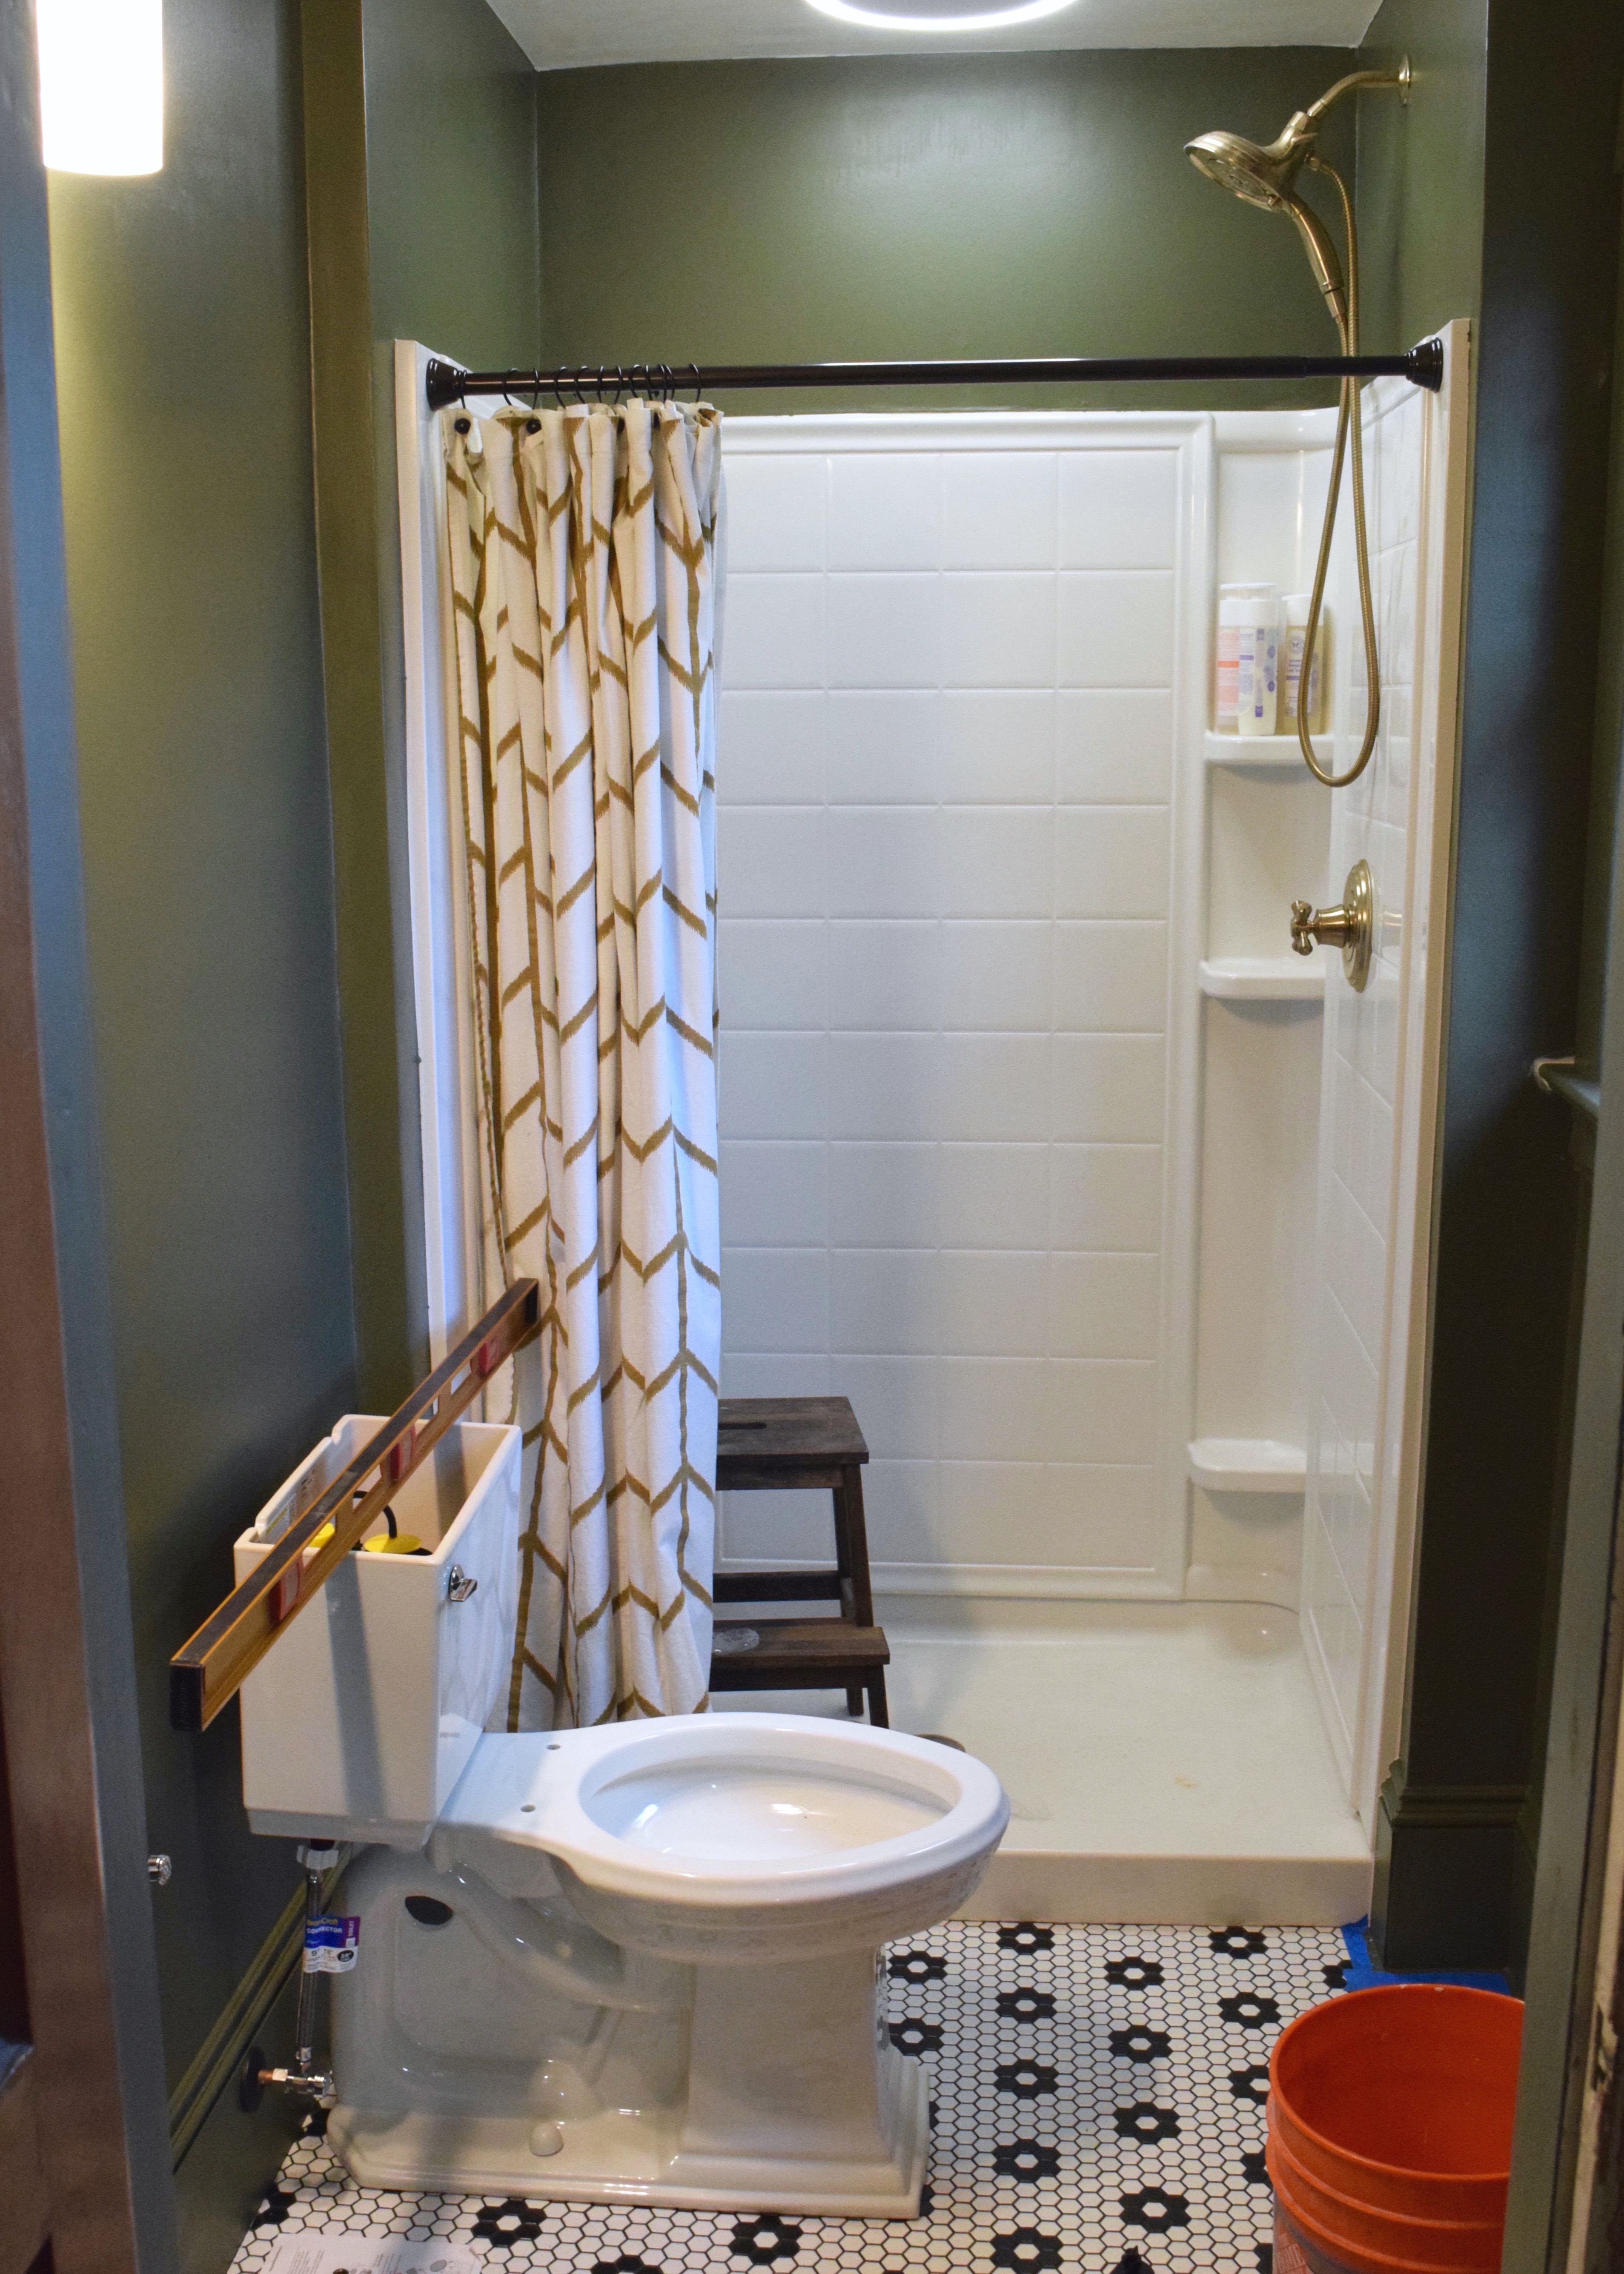
If I was a better blogger I would have snapped a picture of the final toilet all installed with it’s lid on but I am not a very good blogger so I will go ahead and just give you this sneak peek. The toilet installed, complete with a few plants on top of the tank and a preview of the installed sink!

Ohhhh progress! It feels sooo good right? Boy is it nice to have a place to shower and relieve yourself after months of a messy construction zone! I mean, the rest of Berrybrier still looked absolutely insane considering the kitchen floor disaster, but even that was looking up! My sister Bronwyn had moved in with me which meant a whole bunch of free labor. Yay! Double time progress!

After photo?
There’s one in the corner. Do you want to see a straight on shot? I can put one on Instagram if you like!