Happy 2019 y’all! I’m so excited for this new year and I definitely have quite a few goals for the year! I’m hoping to get this blog caught up to the current renovation stages over the next few months and then dig into some fun new stuff. I definitely want to hear more from those of you who read this blog too! Let me know who you are by commenting on this post! Or share with friends and family who might be tackling similar projects. I’d love to continue to grow the readership of this blog so I can continue to put more effort into posting for you guys. And trust me I have a lot to show you!
When we last left the bathroom it was looking like this with a newly tiled and grouted floor and fully drywalled walls! This felt like a huge amount of progress considering just a few weeks earlier it had been gutted down to the studs.
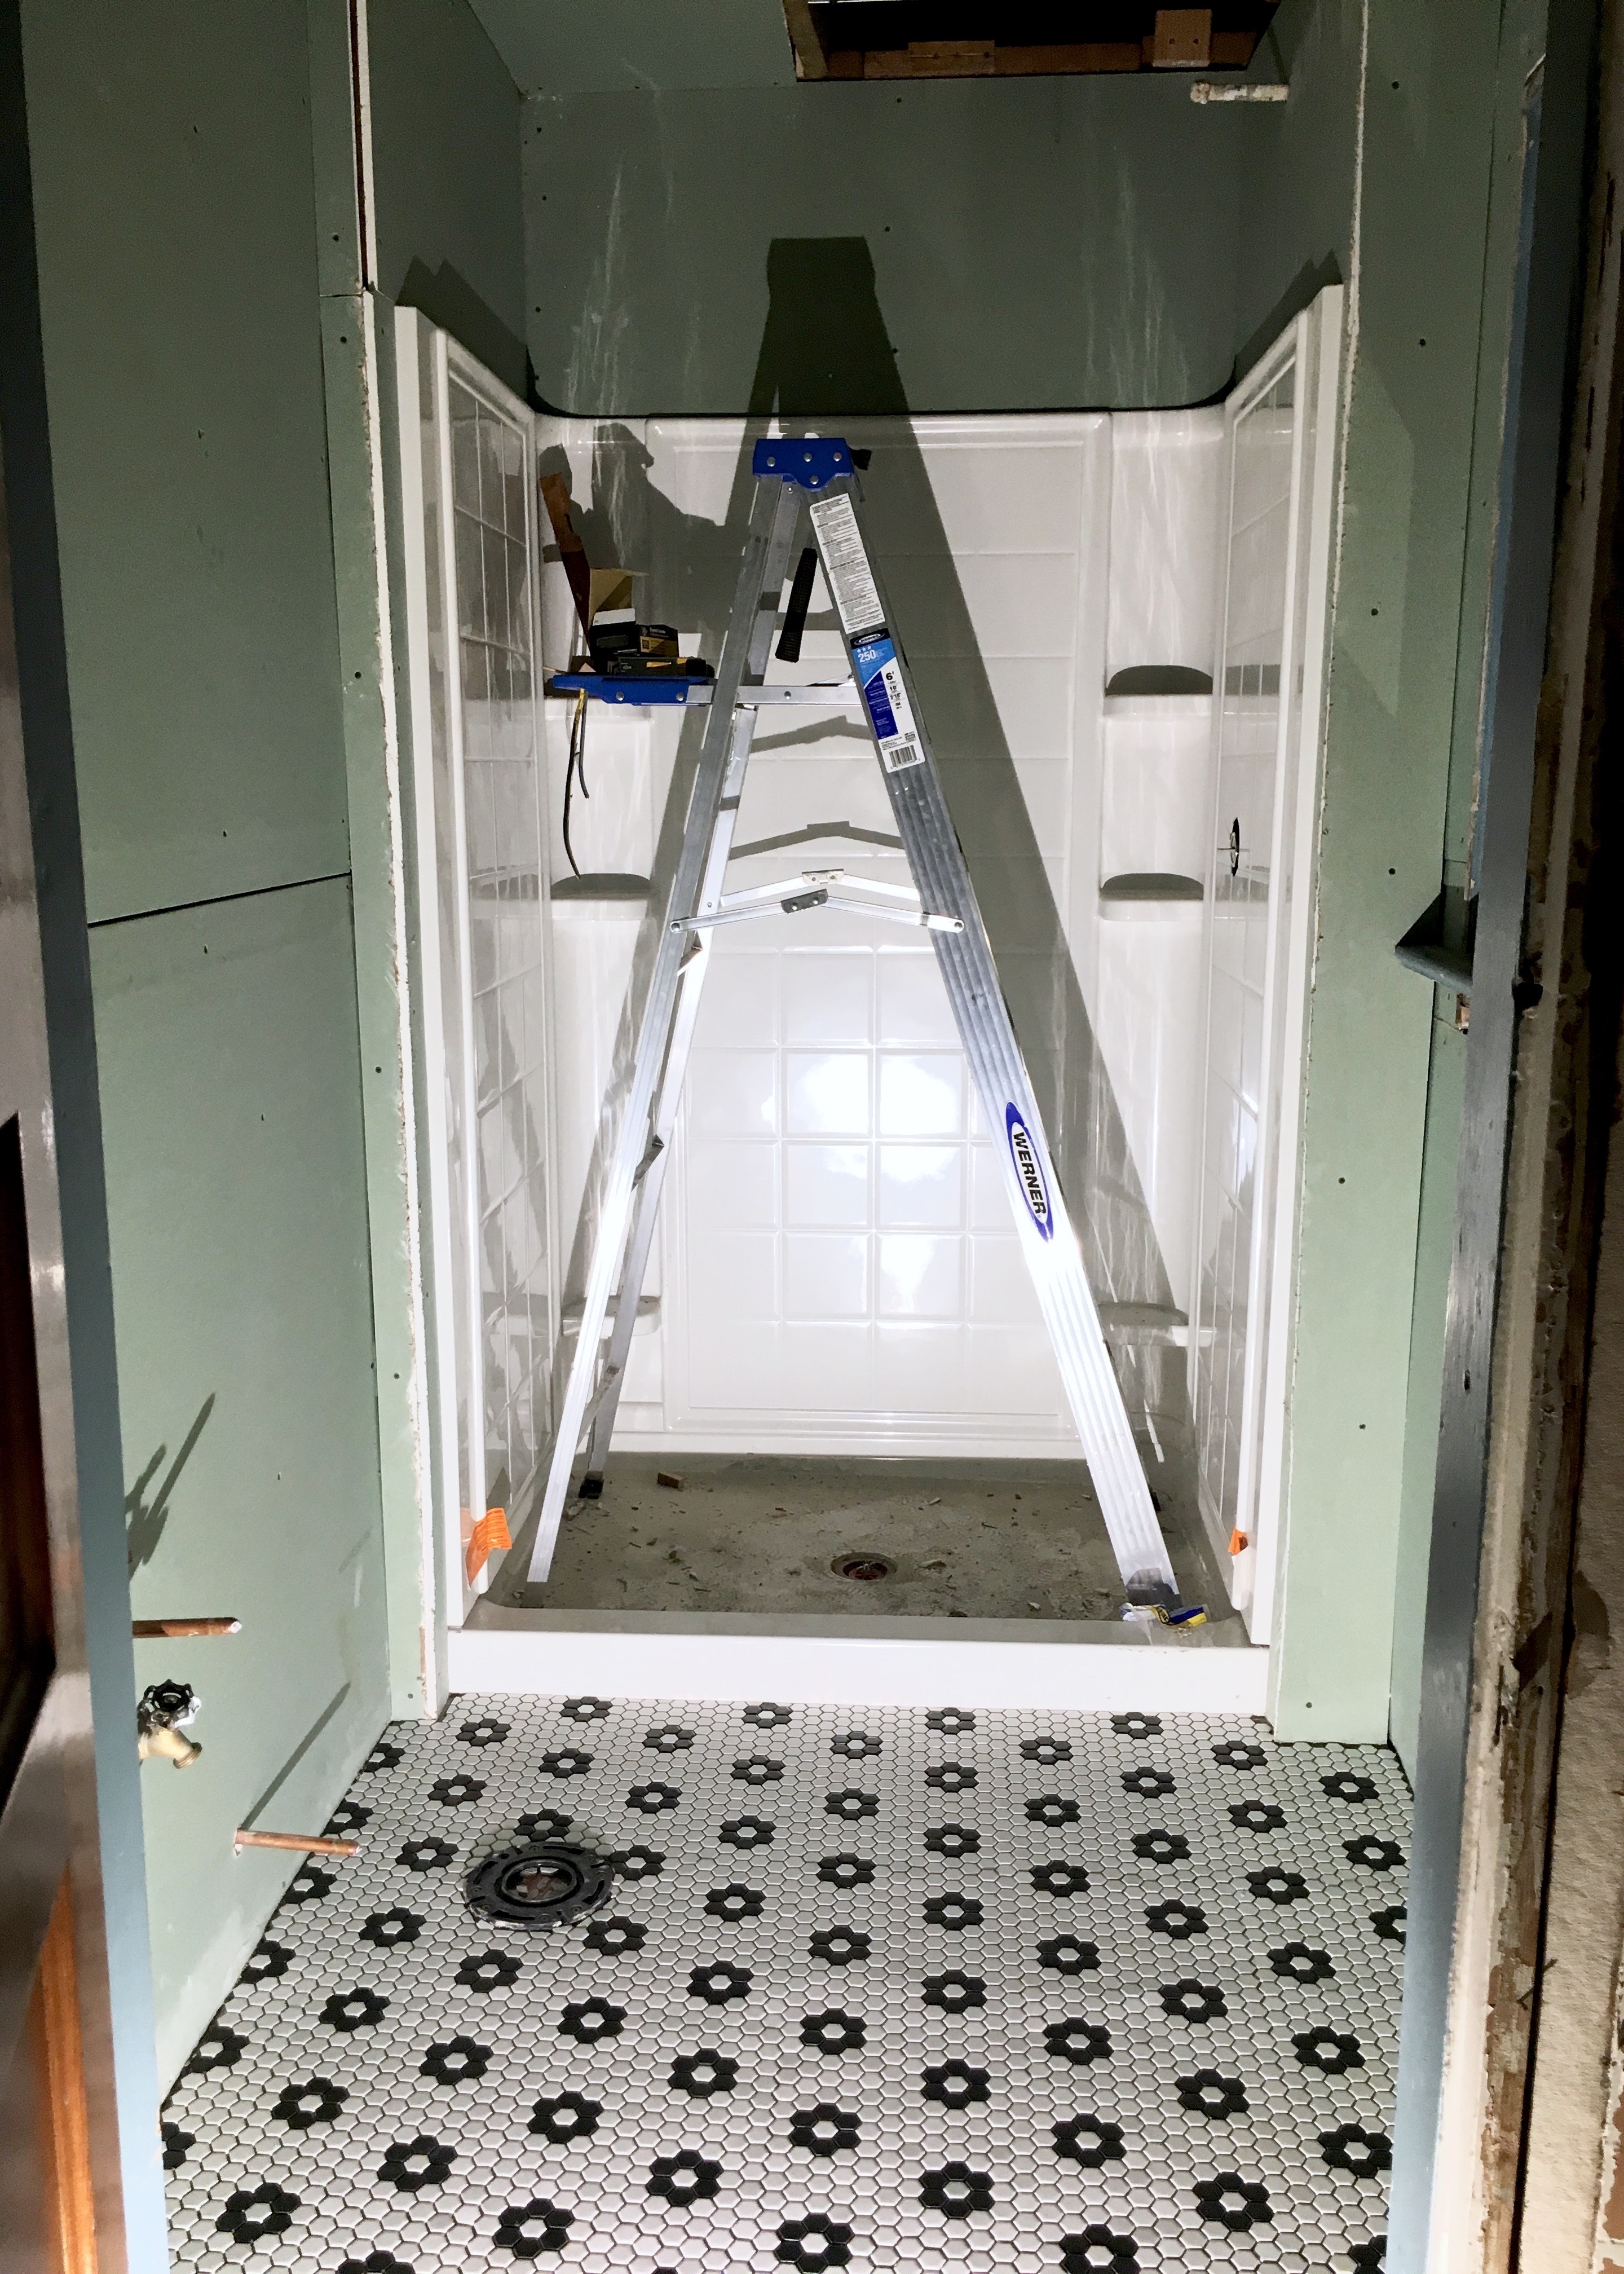
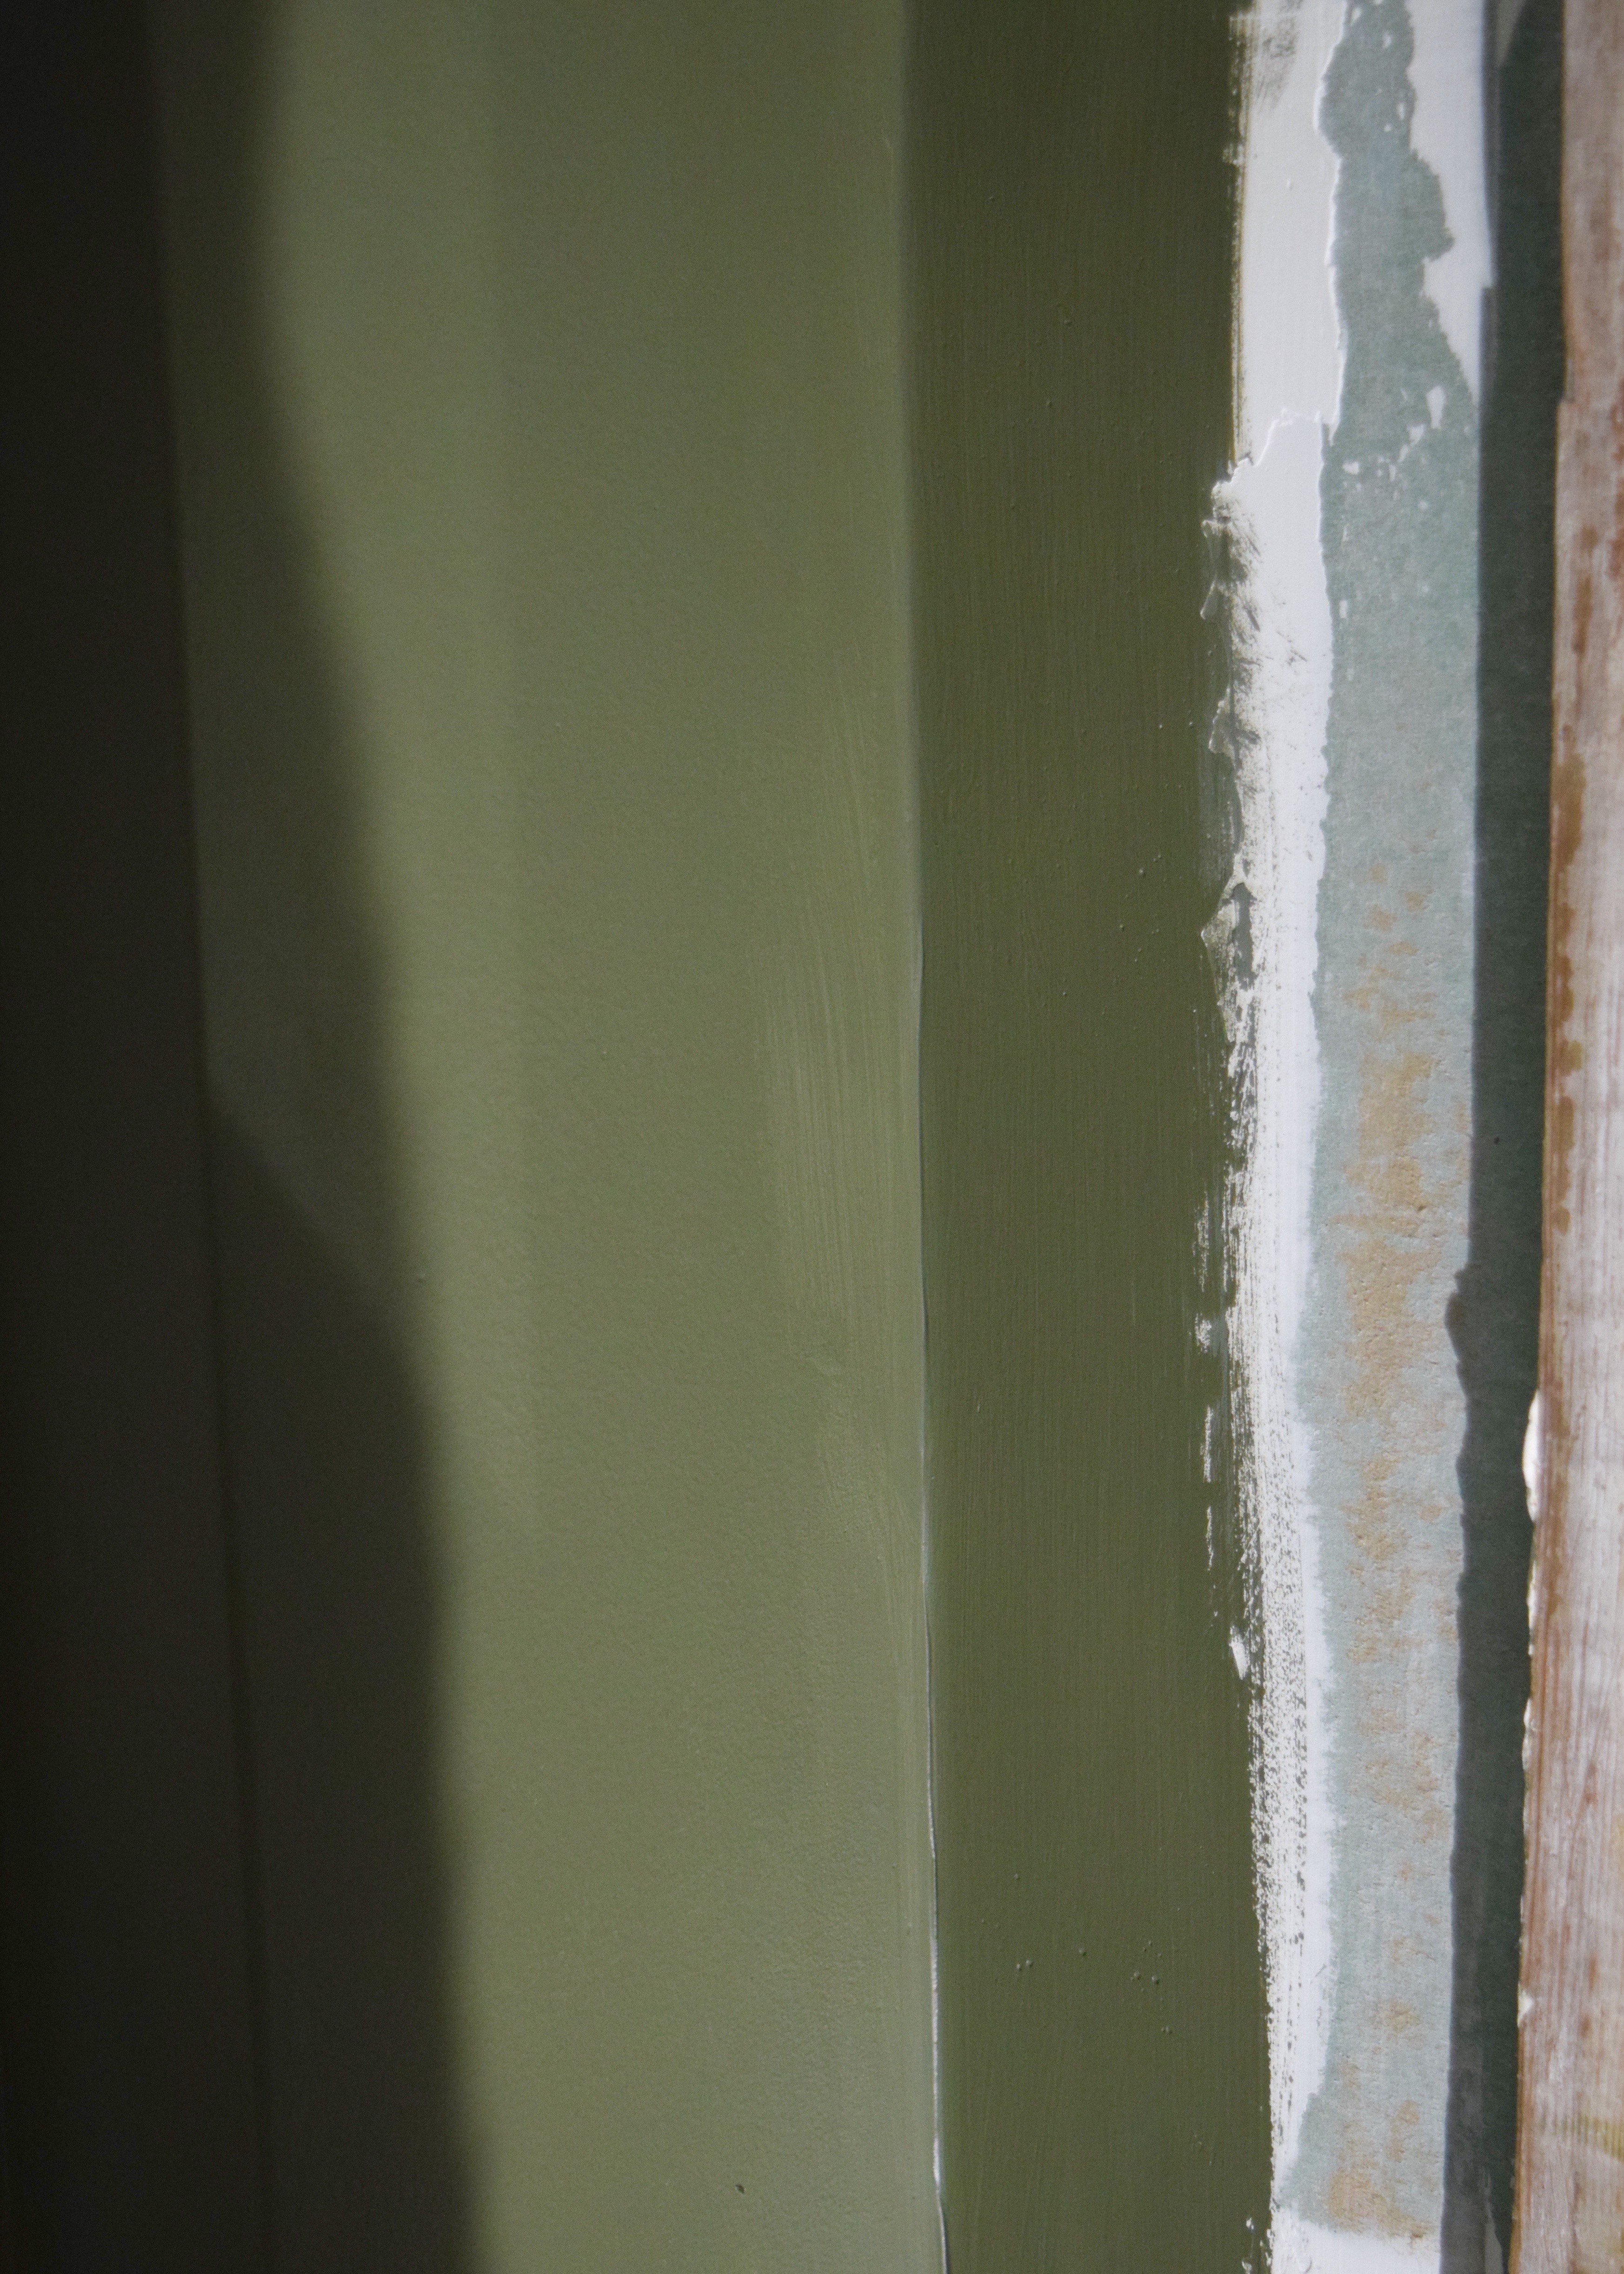
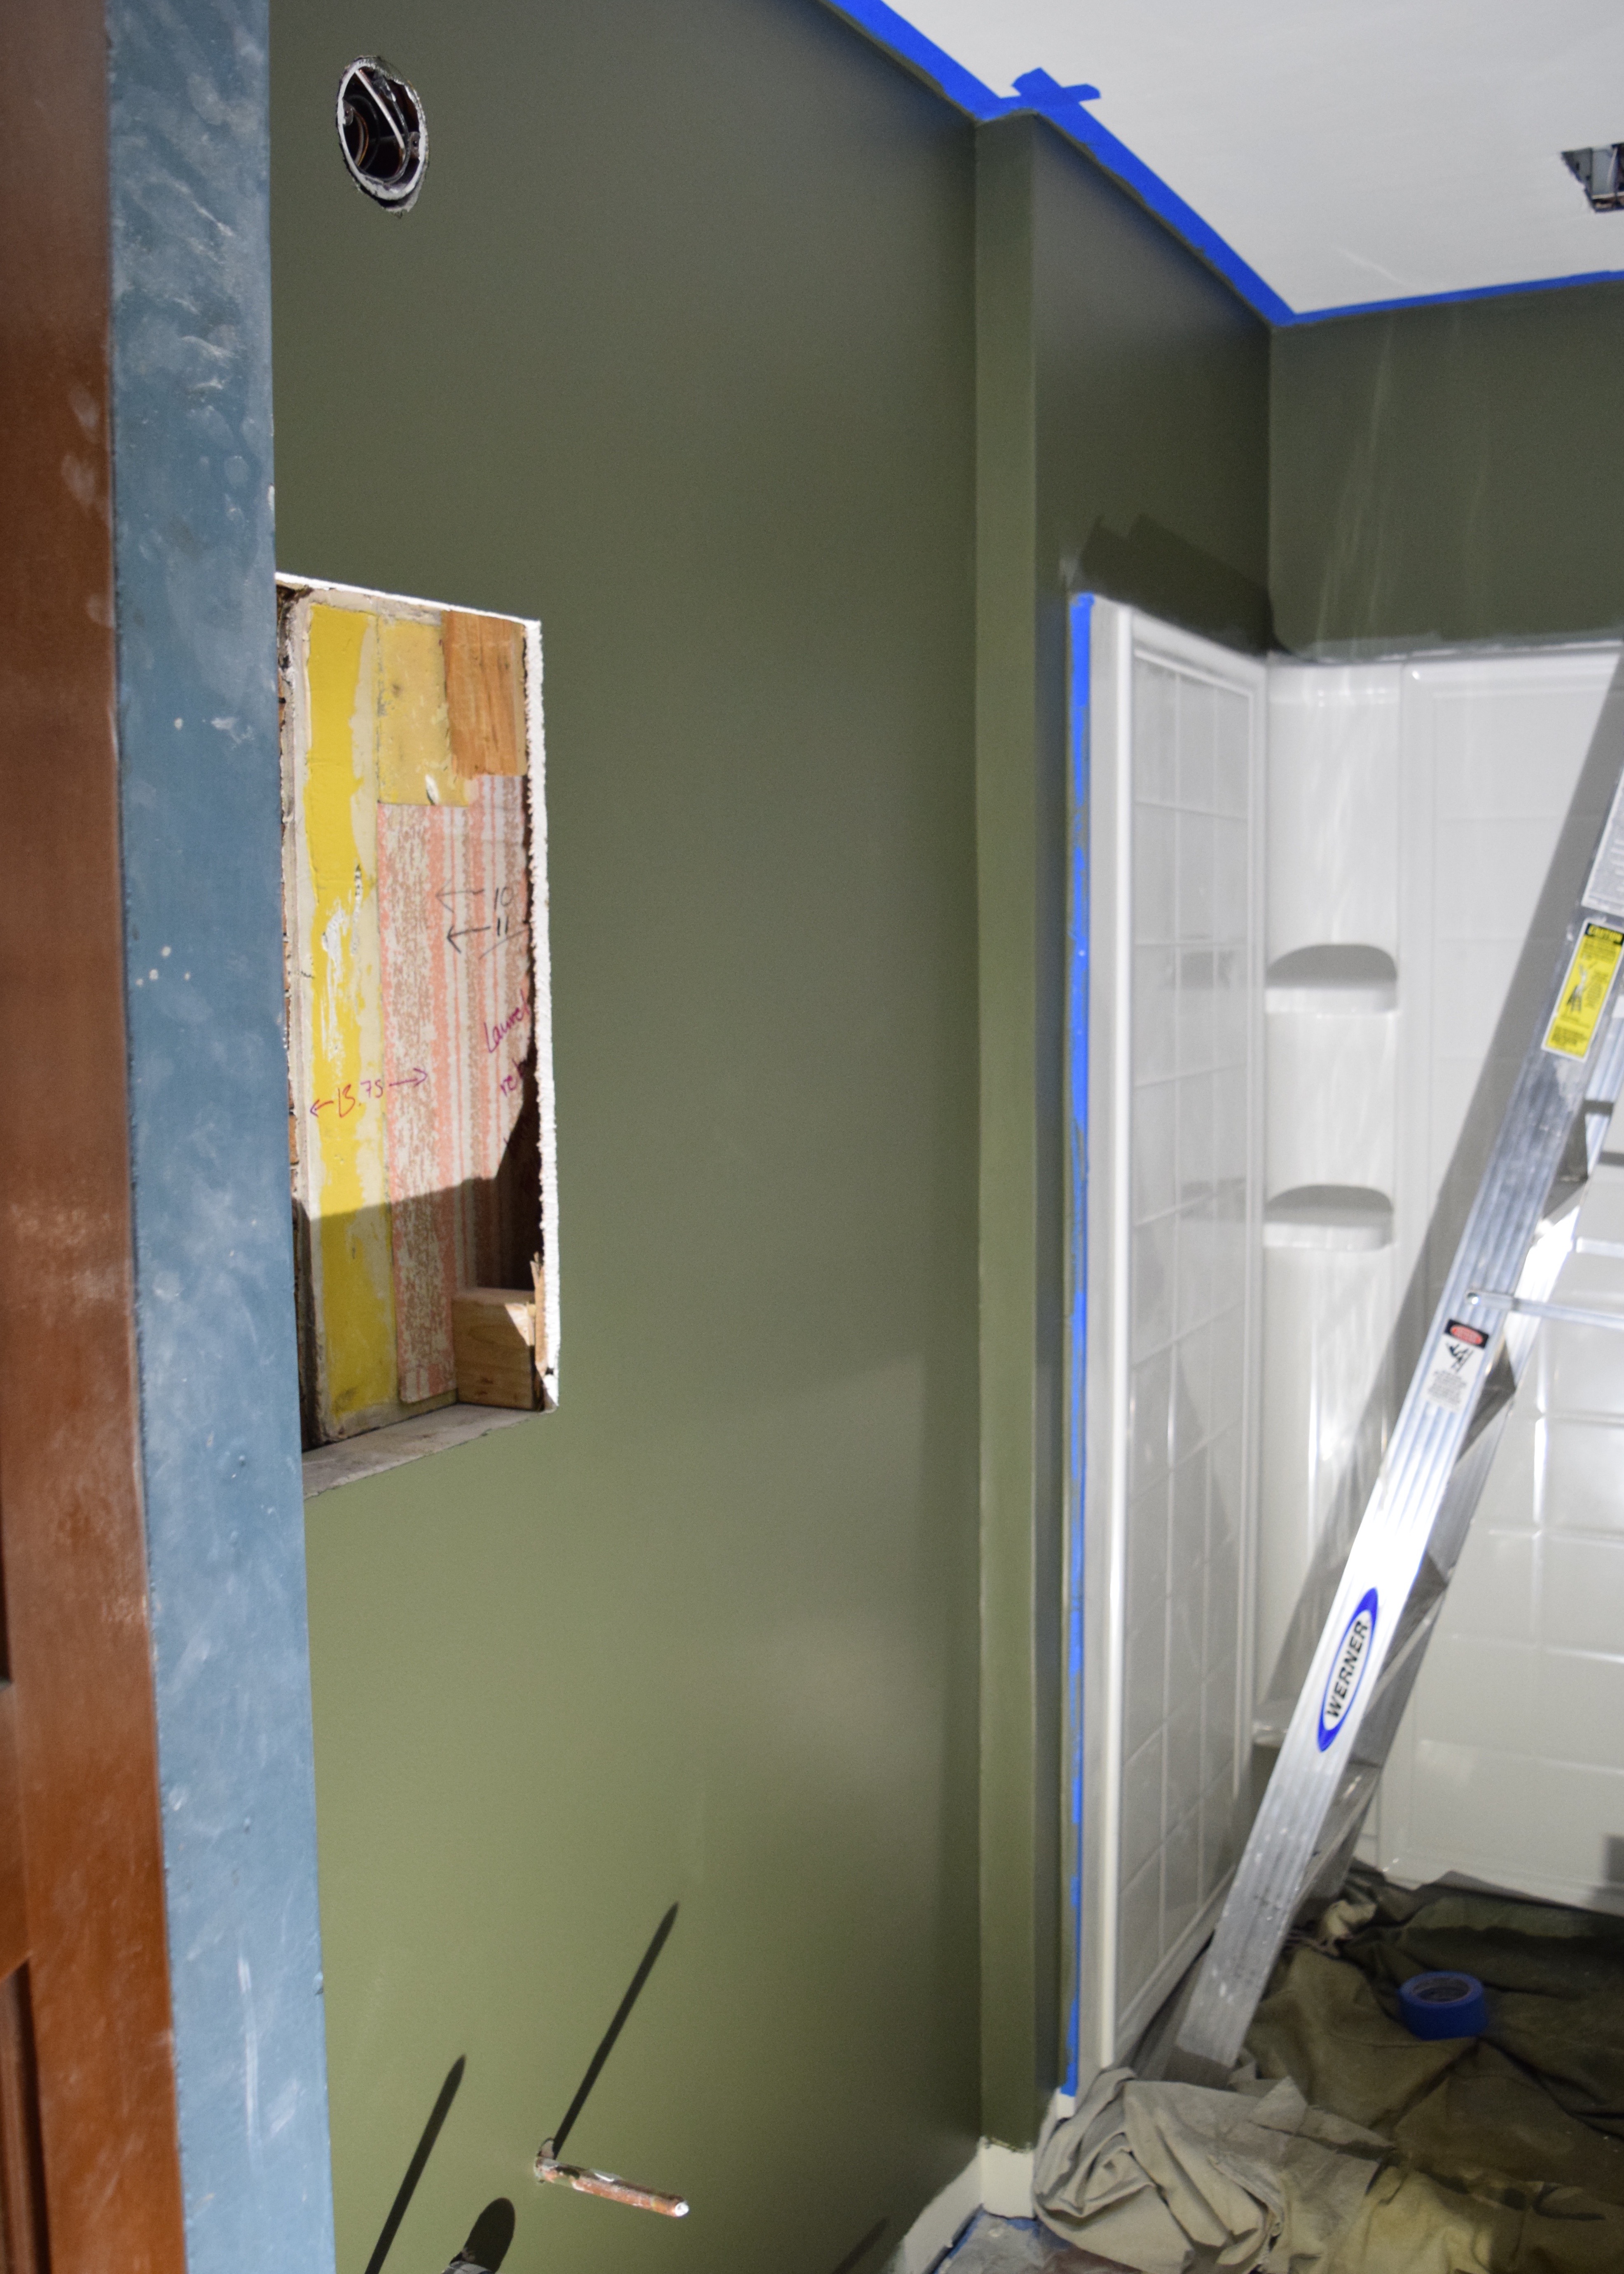
Well after finishing the floors, I laid rosin paper over them to protect them and taped and mudded all the drywall and now it was ready for paint! Finally, finally, finally, this room was looking good and I was *this* close to being able to shower at my own house again! I knew I wanted to do a dark green color for this space and it had been one of those early on decisions I made for this room. I’d even included the paint color in this original design palette I made for the space. Benjamin Moore’s Forest Floor 1498 is bold, dark, and delicious!

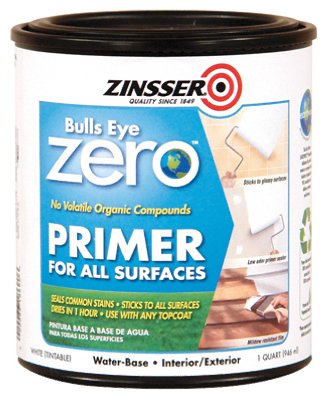
I picked up primer and paint from my local Benjamin Moore store: Dick’s Color Center in central Portland. I used my favorite no-VOC, indoor/outdoor primer for the ceiling: Zinsser’s Bulls Eye Zero.
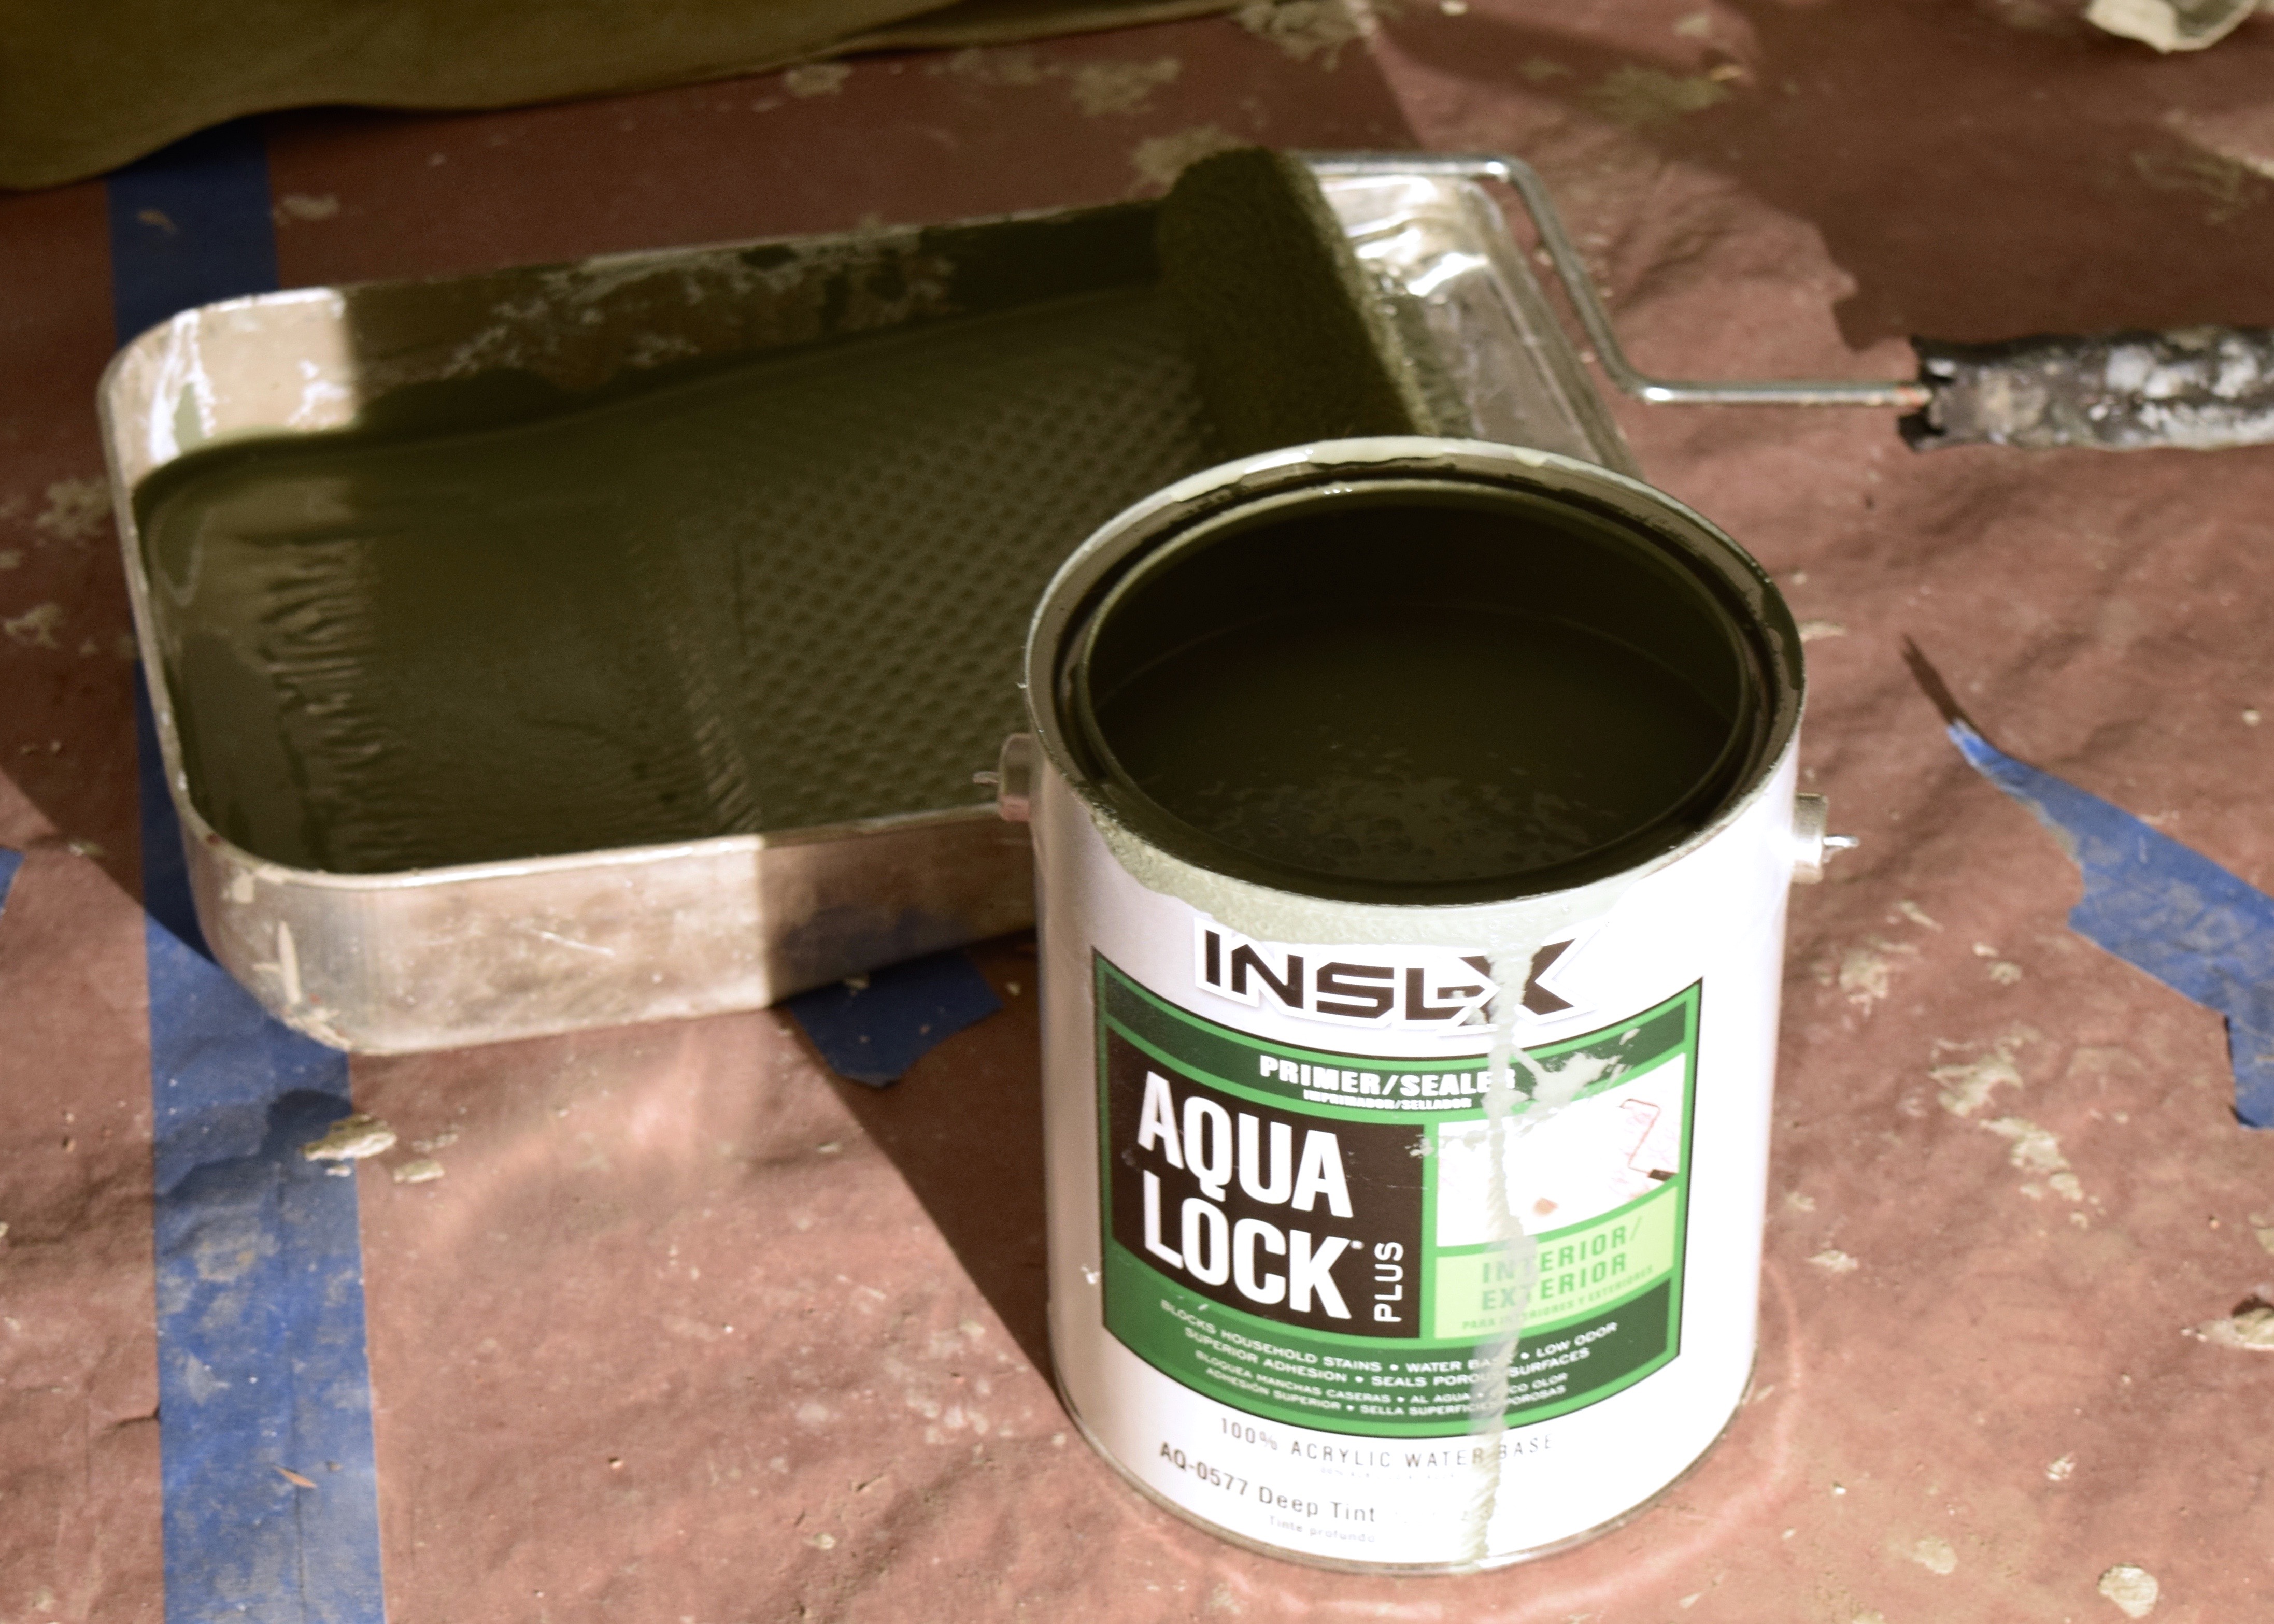
But Dick’s recommended a different primer for the walls which I could color tint to match my paint selection. This stuff had more water protection (good for a steamy bathroom!) and by tinting in a dark color, I’d have fewer coats to paint on top. Insl – X Aqua Lock primer is not no VOC so I wore a mask while painting to avoid the fumes.
I’m no stranger to painting, so this project was a nice and relaxing change of pace from many of the other things that I’d been doing for the first time at Berrybrier. I started by priming the whole ceiling and while that dried, I took out my brush and started cutting in the primer on the walls. I usually just cut in by hand without taping because I find that taping takes forever and I have a steady enough hand. On a priming layer, the steady hand barely matters since I will all be covered with paint anyways. Boy, was it so fun to coat over the bare drywall and see the space really come together!
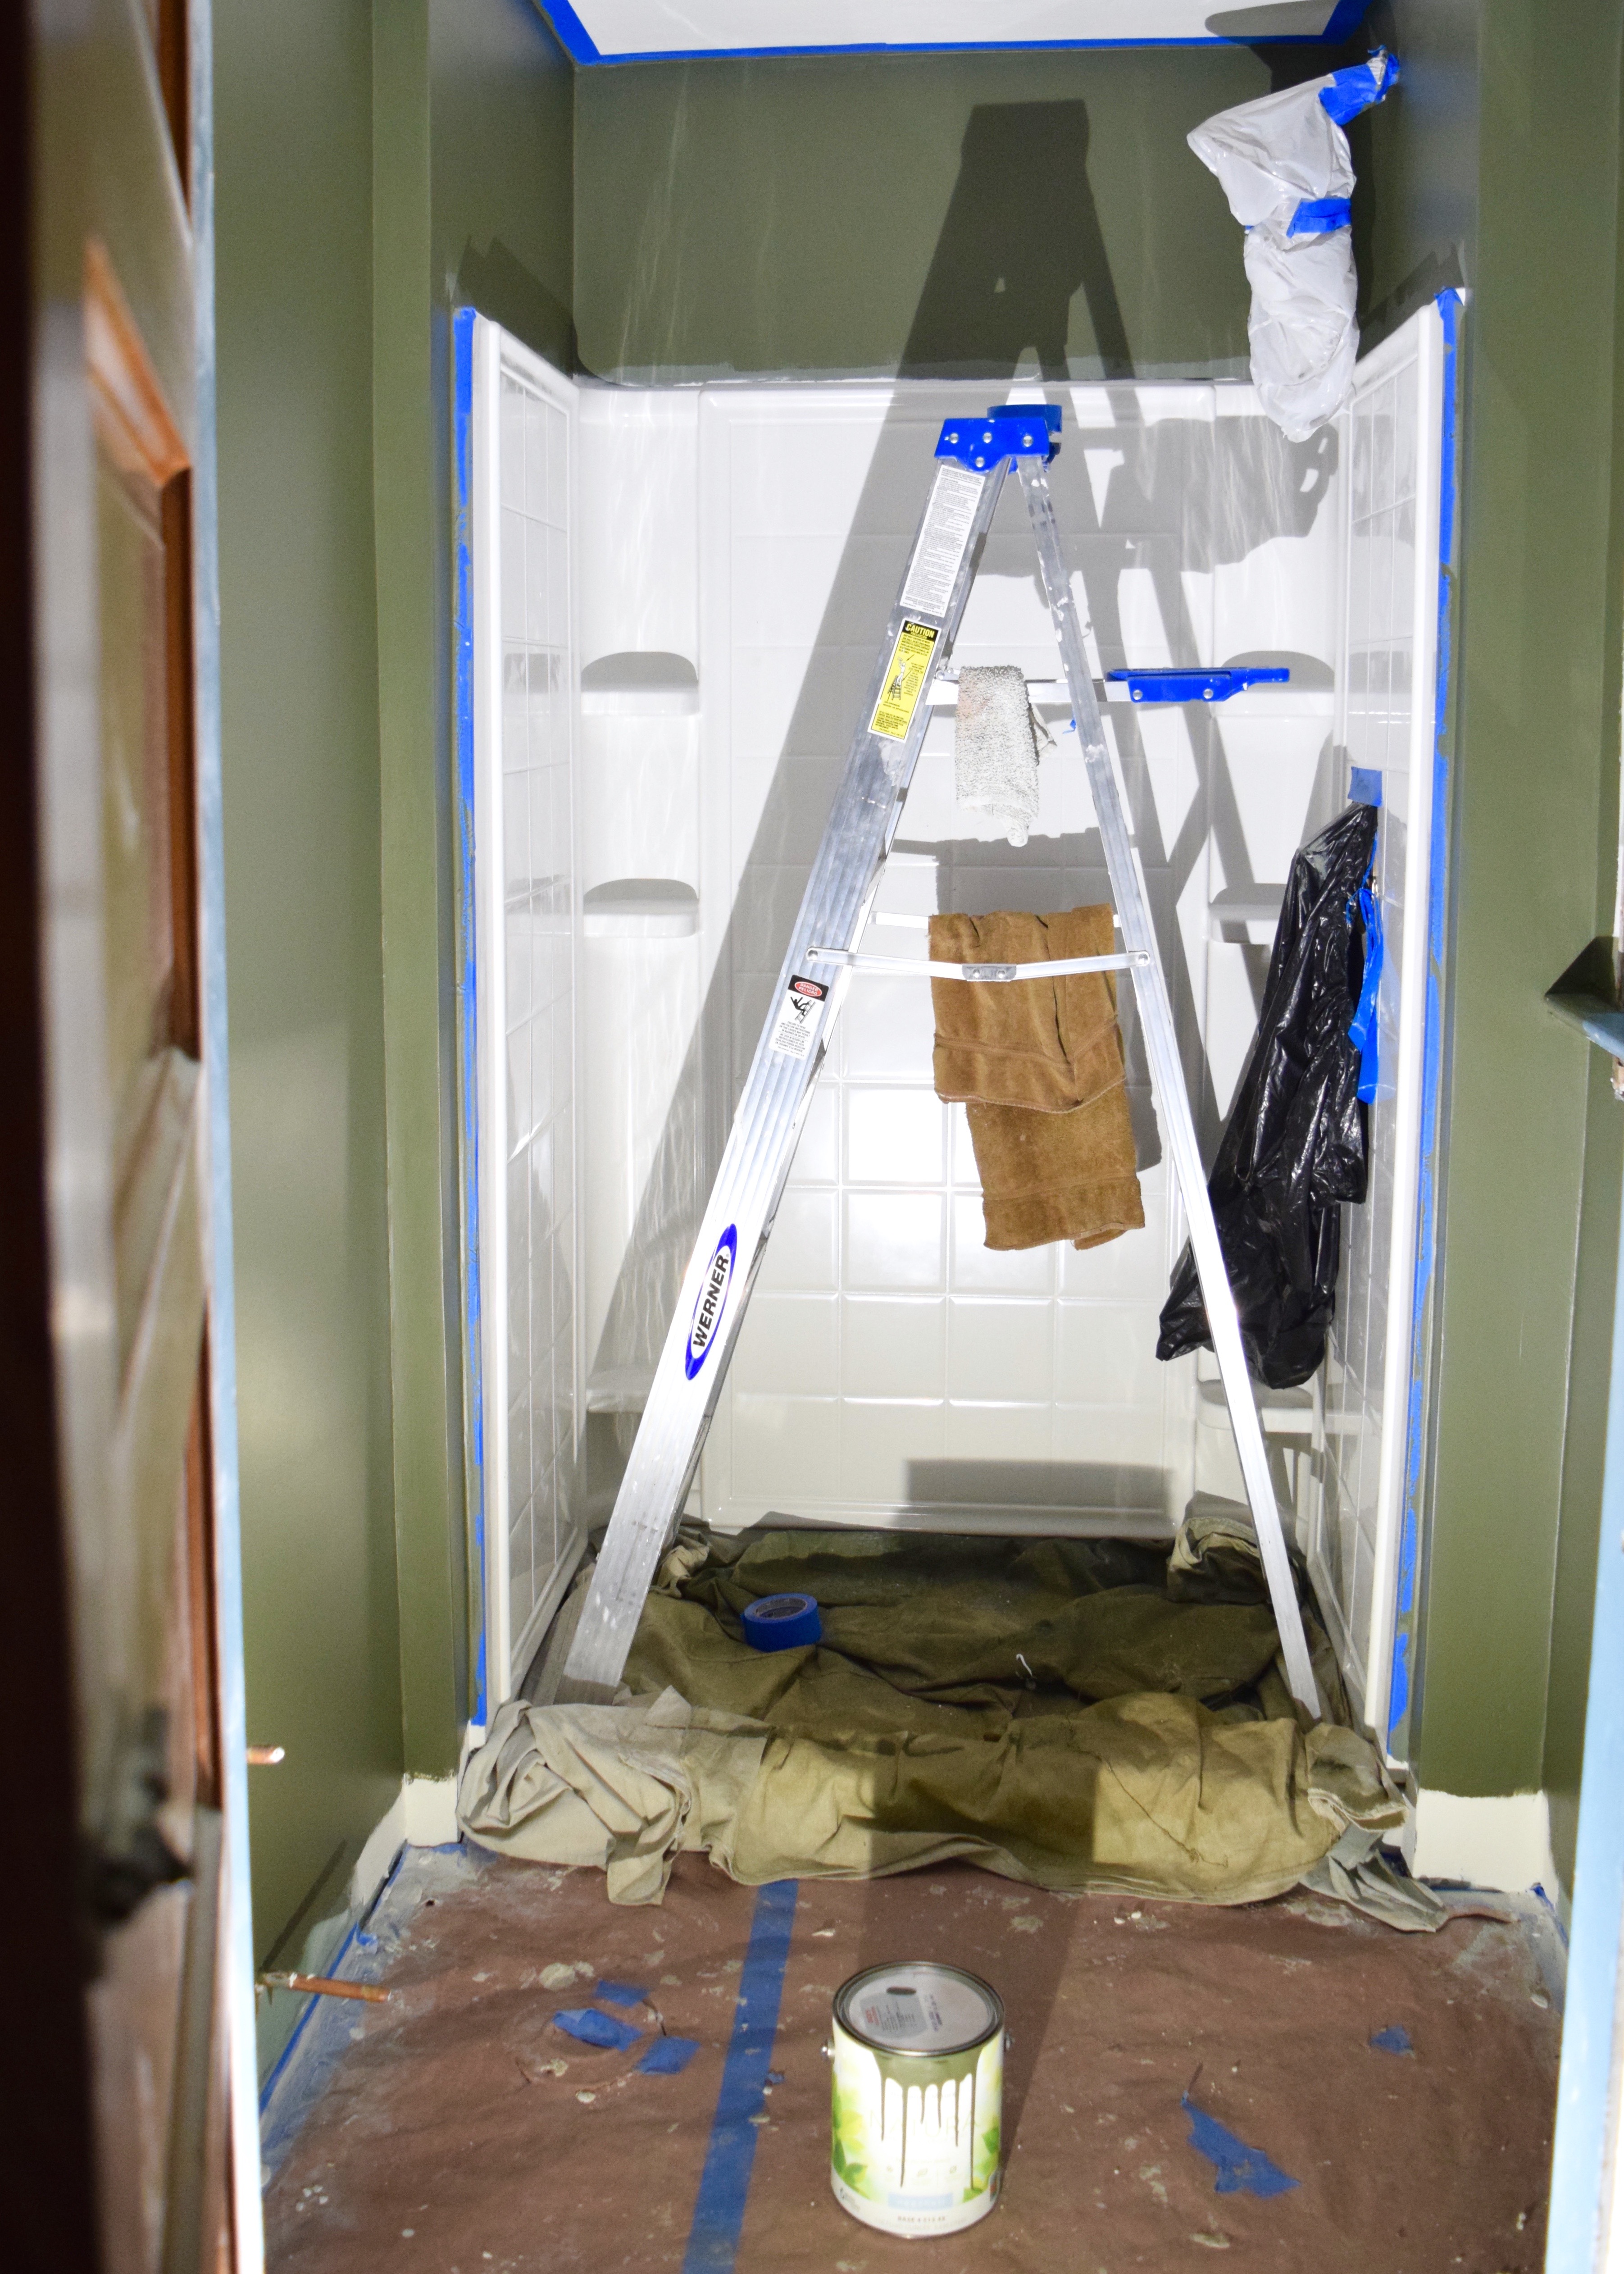
I did decide to tape off the brand new shower surround though since I would need crisp clean lines there and I threw some trash bags over the showerhead and shower water valves the plumber had installed after the permit was finalized. I did not want to get paint on those newly install fixtures!
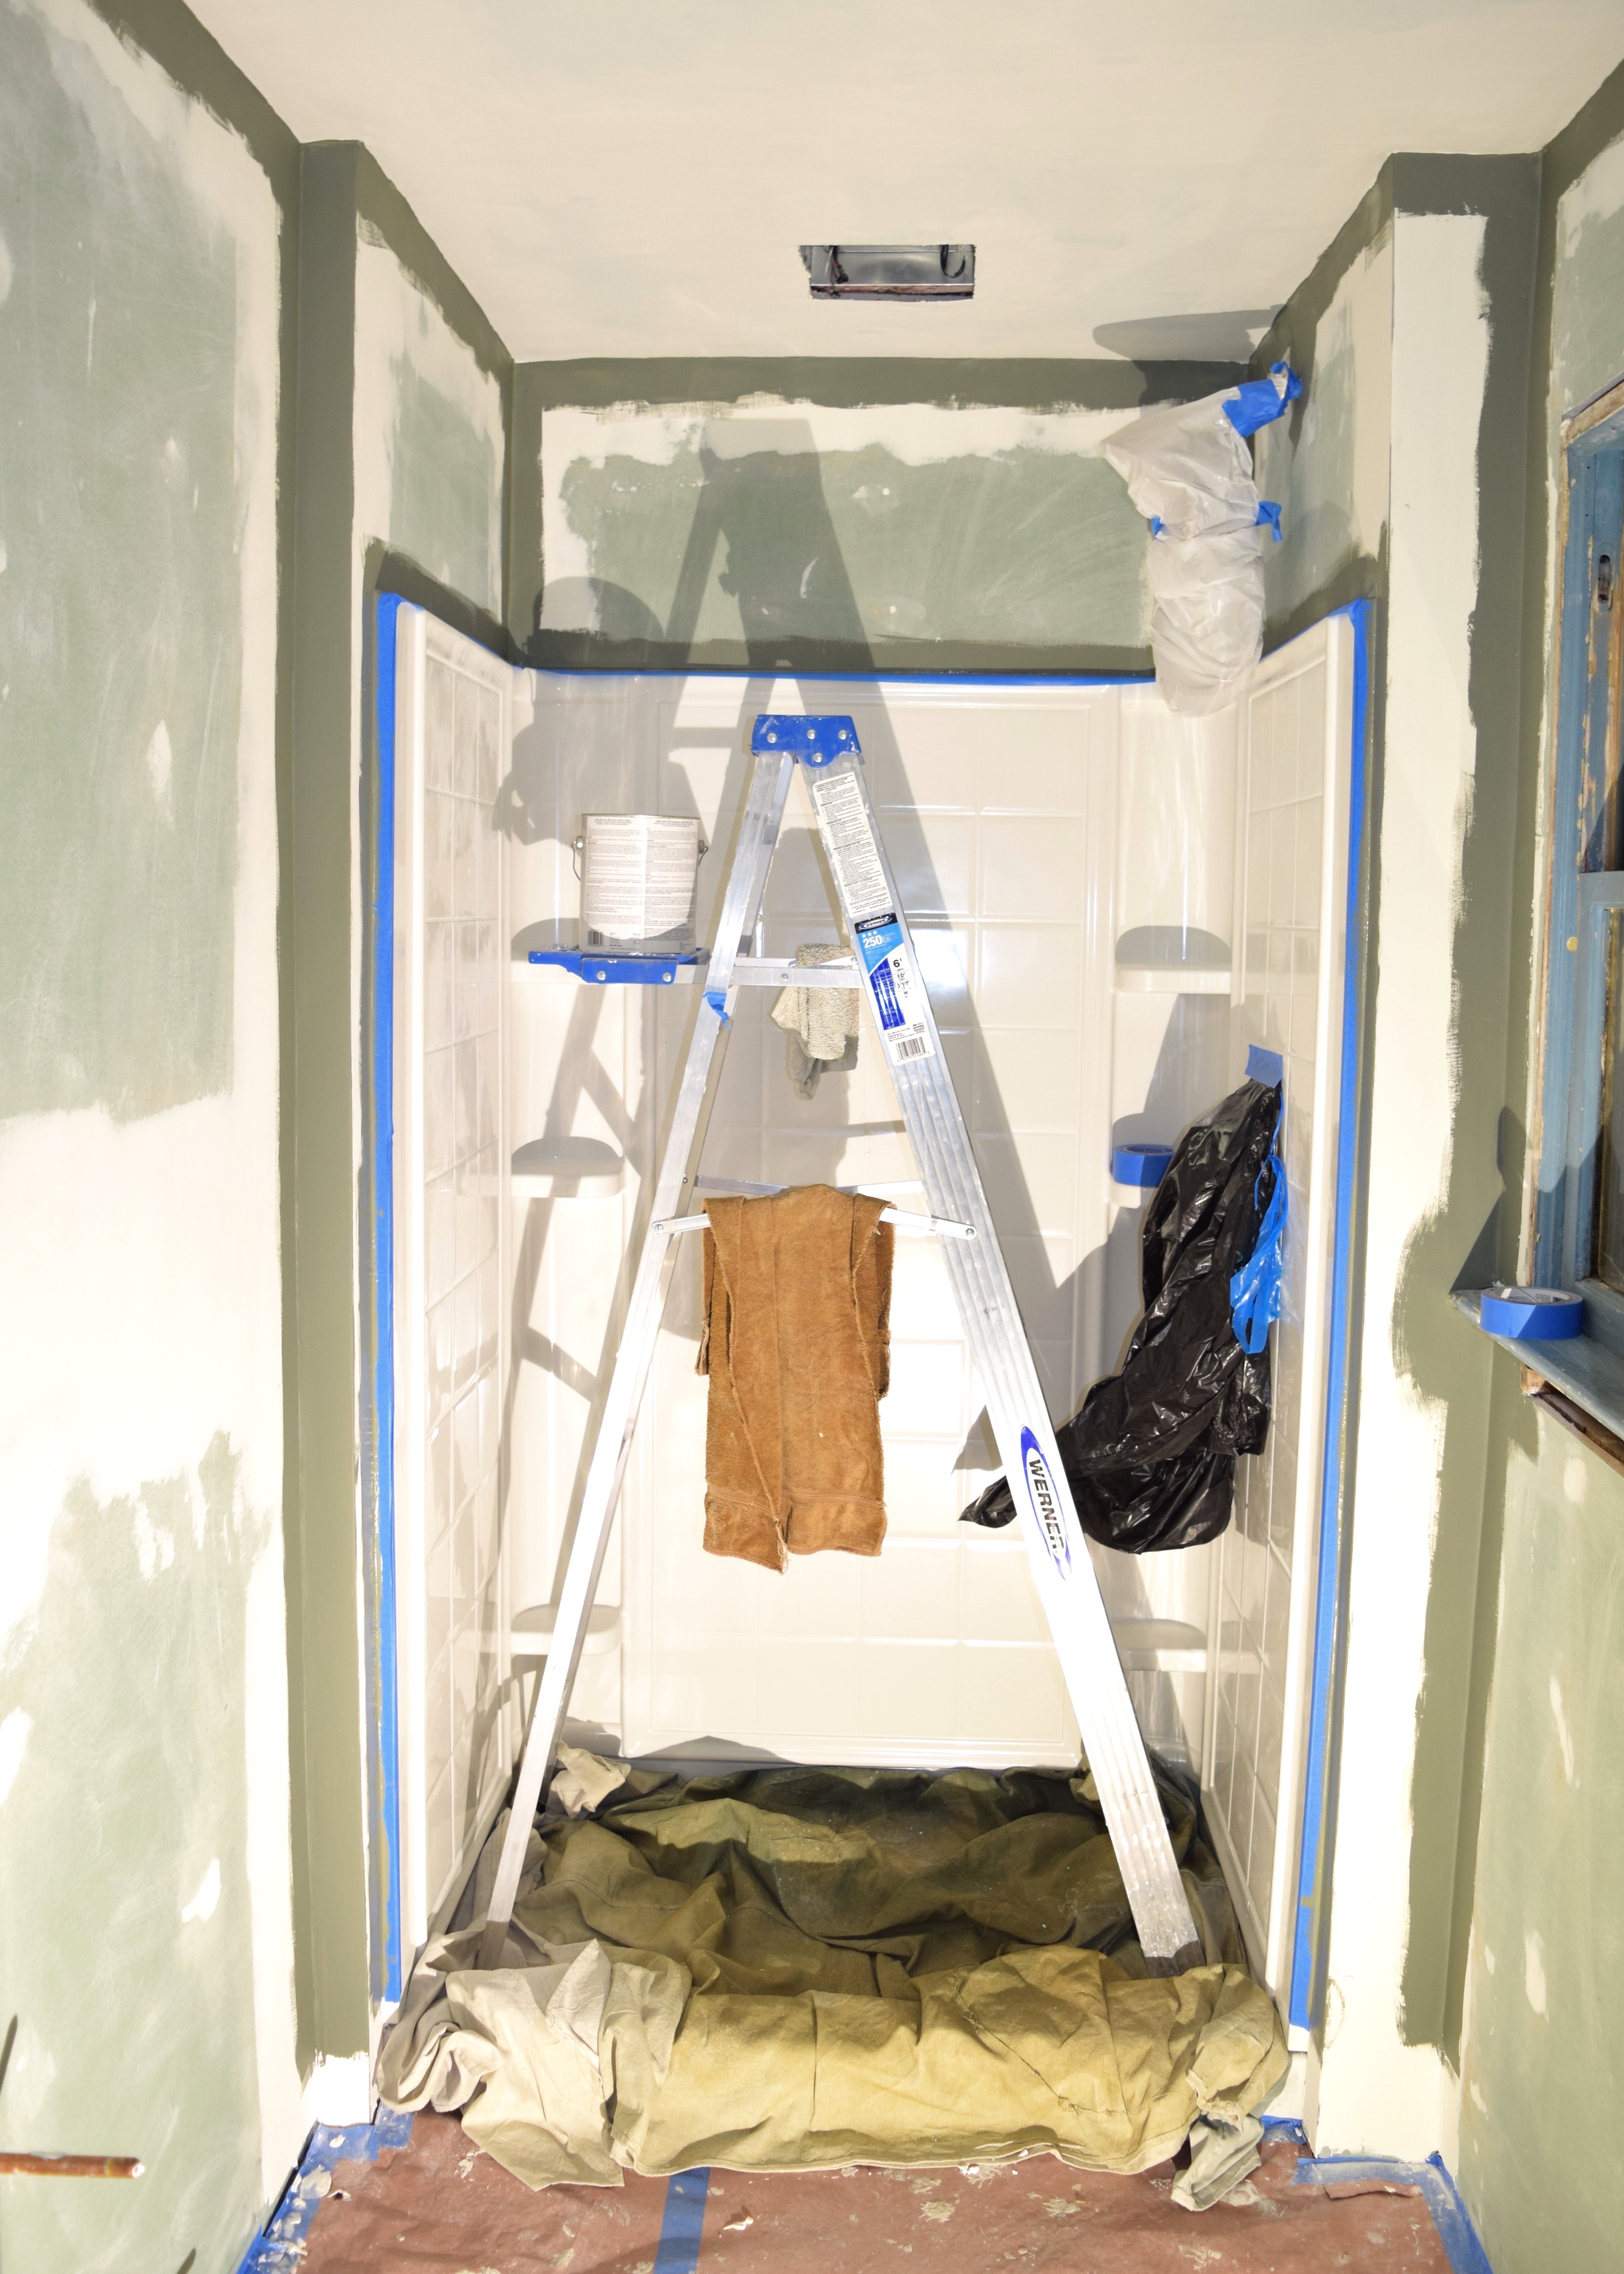
There were lots of other fixtures that were not installed yet (like the medicine cabinet and light fixtures) which allowed me to roll right over the edges of the drywall without fussing with cutting around anything. Not having any lighting installed meant I was still using my work light as the only source of illumination in the space which creates some weird lighting!

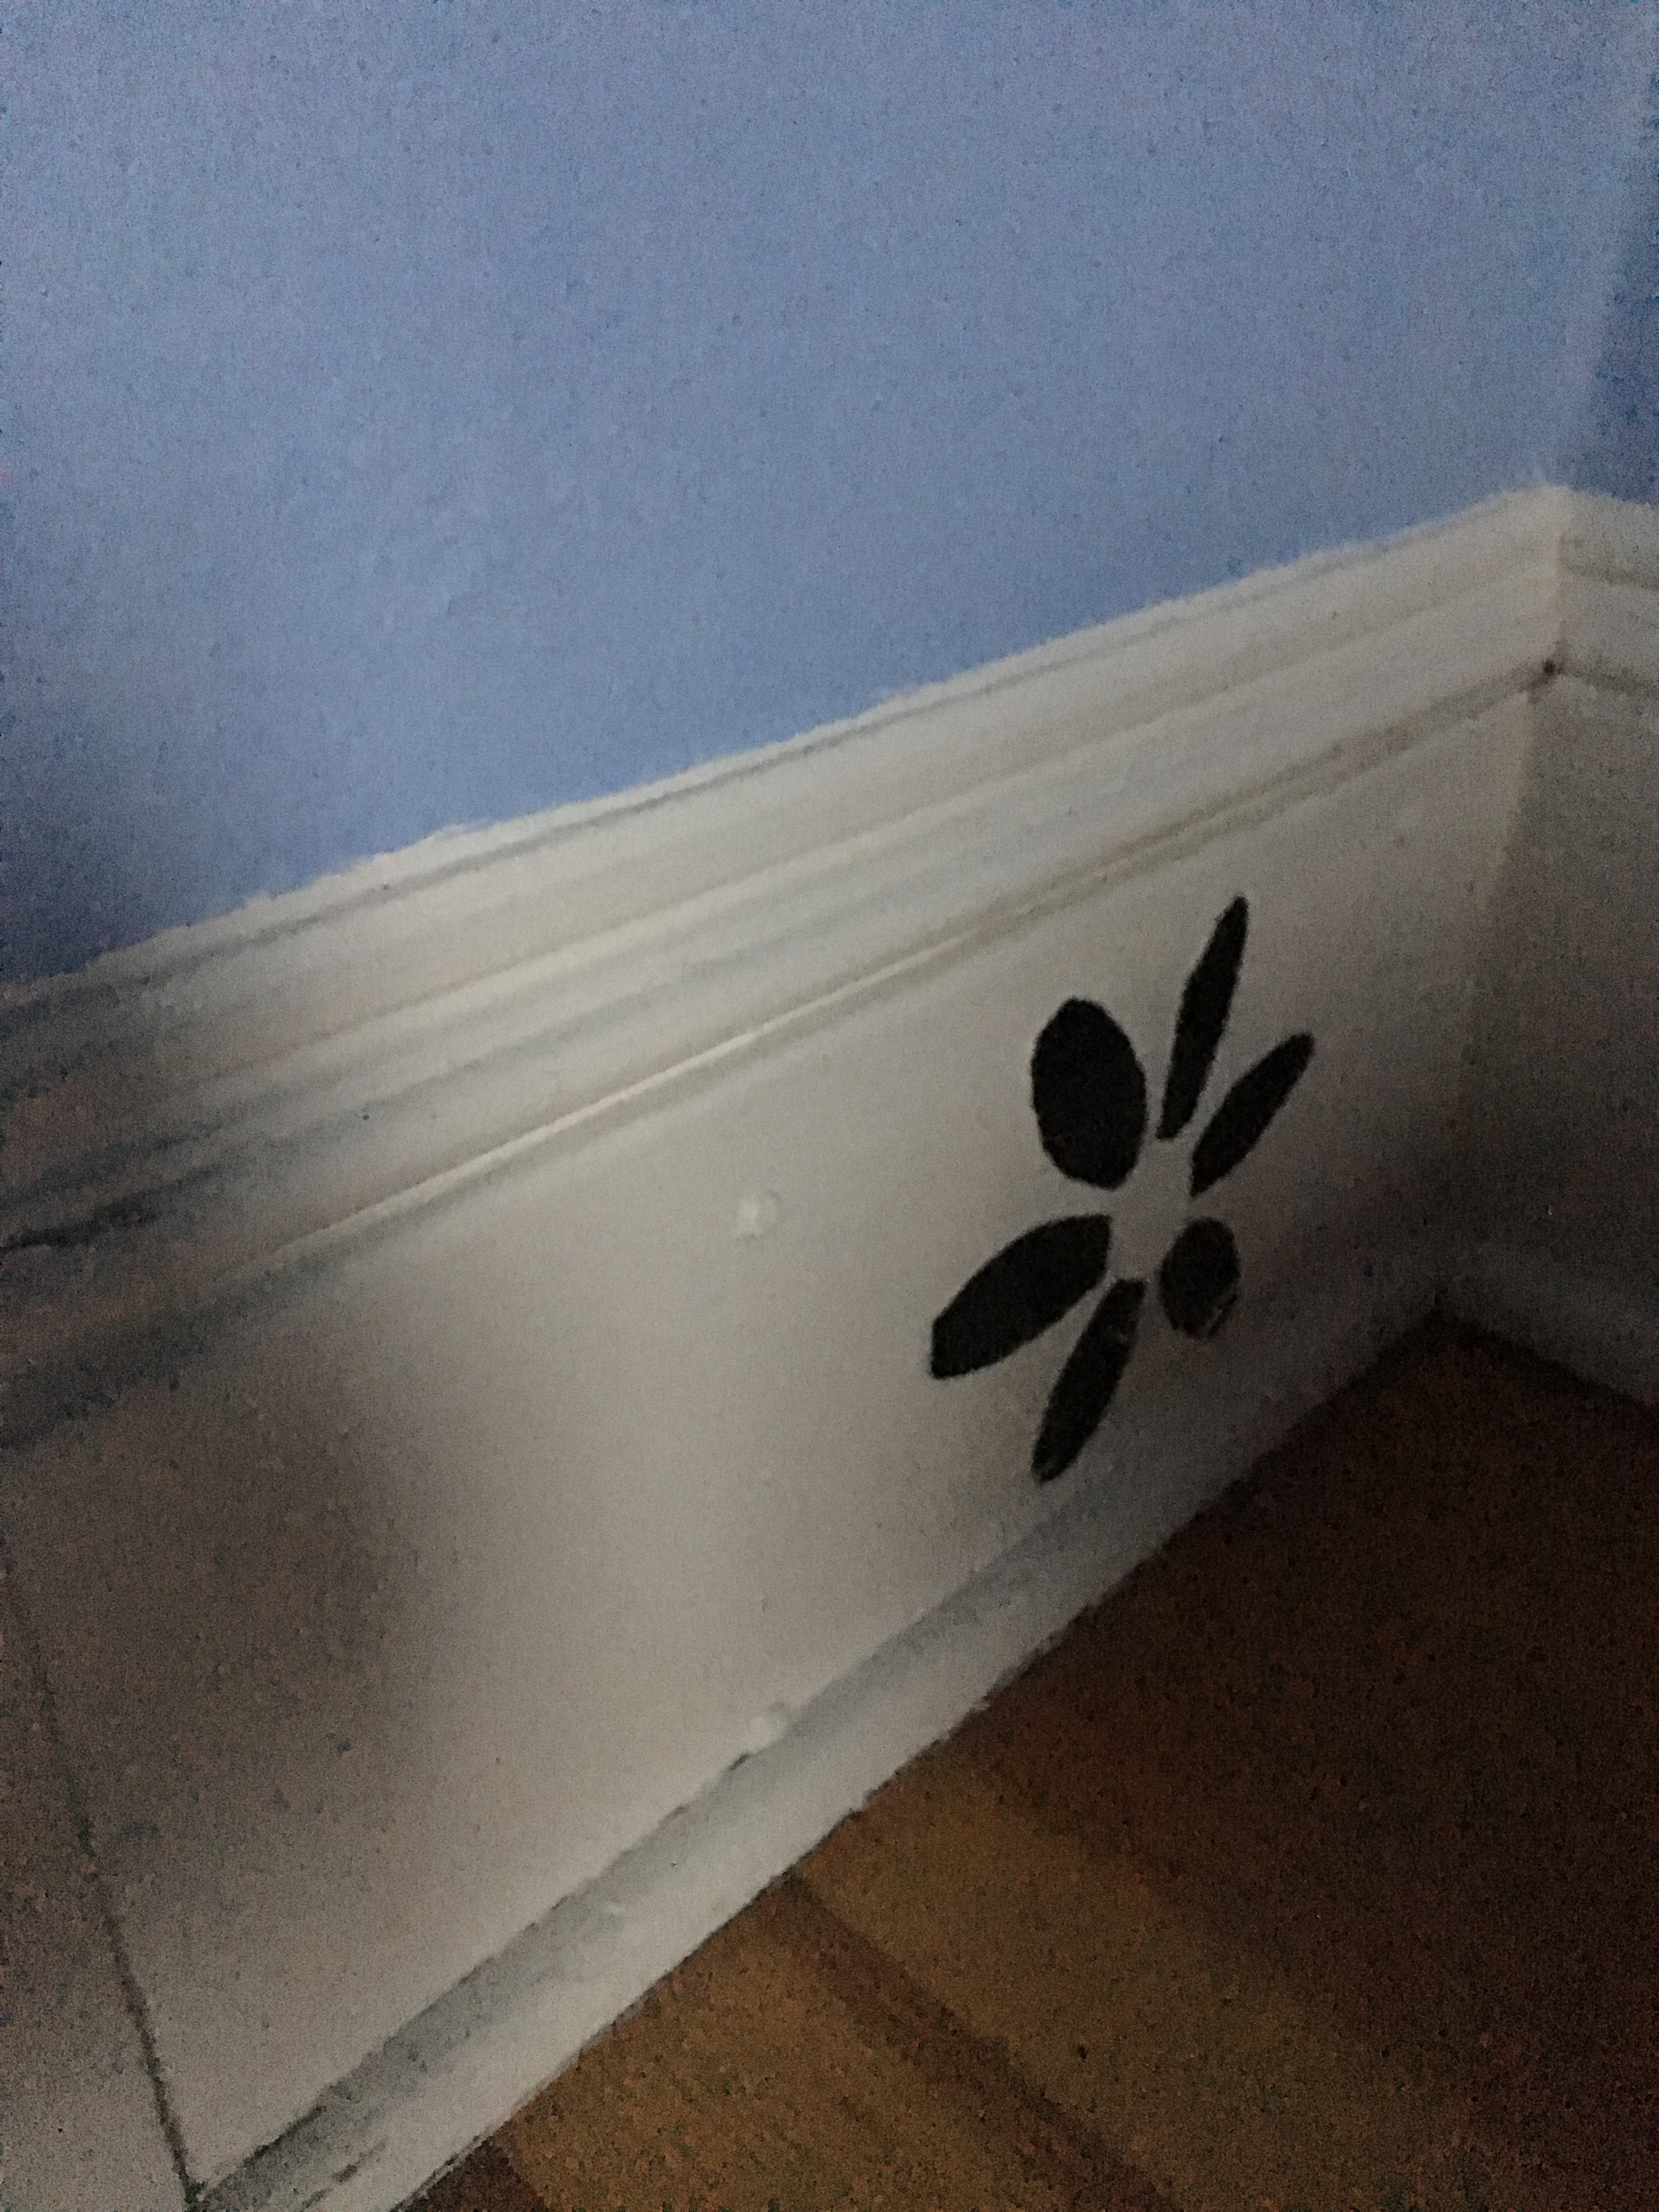
I also waited to install all my trim work so I could continue rolling to the lower part of the wall and around the windows, thus avoiding cutting in at the trim. Cutting in takes way longer than rolling so it was nice to save that time. I did leave the drywall exposed in those spots rather than painting what was about to be covered.
I also didn’t put too much attention into get perfect paint lines where the walls met the ceiling since I still had to paint the ceiling. That helped speed things along too.

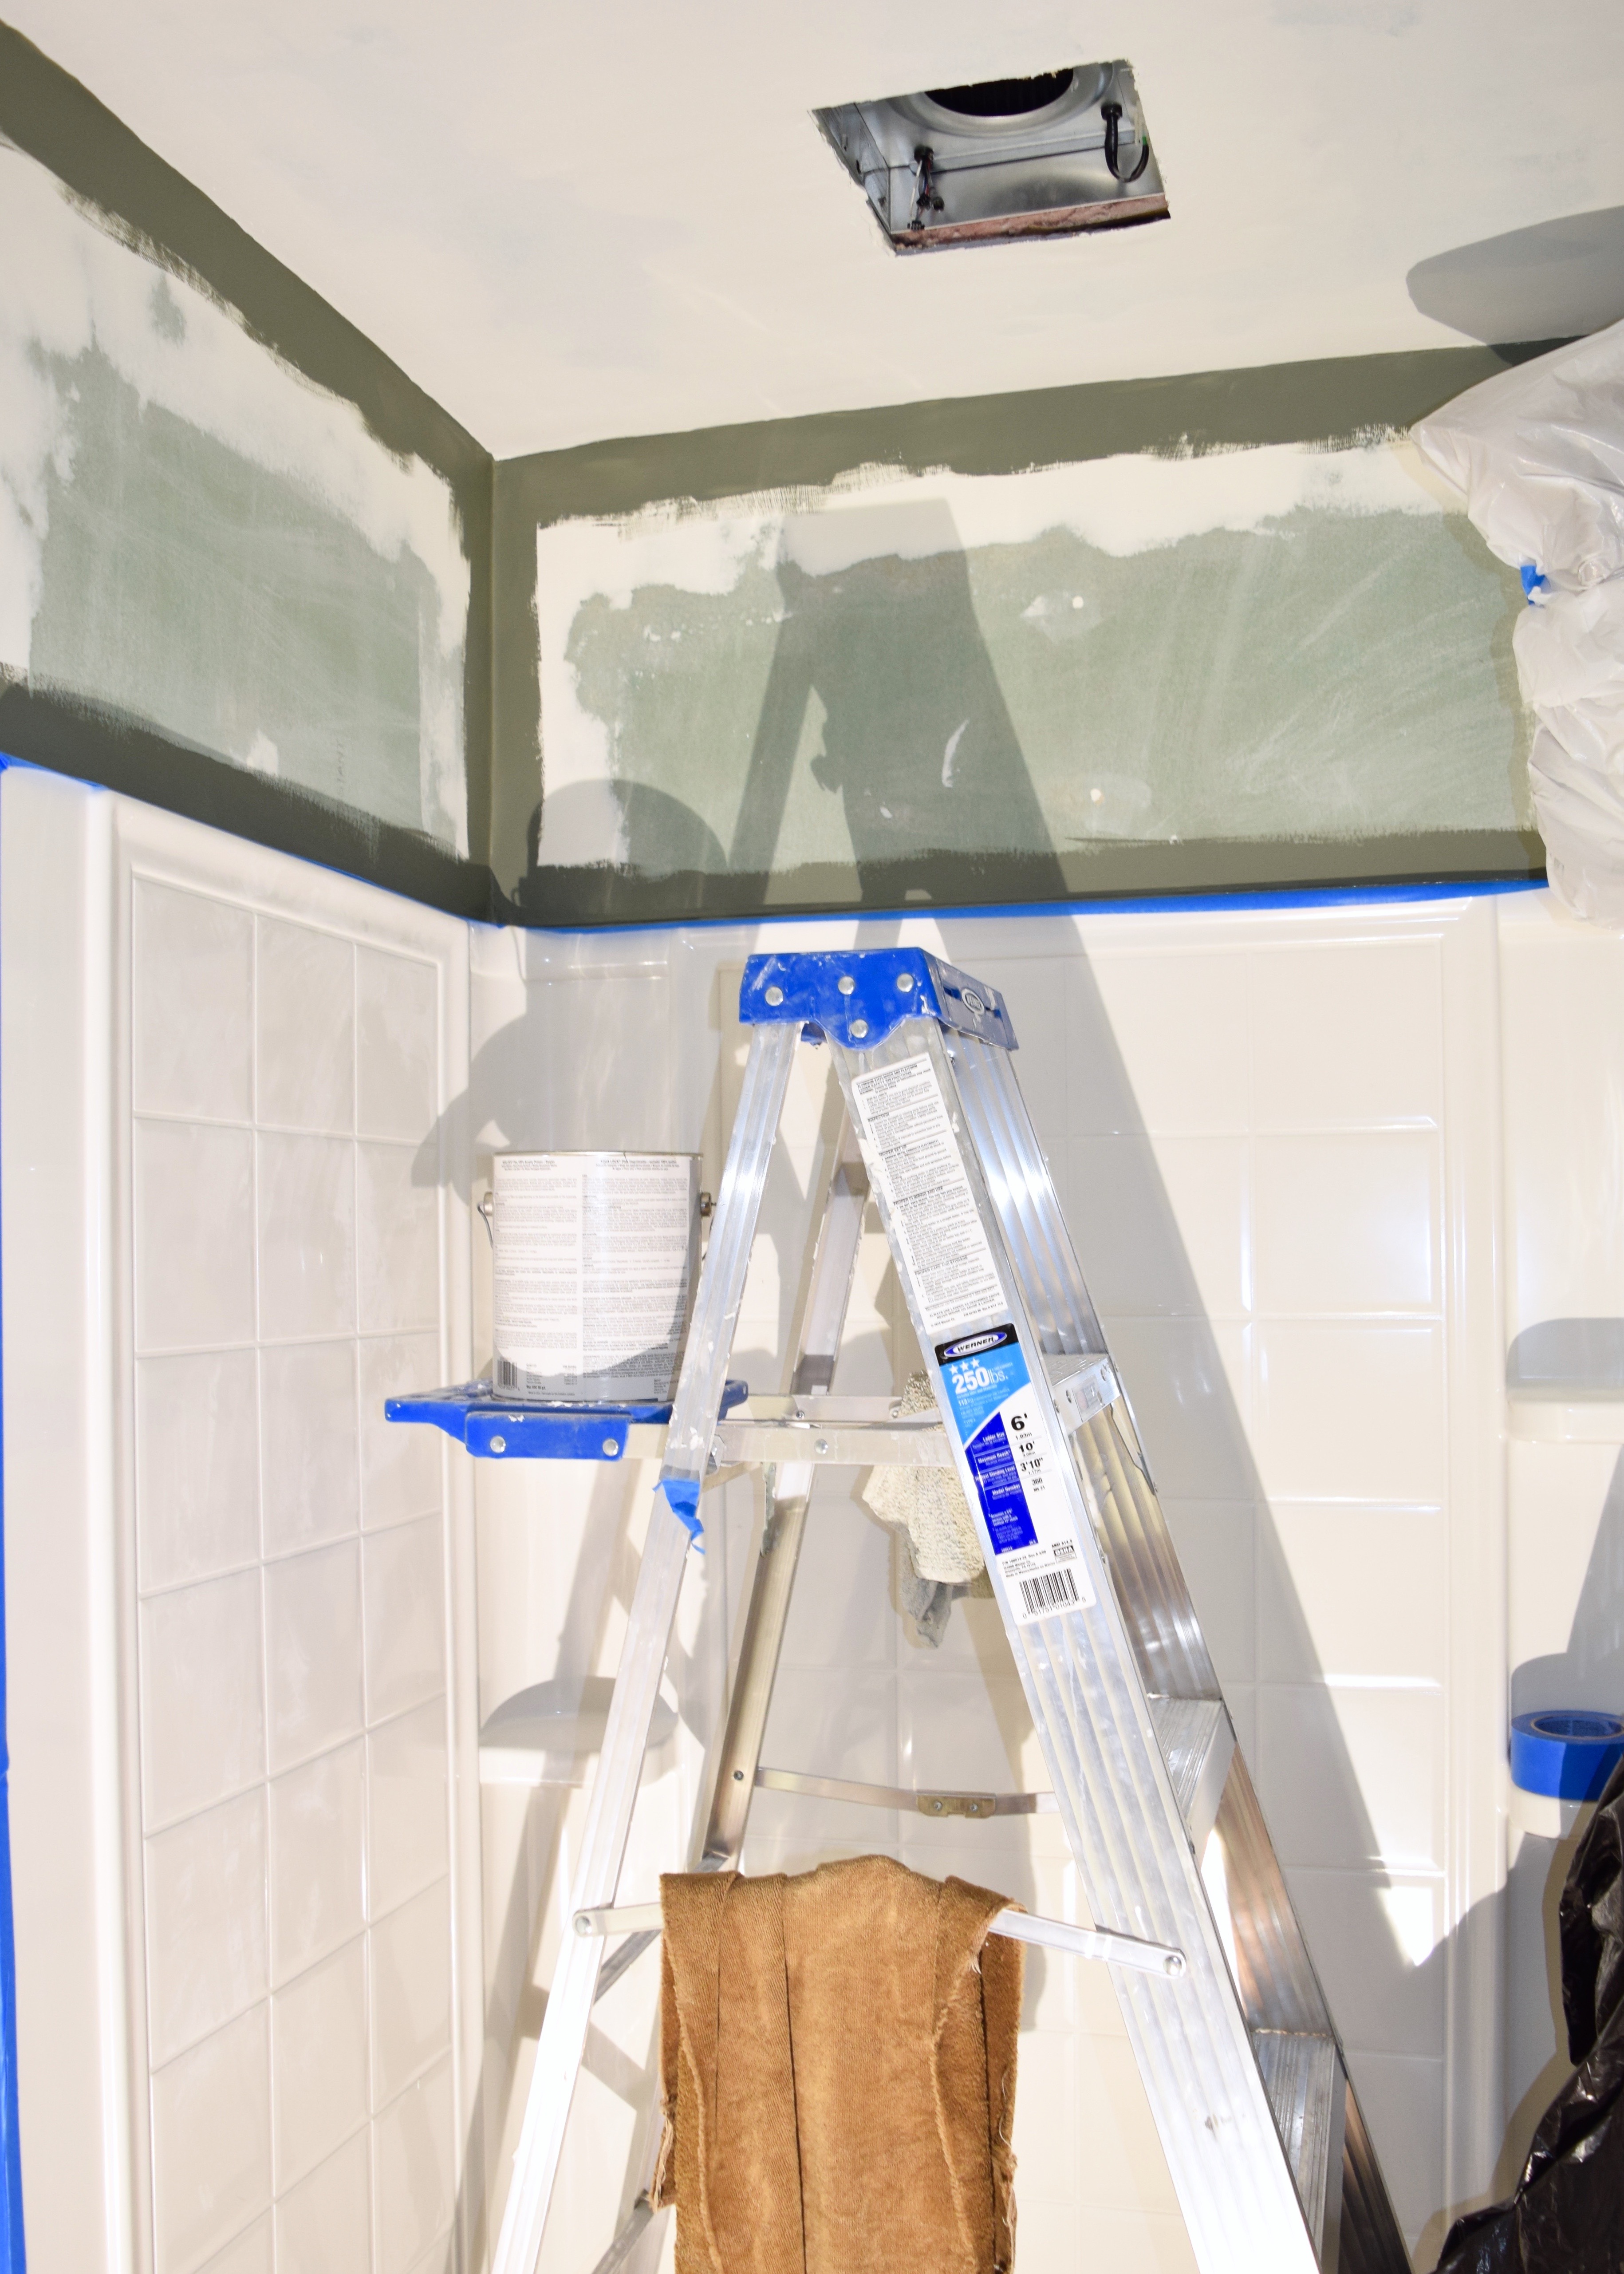
When it was time to get out the roller for the primer, boy did the room feel like it was really truly a bathroom again! The tinted primer was SO similar to the paint color, just more matte and slightly cooler in tone. It was actually really pretty! Conveniently the room was so small I was able to roll up the walls as far as I could reach through the entire room and then do the bit above the shower before moving my ladder to the center of room to roll the top 8″ inches of the remaining space. Nice to be able to do that whole top bit without moving the ladder!
Here it is fully primed and OH MY GOD, ARE YOU EXCITED?! BECAUSE I AM EXCITED!! This room was looking damn fine and this cool green hue was helping me forget the previous magenta pink color real fast! Thank god for that! Below you can see a peek of some of the old wallpaper that was in this space in the space where my future medicine cabinet would be installed too. Isn’t that fun? No idea why it’s applied to the back of the lathe and plaster of my bedroom wall though; any ideas?
While my primed walls were drying, I took out my measuring tape and began to determine cuts for the baseboards in this room. I was prepared for my usual method of measure five times and cutting three. I wanted to do some gnarly baseboards in this space that would look more original to the 1909 house. As far as I can tell the only original trimwork at Berrybrier is the baseboards in the upstairs room which can’t even be original since the upstairs was converted from an attic to living space sometime in the early 1900s. However, the rest of the house sports trim from the 1960s or 2000s so the upstairs bedrooms example is better than anything else!
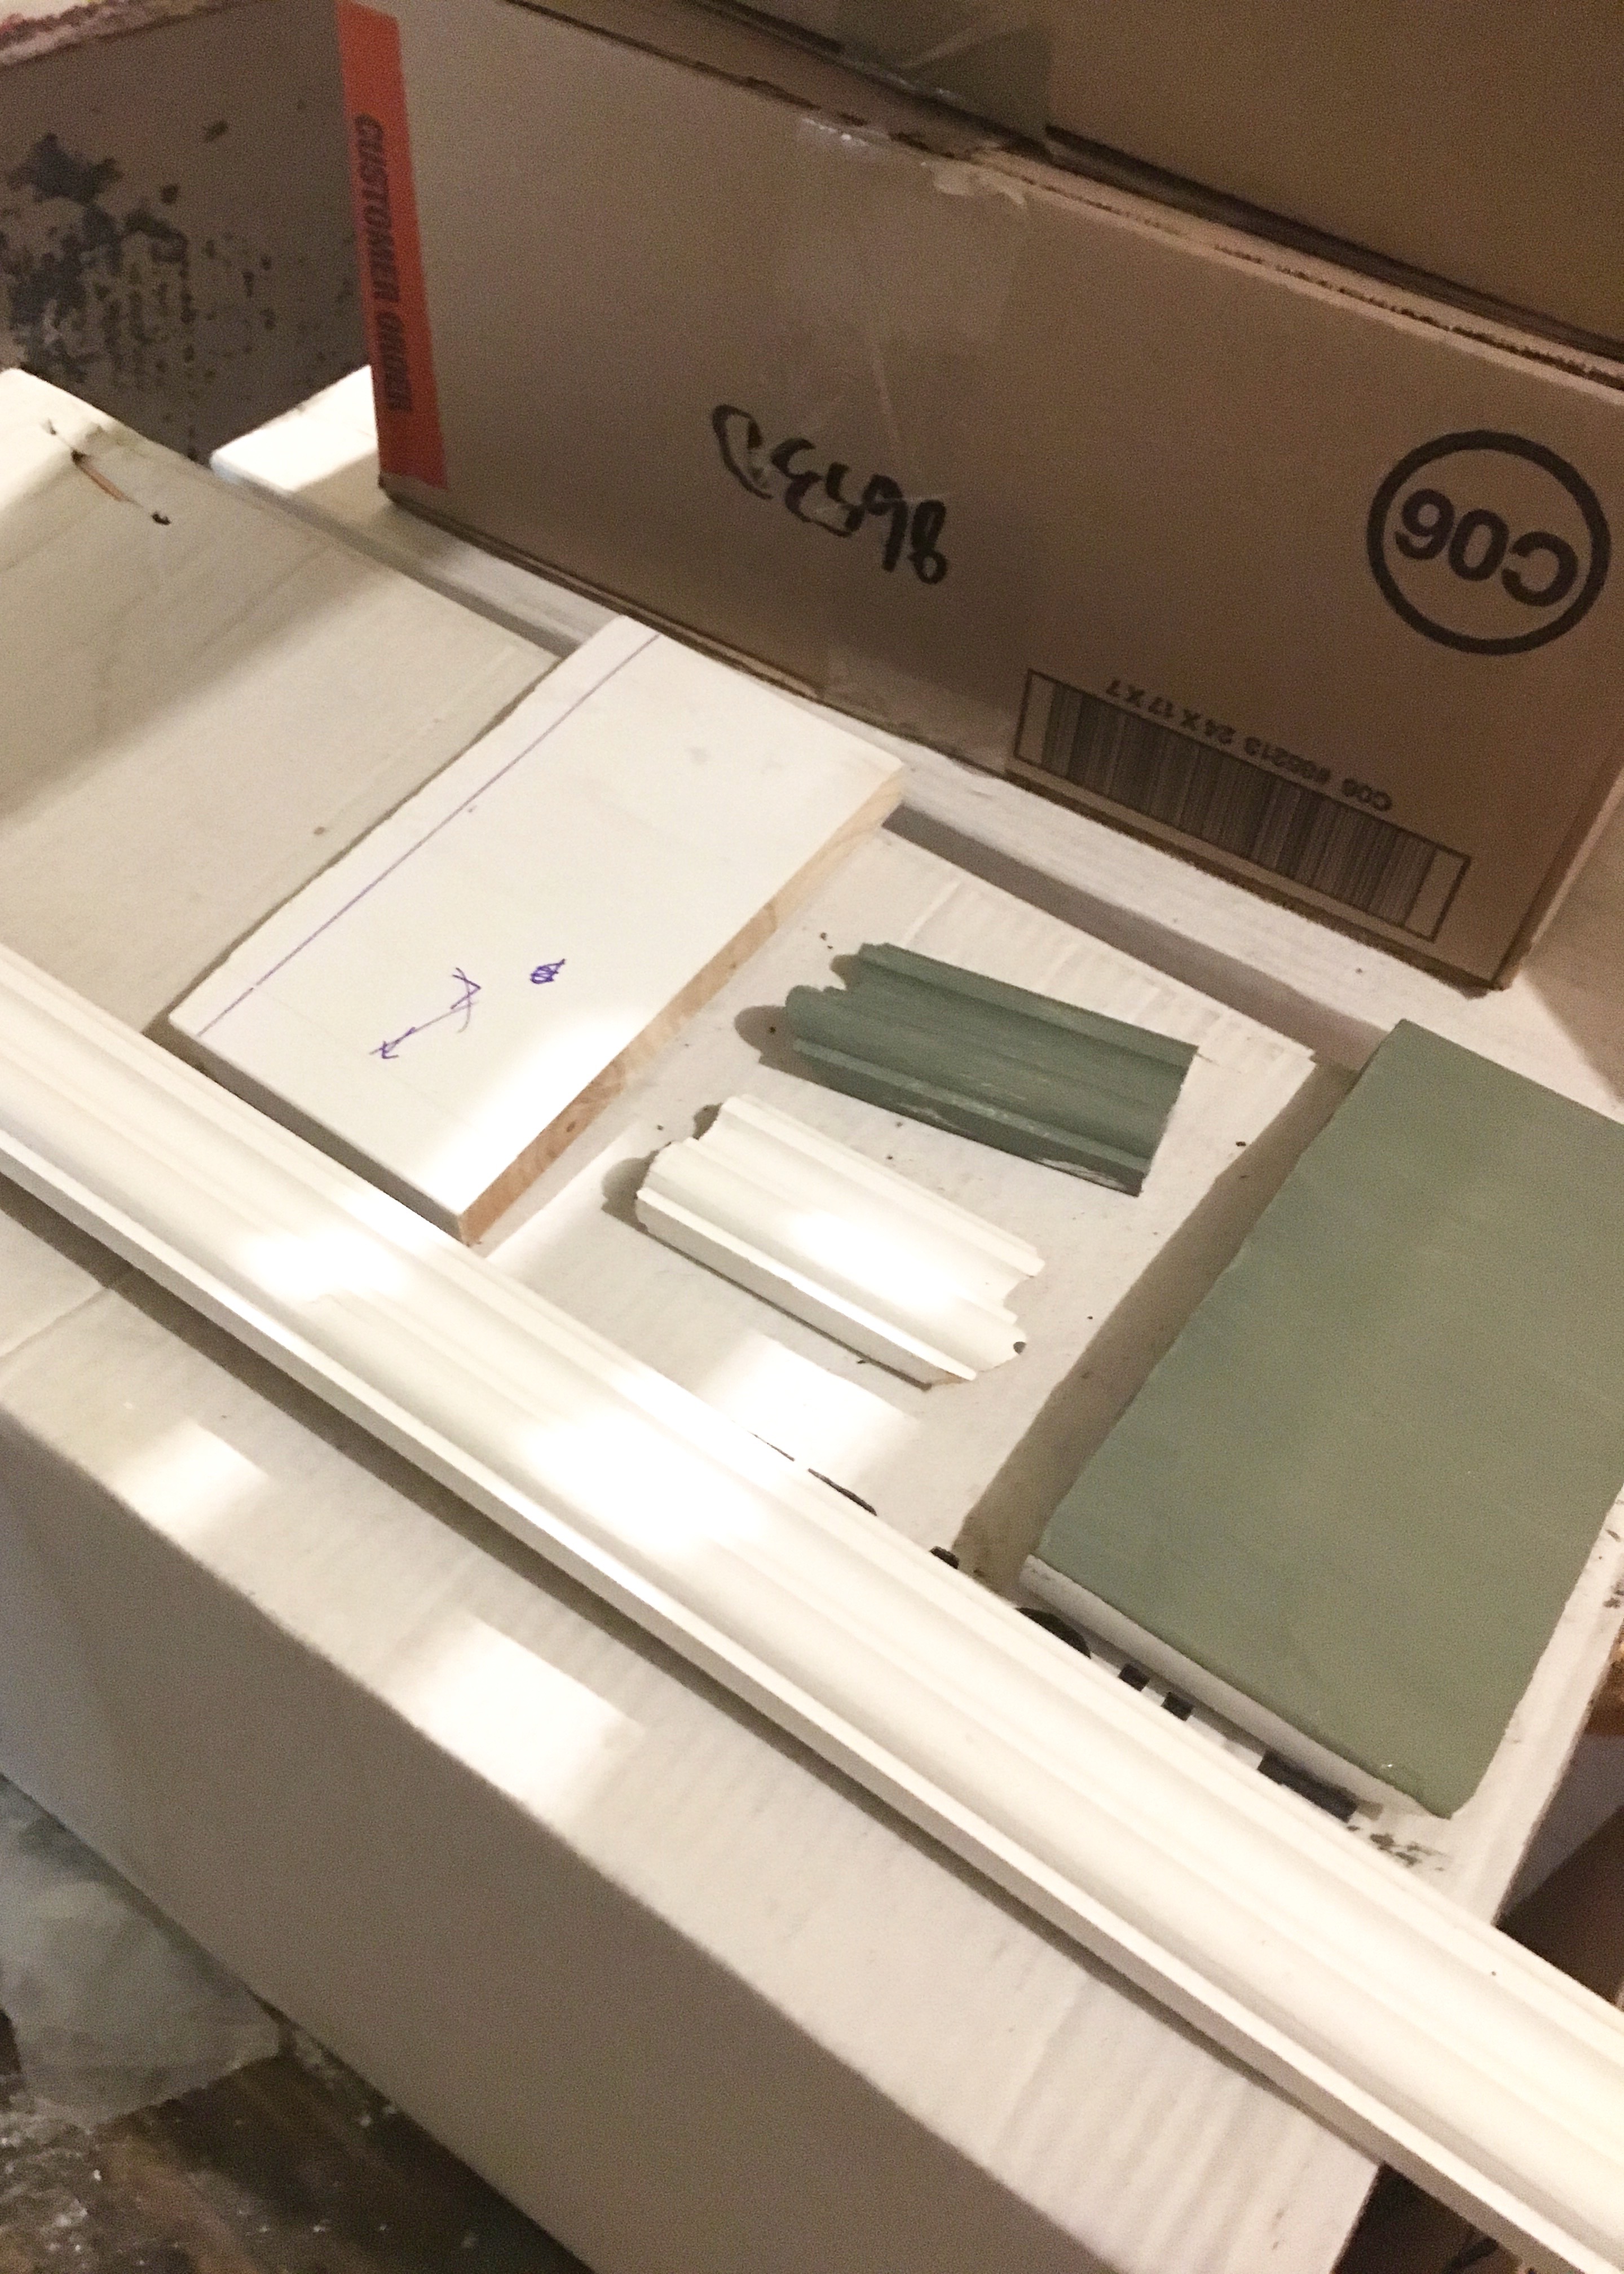
I nabbed this shot from the upstairs back bedroom with my iPhone and then headed to Woodcrafters, a local woodworking store hoping to match the profile or find something similar. I was doubtful I’d find an exact match and I knew I’d never get the same look of many many years and layers of paint, but I hoped for something similar that would at least envoke the same tone. These baseboards are made of three pieces: 1×8″ flat stock with a 2″ decorative moulding on top and a quarter inch shoe base at the bottom. These were all old mouldings too and the sizing of each board was exact whereas now a 1×8 is actually 3/4″ by 7-1/4″. I was fine using modern boards, because I sure don’t have the cash to buy exact replicas! I based the trim around the door on the window trim which I was reusing, replicating the 5″ flat stock at the sides with a 6″ flat stock header.
I ended up deciding to skip the shoe base in the bathroom because I really didn’t feel like dealing with yet another surface to wipe down and clean in that room. I found a similar trim piece to the decorative moulding at wood crafters and picked up some 1×8 flat stock as well. I took all my measurements for the room and then went to cut my trim only to discover my chop saw only cuts about 6.5″ bevel cuts leaving me to hand saw the other 3/4″ on all my boards. UGH. But with such a small room, there weren’t many cuts so I knocked it all out in less than an hour. I dry fit all the pieces and then placed them on top of all the boxes of bathroom stuff (light fixtures, plumbing fixtures, toilet, etc) that were all stacked in my kitchen and began priming them.

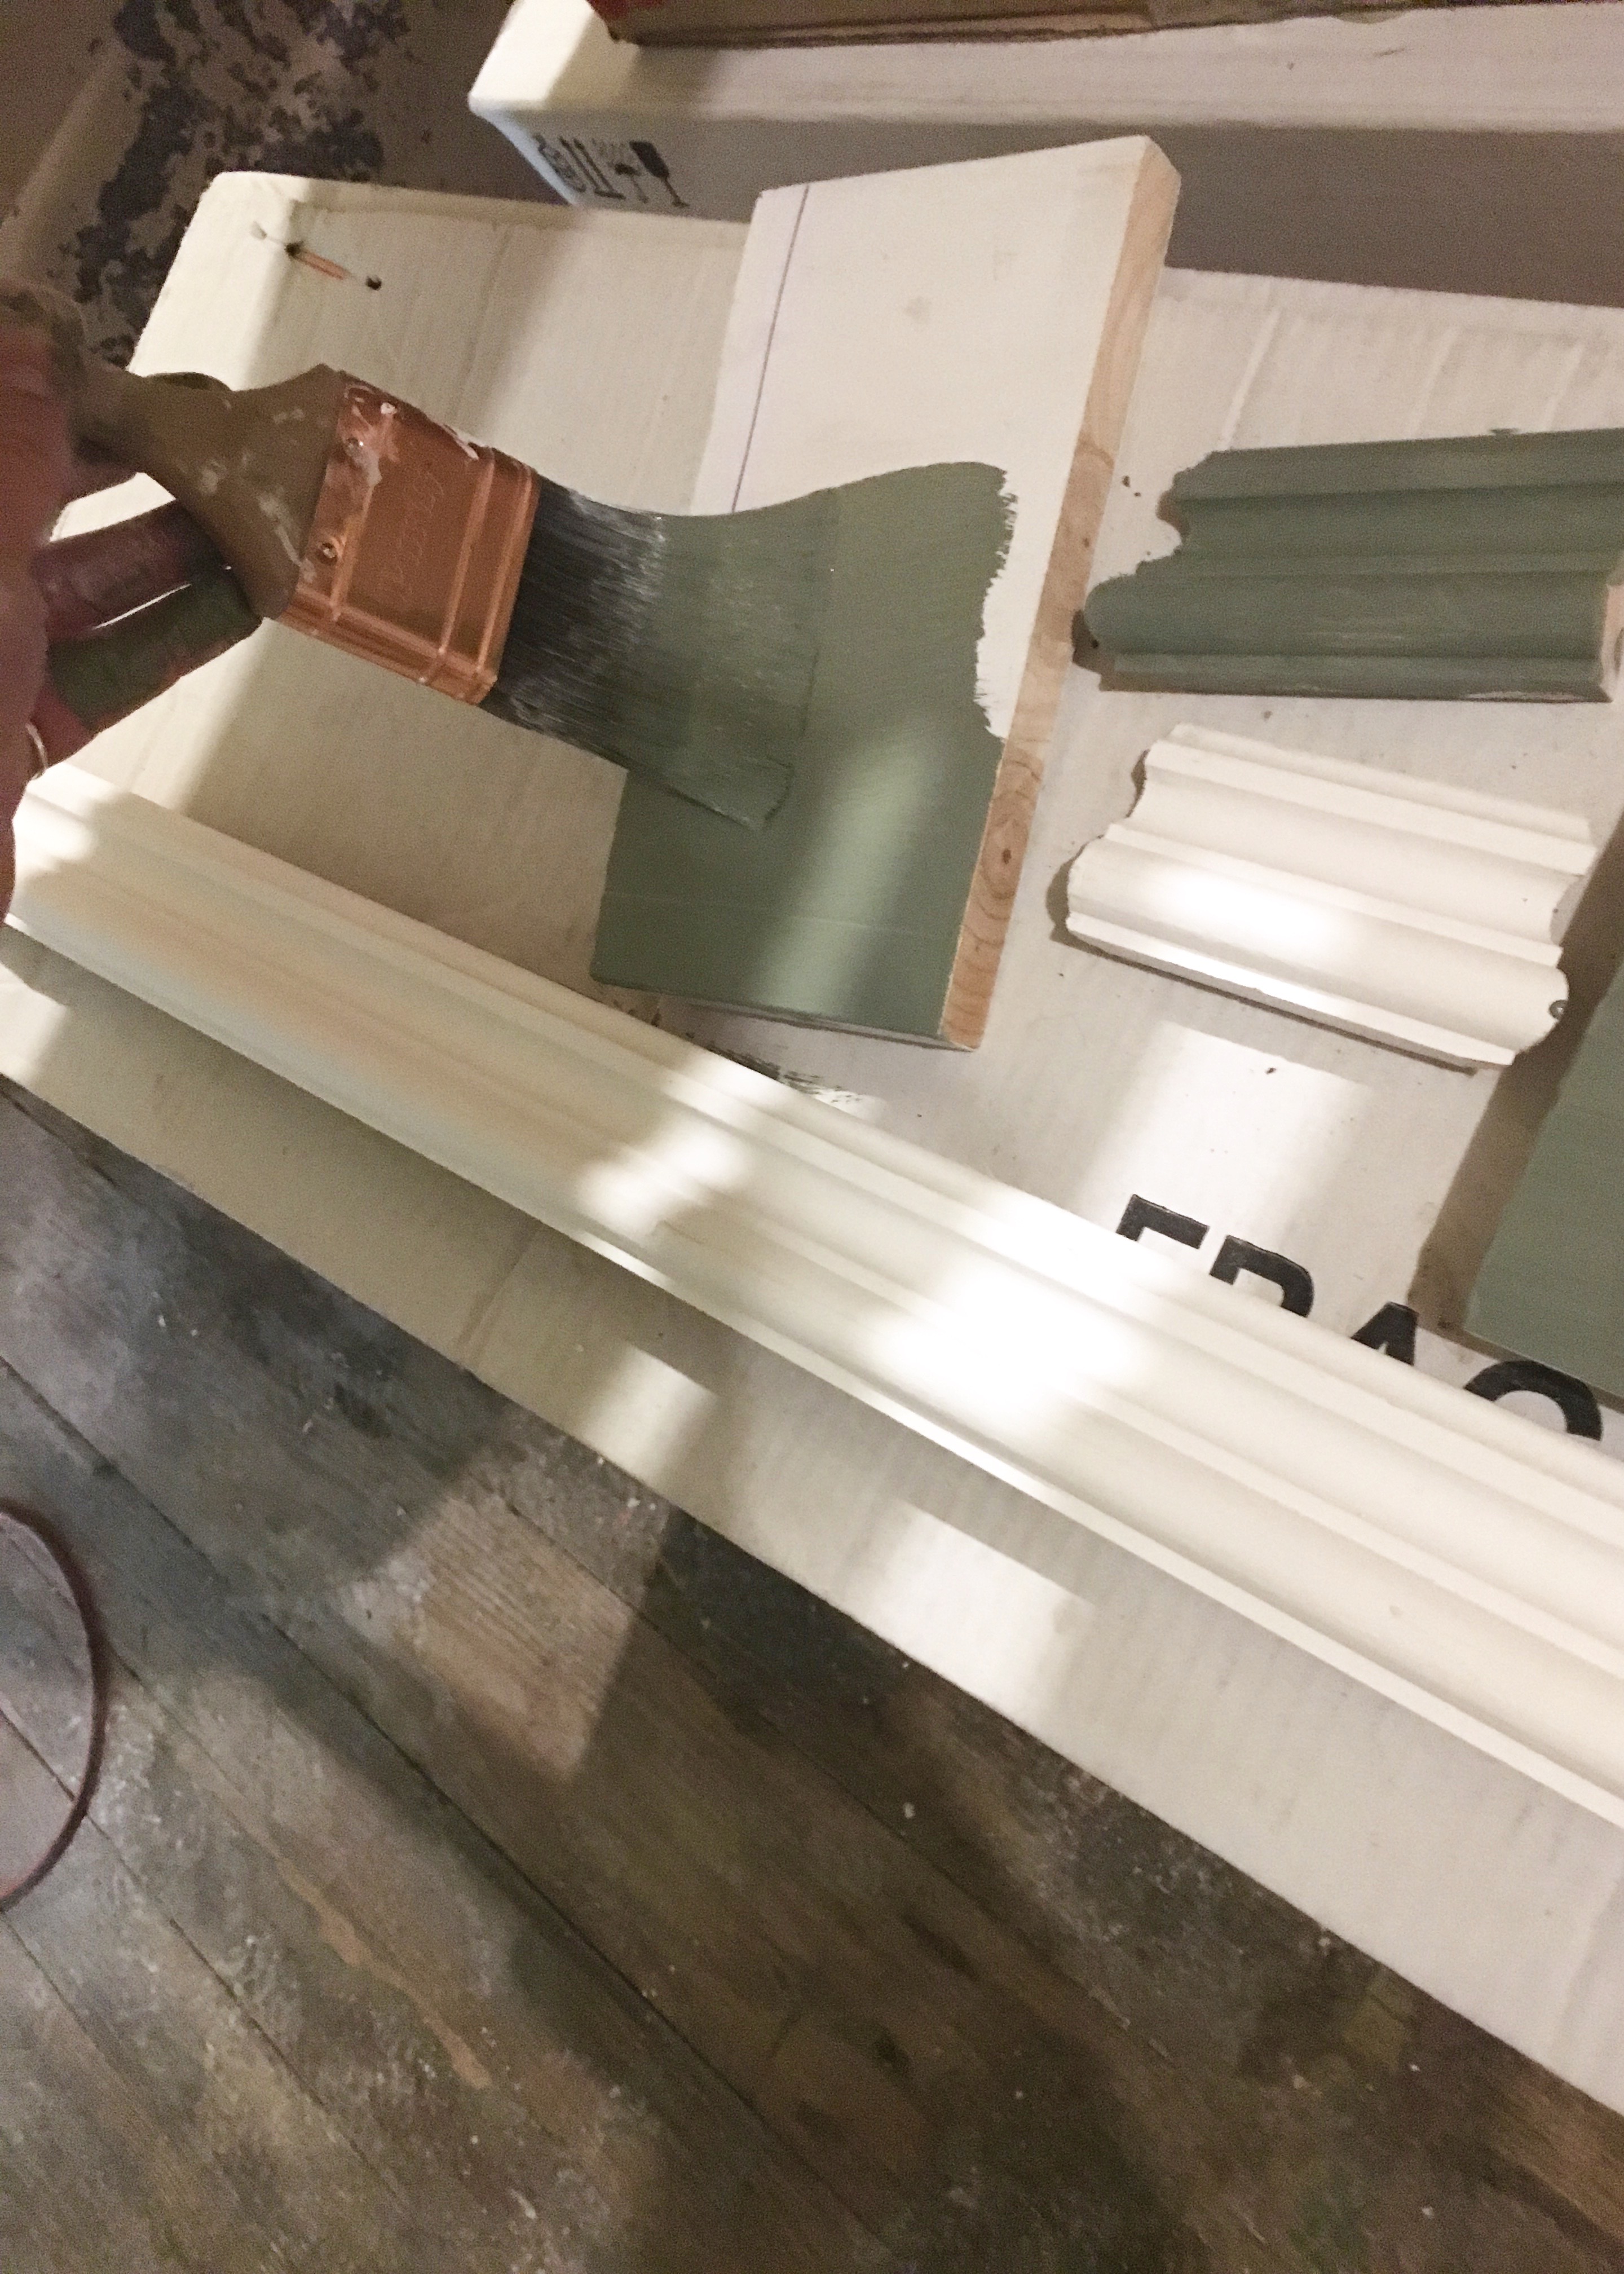
My kitchen looked like a chaotic crazy mess at this point, especially considering the crazy town, half-sanded floor disaster. All the boxes did create a convenient work surface though! You can see below I painted the flat stock and the trim piece for one short wall section. Once the decorative moulding is placed on the flat stock, caulked, and painted, you’d hardly know they weren’t one larger piece!
Now a lot of trim is MDF these days, but I really prefer to use finger jointed pine for painted trim since a) it holds up better to water, b) isn’t a bunch of sawdust held together with toxic glue, and c) has less toxins and off gassing. It’s easy to paint tim when it’s not on the wall like this too. No worries about getting paint anywhere! Just have to remember to paint your boards in the direction they’ll be laid in the space: vertically or horizontally.
It was nice to be able to ping back and forth from the trim to the walls and ceiling while they dried. This project happened in early December 2017, so dry time was a little slow in the winter cold humidity. I prefer painting in Spring and Autumn on warm days that aren’t too hot so you can start your second coat of paint just an hour after the first coat is done since things dry more quickly!
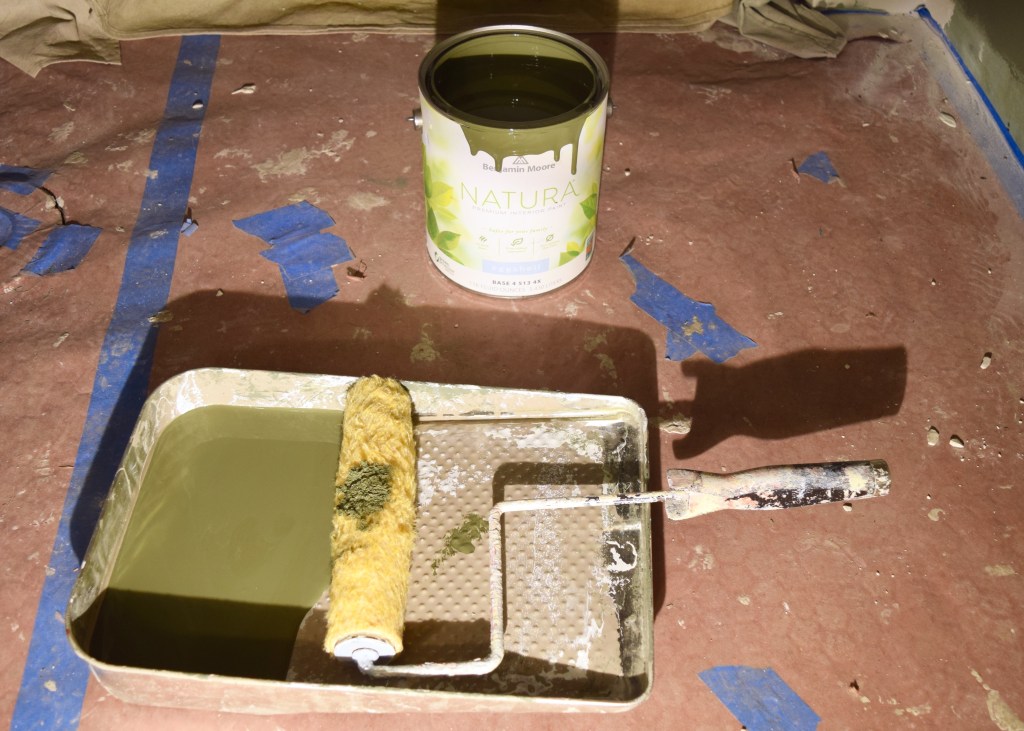
I always use the same type of paint: Benjamin Moore’s Natura. It’s the best paint on the market. It’s no-VOC with no-VOC paint pigments and it’s formaldehyde free as well. It has next to no fumes and goes on super smoothly. The darker paints are a bit thinner than the light colored paints, but both are easy to apply. It’s NOT CHEAP. But it’s worth it to me.
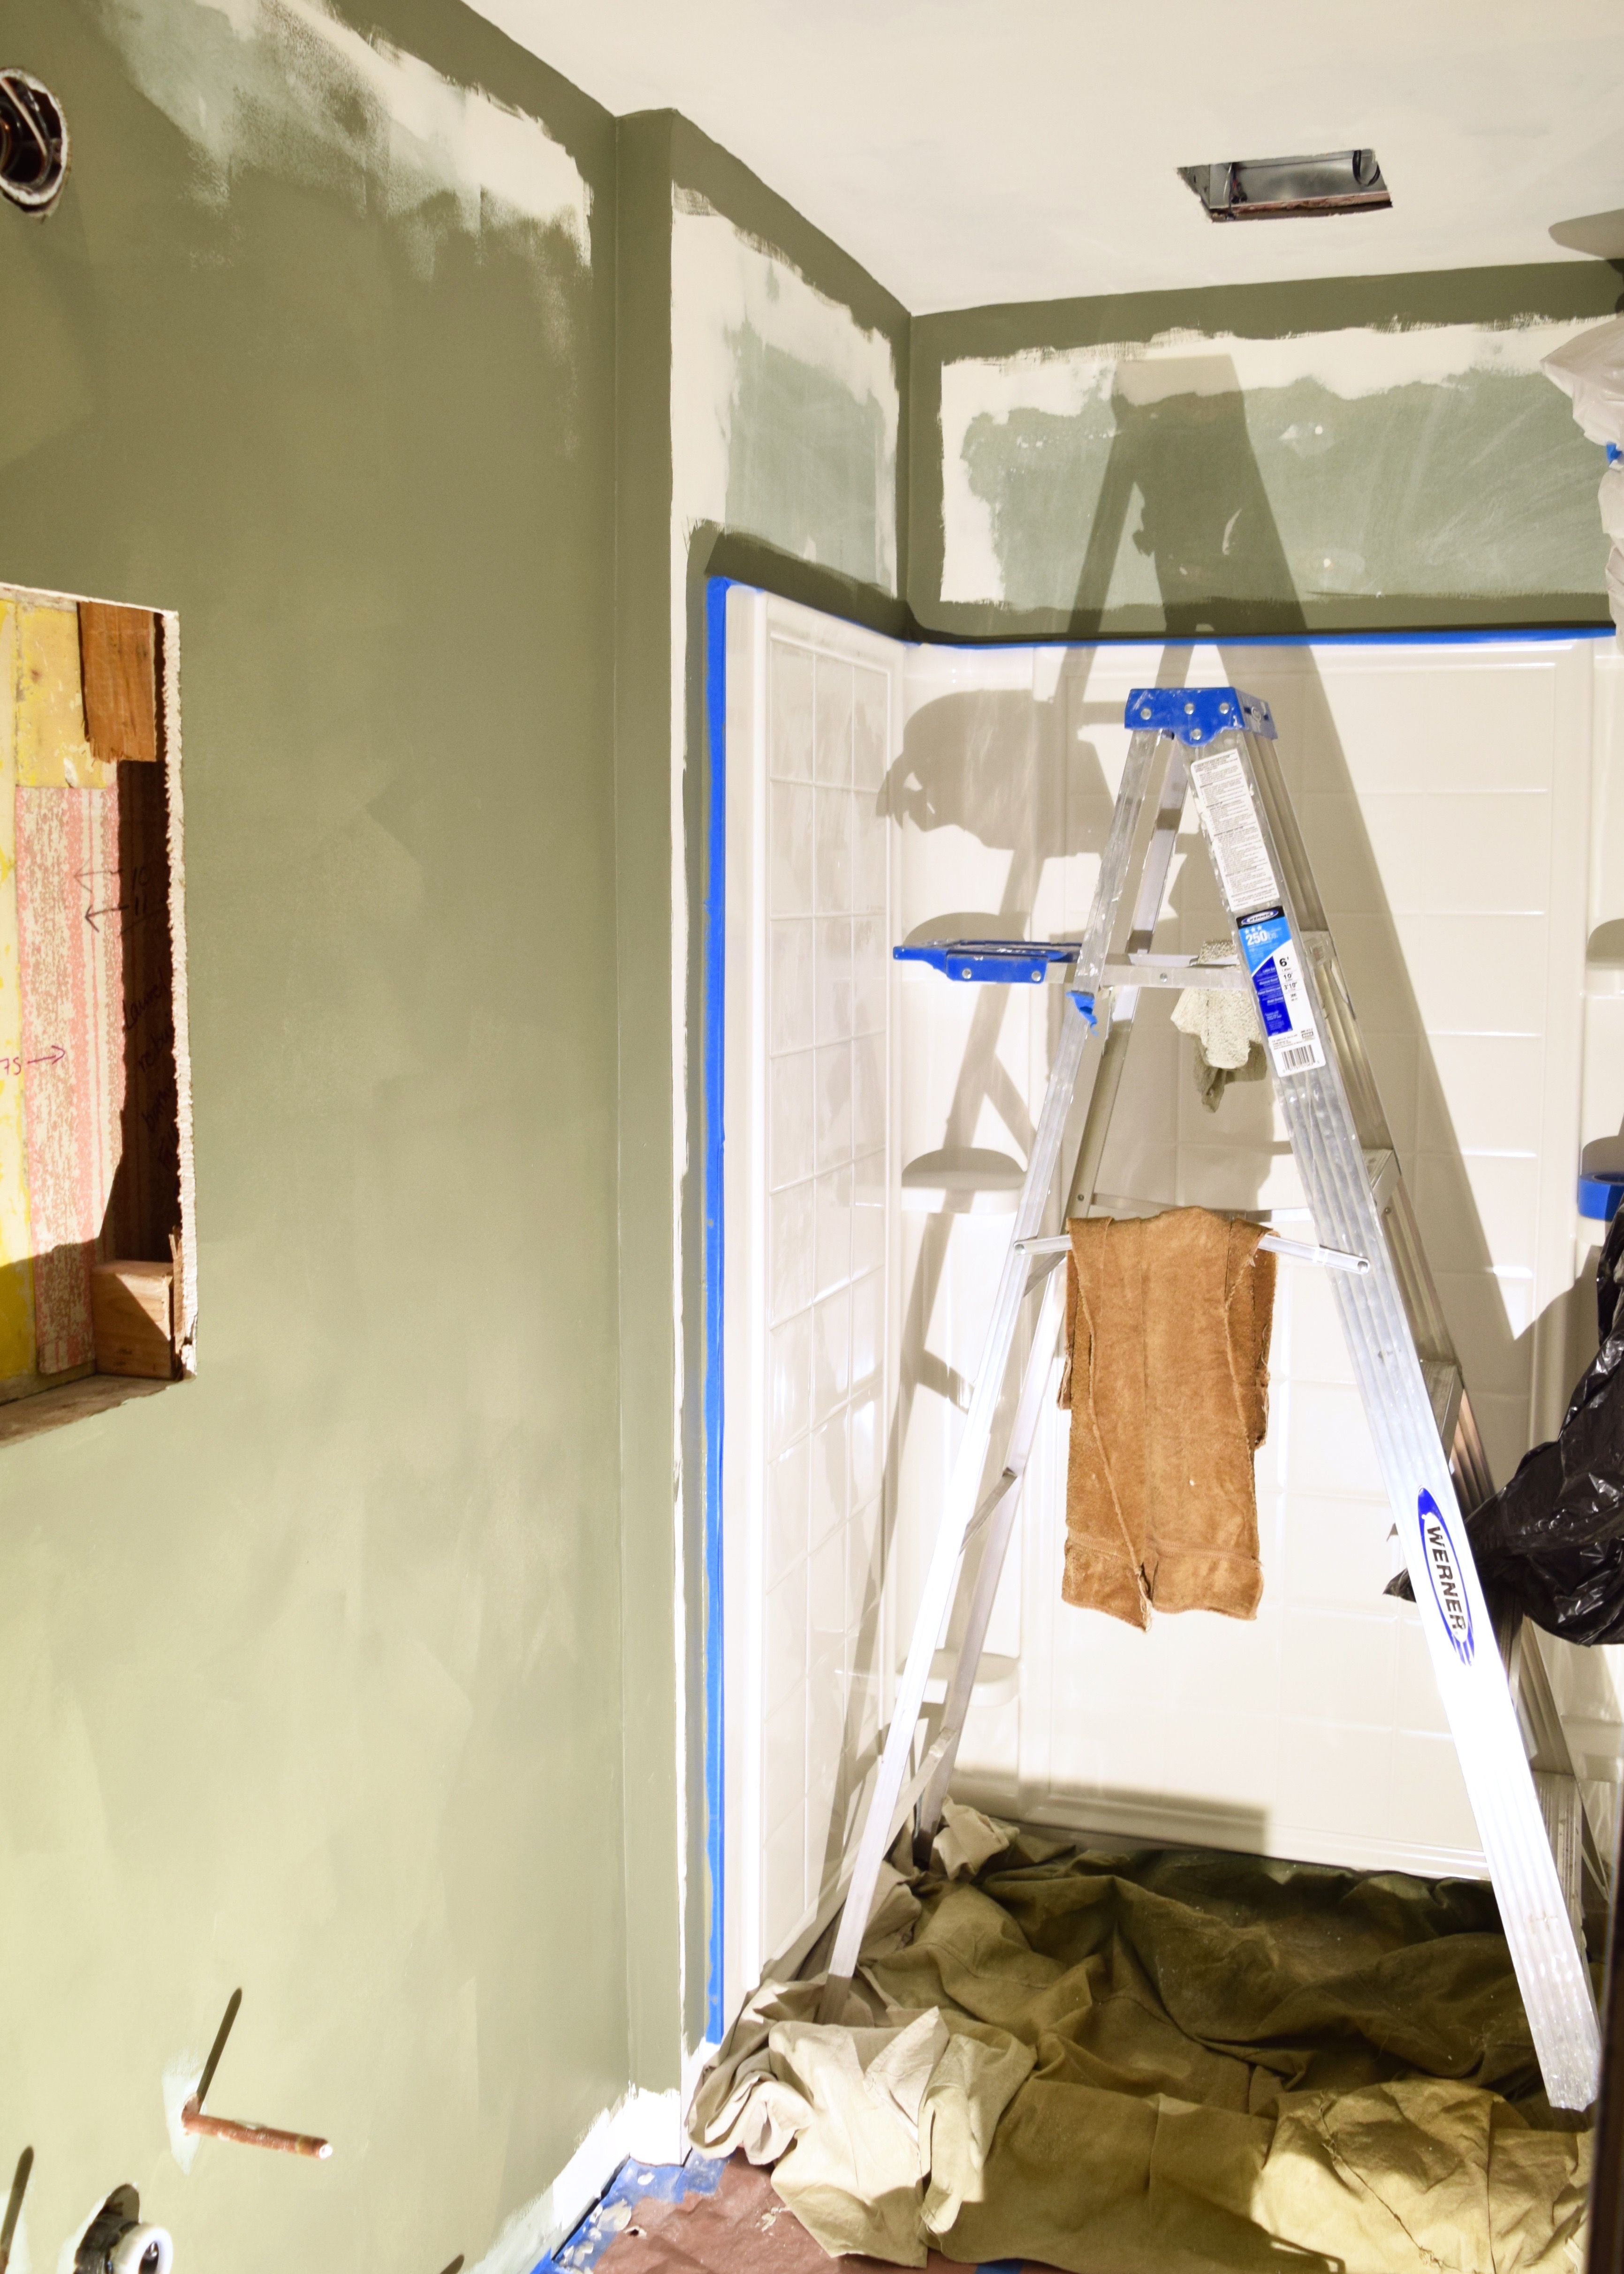
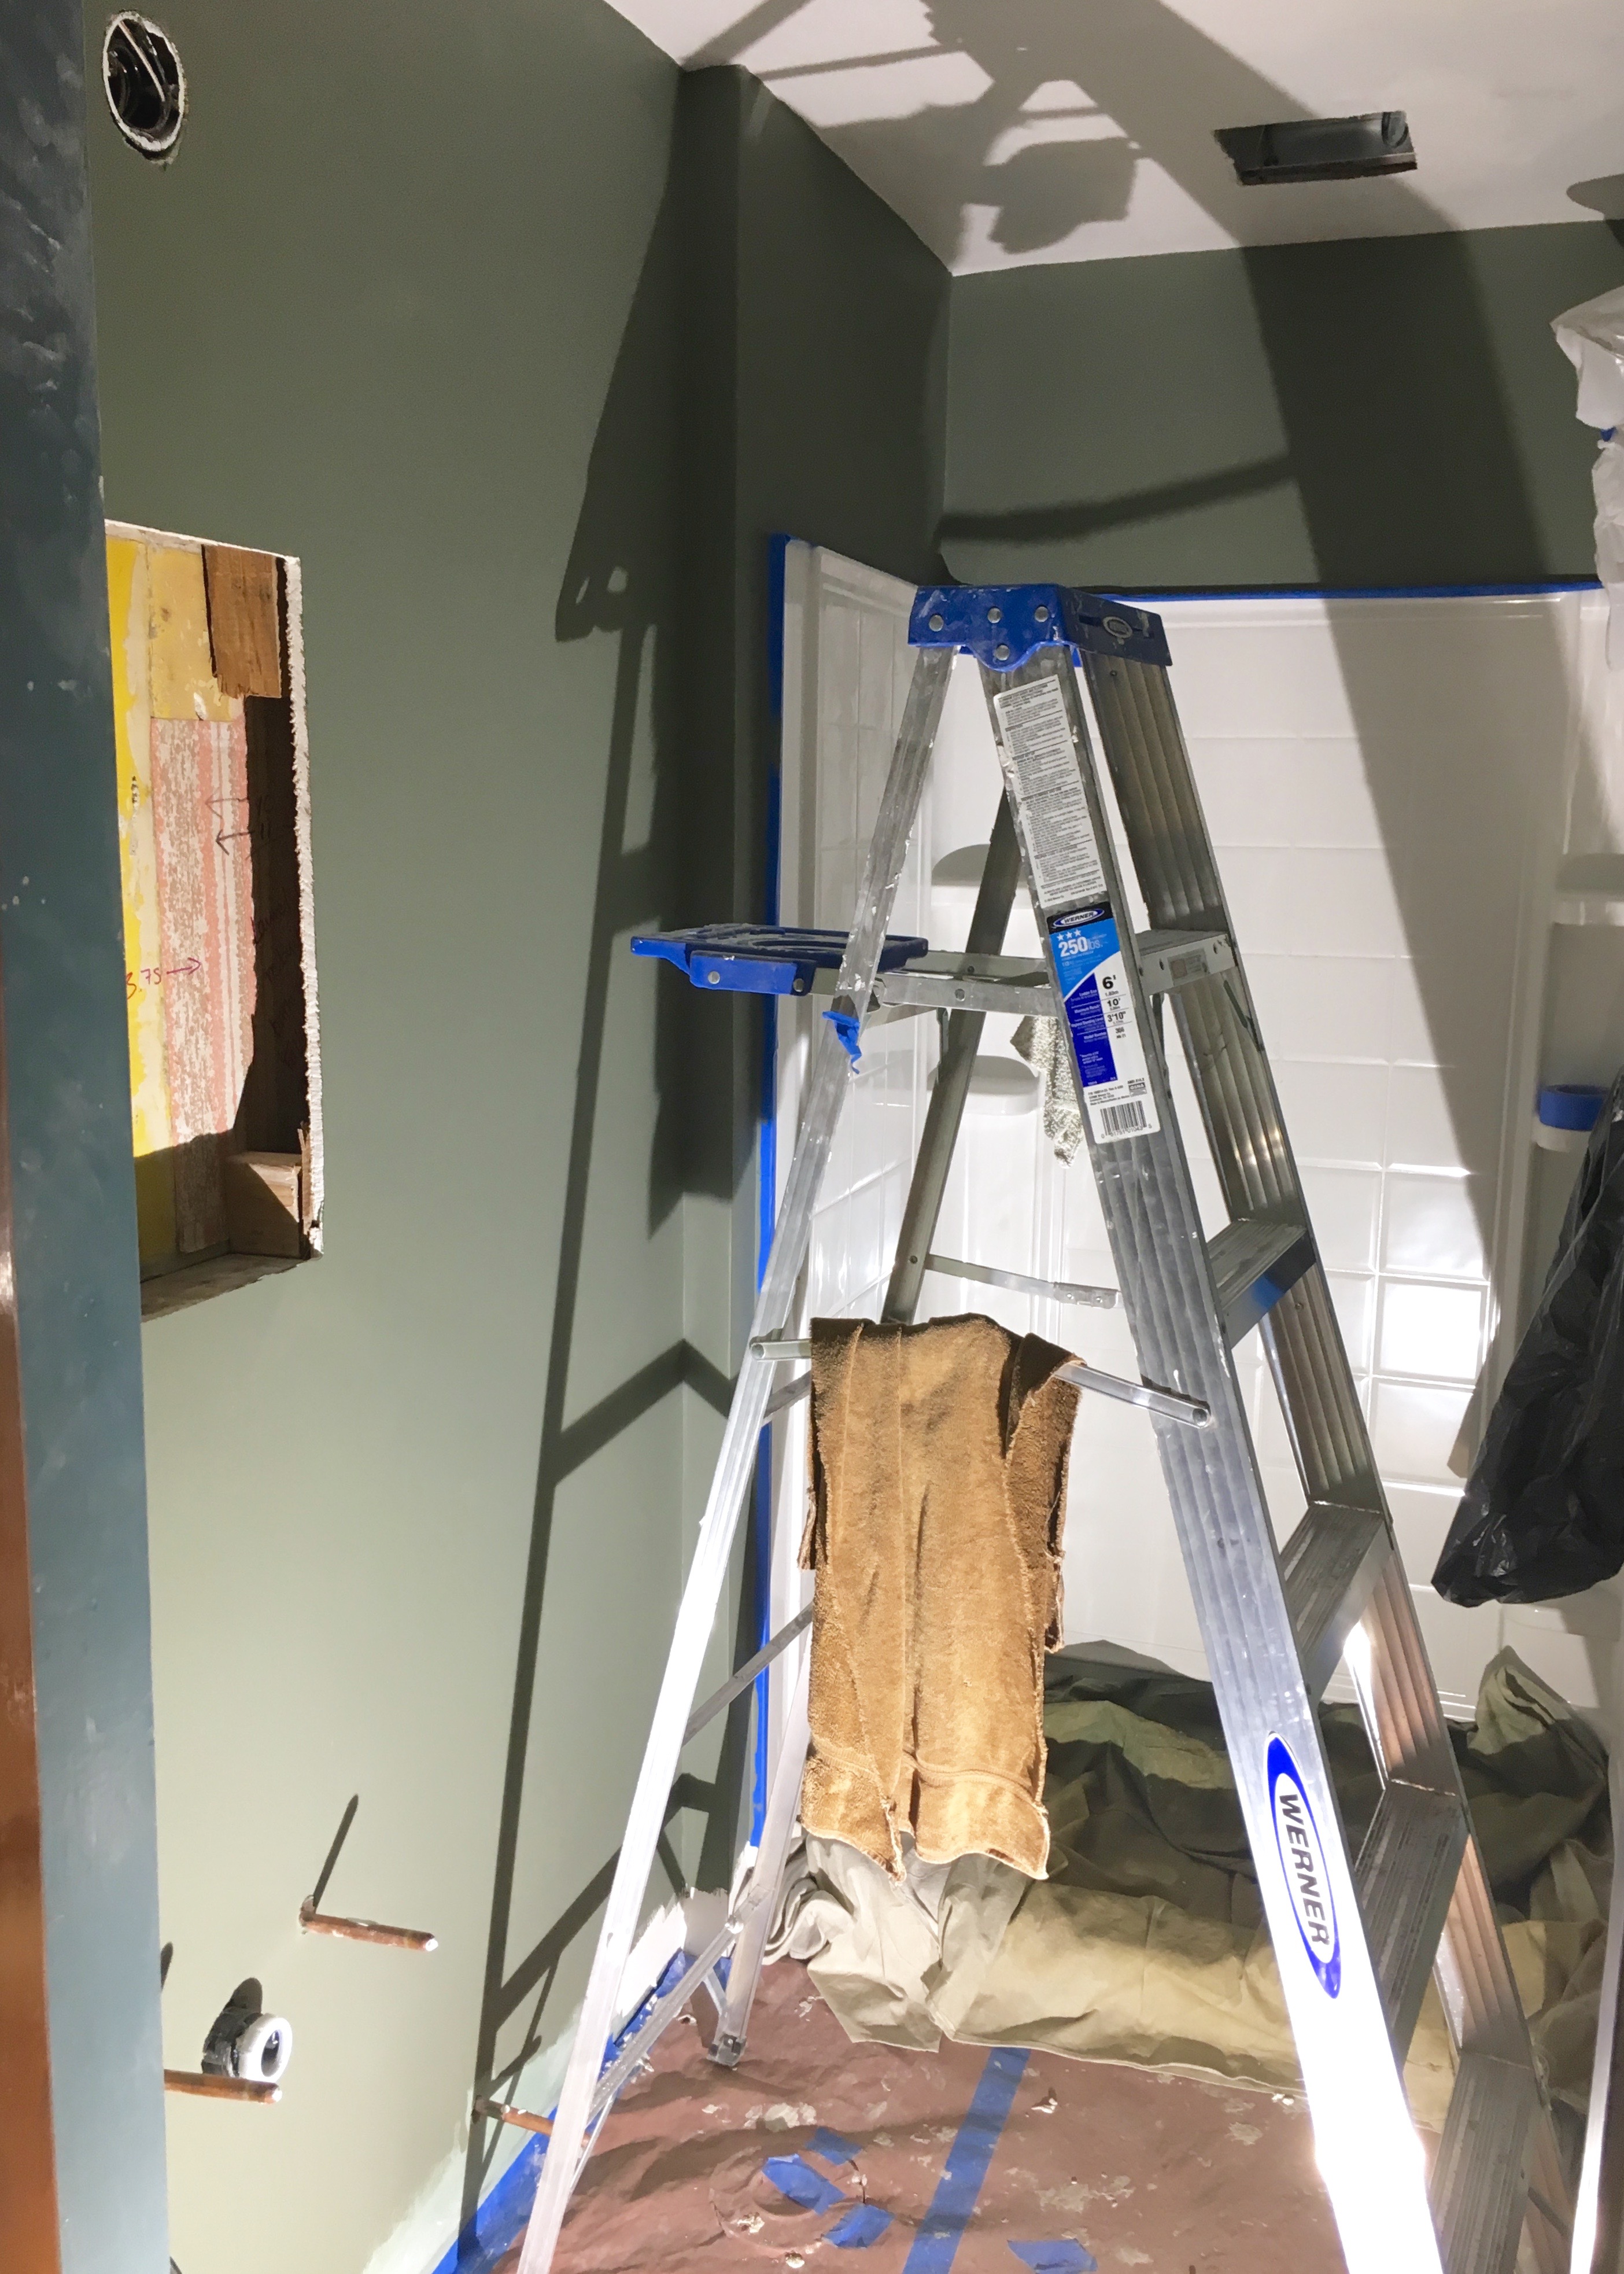
The first coat of paint went in on top of the primer in the bathroom and it was SO HARD to see what had been painted and what was still to come because the colors were so similar. I ended up applying two coats of paint and after that looking at wall sheen to see any spots I missed and need to touch up. The first coat looked a little rough, but it was so exciting to see the full transformation come together!
I actually taped off the ceiling for the first time to see if that would help get crisp lines in this room since I wasn’t planning to do any crown moulding. In the end I actually think it did more harm than good. I ended up going back to touch up a lot of it afterward where leaks had happened or layers of sections of tape didn’t line up right and the line jumped.
When the whole room finished the second coat it was such an amazing feeling. This room had been such an adventure from the start and each set felt so BIG and DRAMATIC. Every time I finished something I felt like jumping for joy and I couldn’t stop smiling. I think one of my favorite things about DIY is the obvious progress you see with each step as things improve and look better and better!
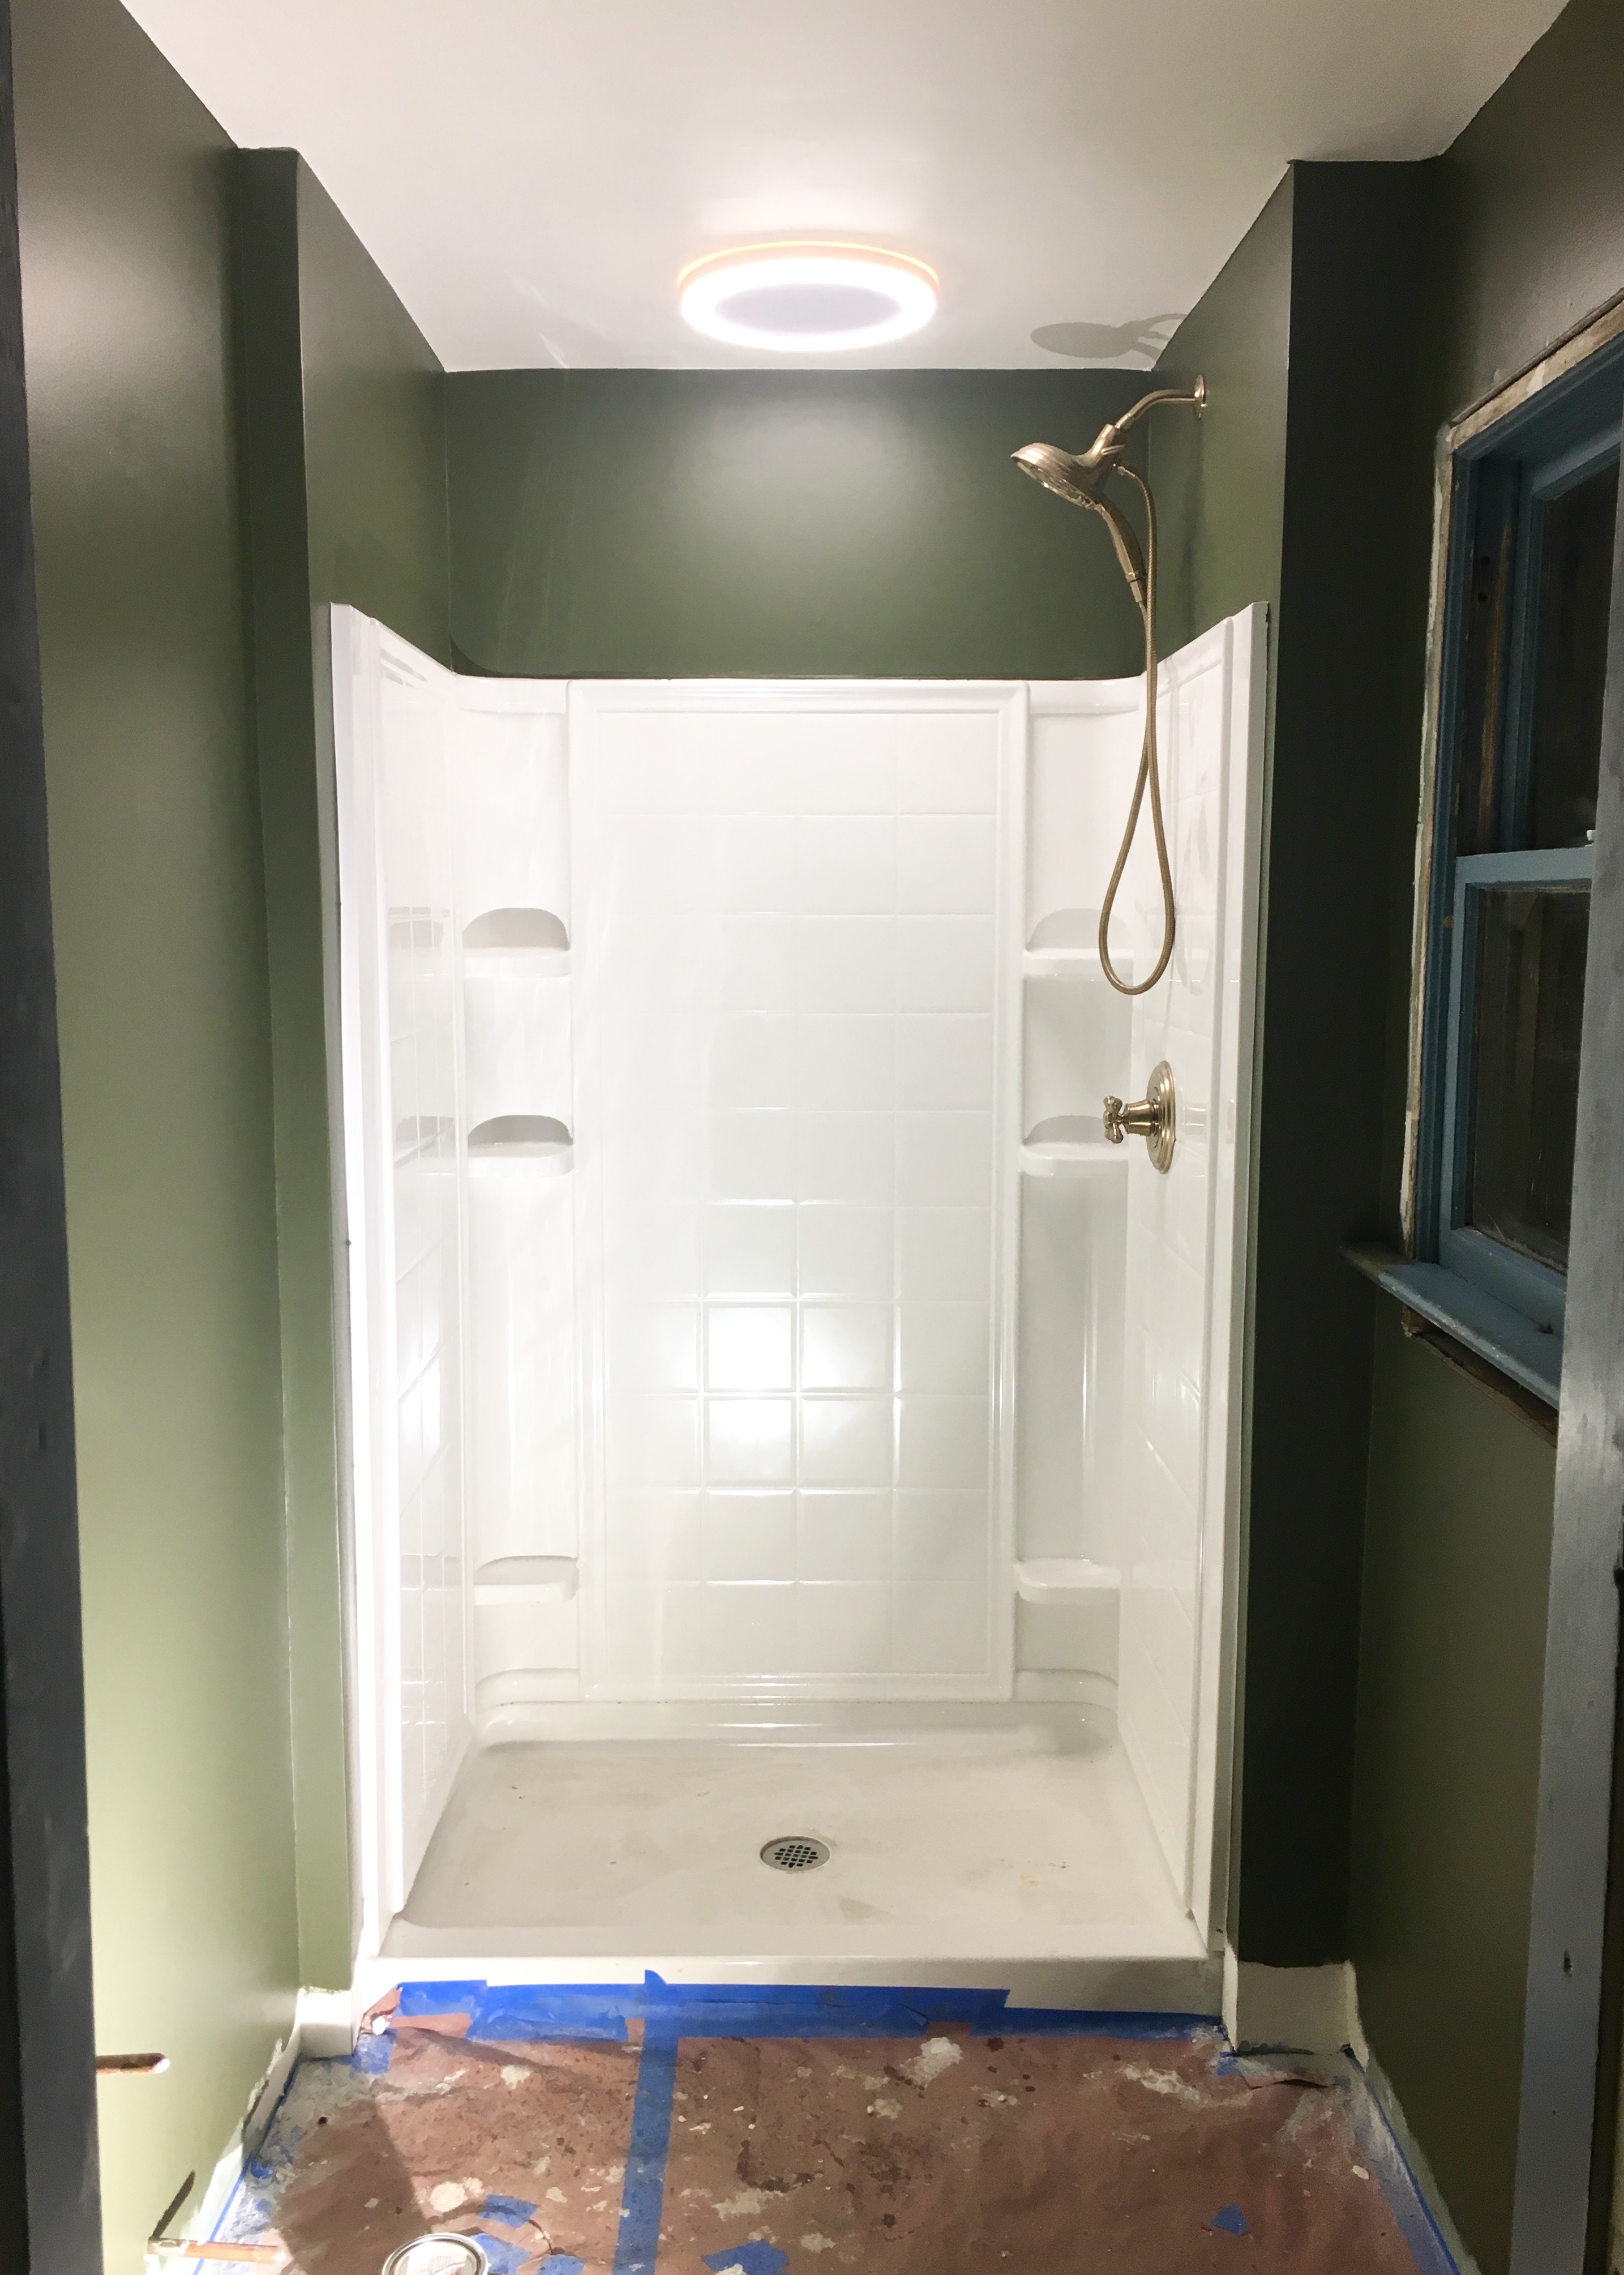
Soon enough the room was painted and I was able to slip in a couple of light fixtures. AND MORE IMPORTANTLY I COULD FINALLY SHOWER AT MY HOUSE AGAIN! I demo’ed the bathroom in late October and now it was mid December and I could finally live and sleep at my house again. I was ECSTATIC!
That was nothing with out trimwork though! My trim boards had all been primed and had one coat of paint. They were ready to be installed! I borrowed Erik’s – my neighbor – nail gun and some of his nails and got to work. The nail set he let me use was great because it came with three sizes. I was able to use the 2″ brad nails on my flat stock and the 1-1/4″ nails for the decorative moulding piece. If I’d used quarterround in here I’d have used the 3/4″ nails for that.

This was actually my first time using a nail gun and I was really nervous. Especially after Erik told me he once had nailed his hand with a framing nail gun. Thanks for that helpful tidbit of information! In the end the nail gun was SUPER easy to use and I loved it! It became my second favorite tool after drum sanders (which will always be first since they saved my kitchen floors!). Just line up the board where it needs to go and nail it in. I aimed for the floor plate and the studs where I could, but lightweight trim holds fine to drywall too!
After that? A WHOLE LOT OF CAULKING. Now I could make a lot of jokes about caulk, because, well, obviously it’s hilarious. But I actually really hate caulking. It’s one of my least favorite DIYs, which is unfortunate because I have had to do SO MUCH CAULKING at this house!
It was difficult to get into the space between the window trim and the shower wall to caulk so I ended up finding a good trick. I bought a small amount of flexible tubing and a tiny clamp for a few bucks and clamped the tubing to the end of the caulk bottle like so.

This allowed me to get into this tight spot much more easily. Also I apparently make very intense faces while caulking. You can see how the caulk filled the clear tube, but the flexibility of the tube allowed me to get the caulk right at where the trim met the wall.
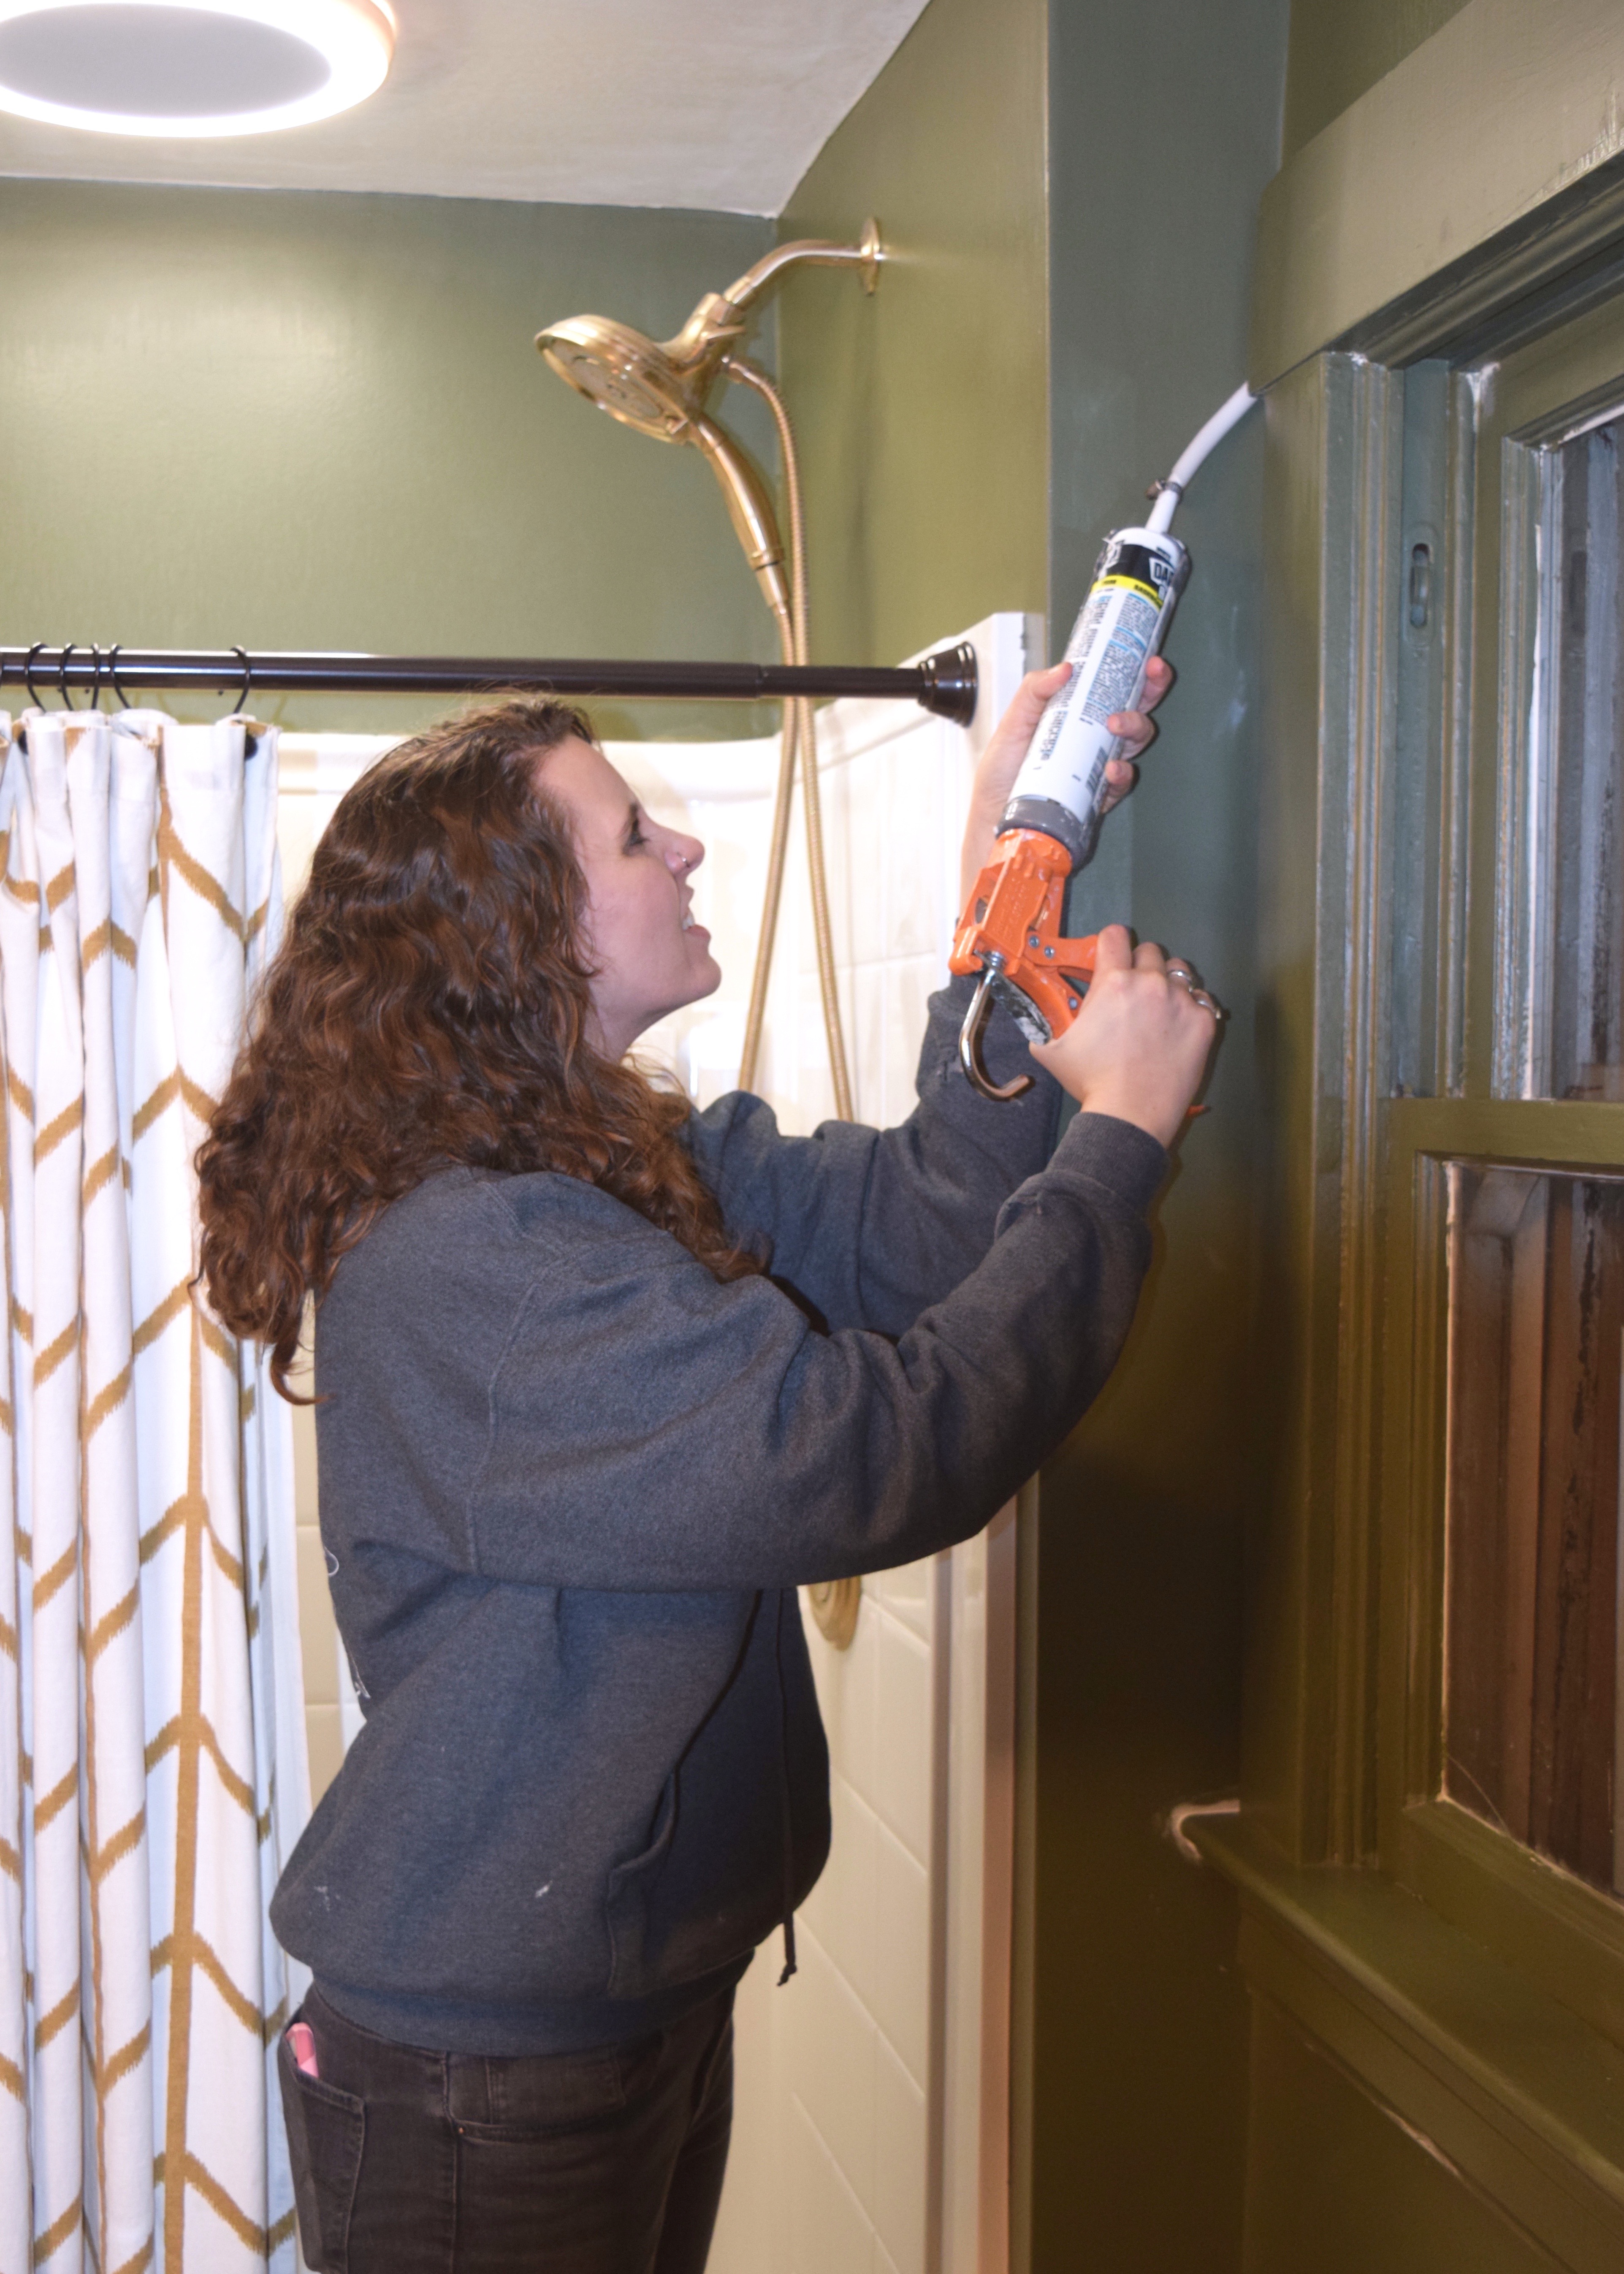
Then it was just a matter of wiping the excess caulk with a wet finger (the part I hate the most since it’s messy). I used to bring a small container of water around to do this, but have since learned that it’s much much easier and neater to use a wet sponge to wipe the excess caulk. So, ignore this technique I’m showing and go get yourself a sponge! Also yeah, I did bring a plant into this bathroom at this phase to make it look pretty mid-renovation! Also I hung my old shower curtain up temporarily, since this bathroom was finally useable again. That was a HUGE step!
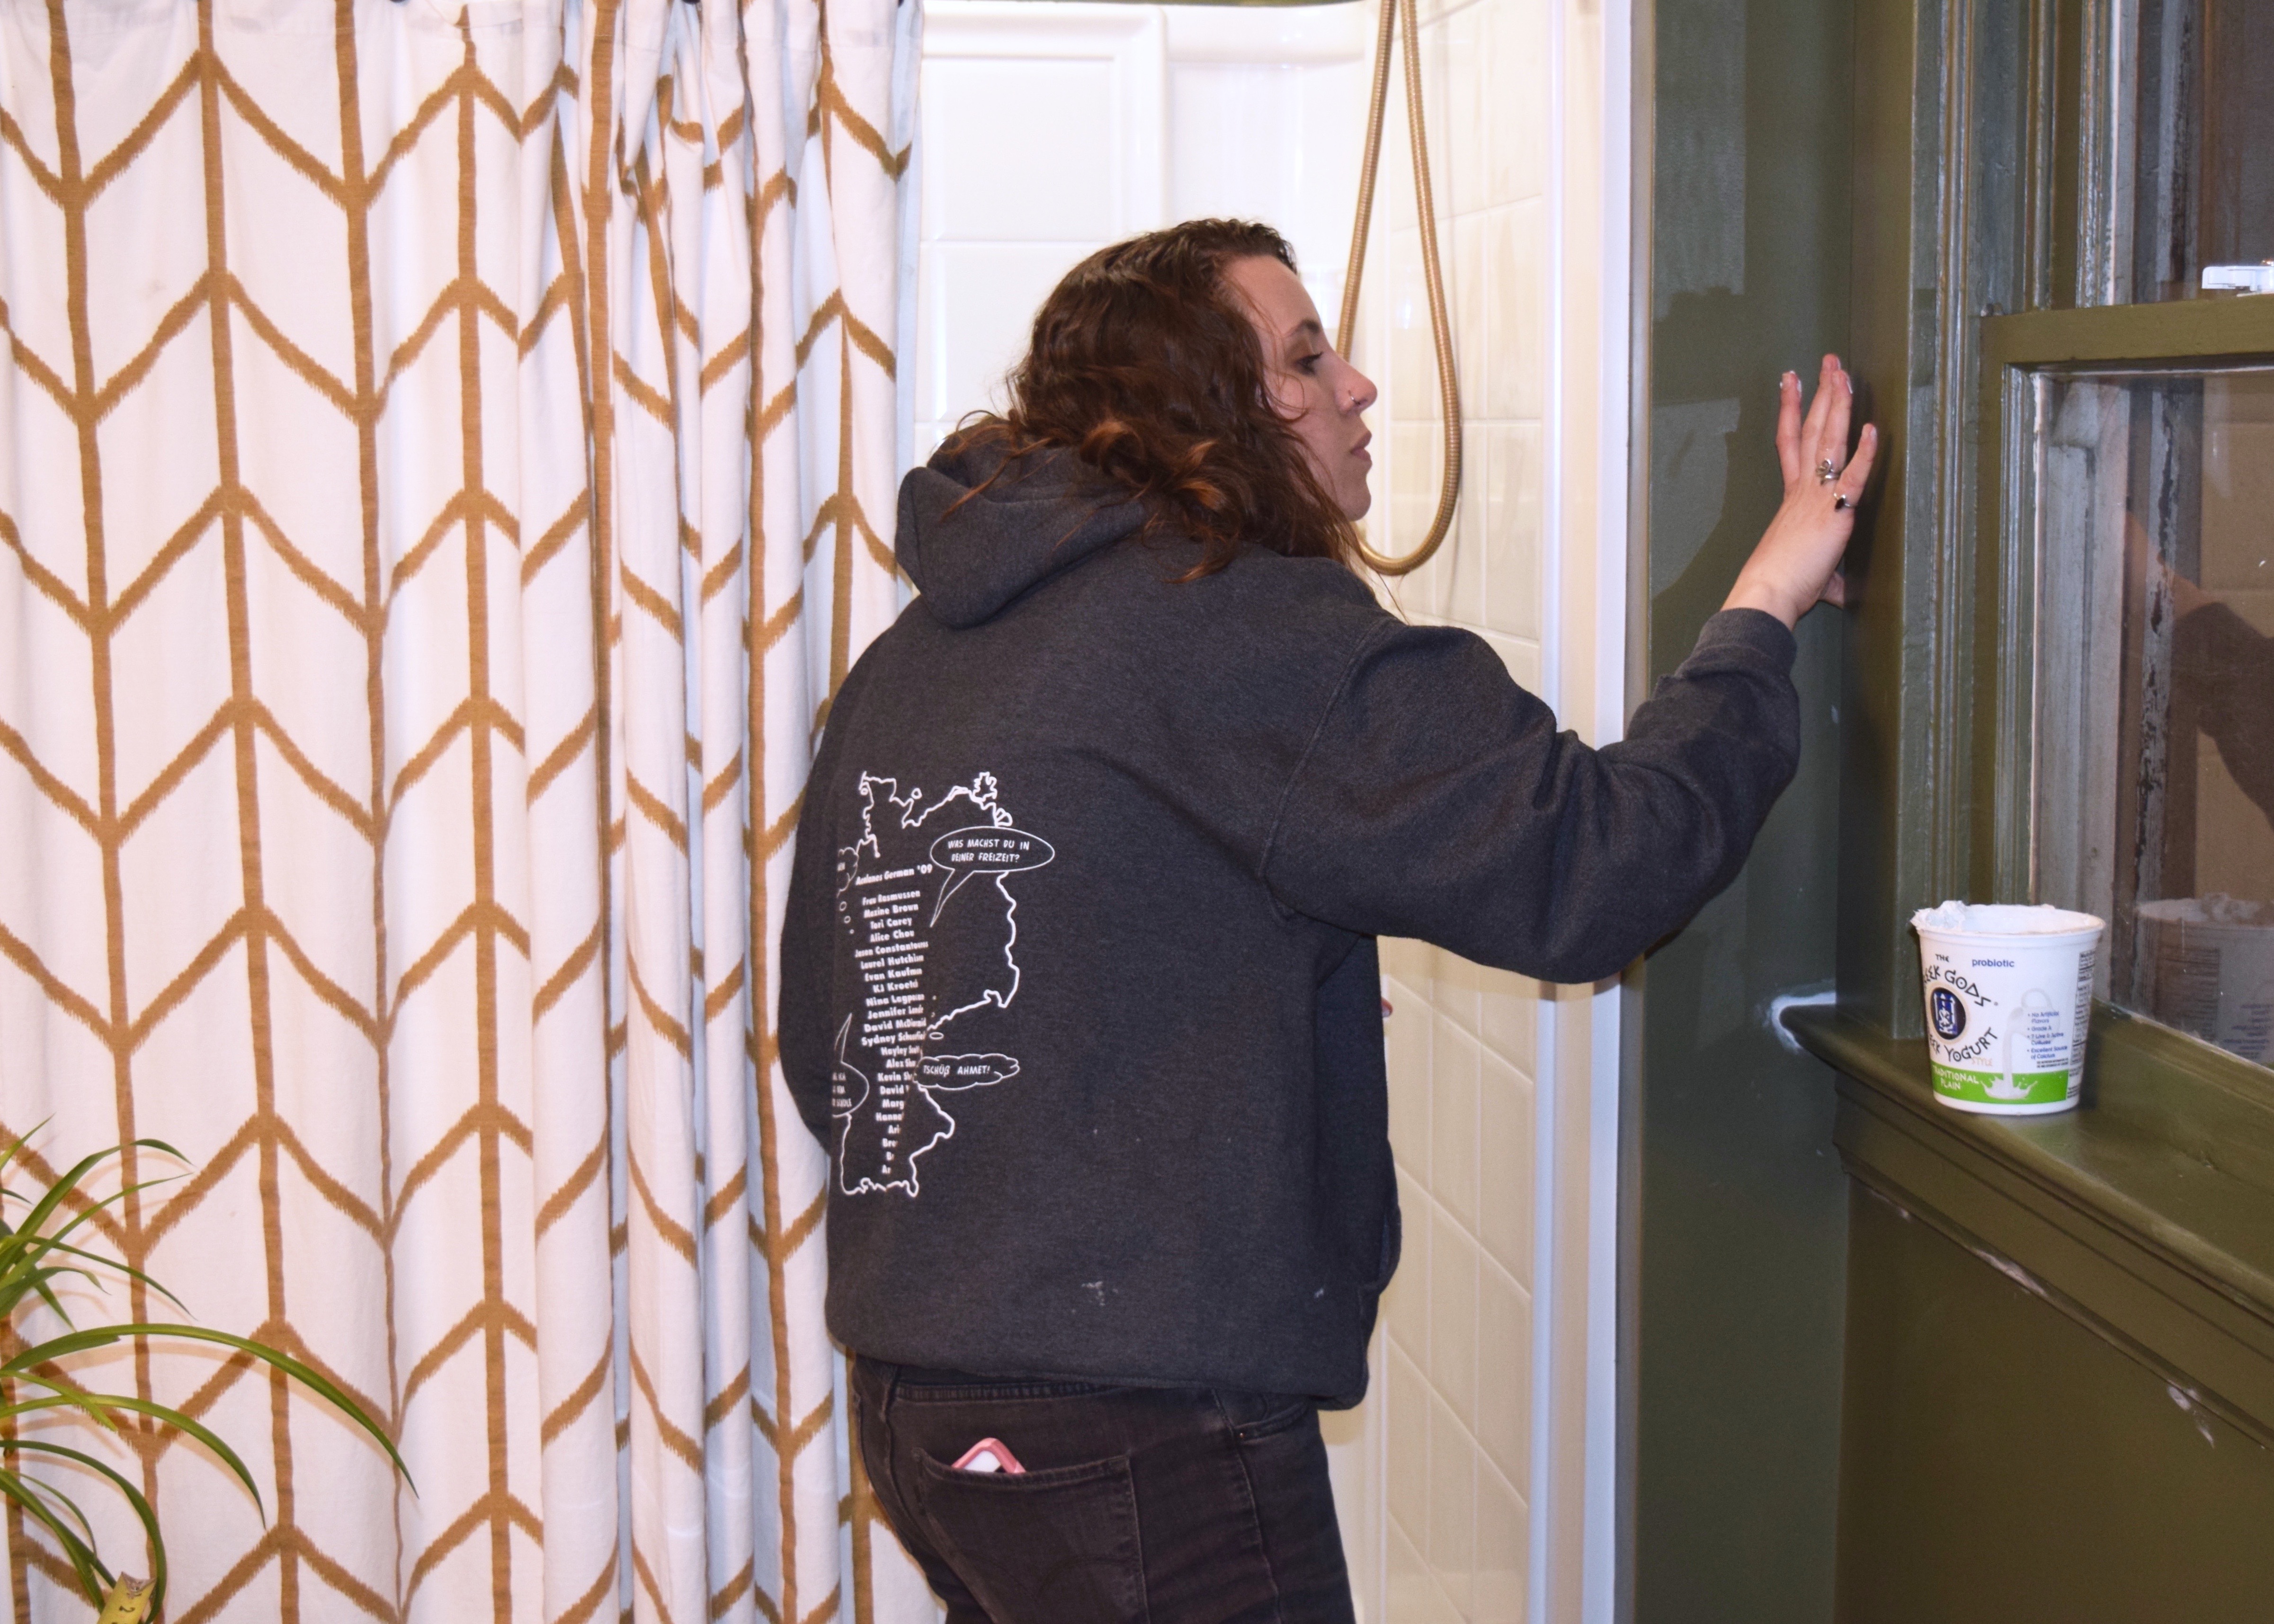
Installing the baseboards did mean pulling up the rosin paper and see the room really come together for the first time though and that was exciting enough to counter balance the hell that is caulking! I caulked all the seams as well as where the tile met the floor for maximum water resistance. I took this shot with my iPhone after I’d caulked most of the trimwork. Yowza! It was looking good in here!

Up close you could see a whole lot of caulk and spackle filled holes though. Not great. Luckily, a quick coat of paint was all it would need to make it all come together.
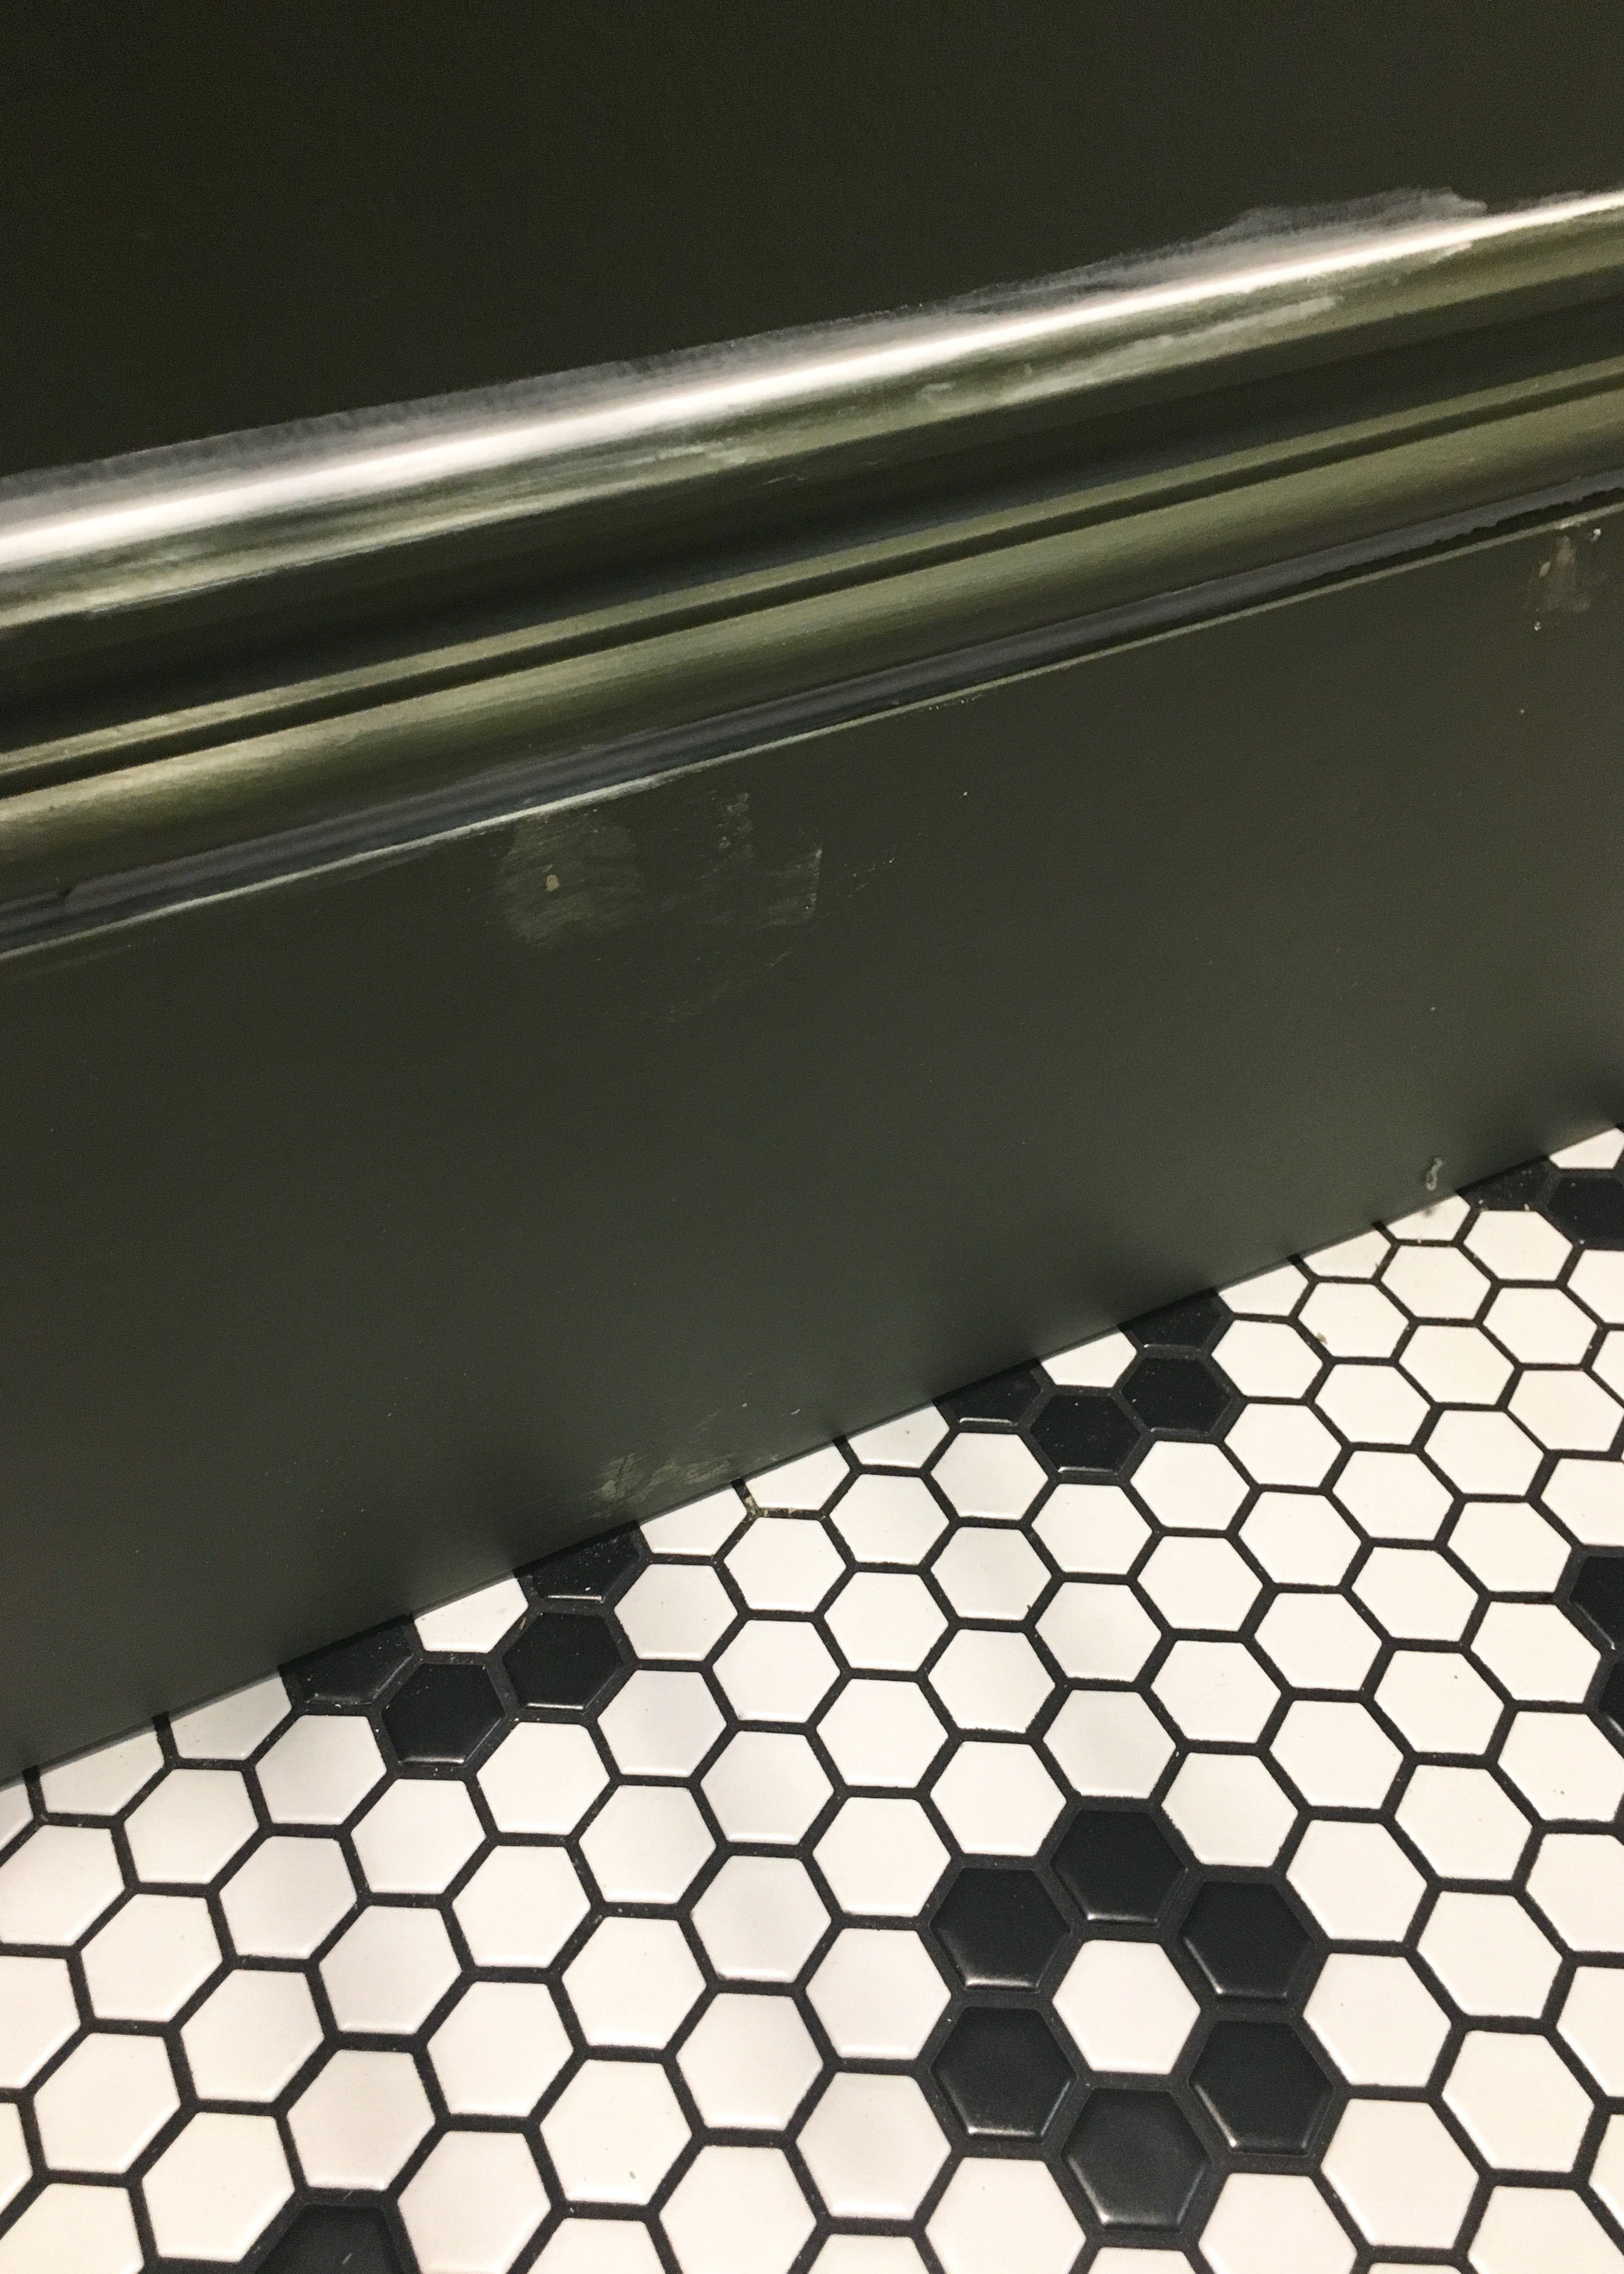
It’s just amazing what a coat of paint does isn’t it?! Crisp, clean, and complete.

I’m going to leave you there today, but this room is SO CLOSE to done! At this point, all I had left was installing plumbing fixtures and lighting and the medicine cabinet. And then – just the fun stuff: final styling and decorations!
Have you ever gut renovated a bathroom yourself? How did that process go for you? Was each stage an exciting next step or were you headsdown waiting for the finish line? Let me know in the comments below. I’d love to hear more too about what you’d like to see more of this year or what kind of posts you like to read. Do you want me to get into more nitty gritty details on DIYing or do you want to see more styling posts about quick and simple things? Or do you not really know and maybe just want to say hi? Love you guys, thanks for reading! Here’s to 2019

I have never had the guts to do a whole remodel of a bathroom myself and am usually the assistant. I have sheetrocked and tiled one bathroom and tiled a few floors but never did it all myself.
Amazing to see all you have learned along the way. Where did you learn all your skills. Were your parents DYI people, too.
My parents were definitely DIYers but didn’t DIY quite to this extent when I was growing up. I think I’m crazy rather than brave! I always think I can do everything!
I love your tiles on the bathroom floor.
They’re DalTile! So simple and inexpensive!
I would check them out as I am planning to redo our guest bathroom.
They’re easy to lay!
I have never done tiling before but would like to give it a go. You think I should remove the engineering wood flooring or just leave them the way and tile over them.
As long as you screw your hardibacker down I don’t know why you couldn’t tile over. Your transitions might get a little iffy though. Are you thinking just one bathroom? I bet the wood flooring isn’t too hard to remove.