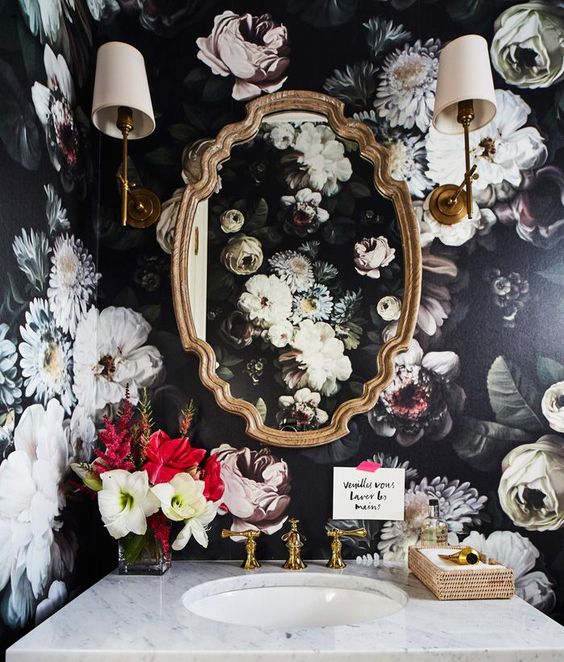
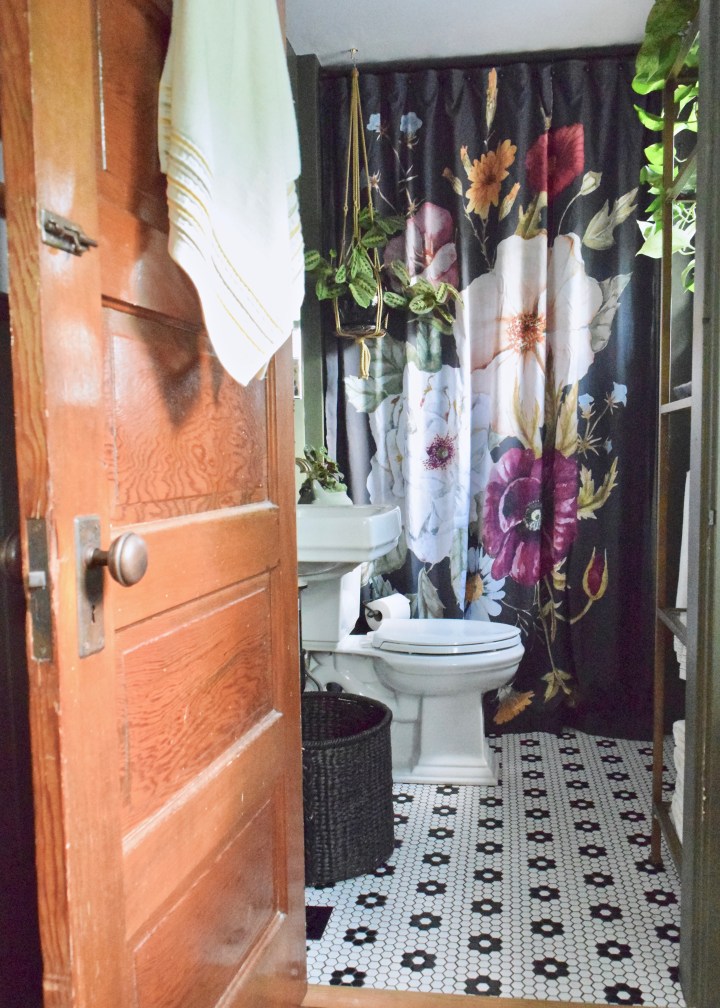
I wanted something really special for the shower curtain in the Main Bathroom at Berrybrier. I hoped for something that would make a bold and colorful statement and as I was hunting for inspiration for the whole bathroom, I kept falling in love with bold, oversized florals. They made an appearance in a lot of wallpapered spaces — and we all know how much I adore wallpaper! Just look at this bathroom below. Stunning! It’s the perfect mix of Victorian and modern. I am obsessed!
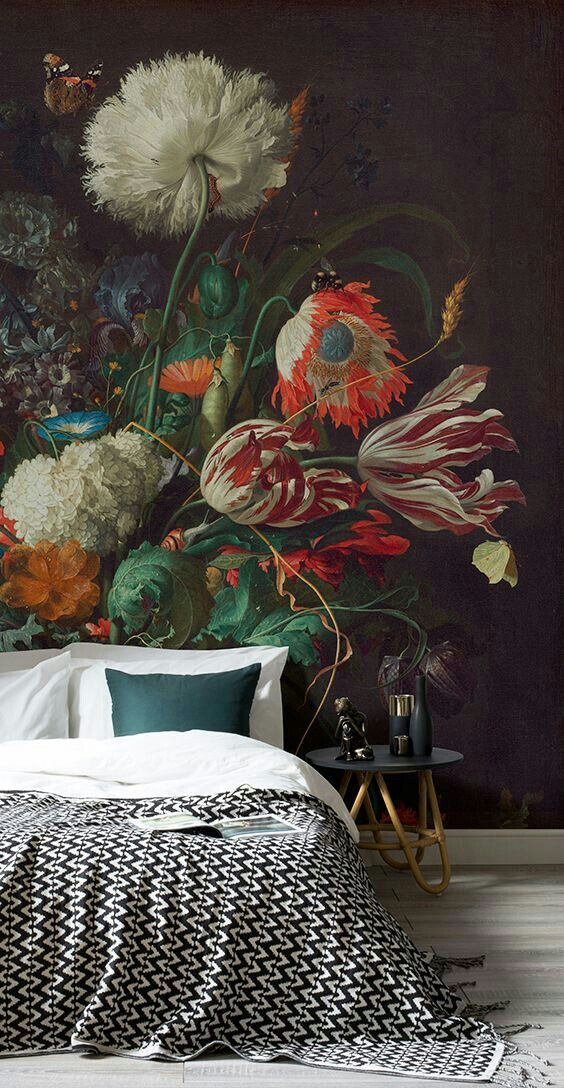
If it wasn’t wallpaper, it was murals creating the same moody effect.

And not just in bathrooms, the look popped up in bedrooms as well and I was hooked. I knew I needed something of this vibe in my bathroom!
My search for oversized floral shower curtains started — and then ended — soon after I found pictures like these above. The biggest problem was I wanted a floor to ceiling curtain, not something that would visually shorten the room at only 6′ high. There was nothing like that out there. Never one to give up though, I decided I would just have to make my own.
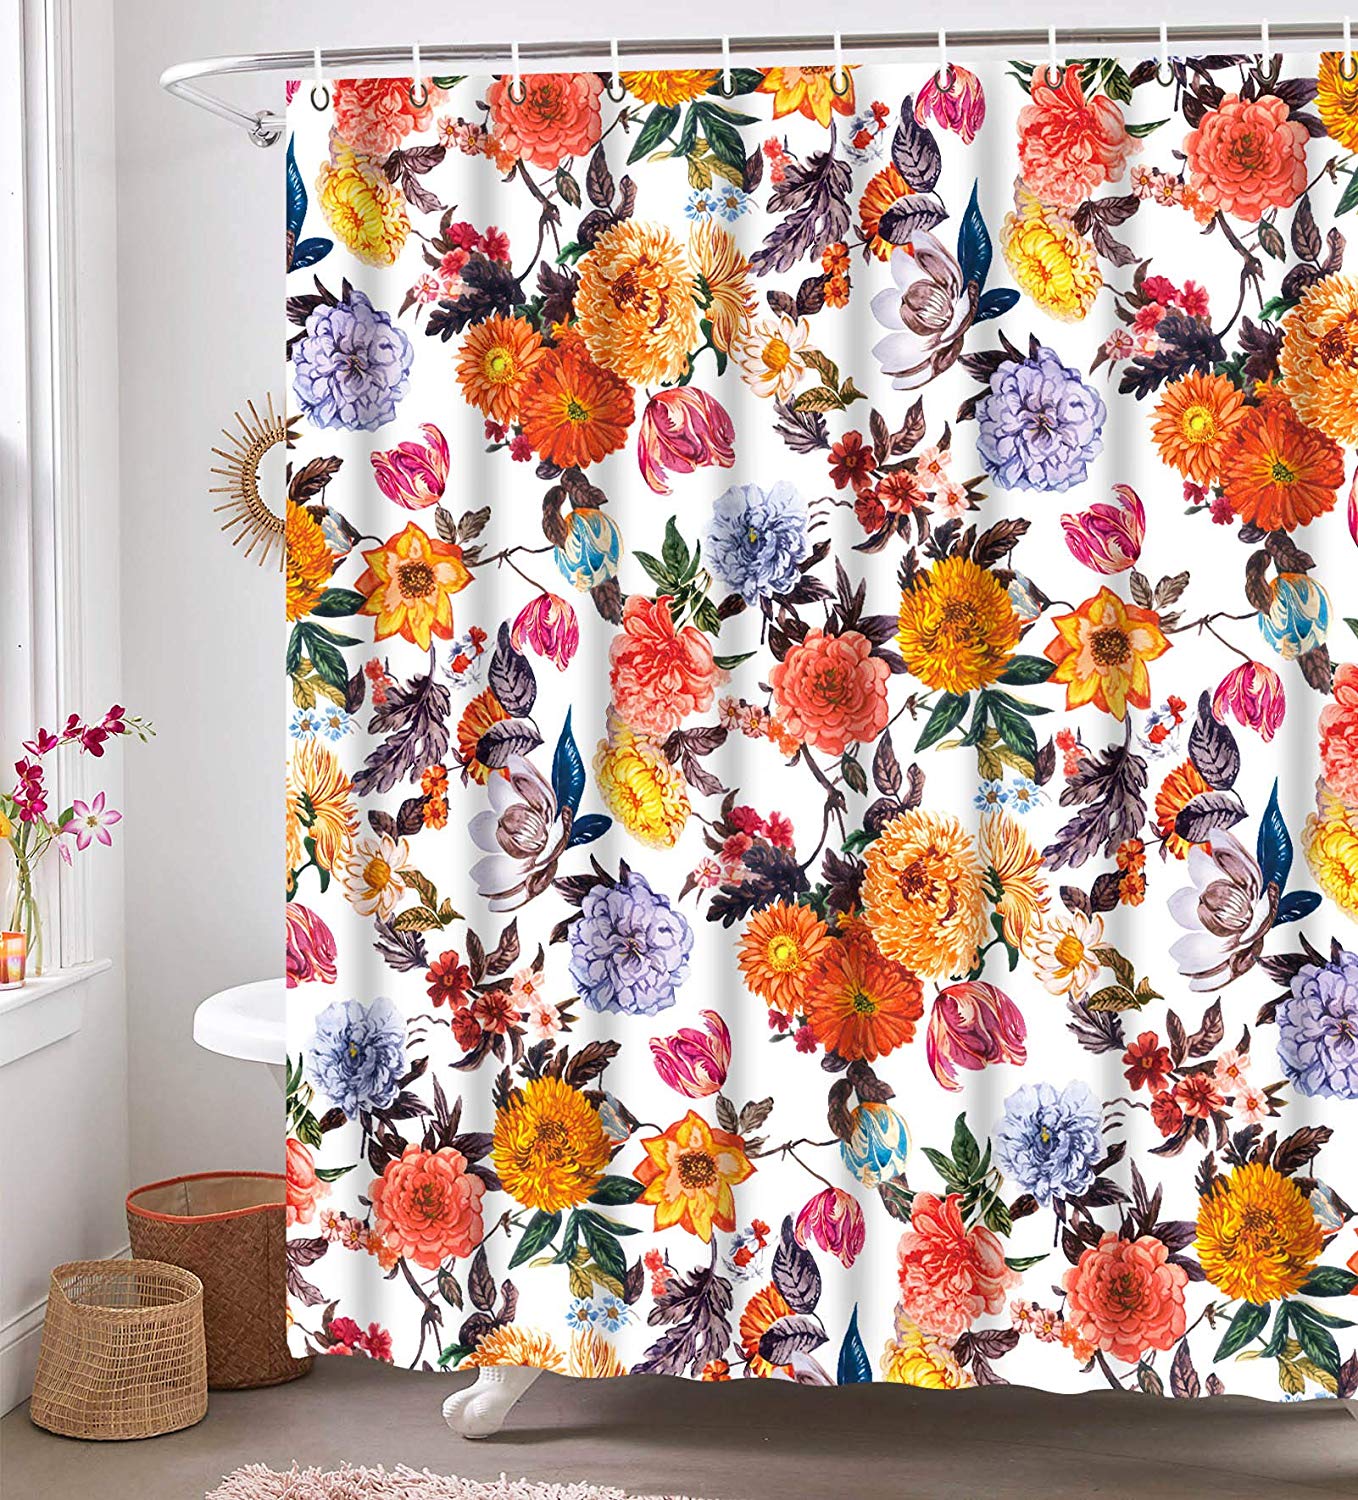
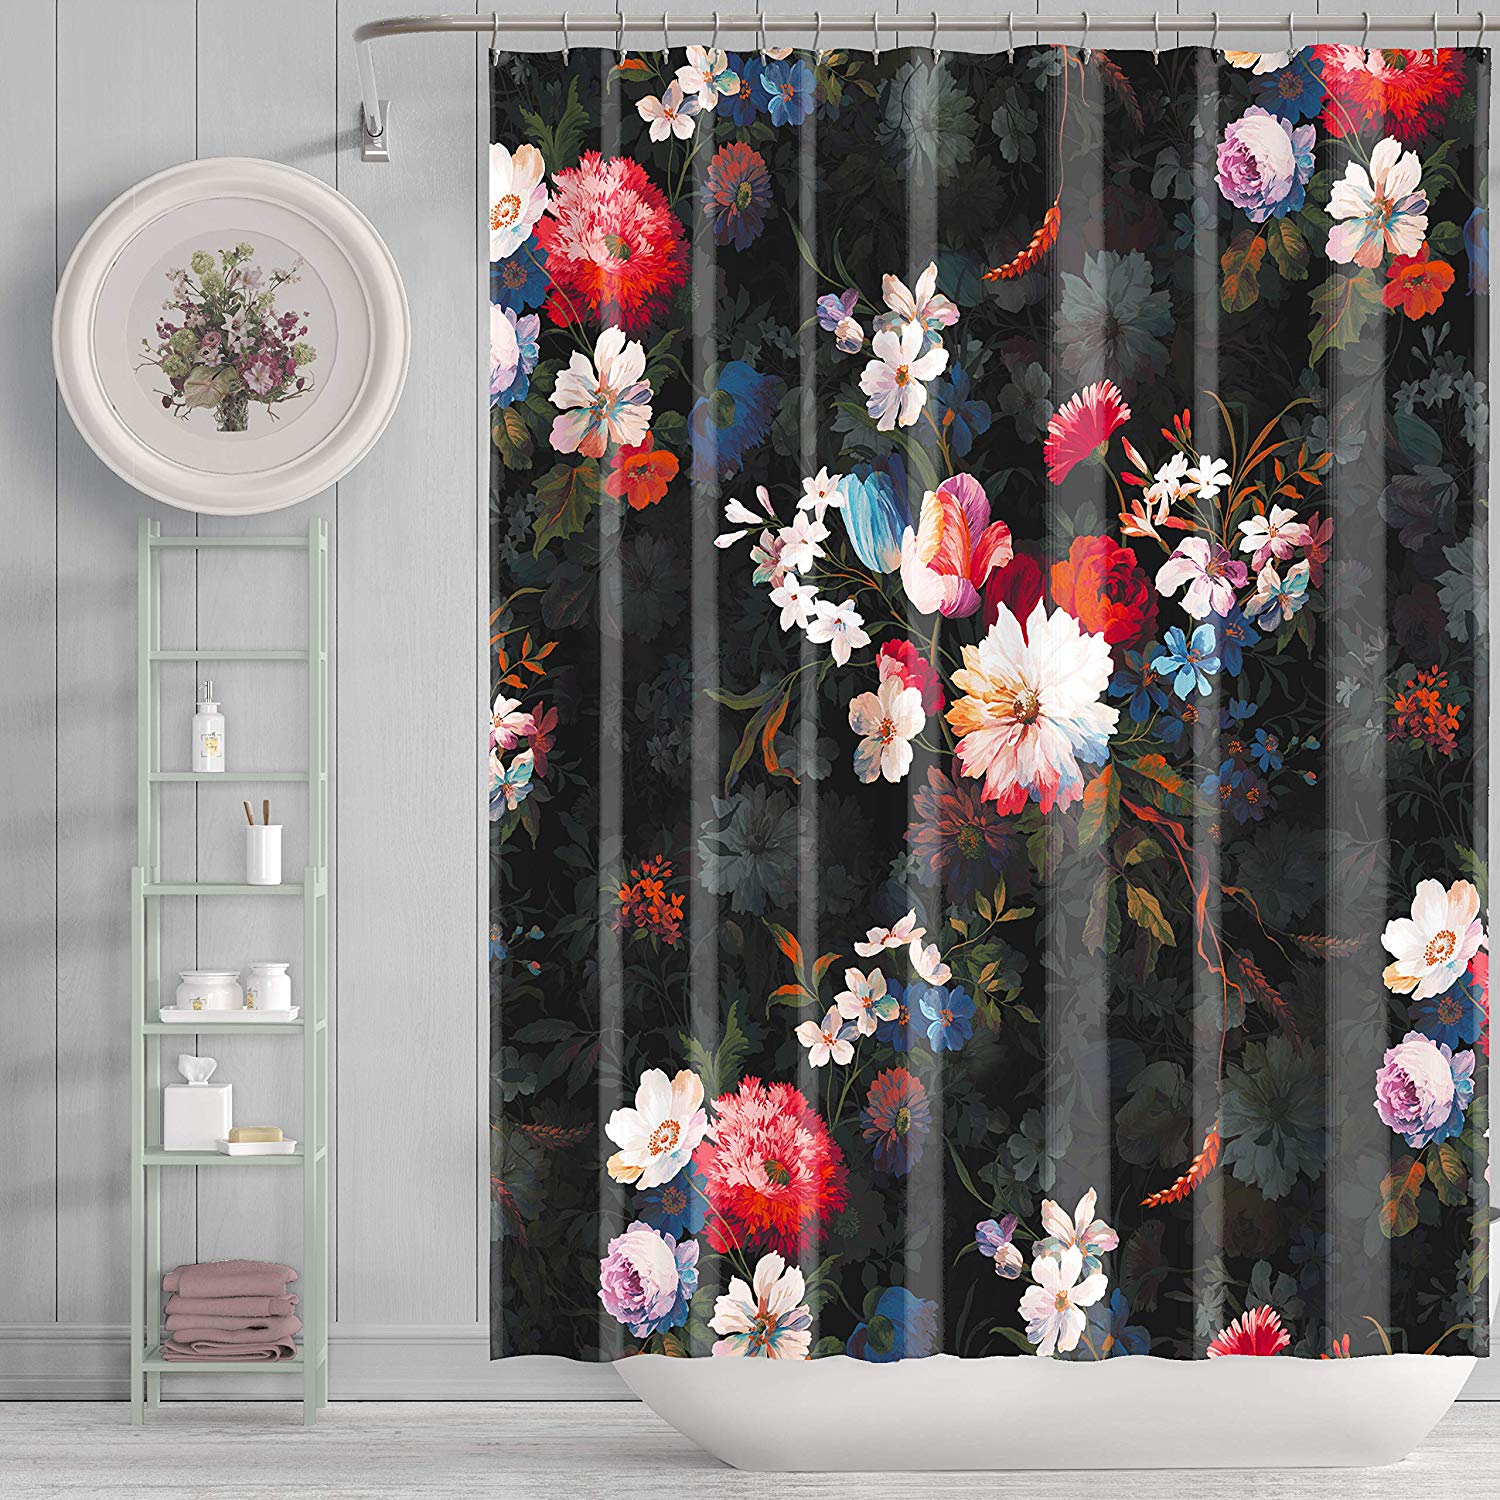
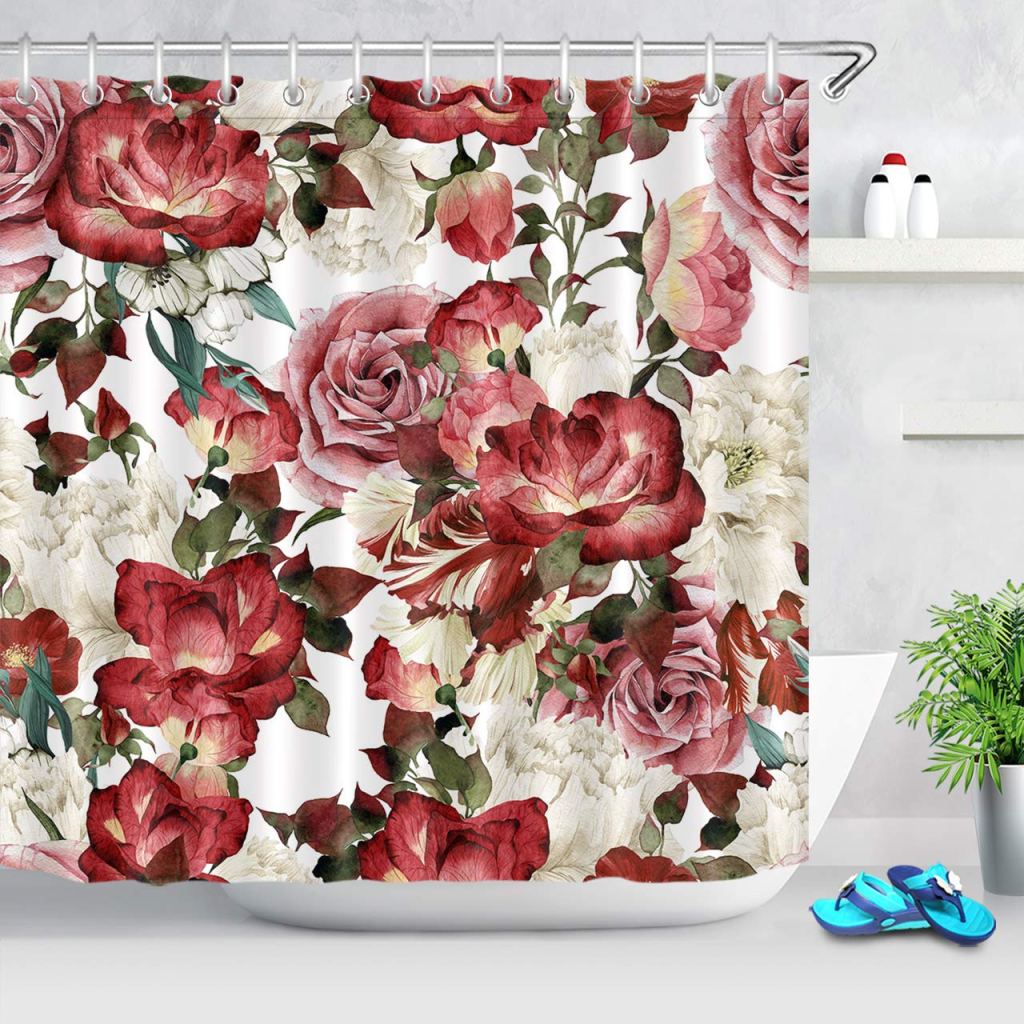
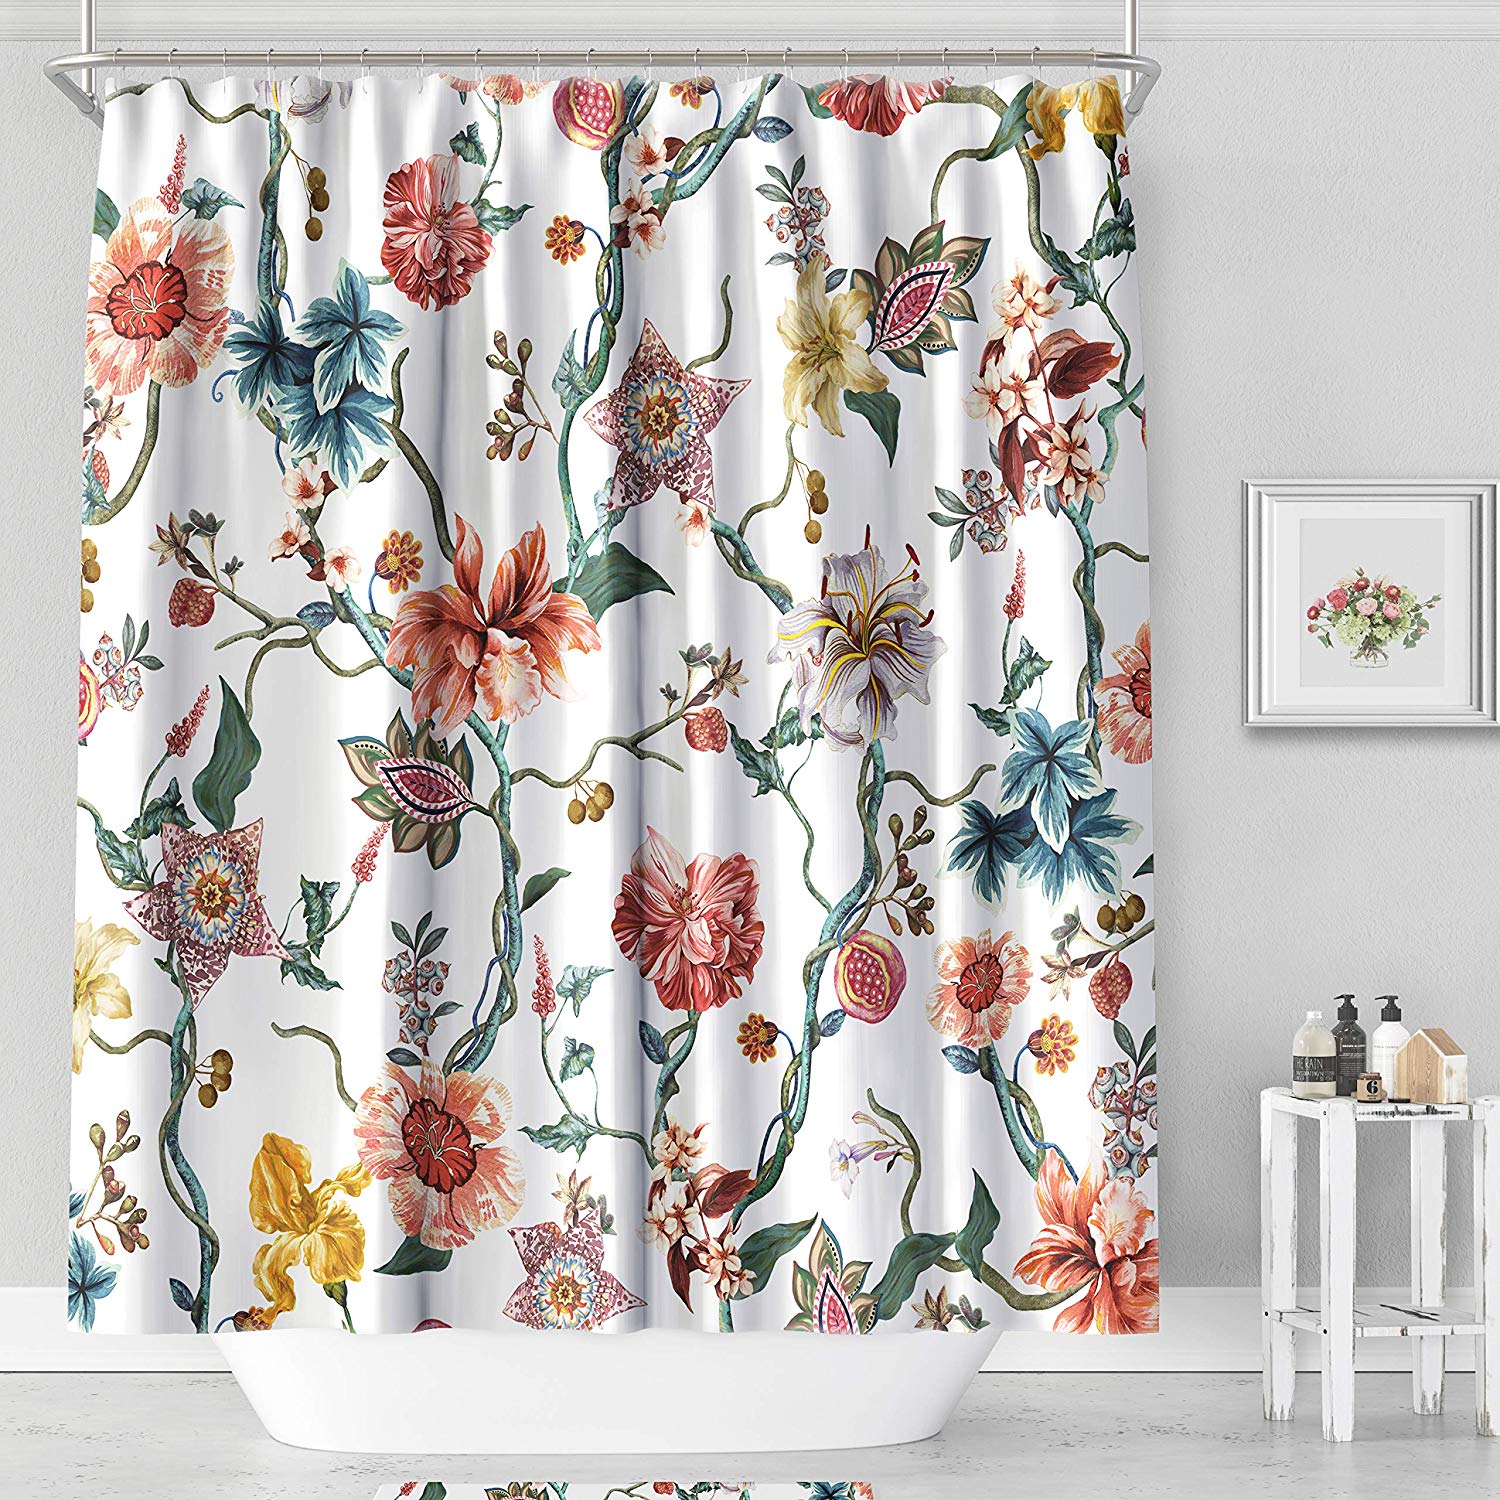
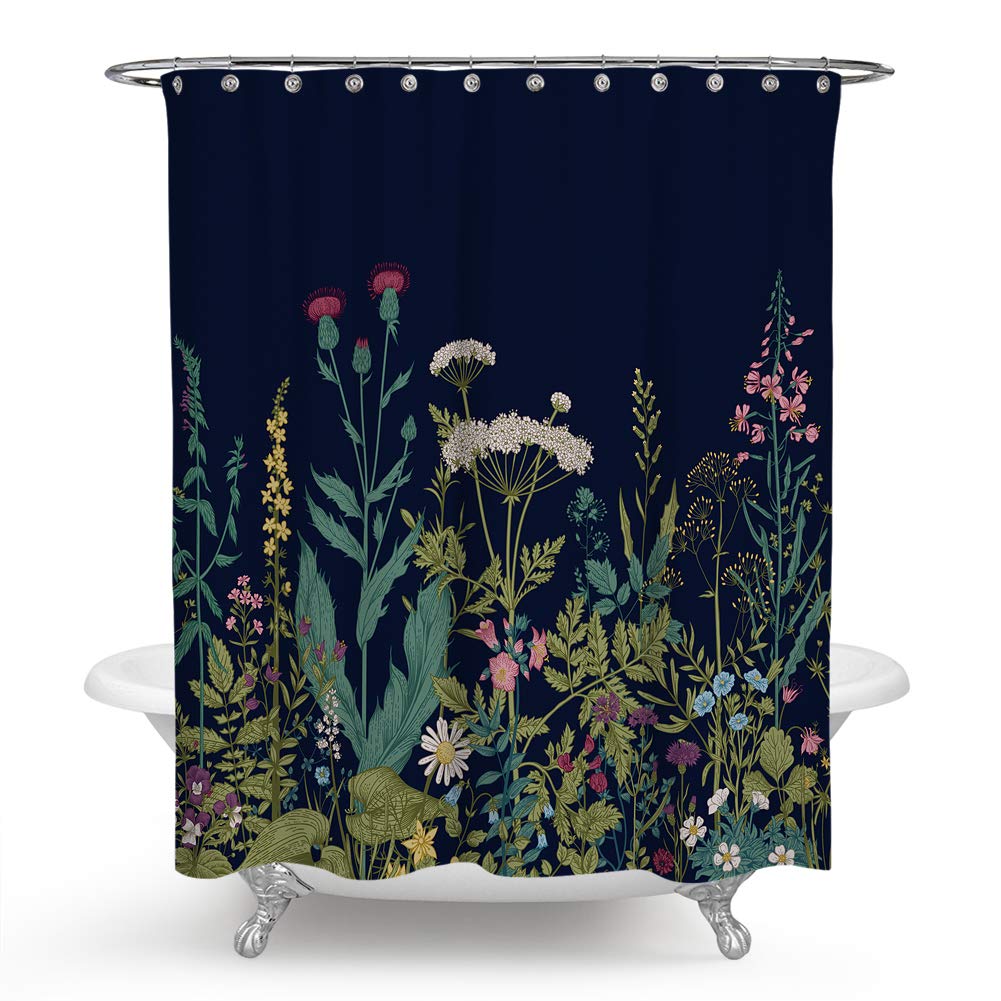
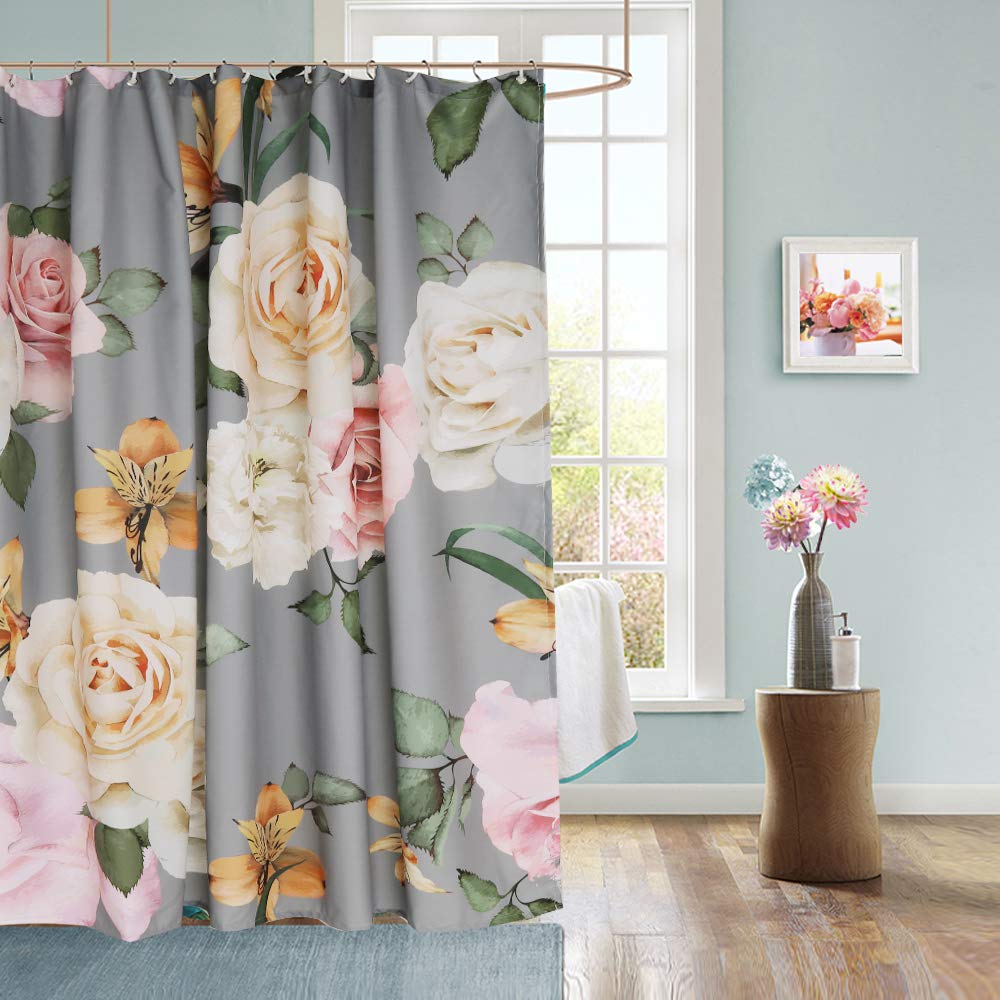
At first, I thought I’d take a ready made shower curtain and just buy extra fabric to sew onto the bottom to extend the length. I looked at these shower curtains as potential options.
Ultimately, I realized that sewing a single panel to the bottom of the curtain probably wouldn’t look as good as I hoped. I turned to finding the perfect fabric for a curtain that I would then create from scratch. Since, normal fabric width is 54″ and shower curtains are 72″ wide normally, I knew the seams could be an issue. I generally just percolated on this while working on a slew of other projects around Berrybrier… and before I knew it almost an entire year had passed.
Then one day, when I wasn’t really looking, I stumbled upon the Society 6 website and saw it. Just like the first time I saw my house, I saw this image and knew I’d found my shower curtain! So if anyone asks me why it took over year to finally finish my bathroom, sometimes you have to wait for a good thing, the right thing!
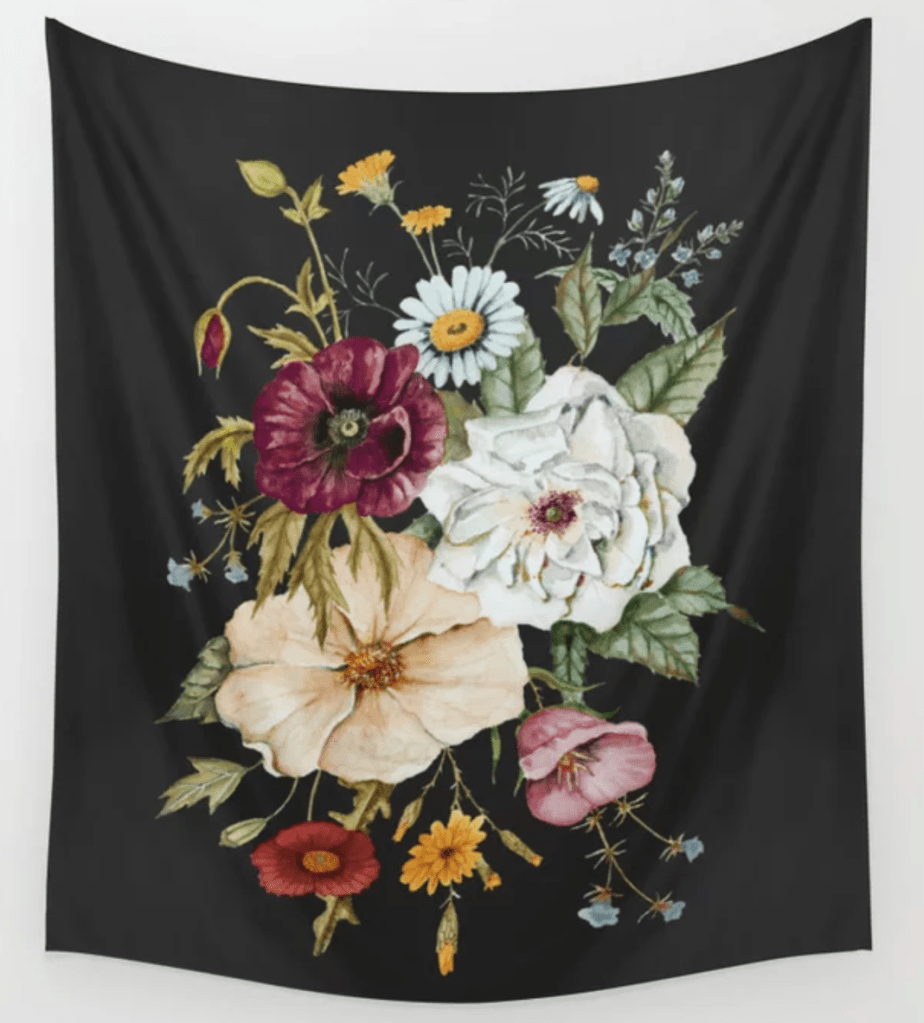
I nabbed the large size for my cart, entered a coupon code, and clicked order without much further thought. My shower curtain was on it’s way!
It arrived in August 2018 and I opened it pretty much immediately, planning to start on the new shower curtain that winter. Then the ringworm fiasco hit and much like my living room curtains, I put the tapestry away in a closet and tucked it away for a year before finally trusting the ringworm was gone forever.
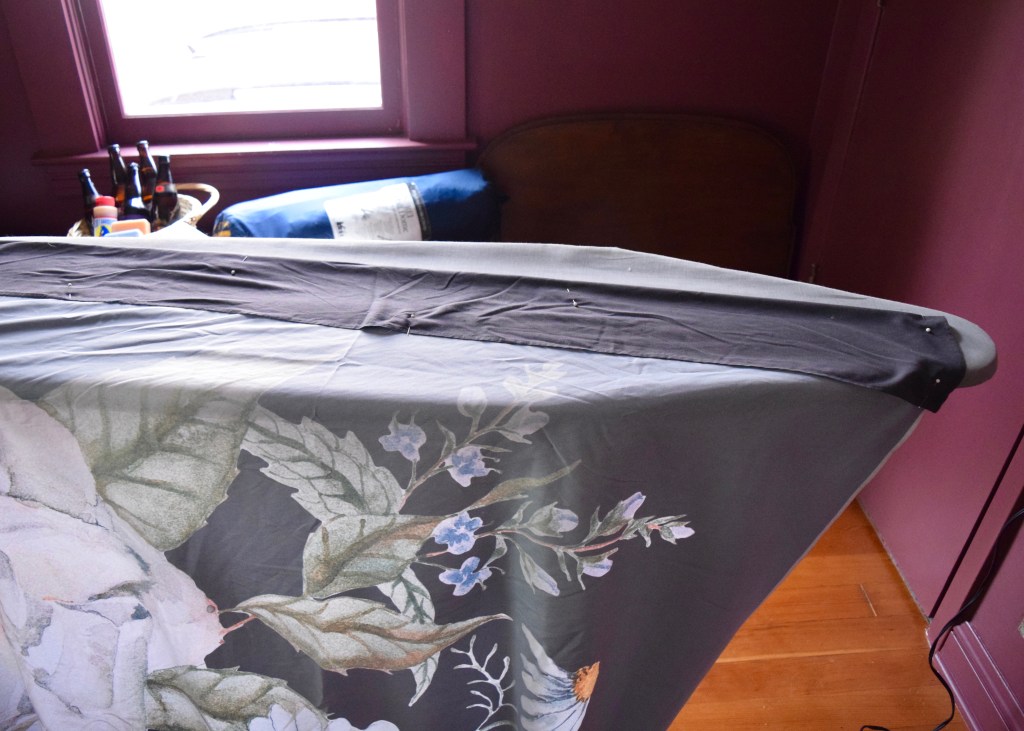
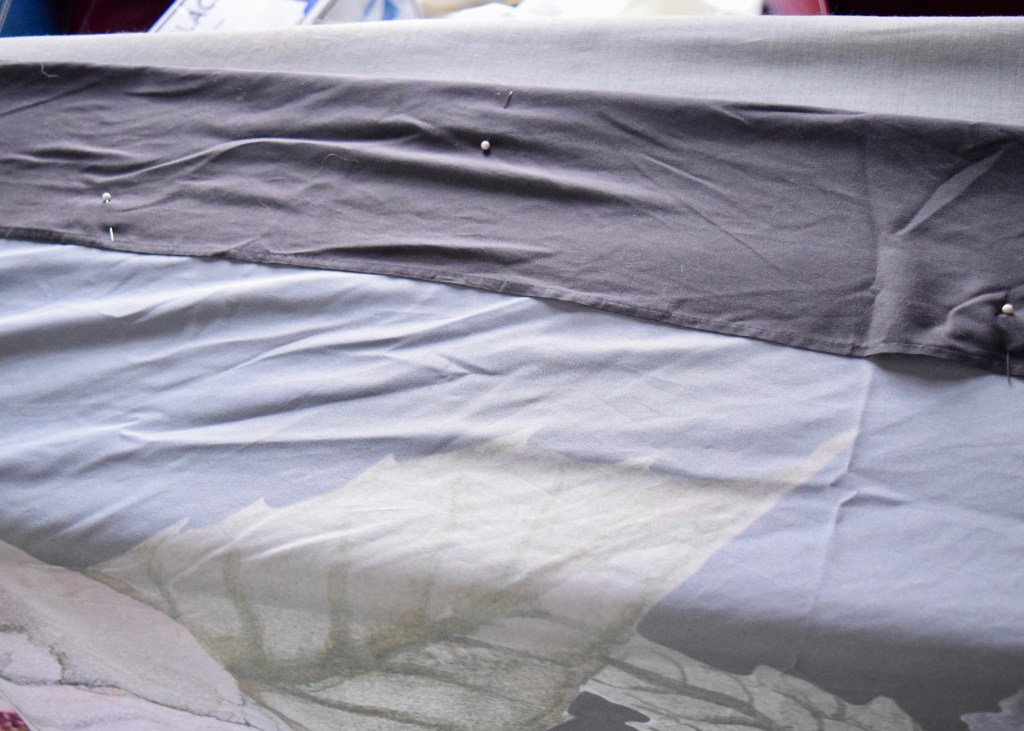
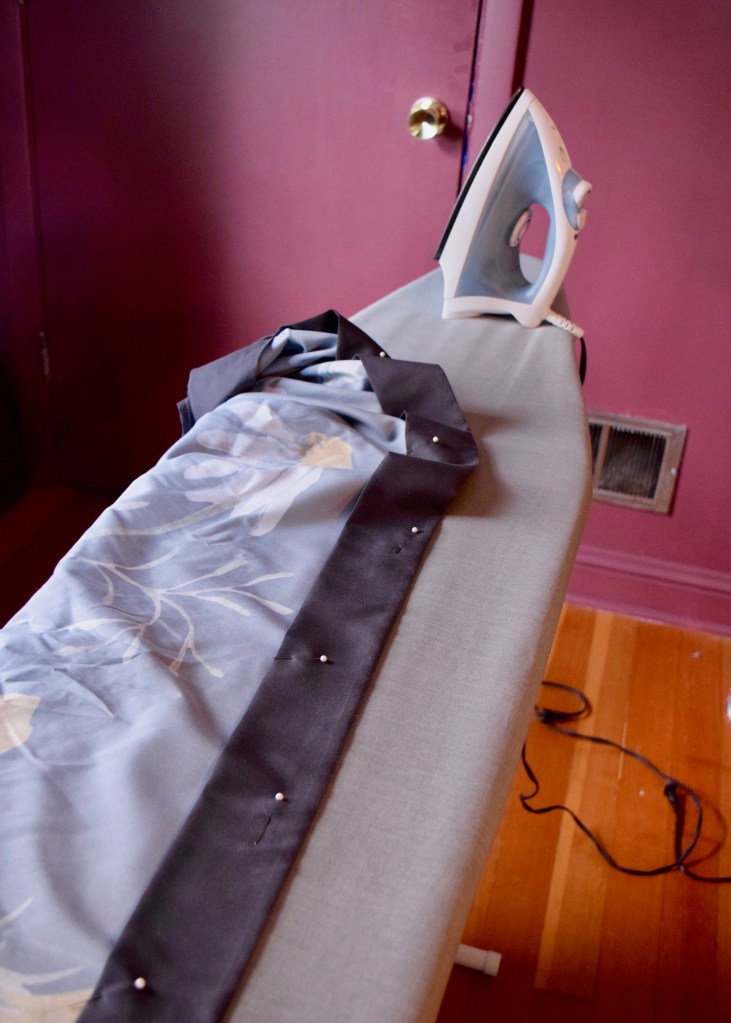
Finally, this summer I did break it back out and got down to work! I worked in a similar process to the hemming the living room curtains, first pinning the correct length of the curtain.
Once all my pins were placed correctly and I’d double checked my measurments were correct, I broke out the iron.
Ironing is really not my favorite.
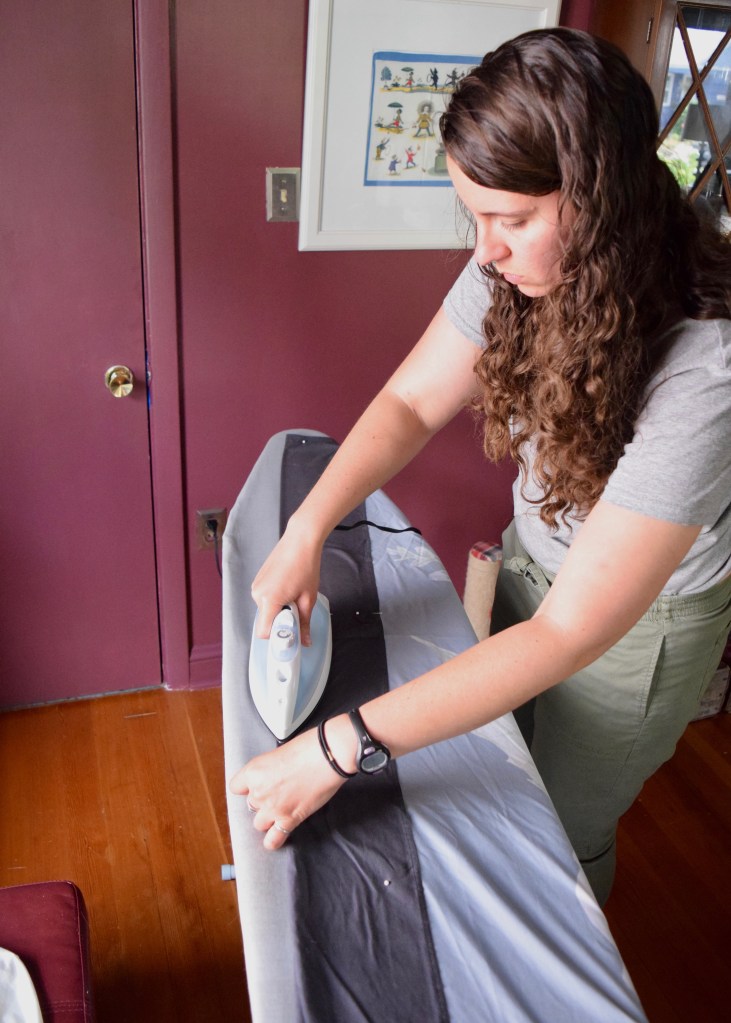
And hemming requires a lot of ironing. Once you have one fold done, you’re back folding and pinning and ironing again!
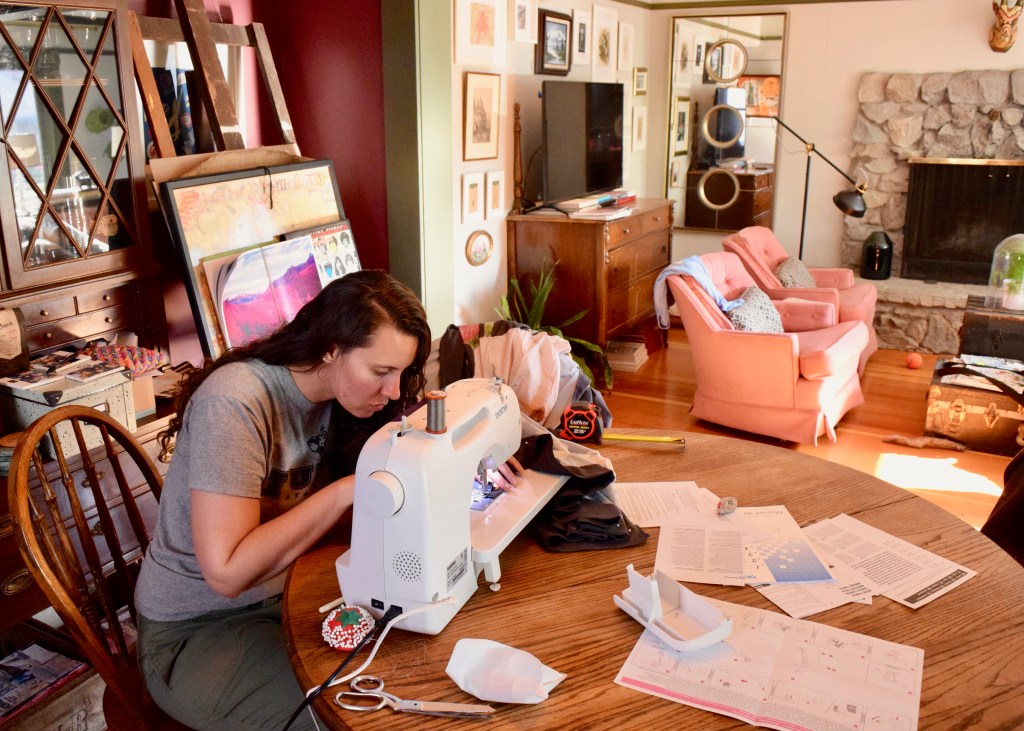
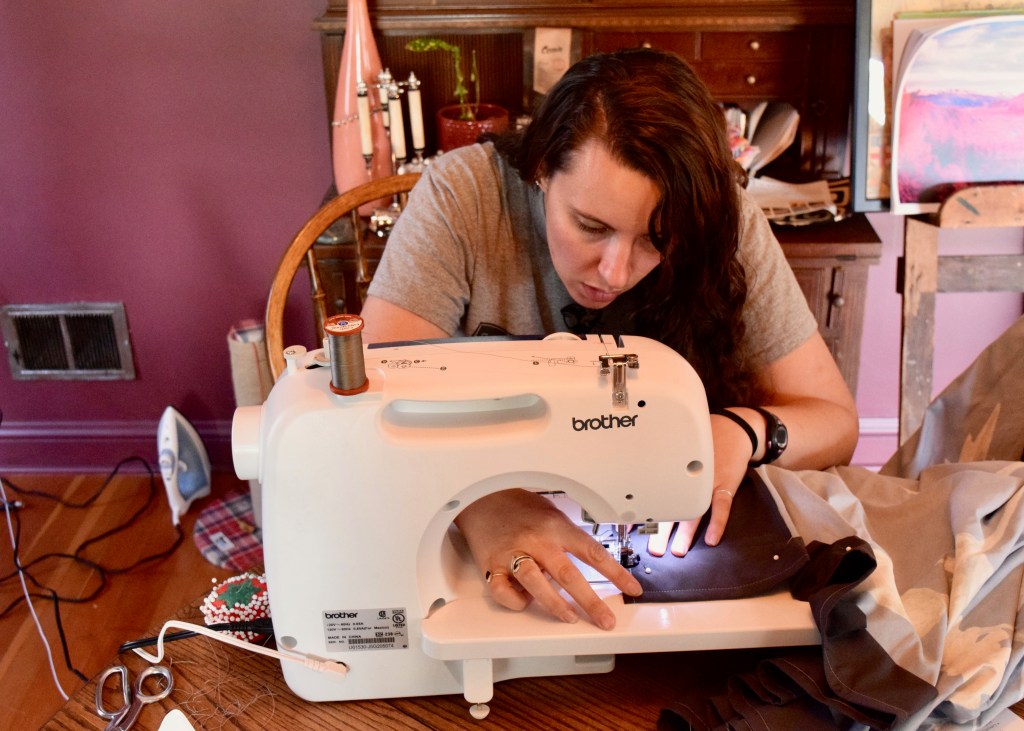
And then it is finally time to sew! Also – look it’s another iteration of my living room evolution in the background! After folding twice on each side, I hemmed everything to the correct length and dropped the width of the curtain to the standard 72″
I made sure to sew over each corner a few times to strengthen the weak points of the curtain.
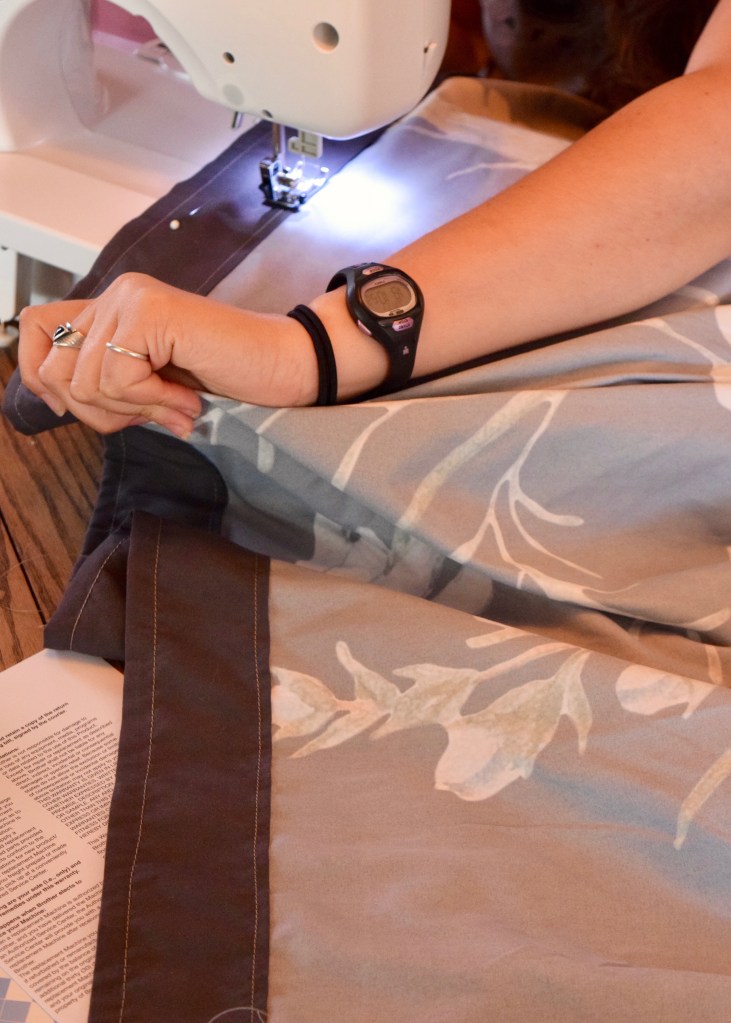
I also sewed along both sides of the top and bottom hem to give it a stronger more uniform look. Here at the top, where the curtain would hang, the extra sewed seam would help keep everything secure once it was hanging. I truly must say, this is significantly more time consuming and complex than most of the other DIY projects I’ve done at Berrybrier!
Now, once that was complete I was ready to turn to how the curtain would hang on the rod. I have a very simple telescoping rod from Target and I hung it at the ceiling of the bathroom. Then I strung a couple of shower curtain hooks along the rod and measured the size of the rest of the rings. I needed the holes in my curtain to be at the right spot so that the curtain would hang correctly and so that the ring would slip through but not out of the curtain. I settled on a half inch button hole based on my rings. Then I spaced out the holes 6 inches apart and marked my curtain.
Luckily, my sewing machine has button sewing ability. I practiced a couple of times on scrap fabric and eventually got the hang of it. Even though my machine says it automatically moves the needle and fabric around, I needed to guide it so that if it slowed, I could speed it up without it getting stuck. Button holes require a lot of thread and there were times that the thread would start to catch the needle before it finished and I would shove or pull the fabric in the right direction to help the machine. I finished my last button hole close to midnight!
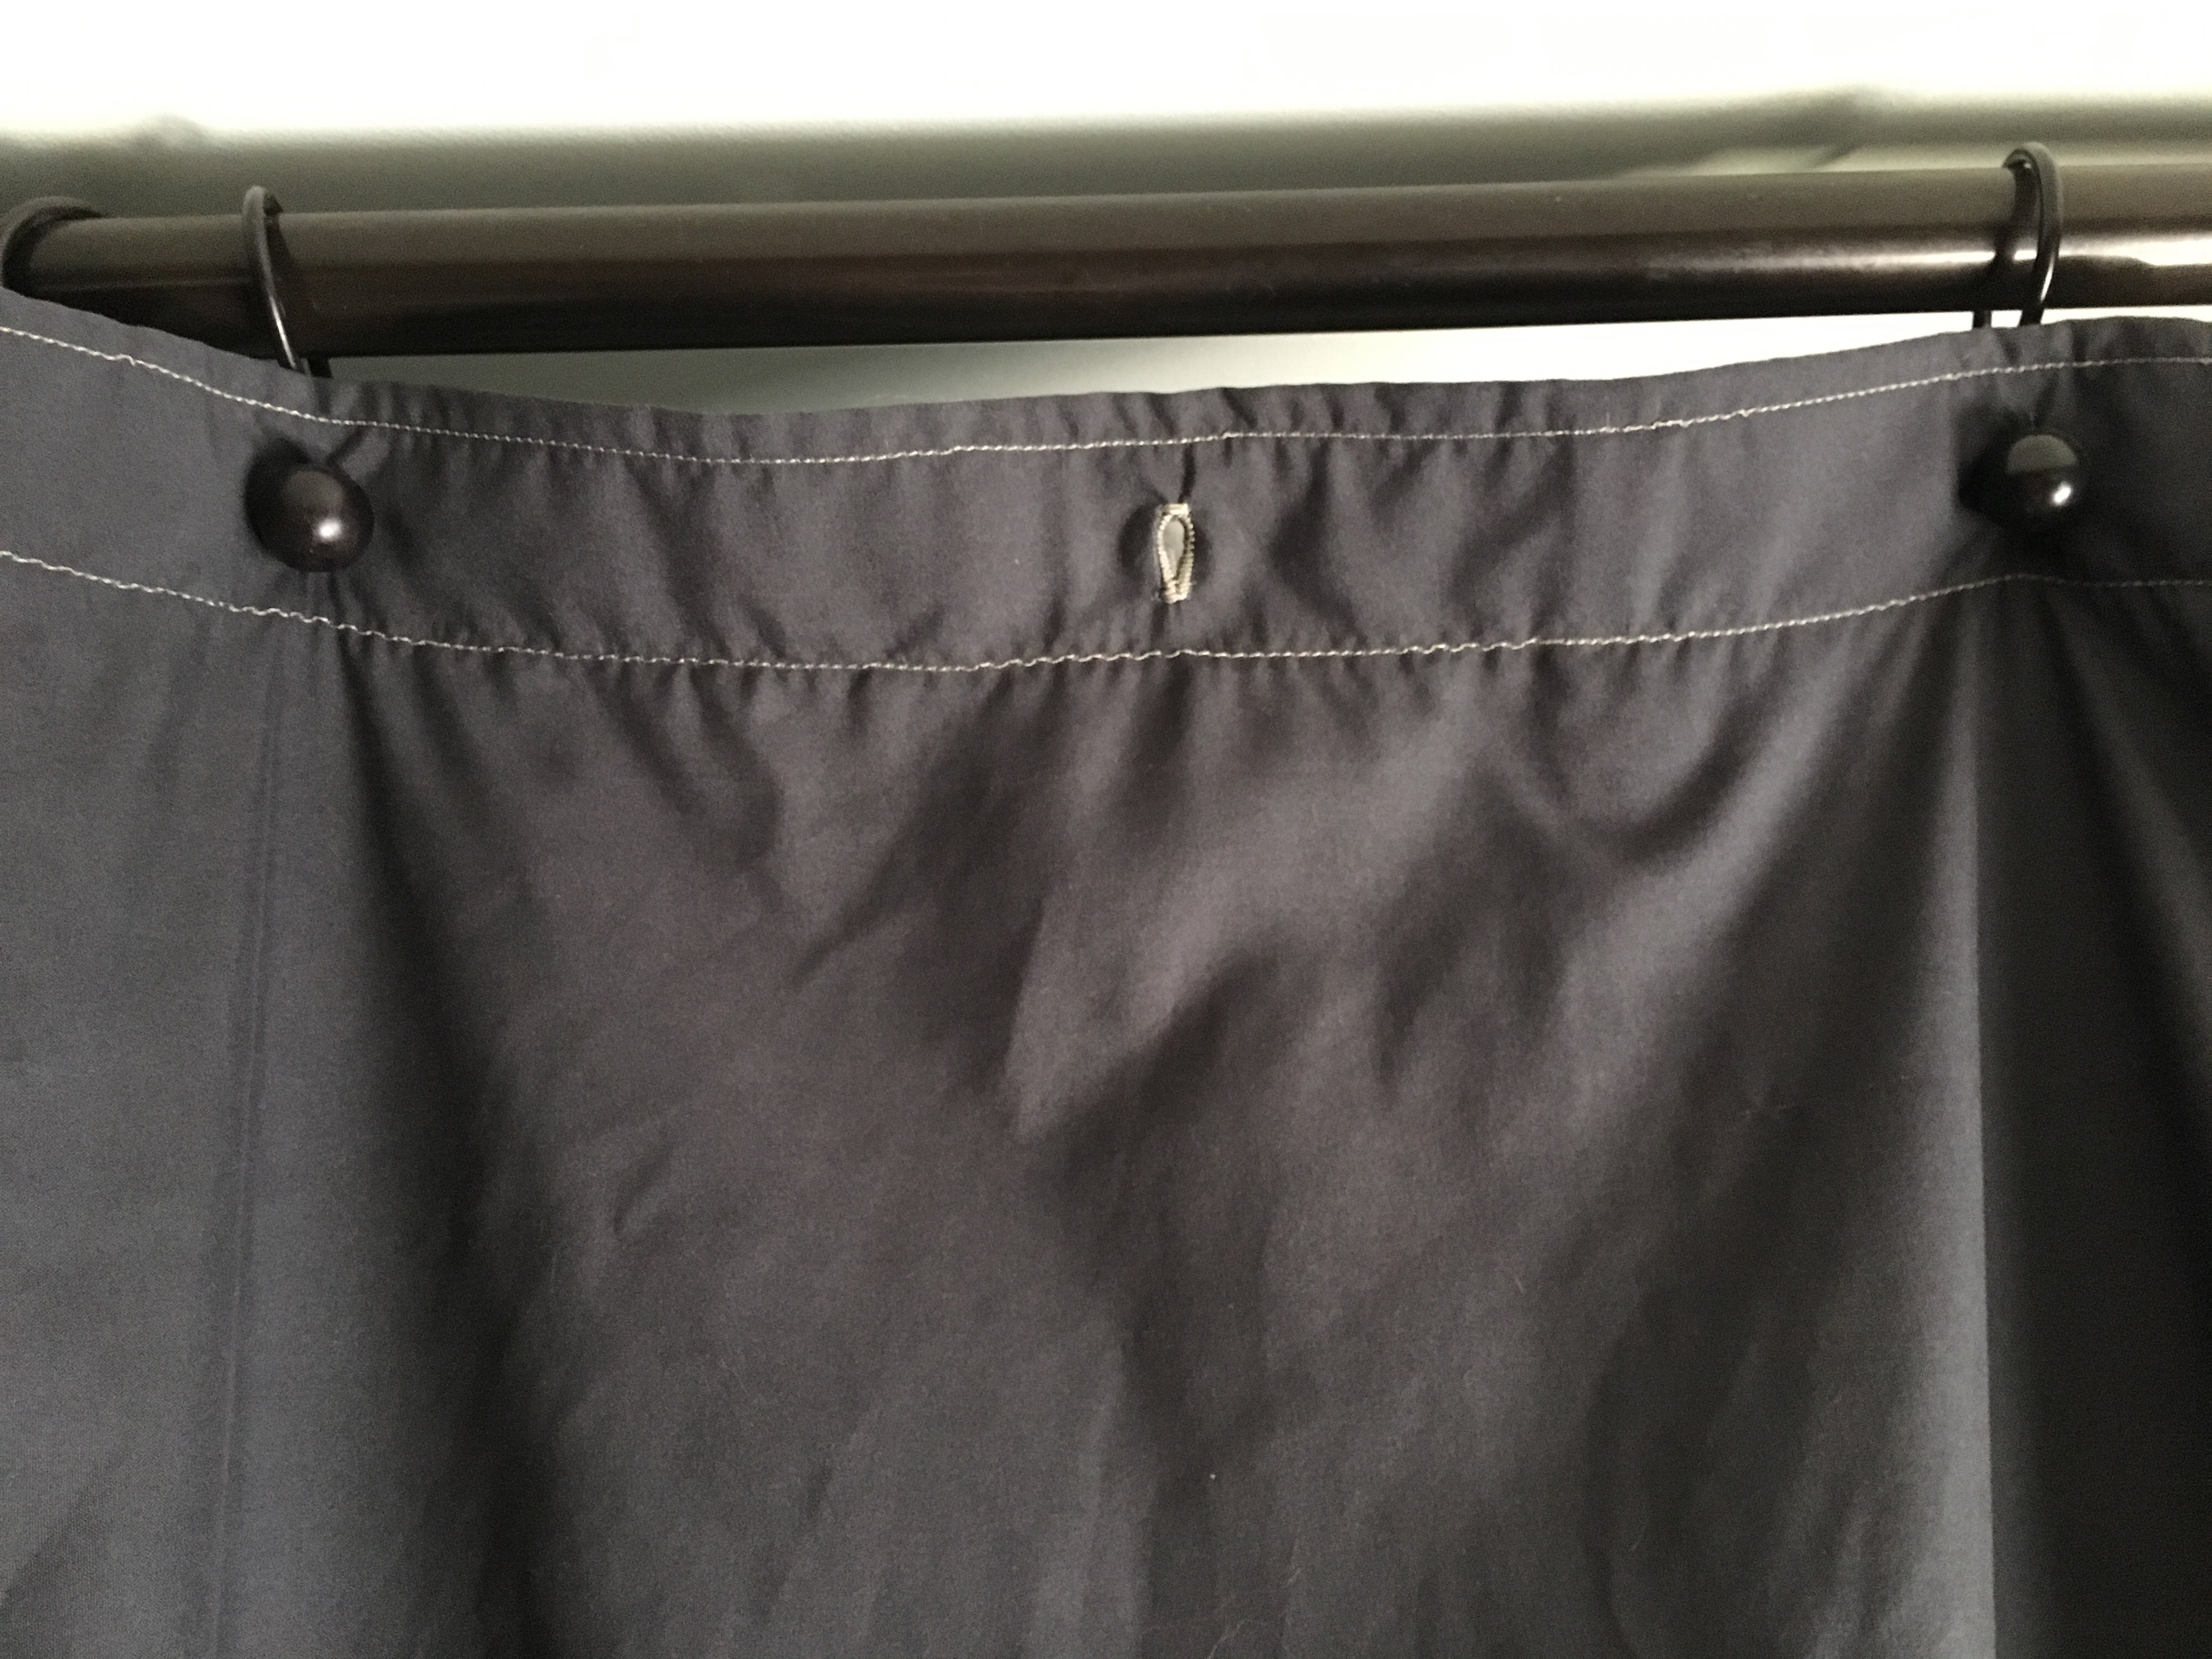
The button holes look good and hold my curtain up, so I feel like it worked out well. Overall, I was actually shocked at how good the curtain looks in place. It’s way more professional looking than I ever would have guessed!

I’m so pleased to finally close the chapter on the Main Bathroom at Berrybrier! It was the project that taught me so much — including how to sew!
Tackled any sewing projects recently? Have you ever made your own shower curtain? Let me know in the comments below! If you have a sewing machine, I definitely recommend it for a customized look! It’s really made the space more dynamic and bold!
*Links may contain affiliates.*

You are an inspiration!! Thank you for your thorough and humble sharing!!
Awww thank you! It’s always fun doing something new!
I have made a couple of shower curtains but neither came out as beautiful as yours. Good job.
You’re too kind!