Sliding Around on the Newly DIY Refinished Kitchen Floors

Sliding Around on the Newly DIY Refinished Kitchen Floors

THE FLOORS ARE REFINISHED!! THE FLOORS ARE REFINISHED!!!! FOR THE FIRST TIME SINCE PURCHASING THE HOUSE IN AUGUST 2017 I CAN WALK AROUND THE ENTIRE HOUSE WITHOUT WEARING SHOES!

To say I am excited is an understatement. I am ecstatic! I am overthemoon. I am a proud mother with a new born floor and this baby has been long anticipated. Remember back in September 2017 when I ripped off the two layers of vinyl on the kitchen floors and thought refinishing the floors would take a couple weekends? Bahahahahaha. Boy, I am an idiot sometimes. Because, in realityland it took about ten thousand weekends to finish these floors. So I finished in March 2018 about 6 months after I started.

Continue reading “Sliding Around on the Newly DIY Refinished Kitchen Floors”

Installing My New Toilet and Changing the Toilet Lever

Installing My New Toilet and Changing the Toilet Lever

There’s a new throne to bend the knee to in the Land of Laurel and it ain’t made of iron. That’s right! I’ve got a gorgeous porcelain throne for ya’ll to fawn over today. It’s downright spectacular. And oh so necessary. You see, back in early January 2018 I was just over 2 months in to my bathroom renovation and it was time to kick it into high gear. I had a deadline, one not set by me, one I couldn’t just ignore as it passed by, a big, important deadline. My little sister was moving into Berrybrier to live with me! Hi, Bronwyn! And well… she needed a place to relieve herself that wasn’t the tiny hell bathroom off my own bedroom. As much as that delightful little space worked for me, she was going to need a space a bit more… accommodating and far less… disgusting.

Continue reading “Installing My New Toilet and Changing the Toilet Lever”

Priming and Painting the New Bathroom

Priming and Painting the New Bathroom

Happy 2019 y’all! I’m so excited for this new year and I definitely have quite a few goals for the year! I’m hoping to get this blog caught up to the current renovation stages over the next few months and then dig into some fun new stuff. I definitely want to hear more from those of you who read this blog too! Let me know who you are by commenting on this post! Or share with friends and family who might be tackling similar projects. I’d love to continue to grow the readership of this blog so I can continue to put more effort into posting for you guys. And trust me I have a lot to show you!

When we last left the bathroom it was looking like this with a newly tiled and grouted floor and fully drywalled walls! This felt like a huge amount of progress considering just a few weeks earlier it had been gutted down to the studs.

Continue reading “Priming and Painting the New Bathroom”

Laying 1″ Hex Tile in the Bathroom

Laying 1″ Hex Tile in the Bathroom

I thought walls were a huge step, but, baby, I’m falling head over heels for my tiled floors! The floors were something I’ve just been dying over for months. I found dozens of complicated multi-colored tile floor patterns that I wanted to try, before finally settling back down and going with a clean, classic, and readily available option from Home Depot (my home away from home). I’m still saving those ideas of fun multi-colored patterns for the future though! There’s still the upstairs dormer bathroom and that has got to take shape eventually… so finger’s crossed! My inspiration for this room just got me all kinds of giddy about the tile I’d picked, but seeing it finished is even better!

img_0129

I bought three cases of the tile at $53 bucks per case. I ended up returning an entire case of the tile in the end and only using the first two cases, or about 18 SF of tile. Saving that extra money was almost as exciting as the tile itself! And I’m allllll about my tile! I picked this tile for the spacing of the flowers. You can get options with more or less space between the flowers, but I preferred this since it had enough that you’d easily see the flowers in the small bathroom, but not enough that you’d feel dizzy! Here’s the shot from the website showing the tile in all it’s ungrouted professional photo glory.

matte-white-and-black-low-sheen-merola-tile-mosaic-tile-fdxmhmwf-64_1000.jpg

Including the tile, here was my short Home Depot shopping list compiled here for you. That’s it! Tiling isn’t so bad, y’all.

Once I gathered the supplies and completed the prep work in the bathroom I came home from work one night in mid-November ready to tile! I finally turned on my ancient furnace which helped keep the house above freezing, which was a refreshing change. After that, I went ahead and dry laid all my tile so I could assess how it would fit in the space. I used this dry lay to also take the tile nippers out and make all my cuts. Luckily with 1″ hex tiles, a quick nip will cut through the tile pretty neatly. Not every one was perfect, but plenty were good enough!

Then it was time to start setting the tile. I carefully picked up my dry laid tile and stacked it sheet by sheet in order of how I’d place the sheets. I made a pile of all my cut tiles I could pull from as needed. Then I popped open my thinset container and used the flat side of a thinset float to spread out a thin coat (about 1/8″) before making grooves with the v side. This is the same process I’d used to lay the HardieBacker during prep. Then I had to actually lay the tile! It all started off smoothly.

First, I spread my thinset about 14″ deep across the back end of the floor by the shower pan, made my grooves, and laid a sheet of tile. Then I back filled any cut tiles and moved on to the next sheet in the row. I did this for the first and second rows without issue. It started to get warmer in the bathroom as the furnace heated the house and as I worked my way across and down the bathroom floors, my thinset started drying at the edges before I could lay the next sheet. Not dry-dry, just drier… I tried working faster and faster, laying the tile as quickly as I could. The room felt hotter and hotter as my efforts increased in speed. By the time I finished I was sweating heavily and the last sheets had a couple spots where the spacing didn’t feel perfect. After tweaking them to make them better, I began to clean up and realized it wasn’t just the little bathroom that was hot. The whole house was oddly warm. I checked the newly installed thermostat: 86°F. Apparently the thermostat went rogue and decided it should feel like a tropical island in November in Portland, OR! So if the tile’s not perfect perfect, I blame the thermostat!

In all, the dry lay and then wet lay of the tile took most of the evening for even just this small room. I was pretty excited to return the next day and finish up with grout! I left the heater on at a more reasonable 70°F temperature to keep the tile and thinset warm enough to set fully overnight. but already things were looking pretty good! I wish I’d taken more pictures of the ungrouted tile, but I’m a terrible blogger and an undivided focus DIYer, so I only took this one overall shot when I finished.

Berrybrier | Ungrouted Tile.jpg

The next evening, grouting I was much better though! I poked any thinset to make sure it was fully set in place (it was!) and double checked the heater was at a more reasonable temperature (it was!), before cracking open my pre-mixed grout. You can get mixable grout for cheaper than the Fusion Pro stuff I used, but I didn’t want to worry about mixing multiple batches or making it the wrong consistency. I figured for my first time grouting, I’d take the easier approach. Also, I’m lazy. Ha! I debated white, grey, and black grout options, but ultimately, picked up a gallon of the charcoal which is the black Fusion Pro option. Black hides the most, I decided, and dingy grout is no one’s friend! I got a little nervous when I opened the container though, because it looked kinda blue! Also shout out to my filthy partially sanded kitchen floors photobombing below.

Berrybrier | Fusion Pro Grout in Charcoal

Once I actually started grouting, the grout looked more black. That was better! Whew!

Grouting was easier than laying the tile, just take the grout float and smoosh grout into the open space between the tiles, smoosh over a few times to make sure the gaps are fully filled. After smooshing, wipe away the excess and you’re left with something that looks a little crazy. You have to let the grout set a minute or two before wiping up the excess though.

Berrybrier | Groat Float

But then you just dip a sponge like this in some warm water and ring it out really well and wipe up the excess grout. This sponge helpfully had a more abrasive side I could work at any tough spots with.

Berrybrier | Grouting Sponge

As I wiped with the damp sponge, it started looking like a real floor pretty quickly! If any water started to pool, I wiped it up with sponge and rung out the sponge again before making another pass.

Berrybrier | Wiping Grout

After the first wipe down, it looked better, but it definitely needed another go round. By getting the majority in the first pass with a slightly more than damp sponge, I found a damp sponge could get nearly all the rest of the grout haze on the second pass.

Berrybrier | Grout Cleaning

That second pass got 95% of the grout haze and all of a sudden the floors looked DONE! It was momentous for sure! I’d not had a proper bathroom in a long while at this time and no bathroom meant I couldn’t actually stay at the house since there was no where to shower! Sure there was still some grout haze on the tile, but I would get that after the grout and tile set fully. It was really looking close to done in here. Walls, tile, who needs paint and toilets anyways?

Berrybrier | Freshly Grouted Tile

There was one casualty of the grouting though: my hand. If you’re using dark grout, wear gloves! The grout stained my hand and finger nails and no amount of soap and water could get it off. After a week though it slowly faded away… thankfully!

Berrybrier | Grout Hands

This felt like a small price to pay for floors that made me want to drool with happiness! I adored the high contrast look and classic feel. The dark grout was practical, but also seemed more contemporary. Overall, this project was a 2 night success! 5 out of 5 stars, would recommend. Significantly easier and less annoying than drywalling. And arguably, way more fun to pet! Because petting tile is a thing right?

Berrybrier | 1

The high contrast floors feel so clean and classic don’t they? I just love black and white floors. Gwen’s kitchen floors makes me drool with envy. Black and white can go modern or traditional. Here I think it walks a nice middle line, just like me. This floor also reminds me of my Oma who had black and white hex floors in her Jack and Jill bathroom at her house in Berkeley. Hers was white with black dots only, forcing you to make the flowers with your brain. Something I have many memories of staring at that floor and doing! It’s funny how little things like this can remind you of someone. 20 years later, I’m still staring at hex floors. And loving it!

Berrybrier | White and Black Hex Flower Tile Floors.jpg

Have you ever tiled anything before? Did you think it was a difficult or easier DIY project? I really enjoyed it and can’t wait to tile more things soon! If you’re getting ready to tile, better check that thermostat though. Can’t have another one going rogue!

Installing Drywall in the Bathroom

Installing Drywall in the Bathroom

To properly read this post, go mix yourself a cocktail and drink every time you read the word “screw.” Also you should probably smirk every time you read the word too, since, you know, we have the sense of humor of 12 year old boys over here. Got your drink handy? Okay, let’s get into this.

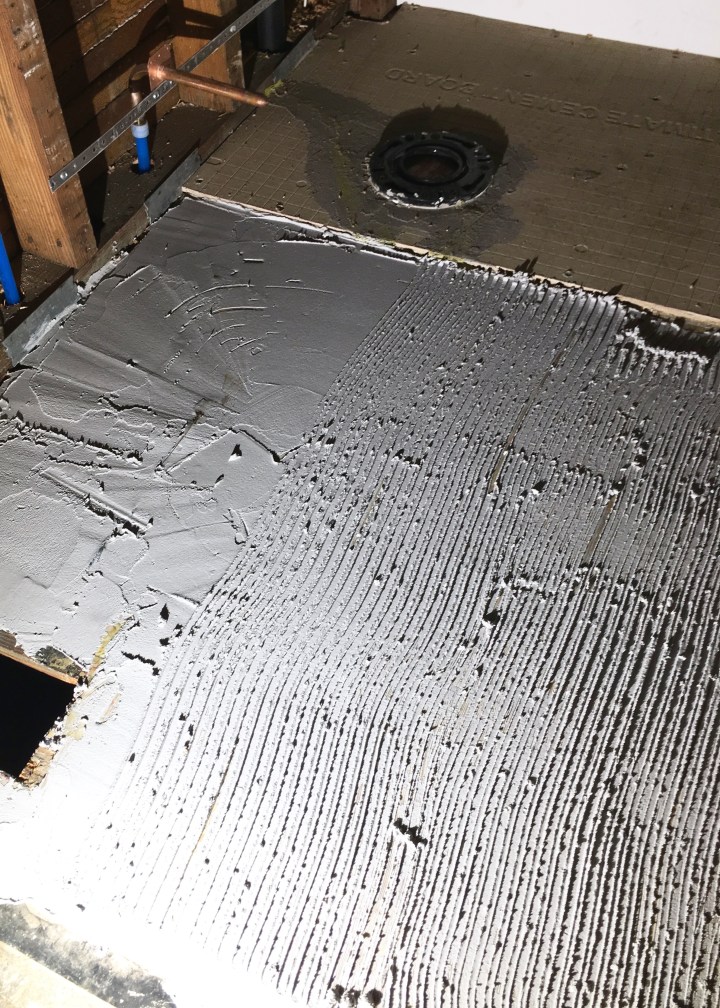
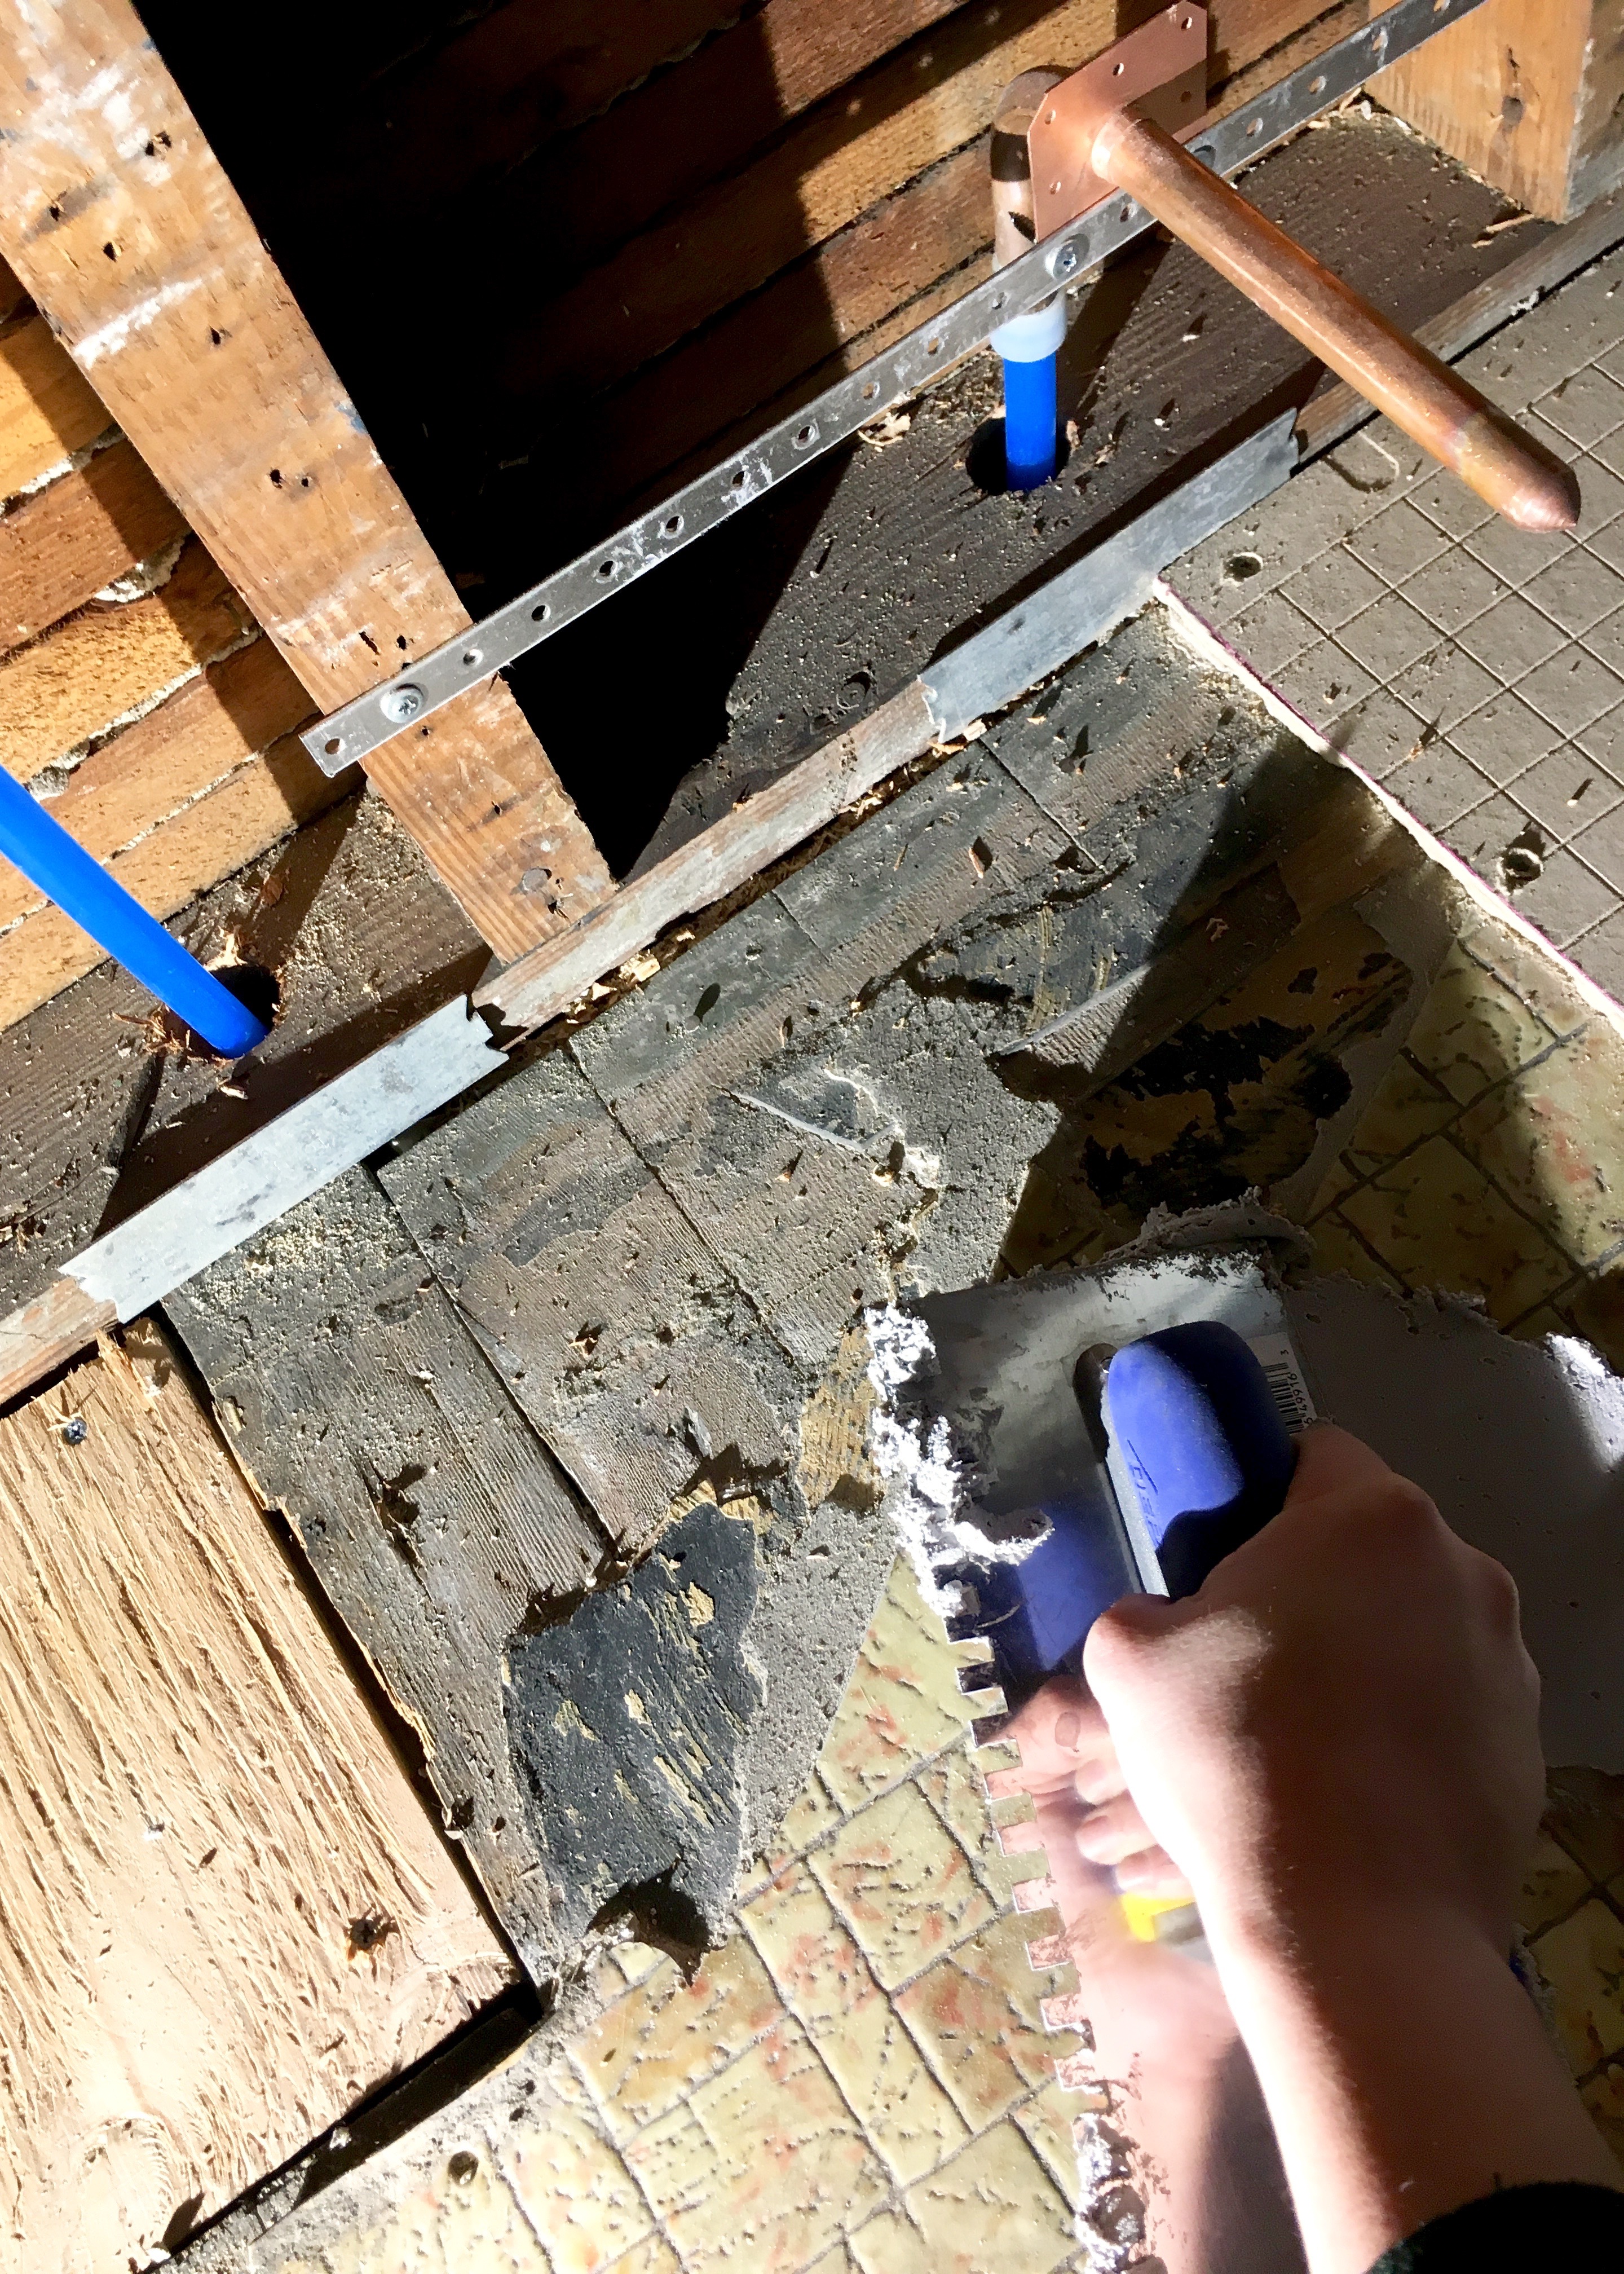
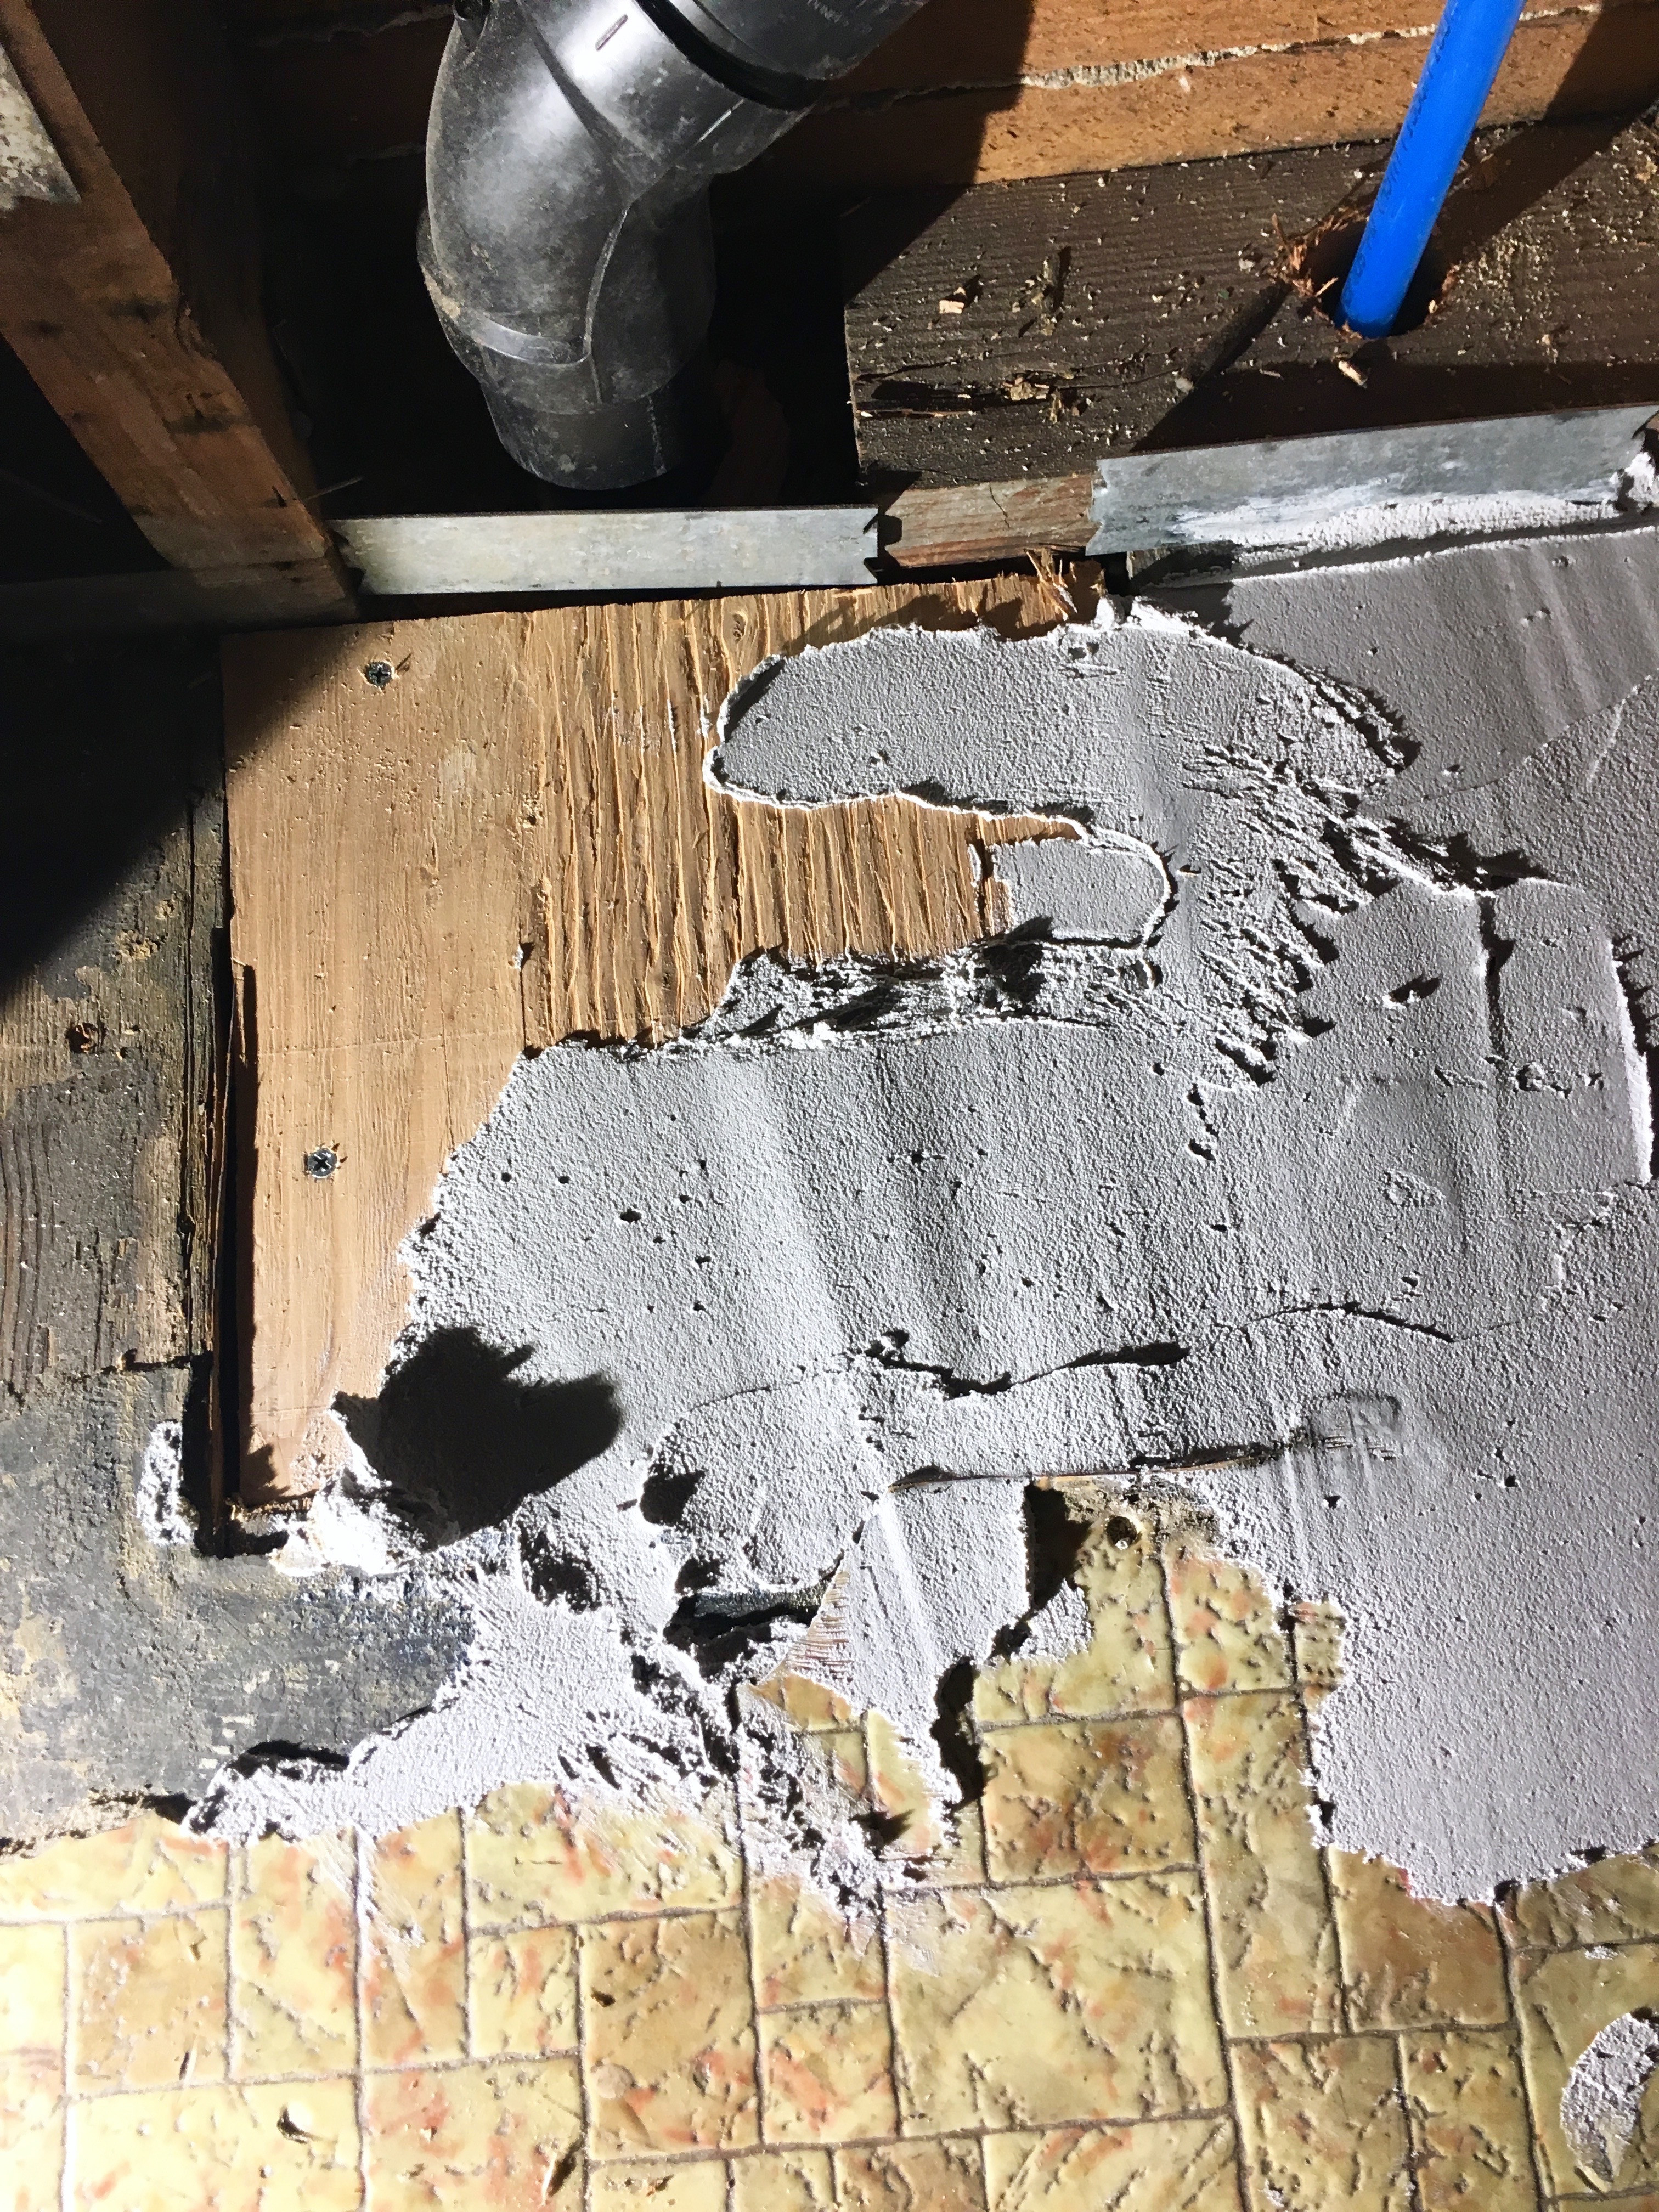
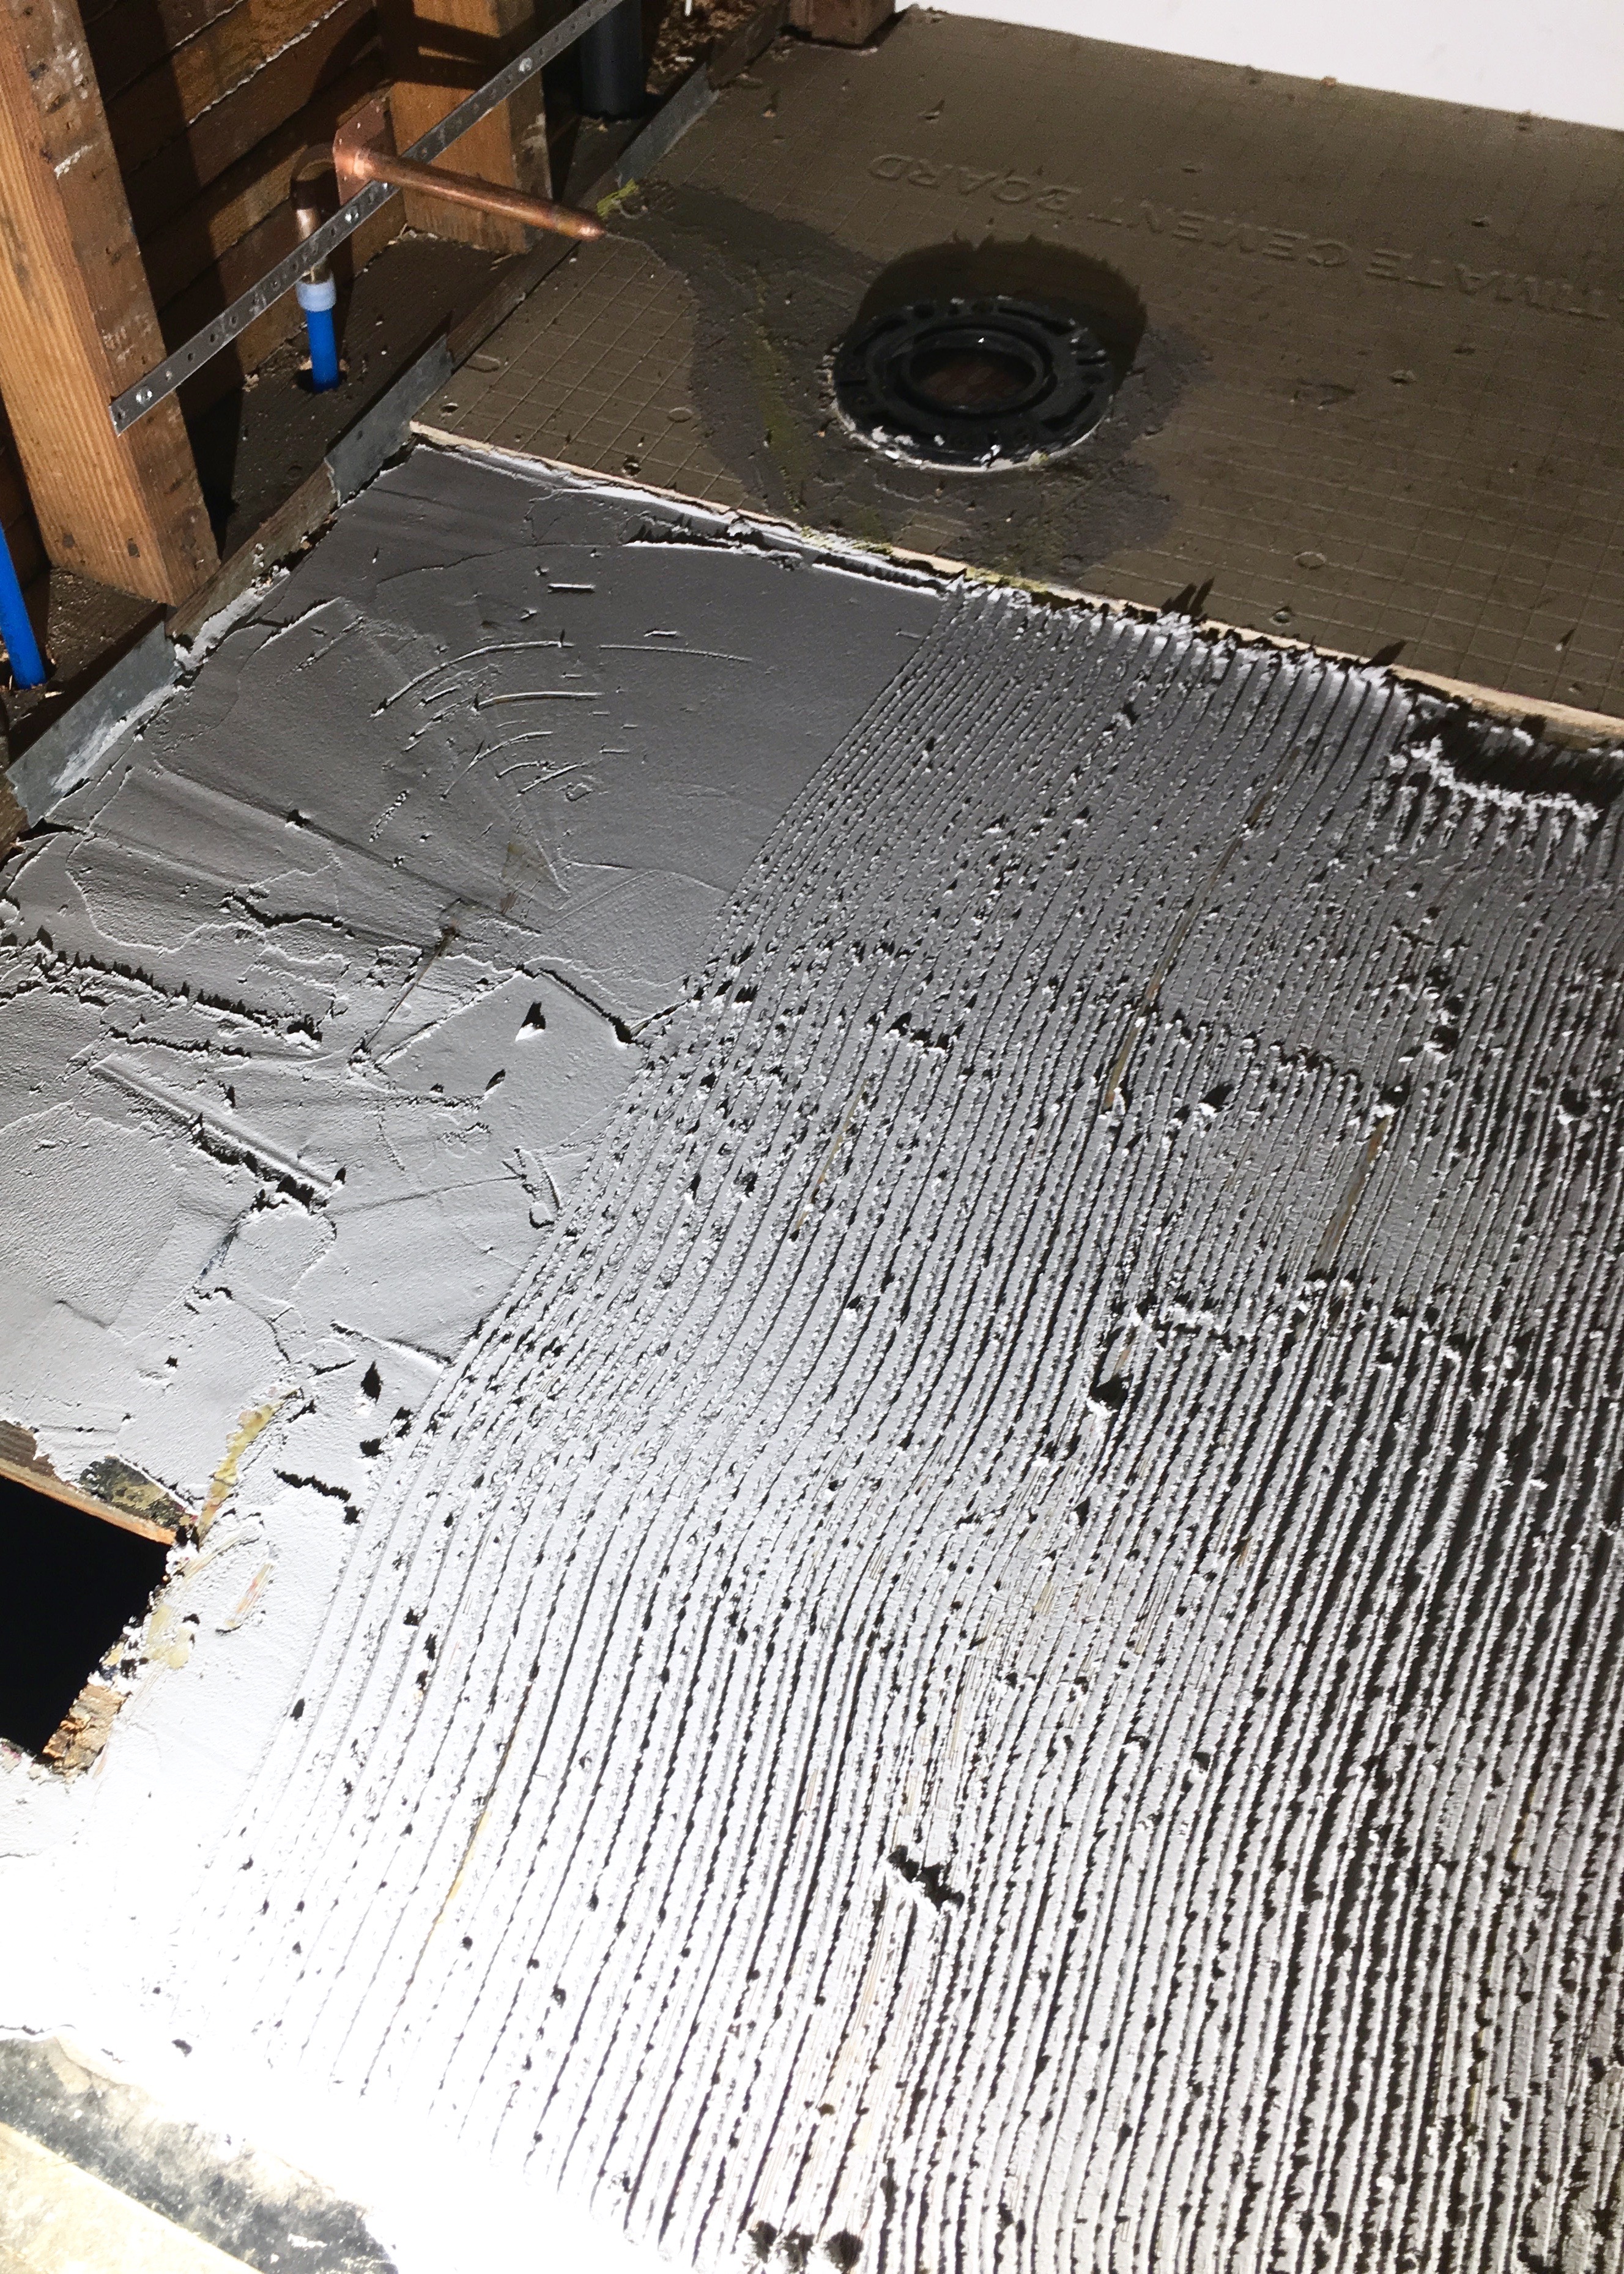
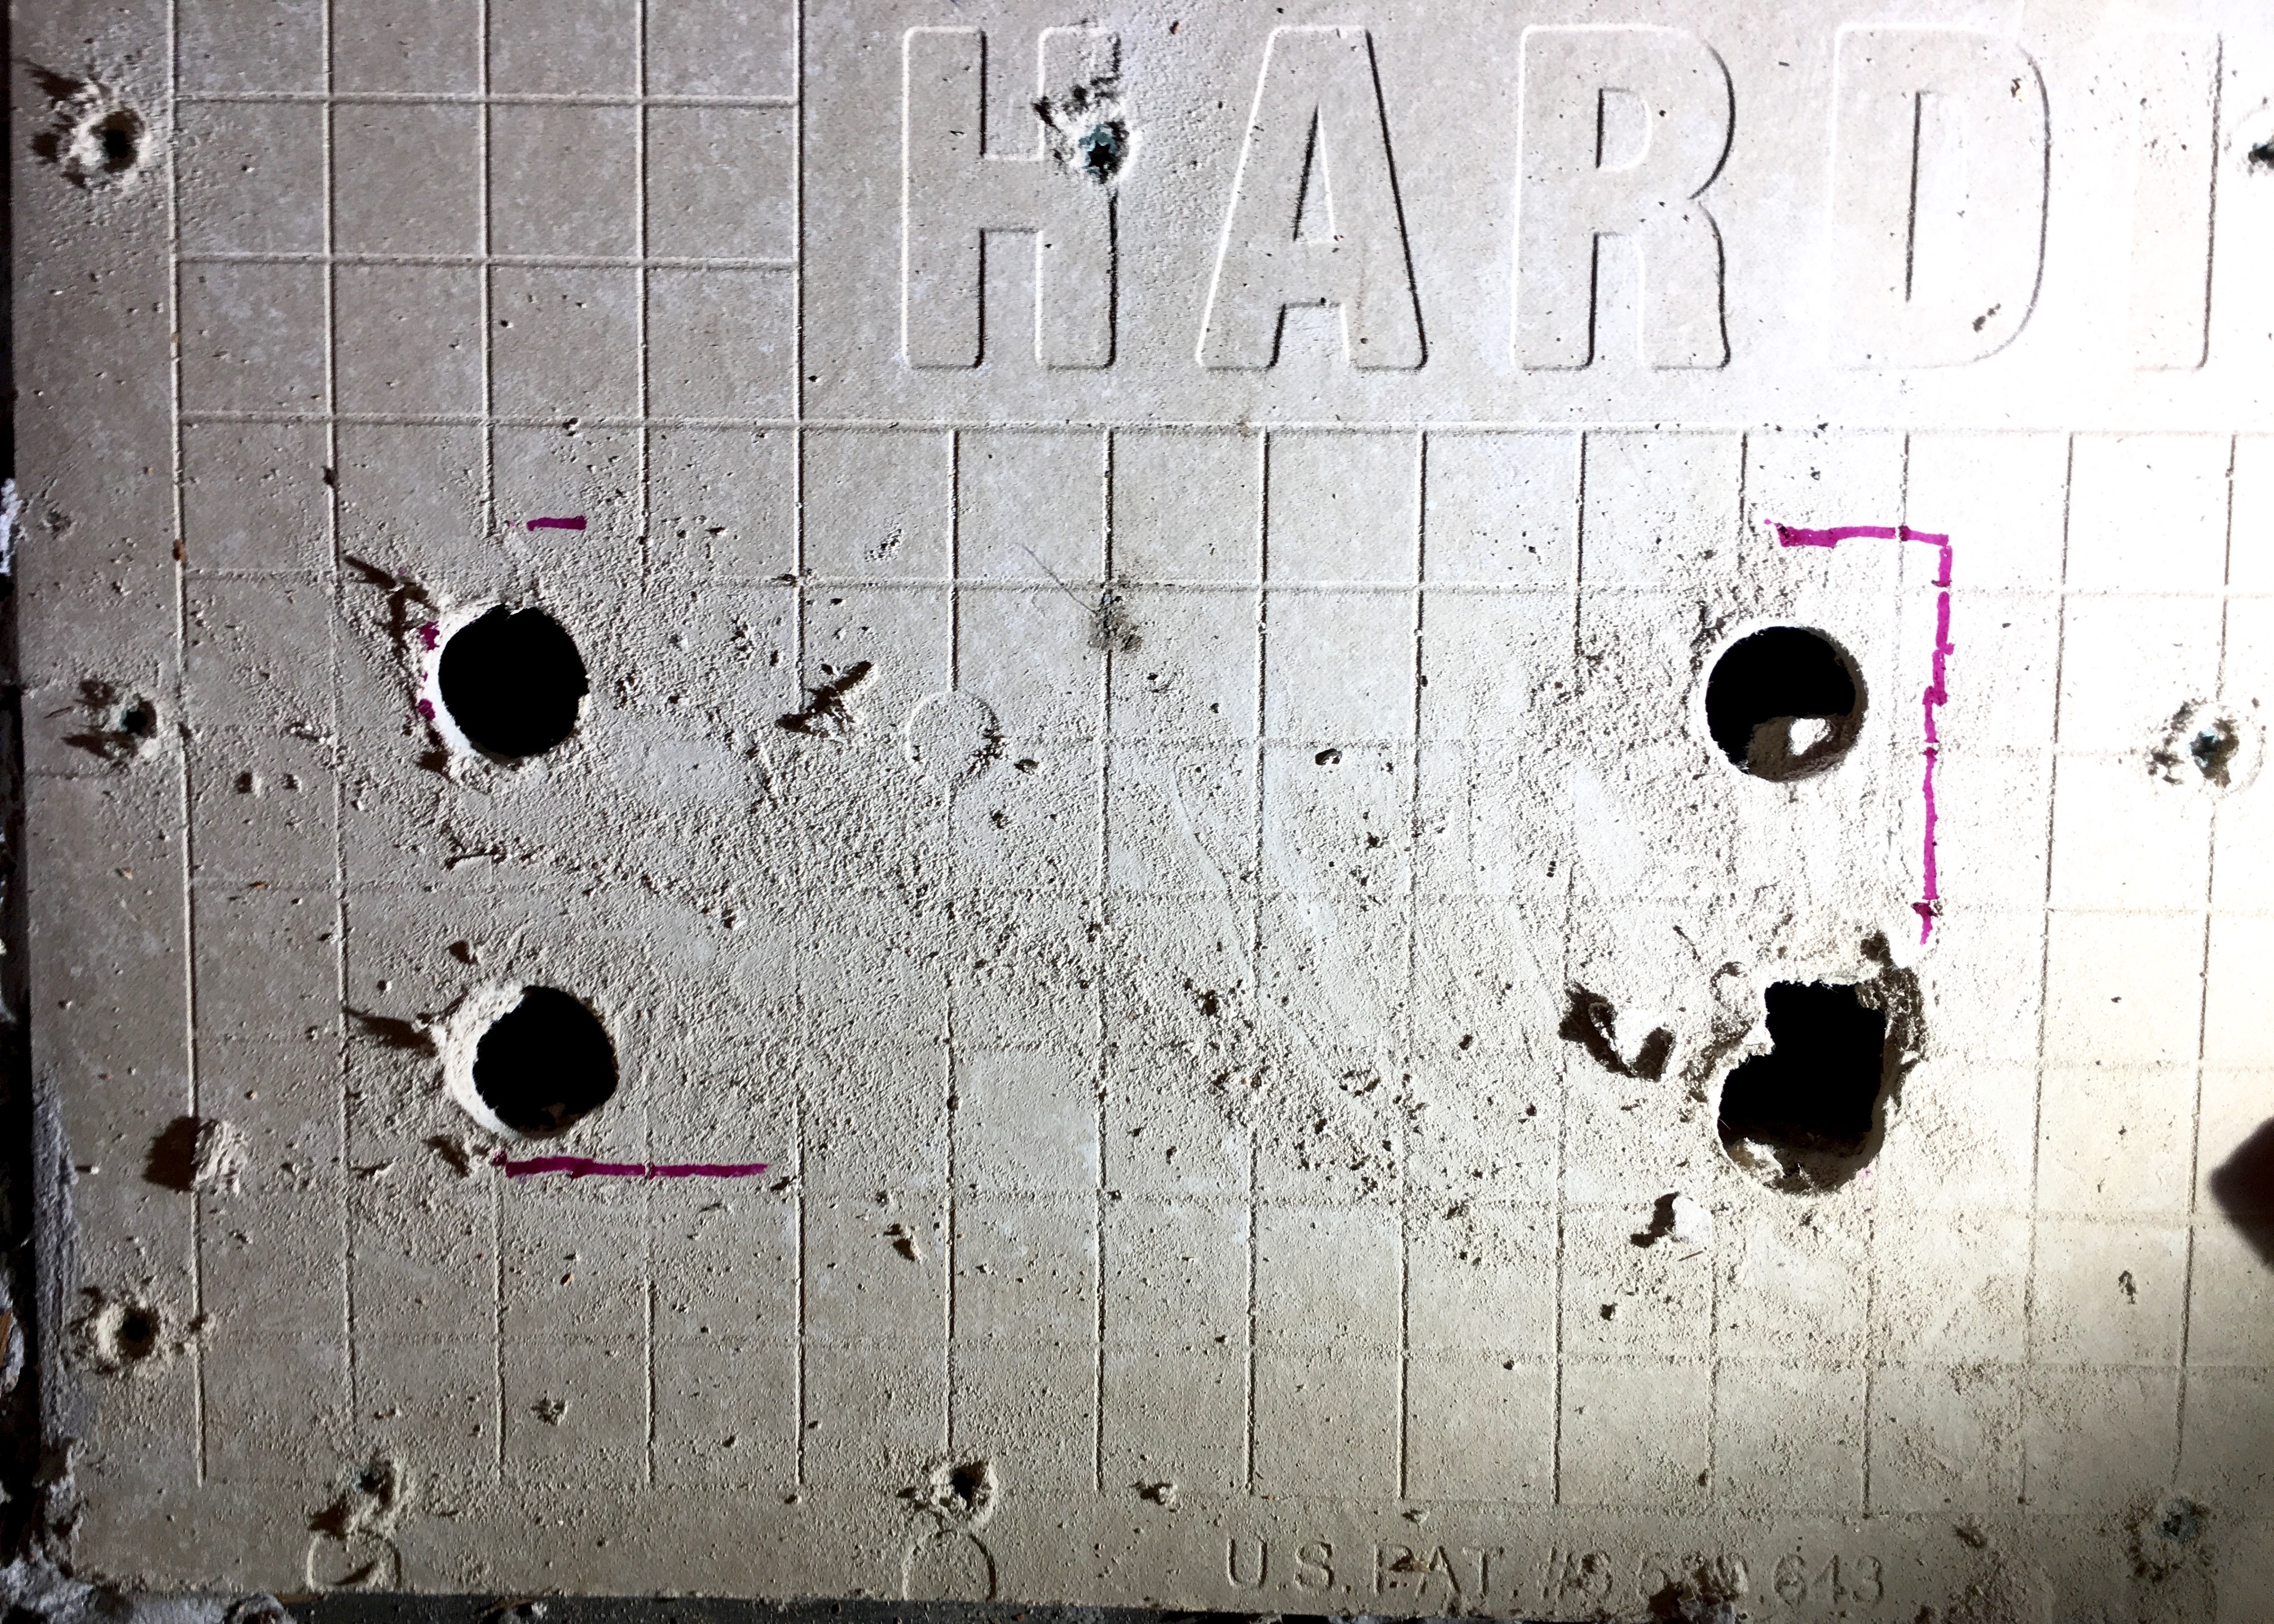
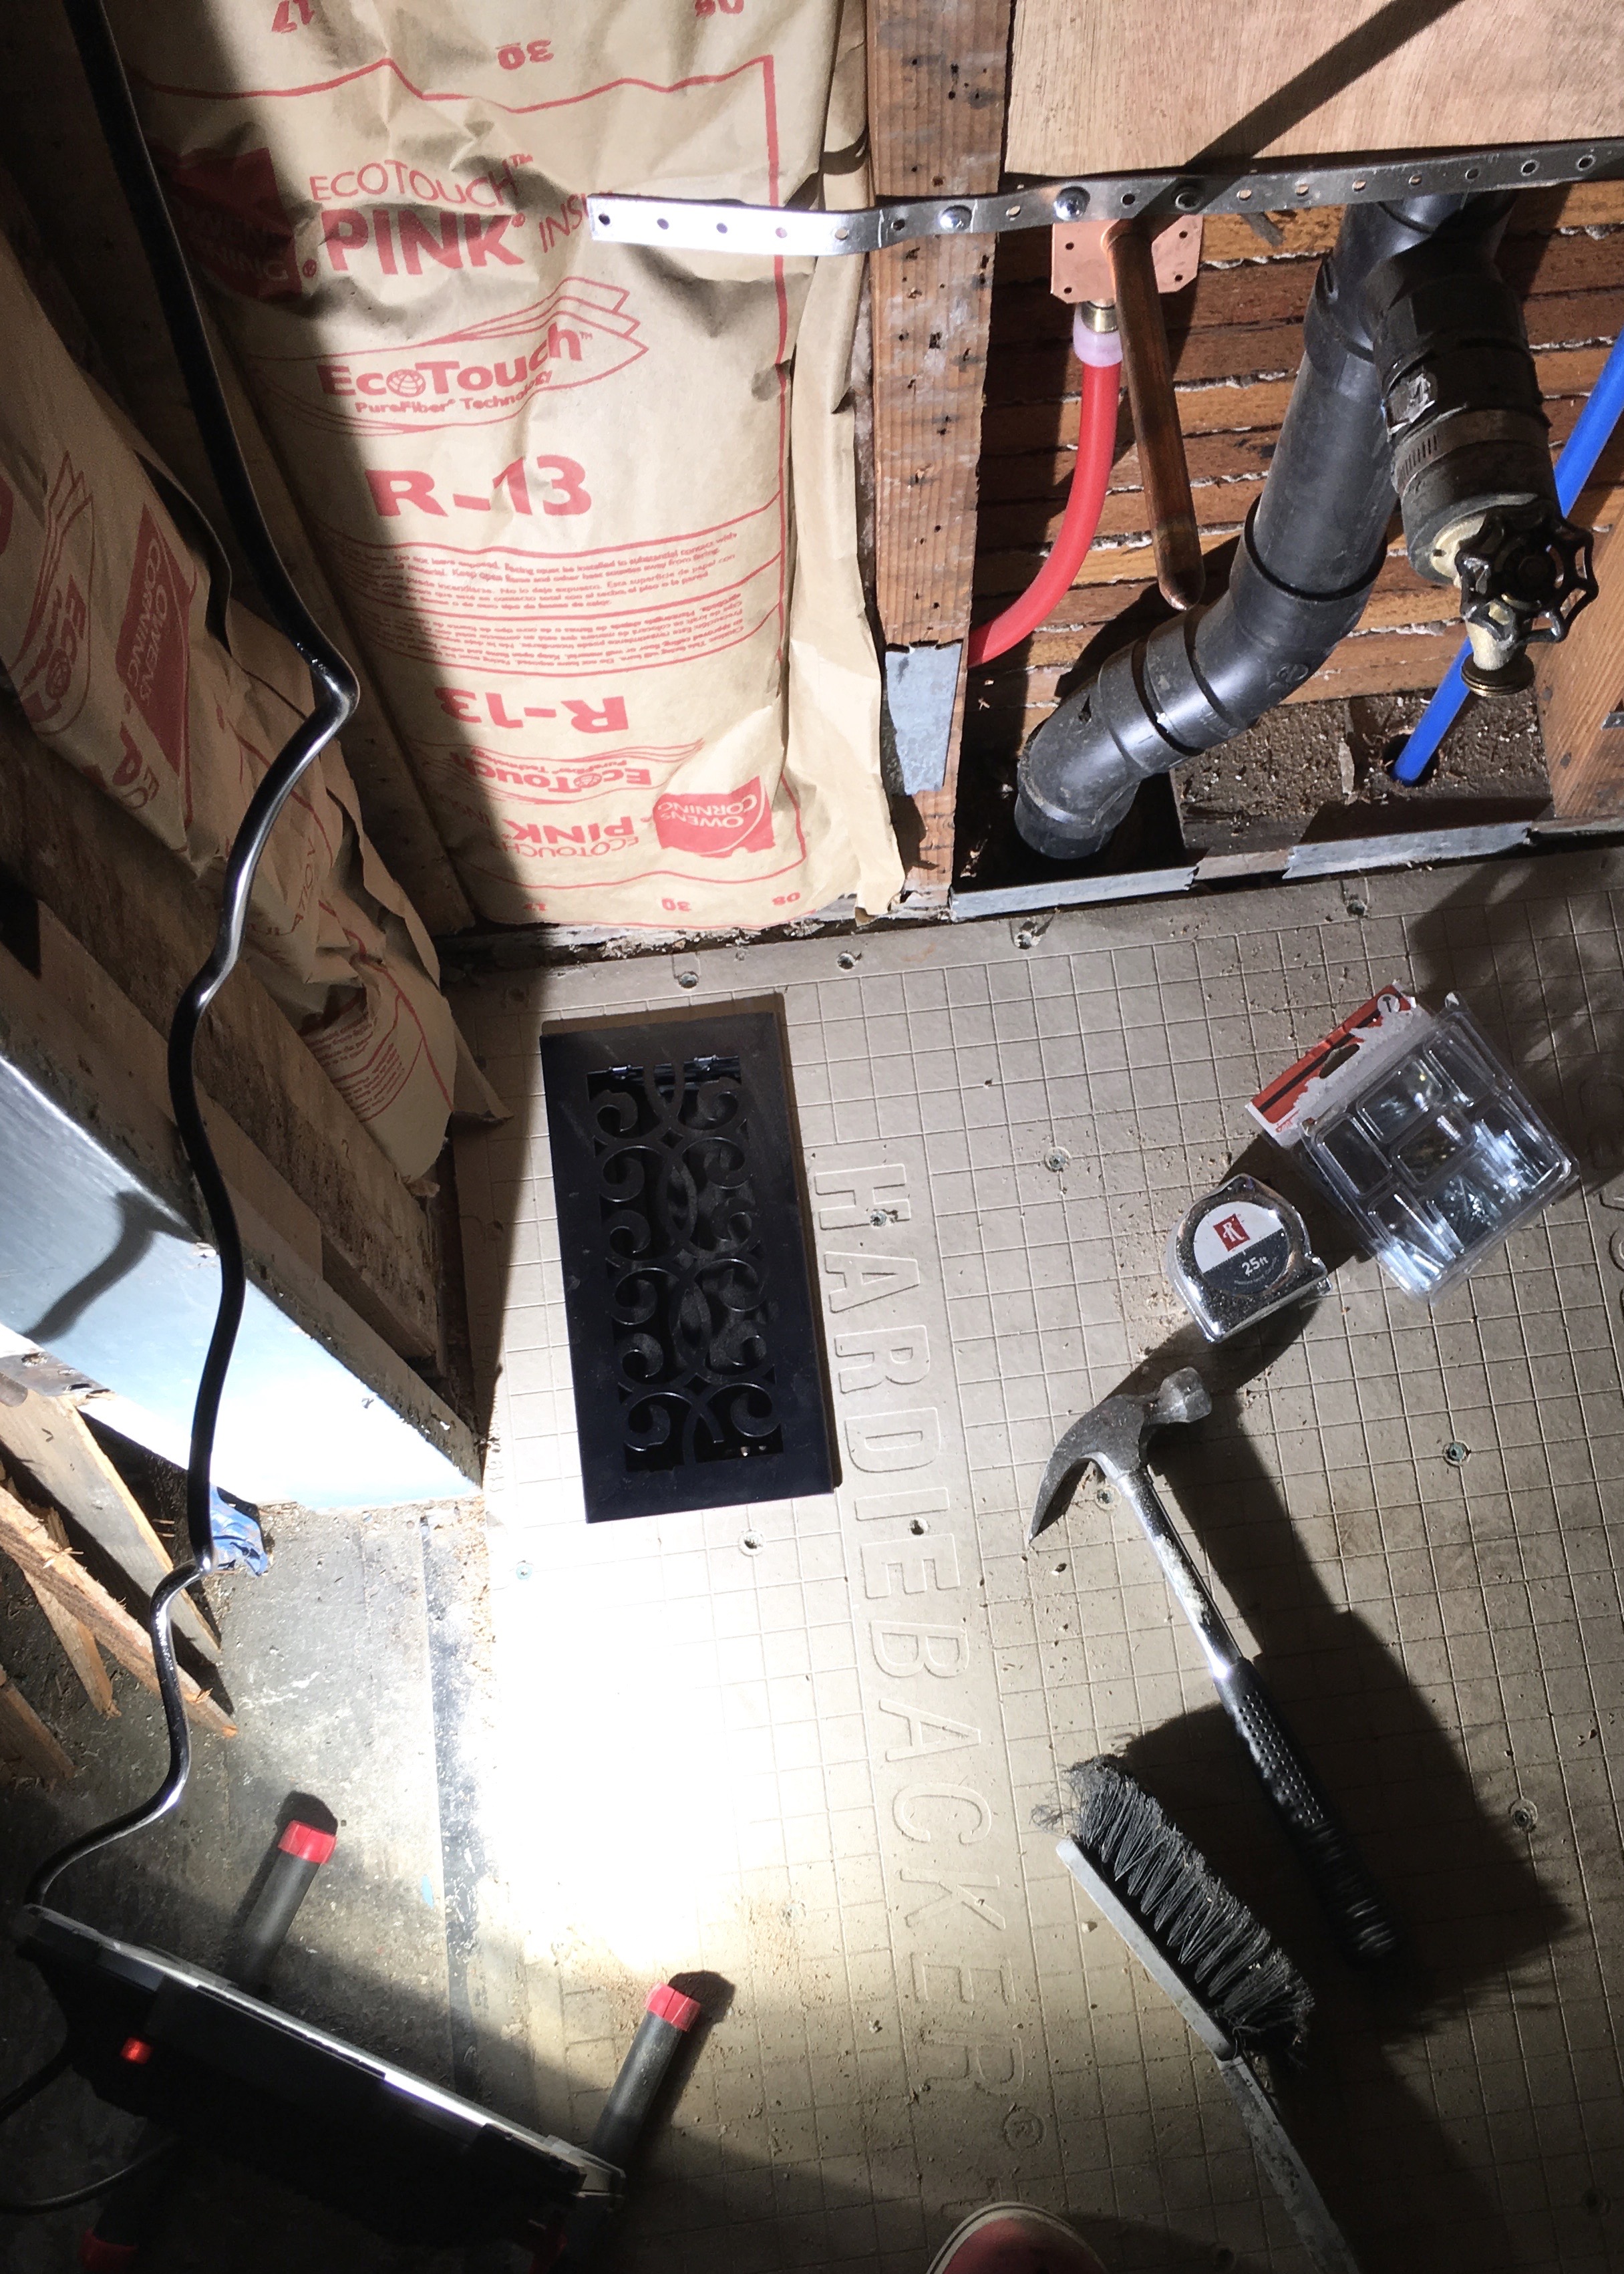
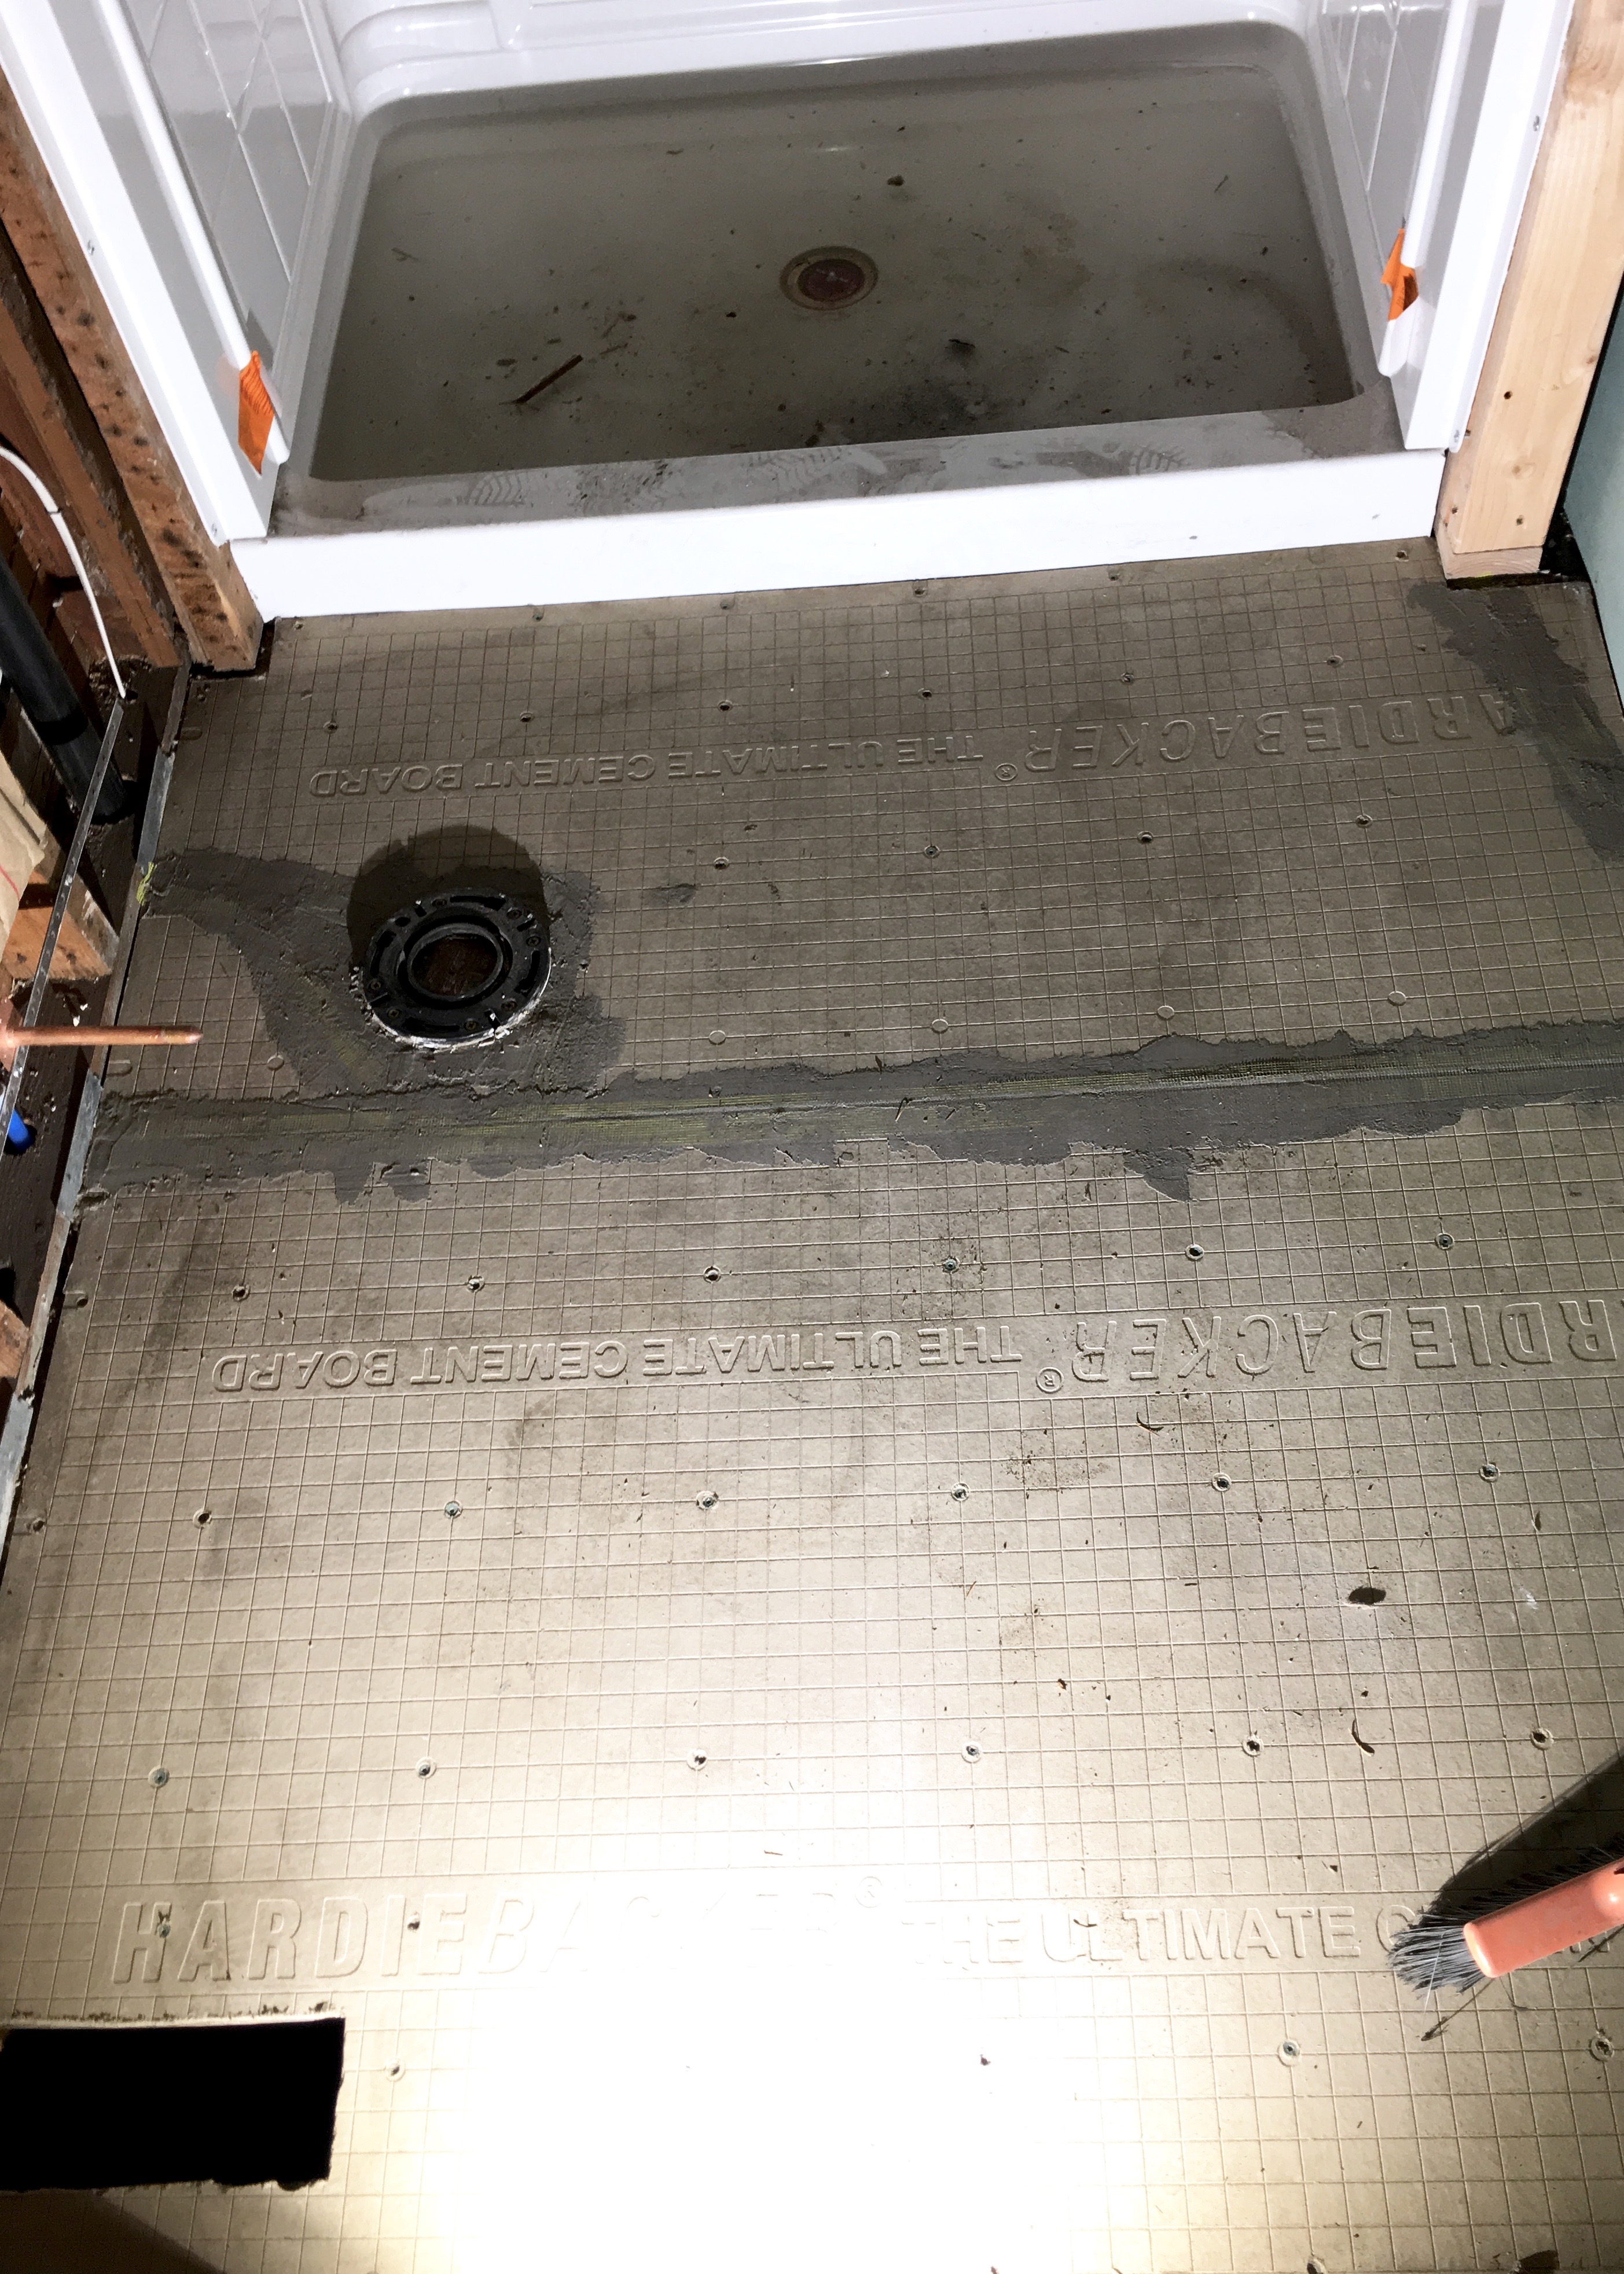
Once the insulation was in I started trying to find a good friend to help me install the drywall in the bathroom. I knew there was absolutely no way whatsoever I could do the full install alone.  Lucky me, eventually a friend casually mentioned he worked a summer installing drywall in college. Bingo! He had no idea what he’d just gotten into with that comment. I immediately started talking about my upcoming project and dropping hints. With the floors now covered in HardieBacker It was time to whip the walls in shape. I just had to wait for the plumbing inspection to finish so I could drain the drywall pan!

Land of Laurel | Taped Hardiebacker

Luckily, I soon passed inspection and after dropping too many hints, went ahead and asked my friend Janik to come help me drywall. Before that could happen I was faced with the dilemma of how to actually get the drywall… because 4’x8′ sheets weren’t going to fit into my VW Tiguan! As usual, I was discussed this issue with my neighbor Erik. And because he is an angel child, the man volunteered to meet me at Home Depot with his truck the next Saturday to buy drywall. He had to go anyways to pick up a few things. At this point we were each going to Home Depot 3-4 times per week and we were picking up things for each other on 1/4 of those visits. You guys, my inbox of electronic receipts from Home Depot is over 200 messages. In just over 1 year!

Anyways, I drove to Home Depot that Saturday and looked at drywall stuff. Erik met me there and convinced me to buy a bunch of drywalling stuff and then told me the drywall was cheaper at Lowe’s. We got into our respective vehicles and drove 10 minutes to Lowe’s. But when we were there, they only had normal 1/2″ mold resistant green drywall board. HomeDepot carried the ultra-light version of the same product. So back in our cars we went and back at Home Depot I purchased the sheets and tools which we then slid into the back of Erik’s truck. At my house, Erik helped unload the sheets of drywall into my kitchen storage room where I was staging everything for the bathroom remodel. I was glad we went back for the ultra-light drywall at that point considering how dang heavy the ultralight version was!

Janik was coming over the next weekend, so I was able to fully assess my supplies and read up on the tutorials on hanging and mudding drywall on younghouselove.com. I gathered everything I had purchased and double checked I had everything I needed a couple of times.

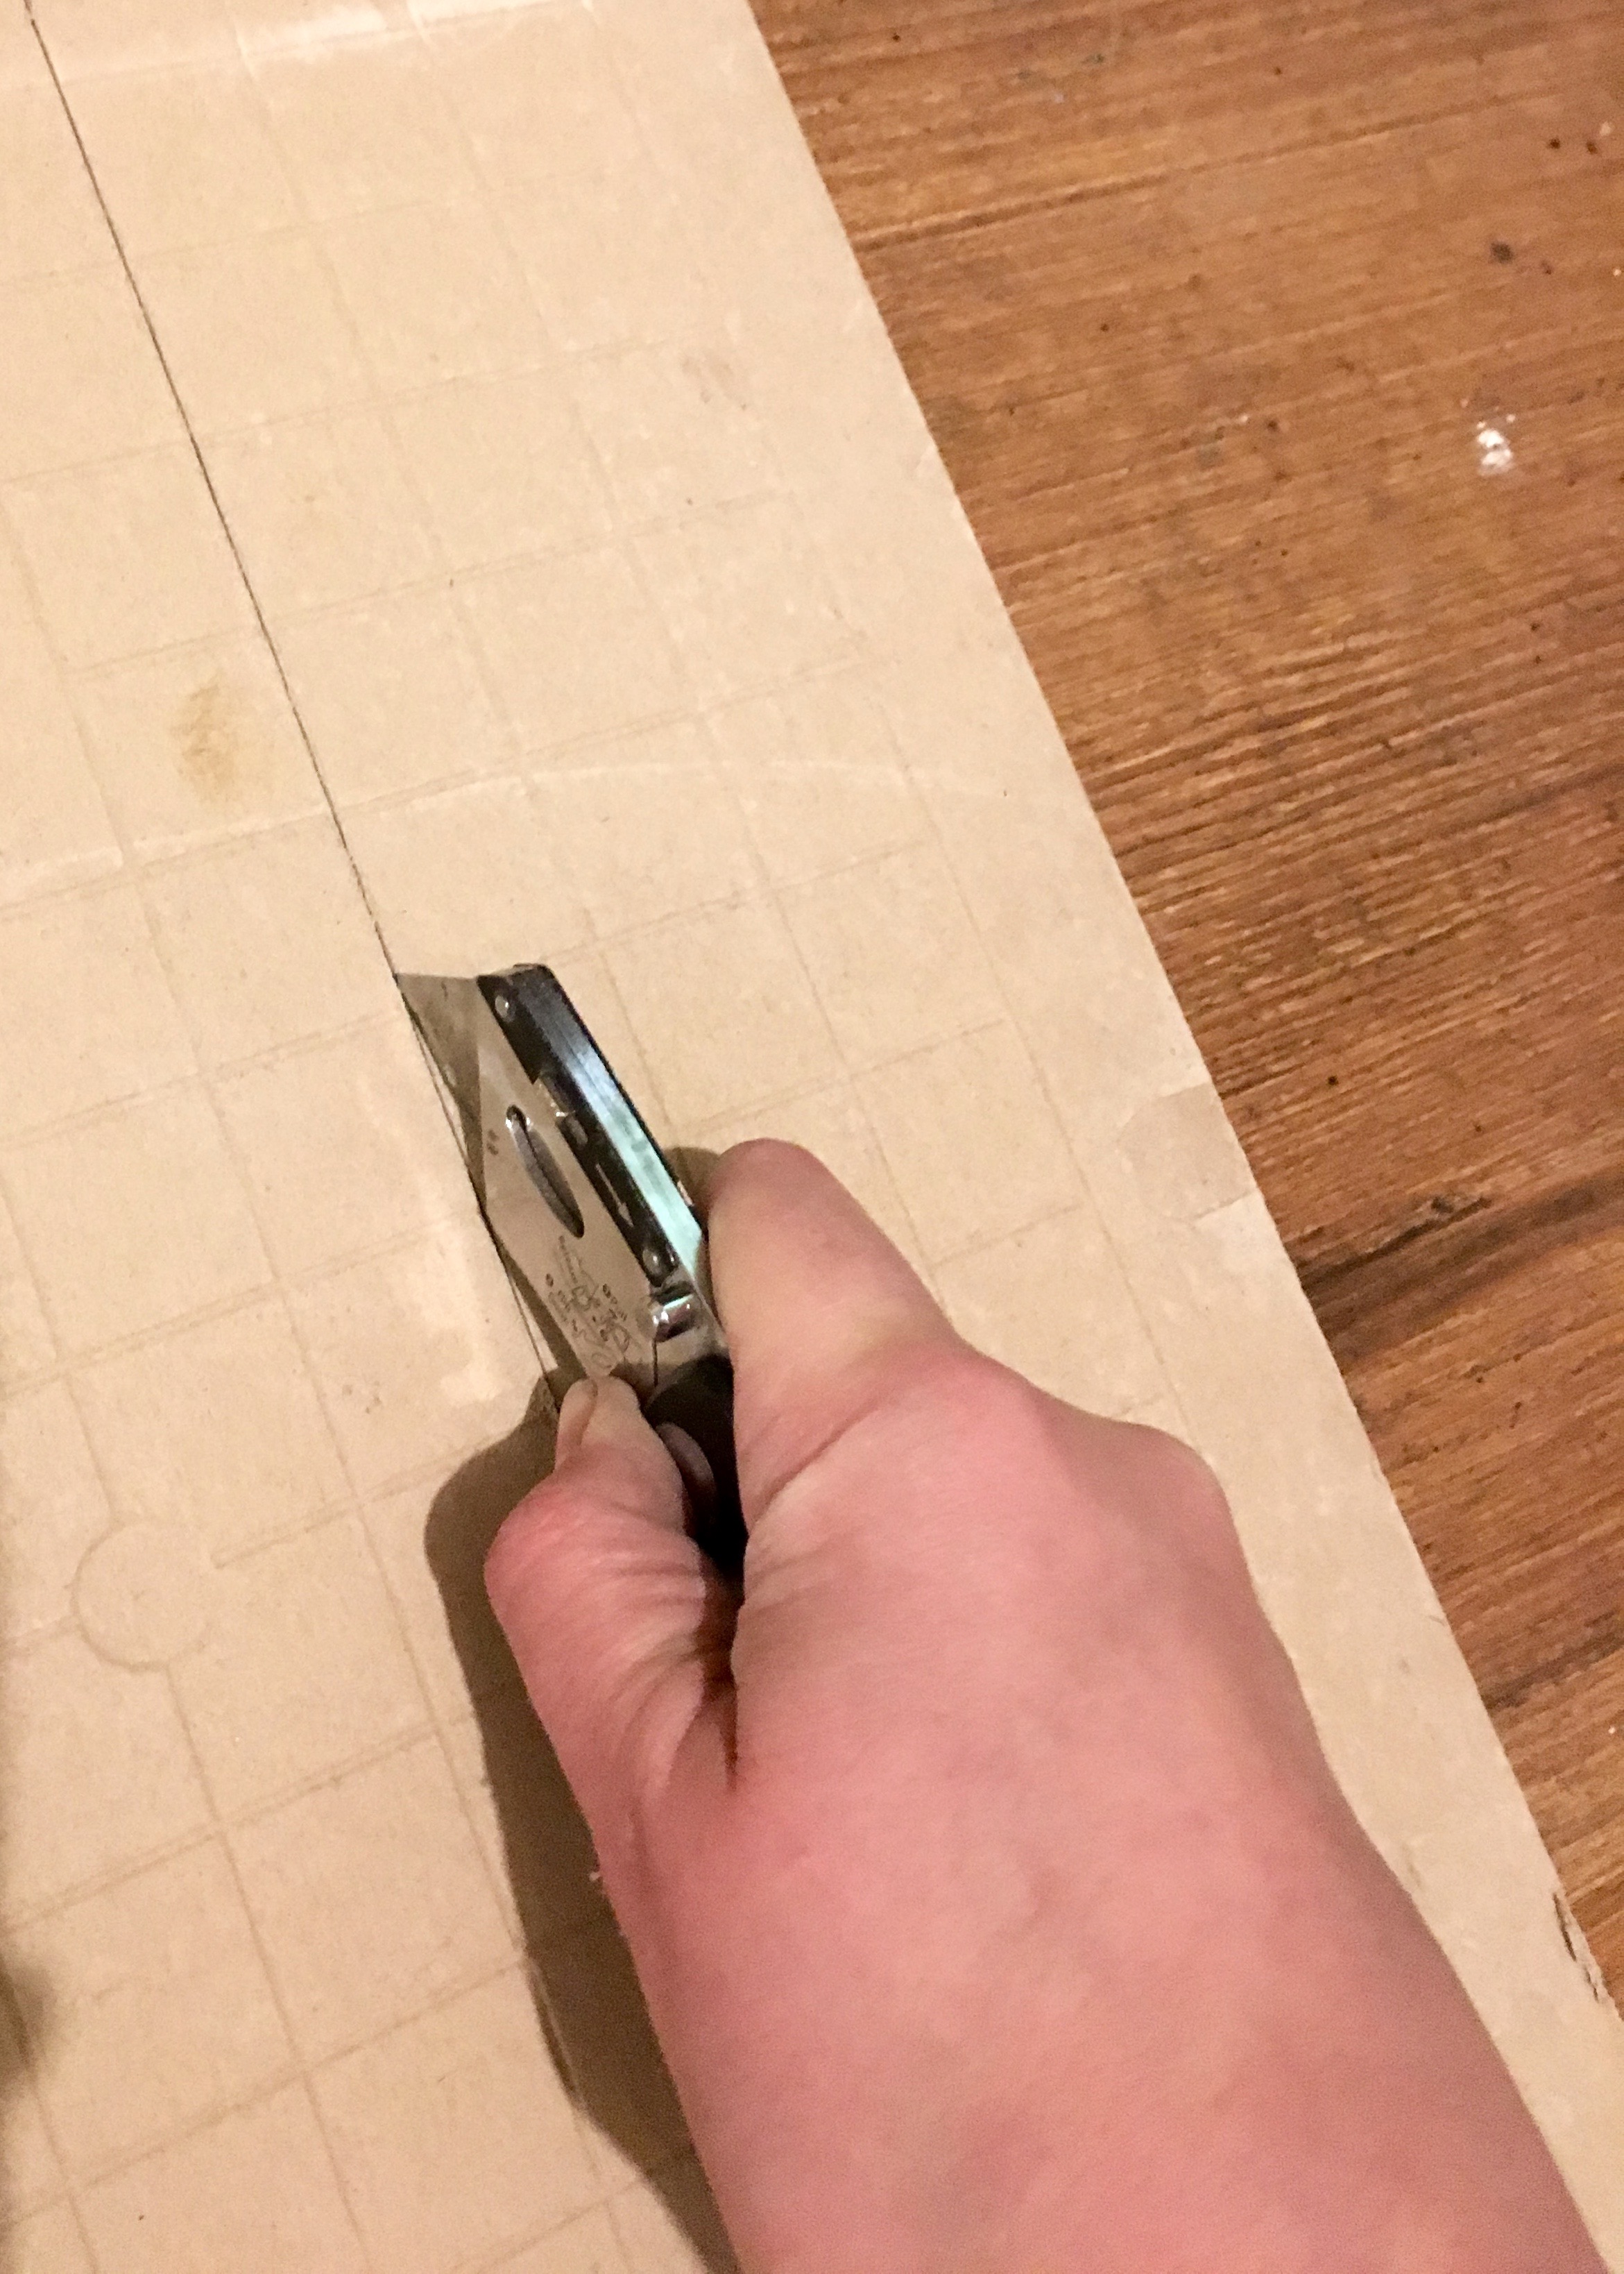
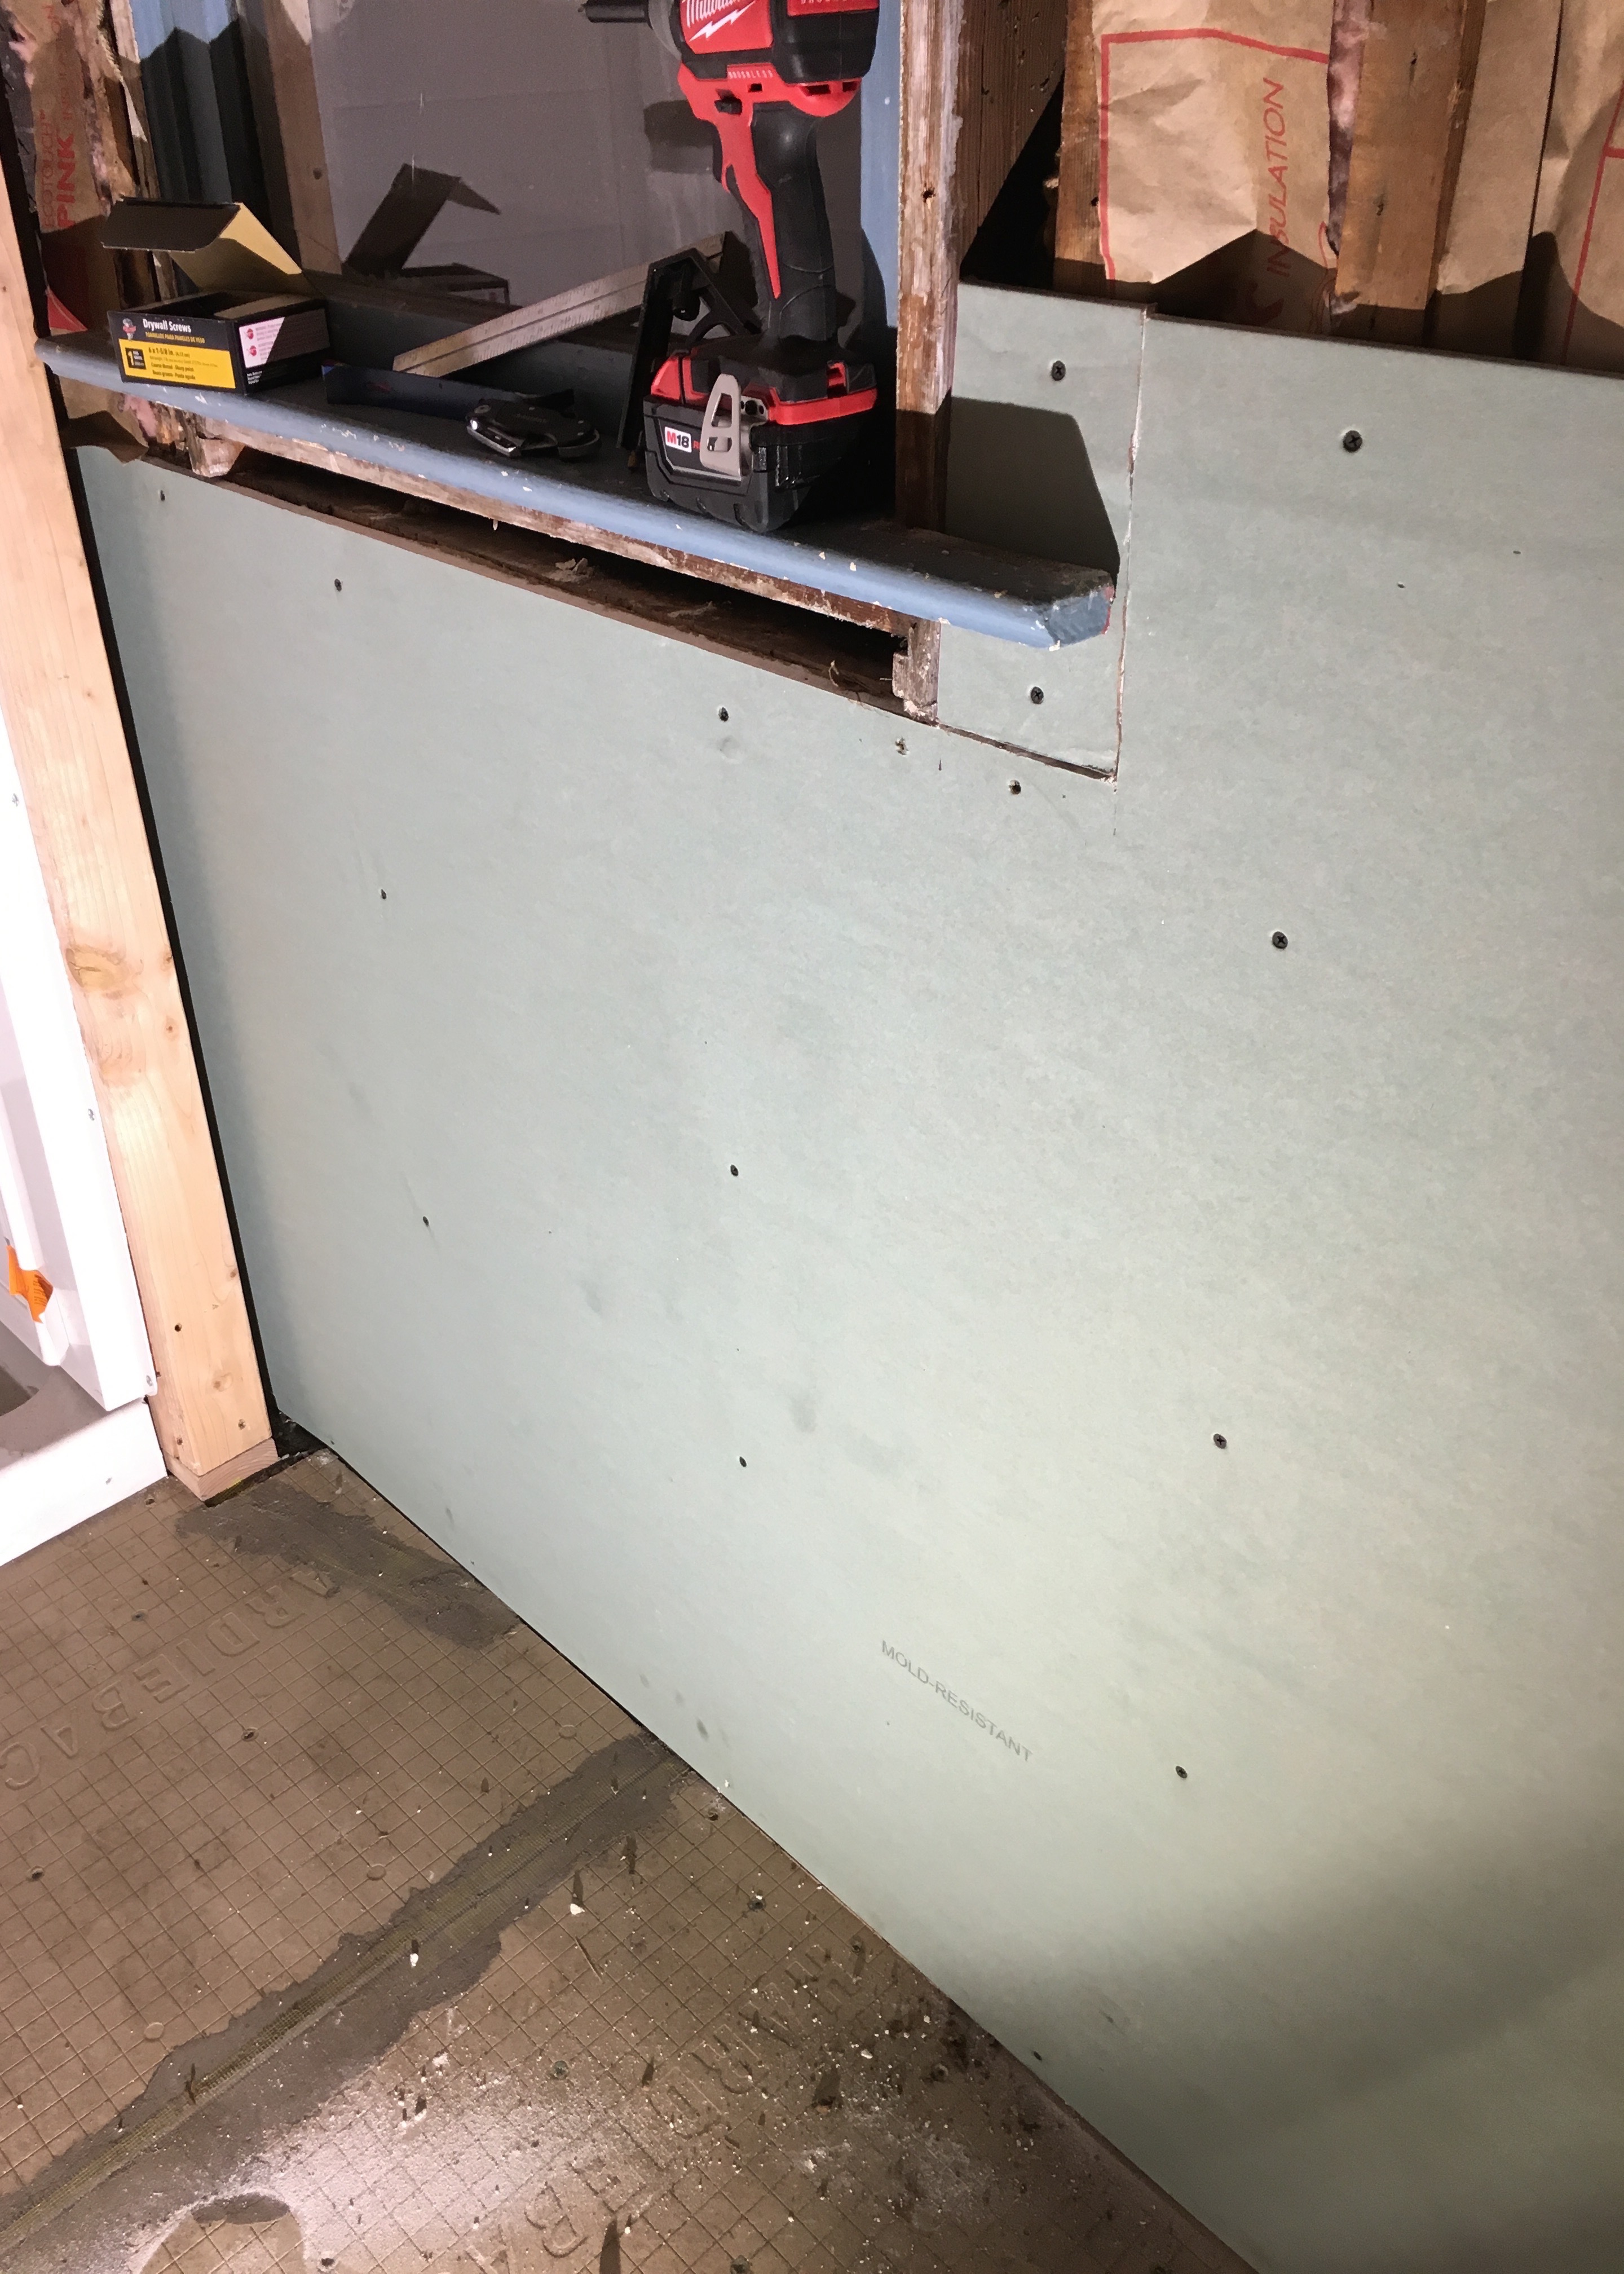
I started with the easiest piece of drywall on my own: the lower part of the exterior wall, just to see how quickly this could go. After I measured the wall a couple times, I scored the paper outside of the drywall with my boxcutter and snapped it neatly along that line. I cut a second piece to fit around the window frame and then shoved the whole thing against the wall and screwed in drywall screws every 16″ with my handy new impact driver.  The whole piece took 20 minutes tops, so I figured the whole room would go very quickly. Ha!

Berrybrier | Drywall First Piece

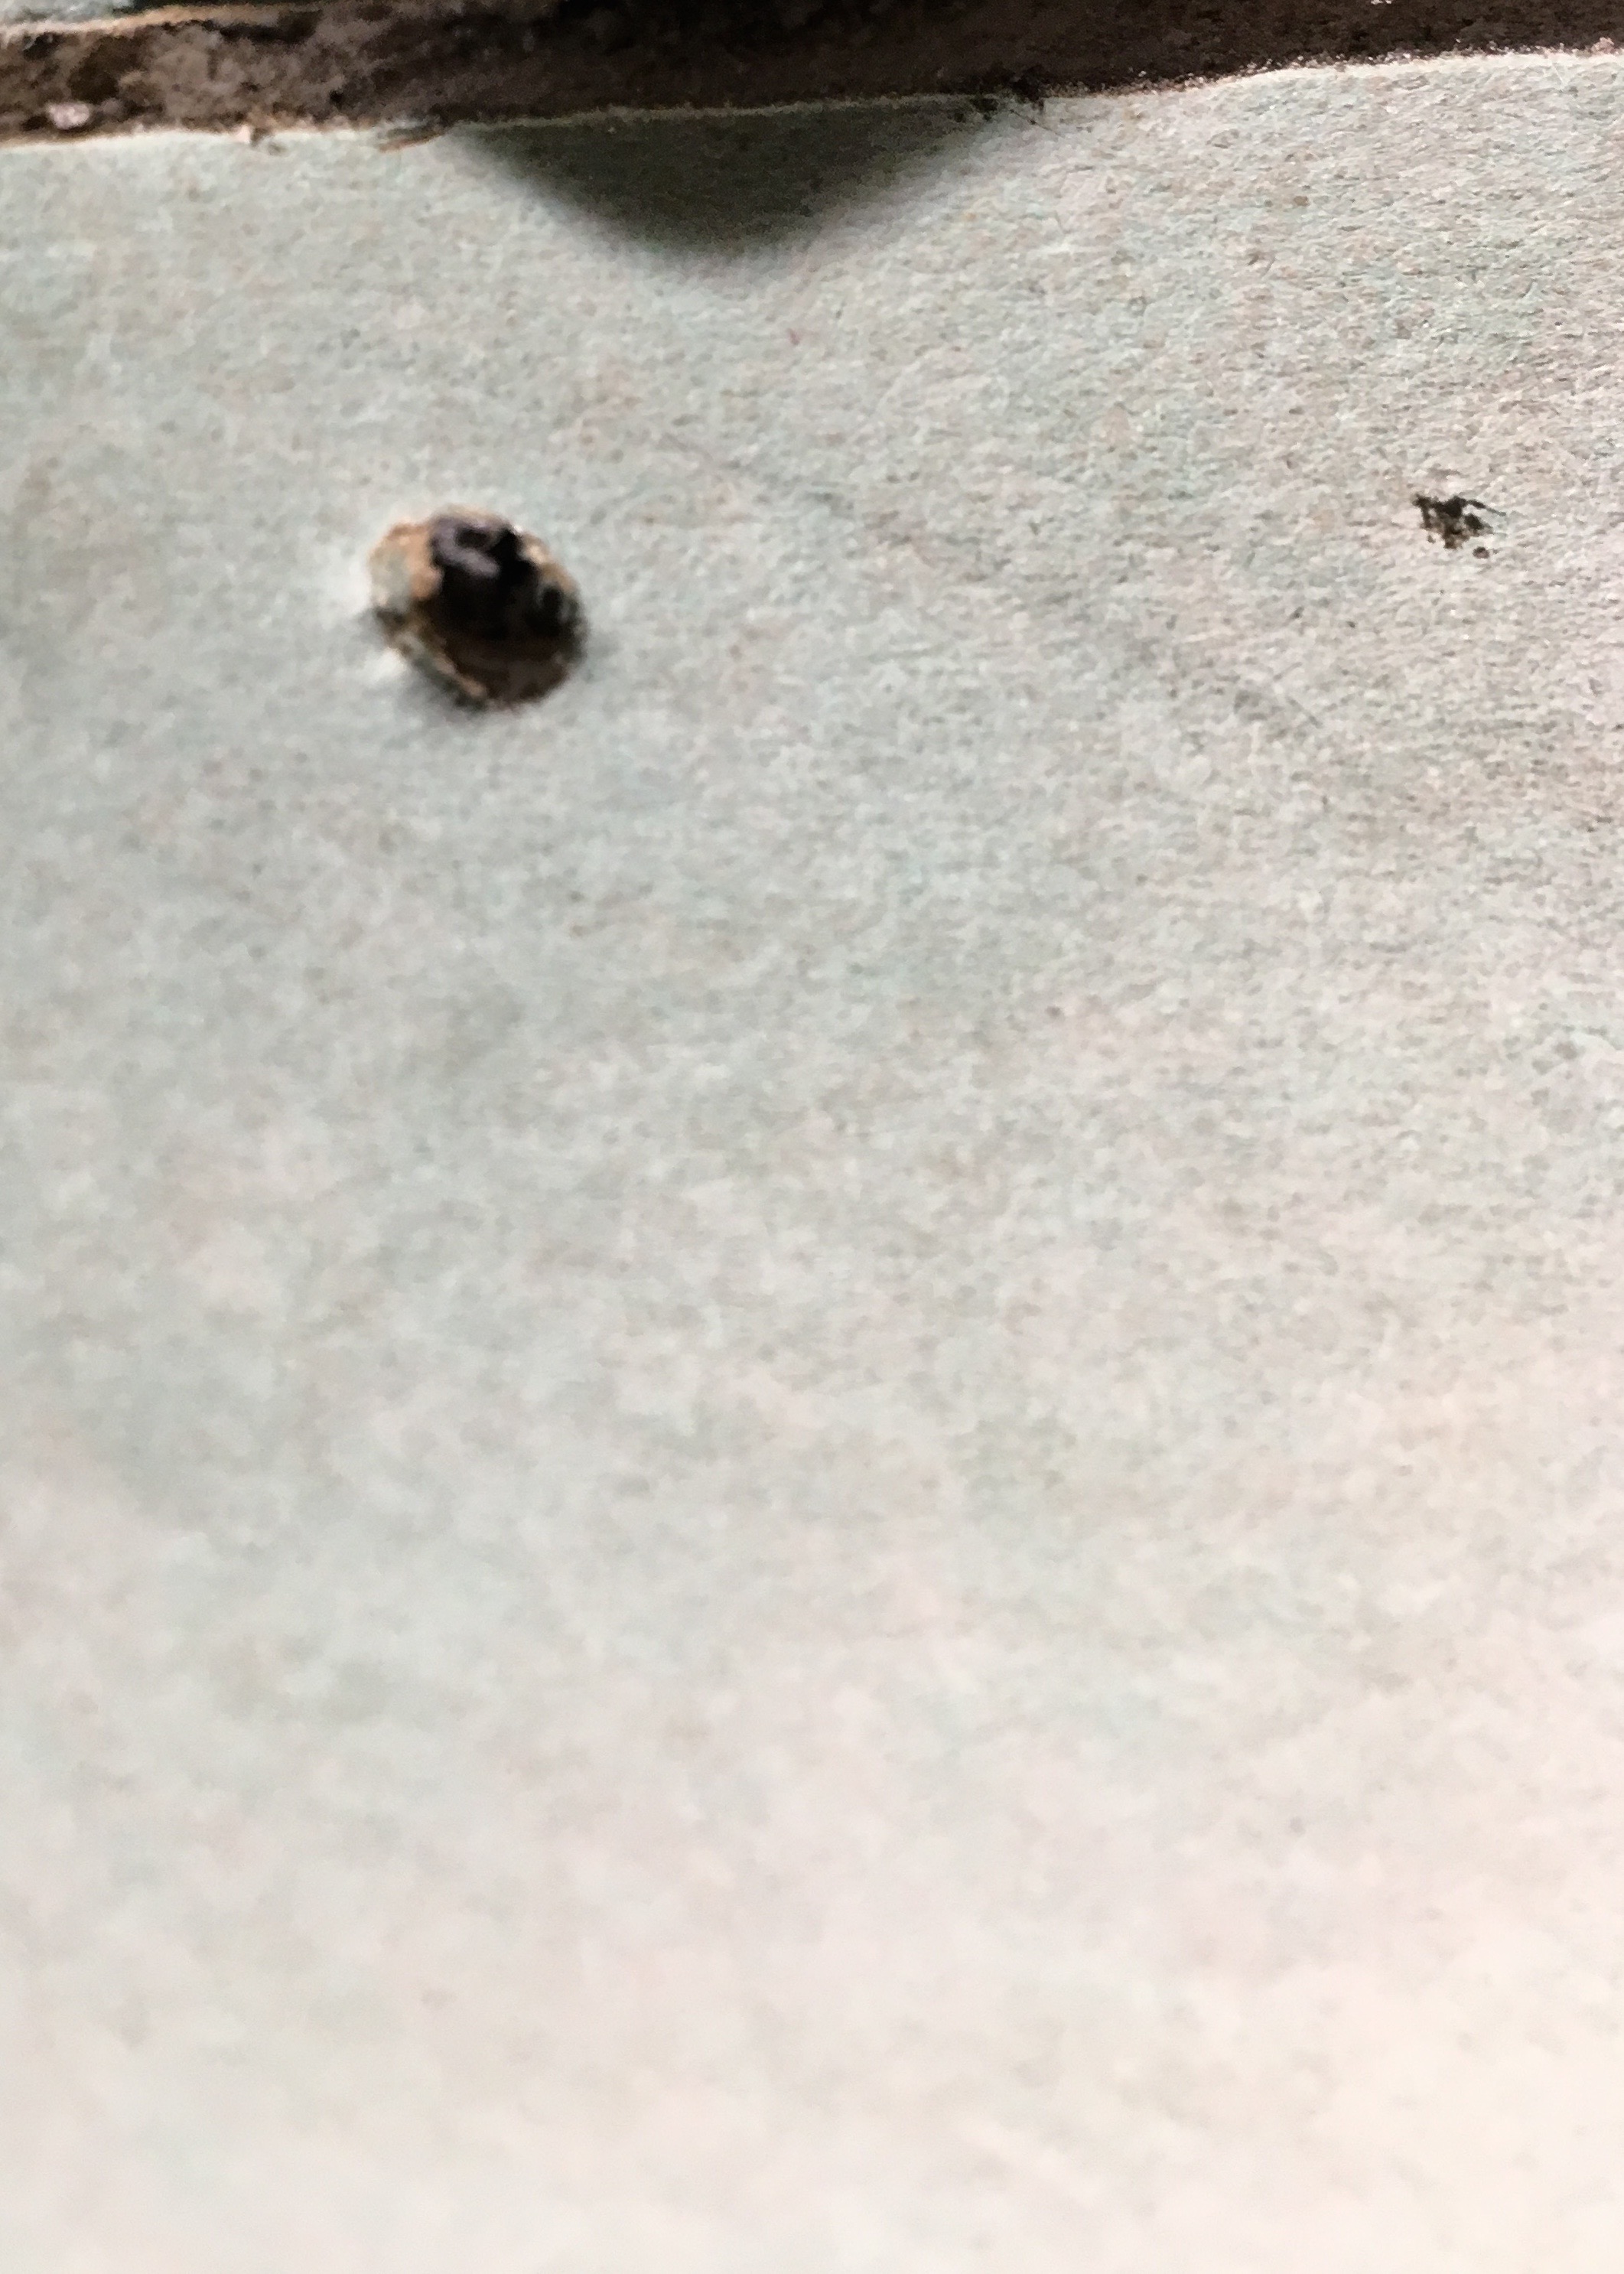
Now they make special drill bits for hanging drywall that prevent you from screwing through the paper and I eventually tried them, but I didn’t care for them as they prevented me from seeing and feeling the screw go in. It’s important to sink the screws just enough to recess their heads, but not enough to break through the paper. Here’s an example of a perfectly sunken screw.

Berrybrier | Drywall Proper Screw

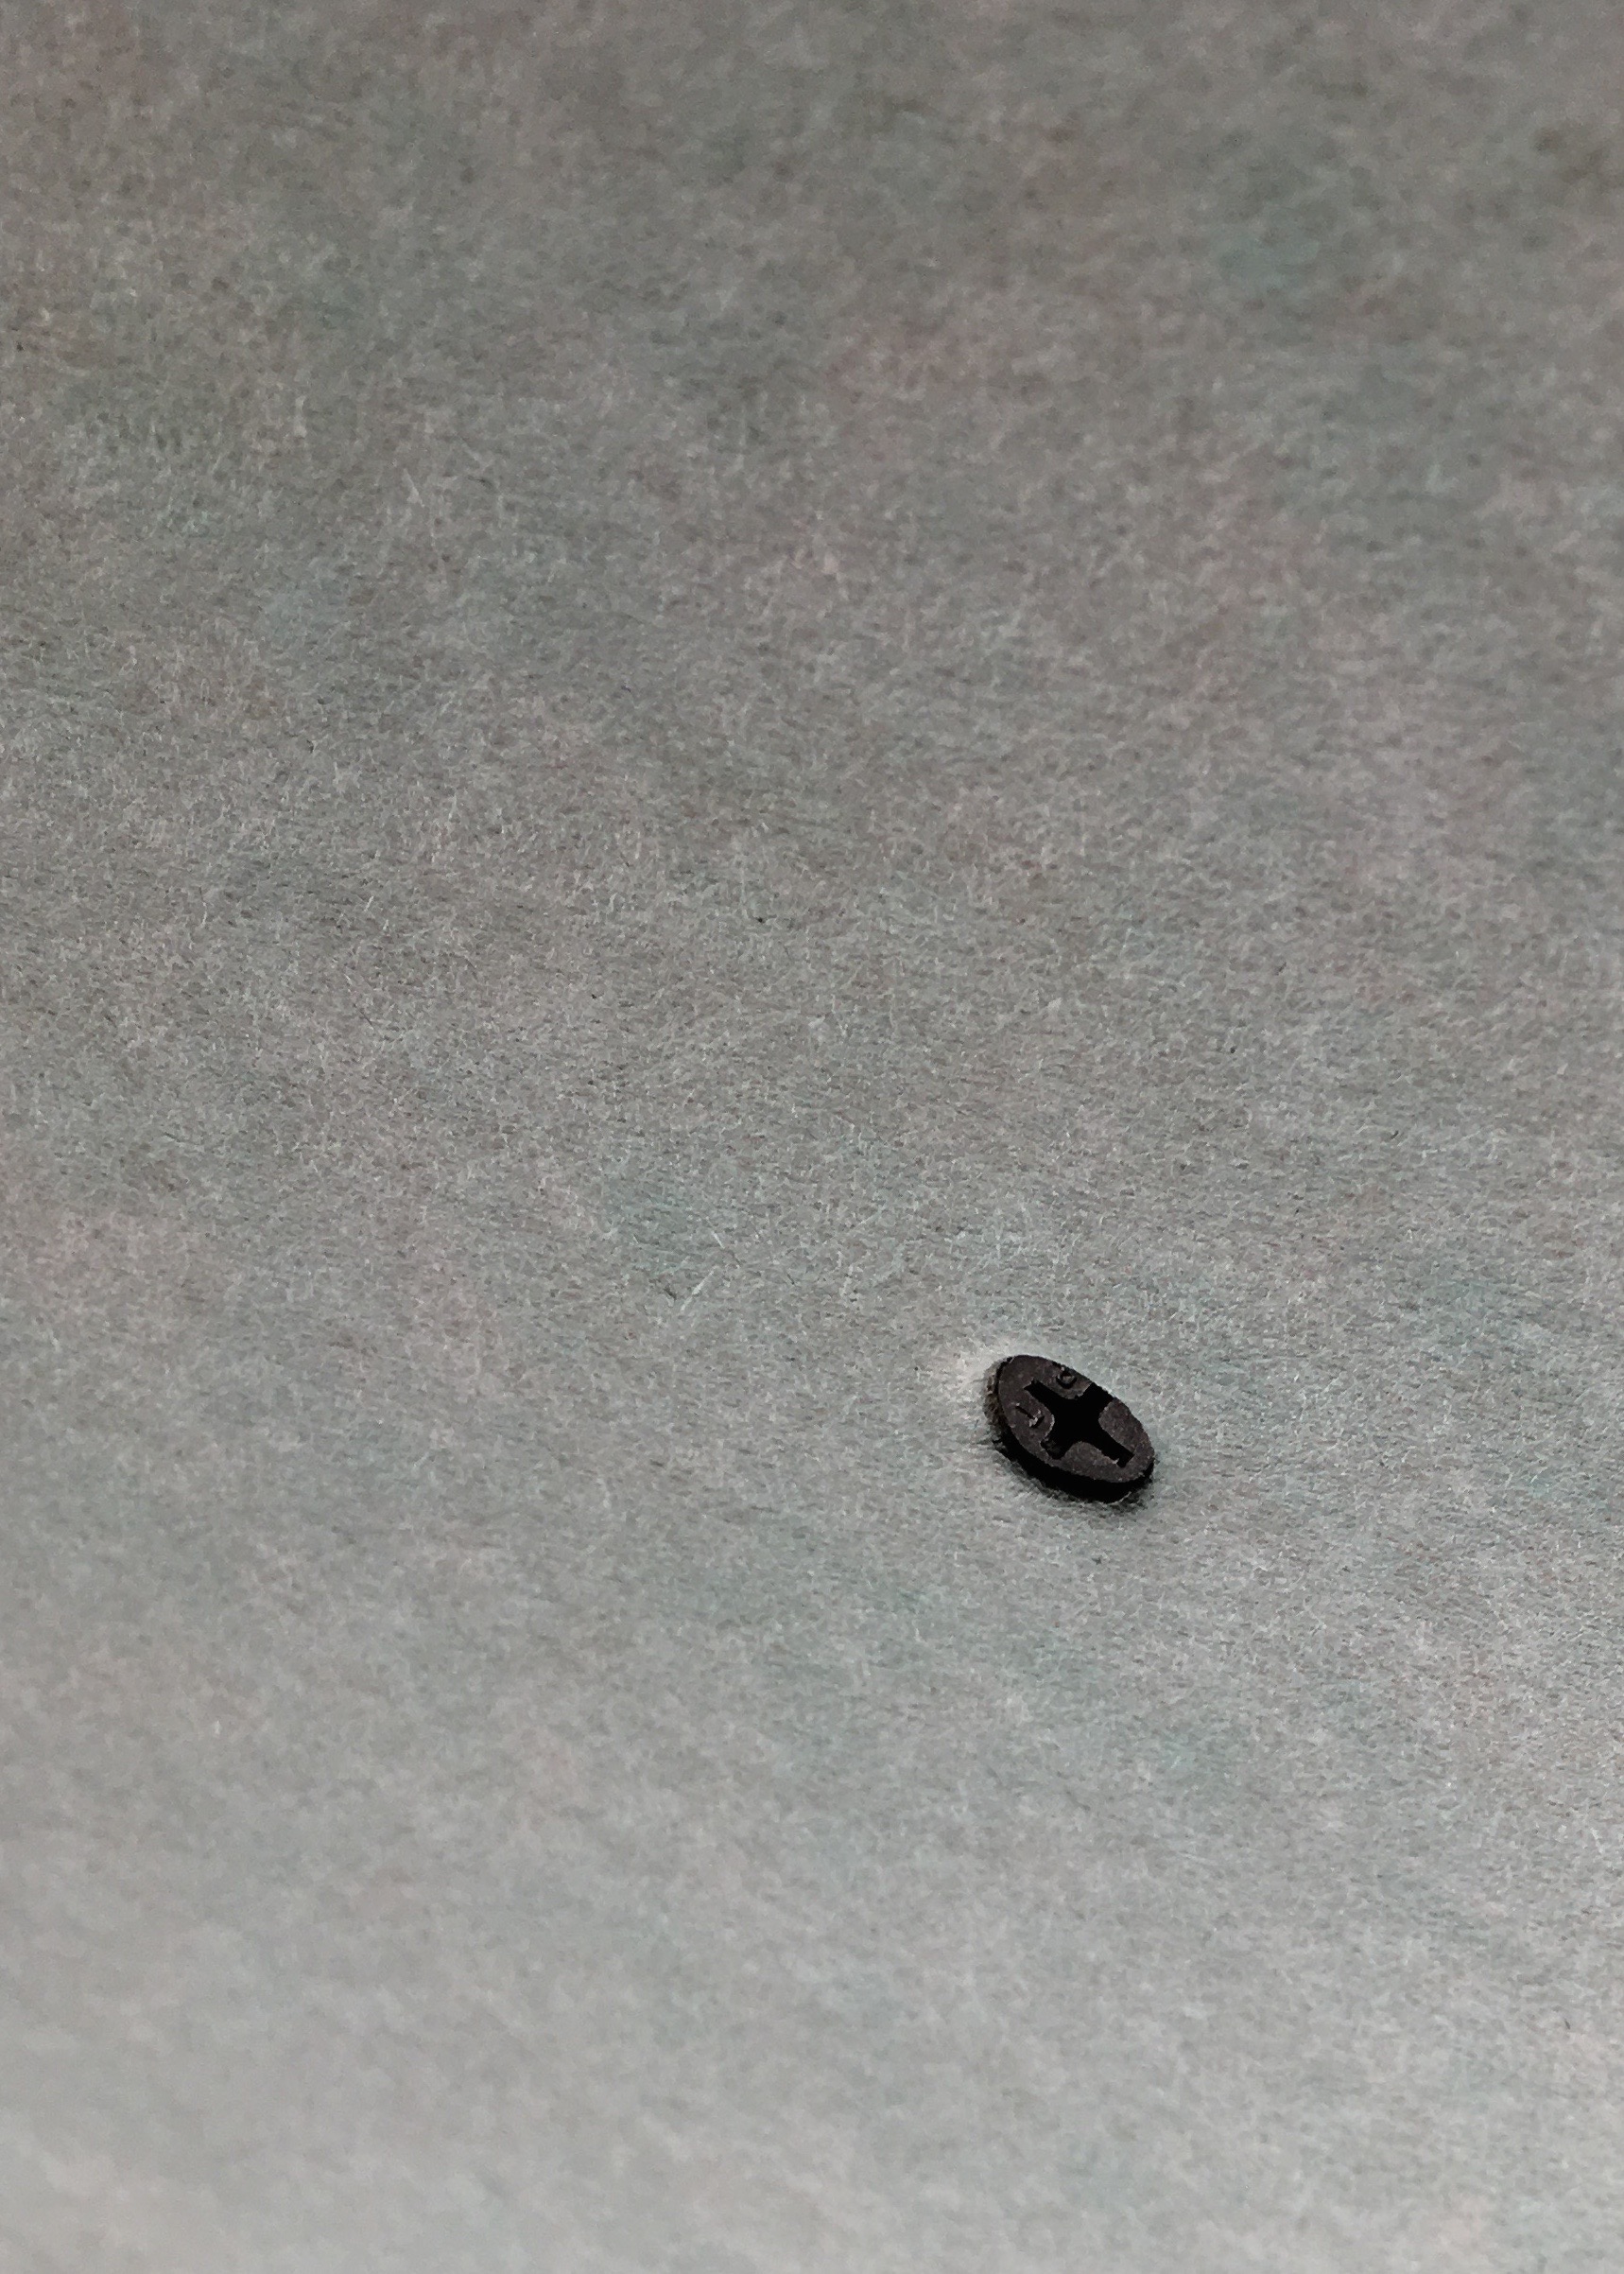
Because the strength of drywall really comes from the paper, it’s super easy to cut (much easier than the hardiebacker!) and once the paper is cut the rest snaps very easily. This means screwing in the boards is a bit sensitive, since if you break through the paper, your screw is no longer holding on to anything at all. Here’s where my screw went in a little too far, you can see the rough edges. It’s a delicate balance of trying to get the screw to sink juuuust right. But once you get the hang of it, screwing into the drywall is pretty easy and if you mess up, you just sink another screw near the first. No big deal.

Berrybrier | Bad Screw

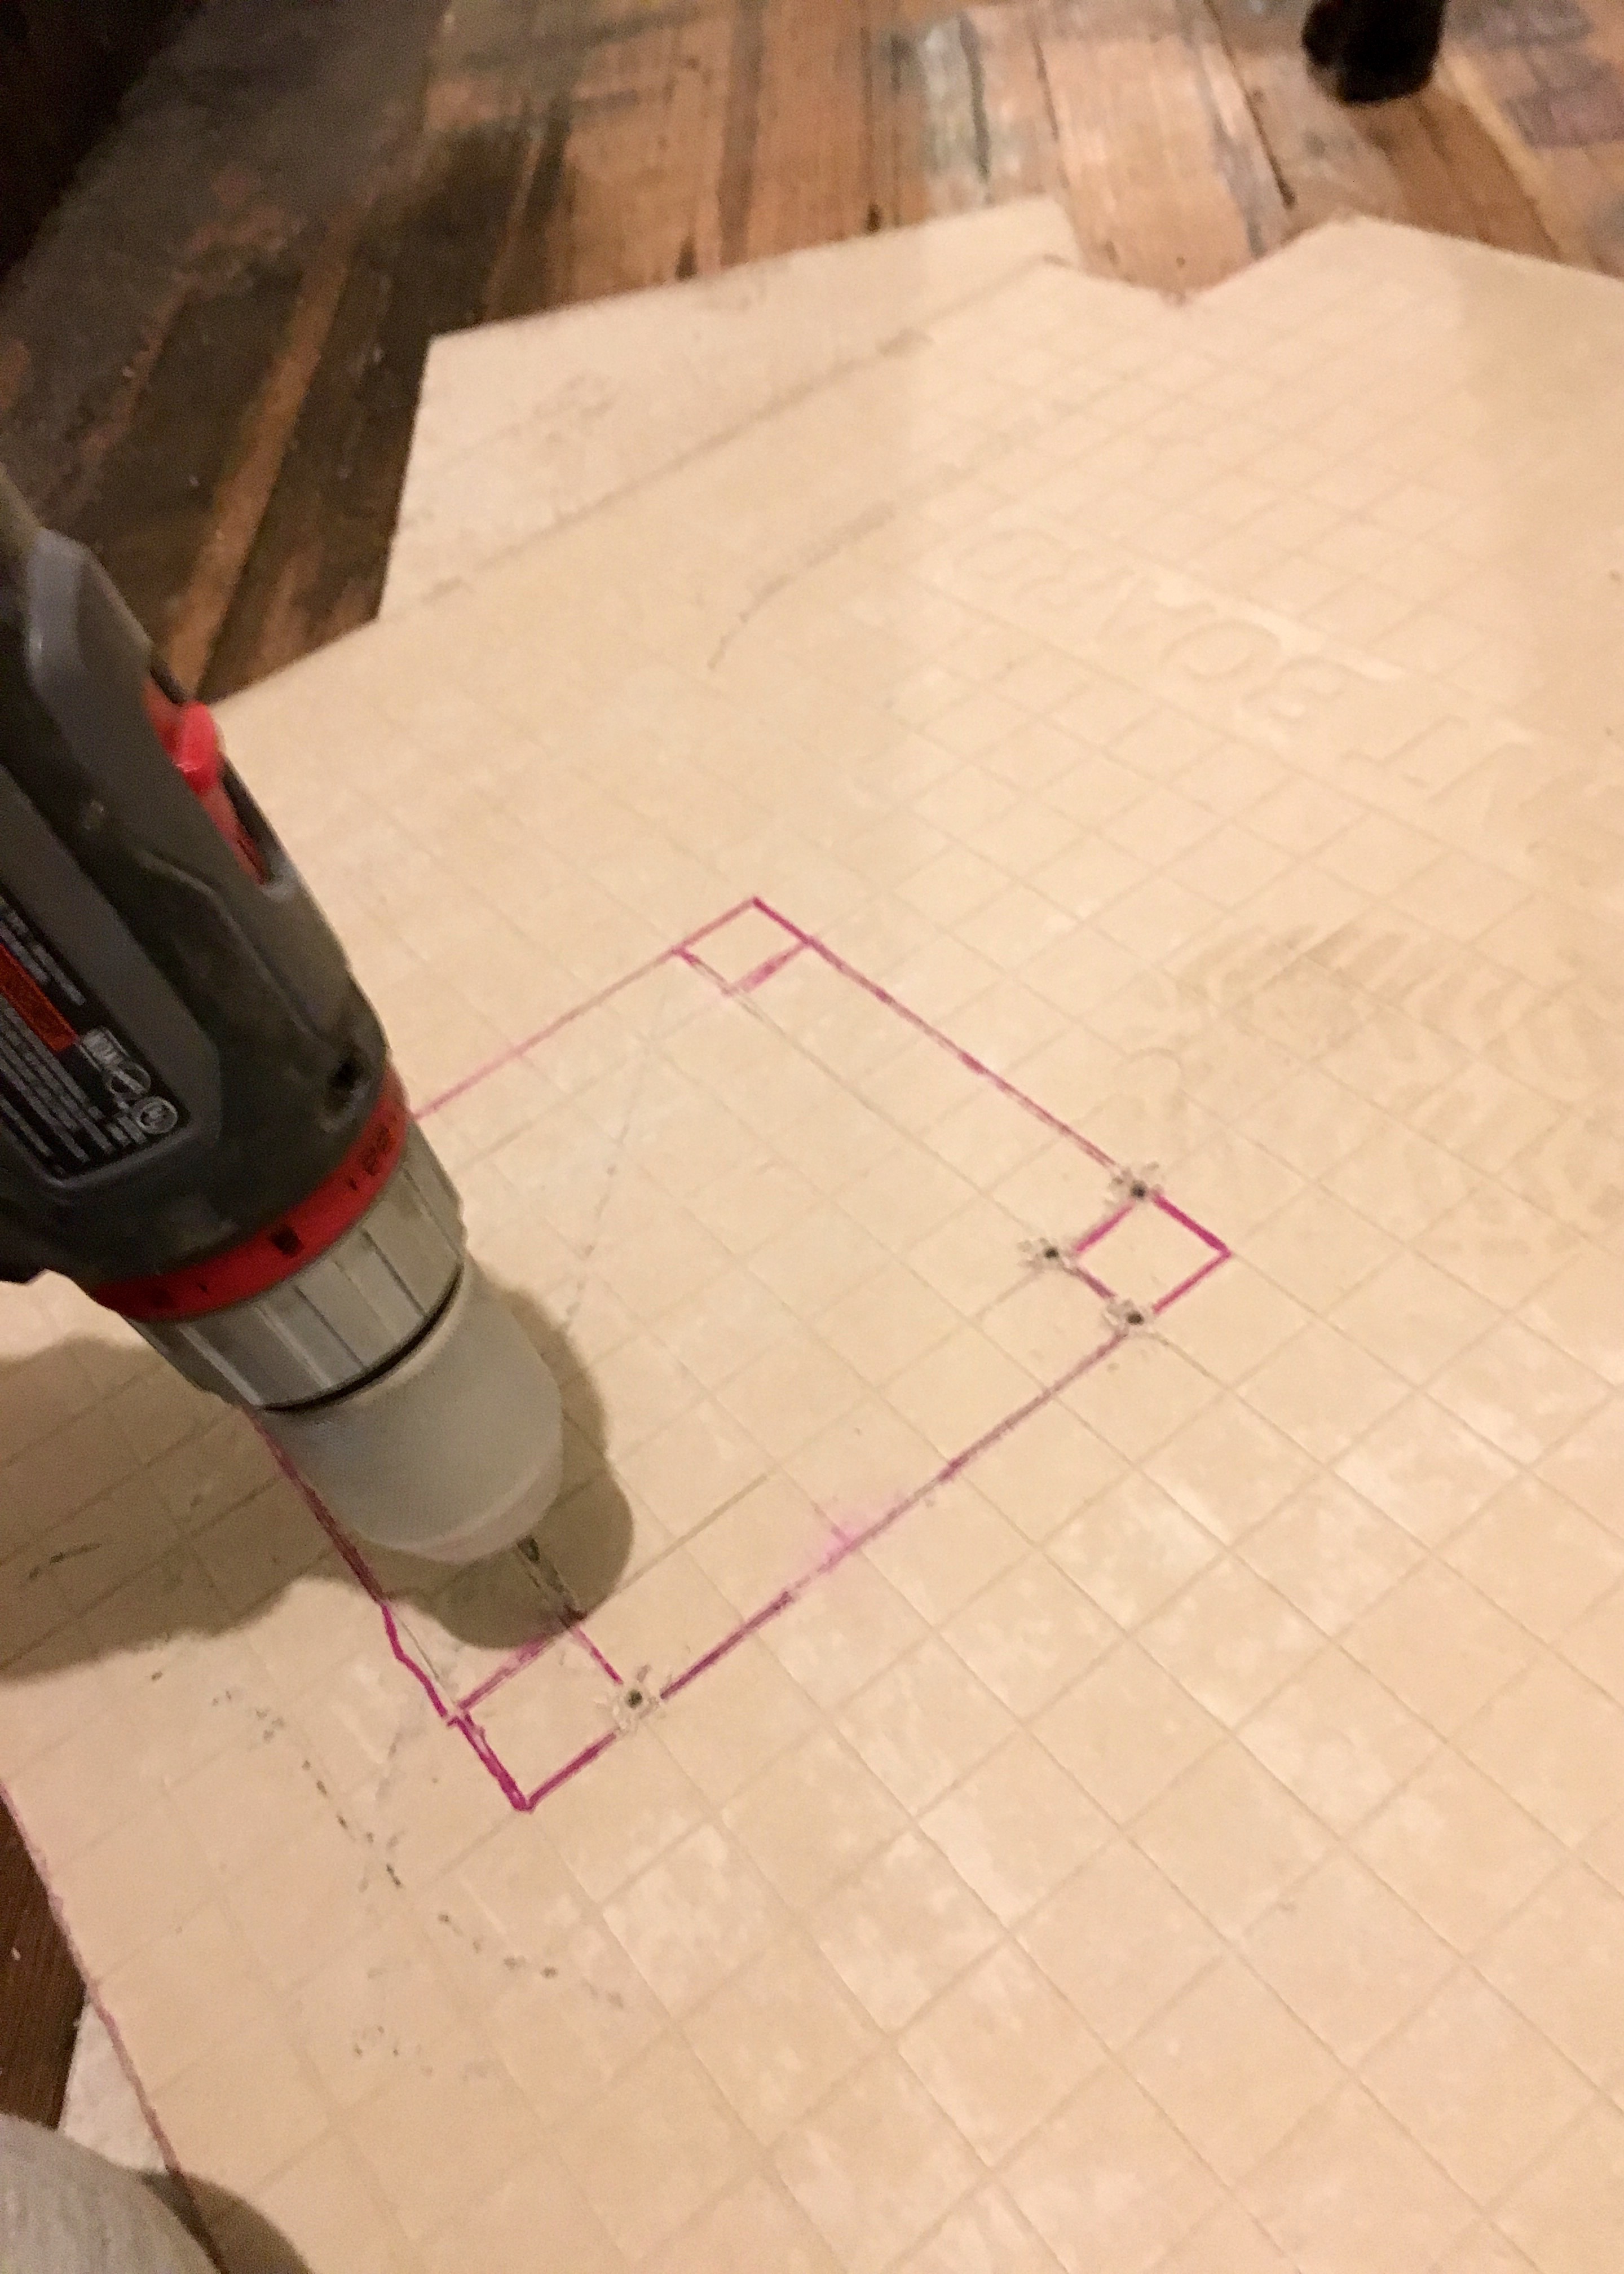
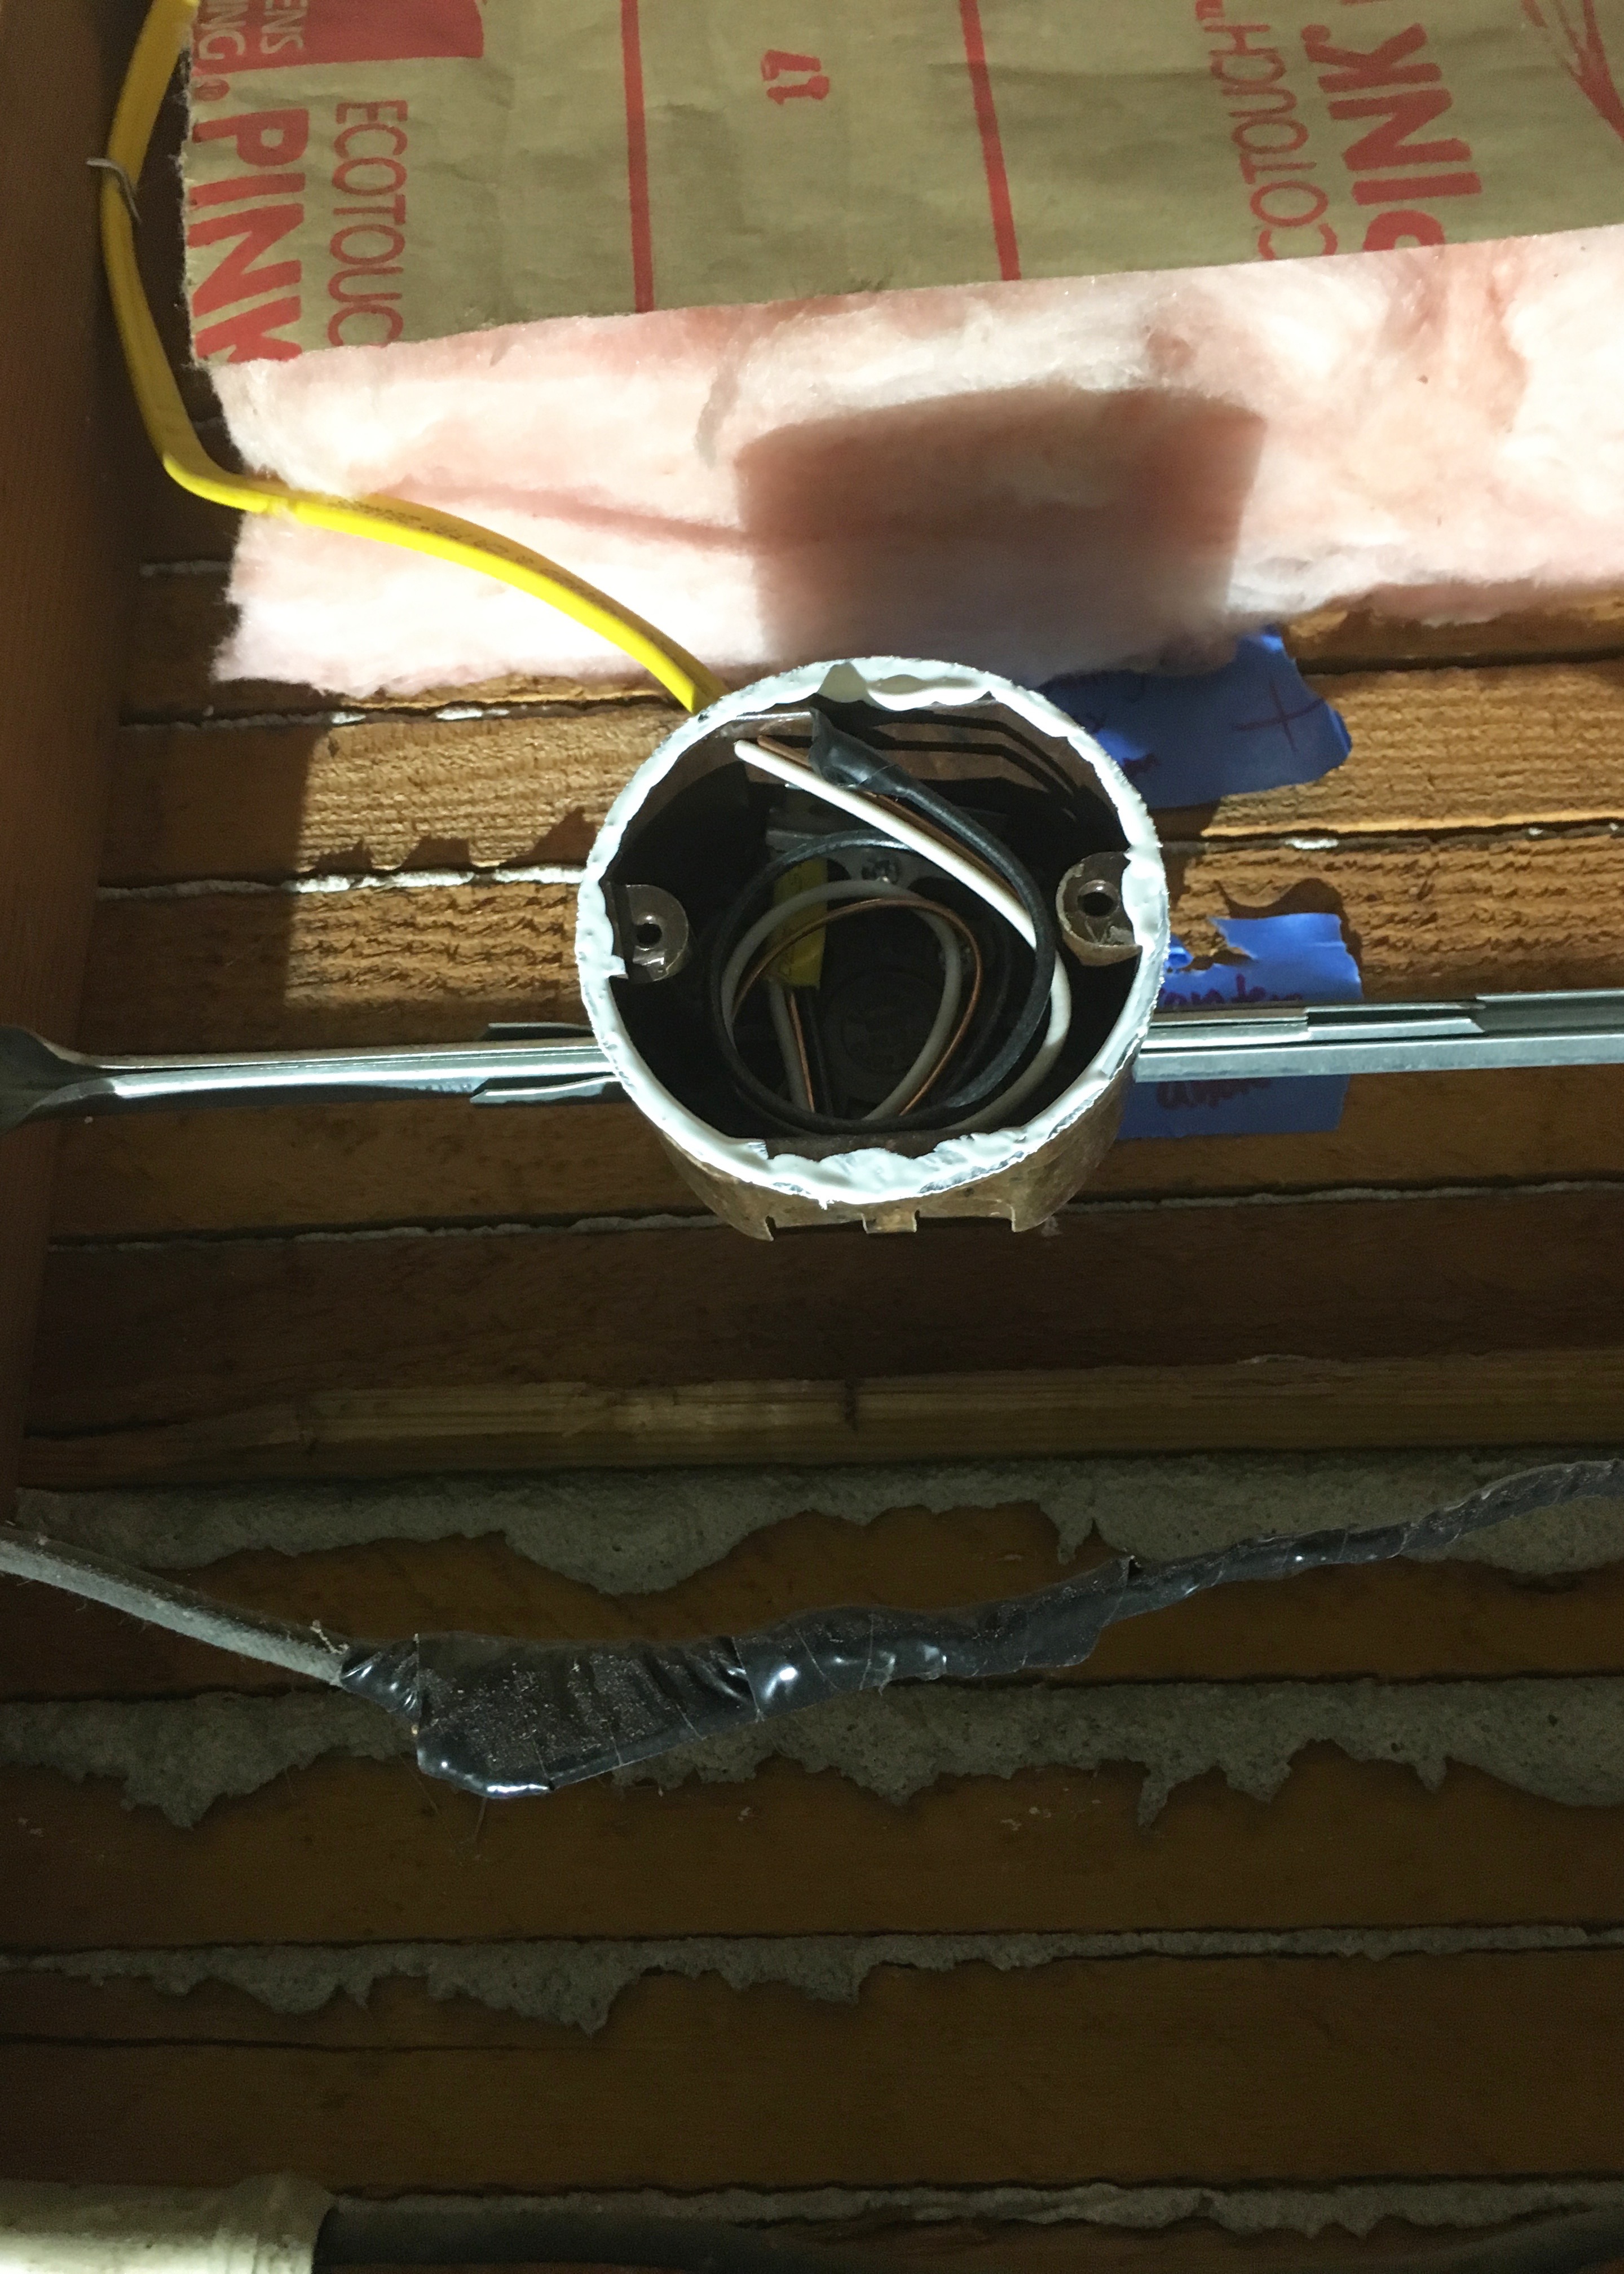
Later that week Janik arrived at my house ready to help hang the rest of the drywall. We got right to work templating the places to cut holes into the drywall sheets on the opposite side of the room. I took some primer that was nearby and dabbed it all over the edge of the sconce electrical box edge. Then we simply cut our sheet to the correct length and pressed it against the wall and electrical box. The primer left a nice circle on the sheet and I cut that out with a jagged edge drywall knife and gave the sheet a tight fit around the box.

Berrybrier | Templateing Holes

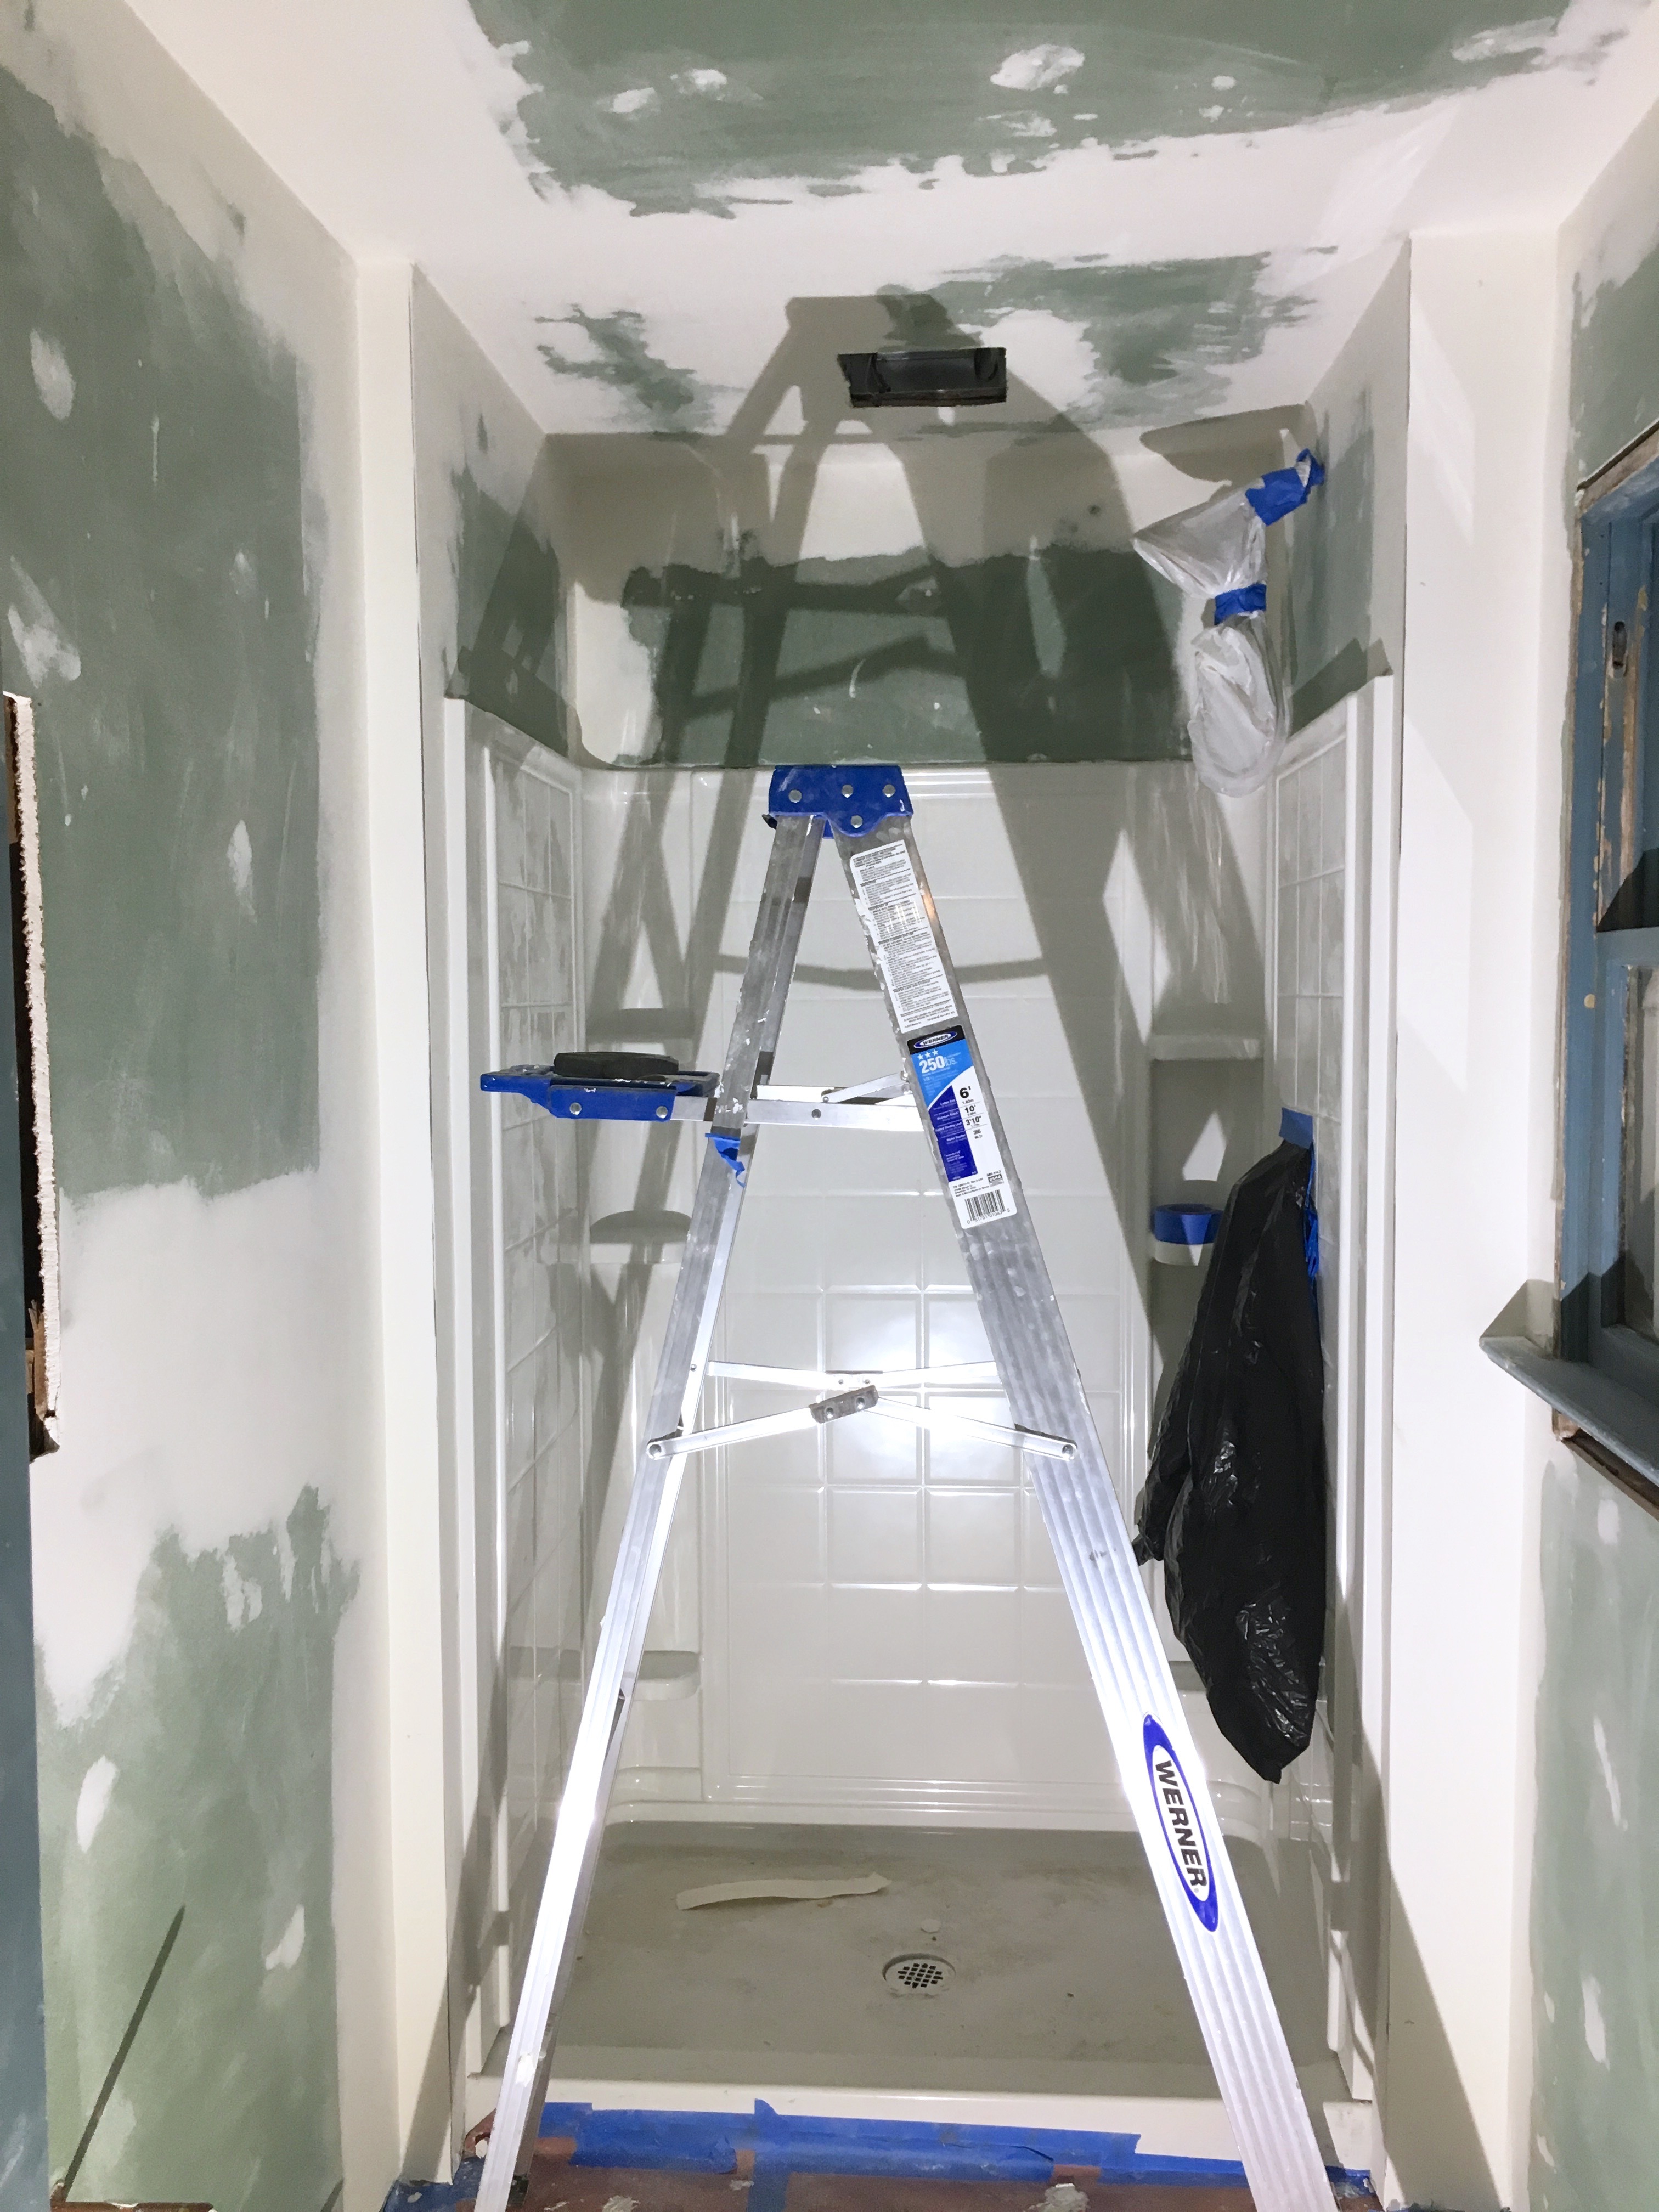
Piece after piece the walls came together and the bathroom became room-like again! It worked well to have two people on this job as one person could hold the sheets and the other person could screw. That sounds dirty, but you know what I mean! We made a good team since Janik is much more of a precision type person and I am a “well, it’s good enough” kinda person so the drywall job ended up right in the happy middle of those two as we worked efficiently around the room. I was particularly grateful for a second person when we started the ceiling since our arms were both screaming waiting for the other person to finish screwing in the sheets above our heads.

Berrybrier | Drywall Second Person

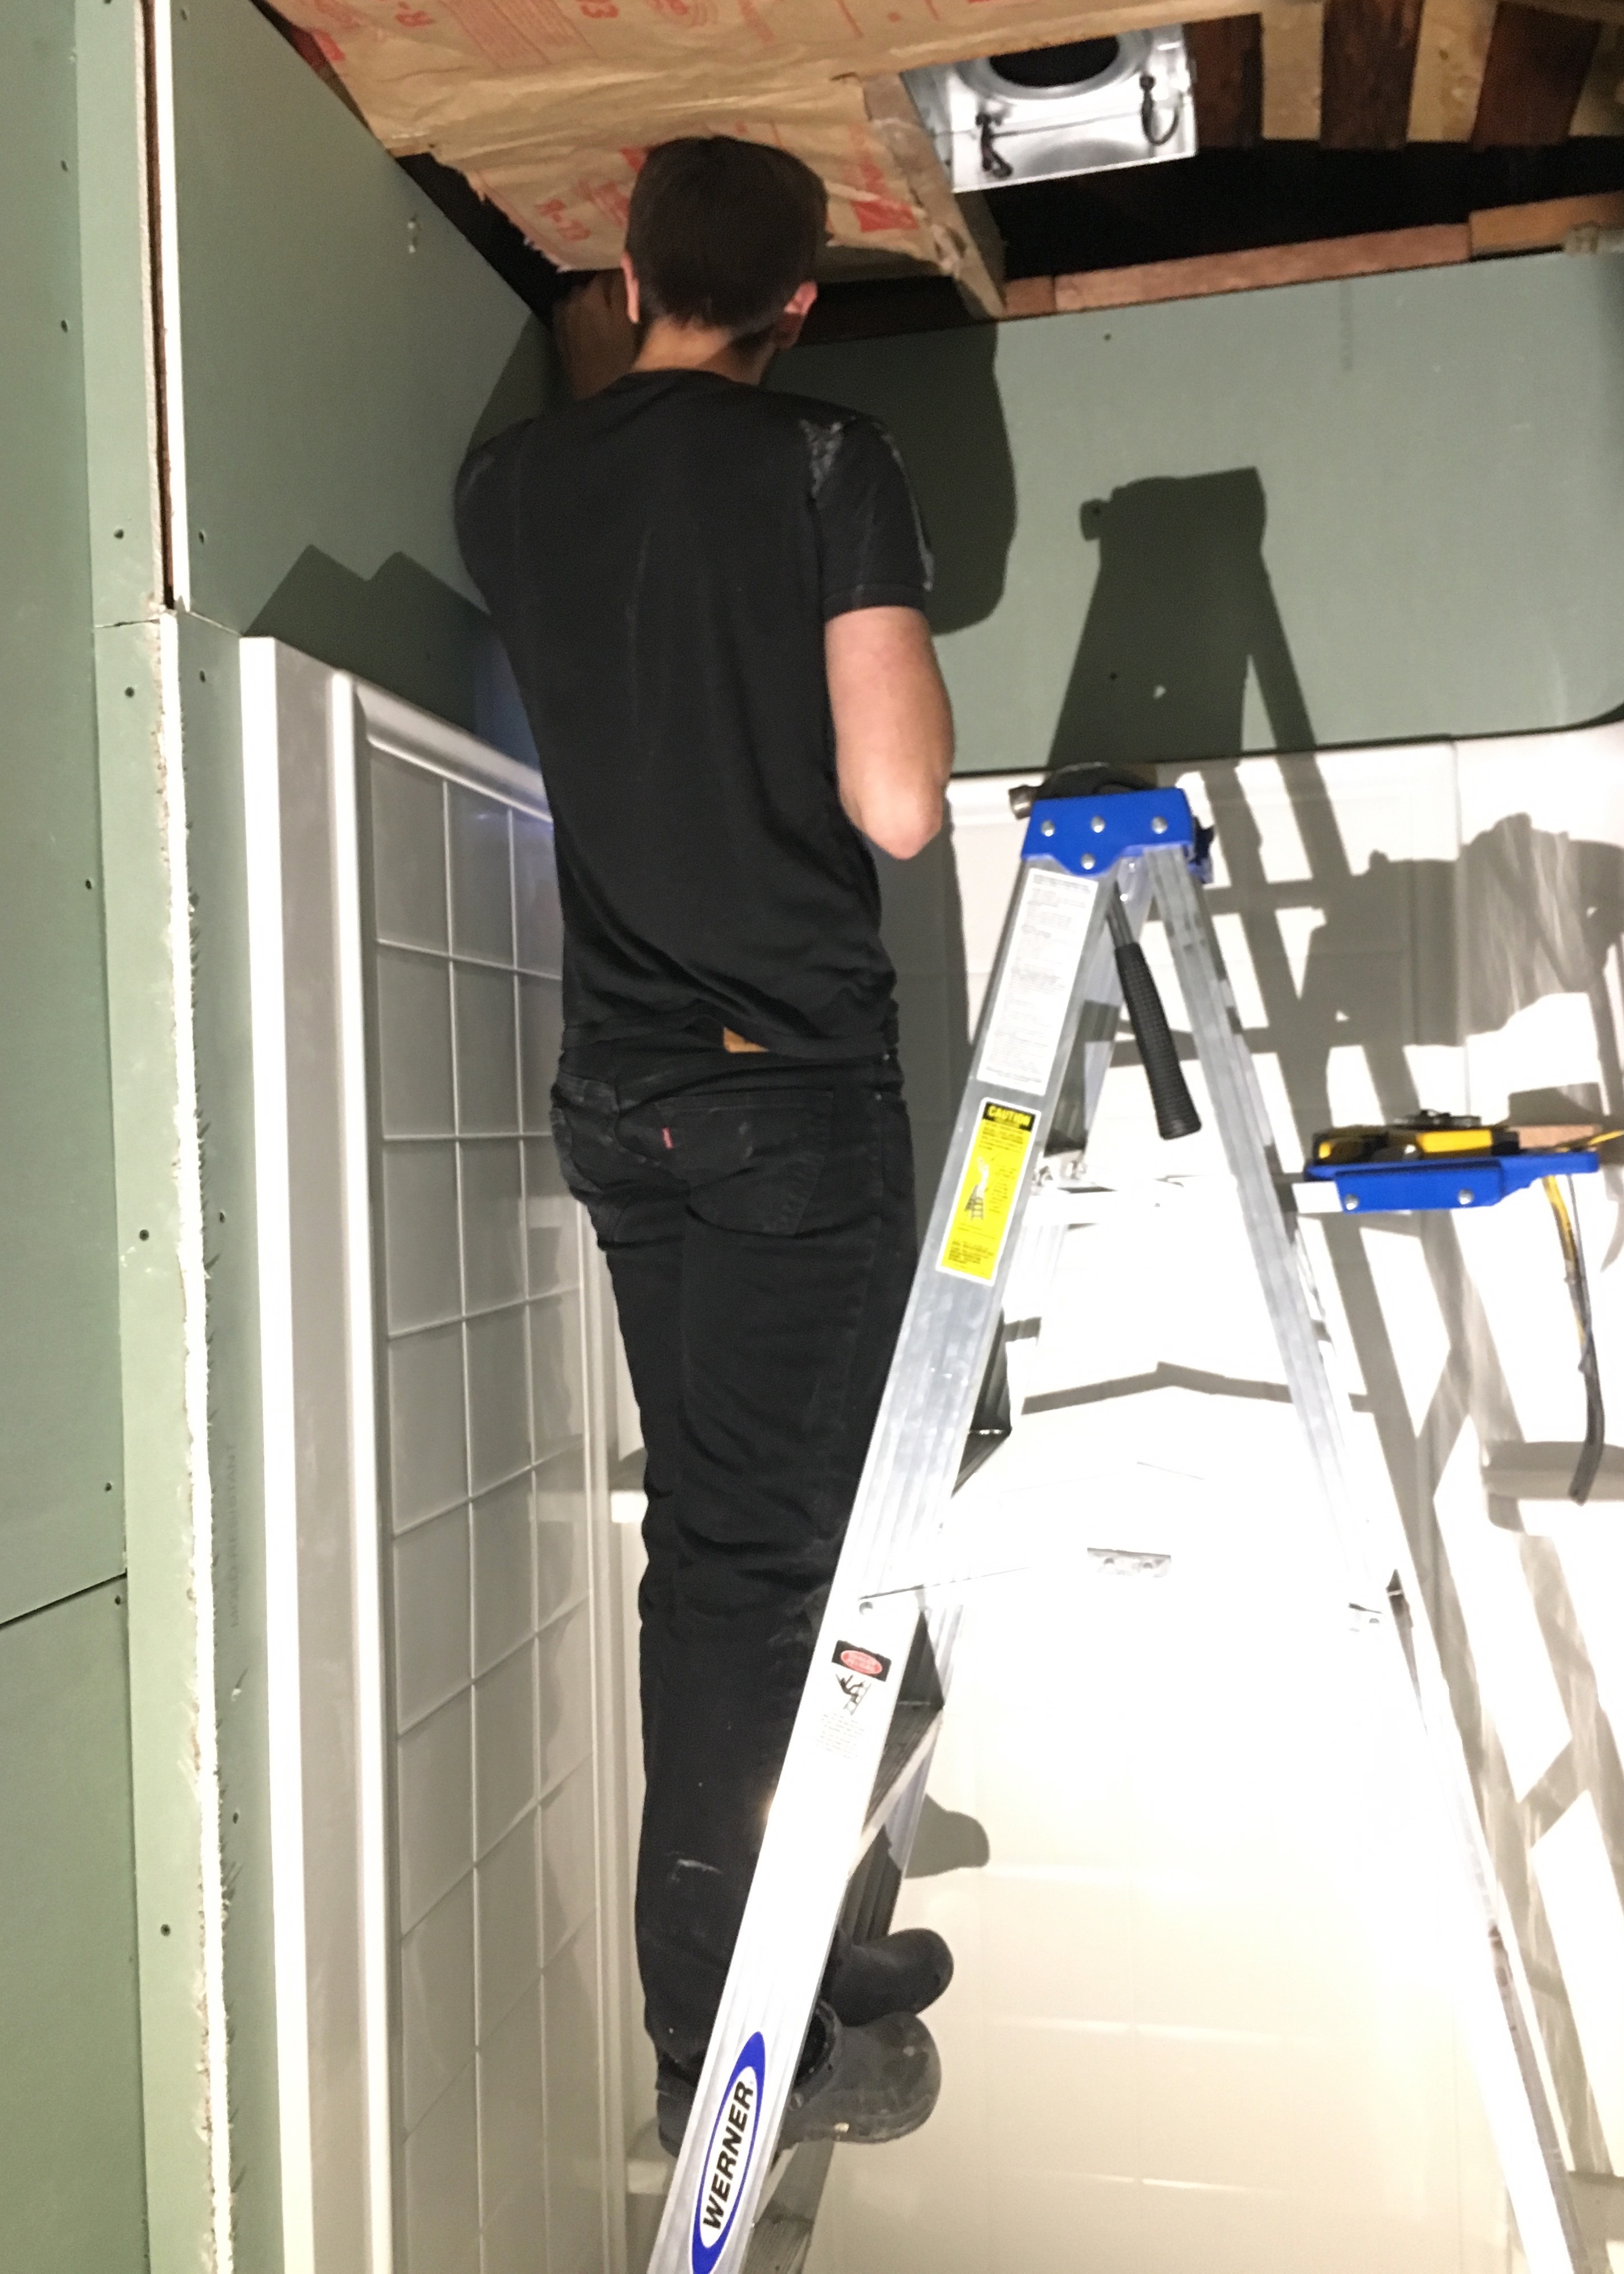
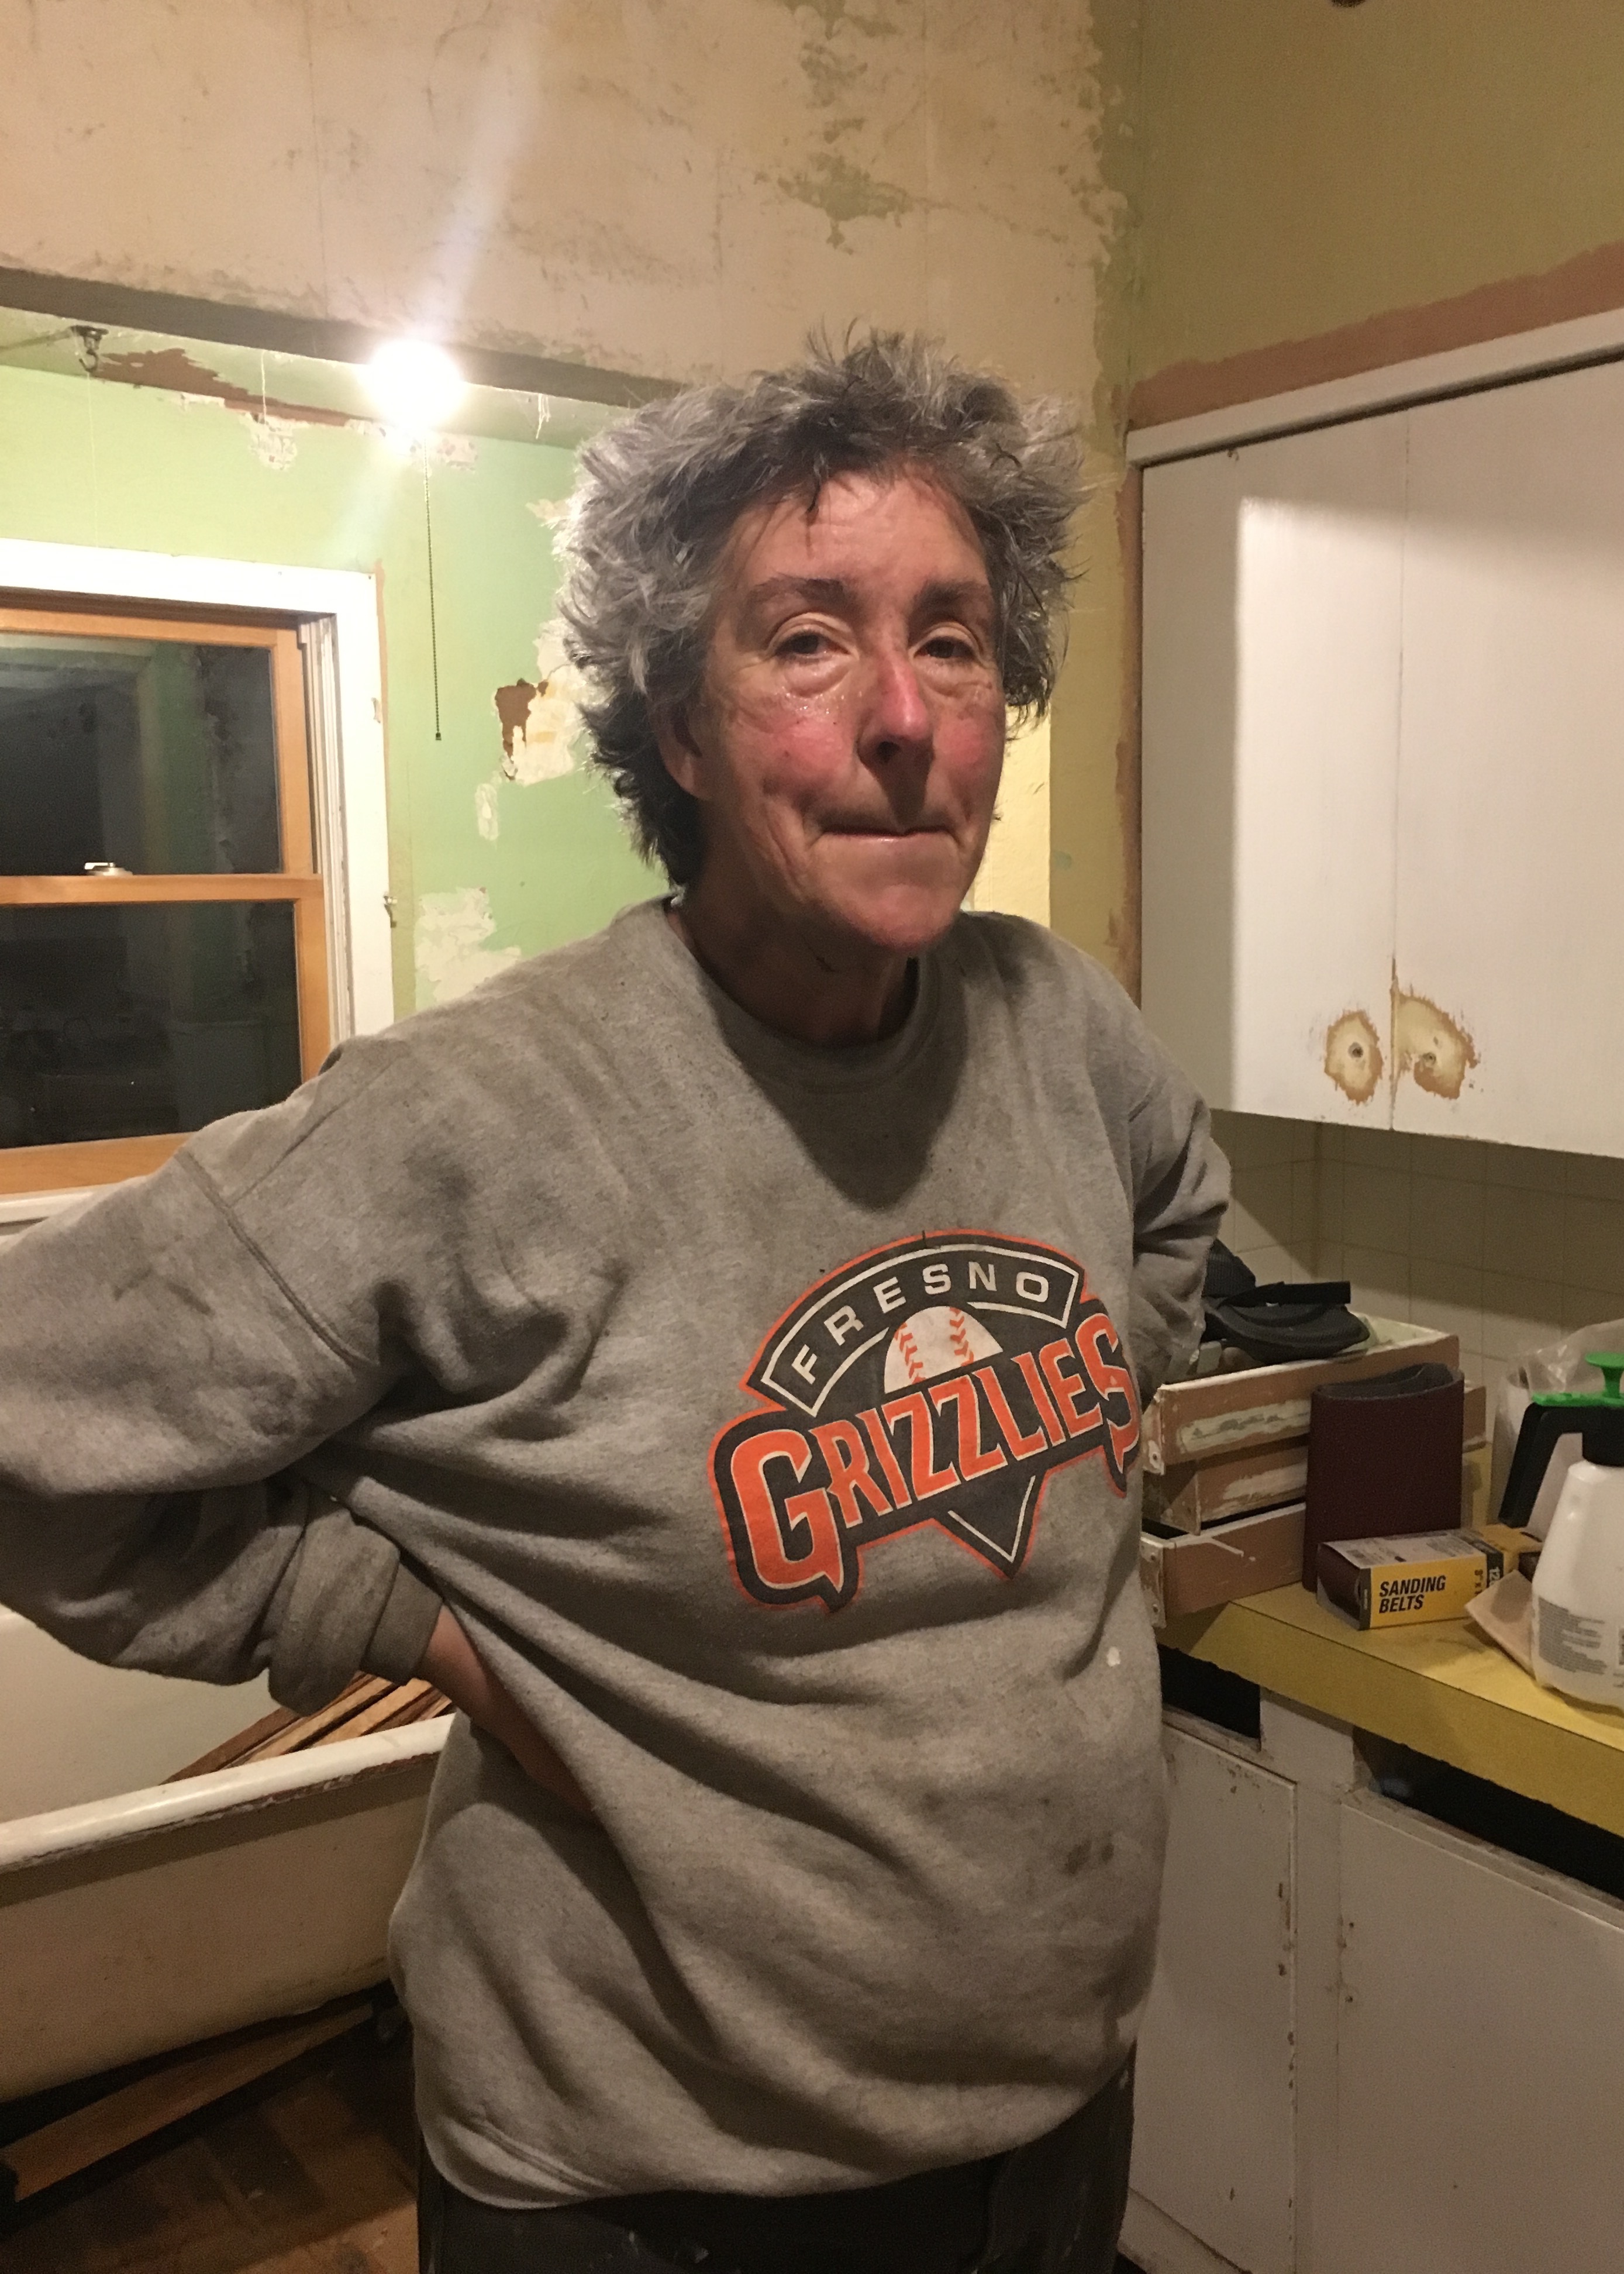
I had Janik wear an extra pair of crocs that were lying around Berrybrier since crocs are the shoe of choice for this renovation. I’m sure he appreciates this being memorialized on the internet.

The ceiling was absolutely the hardest part since this is an old house and nothing is perfectly square. Holding a sheet of drywall up above your head while another person tries to figure out what needs to be cut an an angle in order to make it all fit is exhausting and really a great arm work out. But I hate arm work outs, so I was all for cutting a bit deeper and mudding a bit more.

Berrybrier | Ceiling Mud

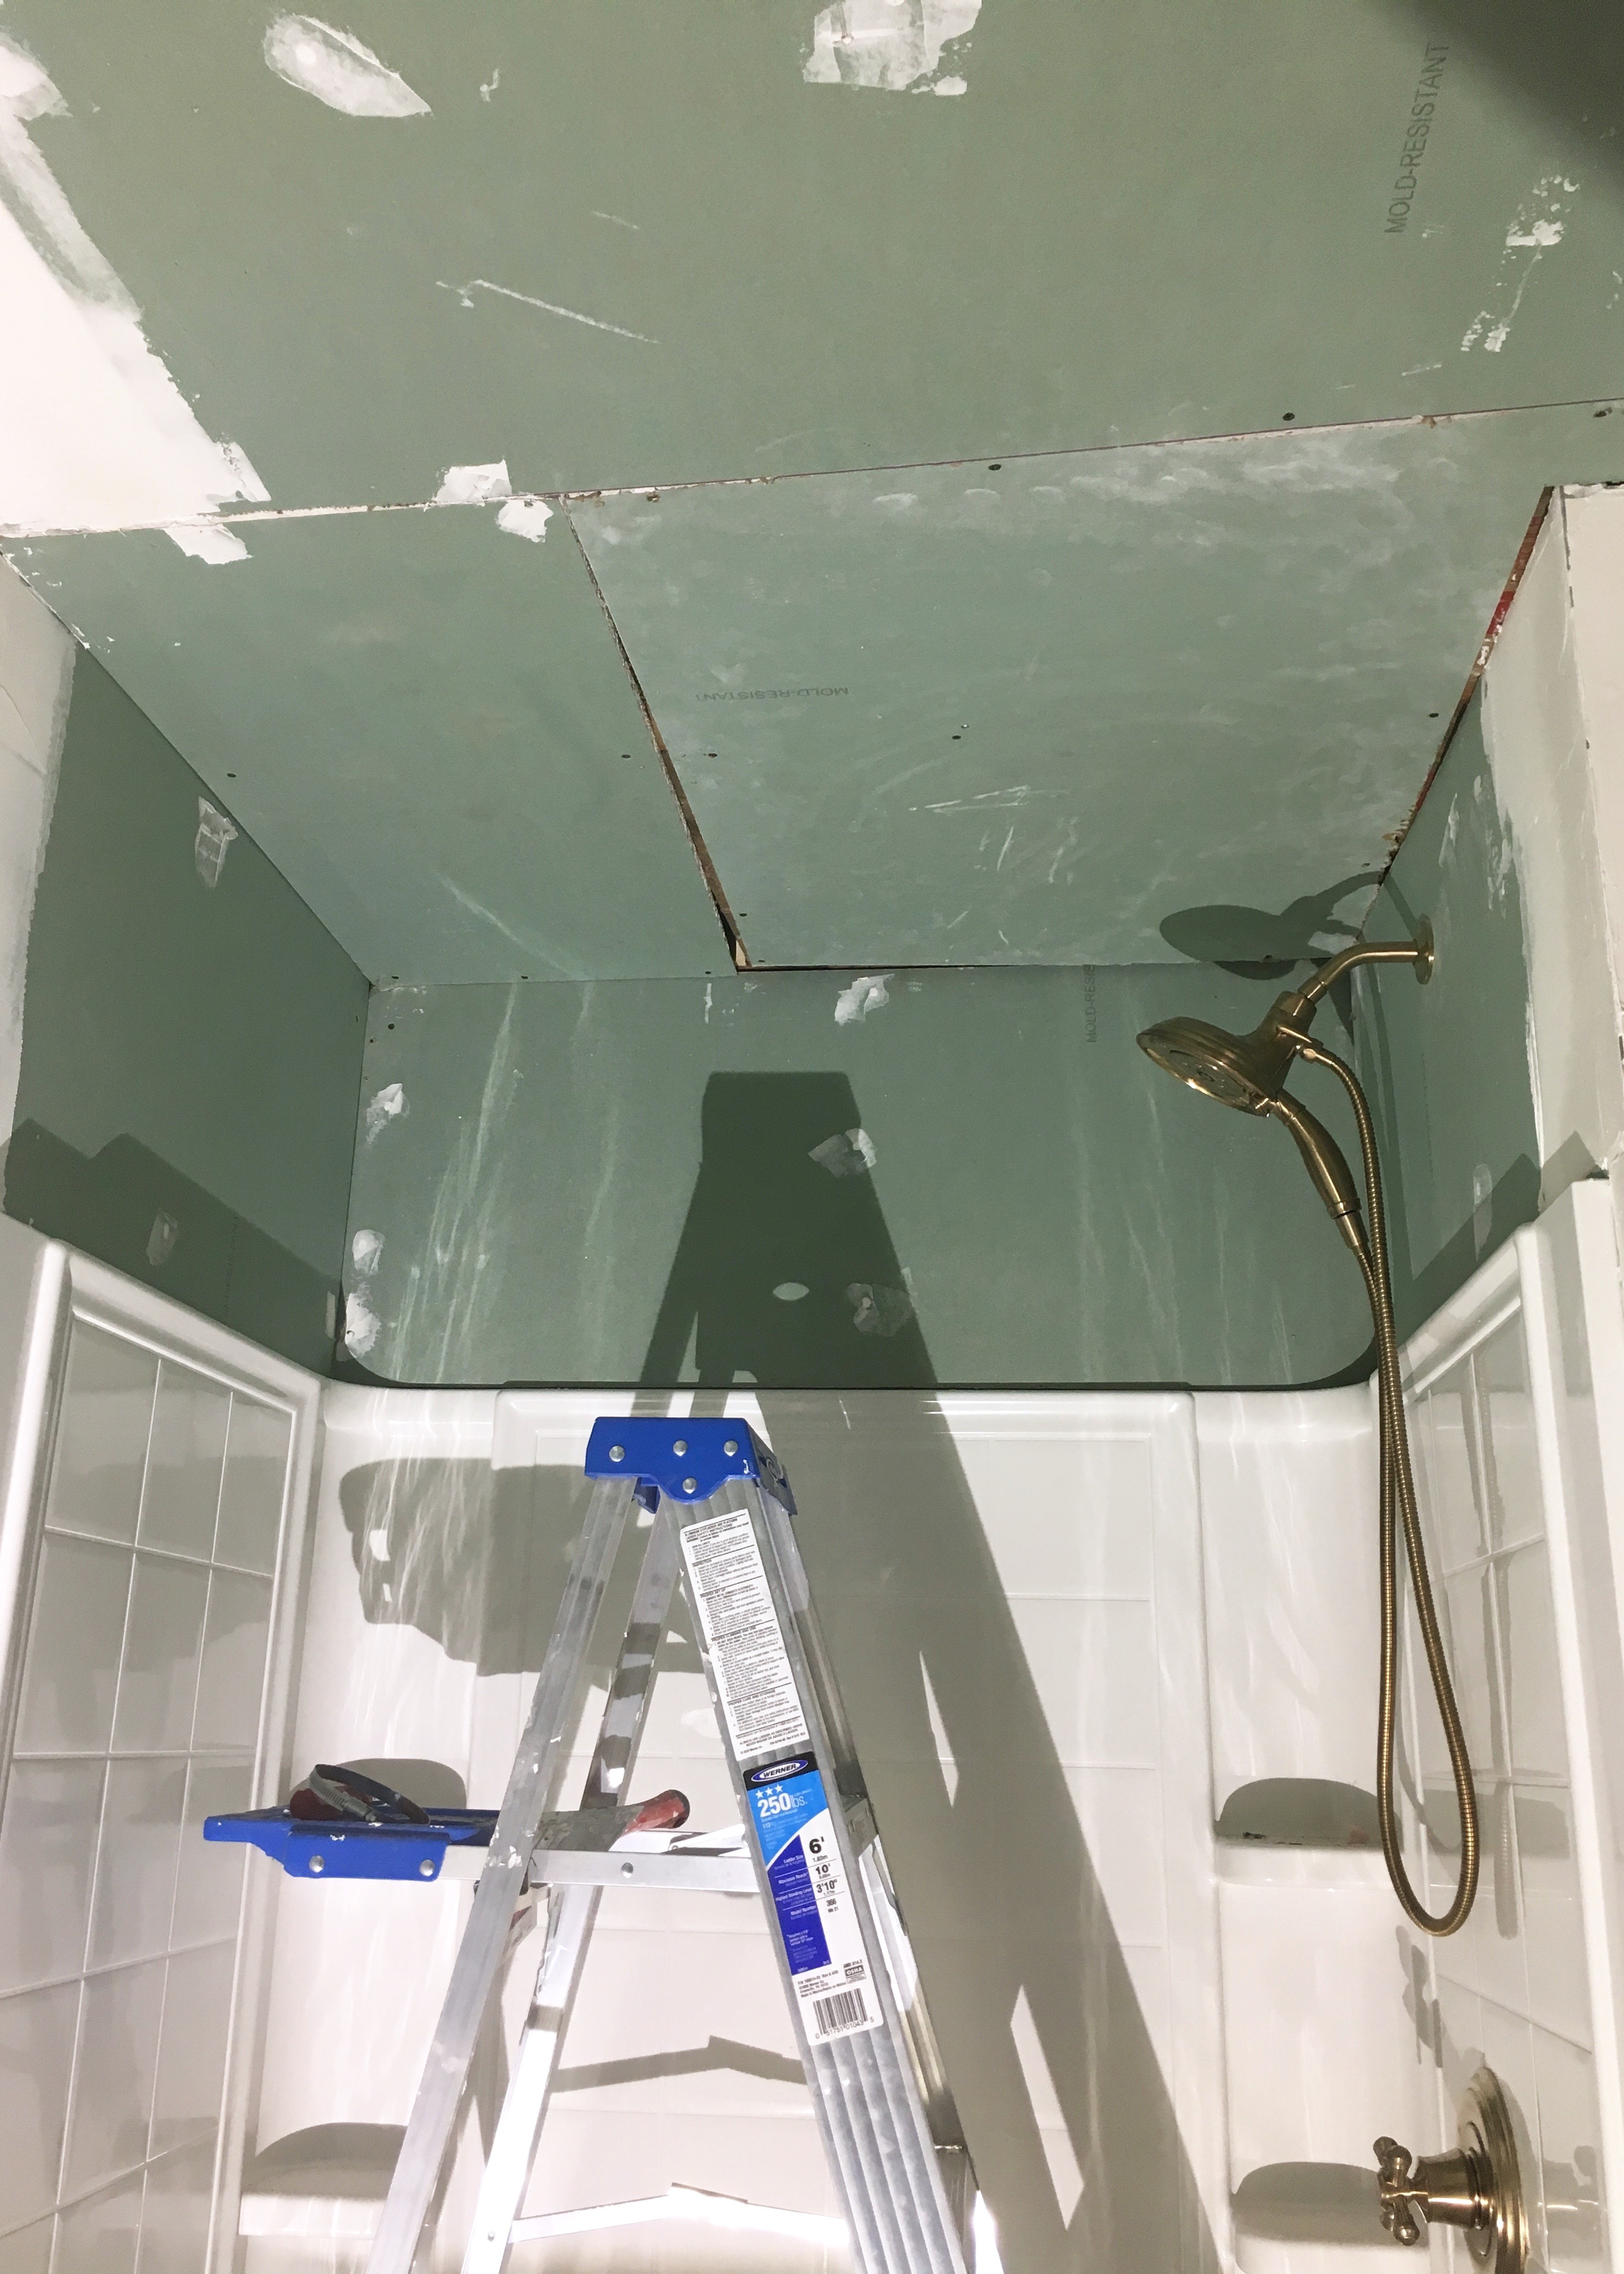
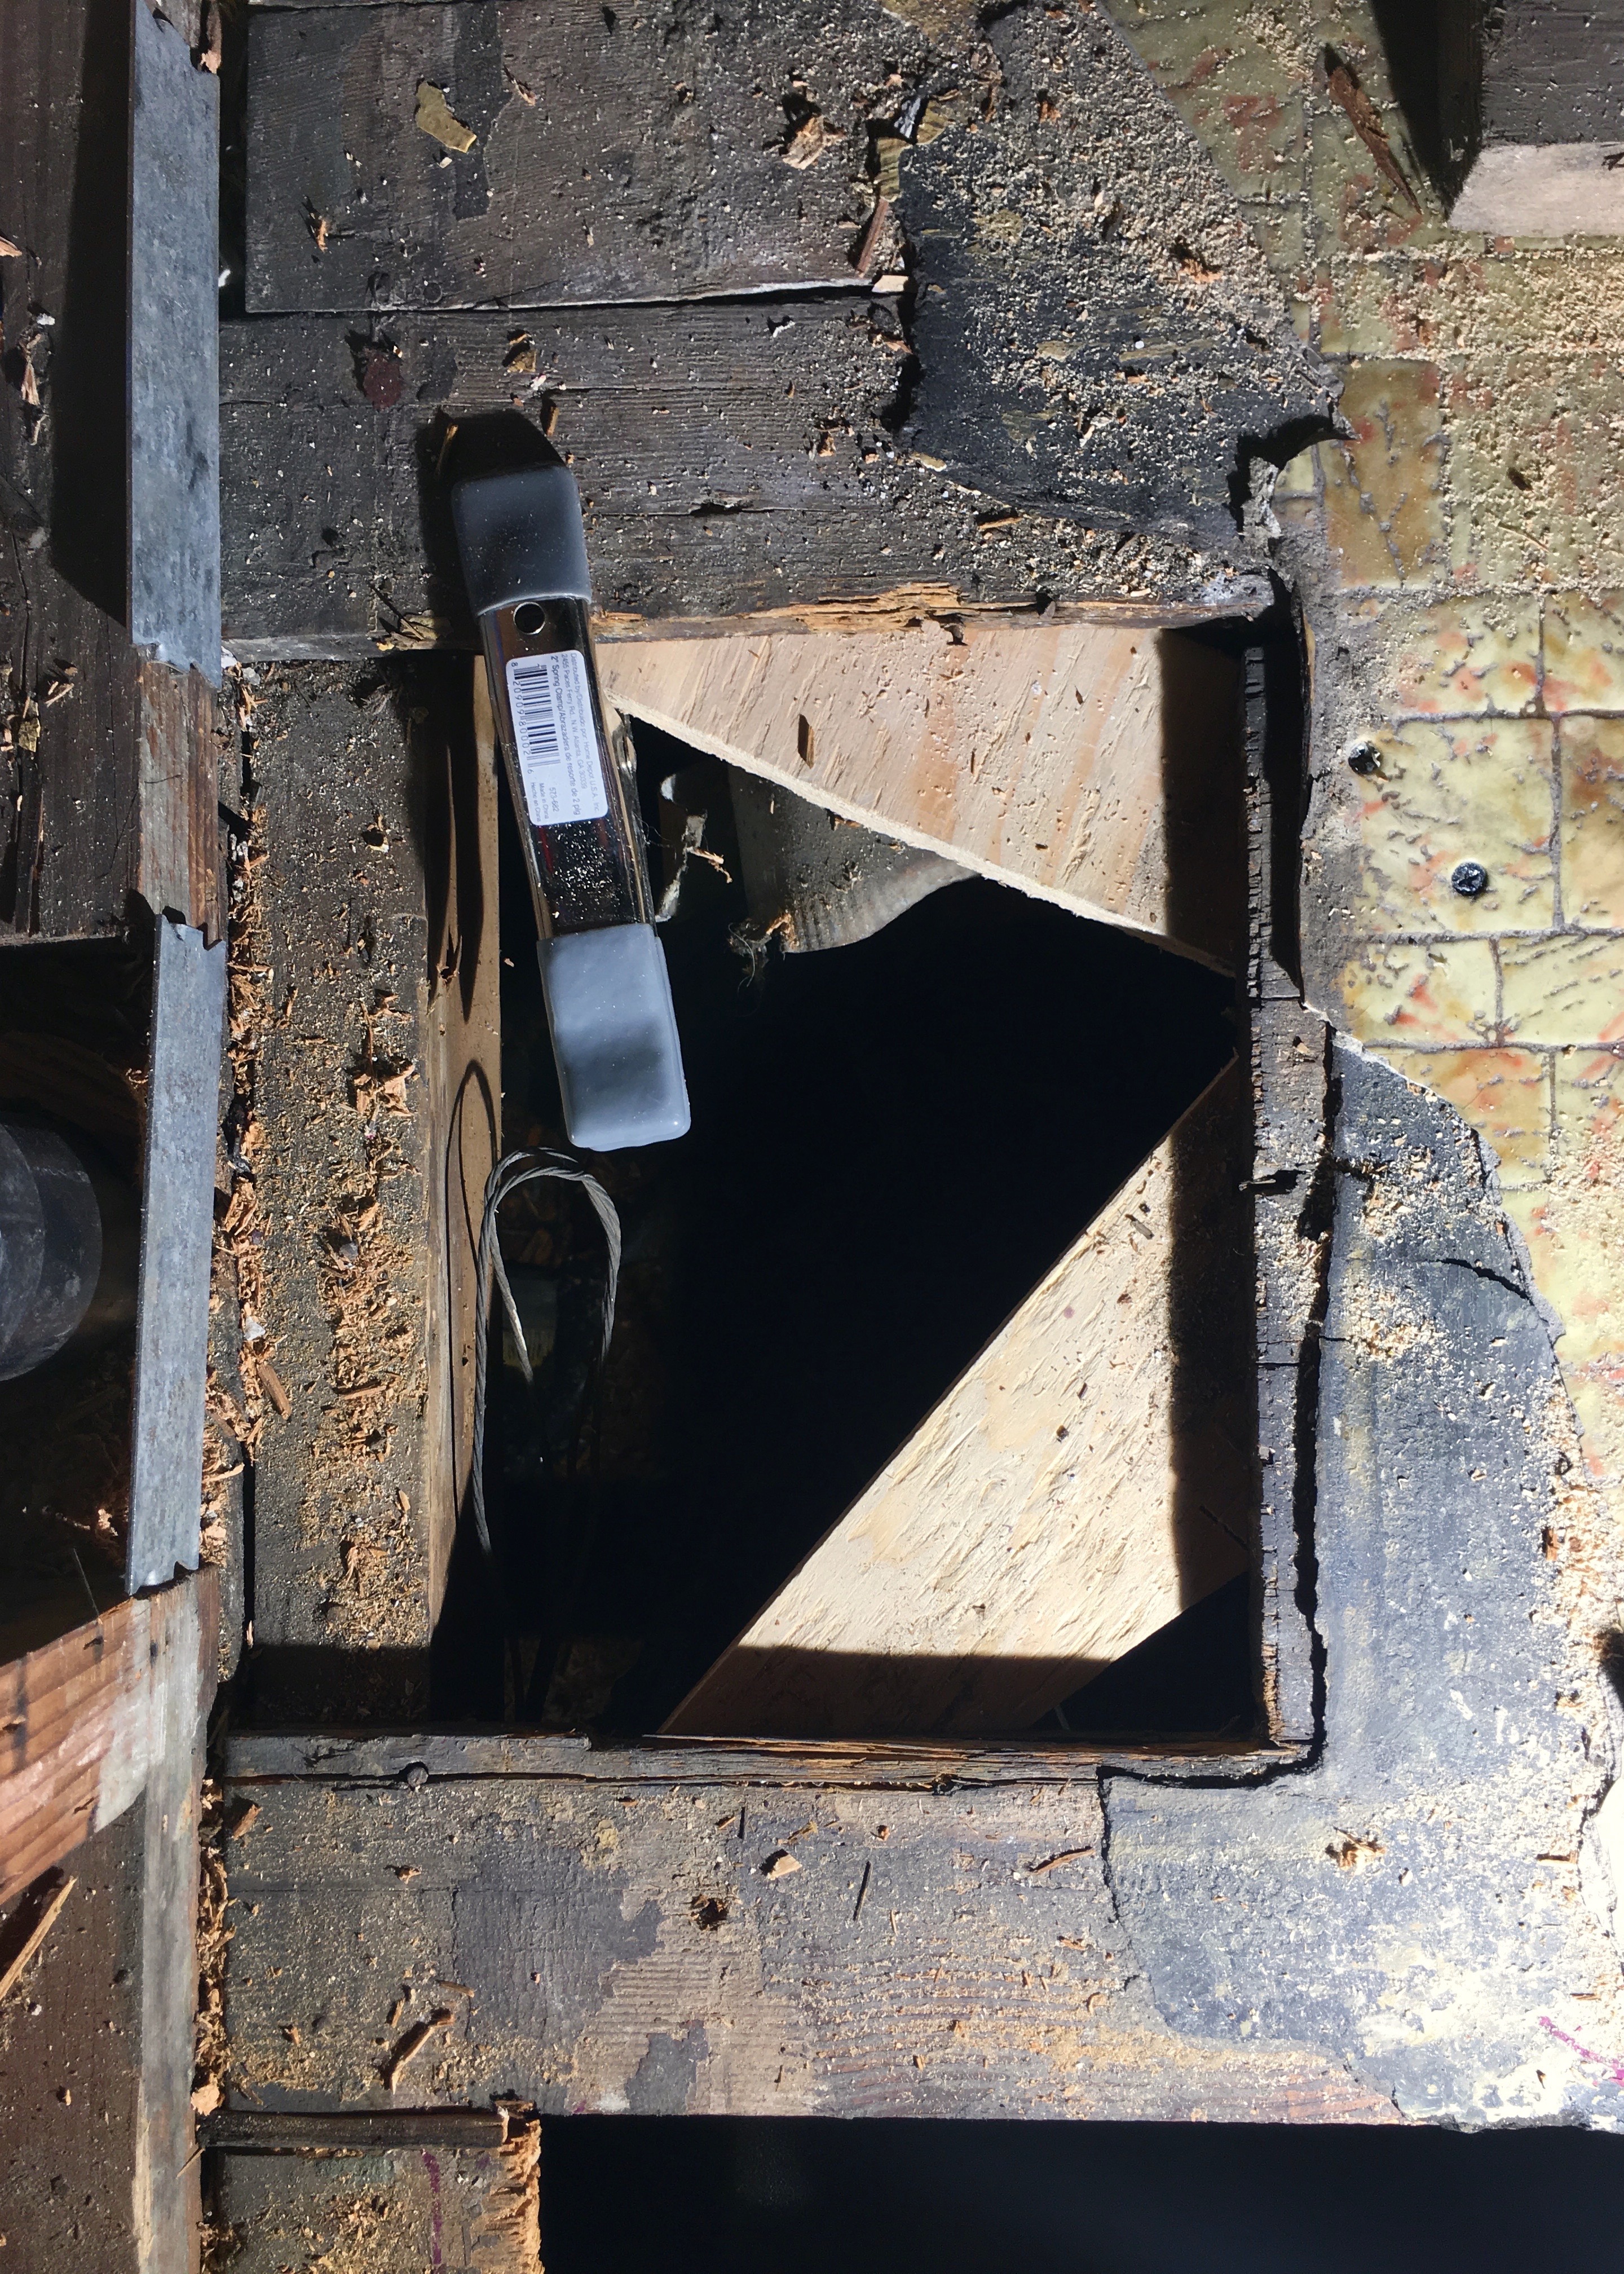
We diligently worked around the room and ceiling cutting out for the plumbing pipes and medicine cabinet with the same technique we’d perfected with the electrical box, though we some how messed up on at least one plumbing pipe hole and made an extra hole. Otherwise, we just cracked joke after joke about screws and time passed pretty quickly. All of a sudden it was 2am, 8 hours after we started and we finished screwing in the final piece of drywall in the ceiling and paused to get water in the kitchen. As soon as we stopped my body rebelled and I was ready to collapse with exhaustion. But the bathroom had walls again!!!

Berrybrier | Drywalled Bathroom

I took a few days to let my arms recover from the first real arm workout I’d done in 5 years. But there’s no real rest for the weary round here. It was time for some mudding, the hard and dirty part of drywalling. I was not looking forward to it. But I psyched myself up with chai lattes and the promise of actually being able to shower. That tends to work for me!

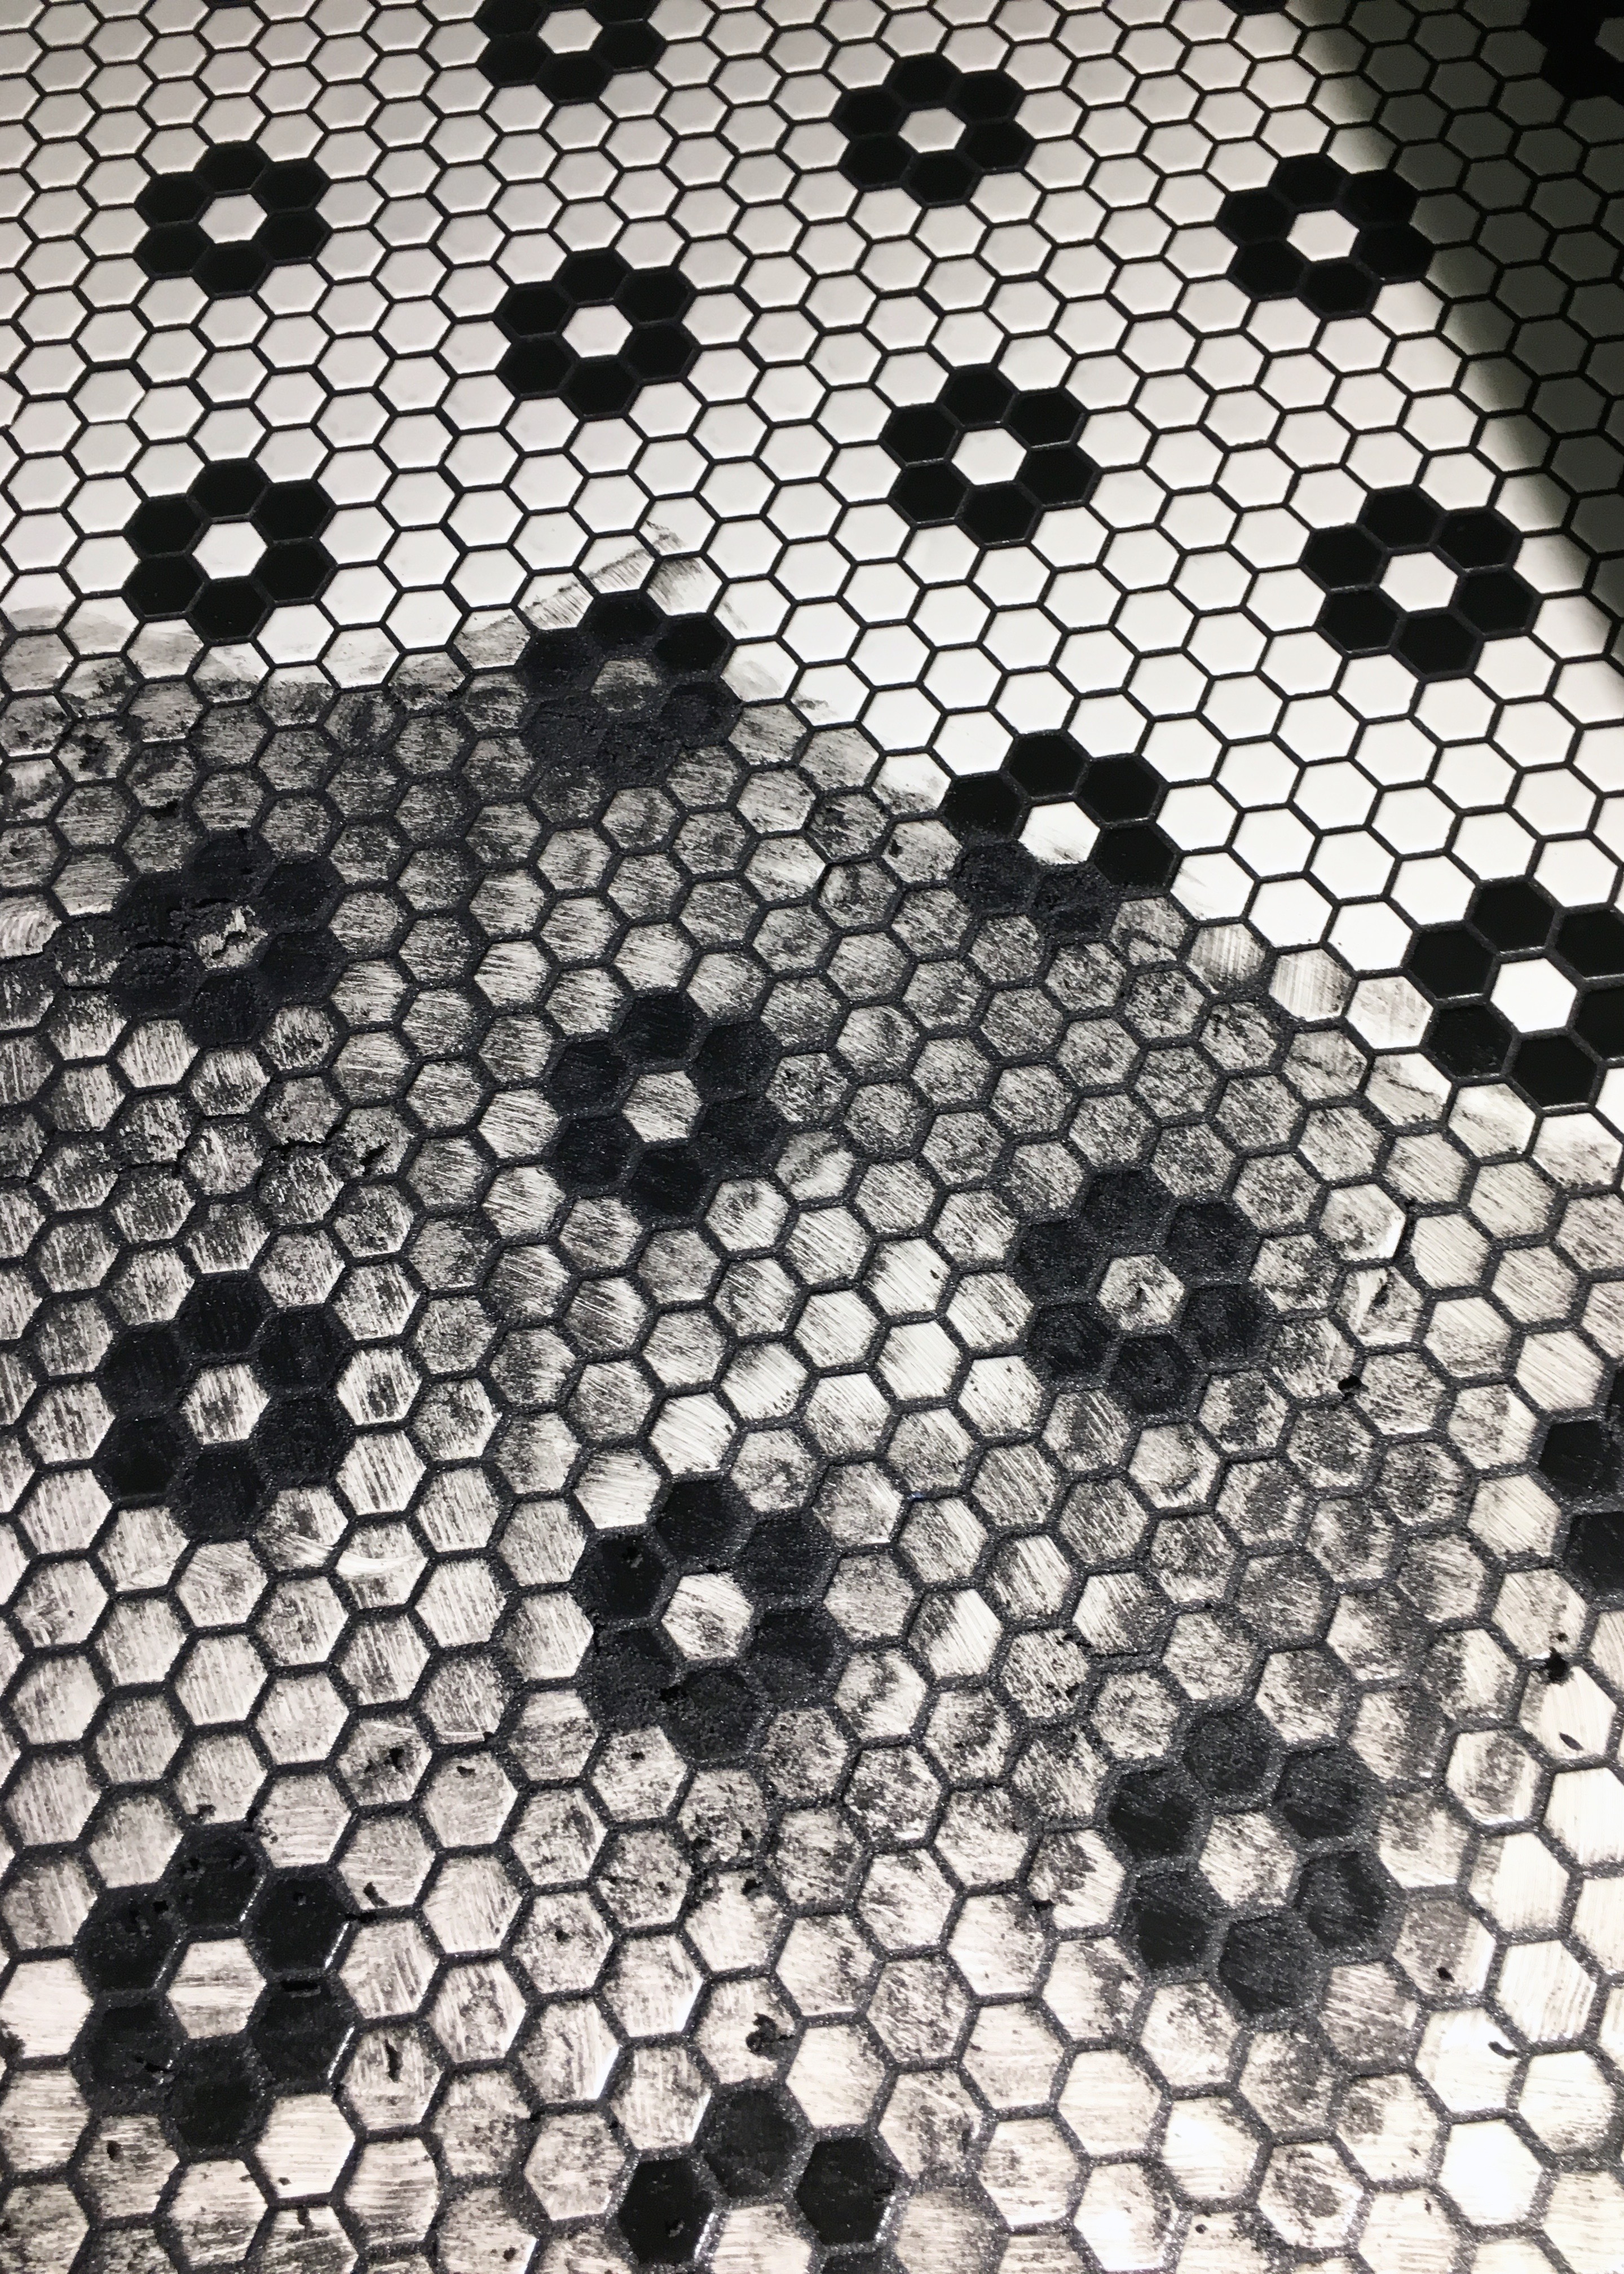
First I taped down rosin paper to protect the floors from stray drywall compound. Then, I started out by filling every single one of the ten billion screw holes with a bit of drywall compound, before moving on to the more challenging parts. I continued with the next baby step: the seams along the middle of the walls. I spread a thin layer of joint compound in the seam with my 6″ knifeand laid the paper tape on top, then gently pressed it into the seam with a tad bit more mud. I spread slightly more mud over the tape working with the 8″ knife. After this first coat those seams looked pretty rough, as expected.

Berrybrier | First Coat of Mud

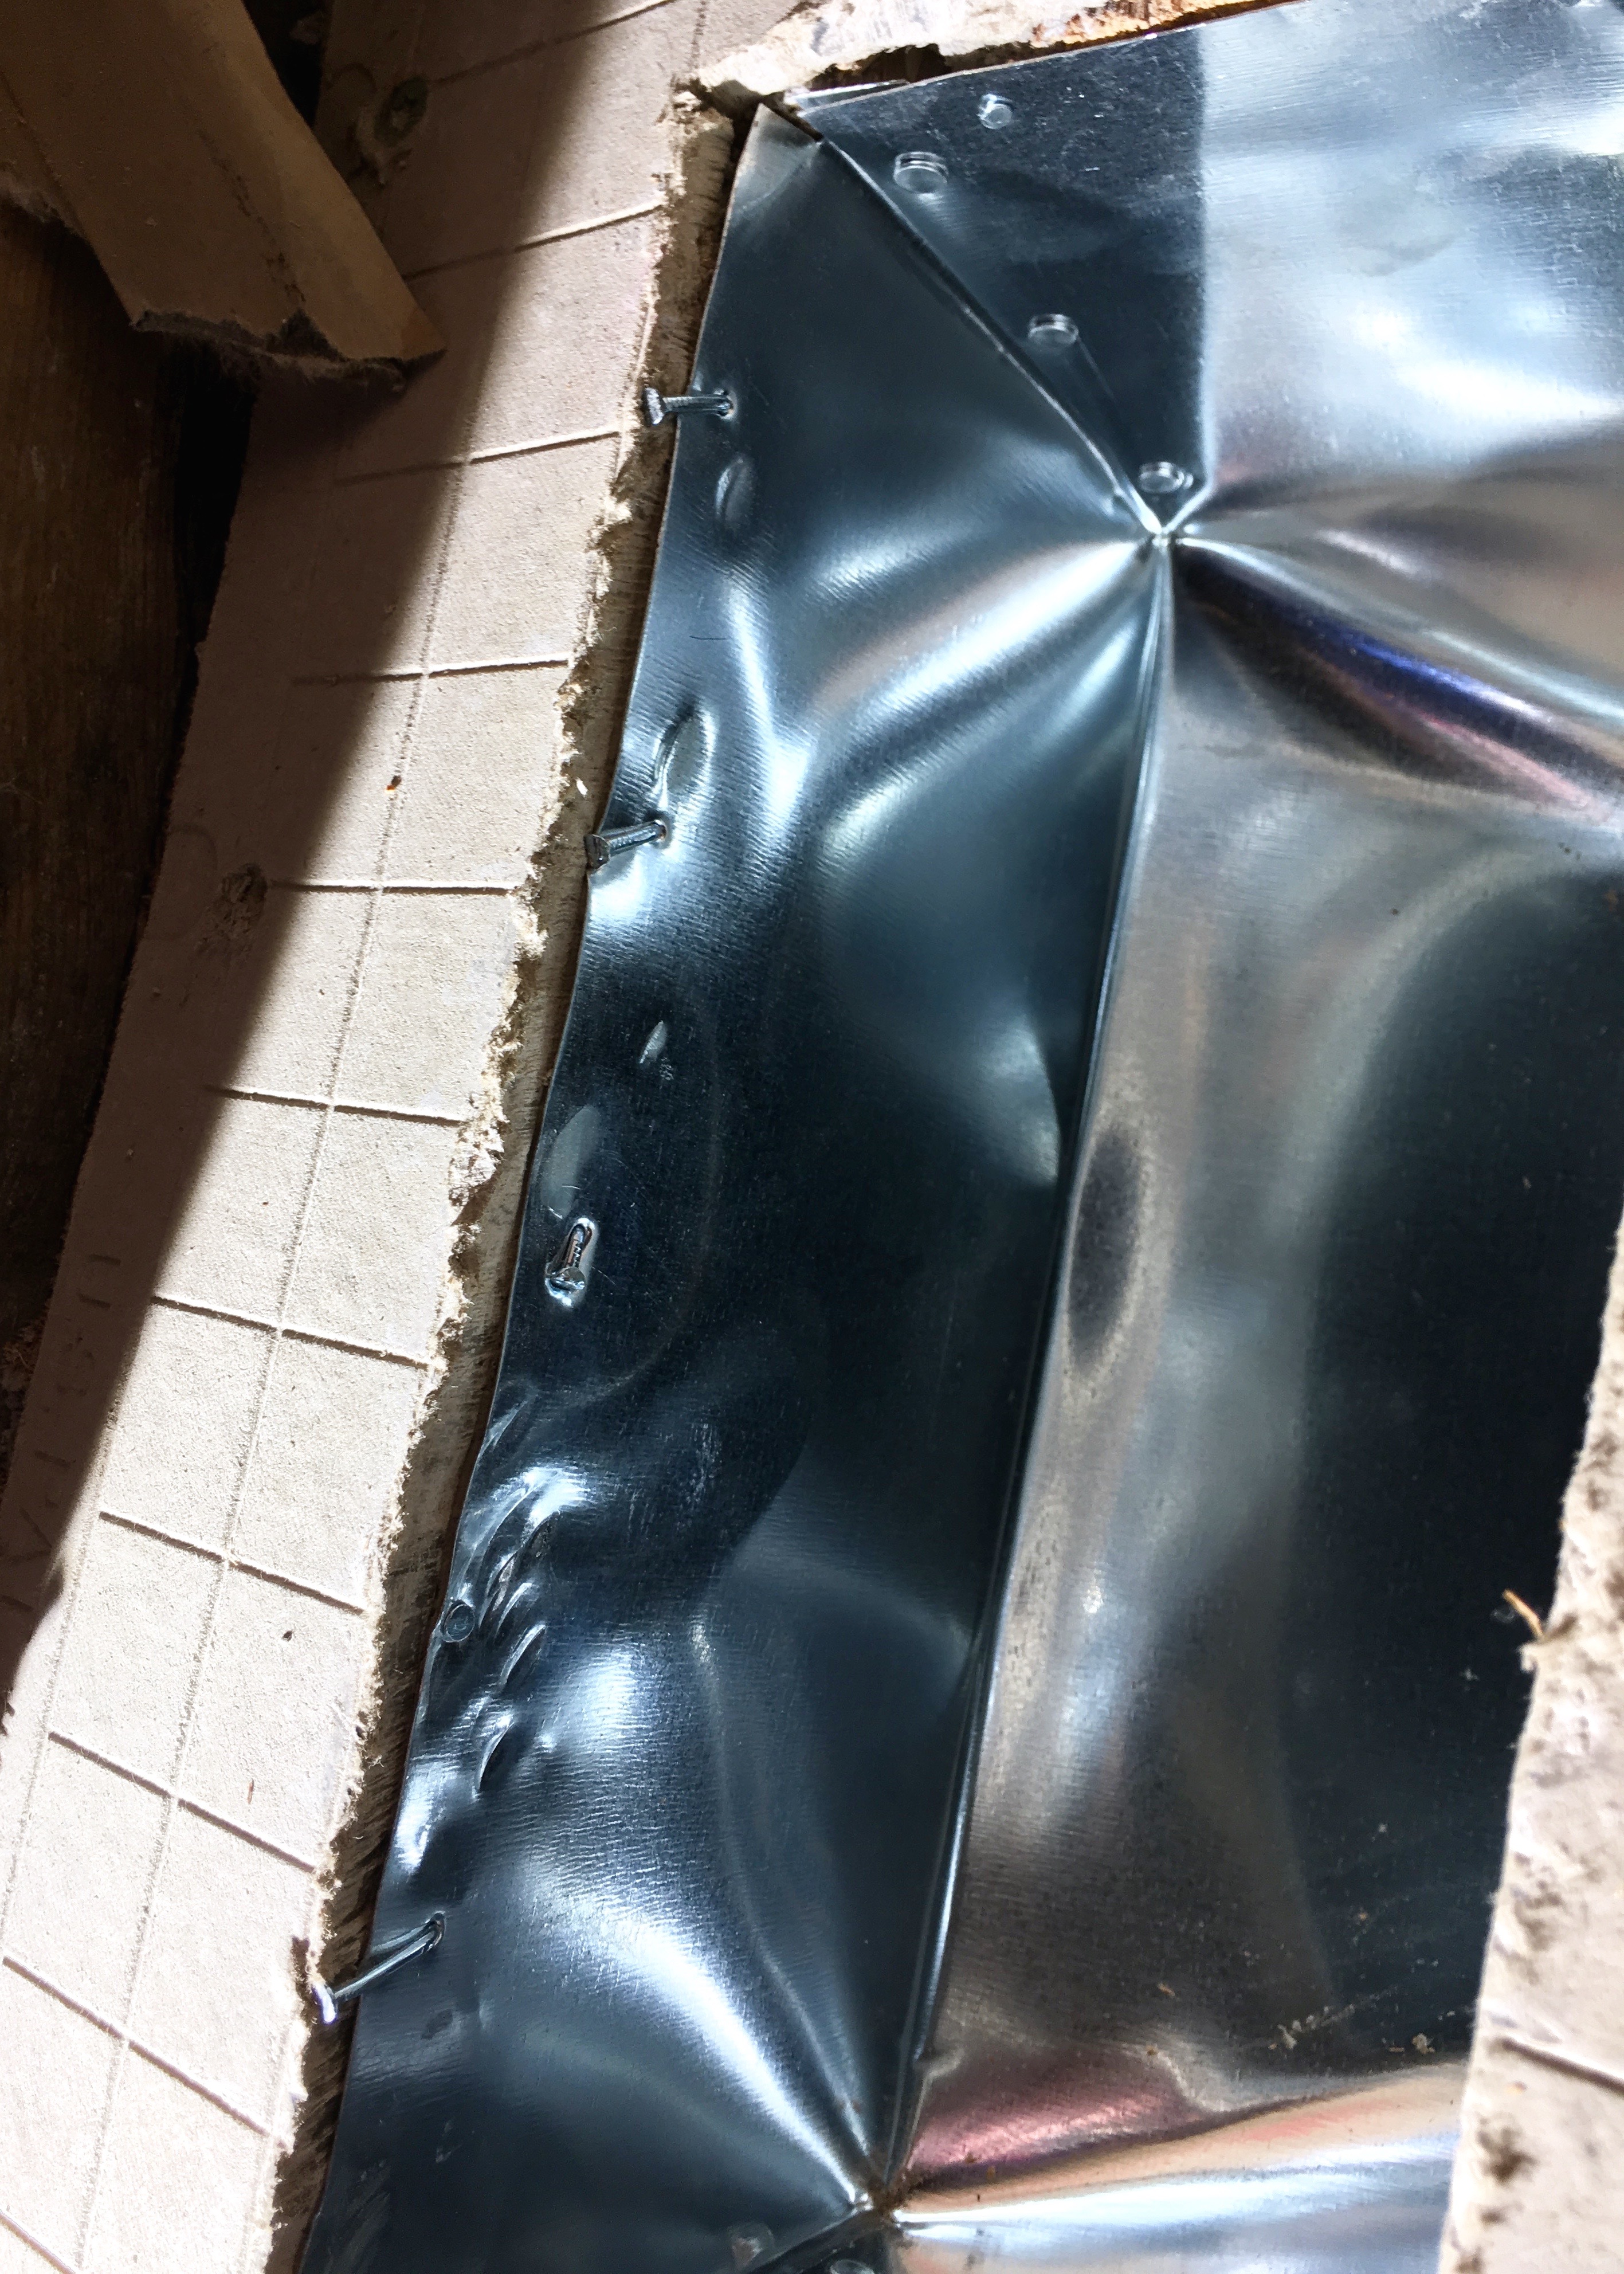
I moved from there to the outside corners framing the shower surround. I cut the outside corner metal strips to length and screwed them into the drywall, working from the top down. You can get rounded corner or 90° angle metal strips, I chose the former since they were better suited for this style house.

Berrybrier | Outside Drywall Corners

Once it was screwed on, I globbed on a whole bunch of the drywall compound with my 6″ knife. It was a challenge to smooth the mud on one side of the tape without shoving the excess mud onto the other side of the corner. I did my best and moved on to the inside corner seams around the room, folding my paper tape into a 90″ angle and working it into the seam as I had on the flat seams.Berrybrier | Outside Corner Mud Coat 1

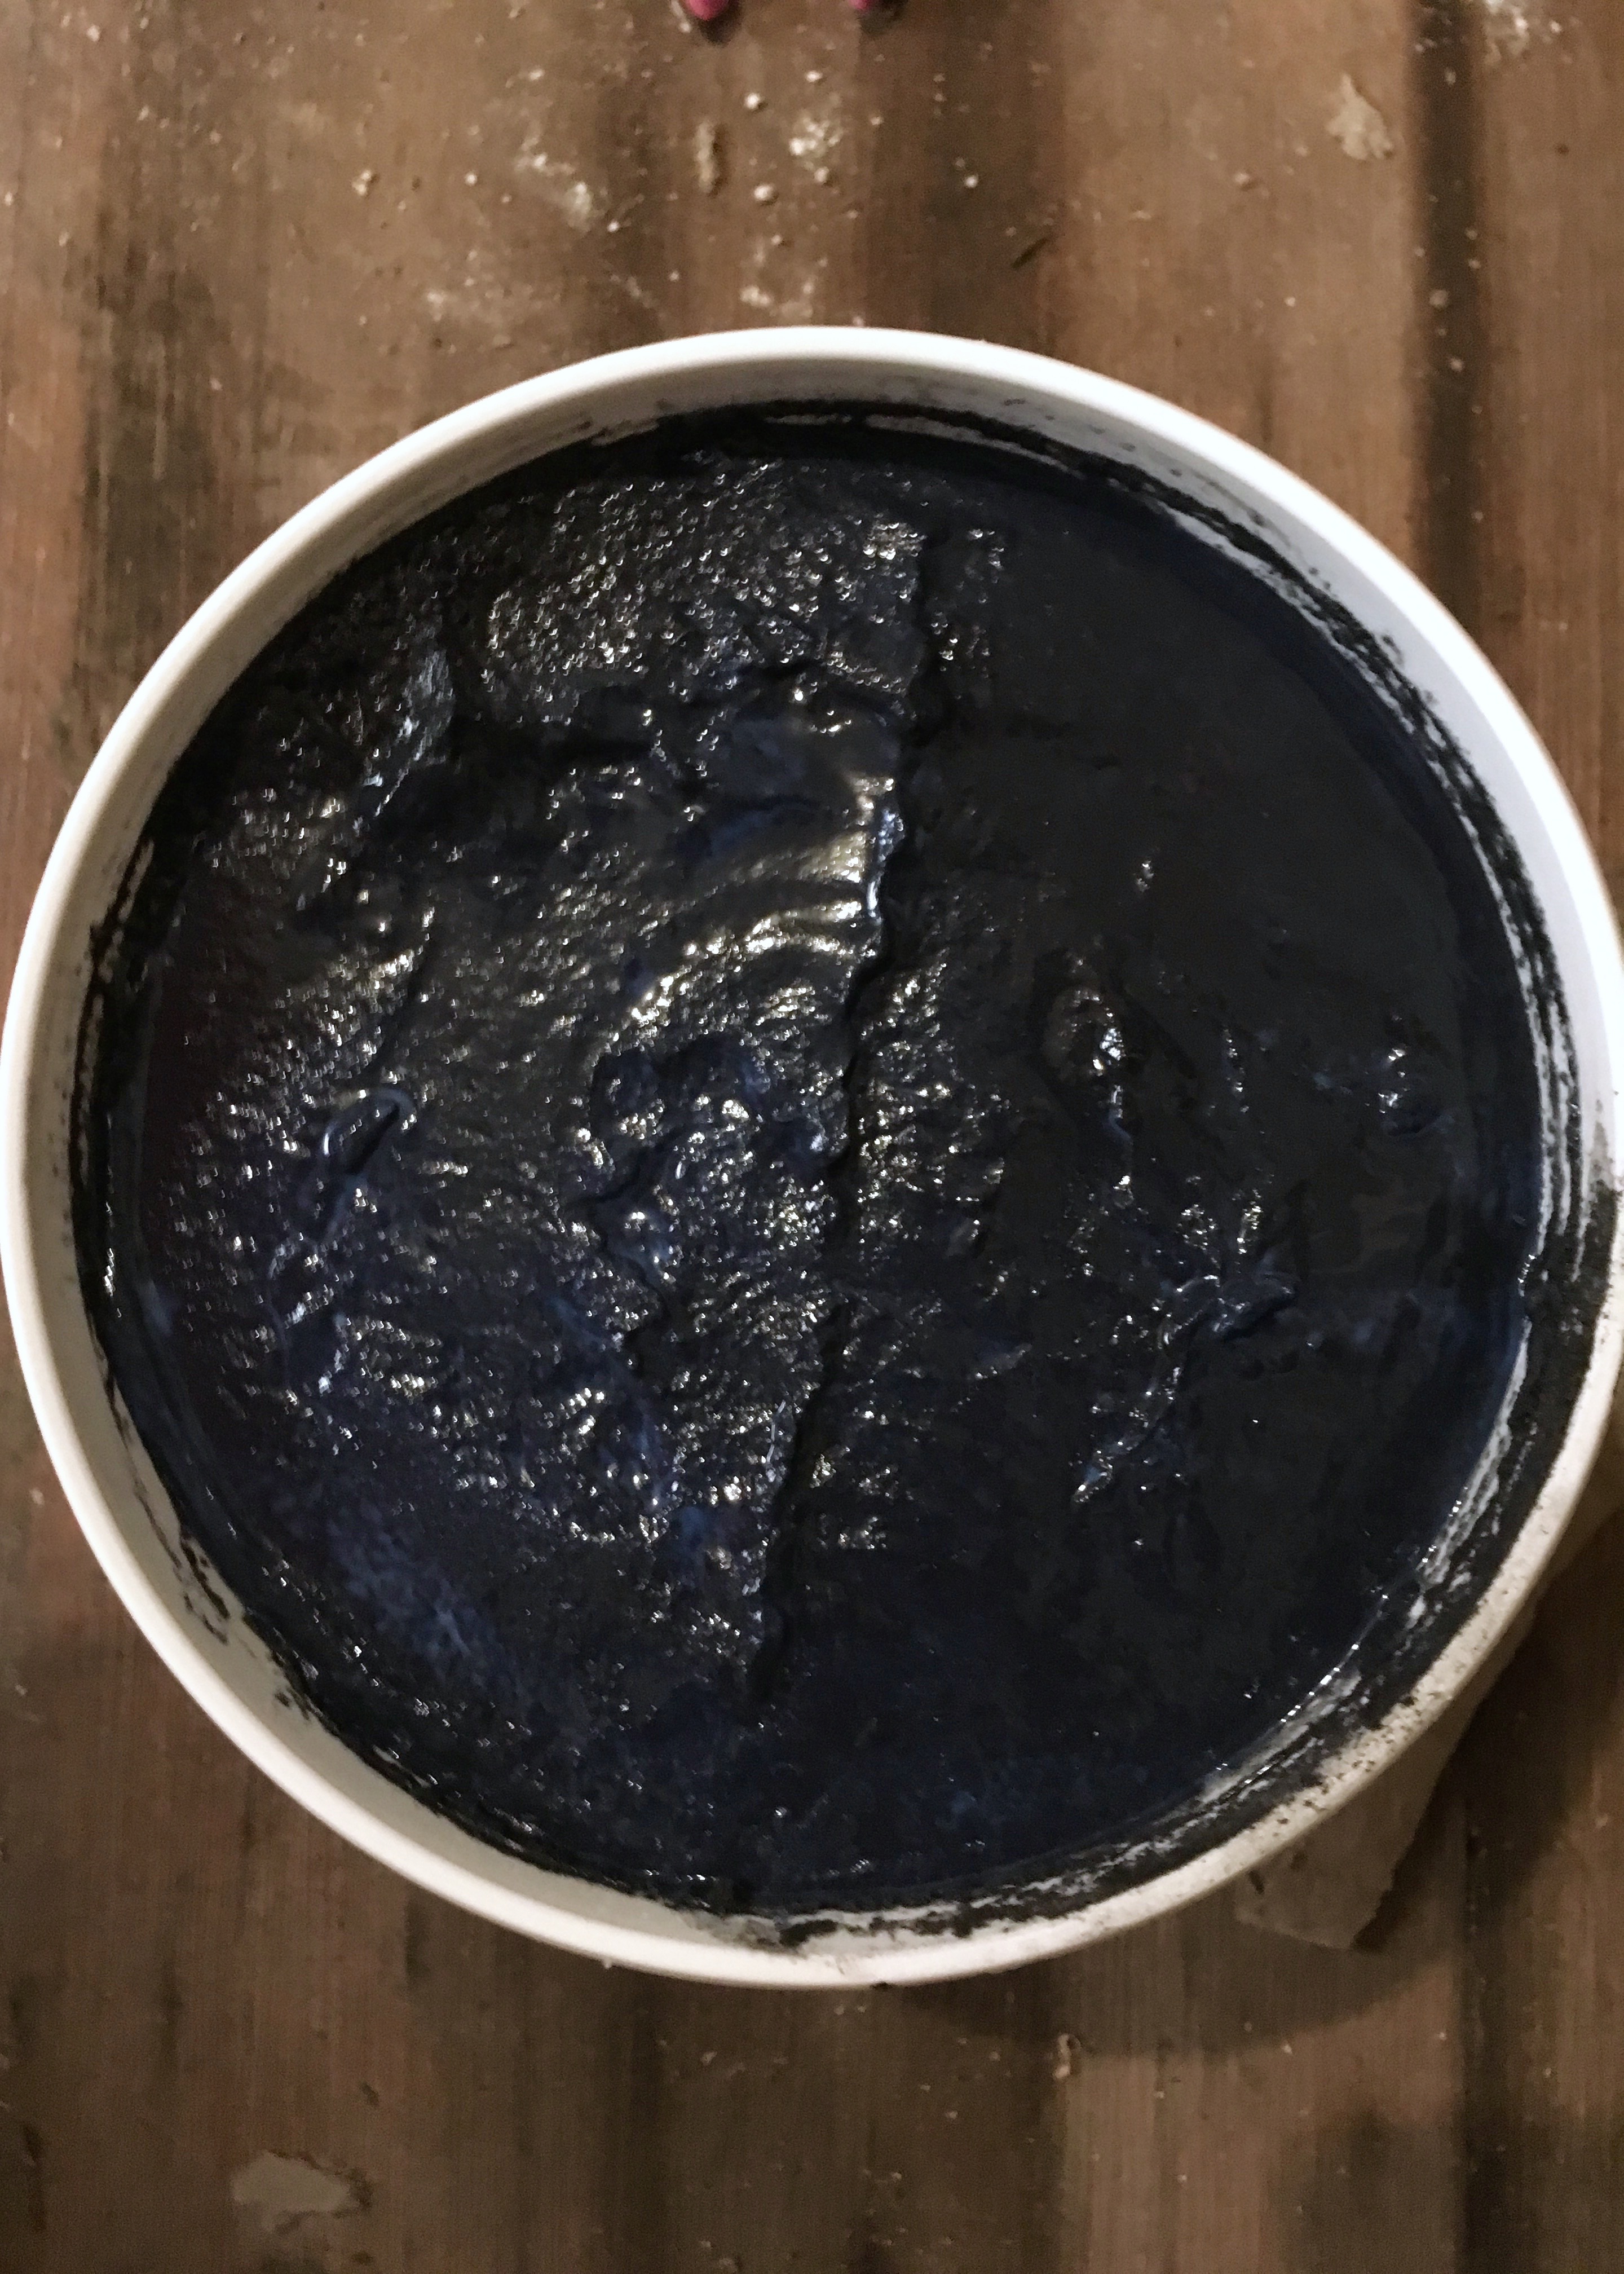
I used SO MUCH mud for the first coat. I worried I’d run out of my 4 gallon bucket of joint compound before finishing this small room. It was later November at this point and it was cold! I still had not turned on the heater in the house and was sleeping at my cousin Kristen’s after working on my house all evening, every evening. Because the house was so cold, the thick first layer of mud took several days to dry and cracked a bit in the inside corners. Since it was the first coat, it wasn’t a big deal that it had cracked, but I knew I needed to get that furnace tuned up and running asap!

I had the HVAC guys come out the day after Thanksgiving to fill up my tank with oil and give the 1920s furnace a good tune-up. Once that was cranking, the house stayed a tad bit warmer and the drywall compound dried a bit more quickly on the next coats.

I knocked off the higher bits and lines with a 6″ knife before starting the second coat of drywall mud and then used my corner, 8″, 10″ and 12″ knives to spread out the mud from the corners and seams as thin as I could. After that dried for a couple days I did my third coat, creating a heavy layer of mud, that was probably more than is recommended, but worked out just fine. Here’s that same outside corner by the shower surround after the second coat of mud. The last coat went on the smoothest and I thinned the mud slightly with some water in a second bucket to allow for a thinner coat.

Berrybrier | Outside Corner Mud Coat 3

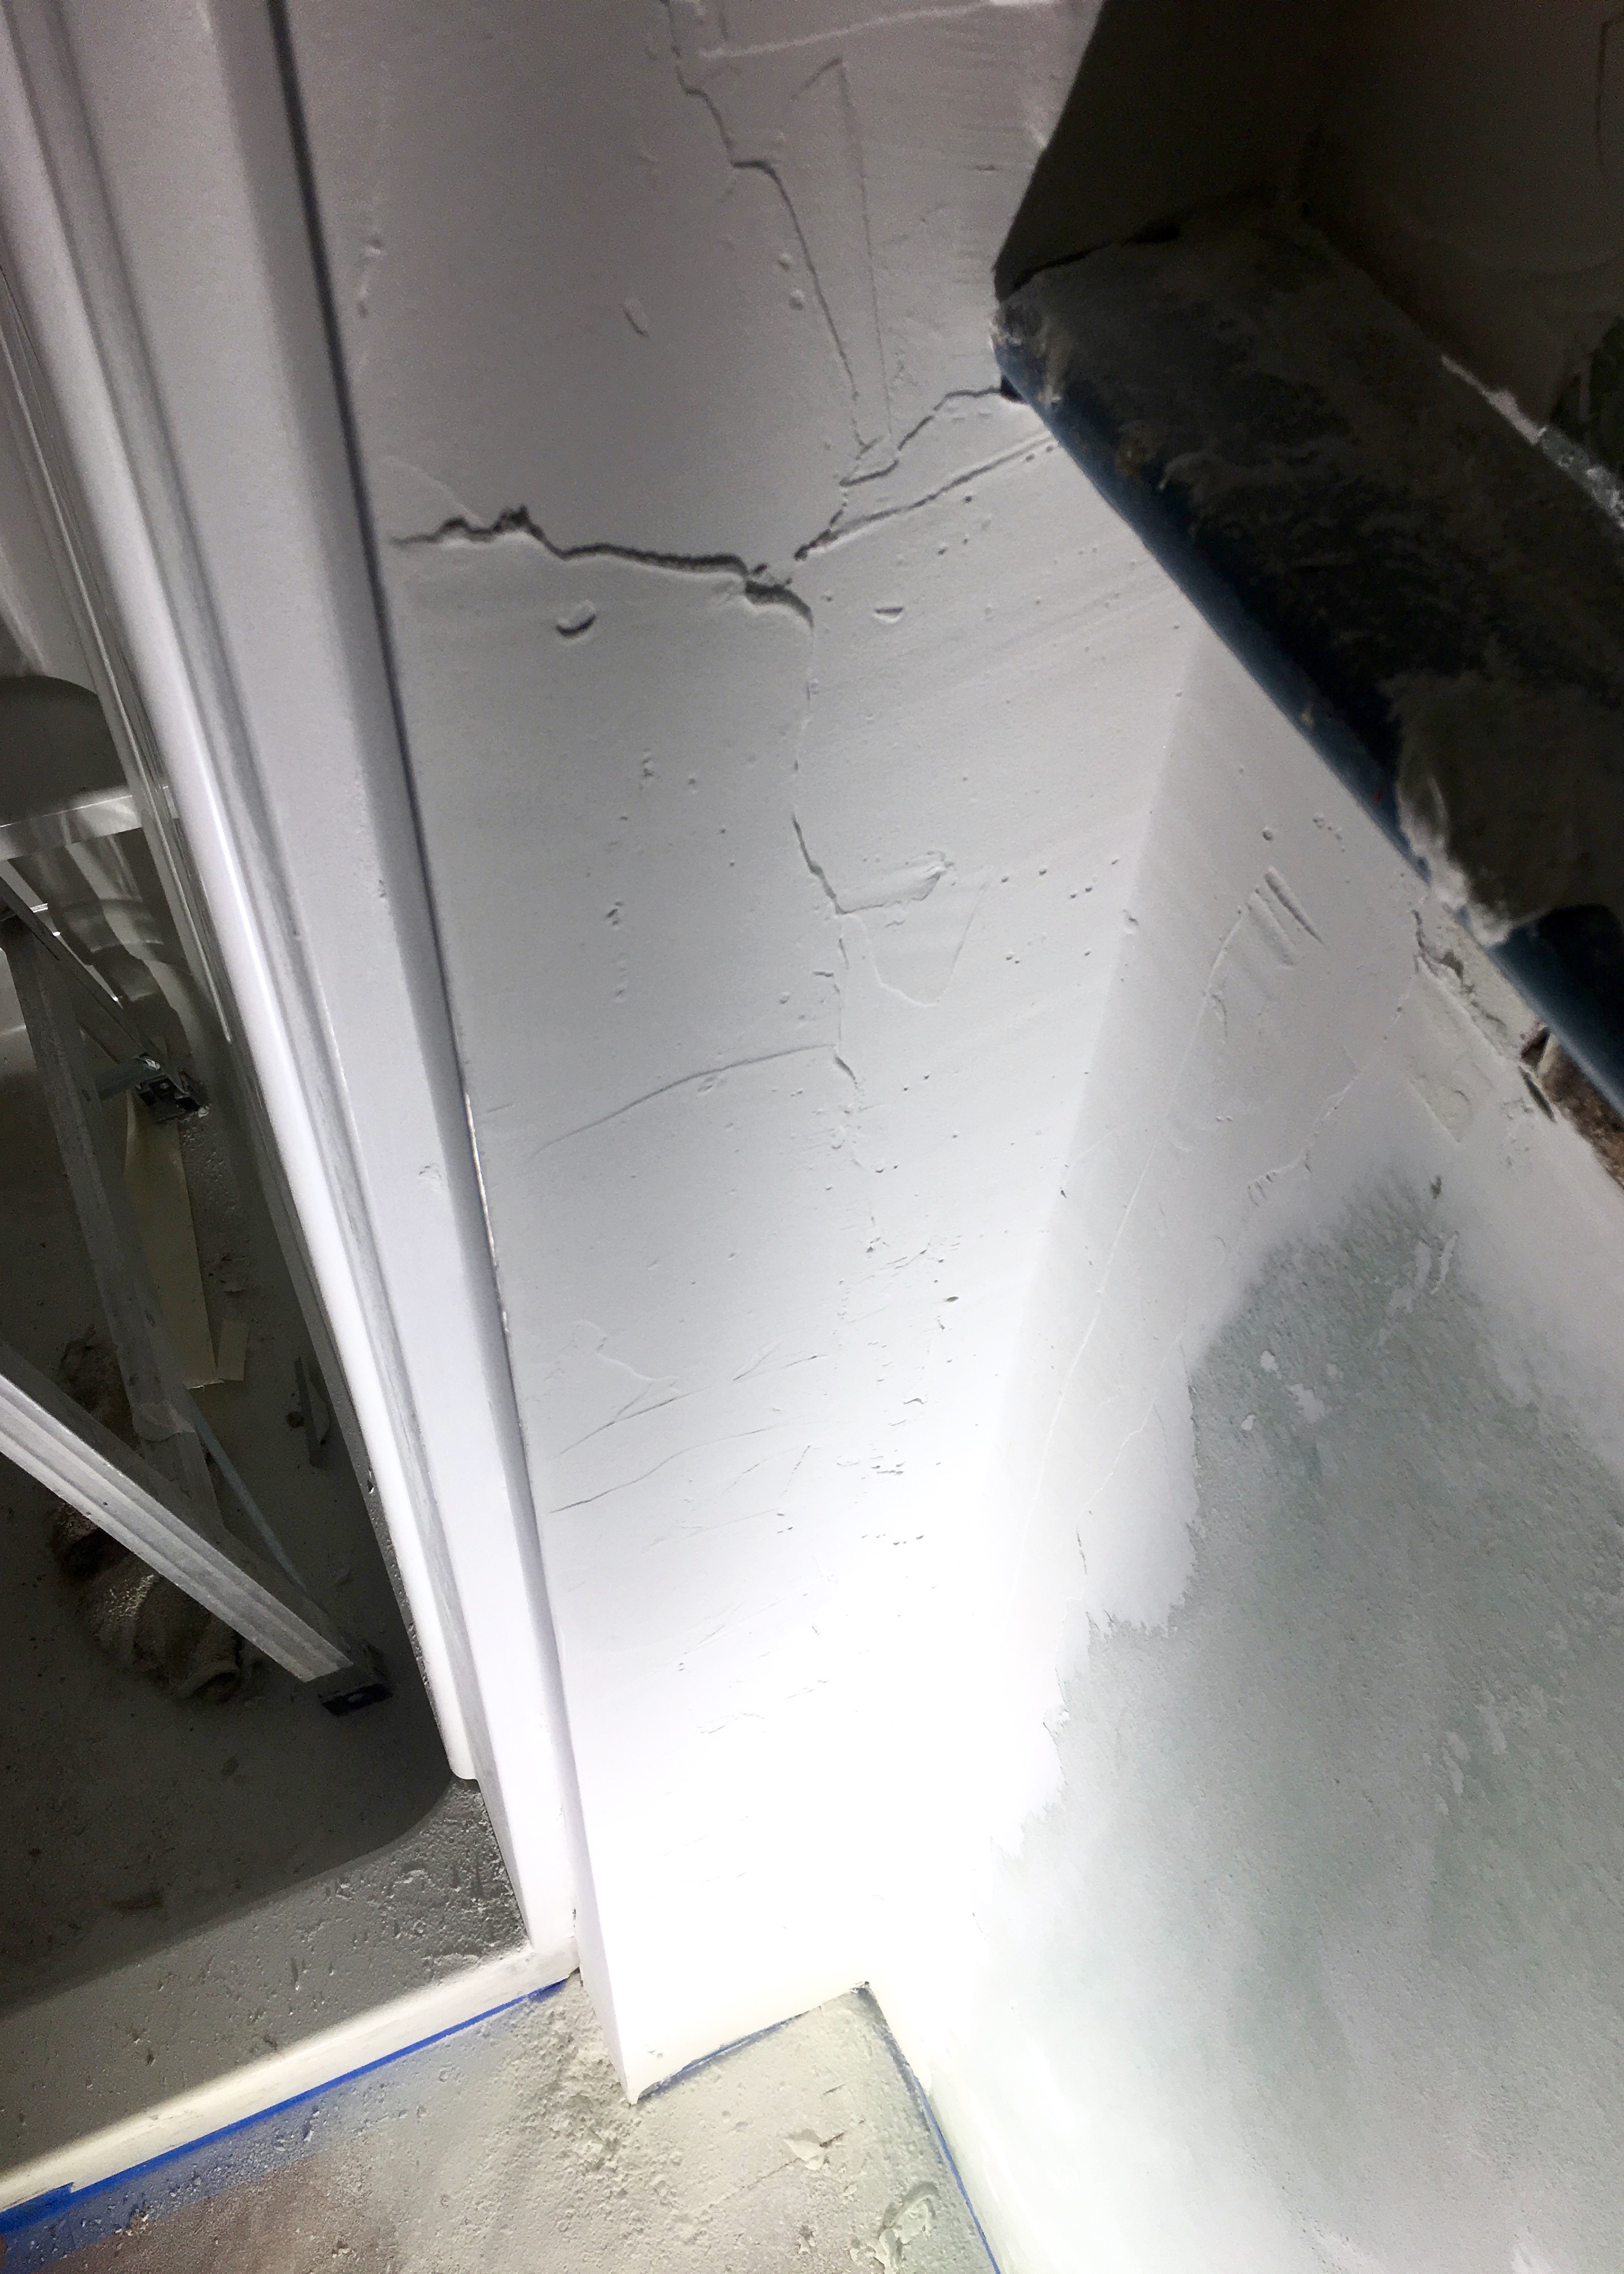
Then it was time for sanding. SO MUCH SANDING. I sanded this room for weeks, ya’ll. I was sanding still in mid-December. Sanding and sanding and sanding. I used the sanding blocks and then borrowed a sanding screen from Erik which worked more quickly, but left more of a linear pattern than the sanding blocks. Drywall dust was in my pores and my skin was dry dry dry, but the room was looking more and more room-like and this corner was looking ready for primer.

Berrybrier | Sanded Outside Corner

The walls got really smooth and the edges of the outside corners felt really good too. The ceiling was much more difficult and I honestly, just decided after a couple hours of sanding, it was plenty good enough, because I wasn’t sanding above my head any longer. See comment above about my “eh, it’s good enough” attitude.

Berrybrier | Sanding Corners

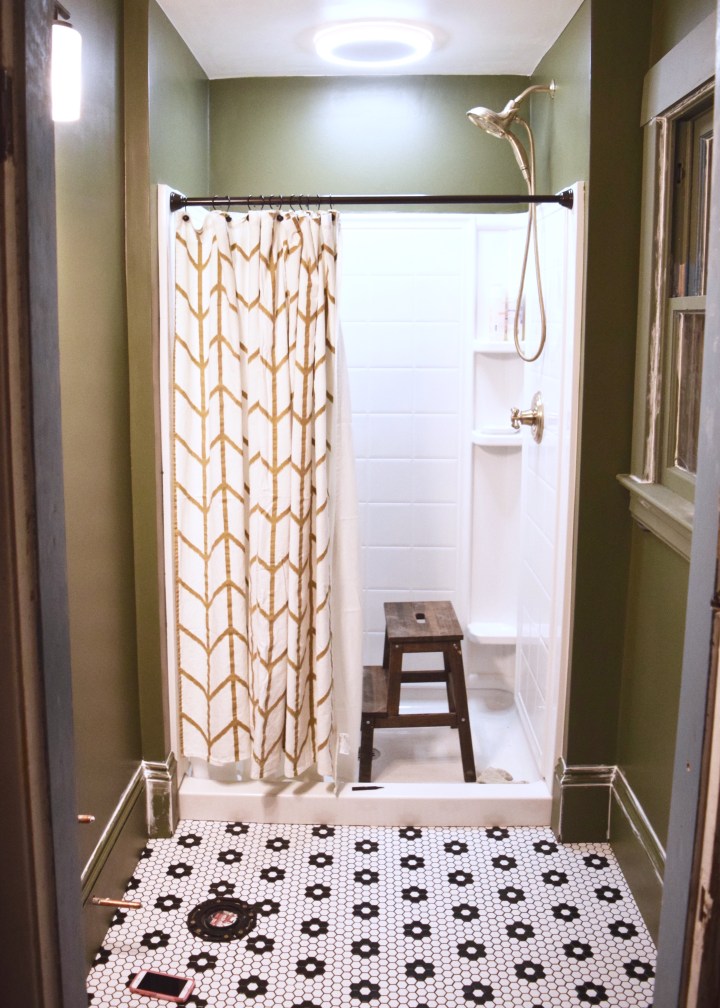
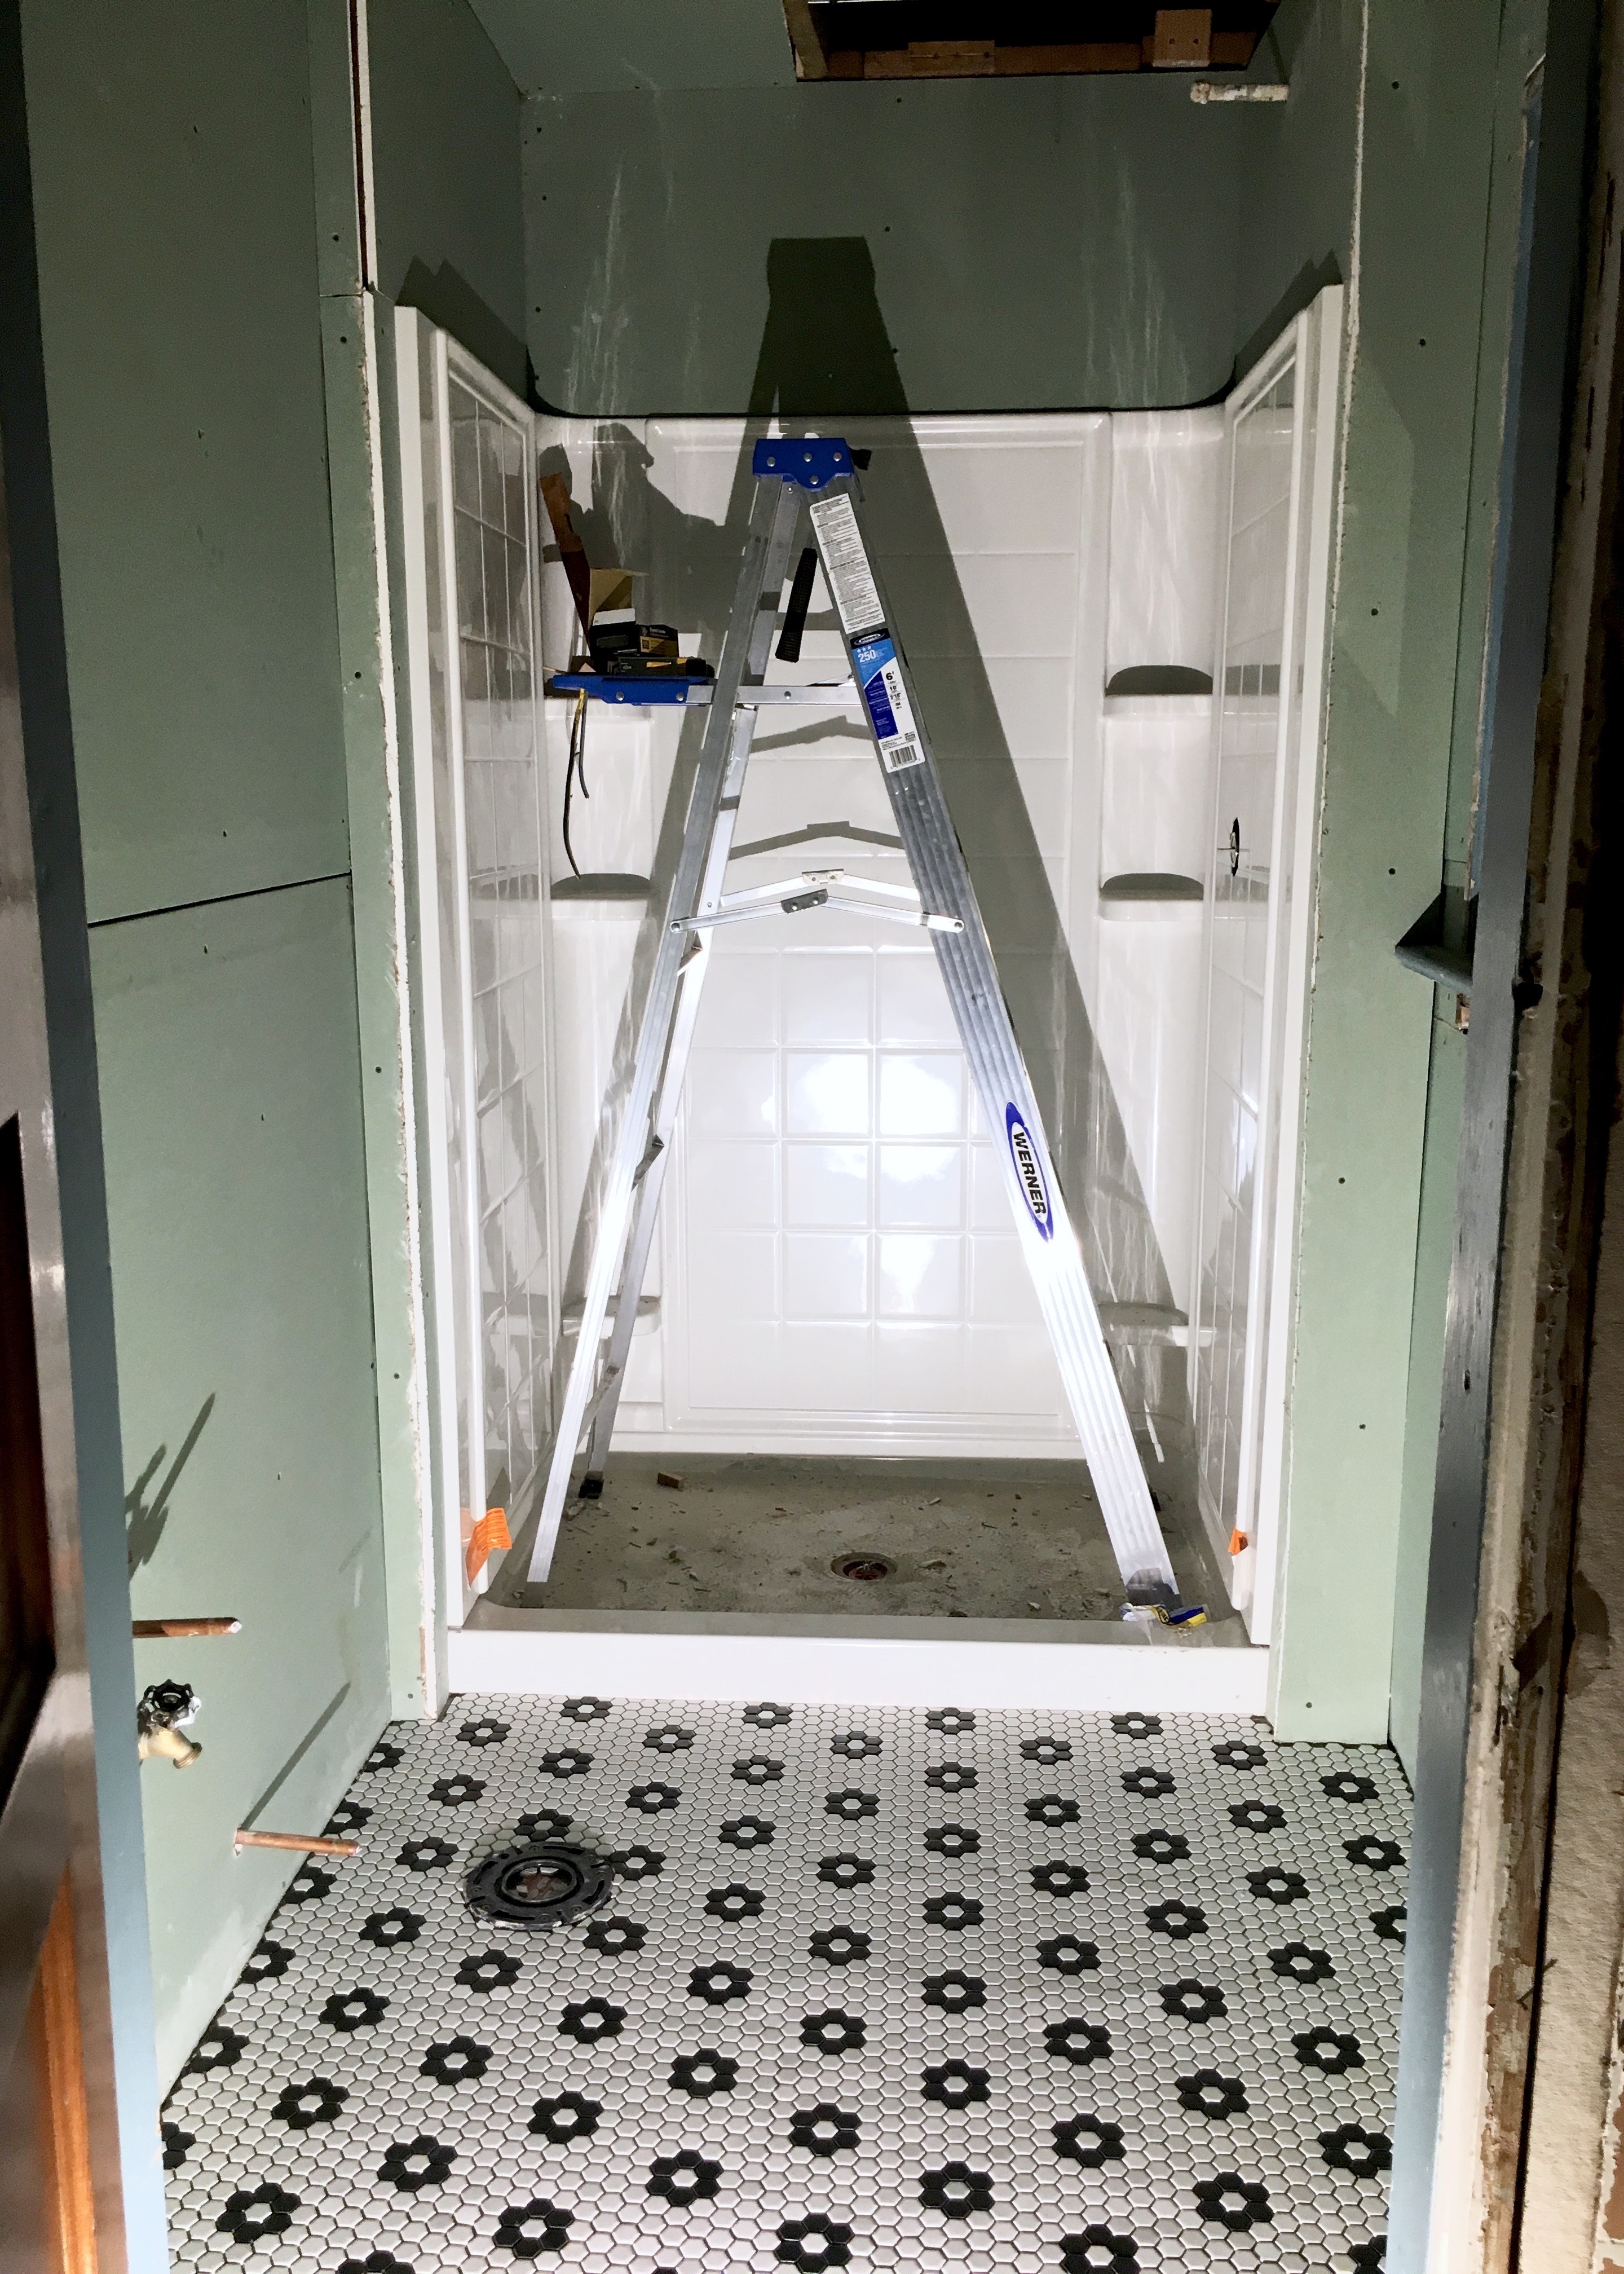
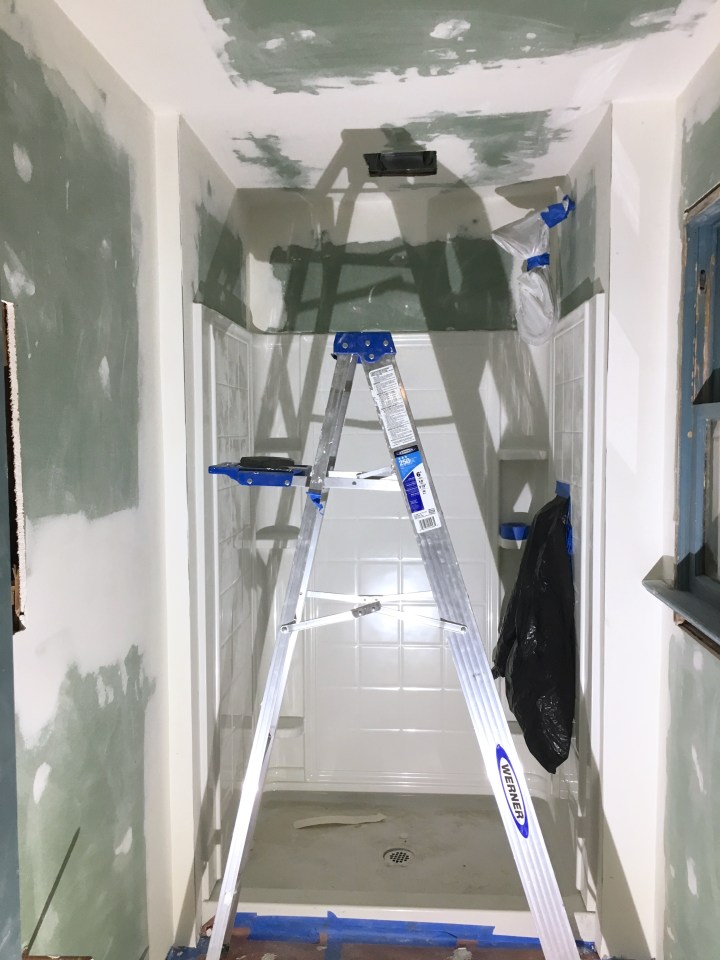
Eventually, after I don’t even know how many hours of sanding, the bathroom was smooth as a baby’s bottom and ready for primer and paint! At last! My showerhead had been installed and as soon as the room was primed, I could shower again. Boy was I looking forward to living in my own house again. My 10:30pm 15minute sprints back to my cousin’s to shower and sleep were getting old quickly. I needed to be staying at Berrybrier full time to get through the push! But here we were with a bathroom with ACTUAL WALLS AGAIN!

Berrybrier | Sanded Bathroom Drywall Mud

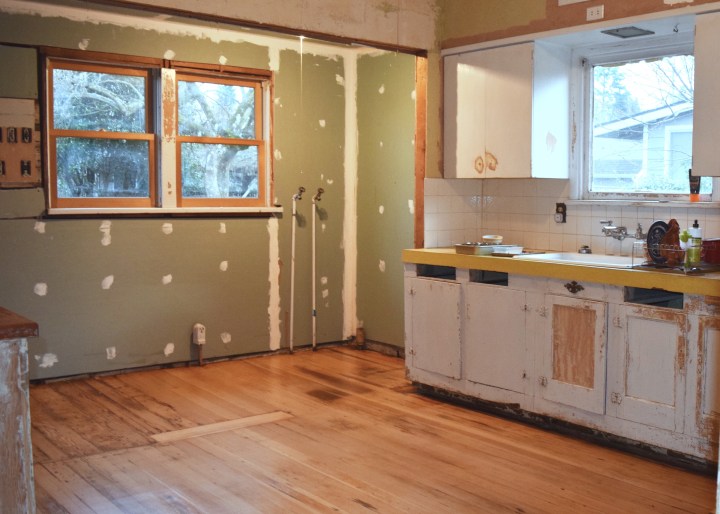
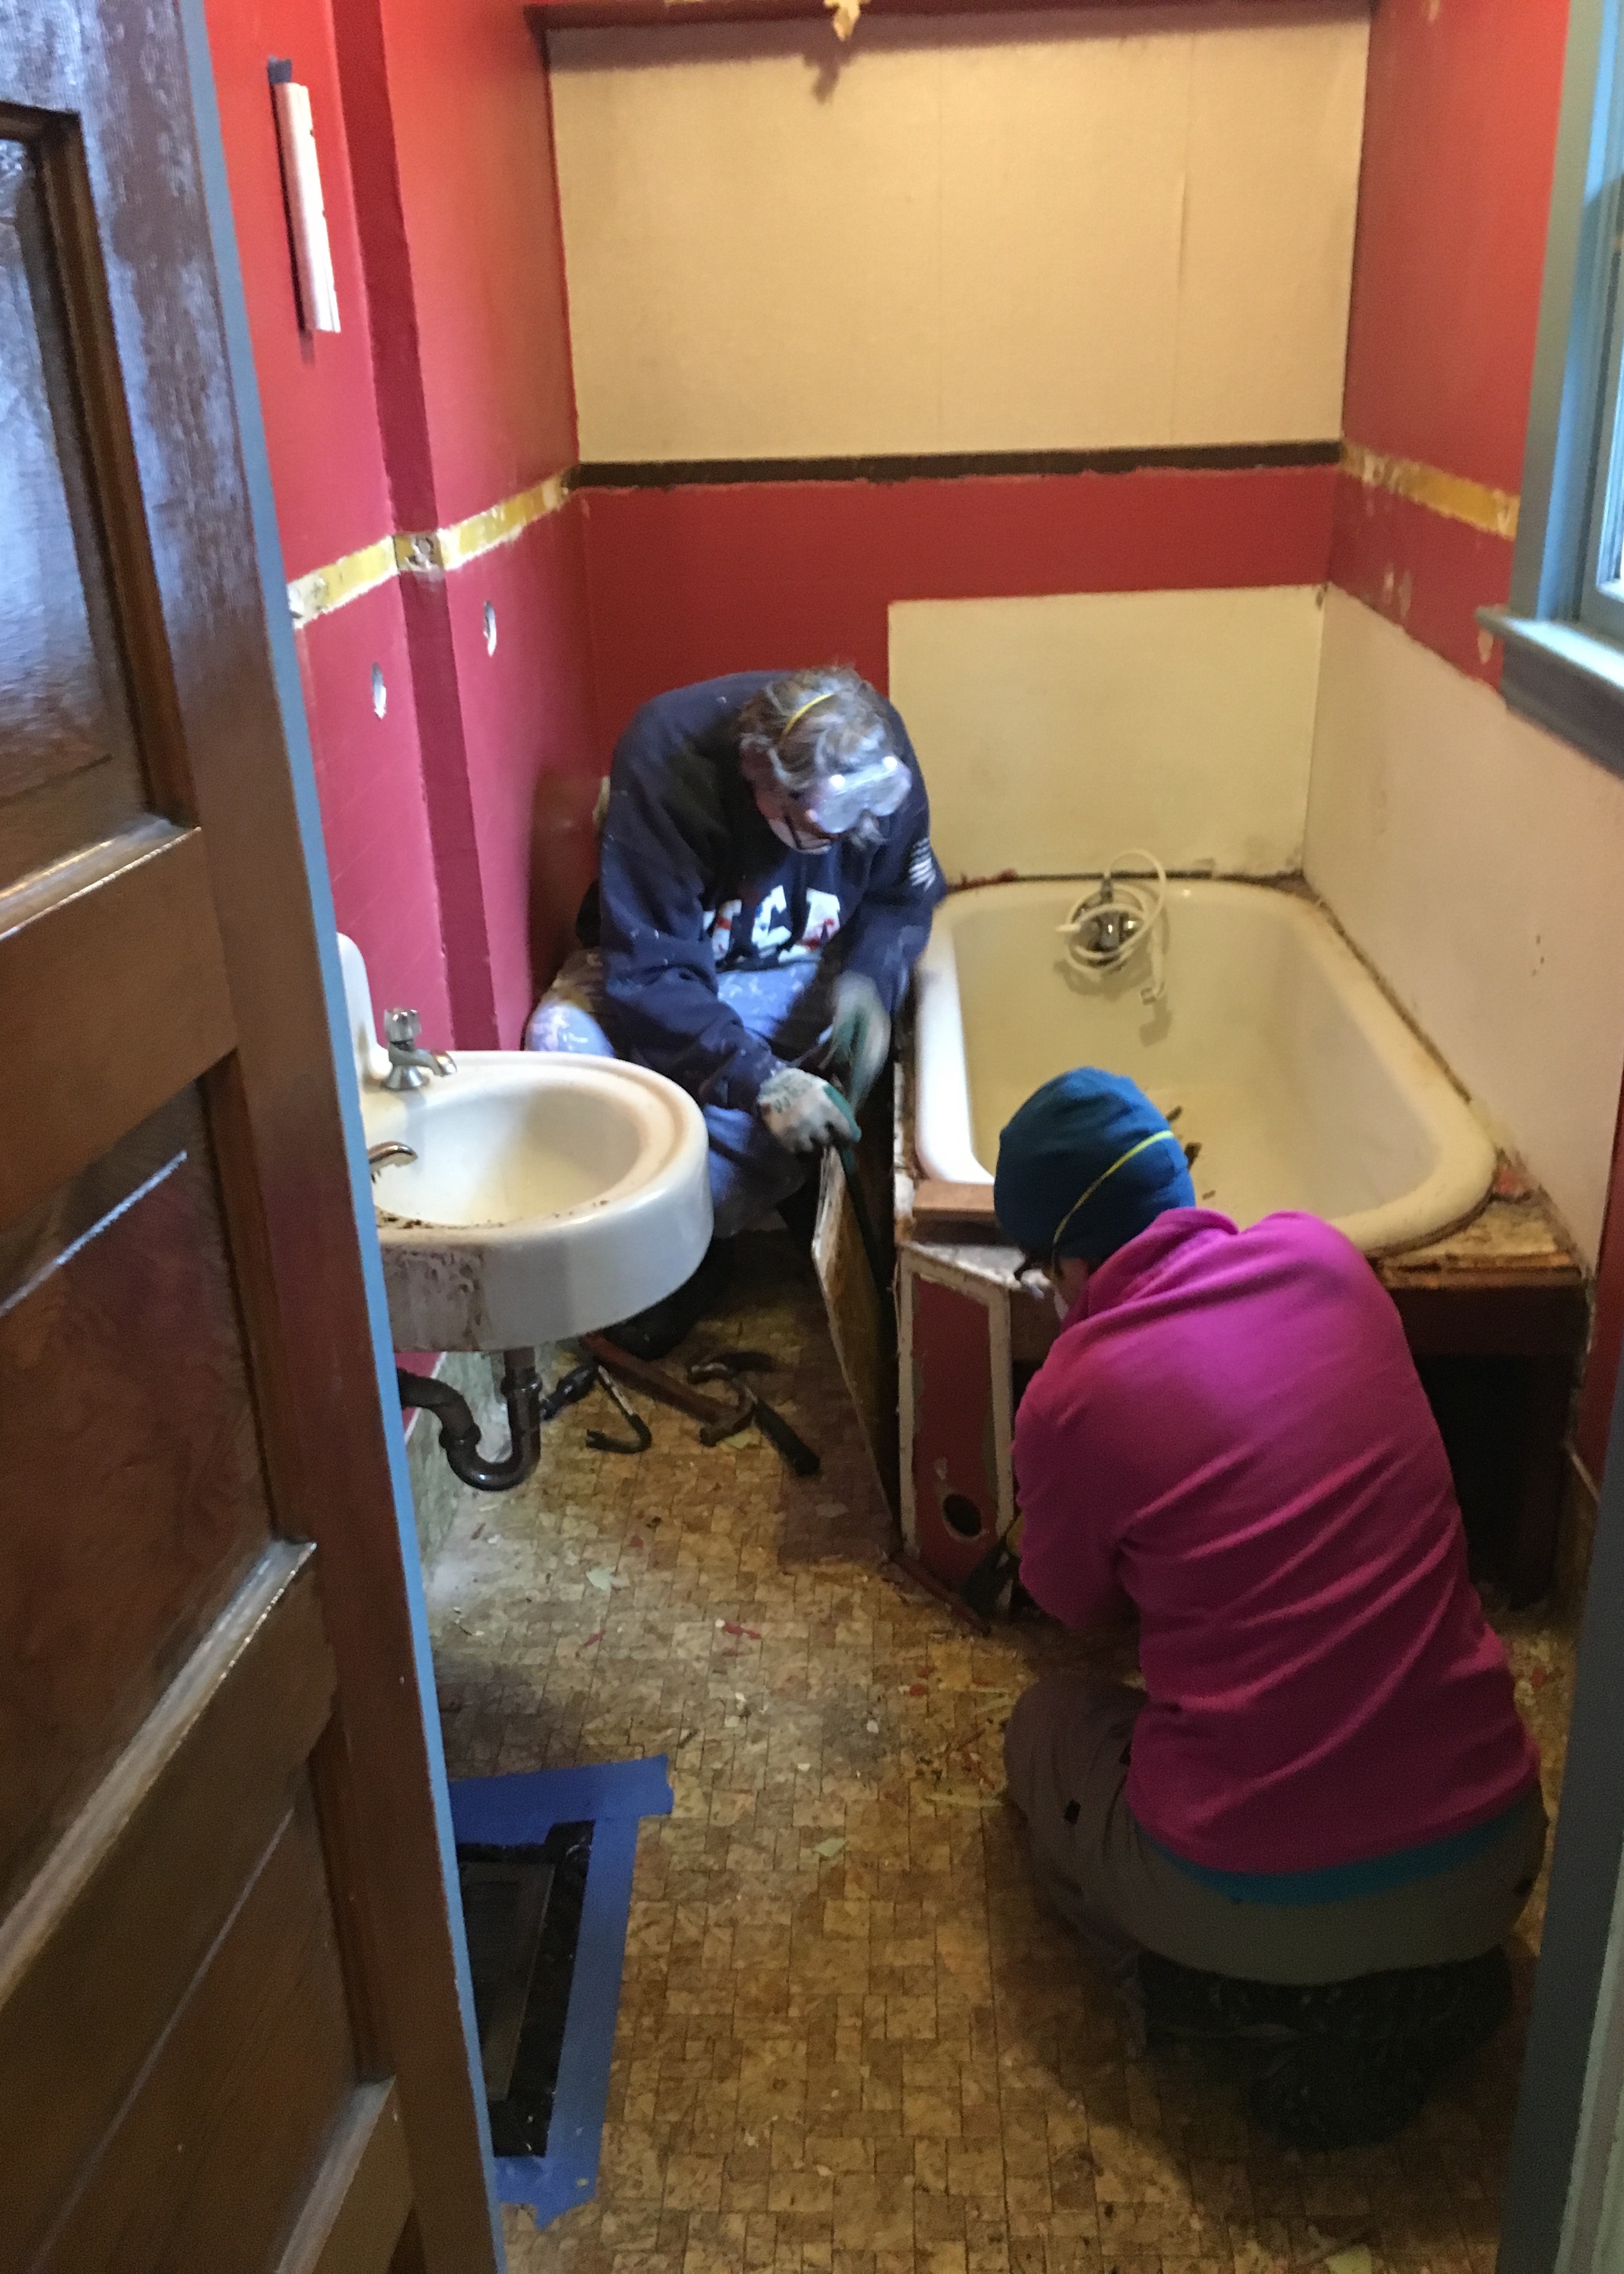
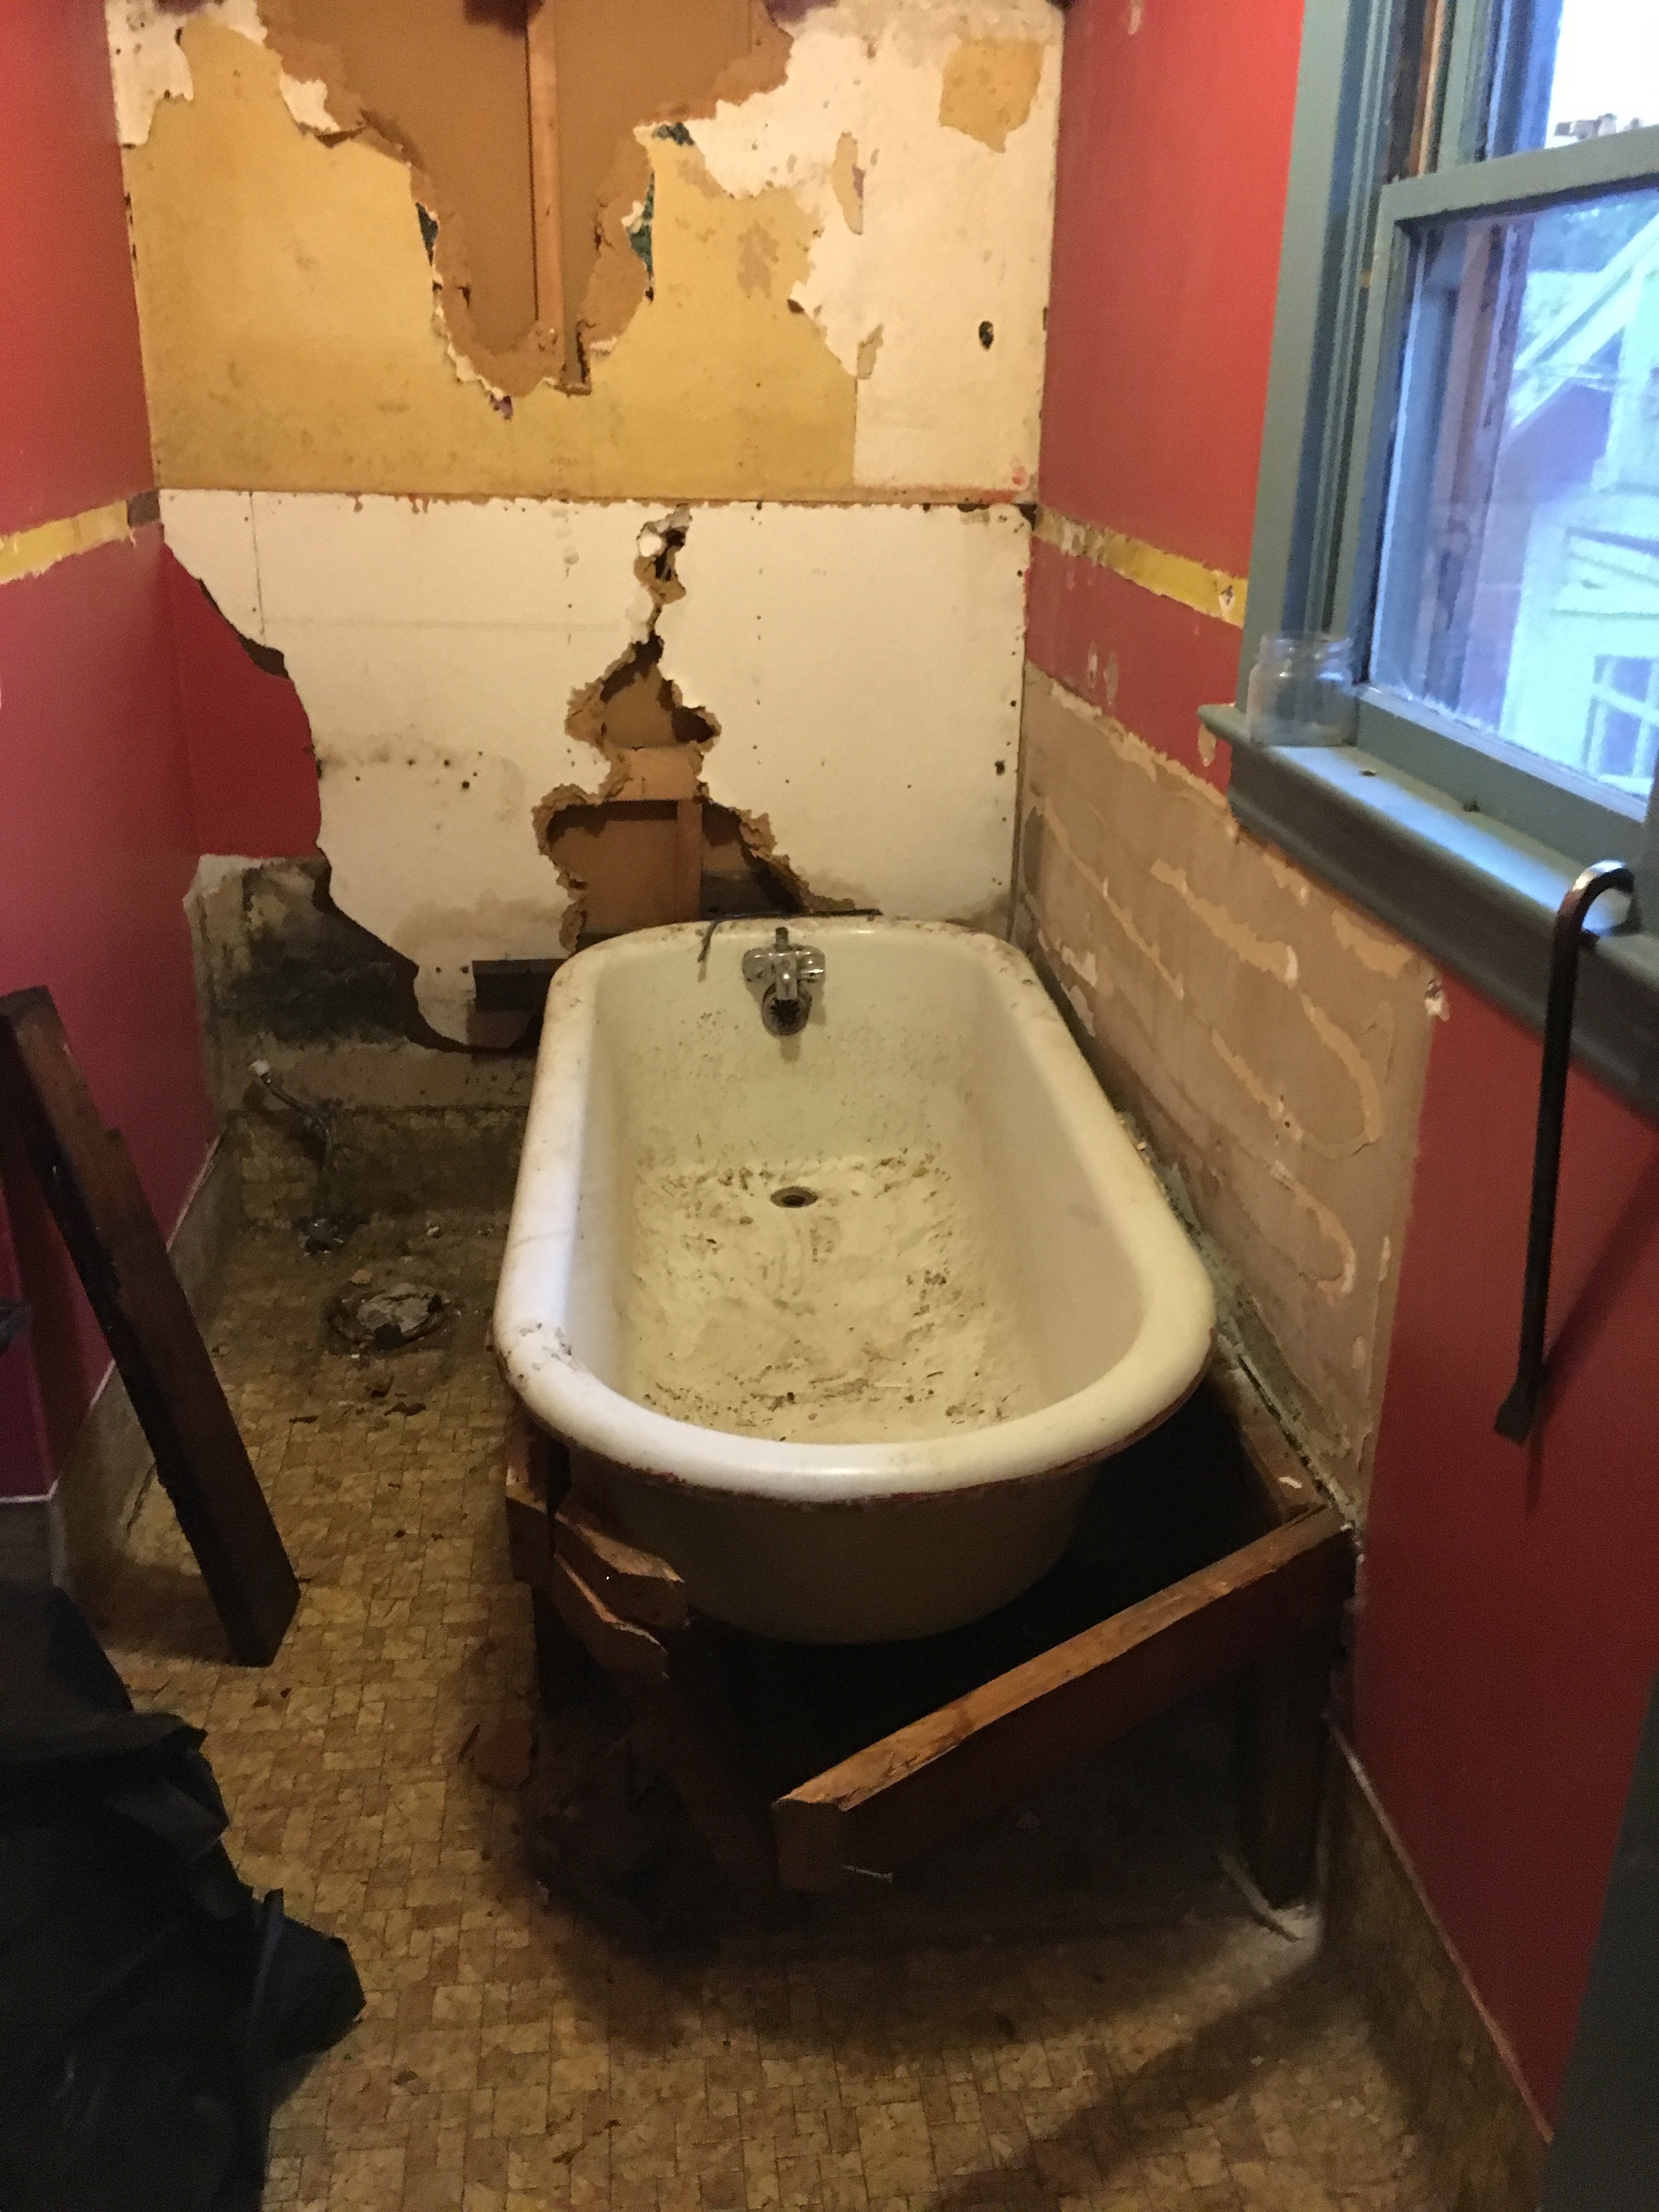
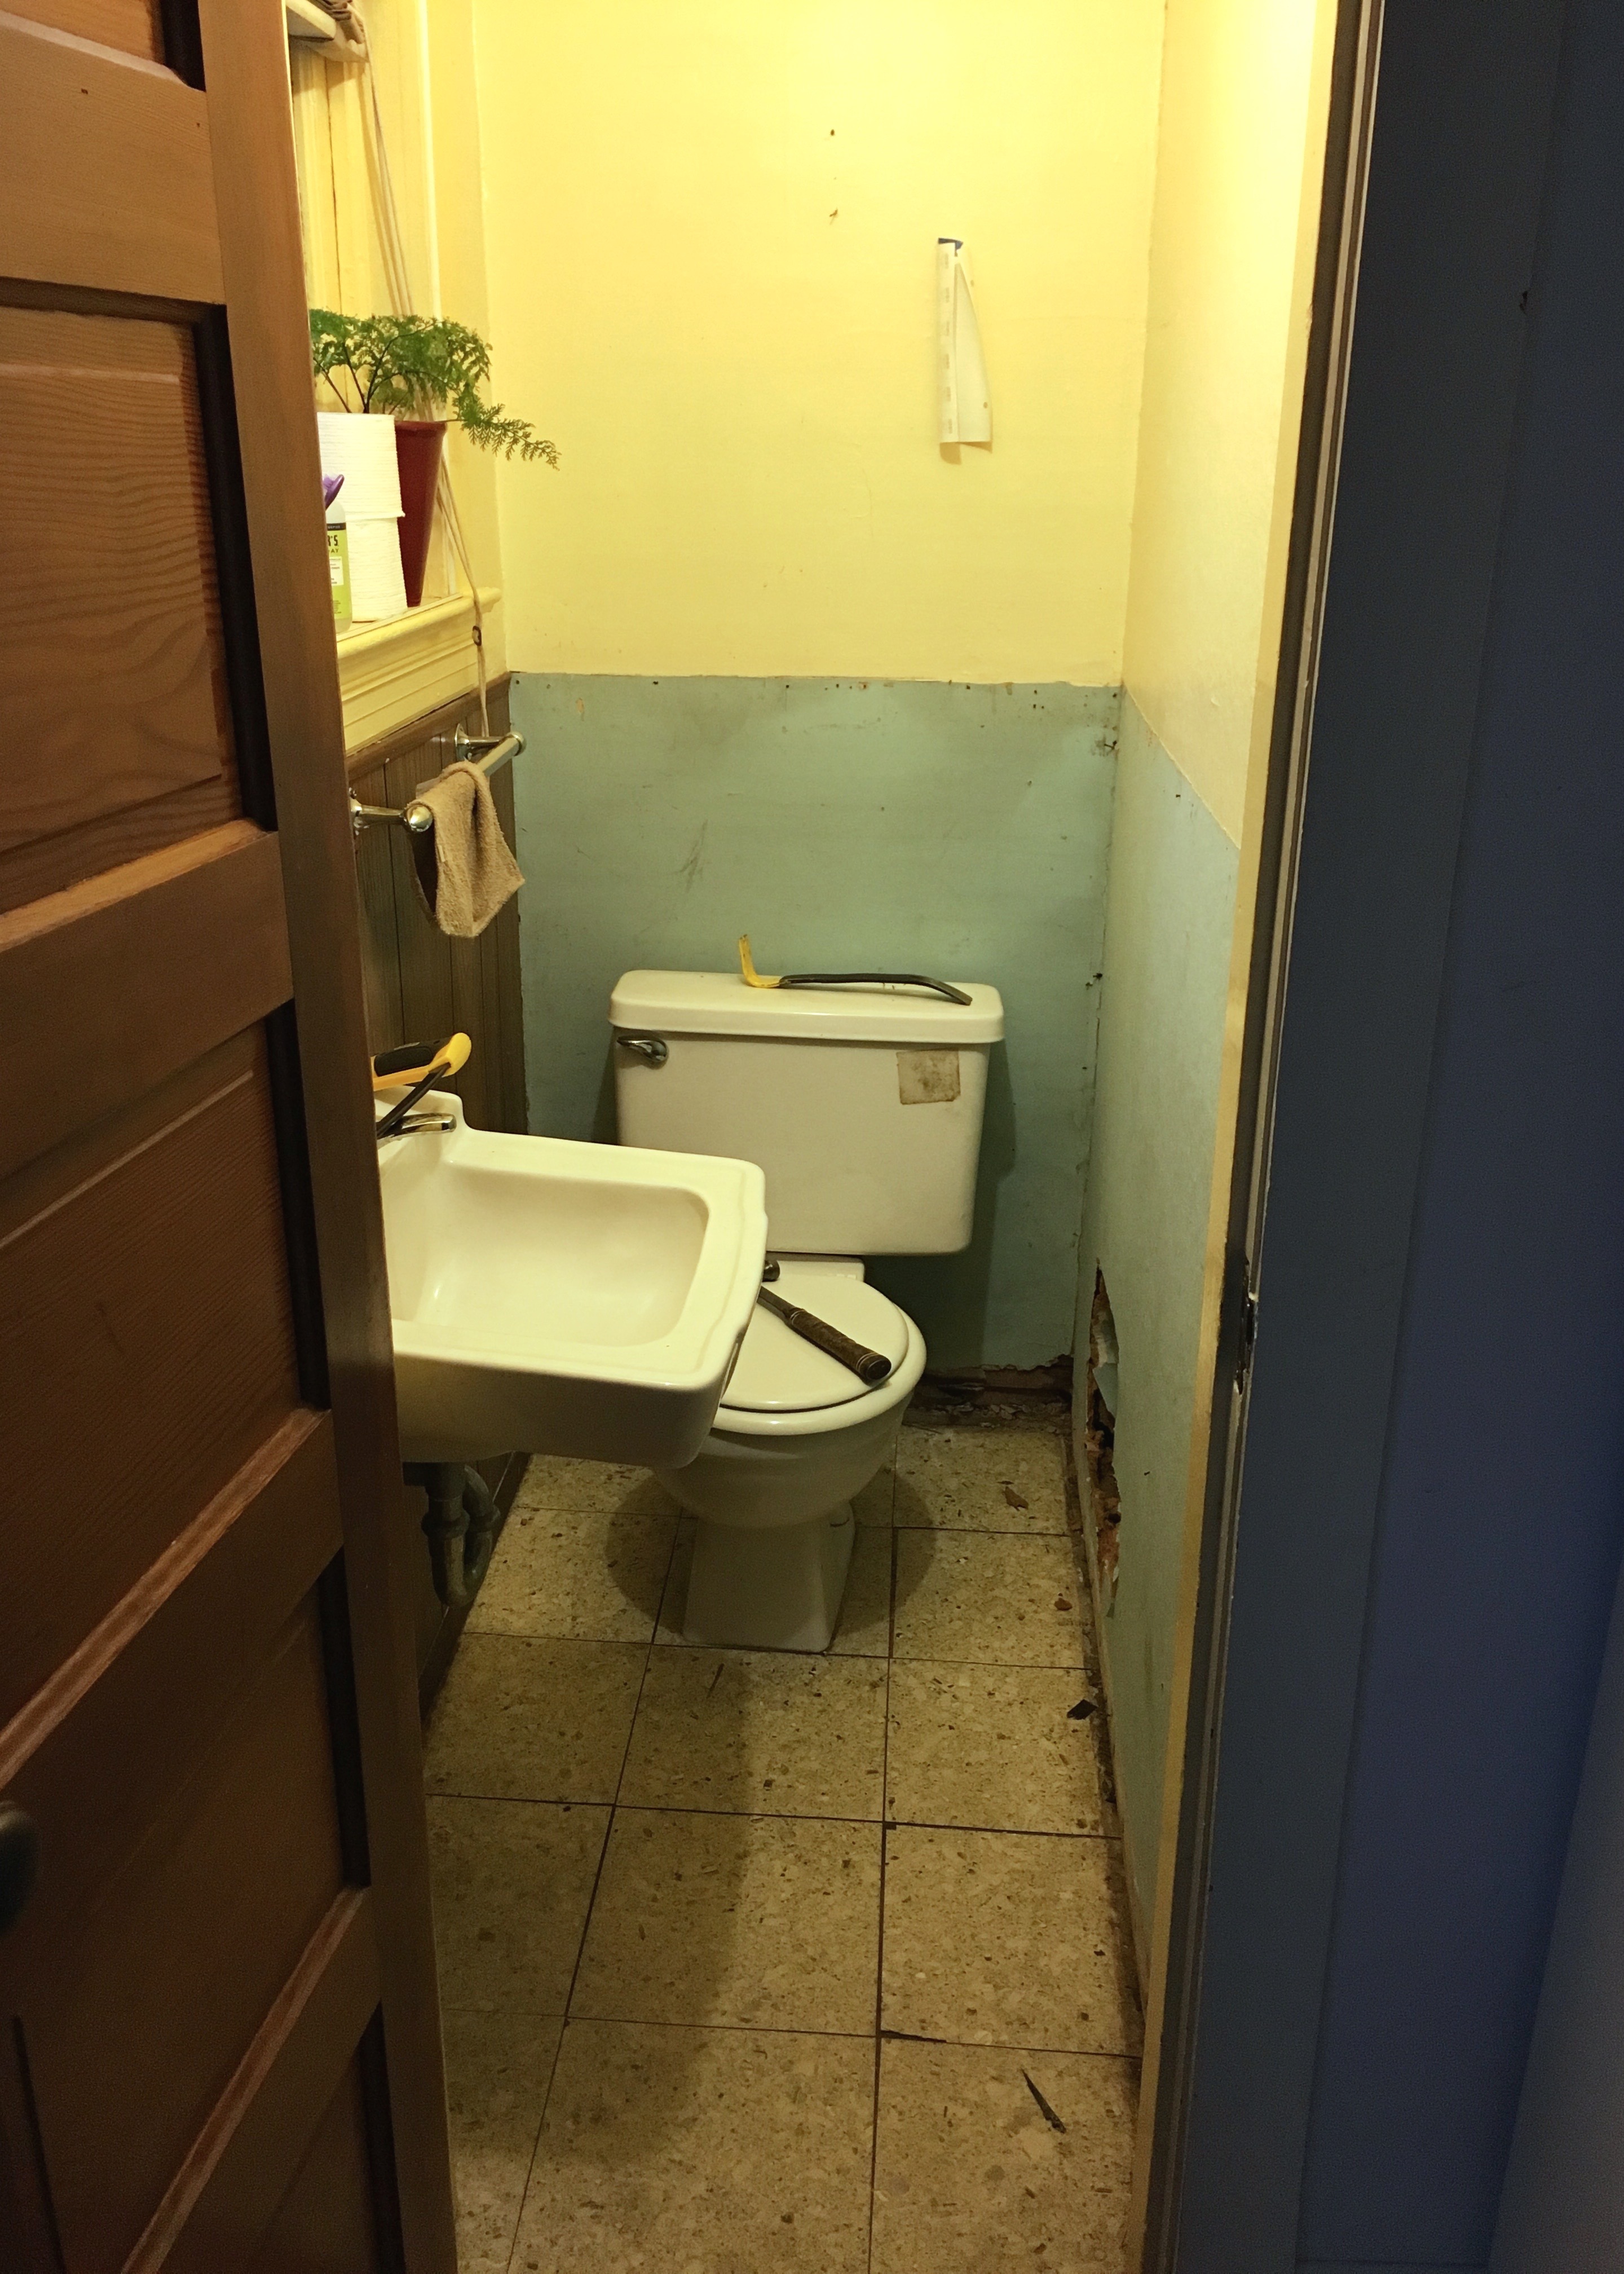
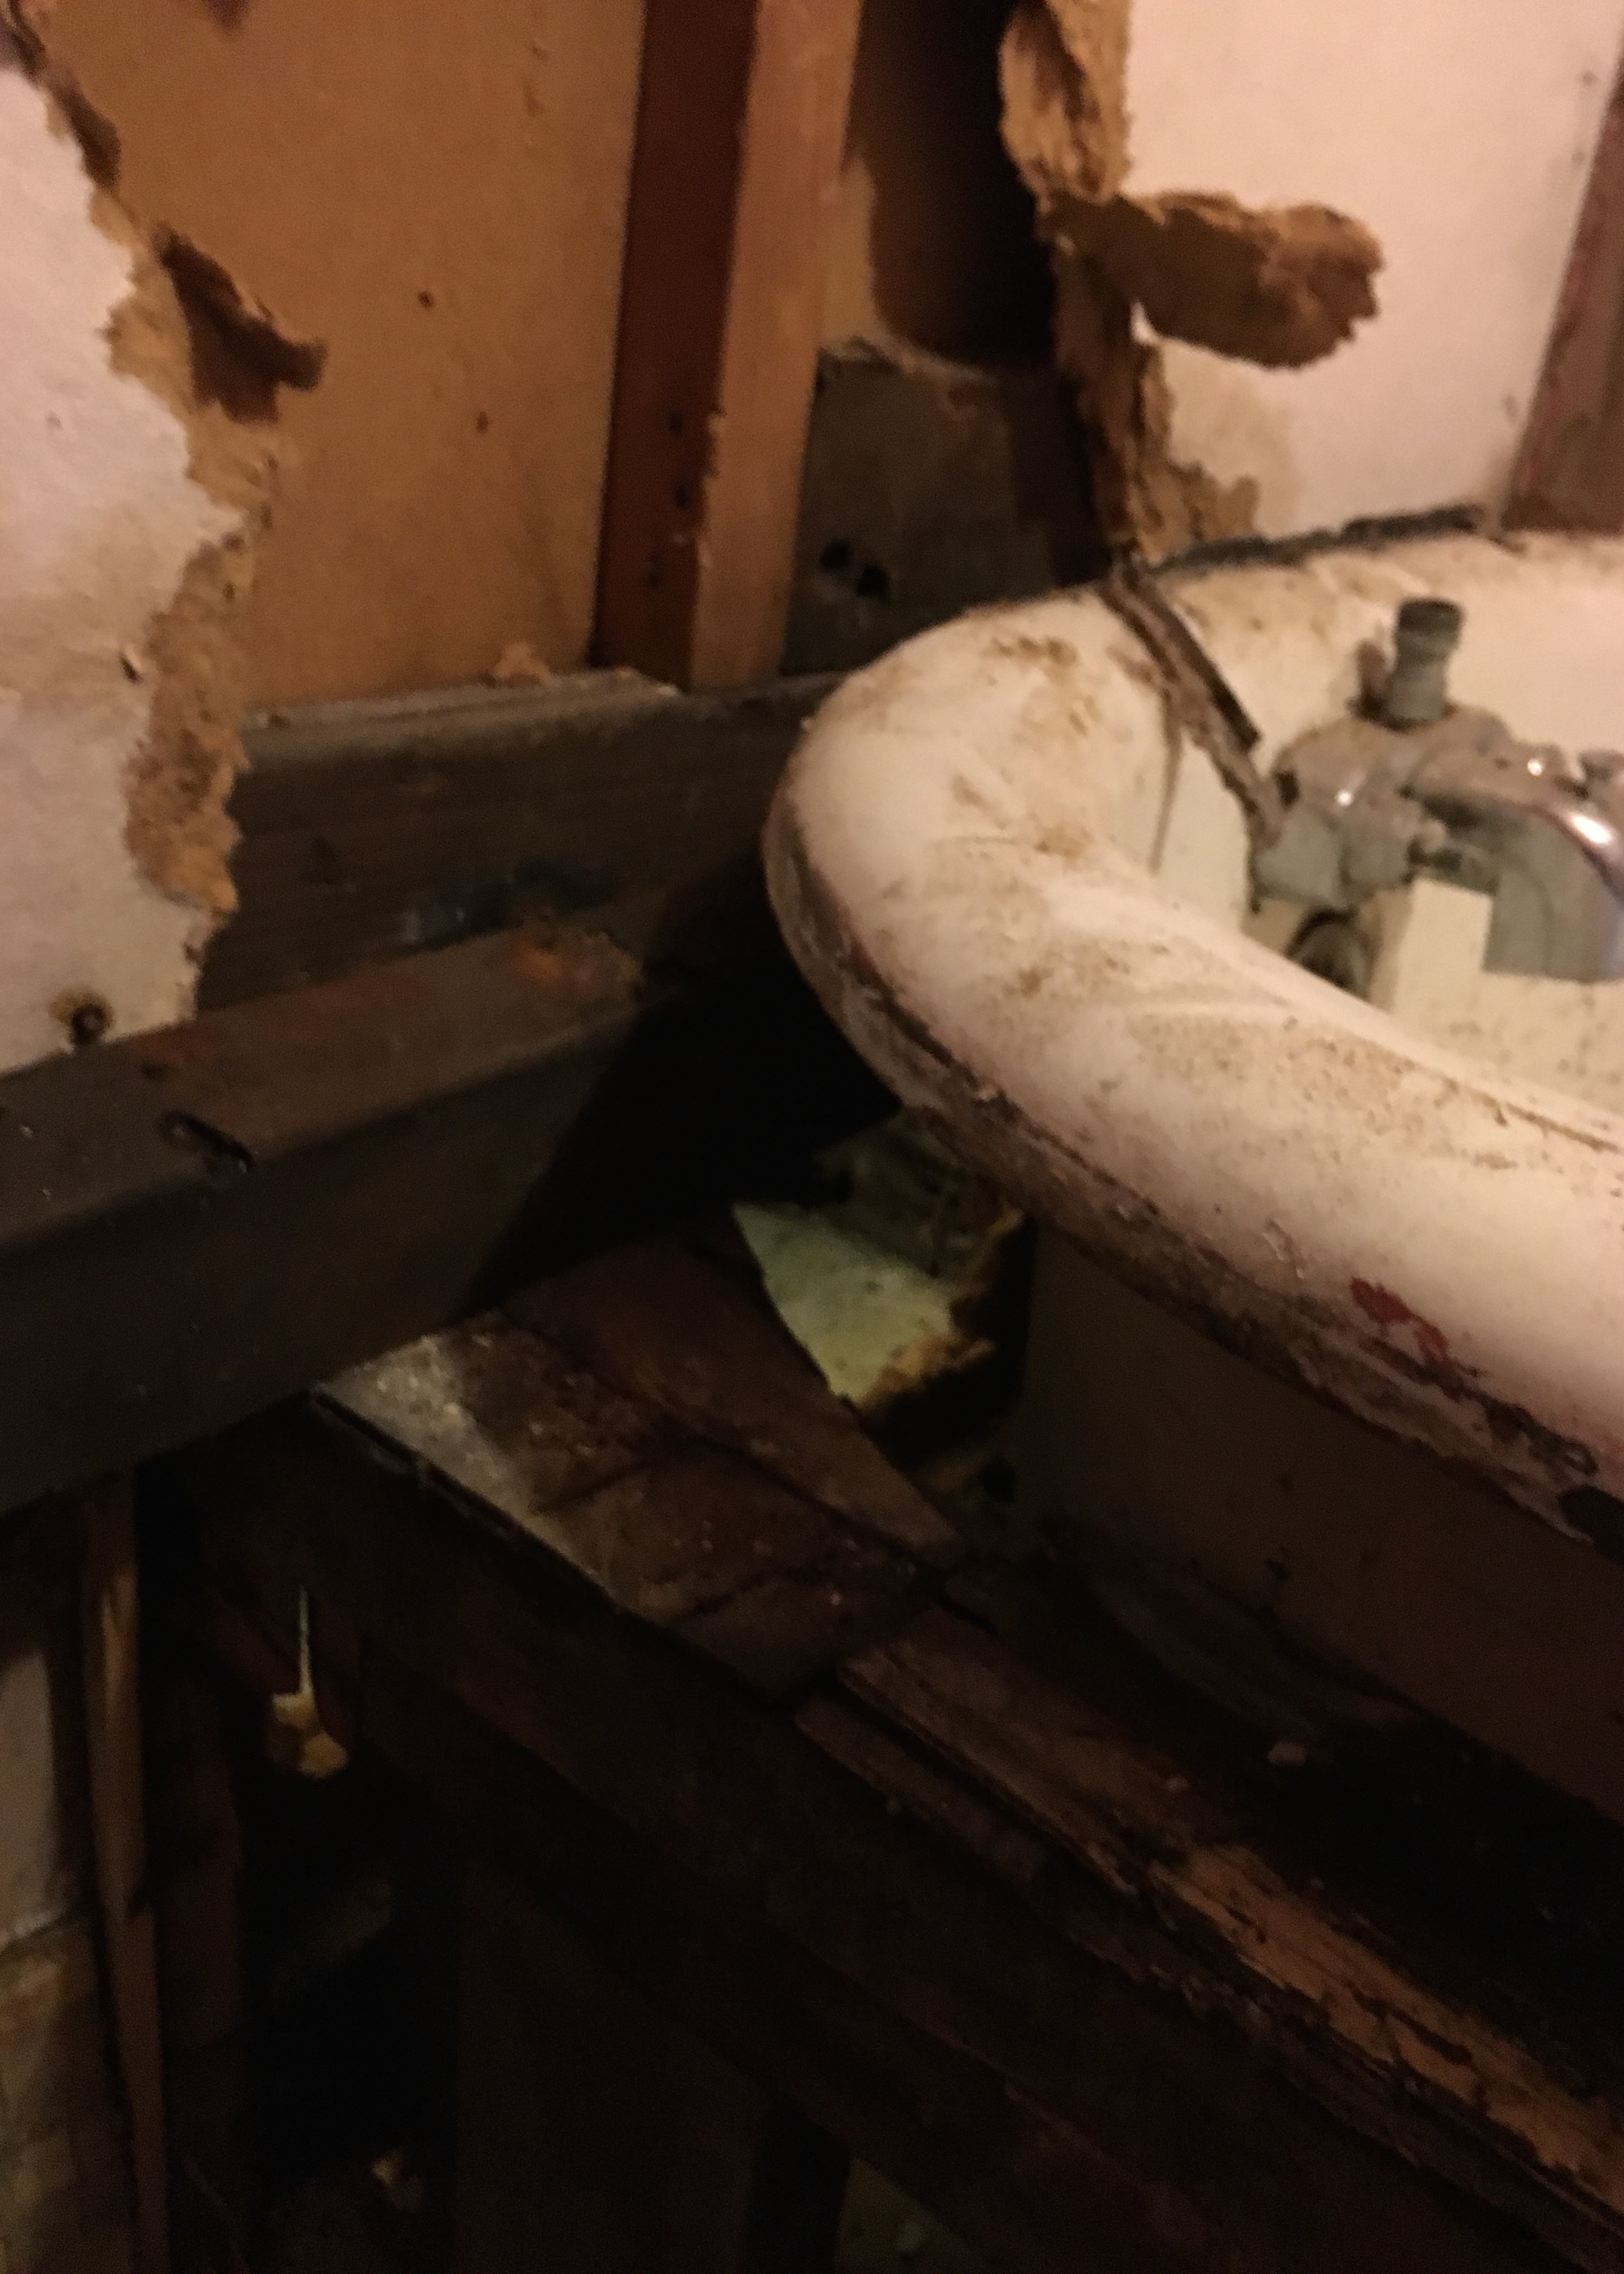
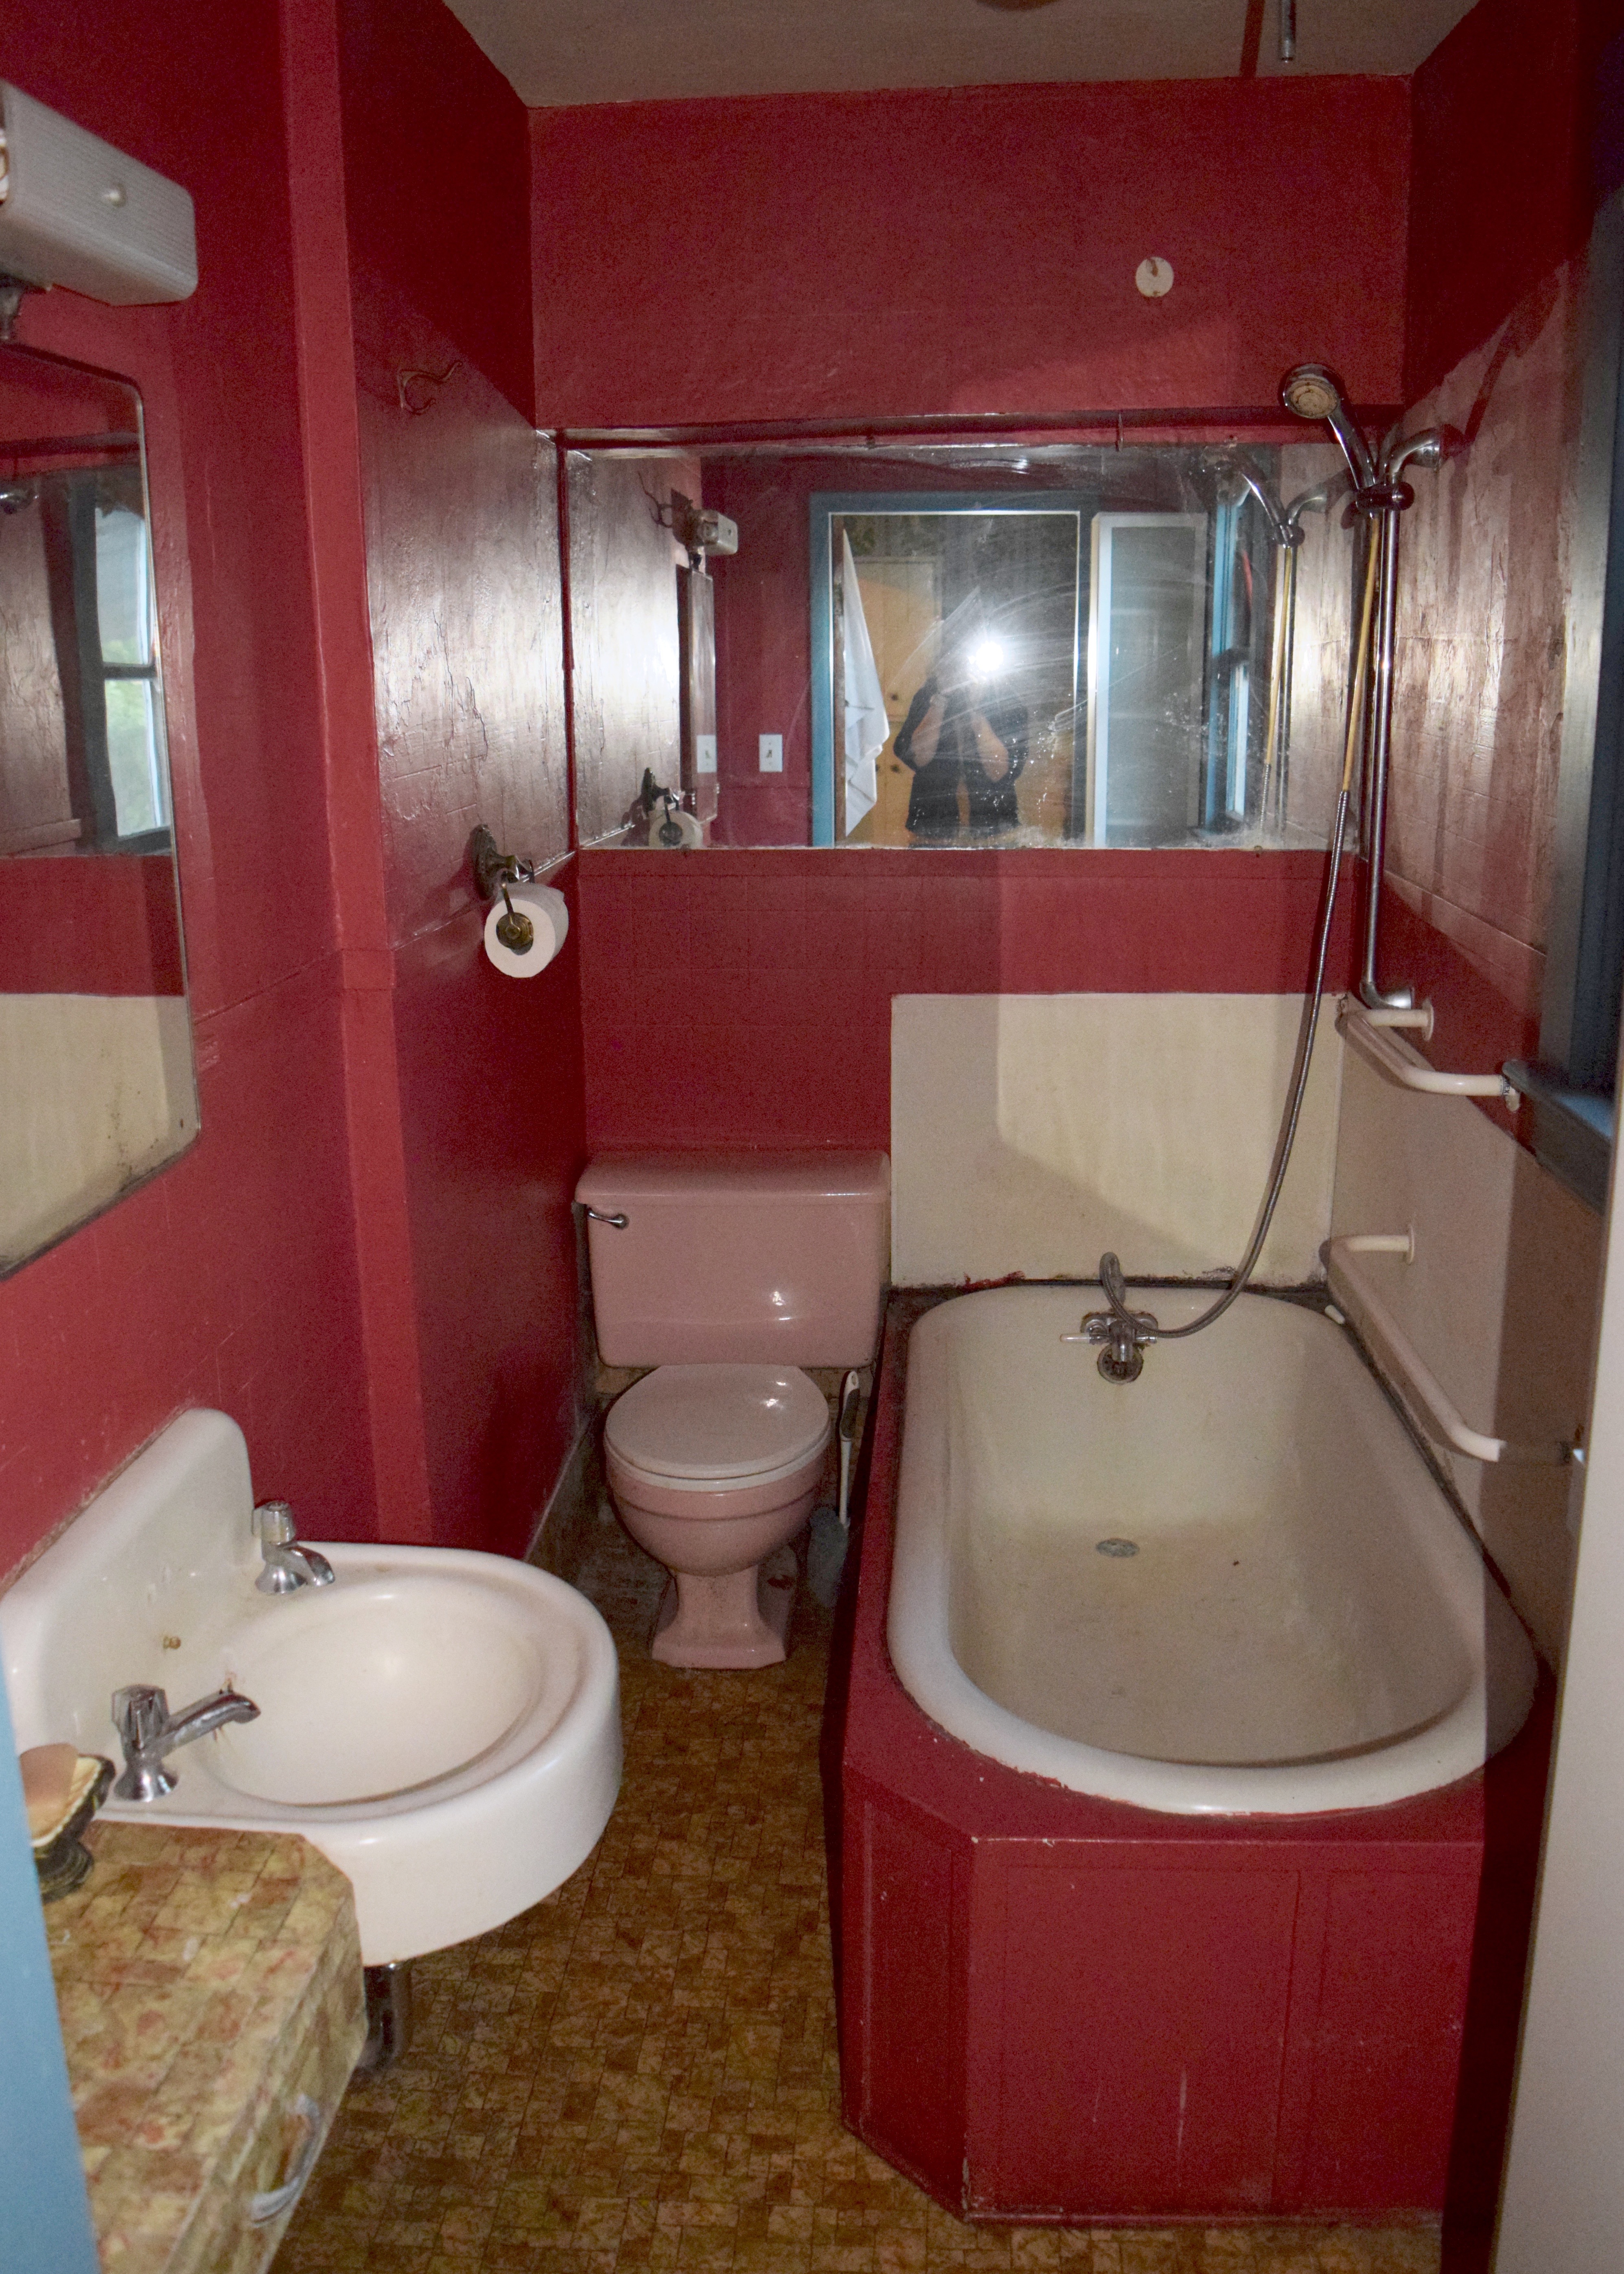
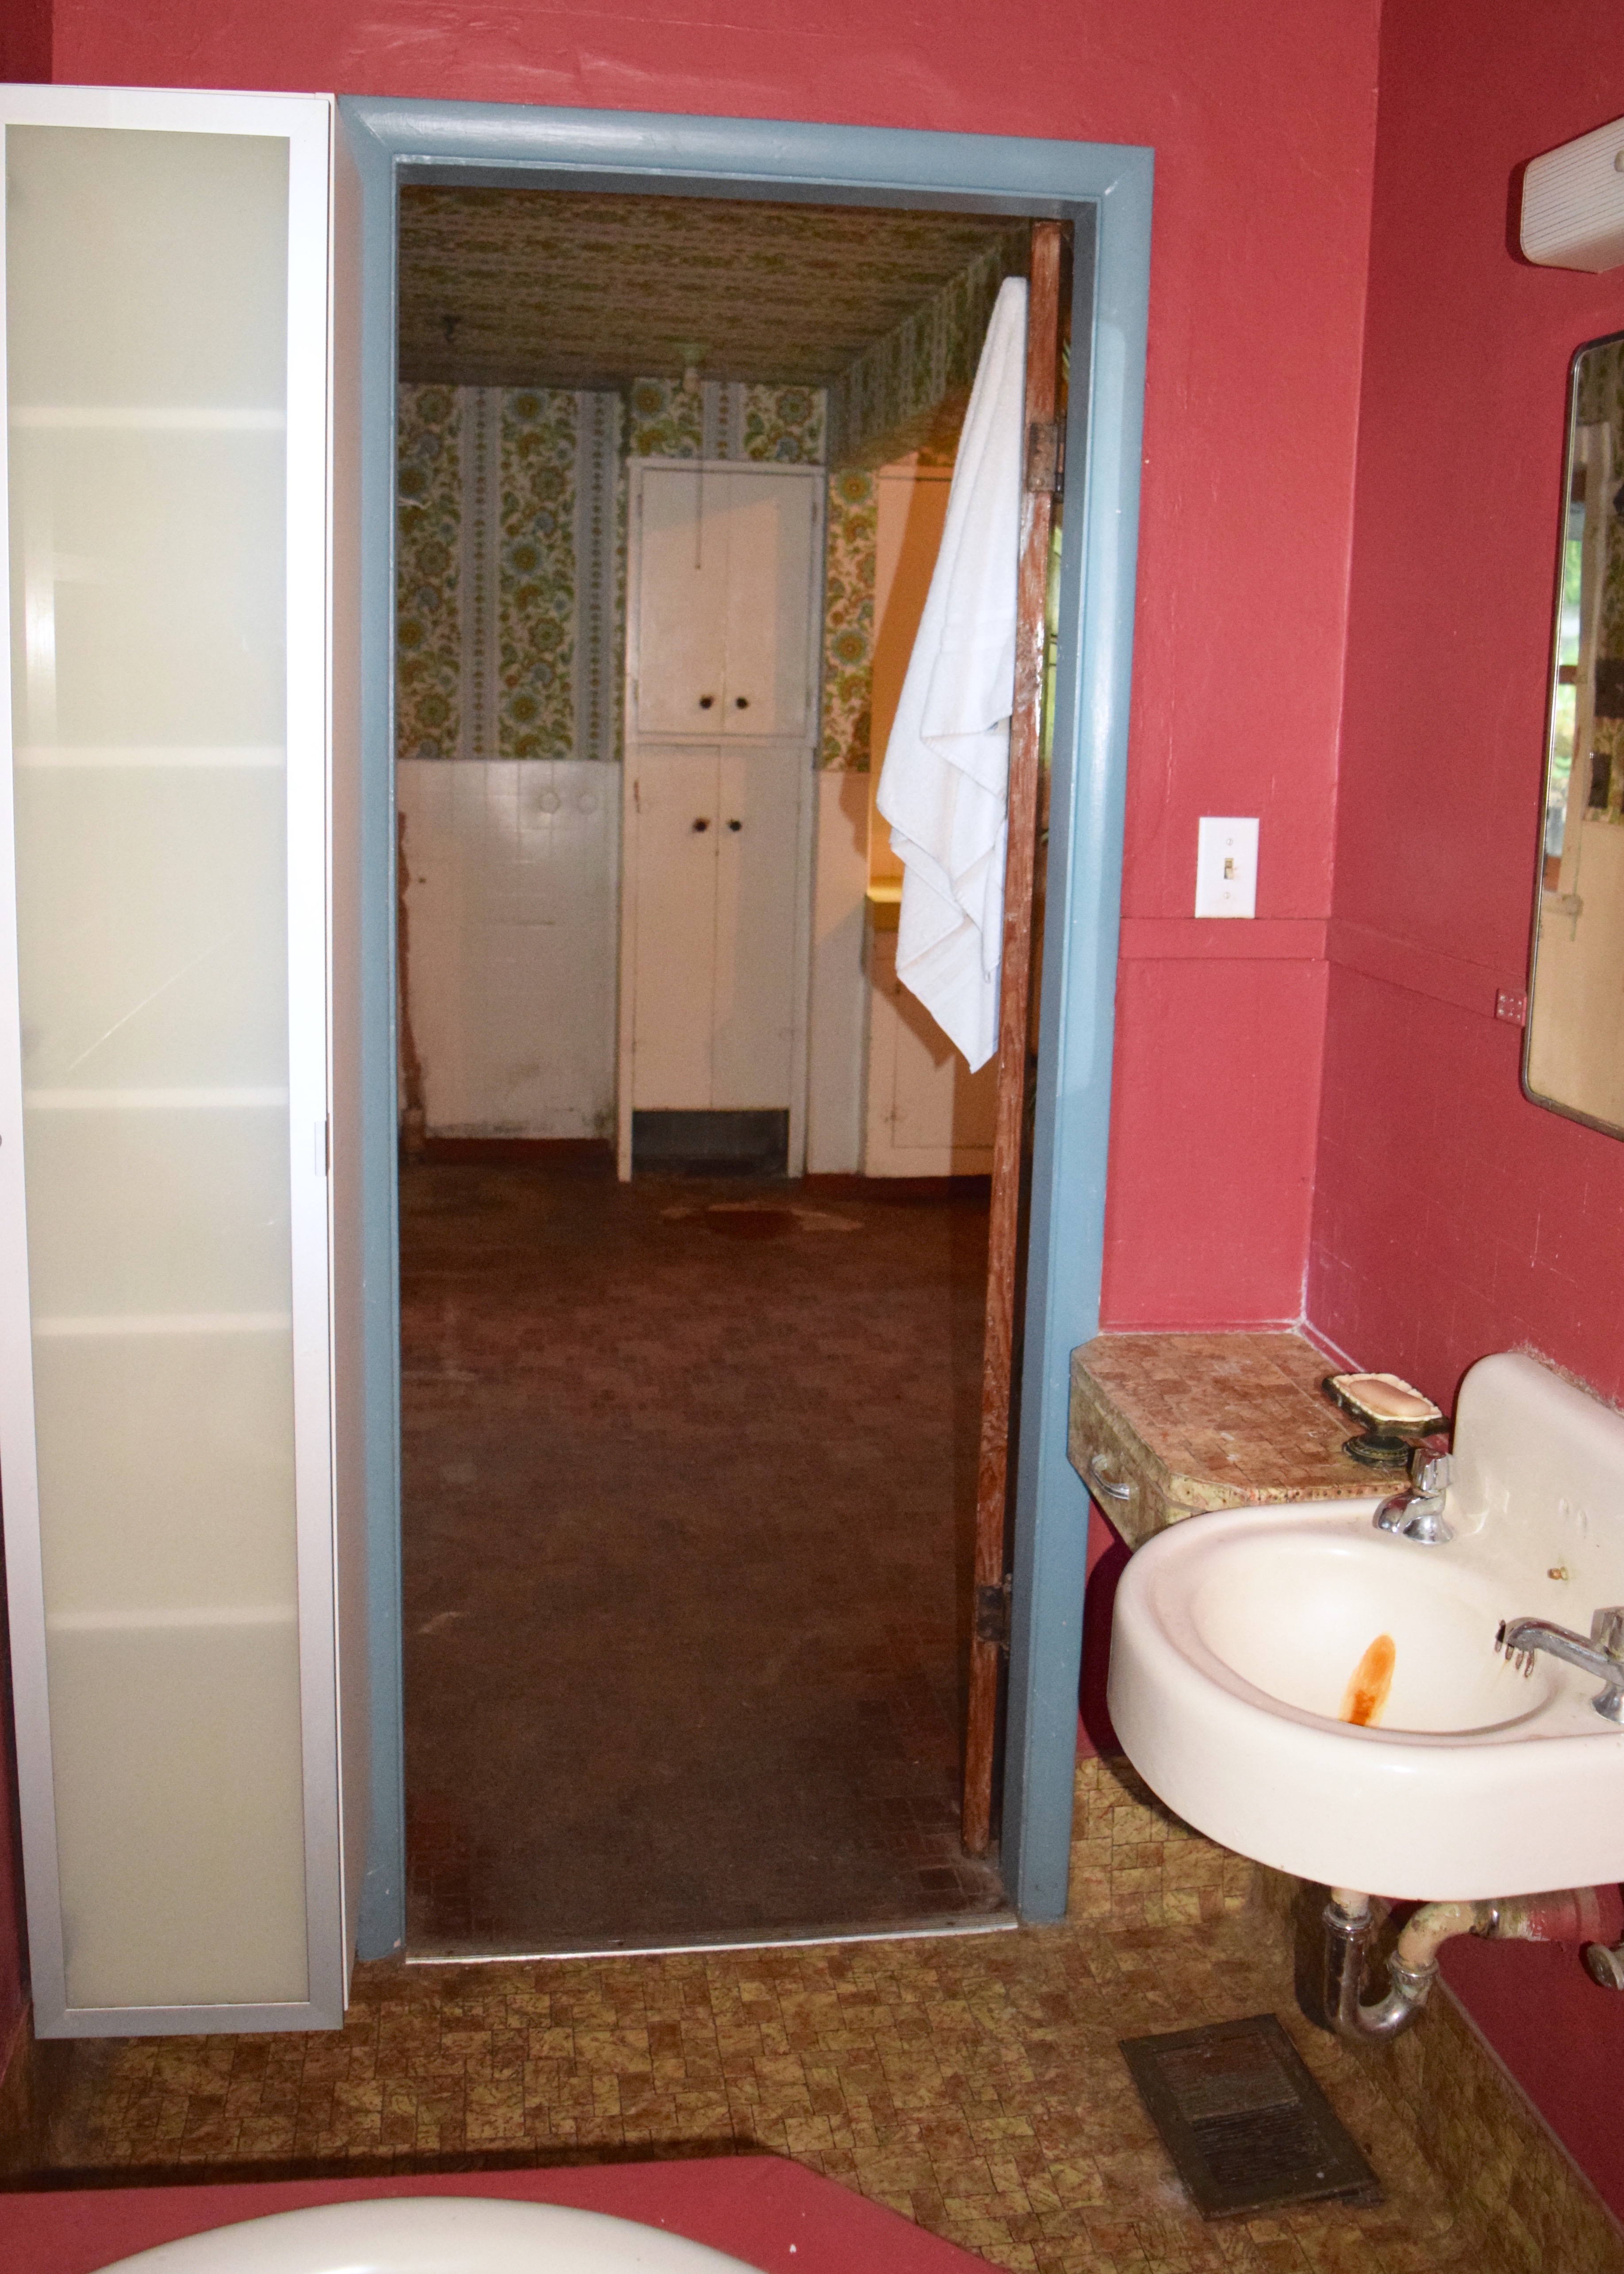
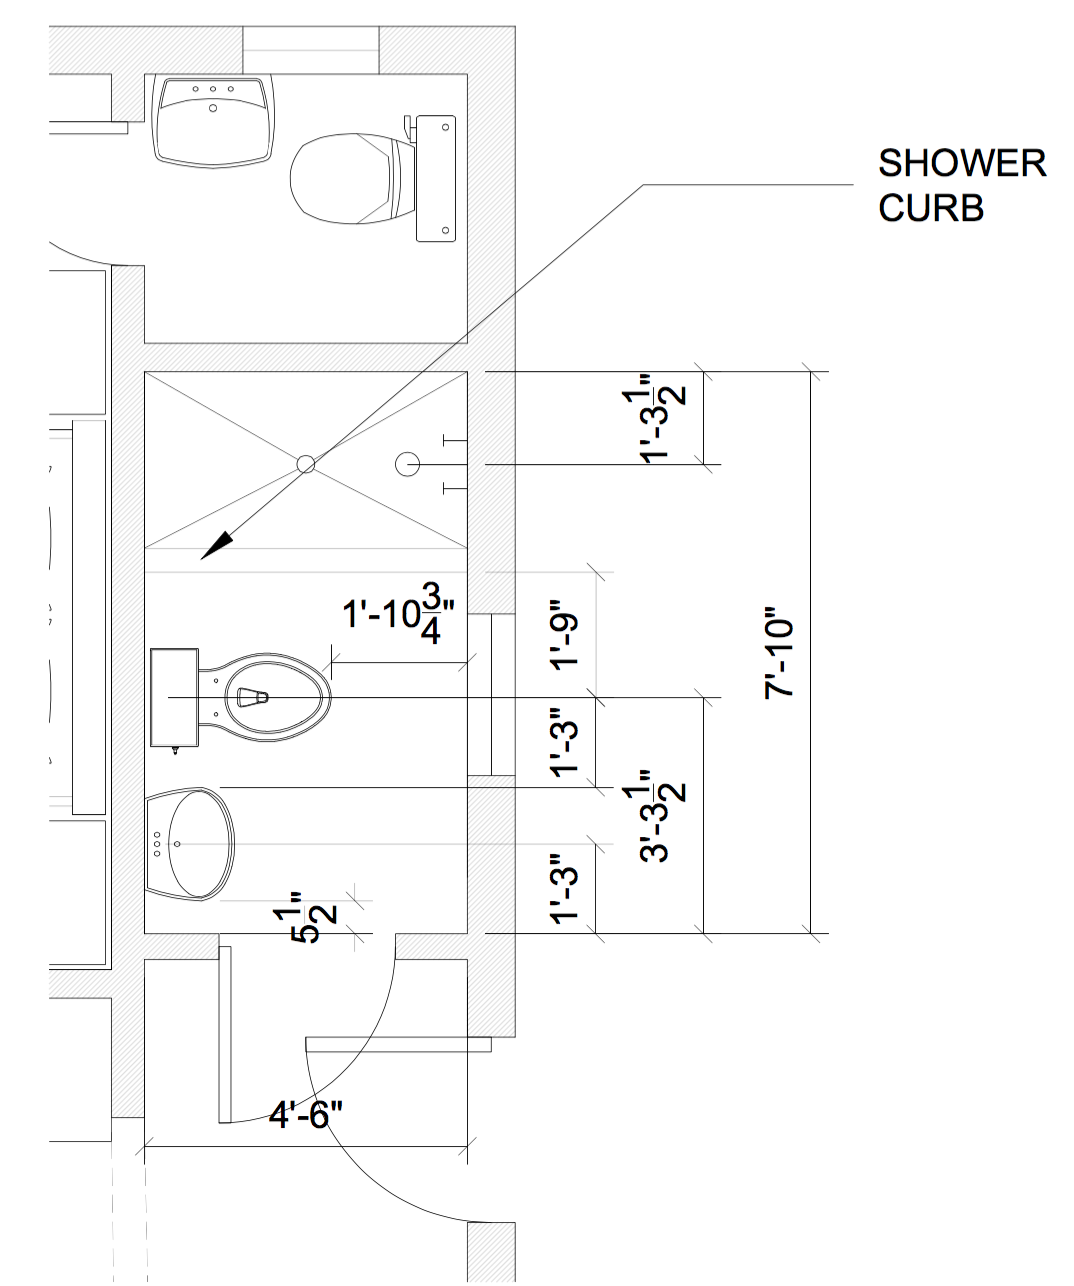
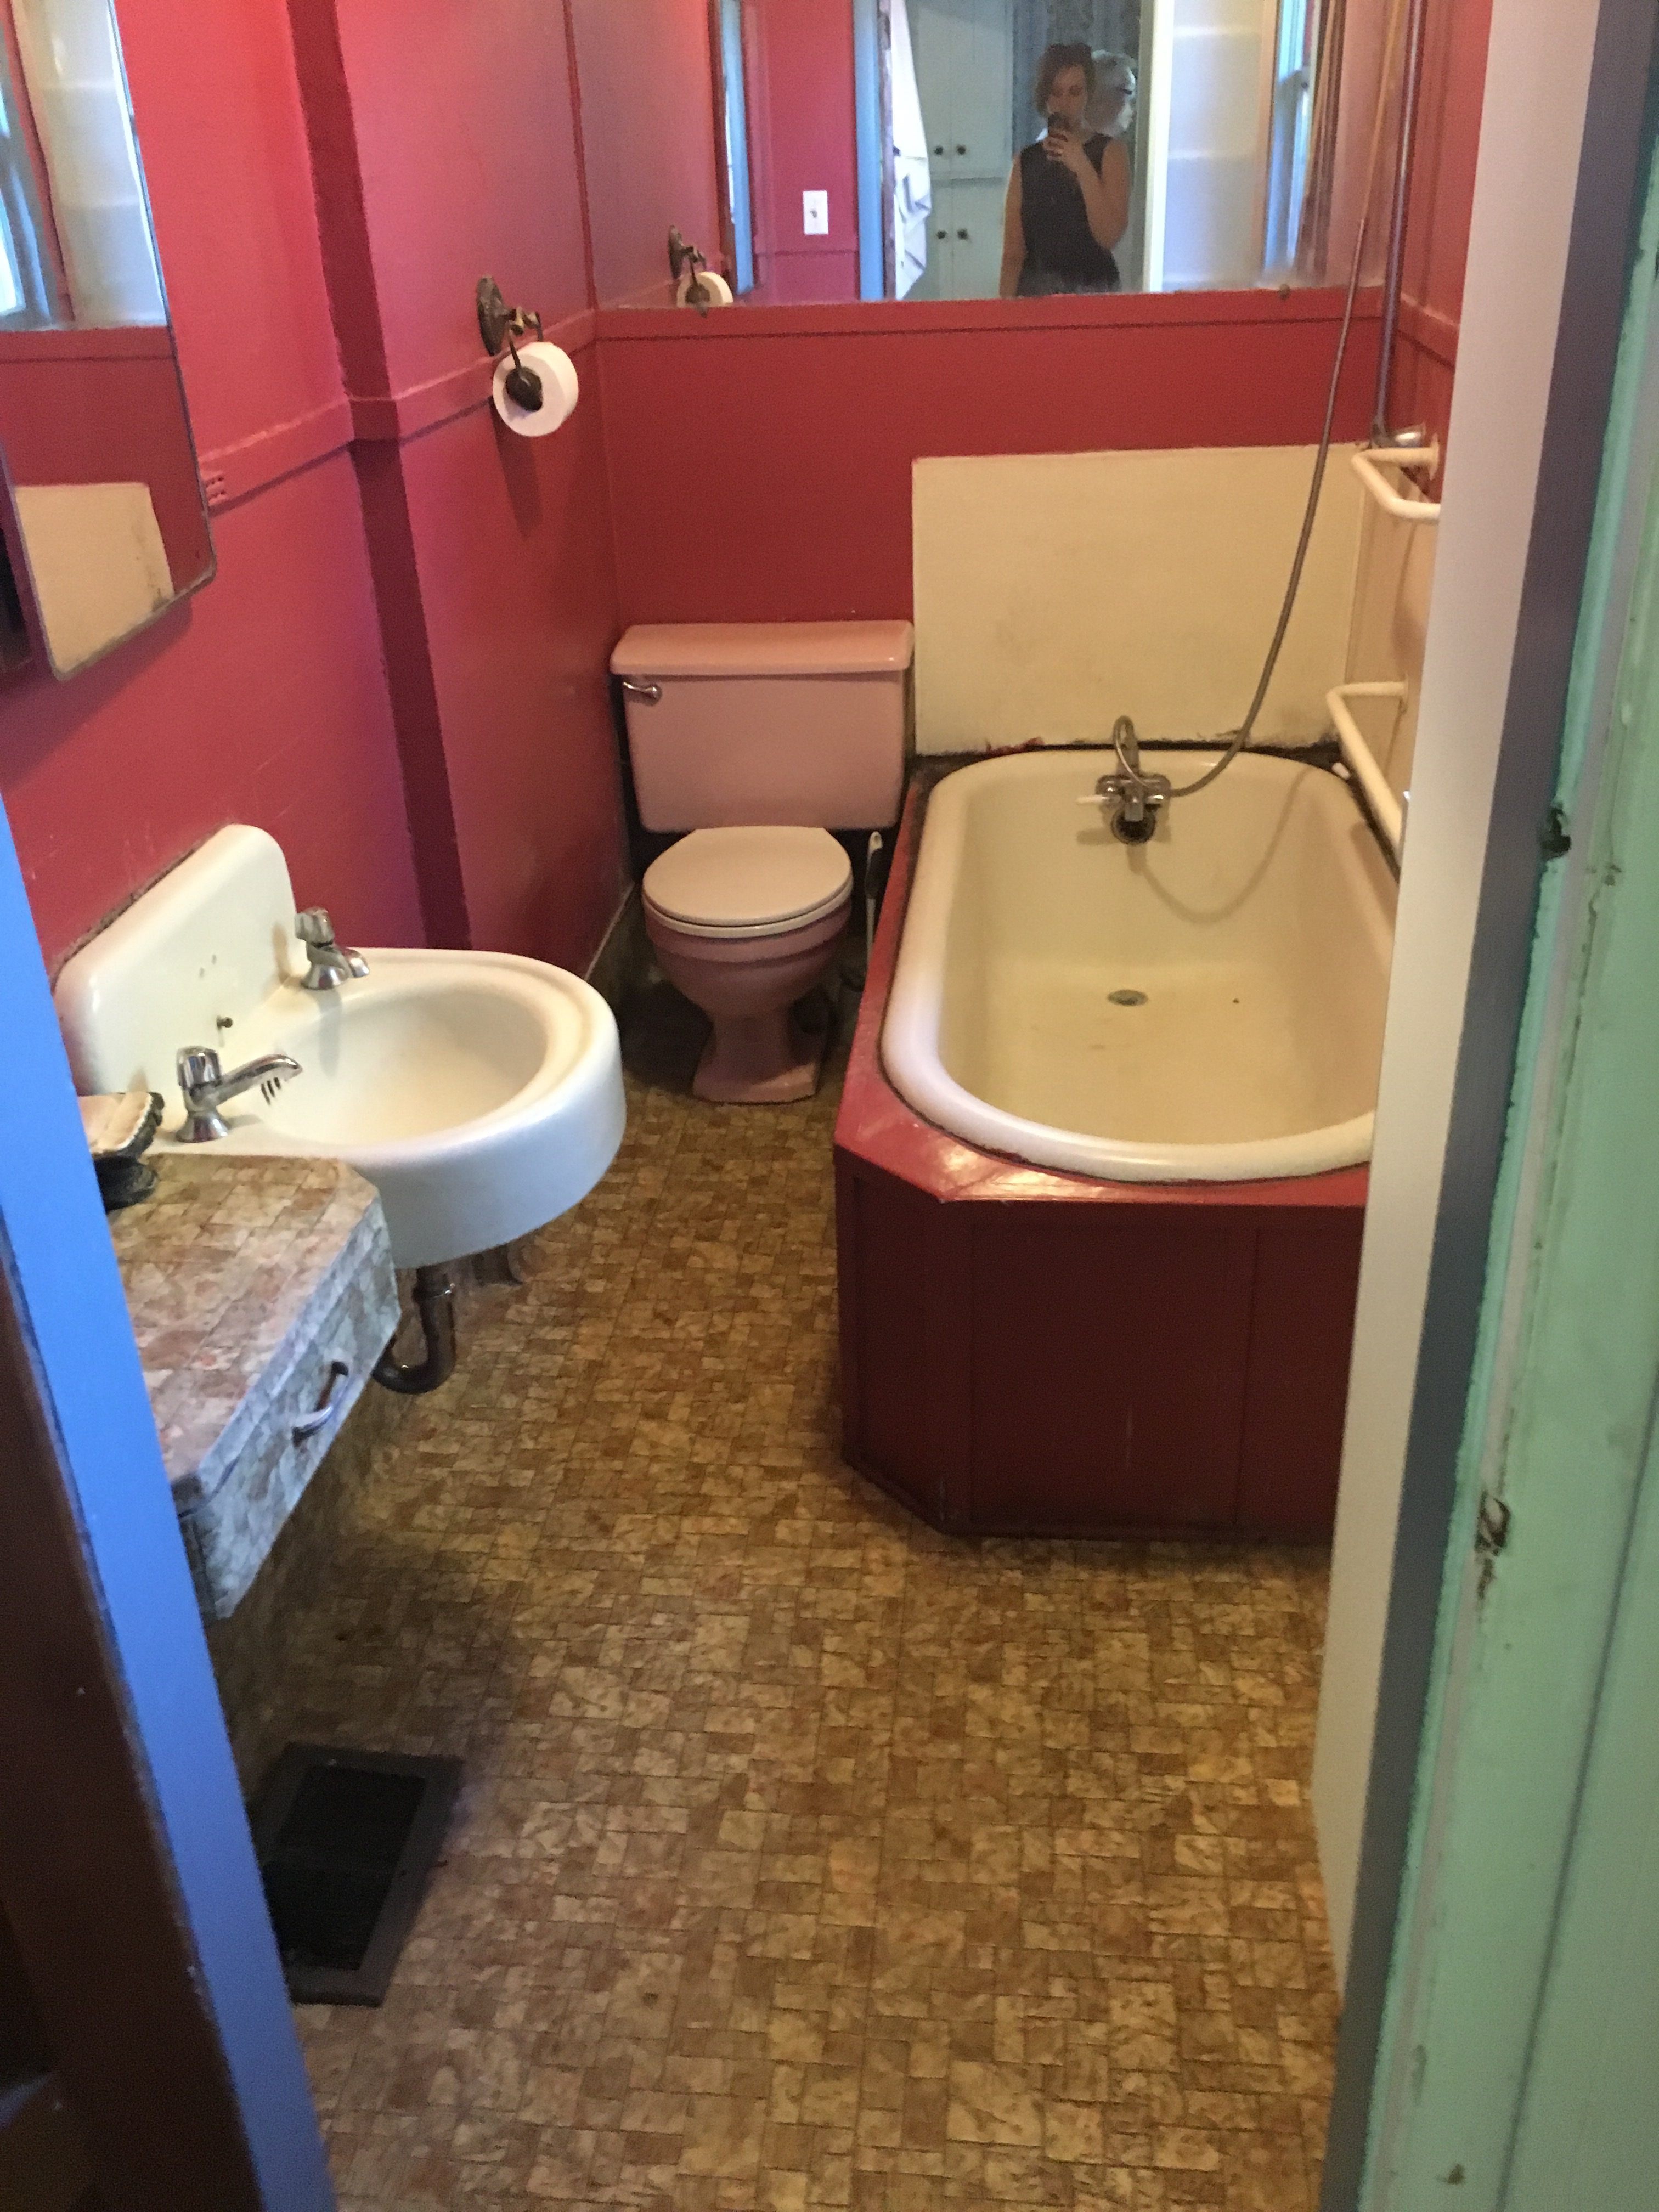
Already this room was looking one million times better than where it had started and even with the drywall dust, I was happier to walk in here now than before! Now the room was taking shape and the new layout was feeling real for the first time. Boy did it look more comfortable than sneaking around the sink and gross tub to get to the toilet!

img_9039

Great progress had been made and I was so freaking excited for the next steps: paint and tile! Have you ever drywalled a space before? Was the ceiling the worst part for you too? Did you think you were going to be sanding forever? Would you ever do it again? Commiserate with me in the comments!

Tiling Prep and Relocating a Heater Vent

Tiling Prep and Relocating a Heater Vent

Gotta keep chugging through this bathroom renovation to get to the pretty afters ya’ll! It’s a big change! But before I can show you that fun stuff, let’s go through the nitty gritty of the renovation. This is a real life blog. Let’s look at the ugly.

Before I could go much further in my bathroom, I needed to get a few things done. Post-insulation, my next step really should have been to drywall, but that was going to take more than just one set of hands, so I turned to the next item on my to-do list: prepping for tile! The original disgusting and uncleanable sheet vinyl floor was doing no one any favors. It wasn’t as bad as the kitchen (which was somehow disintegrating), but boy was it gross.

img_9039

Here’s a close up picture from demo so you can appreciate it EVEN MORE! IMG_0154

It was gross and it wasn’t staying. I had debated one hundred different mini-hex tile patterns before setting on a much more simple option from Home Depot. This shot of the overall bathroom palette really showcases the tile too. That high contrast has me all kinds of giddy!

img_0129

Before tile, comes prep though. It was time to conquer those vinyl floors! For that I headed out for more supplies. I picked up the following at Home Depot one evening.

First I cleaned out the bathroom of tools and random junk and swept the entire space to start with a clean slate! I measured my concrete board and cut of the excess length using a box knife again. If I could go back I would have used a circular saw and speeded things up, but at the time I didn’t own one. By going over the cut a few times with a box knife I was able to create a weak point which allowed me to then snap that section off.

Land of Laurel | Cutting HardieBacker

Then I had to cut a hole for the toilet. First I measured where that lined up on my sheet of concrete board and drew an outline. I took out my drill and drilled some holes in each of the corners.

Land of Laurel | Drilling Hardiebacker

Then I took out the box knife again to cut the rest of the hole out. Spoiler alert: I still snapped the HardieBacker in an unfortunate place that wasn’t my intention . Oh well! Just another seam to cover! That first piece was fairly easy to lay down in place though, but before I could move on to the second piece, I had some other work to do!

I originally planned to place a pedestal sink in this room and that sink was going to go right where the oddly almost square heater vent was. Well that wasn’t going to work! When I filed my mechanical permit for my new bathroom vent fan, I added on two quick HVAC ducting tweaks to the permit. This was one of them! I picked up more supplies from Home Depot (I was averaging 2-5 Home Depot visits per week for all of November and December!): a 90° angle turn register box, a couple of flexible angle pieces, and some foil duct tape (actual duct tape!). I used a small battery powered circular saw (borrowed from my neighbor Erik of course!) to cut a new hole the size of the register box in the floor and through the subfloor. Because there is a crawl space beneath the bathroom, I was able to climb around in there and use the new ducting pieces to extend the existing ducting about 1 foot so a new normal sized duct register would be closer to the bathroom entry wall and parallel to that wall.  I secured it all together with the foil ducting tape (NOT regular duct tape!) but waited to attach the register box until the HardieBacker was done.

I was exceedingly proud of myself for extending the ducting too! But then came the hole patching part of this job. I was trying to avoid going back into the basement crawlspace, because it’s gross down there and I hate it, so I was determined to patch the floor from above. I used some clamps I already owned to secure a couple of scrap wood boards in place and aligned with the level of subfloor. Then I just used my drill to tighten some screws through the floor and into those boards.

Land of Laurel | Patching Hole in Floor

I cut a piece of plywood to the dimensions of the missing floor and then screwed that into the new supports as well as an exposed floor joist. An easy floor patch! It seems crazy to put in this effort to move the vent 3″ over, but by turning the vent 90″ and using a modern size I was able to save a lot of floor space. This would have allowed me to have a pedestal sink too, but I later switched to a wall mounted sink and in this spot now lives a big basket of toilet paper.

Land of Laurel | Patched Hole in Floor

Once the floor was patched and the new register vent in (combined a two hour project), I was able to finish laying the HardieBacker! I cut the board to size and noted where the new vent location was. I made sure to dryfit the board before I grabbed the thinset again. I used the flat side of the float to glob a bunch of thinset onto the floor and then smeared it all around.

Land of Laurel | Spreading Mortar

It covered the floor patch job pretty easily and helped mitigate any change in height between my patch job and the existing floor. I then spread the thinset all over a 2 foot deep section of the floor until it was about 1/8th inch thick.

Land of Laurel | Thin Coat of Mortar

A quick switch to the square grooved side of the float allowed me to then make some nice lines in the mortar. This helps to establish some suction once the HardieBacker is laid on top. My grooves didn’t have to be perfect or straight, they just had to be there! See how you can no longer tell where my floor was patched? That’s the end goal! I had laid the piece by the toilet the night before and then returned then next day to do the remaining section. You can see above where I accidentally broke the backerboard trying to cut the toilet hole! Whoops…

Land of Laurel | Making Grooves in Mortar

Once the floor was covered with thinset grooves I was able to take my sheet of backerboard and lay it on top pretty easily. I left the boards in place and allowed the mortar to dry overnight, before returning the following evening to finish up. I took more mortar and smooshed it into the gap between the sheets of HardieBacker, wiping away any excess. Then I cut strips of the mesh tape to length and gently smoothed it over the mortared seam with my hand. The goal is to close the gap and then smooth the thinest layer of mortar over the tape. You can see below too that all this went down before the plumbing inspection was finalized so my new shower pan was full of gross water!

Land of Laurel | Taped Hardiebacker

At this time I also took out my drill and screwed the special HardieBacker screws into the floor. The screws kindly came with a special drill bit so I didn’t even have to worry about that. The HardieBacker needs to be screwed in every foot so further strengthen it’s connection to the subfloor. You can see how many screws that adds up to quickly! Unfortunately, I have the arm strength of a 2 day old newborn child and I couldn’t get any of the screws to recess into the HardieBacker! It was so frustrating, because this is essential to having a nice flat tile floor! I went over to my neighbor Erik’s house where he was working on his kitchen and borrowed his impact driver for an hour. With that, I was able to get all my screws in place with minimal effort. Seriously, ladies and gents, go buy an impact driver. If you ever need to screw anything in, a drill is just not up to the task! It’s better for making holes not filling them. The impact driver prevents me from stripping all my screws and makes screwing things in much easier. After seeing the difference between using my drill and Erik’s impact driver, you can bet your bottom dollar I bought myself an impact driver the next day. Shout out to Jeff Senn at Home Depot who spent a good hour with me debating the best model and brand of impact drivers. I landed on this Milwaukee combo kit which threw in a hammer drill and had some extra oomph to make up for my baby arm muscles. I’ve yet to use that hammer drill though, so perhaps I should have gone with a single tool…

I wasn’t done with the floor underlayment after I got all those screws drilled in though. I had measured during my dry fit of the second board where the new vent location was, but waited to cut it out a until after the HardieBacker was installed. Now it was time to knock this off the to-do list as well! I clued in this time and used a larger 1″ drill bit to make bigger holes in the corner of the vent this time and then cut from those. Then I cut it off from there with a circular saw borrowed from my contractor neighbor Erik.

Land of Laurel | Drilled HardieBacker

It came out much more quickly than using a box knife, I’ll tell ya that! then I got out a good ole hammer and some baby brad nails and drove them through the register box into the wood subfloor, securing it all together.

Land of Laurel | New Floor Register

Luckily it all worked out and then new matte black vent cover I picked up from Home Depot fit perfectly! I was more proud of this duct work than any other work in the bathroom thus far. It felt so very adult to do this quick switch! Woot woot! This room was coming together now!

Land of Laurel | New Vent Opening

And just like that, I felt I could walk barefoot in one more room at Berrybrier! Not needing shoes to protect your feet from gross bathroom floors is pretty amazing, let me tell you! Now this room was ready for tile and drywall and all the other bathroom renovation steps. It felt so good!

Have you ever prepped for tile? Thinking about getting started? You can totally do this. It’s EASY! I was shocked by how easy it was!

Demo Day! Goodbye Bathroom!

Demo Day! Goodbye Bathroom!

We demo’ed the bathroom! It’s all gone now. Actually it’s been all gone for many months and I’ve just been too busy putting it back together to actually blog about it. 🤣 Anyways, I thought I’d give you the run down of the demo days and some excellent after pictures… of my filthy demo face. Overall this was my second time demo’ing a bathroom and I have to say it went vastly better than the previous time as I did not end up in the hospital with a cornea infection. Yup. That happened a few years ago when I helped demo my parents master bathroom and it hurt like a motherf***er! But that was last time and this is this time. Let’s concentrate on Berrybrier today!

Let’s start with how the bathroom started out. Do you remember this magenta madness? The bump out above the mirror floated there like an overly long soffit that just might fall off while you were on the toilet. There were only about 12″ between the sink and the corner of the tub for you to slink by to get to the toilet. The shower head was not operational, but someone had used it previously which is why everything was rotting. Everything was filthy. I can’t even talk about the floors, but I will say someone decided to wrap the flooring vinyl up onto a teensy counter by the sink. That tub was amazingly comfortable and taking baths is my favorite, but this tub was ginormous. WAY too big for such a tiny bathroom.

Demo day got off to a slow start as I was exhausted and slept until 8am; which isn’t really even that late honestly. My mother was still staying here and she had planned to have a visit with our cousin Mary that am. So I slithered out of bed half comatose and made myself some toast and jam and was munching away on that sitting in my bathrobe when Mary arrived. Let me clarify: Mary arrived in work clothes ready to help with demo. Somehow my mom had missed that memo and here I was totally unprepared to start with lots of helping hands. Ofph! 🤭

Once the confusion was sorted out, I threw on some proper clothes and we got to work. First we removed the mirror on the back wall and Mary and my mom tackled the weird wooden tub surround.

IMG_0136

They were removing the decorative molding and flat panels so we could see properly what was going on beneath it. We’d already drilled enough holes in it to know that it was not a clawfoot. Cue the ugly crying. But! This worked out because knowing it was a clawfoot would have caused me to try and save it and this bathroom is just WAY TOO SMALL for a bathtub that large.

Underneath, you can see this tub was barely supported from the upper lib, nothing was supporting it below. We eventually wedged a furniture dolly beneath it in hopes we’d later be able to roll it out of the bathroom that way.

IMG_0154.jpg

After that, we moved on to tackling the removal of the sink and toilet. Since none of the water shut off valves in the bathroom actually functioned, this involves turning off the water at the main. Eek! Which in turn meant my house no longer had a functioning shower or a bathroom or even running water in the kitchen. Yay! Also… I had to google how to remove a toilet. Thank god for the internet, it’s basically teaching me everything these days.

The more we removed, the more we found, like this cute swans wallpaper!

IMG_0146.jpg

At this point, things were looking… better?

IMG_0150

Seems like a good time for a simple, easy task like removing the little corner Ikea cabinet, right? Well, that came down quick, but we also discovered some gnarly mildew behind the Ikea cabinet! At this point, Mary had to leave, which was extremely understandable. Ha!

IMG_0157.jpg

After Mary was on her way, it was time to turn our attention to the elephant in the room: the overly large (but extremely comfortable) bathtub. In order to move that tub anywhere, I had to disconnect the plumbing. Well… the pipes I needed access to were in the wall, so I had to do a little demo in the half bathroom as well! I removed the faux wood paneling from two of the bathroom walls with a mini crowbar and hammer in less than 15 minutes and what to my wondering eyes should appear? A miniature sleigh and eight tiny reindeer hole already cut into the wall! This is probably why that paneling went up!

IMG_0139.jpg

I made the hole bigger with my hammer, grabbed a metal blade for the sawzall, and started cutting. Bing, bang, boom and the tub was no longer connected to the house! Yes that is the toilet in the foreground of the picture below. The half bath is VERY TINY. It’s basically a quarter bath, but don’t that to him, he’ll get all offended.

IMG_0140

Once it was disconnected, it was time to try to get this tub out of the bathroom! With enough prying of the tub with a spare 2×4 we were able to raise the tub high enough off the supports to get the furniture dolly wedged nearly all the way under the tub. Once that was done we were able to a remove the rest of the rotting wood surround and supports and the bathtub was freed! I know this is a terrible photo below, but you get the idea.

IMG_0151.jpg

We wheeled the bathtub out of the bathroom, taking out the door frame in the process and left it in the kitchen, because that was as far as two people could move it alone. Now that bathtub stayed in my kitchen until early February when my Aunt Stephanie and Uncle Mike came to visit and helped me conquer a few tasks around the house. The two of them, plus my sister and I were finally able to move it out of the house lifting together! But don’t let me get distracted, back to demo day 1: after the tub was out of the bathroom and into the kitchen, though, it was time to go to sleep. We were exhausted.

The next day was lathe and plaster demo day! We spent the entire Sunday taking out as much of the lathe and plaster as possible. It was crazy town and filled the floor with debris. We filled 7 contractor bags full of lathe and plaster from this little room, despite me keeping a ton of the longer pieces of lathe!

IMG_0158.jpg

Seriously, you think that it’s a small room, but oh. my. god. The whole room was 2 feet under lathe and plaster. We filled SO MANY BAGS! All stuffed and weighing a bazillion pounds, full of lathe and plaster!

IMG_0160.jpg

Once the lathe came down, we found some not so great things, like exposed knob and tube wiring. And knob and tube wiring that just ended in the plaster after someone removed some sconces… Yeah, not good. Luckily, electricians were scheduled for just a few days later!

IMG_0162.jpg

Once the floors were swept clean of all the debris and the little discoveries were made, we were even more tired than the night before and we were absolutely filthy. Oh, and my mom was so ready to fly home he next day to her comfortable bed and house that requires no demo. She was ready to relax!

IMG_0165.jpg

I was also filthy, but very much excited for the projects ahead! I knew that this was a huge step, but a super exciting one because soon I’d have a fully functional bathroom and it was going to be so freaking pretty!

IMG_0166

Of course… finishing that bathroom took me about 2 months longer than I thought it would and in my incessant push to finish, I neglected this blog. But don’t worry, y’all. I still took pictures and am here to overshare.

Throwing Some Green At the Bathroom

Throwing Some Green At the Bathroom

When I first toured Berrybrier with my realtor back in the beginning of July I was convinced the bathroom just needed a quick coat of paint and some cleaning. What’s a kind way to say that was really freaking idiotic? However you decide to phrase it, I was stupid and the bathroom needs to be gutted. Doesn’t everyone love an unanticipated multi-thousand dollar side project? Oh joy!

DSC_0280

But let’s be real, this bathroom is BAD. It’s gross and there is a rot problem as things are not properly water proofed. Now I was hoping this was just dirty. It’s not. Enjoy this blurry picture of the wood tub surround. Doesn’t that just make you want to take a leisurely bath? Mmmm mmm good!

img_9040

The bathroom is right off the kitchen and is the primary bathroom not only for all three bedrooms to bathe in, but also for visitors to use. Storage in this bathroom is a bit questionable. The previous owners added this IKEA cabinet to the corner here, but it overlaps the door trim and is not really the right style. The bathroom vanity cabinet is a beautiful antiqued mirror, but it’s beat up and gross inside. There is an extension cord running from the light fixture to power two little plugs on either side of the mirror, which seams super safe. Not! Oh! And the best part? The little floating vanity covered in the same sheet vinyl as the floor! On the bright side, this bathroom does have a  wired light fixture and switch!

DSC_0284

So as you can see, pretty much every finish in the space needs to be changed, but more importantly, the layout needs to be changed. See the toilet? To get to that you have to turn sideways and scootch past 12″ of space between the sink and tub. It’s great! The tub – while exceedingly comfortable – is way too big for the small room. The bathroom is only 54″ wide and about 8 feet long. It was actually elongated by about 12″ in order to fit that tub in at some point. Which is why you see the soffit in the first picture above the mirror. The tub is so large you can basically take a poop while showering things are so crammed together!

img_9039

So, everything needs to be changed. Let’s start with the layout. The soffit is like that because when they moved the wall, they just cut off the wall. Which doesn’t really work structurally. The wall needs to be reframed at it’s original location reducing the depth of the bathroom by about one foot, but the half bath on the other side will get just a bit wider. The bathing part needs to be rotated 90° and put against the back wall. Because the bathroom is only about 54″ wide, a tub won’t really fit, so I will be putting in a 48″wide shower. If I’m lucky, I’ll be able to steal a little bit of the extra room besides the shower for little cubbies to hold rolled towels. The sink and the toilet will be relocated on the same wall as the sink closer to the entry to the room. That will provide a nice circulation path along the exterior wall with the window. I’ll add wood shelves above the toilet for additional storage. Can you envision that? Here, let me help. Excuse the dimensions, I had to get it all on plan to show my plumber.

New Bathroom Layout | Land of Laurel

Now that I’m committed to moving forward, I’ve decided to dive in head and heart. Which means I’m now really excited! What’s a designer’s dream? Getting to do everything they want without any one holding them back. Now, I can’t go crazy, since I do not have unlimited funds. My funds are incredibly limited, but I can use these limited funds to have some fun. I wanted the bathroom to be classic, yet dynamic. In character with the early 1900s house, yet with modern conveniences and style.

If you know me, you know I love green. It’s classic, yet very in right now. Green is a wonderful color that speaks to the nature of the lush surroundings of the Pacific Northwest. My bedding is green and floral, I often wear green, and I’m pretty much planning on painting everything in this house green. So prepare yourselves! Dark green looks amazing with gold and we all know that’s one of my favorite materials too. What can I say? I’m predictable.  Plus, you know I’m going to try to create another bathroom jungle, right?

I was very inspired by Dana’s bathroom and loved the 2″ black hex floor tile. I spent a lot of time thinking that’s what I should do at Berrybrier with black grout that would hide grime. But, my dear cousin Mary very kindly pointed out that black shows soap scum and dirt easily. I started to rethink this plan, though I still think it looks amazing.

main-bathroom-after-18

source

I still wanted to do a hex mosaic though since it’s classic and looks amazing! I found inspiration everywhere I went, like random apartment stoops.

Hex Inspo | Land of Laurel

And then I thought, well, I’m a designer, I should do something ultra designer-y, like this:

img_9737

source

or this:

d3407f75ab36e15ba73b483a1fac2ba5

source

Or this:

9814aed0d944b932514f9df4726b742b

source

Then I realized I have to get this bathroom done before 2020 and I really don’t have a lot of time to wait for custom colored tile nor the time to hand-lay a complicated pattern. So I did some soul searching and decided to go more classic. I found this at Home Depot and placed my order. Simple, classic, black and white daisy.

For the bath fixtures, a coworker let me know we get a lip smacking good designer deal from Delta. I picked out their Cassidy collection for a vintage inspired, modern look in their Champagne Bronze finish (which is gold). A modern white toilet and pedestal sink will be a nice change from the pink throne too! Dark green walls in Benjamin Moore’s 1498 Forest Floor will add drama. Vintage picture frames and dark stained shelves with black brackets will look classic. Pretty soon, my design palette came together and I was ready to go!

Demo starts this weekend and the electrician and plumber come next week! I’ll be showering at my cousin Kristen’s next week. Thank god for local family! The only sad part of the renovation is the bathroom walls will no longer match my toothpaste! 😂

Have you ever renovated a bathroom by yourself? Am I crazy to hope to get it completed in just a couple of weeks?! Wish me luuuck! I will need it!