This was another week of doing a little bit of this and that in the garden. It’s funny working on a bunch of things at once because it feels like small accomplishments, but when I look at the end results I’m impressed with the progress! The upcoming weeks before the One Room Challenge comes to a close are going to be more specific. I’m going to get the electrical set up this coming week for the new landscape lighting and work on my new front steps too. Those aren’t small tasks at all! They will be super time consuming and both are project I haven’t done before. I’m nervous and excited.
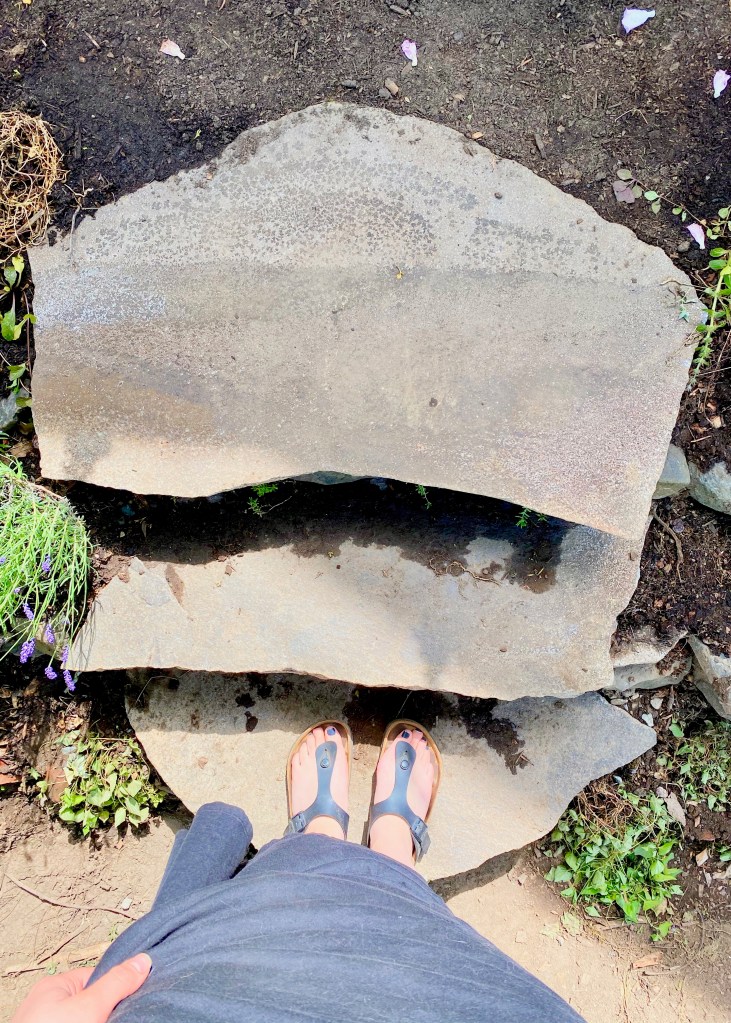
I put a poll on instagram this week asking if anyone could guess what project I was working on. No one guessed correctly! But the mystery project is now revealed: I build stone steps to mitigate the elevation change from the sidewalk to the ground level of the house! I will still be building the wood stairs that lead down from the porch to the ground, but this was the first step in creating the new entrance to my home and I am so excited!
One of the things I’ve worked really hard to achieve with every project at Berrybrier is to make the updates look like they’ve always been part of the house. I don’t want things to be starkly modern, I want to restore this house and the property as much as I can. When we finished these three steps, my sister turned to me and said, “they look like they’ve always been here!” Guys, I wanted to cry happy tears just hearing that!

The stairs were not that difficult to build either, though it took us about an hour or so per step. It was definitely a two person job, since it entailed a lot of lifting of large flat stones. The stairs are set in between two of the larger arborvitae poodle topiaries I bought the previous week at the nursery sale. I think they’re going to be amazing when the wood steps from the porch go in, since they really create a formal entrance.
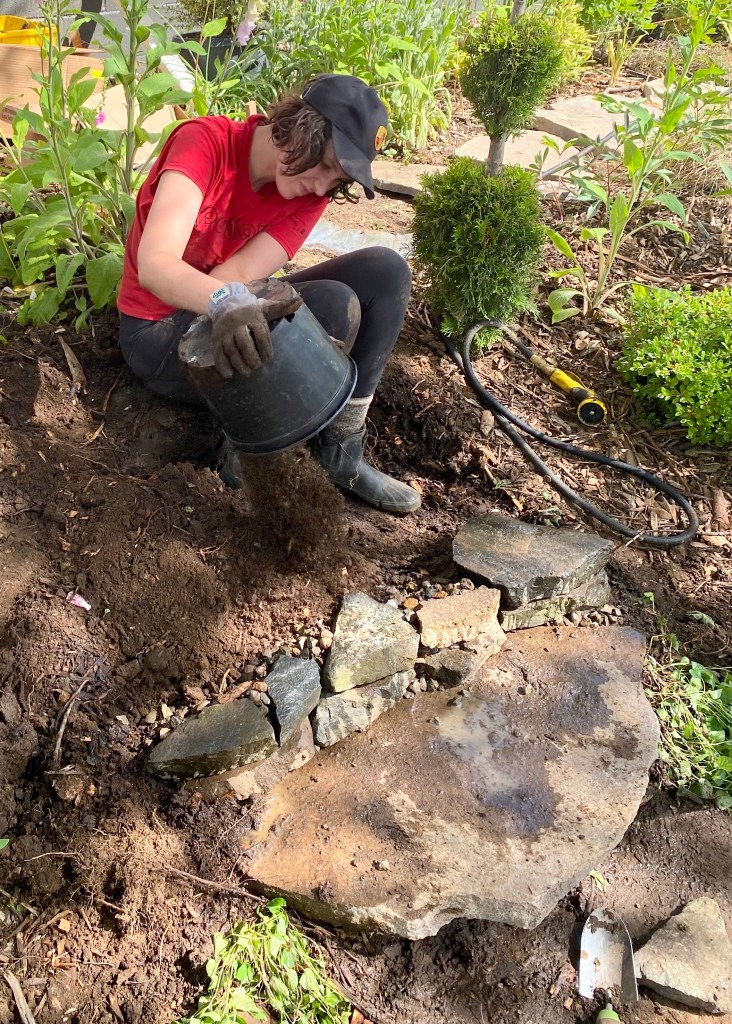
We began with the bottom of the stone steps. First we started by removing the bricks that act as edgers to separate my garden from the sidewalk. Then I shoveled a bunch of the dirt out of the way so we had a flat area extending from the sidewalk, about as large as the stone step surface. We then hopped up and down in this flattened area to tamp it (we didn’t have a tamper tool and this was funnier!). I then laid a thin layer of landscaping gravel rocks and we tamped that down in the same manner.
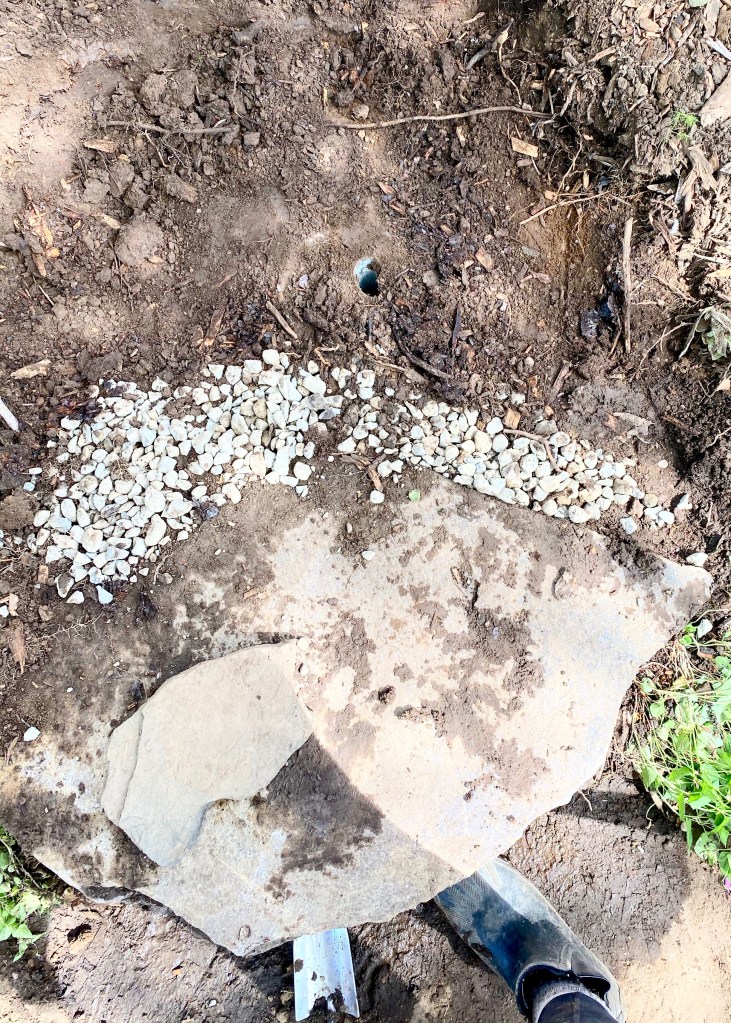
The gravel layer gave us a good base for the next step.
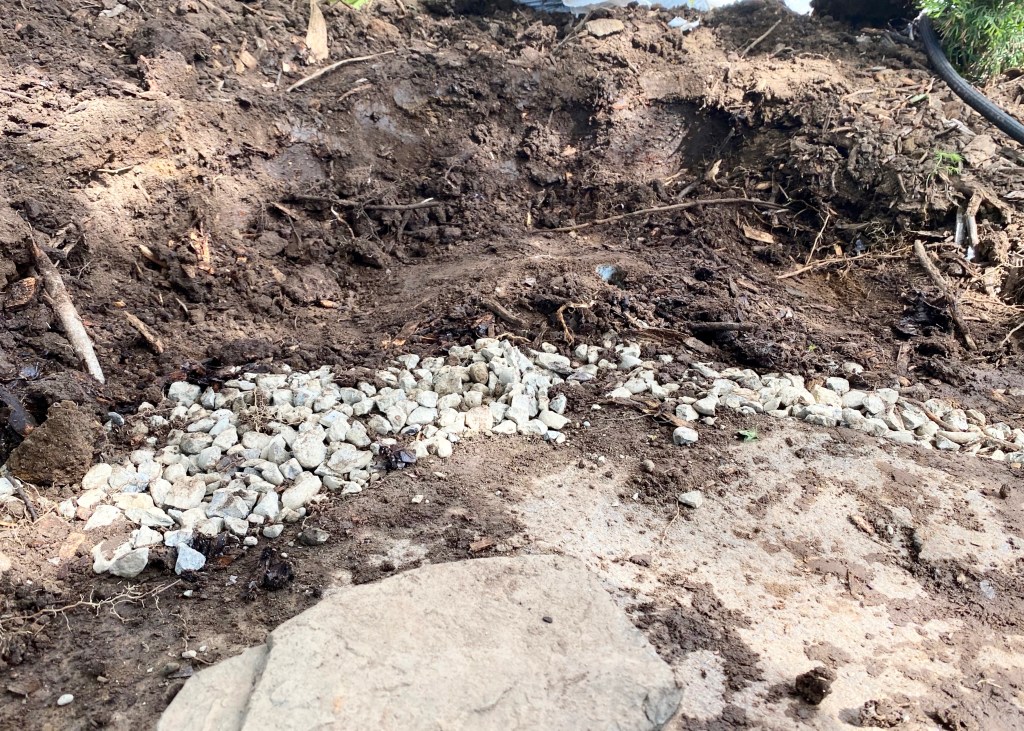
After that we sorted through a pile of flat topped stones, stacking them along the edge of the sidewalk. We stacked a few stones high making sure the overall height of the step (stacked stones plus large step stone) equalled about 7″. We also used a level to frequently check the stacked stone was even.

Once our stack was set, we back filled the stacked stones with more gravel. We made sure to push gravel into all the empty nooks and crannies. The natural stone is uneven, so there were plenty to fill!
Watering down the gravel helped us find the voids easier.
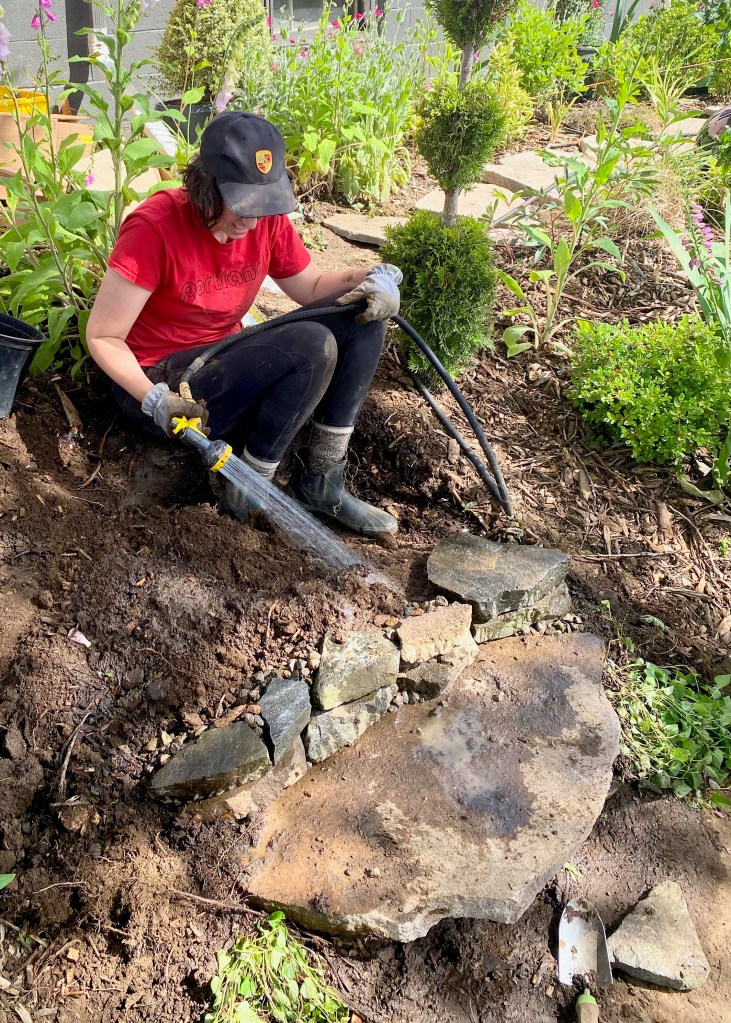
Then we filled in the dirt we’d removed to create a surface that was level with the stacked stones (again, checking for level).
We also realized by wetting down the dirt we got more control on filling and could compact it down better.
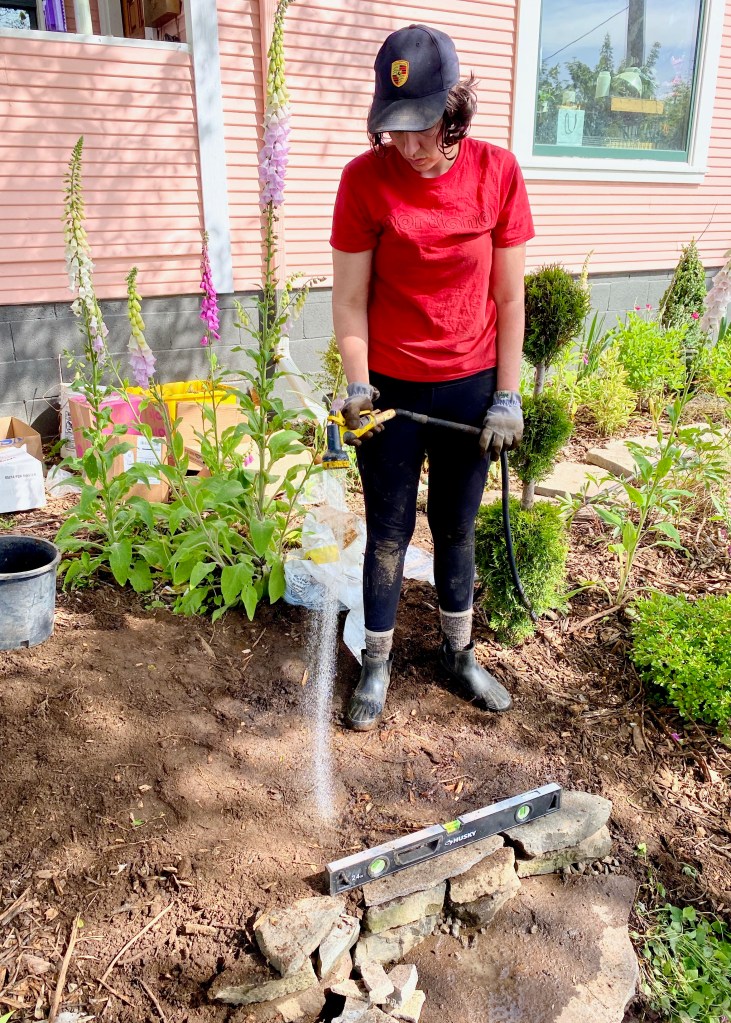
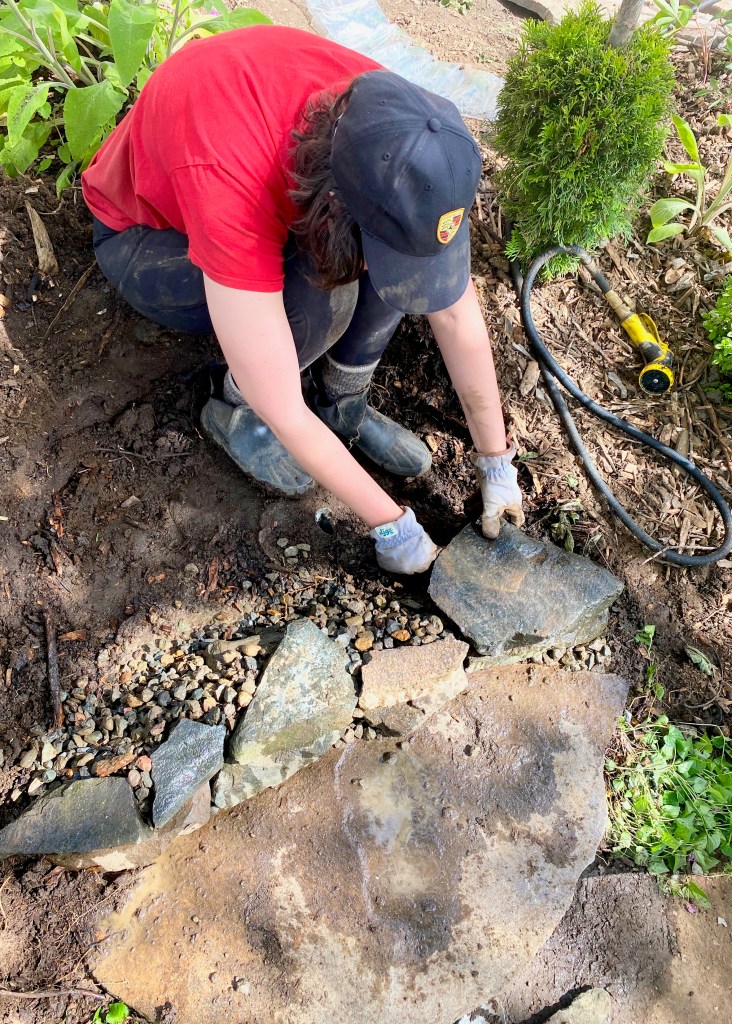
Then we would place our step stone on top and measure for level again. We wanted the stones to slope towards the side walk just enough to allow for water run off. We’d end up removing the stone to back fill the dirt more.
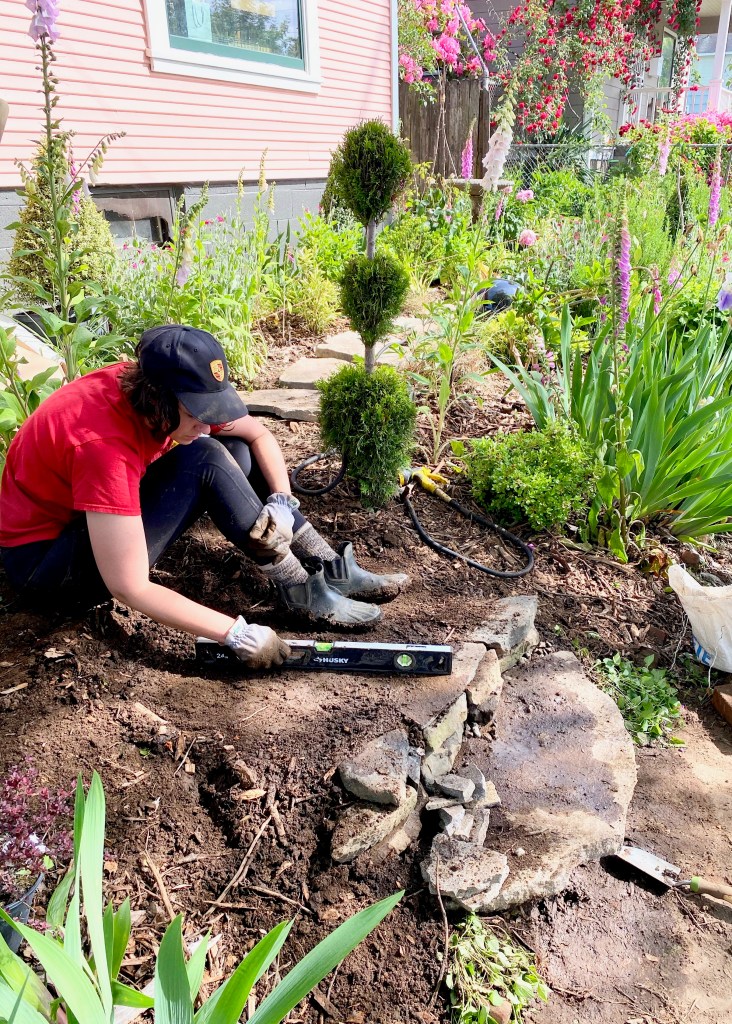
We’d usually have to remove the step stone a few times and add more or less dirt so the stone sloped correctly and to fill in the areas where the stone itself was uneven. Since these are natural stones, the surface is varied and uneven sometimes thinnning to just a 1/2″ at the back despite the front of the step being 2″ thick!
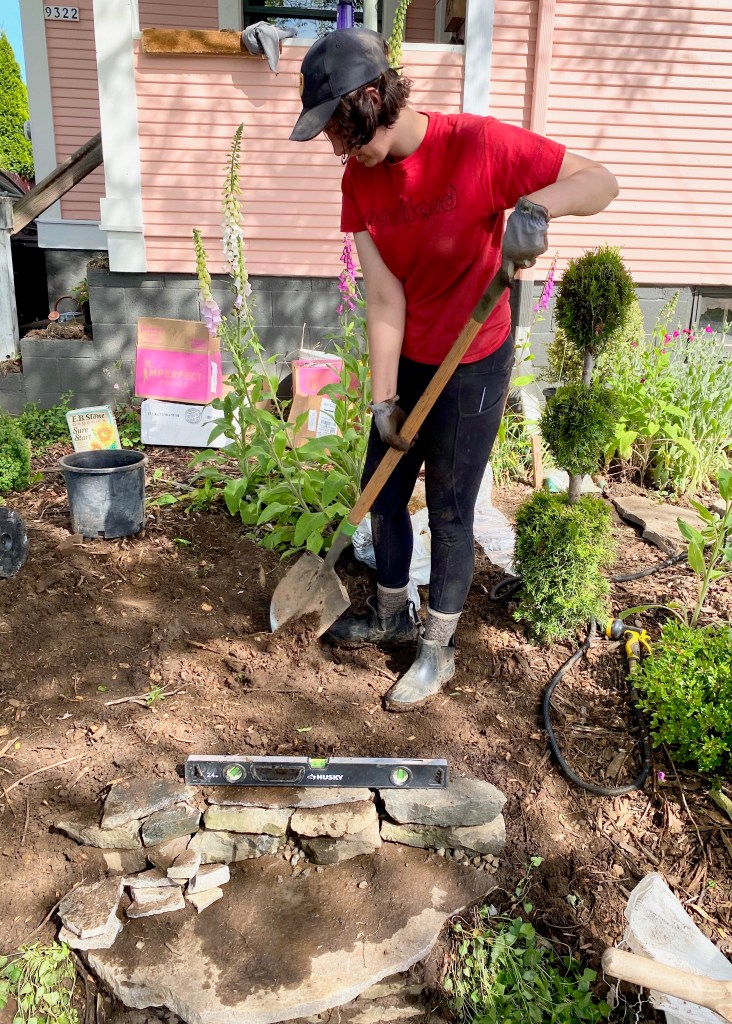
Once things were looking good, we’d restack the step stone, checking for level and slope until it was just right.
Then it was time to start the process again with the next step! We laid the stacking stones for the next step directly on the back end of the step before it. We continued until we had three stone steps, each about 7″ high! Then we decided to continue the stacked stones out to the sides a bit, creating some small tiers for plants on either side of the steps.
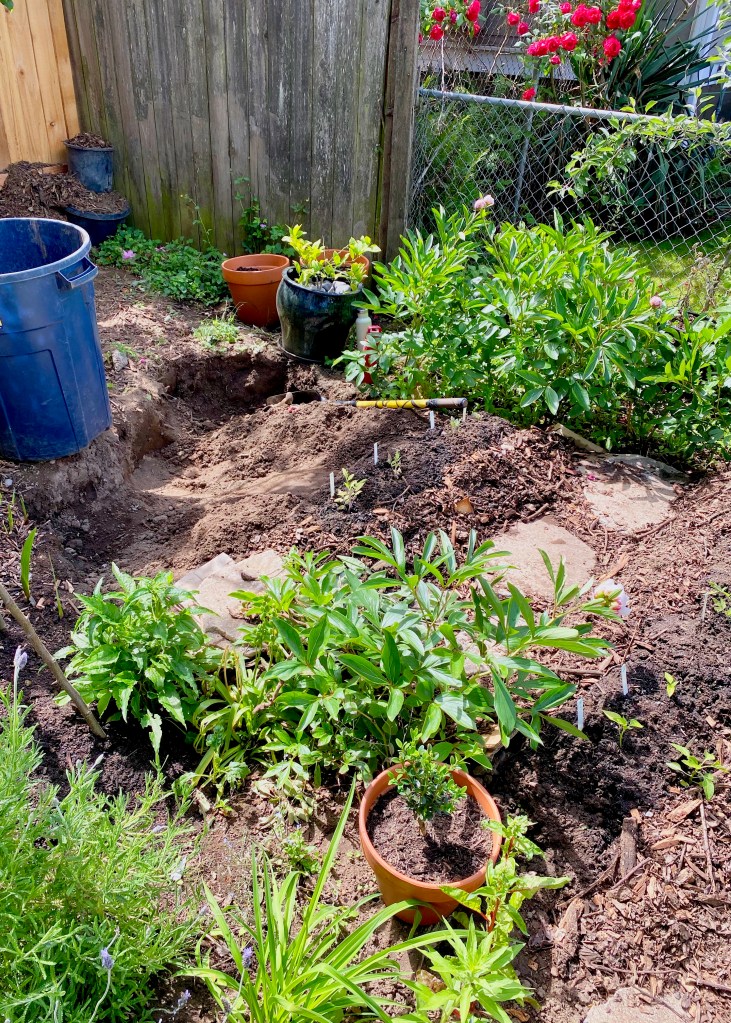
I transplanted some lavender, dahlia tubers, euonymus shrub, and ground covers into the tiers. I’m hoping the ground covers take, because they’re looking a bit sad at the moment!
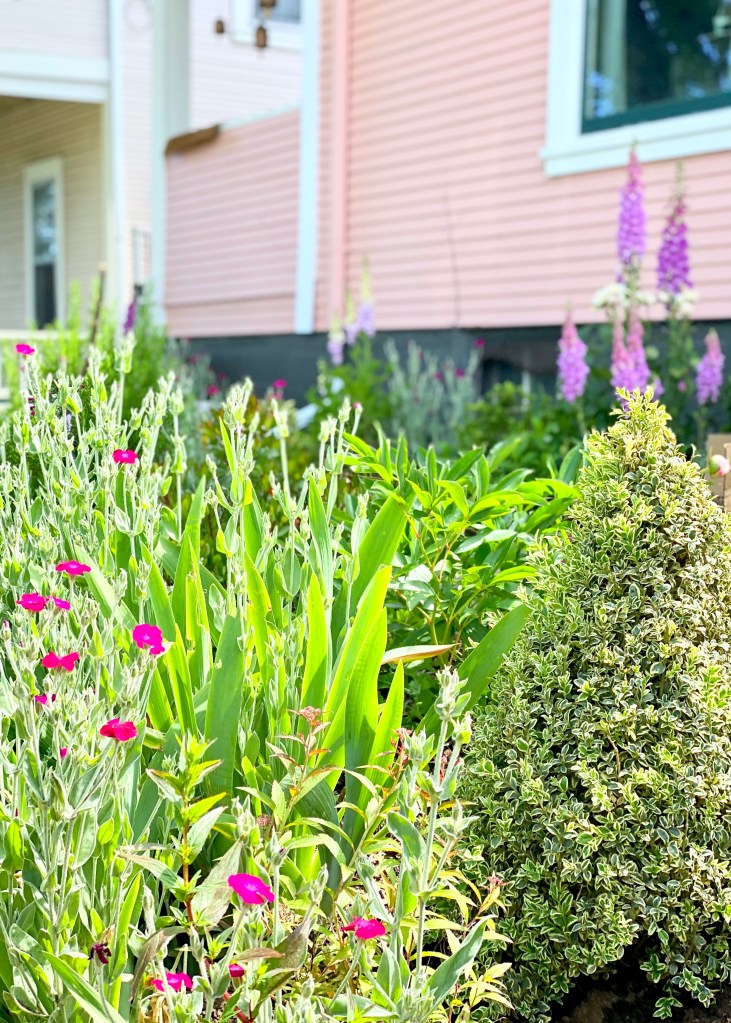
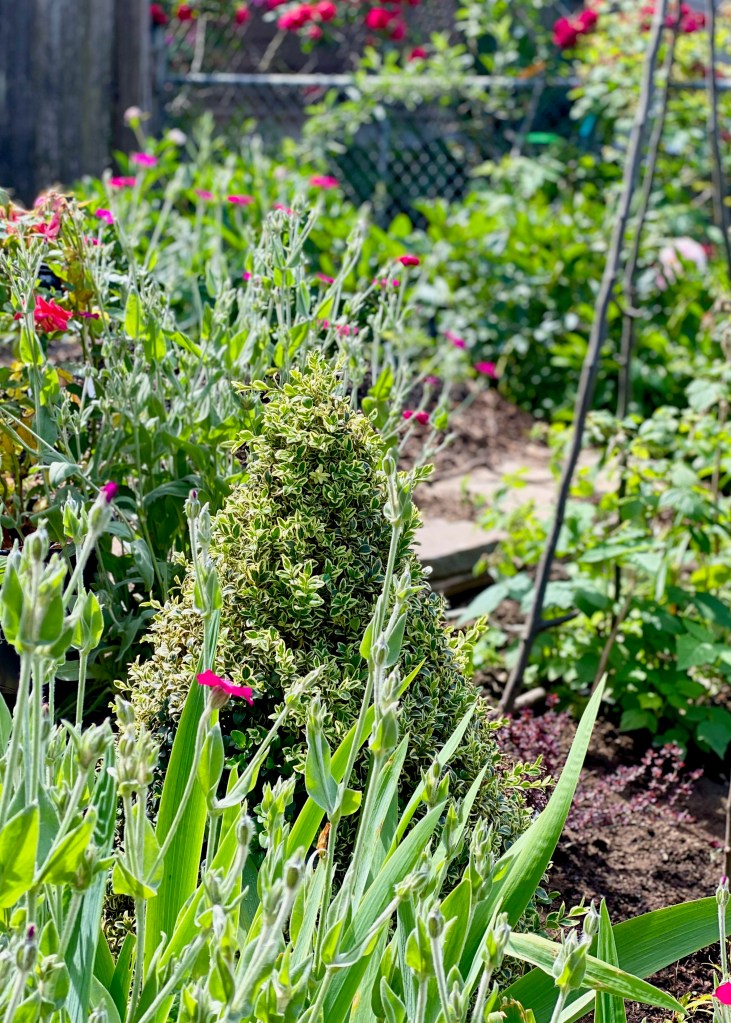
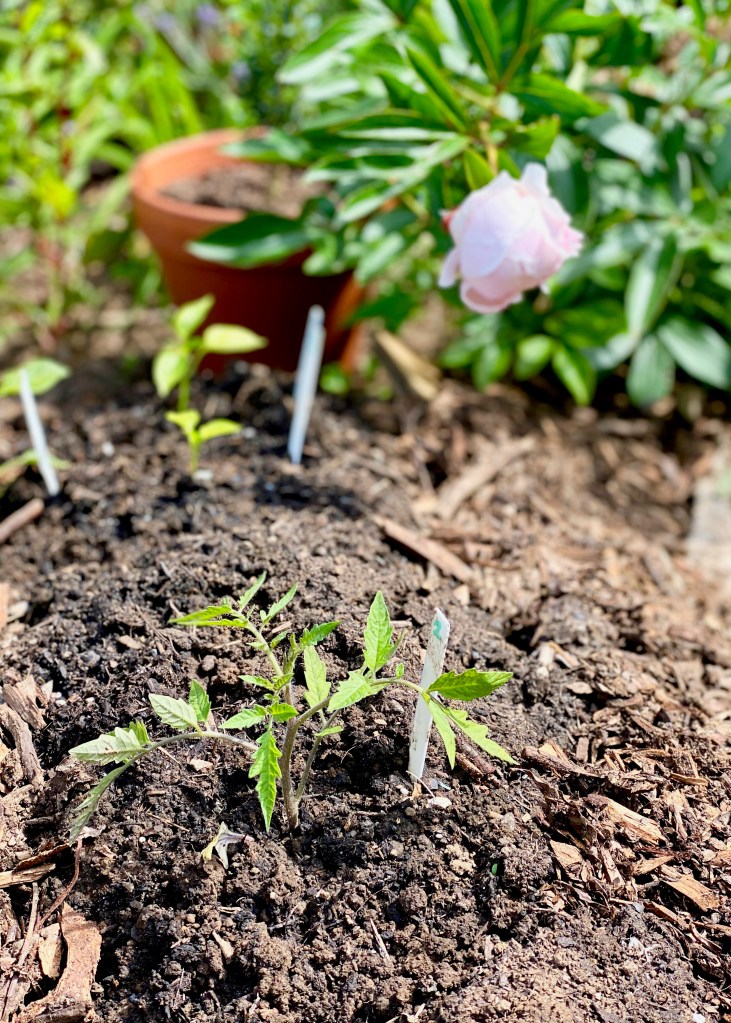
I planted the rest of the plant from the nursery sale this week too, mixing them into the garden to create a varied landscape. I just love how the cone shaped boxwoods look in juxtaposition with the more organic plantings in the garden. Things are filling in and really looking good!
I planted many of the full-sun loving plants that don’t need much water in the western corner of the garden, making sure to alternate between the evergreen plants and the perennials. I hate bare patches of sticks in the winter. It makes me so sad! I’m really trying to make sure I put in plenty of evergreens and stuffing the perennials between them for a garden that looks good throughout the seasons.
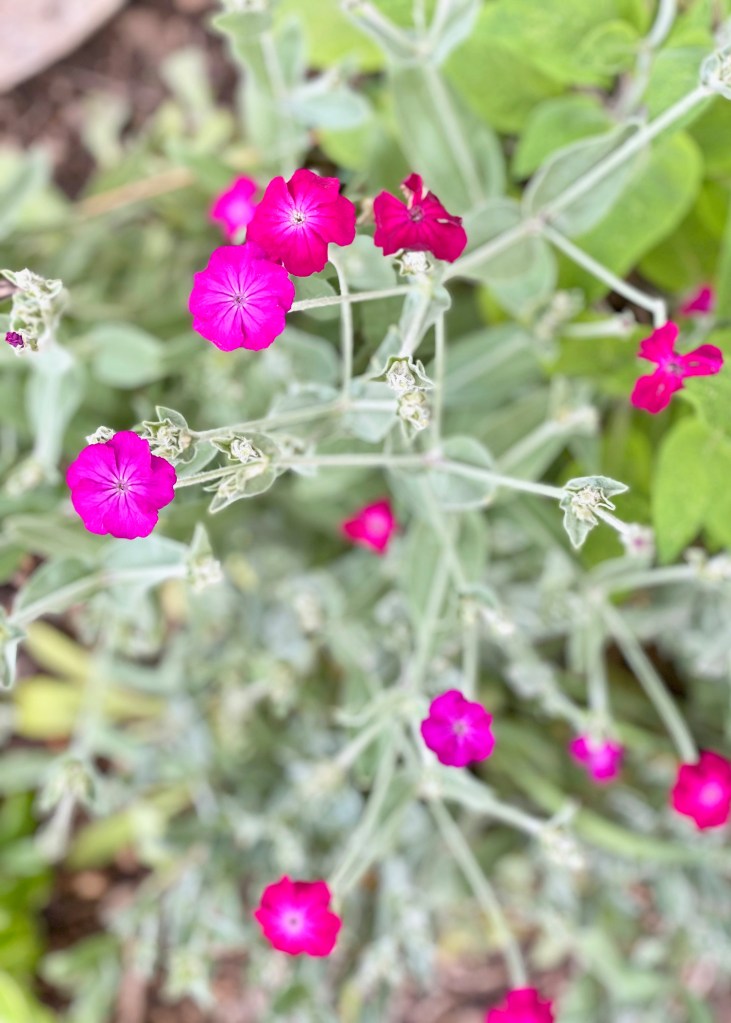
Gosh, this garden is flowering so well already too! I love the Rose Campion taking off and blooming all over the place. It’s so beautiful. I can’t believe all these plants were hidden away in the side yard. I just slowly transplanted them out front and now they’re thriving!
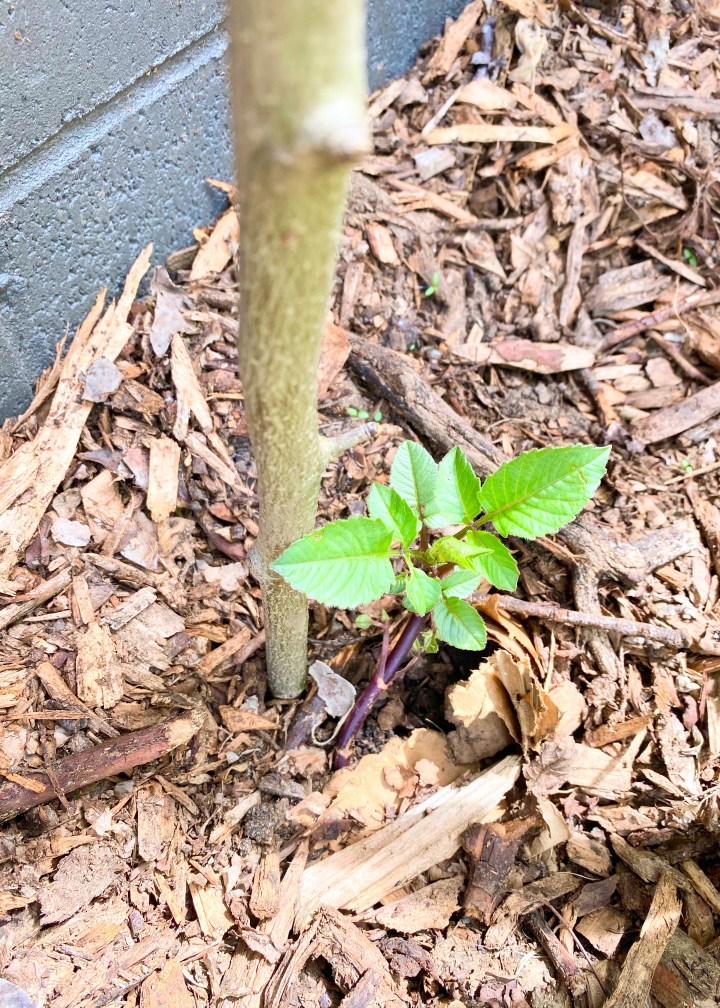
My new rose bushes are intermingled with the foxgloves I found in the backyard a couple years ago and transplanted up here. Both seem to be thriving and I love the color contrast!

The summer flowers are starting to come in and I’m seeing plenty of the dahlia tubers and gladiolus bulbs I planted start to shoot up. Though I think only half of my Costco bag of dahlia tubers are coming up? What’s up with that Costco?! Overall though, there are plenty of flowers for cutting and it’s going to be so gratifying to have something blooming out here throughout the entire summer. I’ve already been cutting flowers to bring inside each week and enjoy!
I’ve noticed after the purple irises fade in mid-Spring, an overwhelming majority of the flowers are pink, so I’d like to continue to add more white, yellow, and deep red flowers to the garden in the coming year. I just love beautiful re-black flowers – poppies, roses, peonies, doesn’t matter the variety. I’ve got to get my hands on some! If anyone knows a good nursery or farm that sends bulbs/ tubers in the mail (particularly if they are Pacific Northwest based!), please let me know.
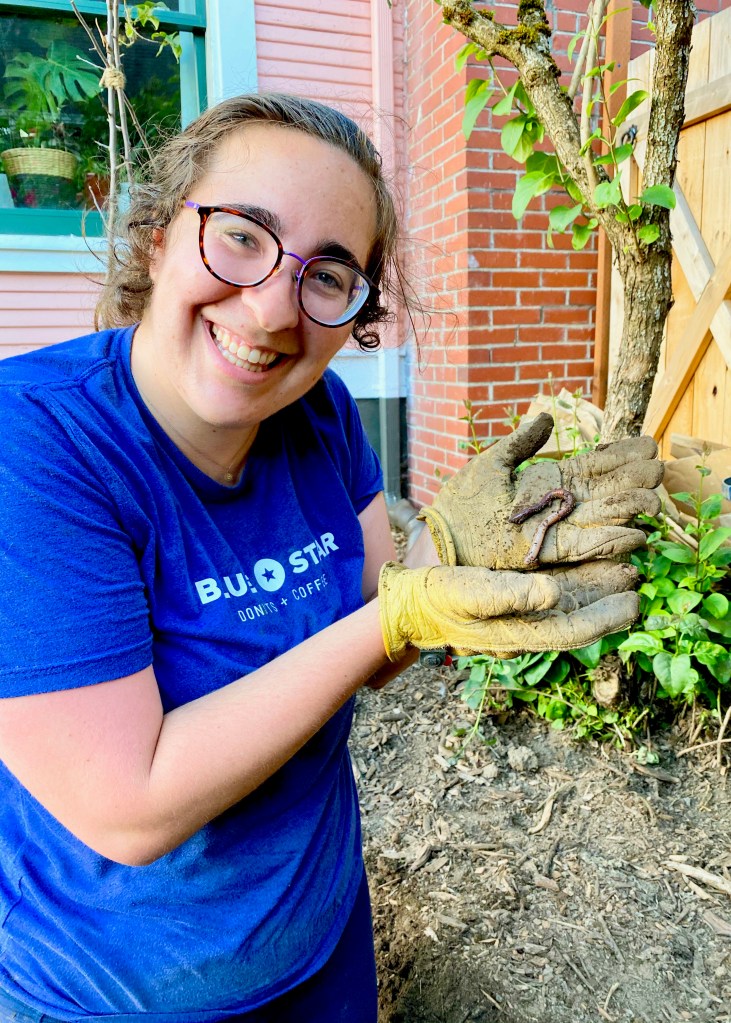
I also finally got my last veggie rows in and laid the path through the vegetable garden rows! It was difficult to get through weeding all the creeping thistle in this area before planting veggies. Eventually my friend Ellie and my sister Bronwyn helped me out and we conquered everything that was left to weed on the left side in this picture.
My sister even found the most ginormous worm while we were weeding. It could stretch out to be 12″ long! This picture does not do it justice. It was GIANT, you guys!
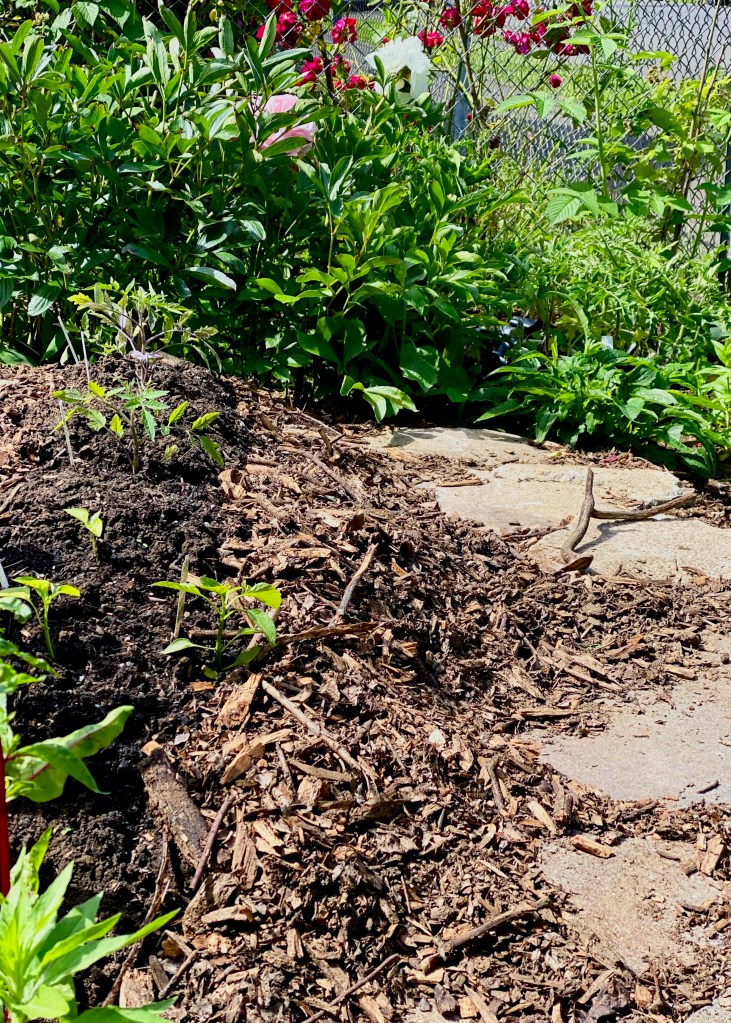
After the weeding was complete and the veggie rows done, I laid cardboard down before placing the stones and then filled in the mulch around them. I still need to transplant the peonies so I can place the stone to connect the path that winds through the vegetables. I am going to work on that this weekend.
This has been such a fun project working in the garden. I’m already plotting seeds and varieties for next year. I’ve been obsessing over theis local company, Territorial Seeds’, website, eyeing their varieties and planning for upcoming seasons. I want to start more vegetables from seed next year, this time in my own home. I’ve got to look into folding table set ups for the big front window.
I’ve always wanted my own little urban farmstead. Every day of work I put out in the garden is literally building my dream. The cottage garden part of the front yard is pure aesthetic, I love the wild chaos, the secret garden feel, the beauty of it. I want my vegetable garden to be a work horse, I want to harvest as much as possible. One day (not soon!), I’ll finally get around to transforming the backyard and add so many more beds for vegetables to that space. Until then, this front corner is the dominate food production zone and I am so excited to see it evolve over this hot season!
Don’t forget to check out the other ORC participants who are kicking butt in their own spaces!

And finally, I hope you are staying safe out there my friends, whether you are sheltering in place or out protesting. It’s time to bring change to this country. Time for proper medical care and equality for all our citizens. Sending out love to all of you. I’ll be shopping black businesses as much as I can in the coming months. If you know of any excellent black artisans, please send me a link! xo, LO

Hey! I’m in the PNW too, on Vancouver Island, trying to do the same thing. Your yard looks amazing so far! It’s so satisfying seeing the growth each year and adding just a bit more. This was my first year growing mostly everything from seed, and it’s been very successful and oh so satisfying! 😊 I’m finding it a super-pesty year though, how about you?
Hey there!! It is so satisfying! I get so excited about each little bit of growth. I’ve had a lot of slugs this year which I dont remember ever having had before!
It’s been so fun following along on this space ! Can’t wait for next weeks!
I love the steps. They do look like they have been there since the house was built and just add to that fairytale feeling your house has. I love the way your garden looks and how well it ties in to the architecture. Great job!
Thank you so much! It’s been a lot of work, but it’s all be slowly starting to come together!
Garden and house are beyond belief. You have performed a miracle!
Looks beautiful- those steps are perfect and the garden- WOW
Awww thank you!! It’s slowly getting there.
I want those step in my backyard! Where did you find the rock?
It’s a local stone! I got it on Craigslist actually. It’s Oregon flagstone
It’s been so fun following along on this space!