Remember how my kitchen looked like this the last time I talked about it? Transformed, but still a hot mess. Not a hot mess actually, just a mess. There was a lot still to be done. And one of those things on the to do list was fixing the 220 appliance outlet on the back wall beneath the windows. This was the outlet for the stove.
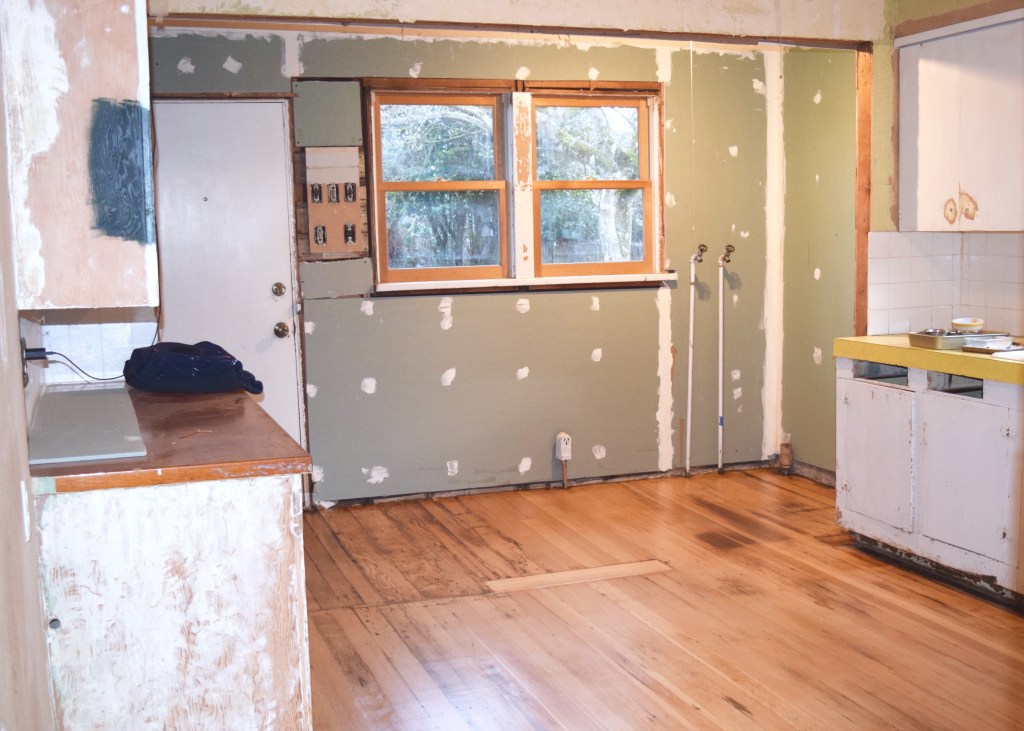
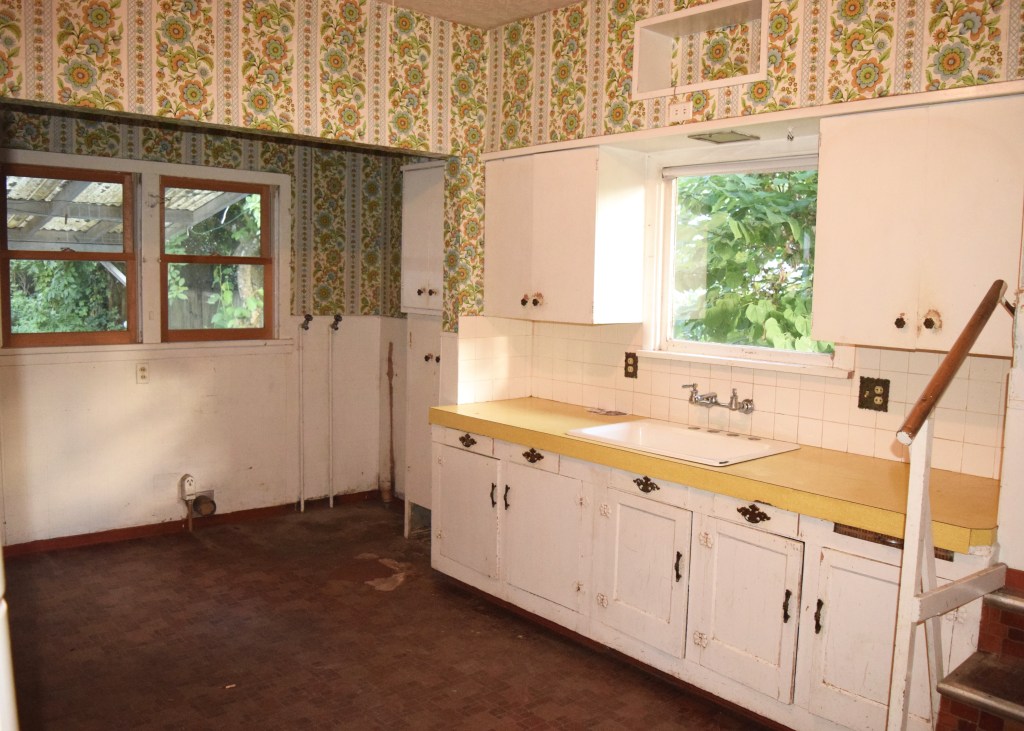
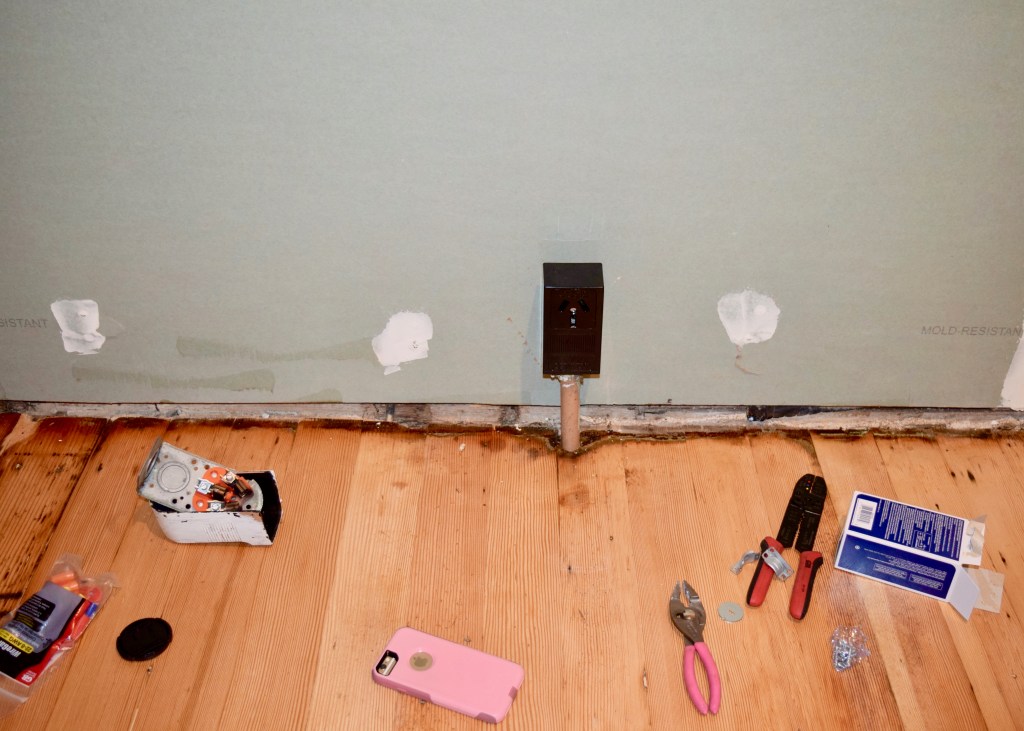
Not that the house came with a stove. It just looked like this when I bought it and my best guess is there was an older pre-1960s stove next to the stairs on the wall opposite the windows. This guess is based on the grease pattern that was left on the floor and wall there and the fact that there’s another 220 appliance outlet on that wall. The one under the kitchen windows is probably left over from when there was laundry up here. You can see the old dryer vent next to the outlet here below. We removed the vent when we demo’ed this wall down to the studs in February 2018. Yeah this really was the glorious kitchen I fell in love with when I bought the house. Can you believe it?
I wanted to place the stove on this wall because it made the most sense and because I didn’t want anyone falling down the stairs and burning themselves on the stove. Plus, who doesn’t want to look out the window while they cook?
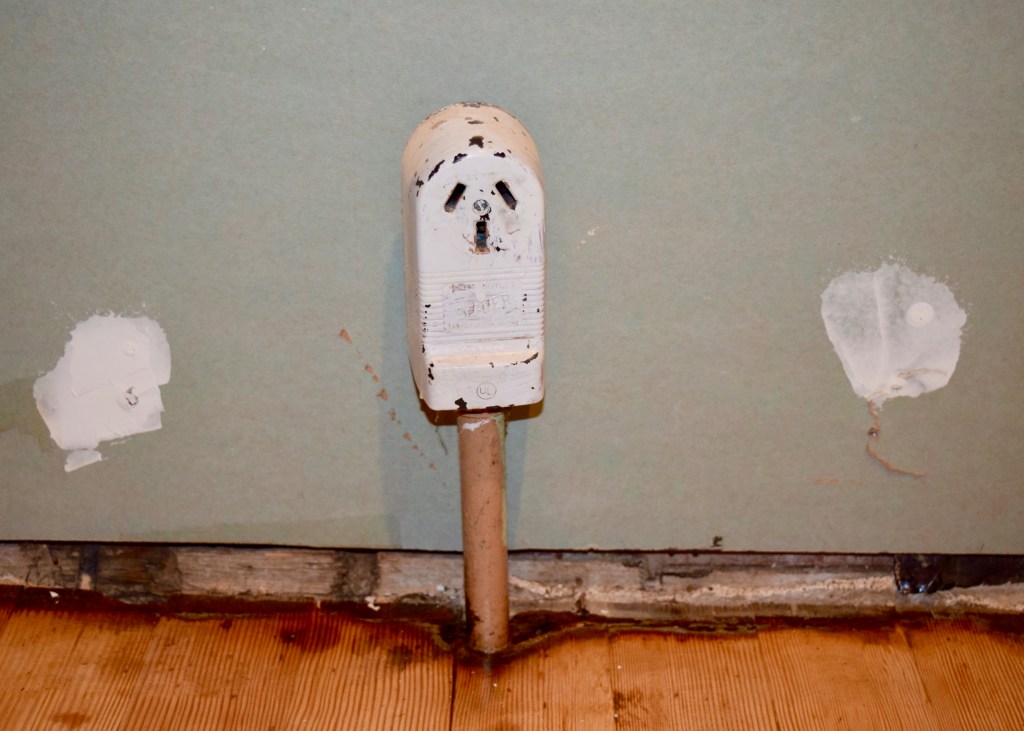
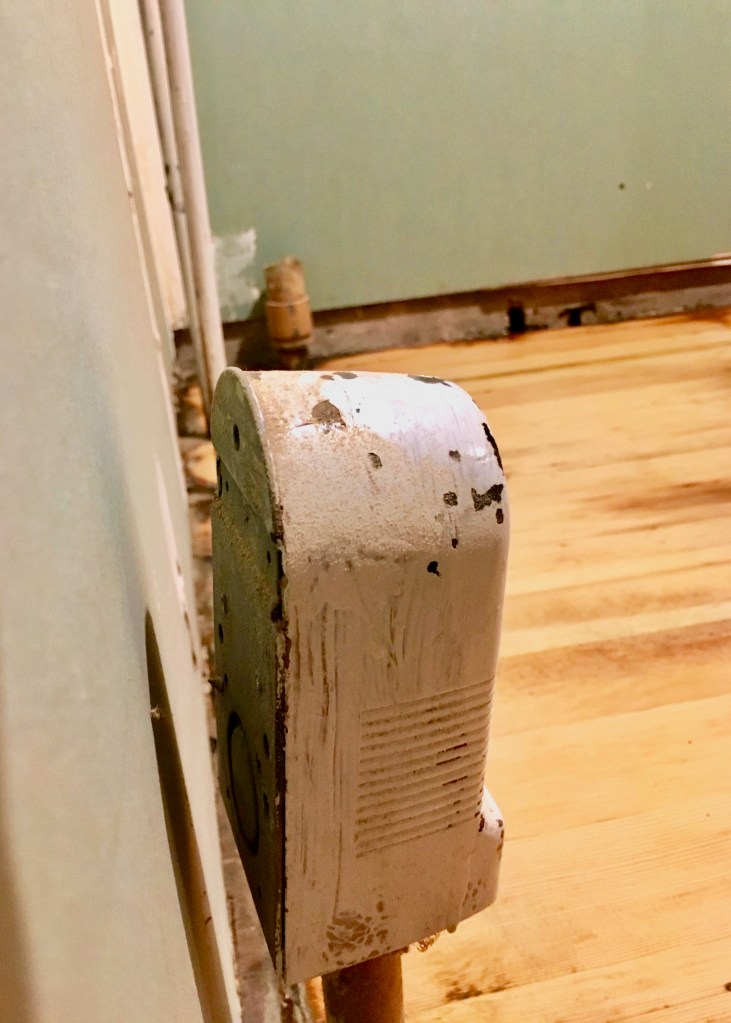
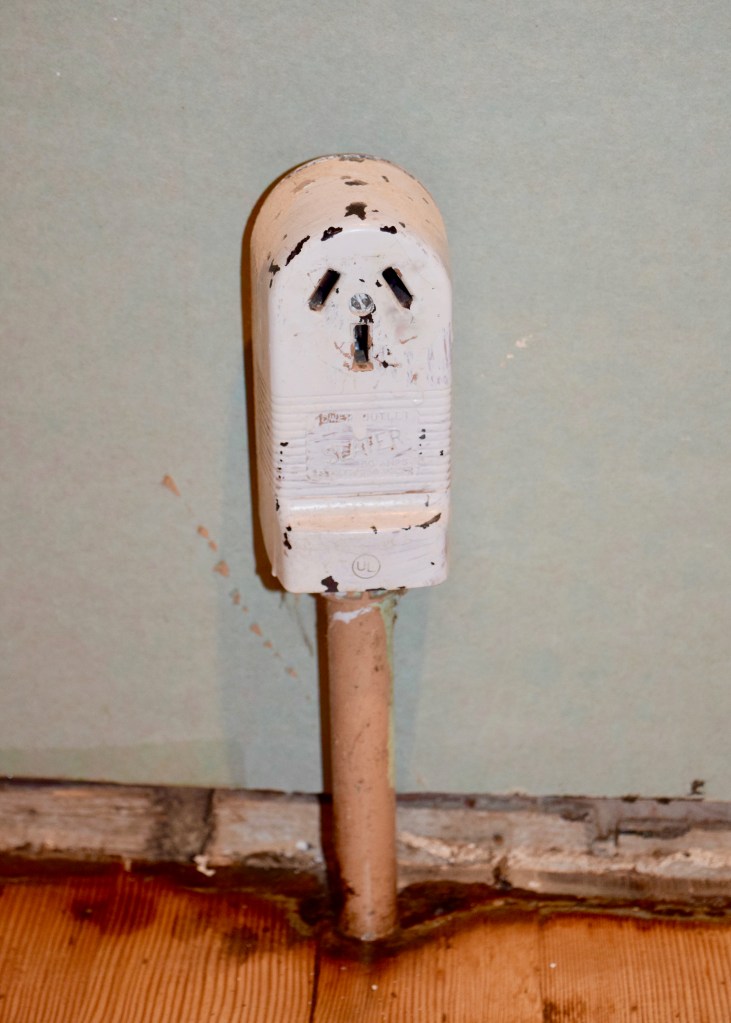
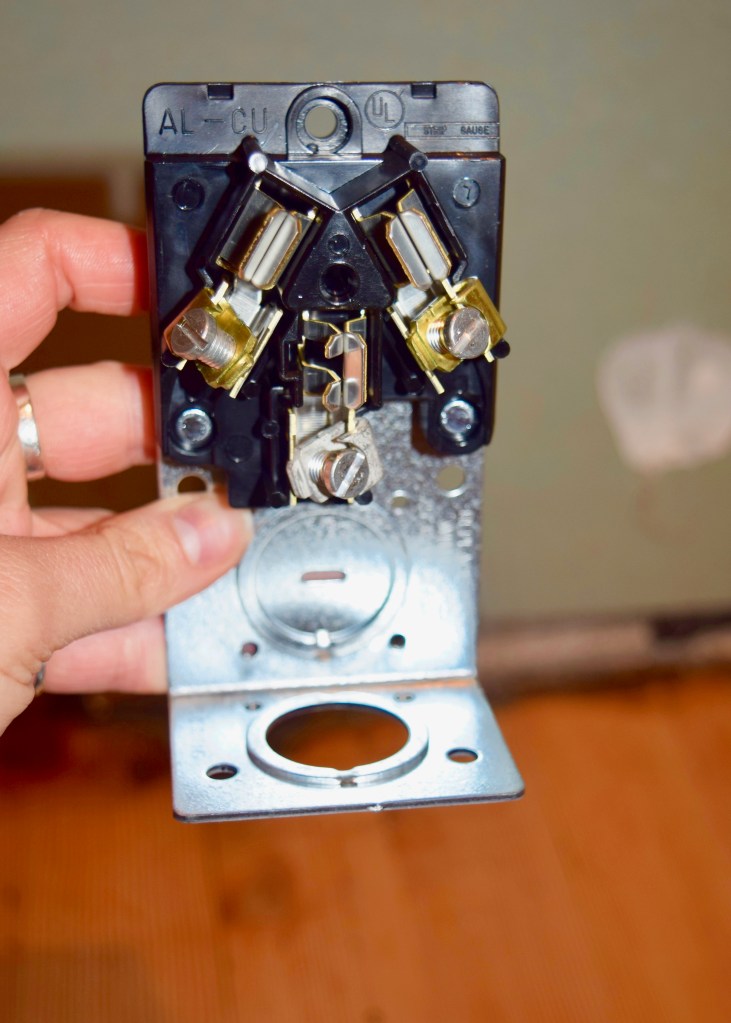
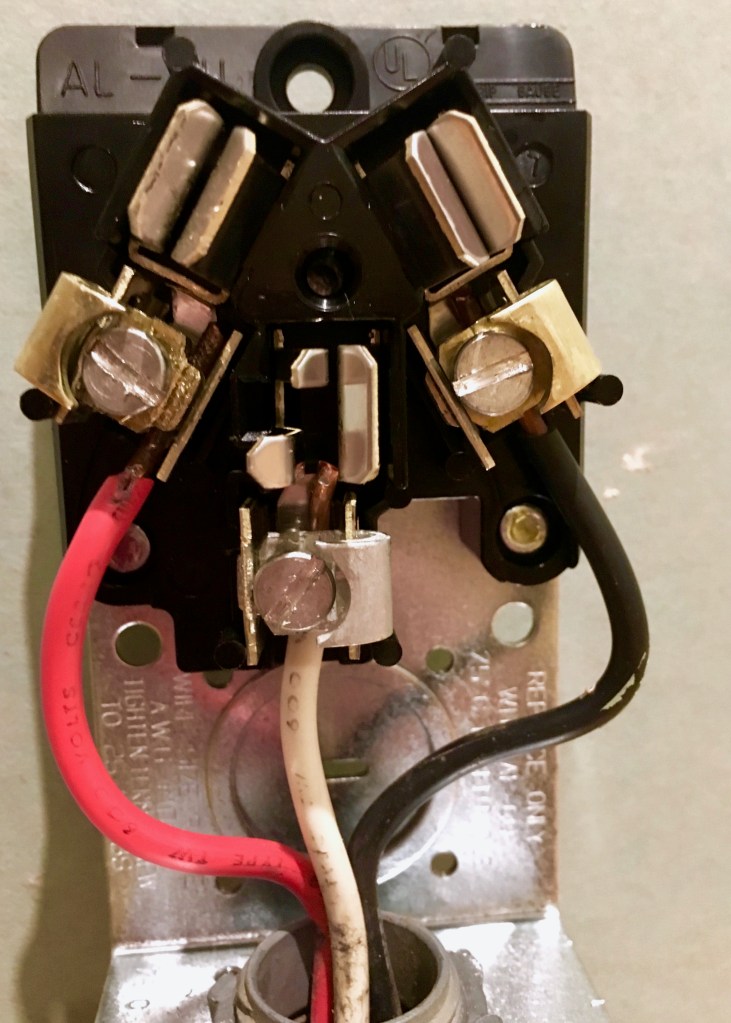
Anyways, the problem with the existing 220 outlet was a) that it was ancient and looked suspicious and b) I’d shorted it pretty badly when I ripped the homasote off this wall during demo and one of the screws holding it to the wall came off inside the outlet. Whoops. Definitely not a safe move. You can see on the back of it that hole near the top where the screw went from inside the outlet and secured it to the wall.
The wiring had been checked by my electricians when they came in October 2017 and it was good to use, but I hadn’t bothered to flip the breaker back on this guy after shorting it. Just in case, I did double check that it was off using an electrical tester before doing anything further.
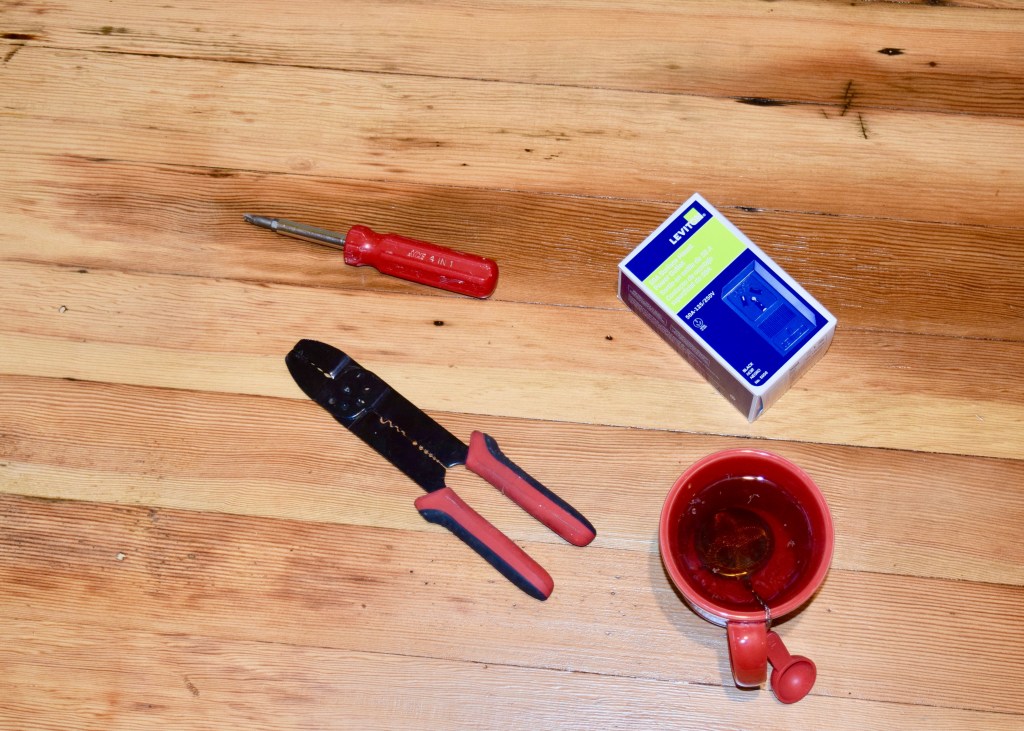
Then I gathered some supplies. Tea always comes in very helpful during electrical work! I’d picked up a new 220 wall outlet at Home Depot for about $10.
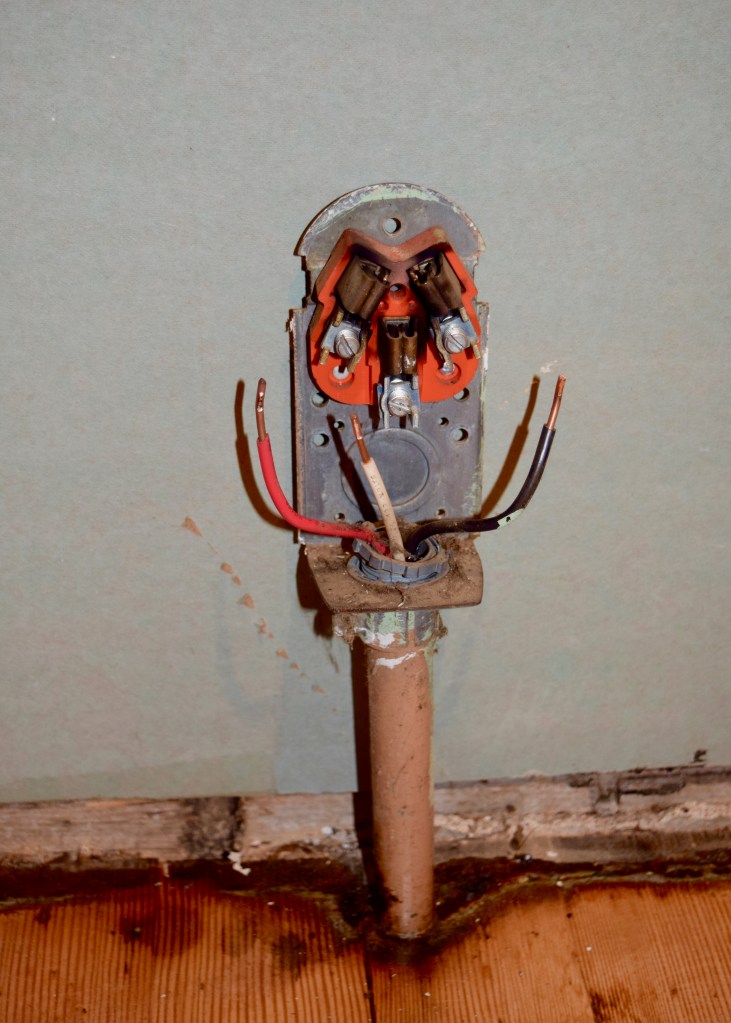
The old outlet had certainly seen better days, and I was excited to switch it out because this change officially meant I would have a working oven! At the time I did this, I hadn’t had a working oven in 6 months and pretty much cooked everything in a toaster over in my dining room. You can see that delightful set up in my February 2018 House Tour!
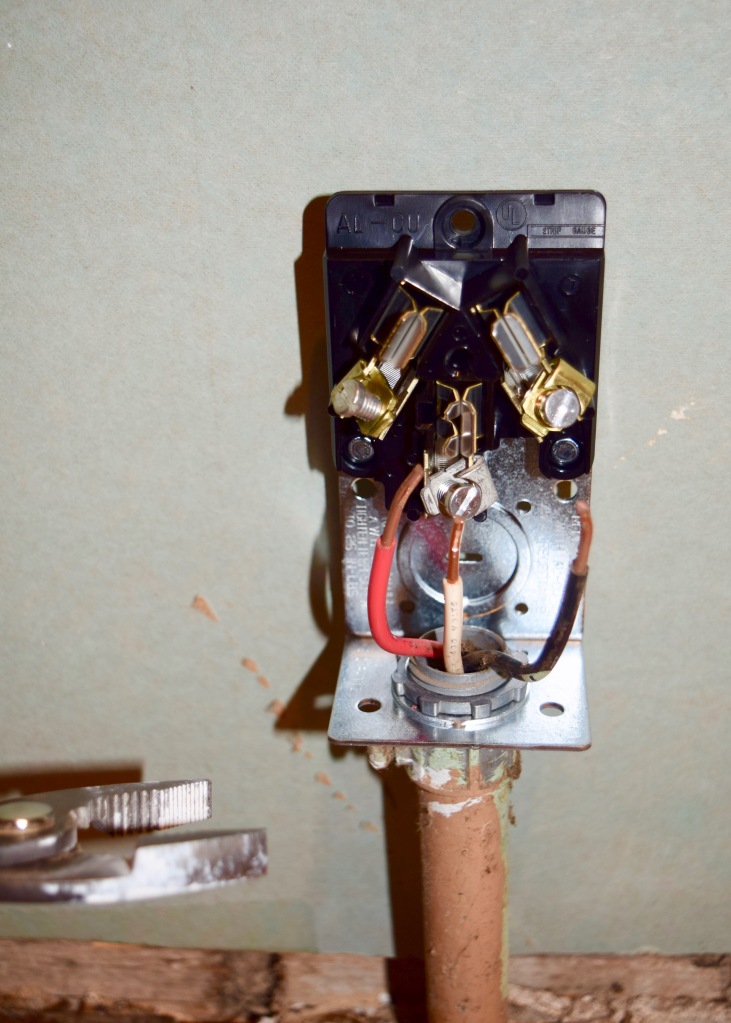
I unscrewed the screw in the middle of the outlet and loosened the cover. The outlet cover slid up and off the 220 outlet exposing all the guts.
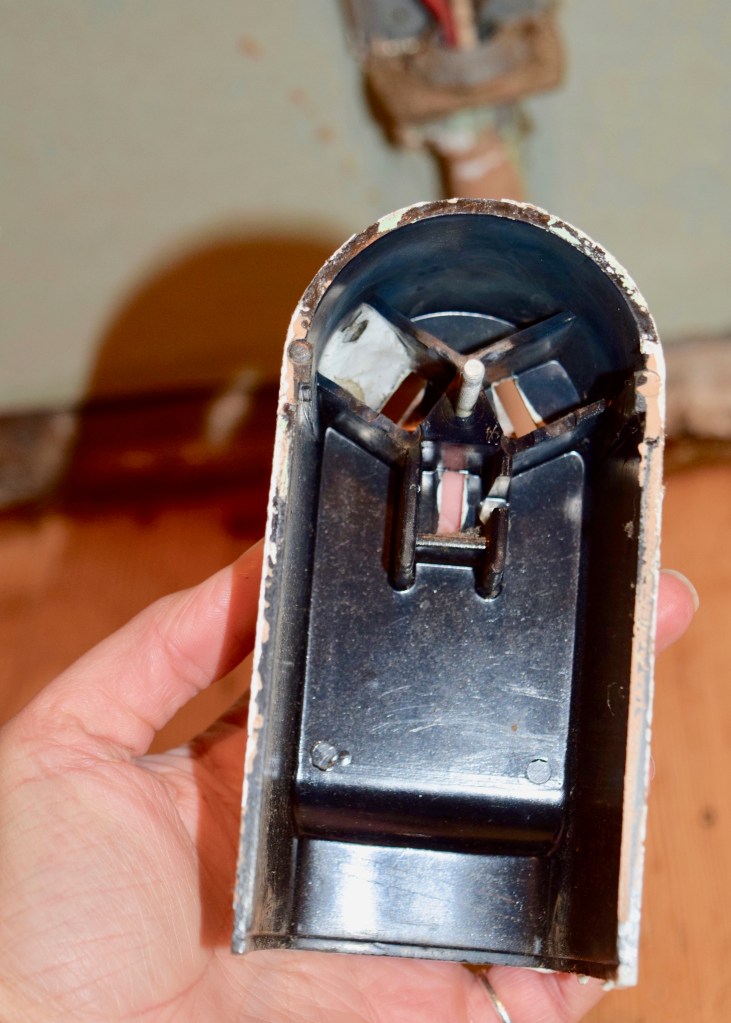
At the bottom of the outlet you can see the screw that came out and shorted it. I’m lucky I’m alive, ya’ll, I do a lot of stupid things. Don’t do that. Turn off your electricity before demoing around it, please.
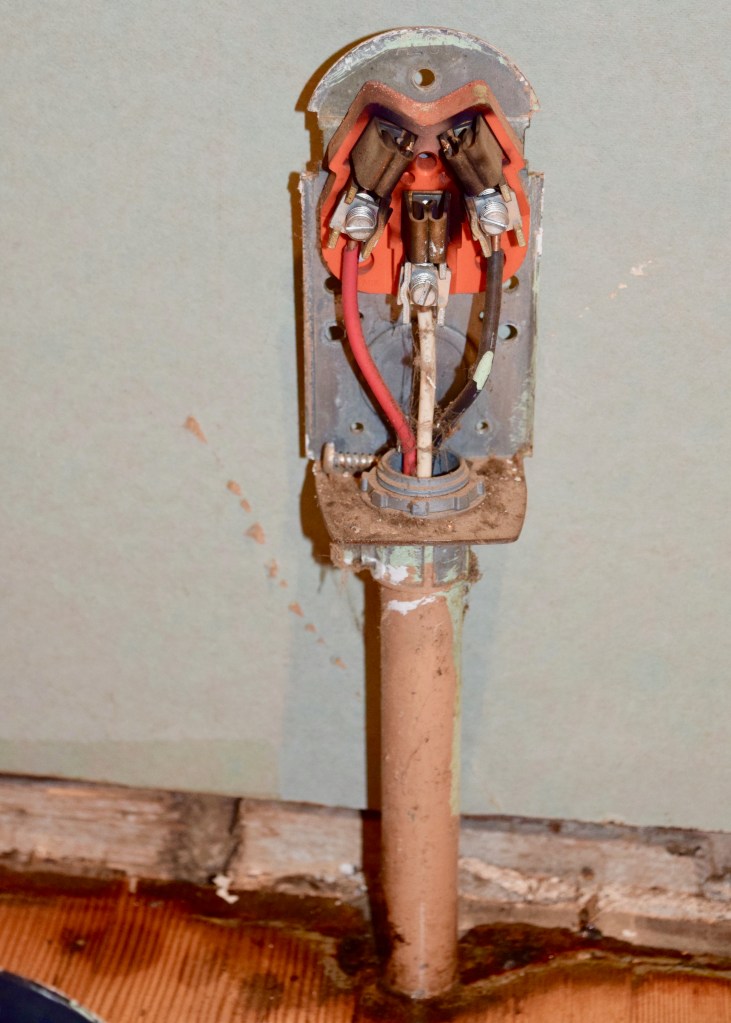
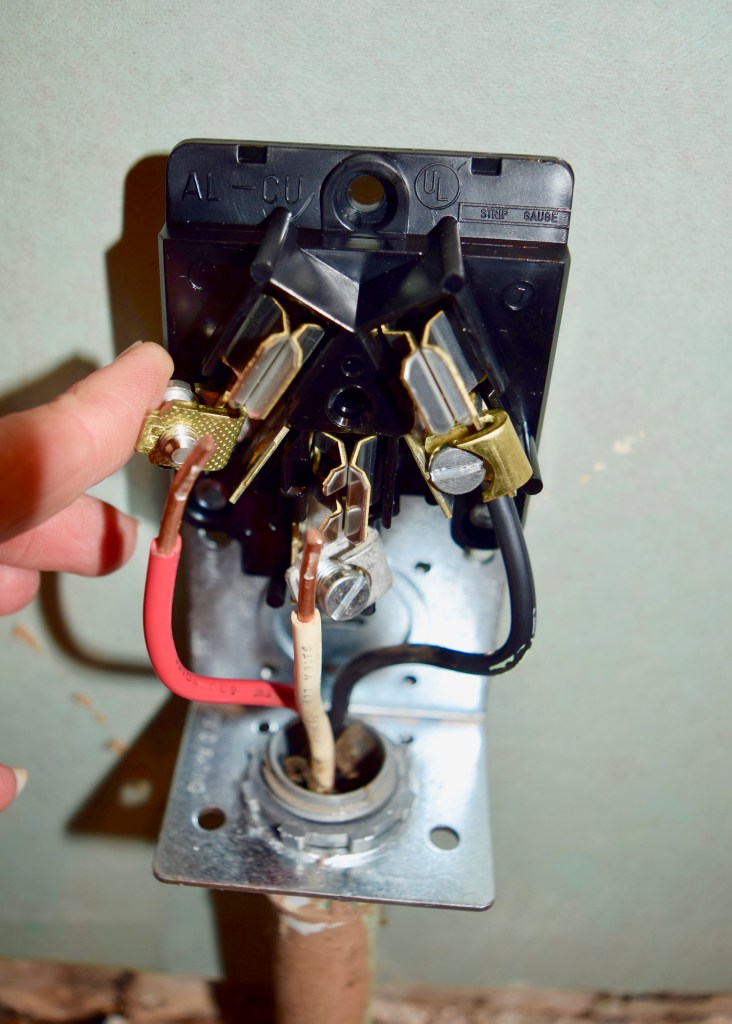
Now to unattach the wires. This was simple, just unscrew the machine screws connecting them to the outlet and pull them out.
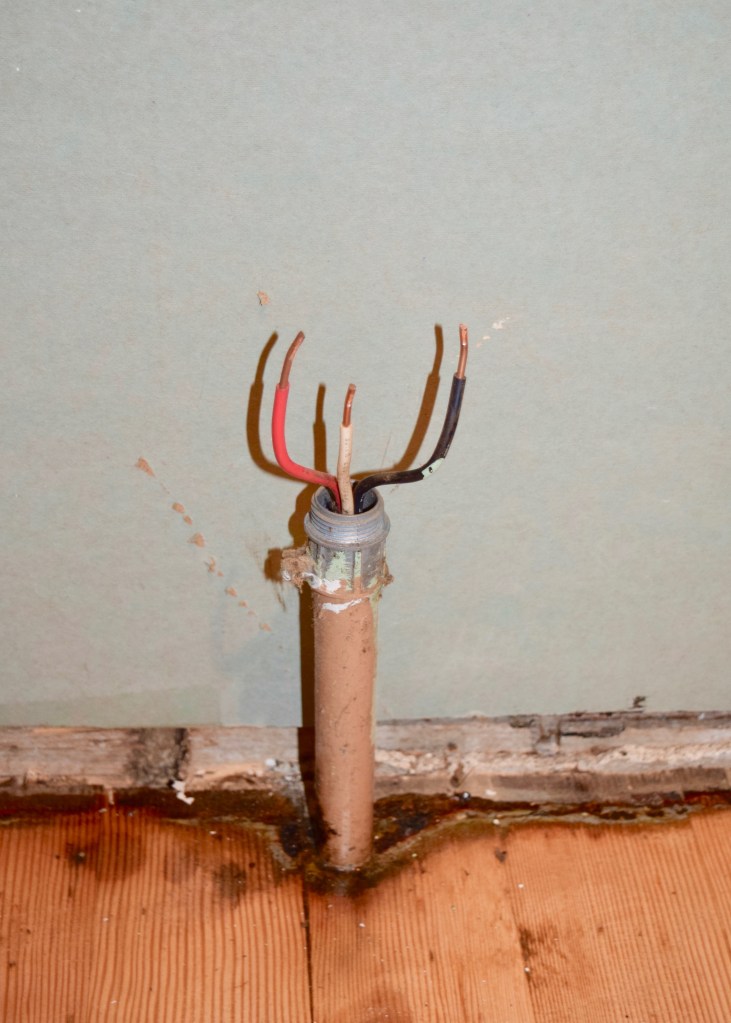
Then I shoved all the wires together, unscrewed the outlet box from the conduit pipe using a pair of pliers, and pulled the old outlet box off the conduit pipe. Now there were just some wires floating there!
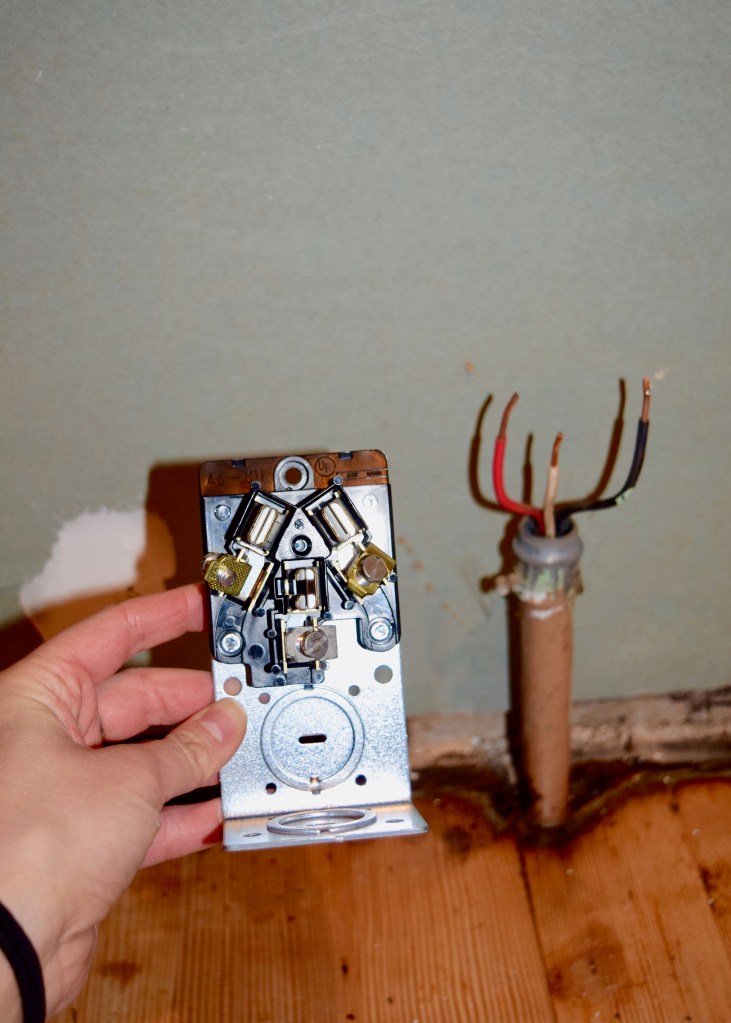
I took my new outlet out of it’s box and was very thankful that everything looked nearly identical!
I removed the bottom knockout on the new outlet with a screw driver (super easy: stick screwdriver in slot, twist, and pull) and crossed my fingers it would fit on the old conduit pipe.
I wrangled the wires and stuffed them through the knockout and pulled the little nut over everything. Luckily, it all fit nicely!
Then I used my pliers again to tighten the little nut so the new outlet was secured to the conduit pipe. I made sure that baby wasn’t going anywhere! There was also a screw at the top of the outlet which would have allowed me to attach it to the wall, but since it was secured pretty well to the conduit and my new drywall was 2″ without all the old siding behind it, I ignored this screw.

Now it was time to attach the wires to the outlet. I slid them in one at a time and tightened the machine screws that hold them in place.
Once I was done it looked like this! All the wires in place and ready for a cover plate! I was this close to a real working kitchen again! Woohoo!
The outlet cover snapped on to the outlet and all of a sudden I was done! Now just to get an oven in here and fire it up! All in all this project took less than an hour and used only the simplest tools: pliers, a screw driver. Anyone could do this, and I’m sure it would have cost at least $150 to have an electrician come out to do something this simple. That’s just money in my bank now! Well… I mean… I probably spent that $150 on something like paint soon after, but, still. DIY saves ya moolah!
You better bet I coerced my sister into helping me carry the oven into the kitchen that night and testing the new outlet. It worked! WE COULD COOK AGAIN. I roasted squash and made a mirepoix for butternut squash soup literally 20 minutes after this picture was taken. WOOHOO!!! It was such a relief to be able to use a stove after six months of nothing but toaster oven! I wanted to boil water and fry eggs and sauté veggies! There is nothing like not having a kitchen to make you appreciate all the little things you use a working kitchen for, amiright?
Have you ever done a quick electrical project? Or would you only trust an electrician with this type of thing? I’ll admit, after the house behind ours caught fire in September 2018, I’ve been a bit more nervous about electrical work, but not so nervous to not do it with careful consultations and triple checks! Are you someone willing to work on this or would you hire it out?
