There is a thrift store pretty close to my house. It’s about a half-block out of my way when I’m walking home from BART after work. I won’t say what it’s called, because, to be perfectly honest, it’s not all that great of a thrift store. (Seriously where are the best furniture/accessory thrift stores in the Bay Area? Do you know??? TELL ME!!) Every now and then I’ll stop by though and see what’s there. I whole-heartedly agree with Katie from Bower Power that all thrift stores have a strength zone. This thrift store’s strength is clothes and toys. Neither of which I need much of. But, sometimes, walking home from work, a girl’s gotta see what’s what.
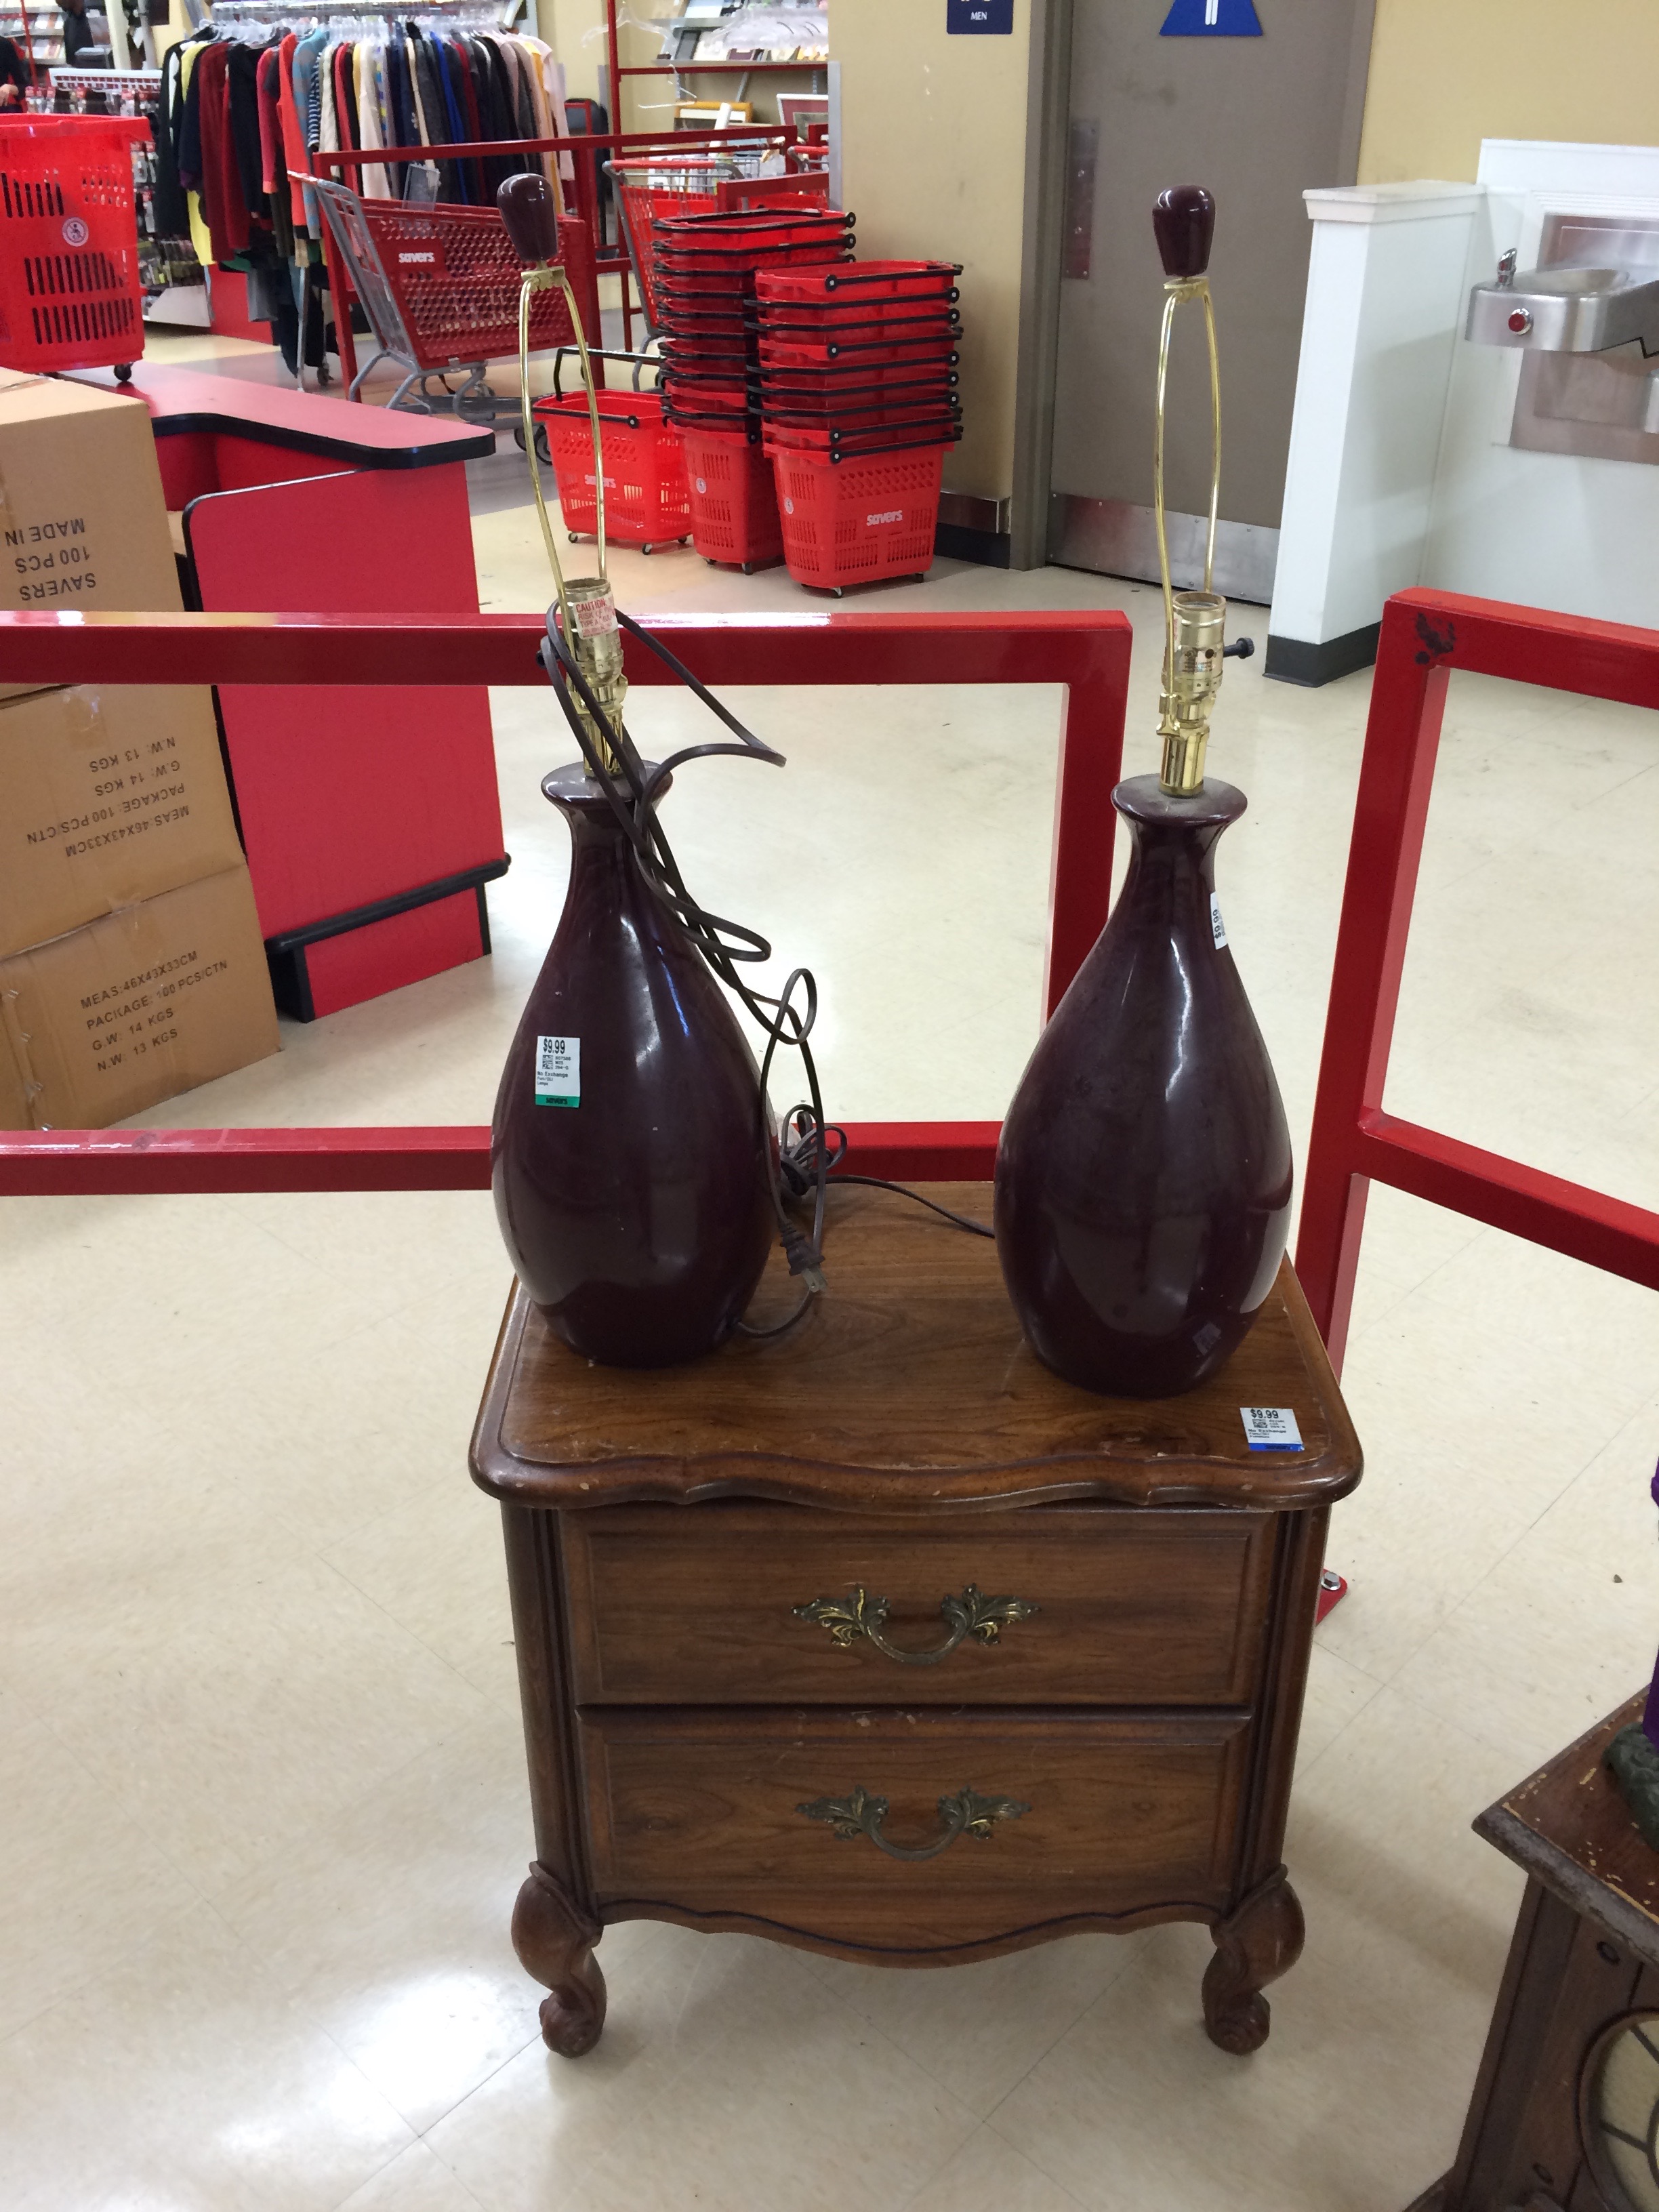
A few weeks ago, I’d strolled through the entire store and saw a pretty cool lamp. I liked its shape quite a lot– simple, rounded, contemporary– but I didn’t really have a place for a single lamp. I returned to browsing, and then, standing across the room, I noticed there was a second, matching lamp! The first lamp had a brother! They were marked at $10 each and they were a hideous brown color. HIDEOUS. Now, $10 isn’t exactly pocket change for a lamp that probably doesn’t even work, but I thought, “Hey, why not?” I needed lamps for our living room which has some horrible (sorry roommates!) glass side tables, but nothing on them to give them more presence. So I hopped on those lamps like a tiger on a steak!
As I was walking to the check out — gripping my lamps by their necks like strangled chickens (is that simile graphic enough?!), I happened upon a small nightstand with fun curvy lines. What was this?? About a month before this, I’d actually spent the day thrifting (and donut snacking!) with my friend Hannah looking for a nightstand to make-over for her bedroom. Hannah wanted something with good lines, some fun turned elements that she could paint a fun color. We had gone to several places (remind me to write about how to spend an entire way thrifting and snacking through Berkeley and Oakland!), but hadn’t found anything that suited her needs. I set my lamps down on the nightstand, guarding these treasures like a dog, and pulled out my phone to text Hannah this picture.
Hannah, of course, loved it, and for $10 dollars, she’d take it. I happily danced the rest of my way to the checkout and bought all three finds. At this point, I actually walked the rest of the way home carrying my new strangled chickens lamps. I then grabbed my car and headed back to the thrift store, because as much as I like to test my upper body strength, there was no way I was going to try carrying the nightstand home!
As I was loading the nightstand into the car, I cursed myself for my rookie mistake. I had not thoroughly looked at the nightstand before I bought it. The little guy wasn’t solid wood like I’d assumed. It was a mix of plywood, cheap pine, and MDF. Ugh. Plus, there was pretty bad moisture damage to the plywood back legs. Why hadn’t I taken a closer look?! Grrrr. I cursed myself. But, I had already bought it and the store didn’t take returns, so I decided to pretend to be an optimist and make the best out of the situation.
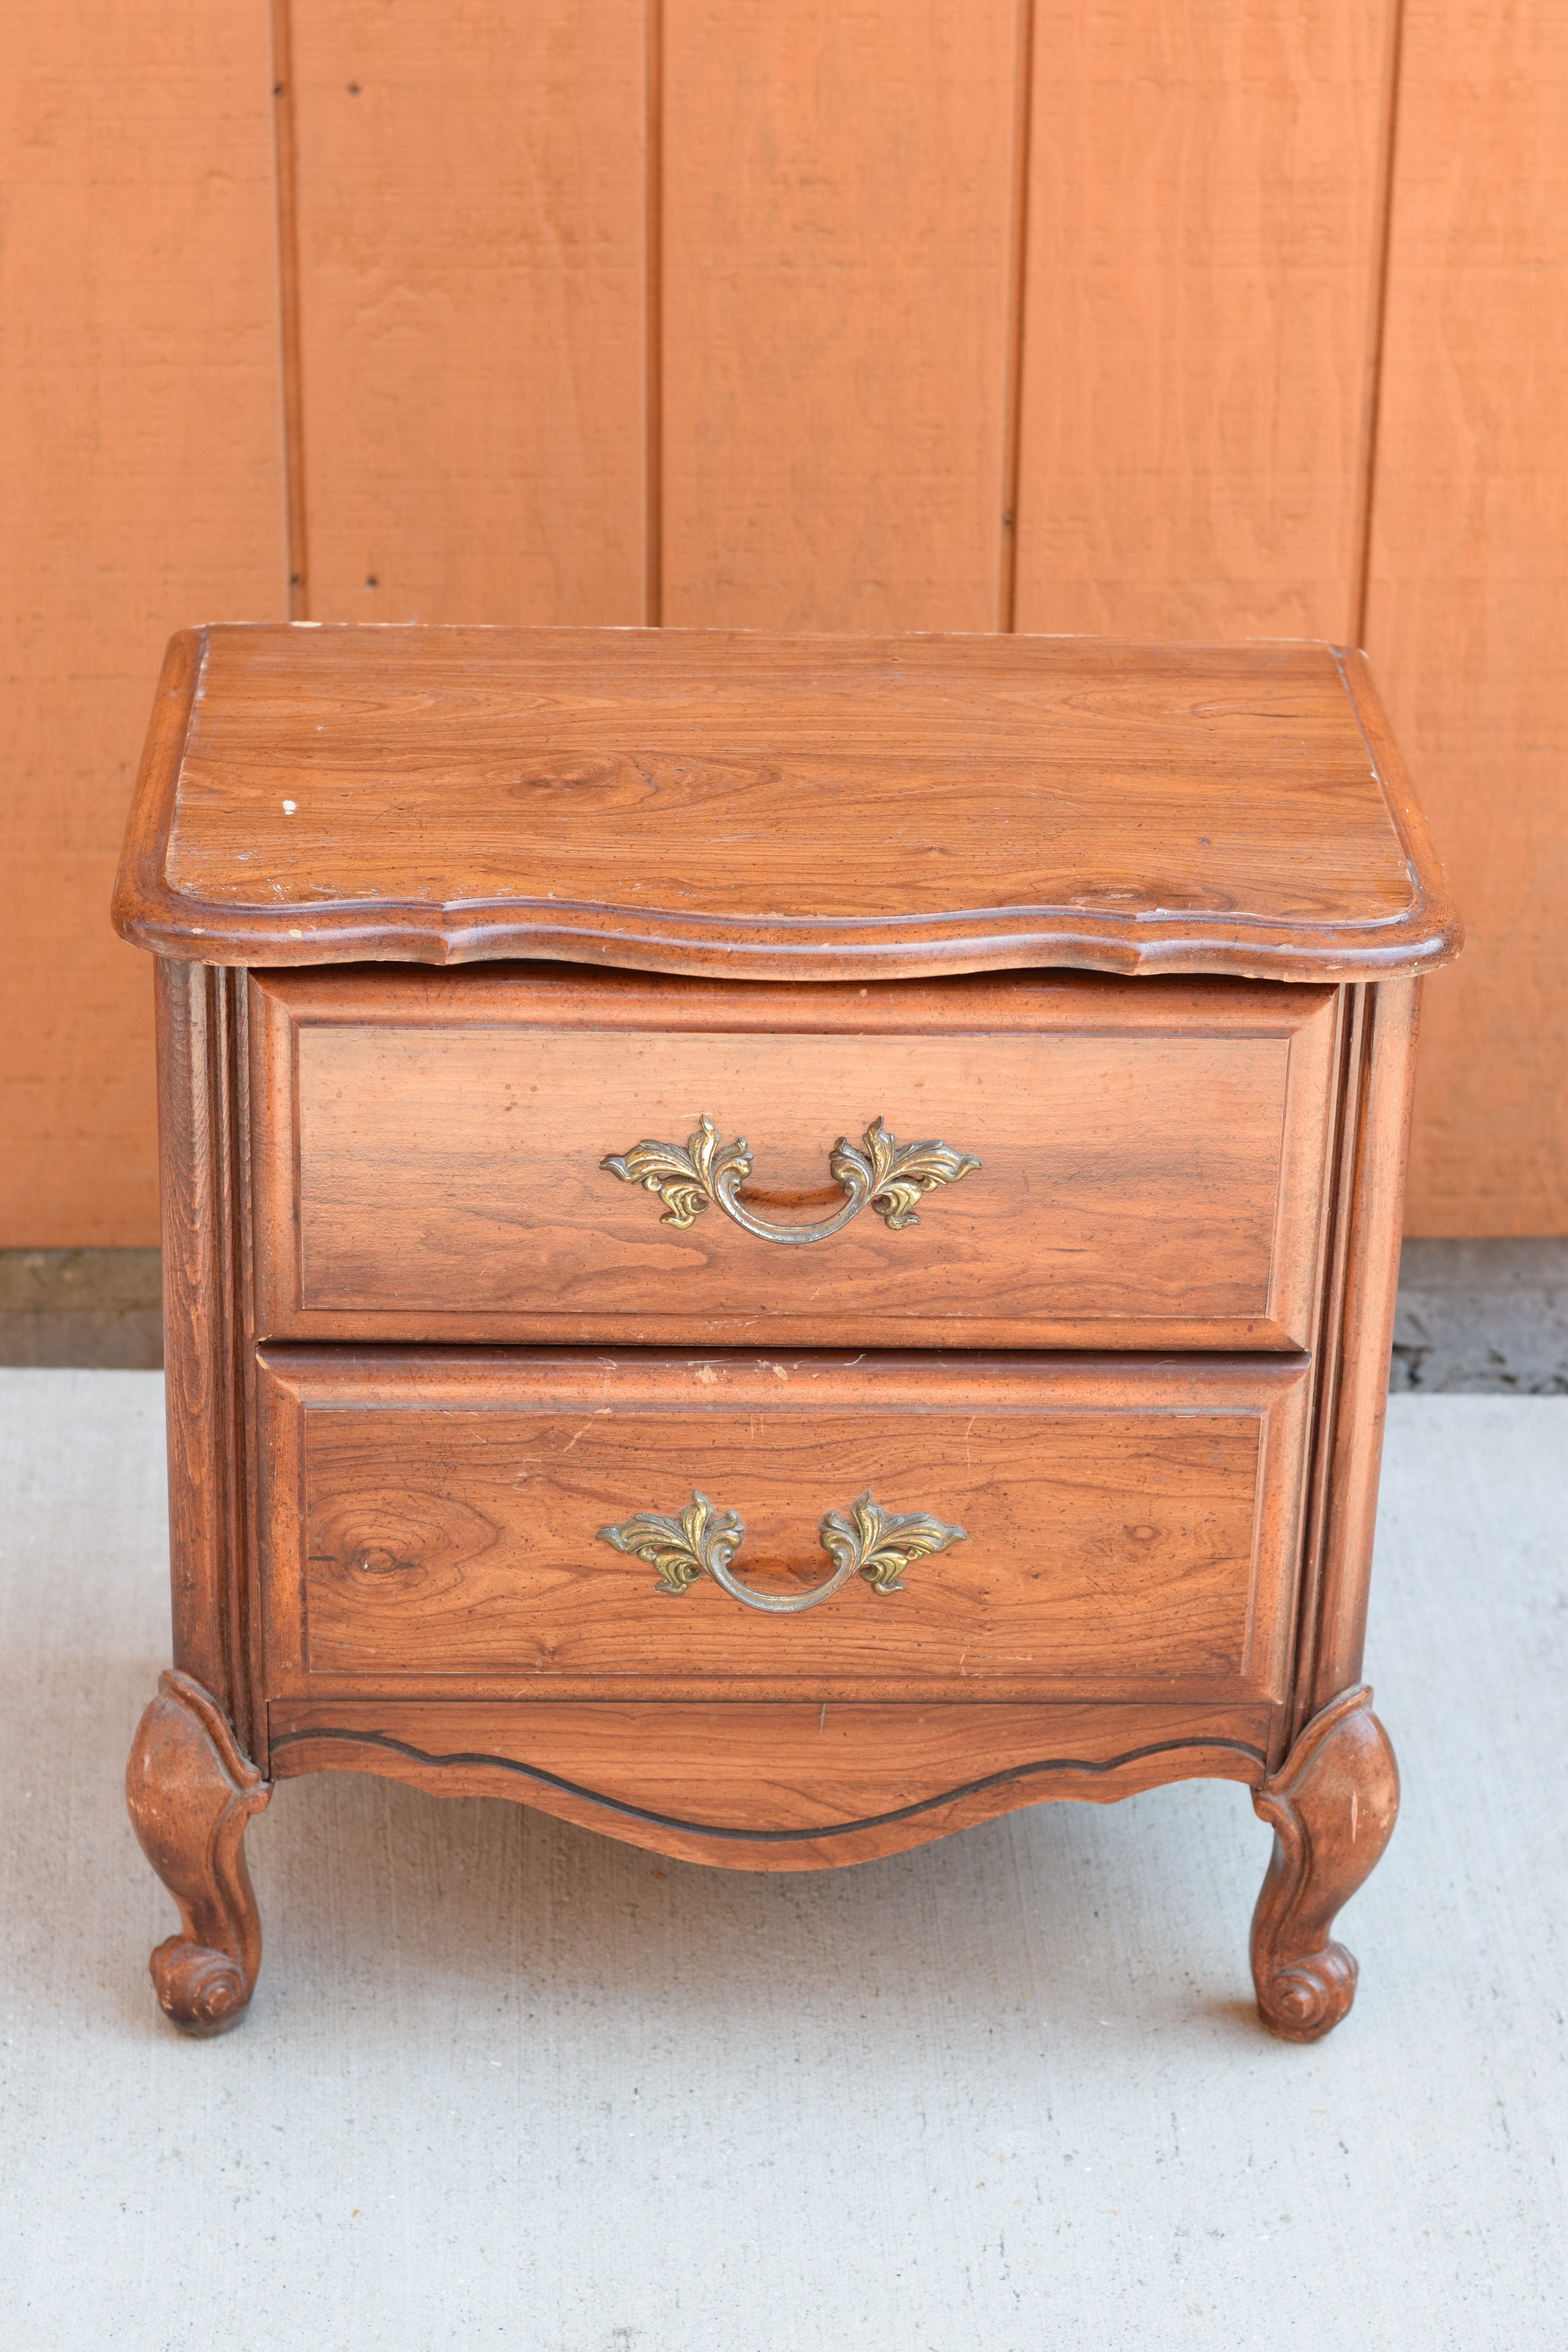
When I got a chance to work on the nightstand, I accessed the state of the piece, and concluded that I and the world of DIY could save this little guy. From the front, he actually looked pretty dang good!
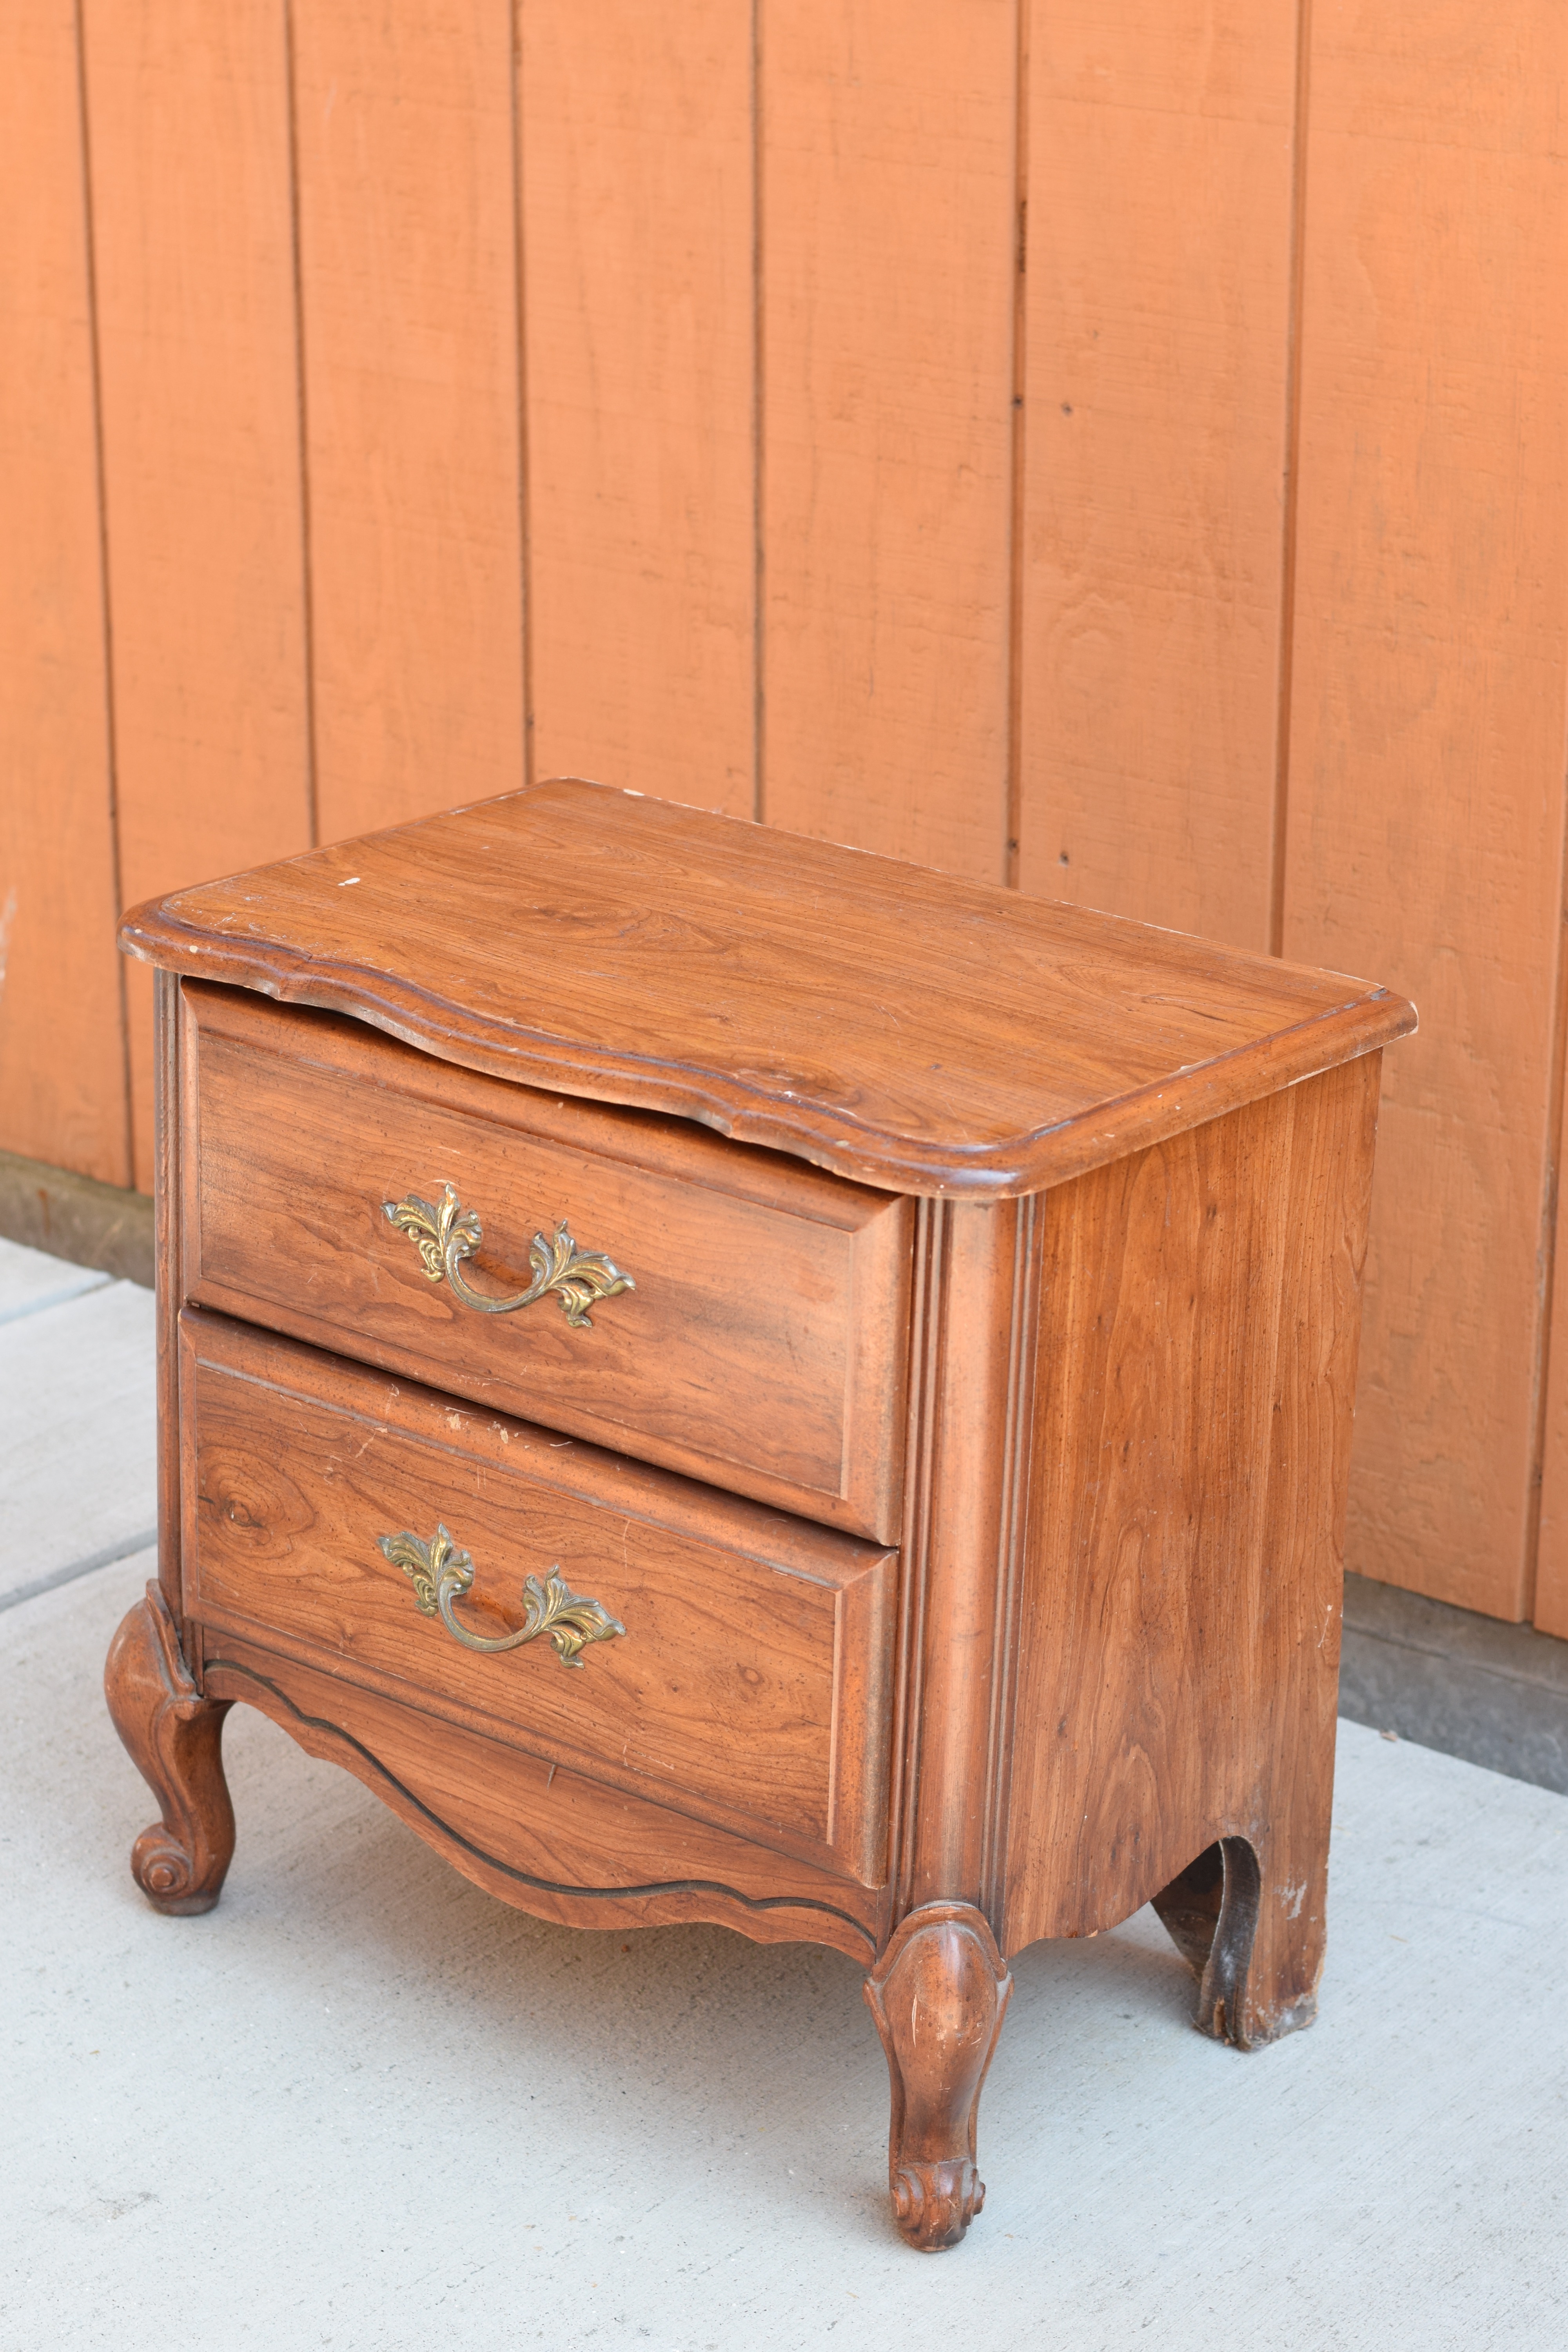
From the side you could start to see some of the moisture damage…
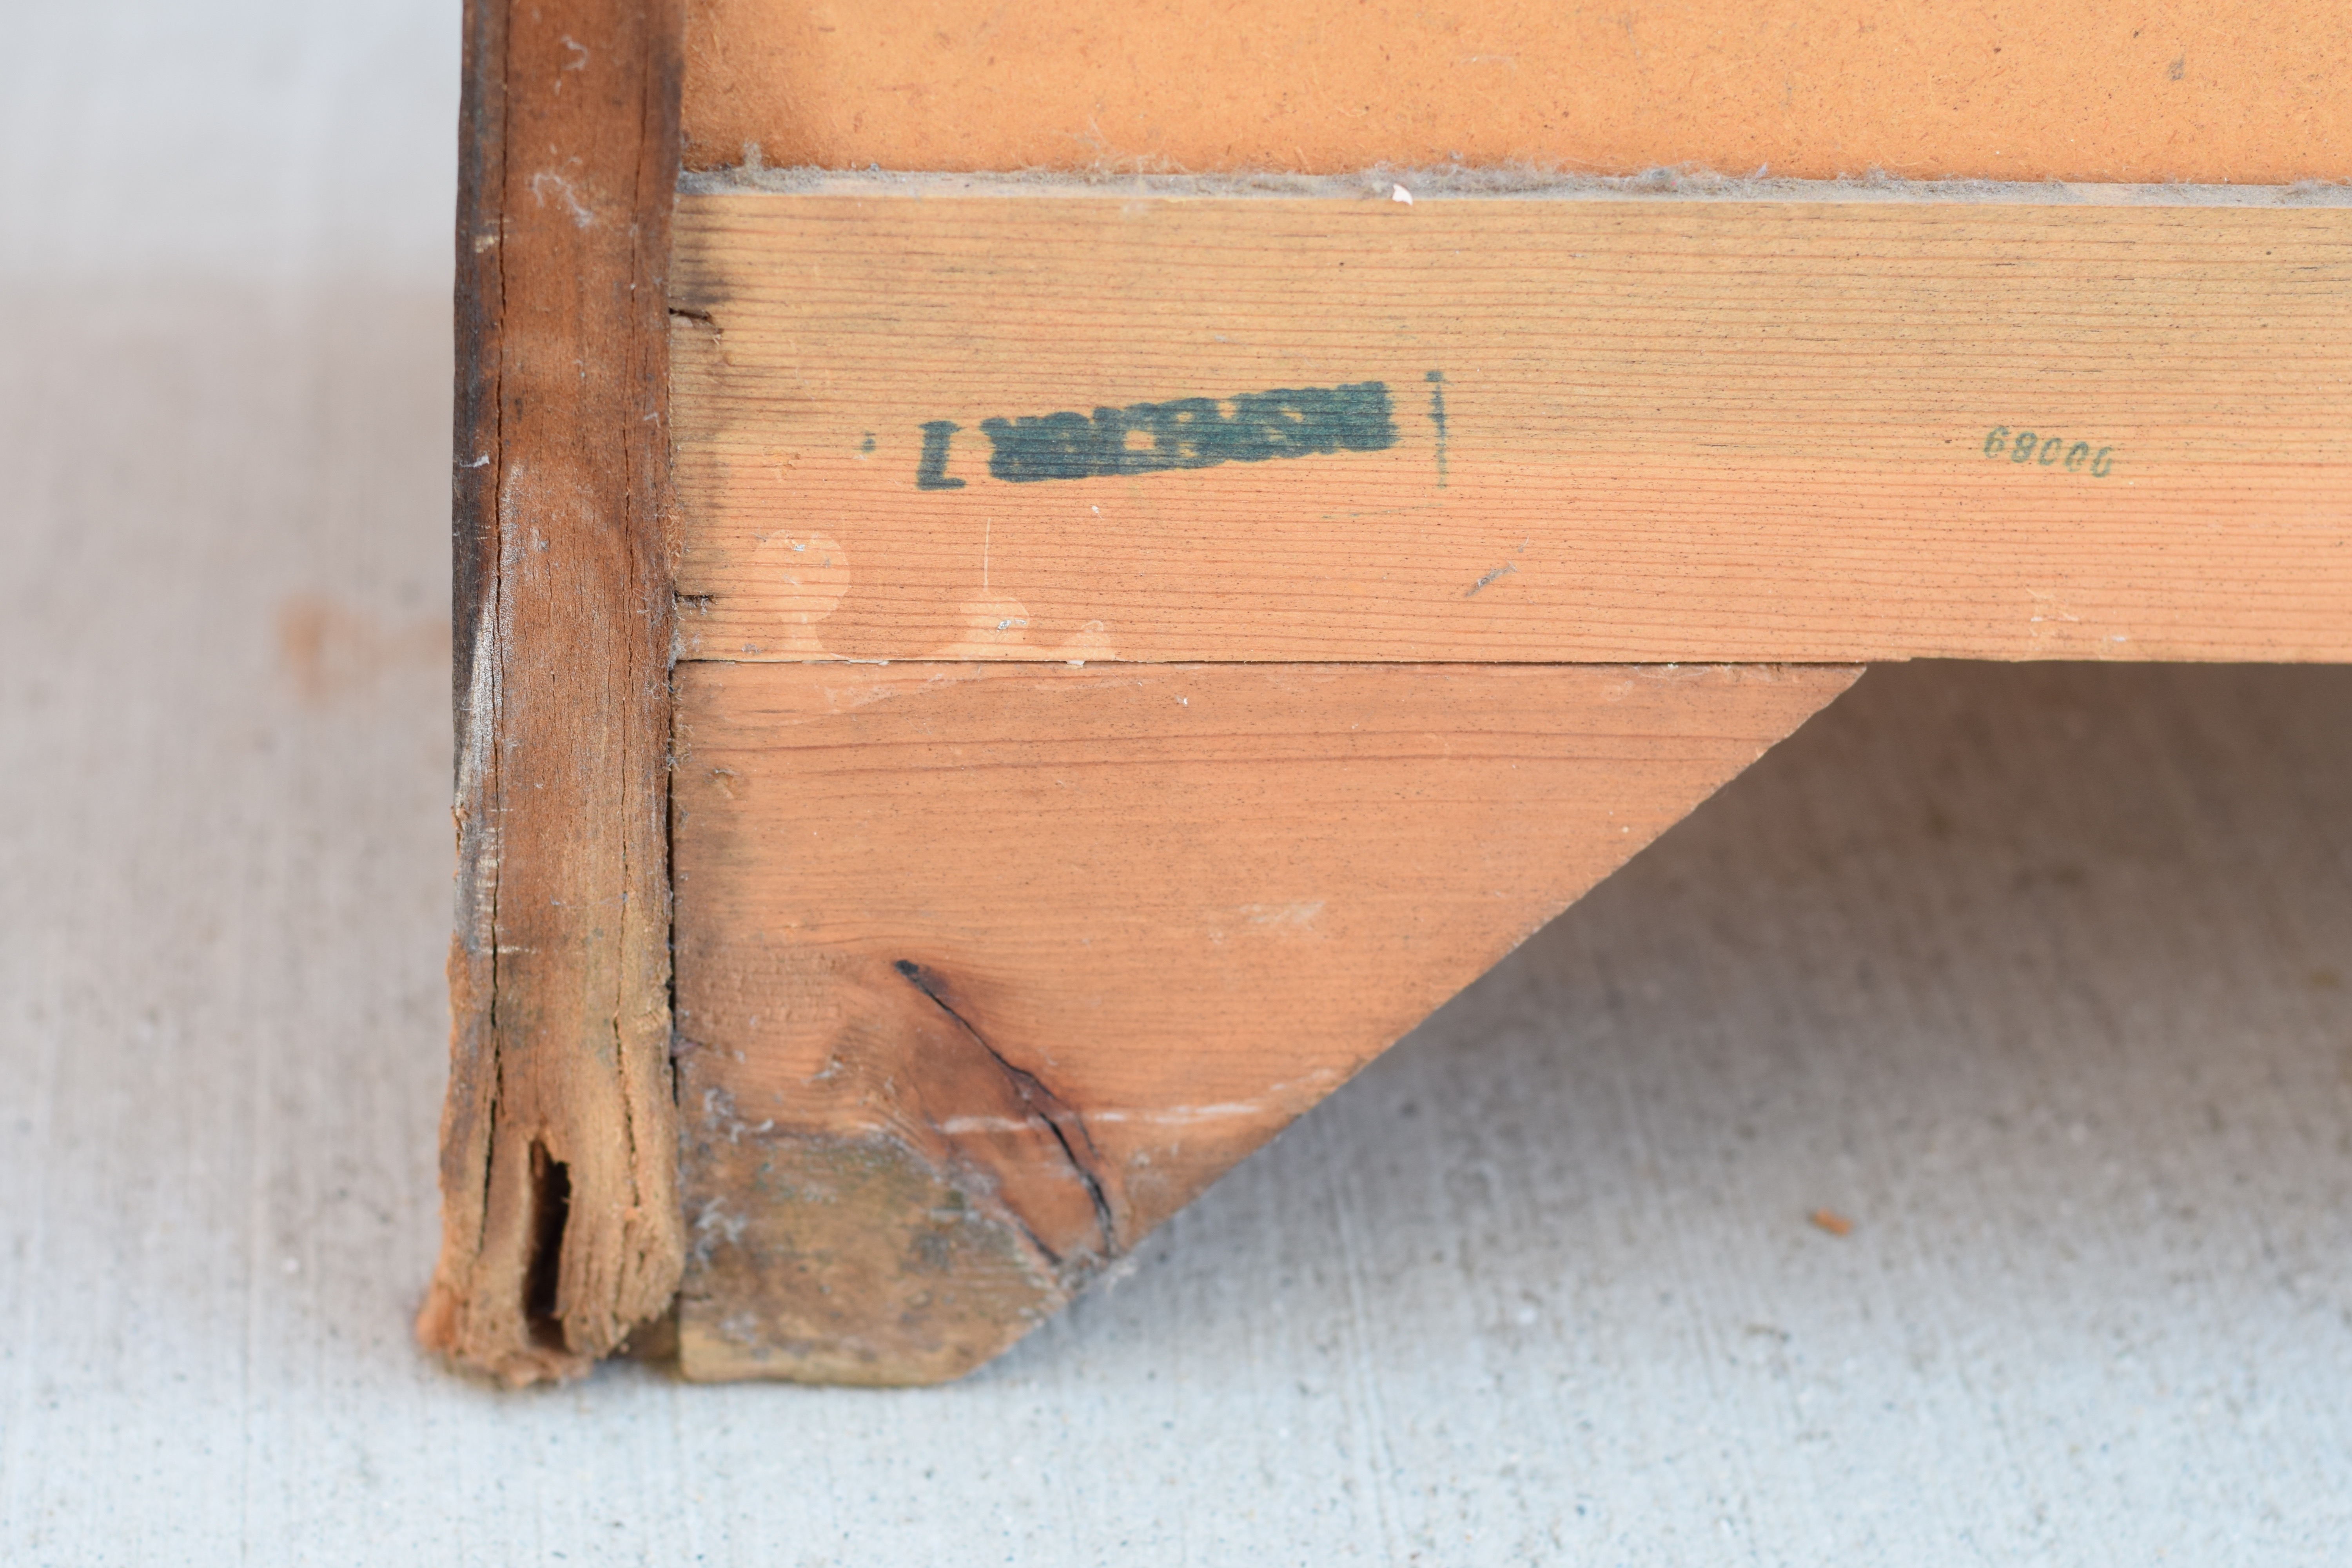
And from behind, you could completely access the damage. 😦 He definitely wasn’t a looker, this little guy!
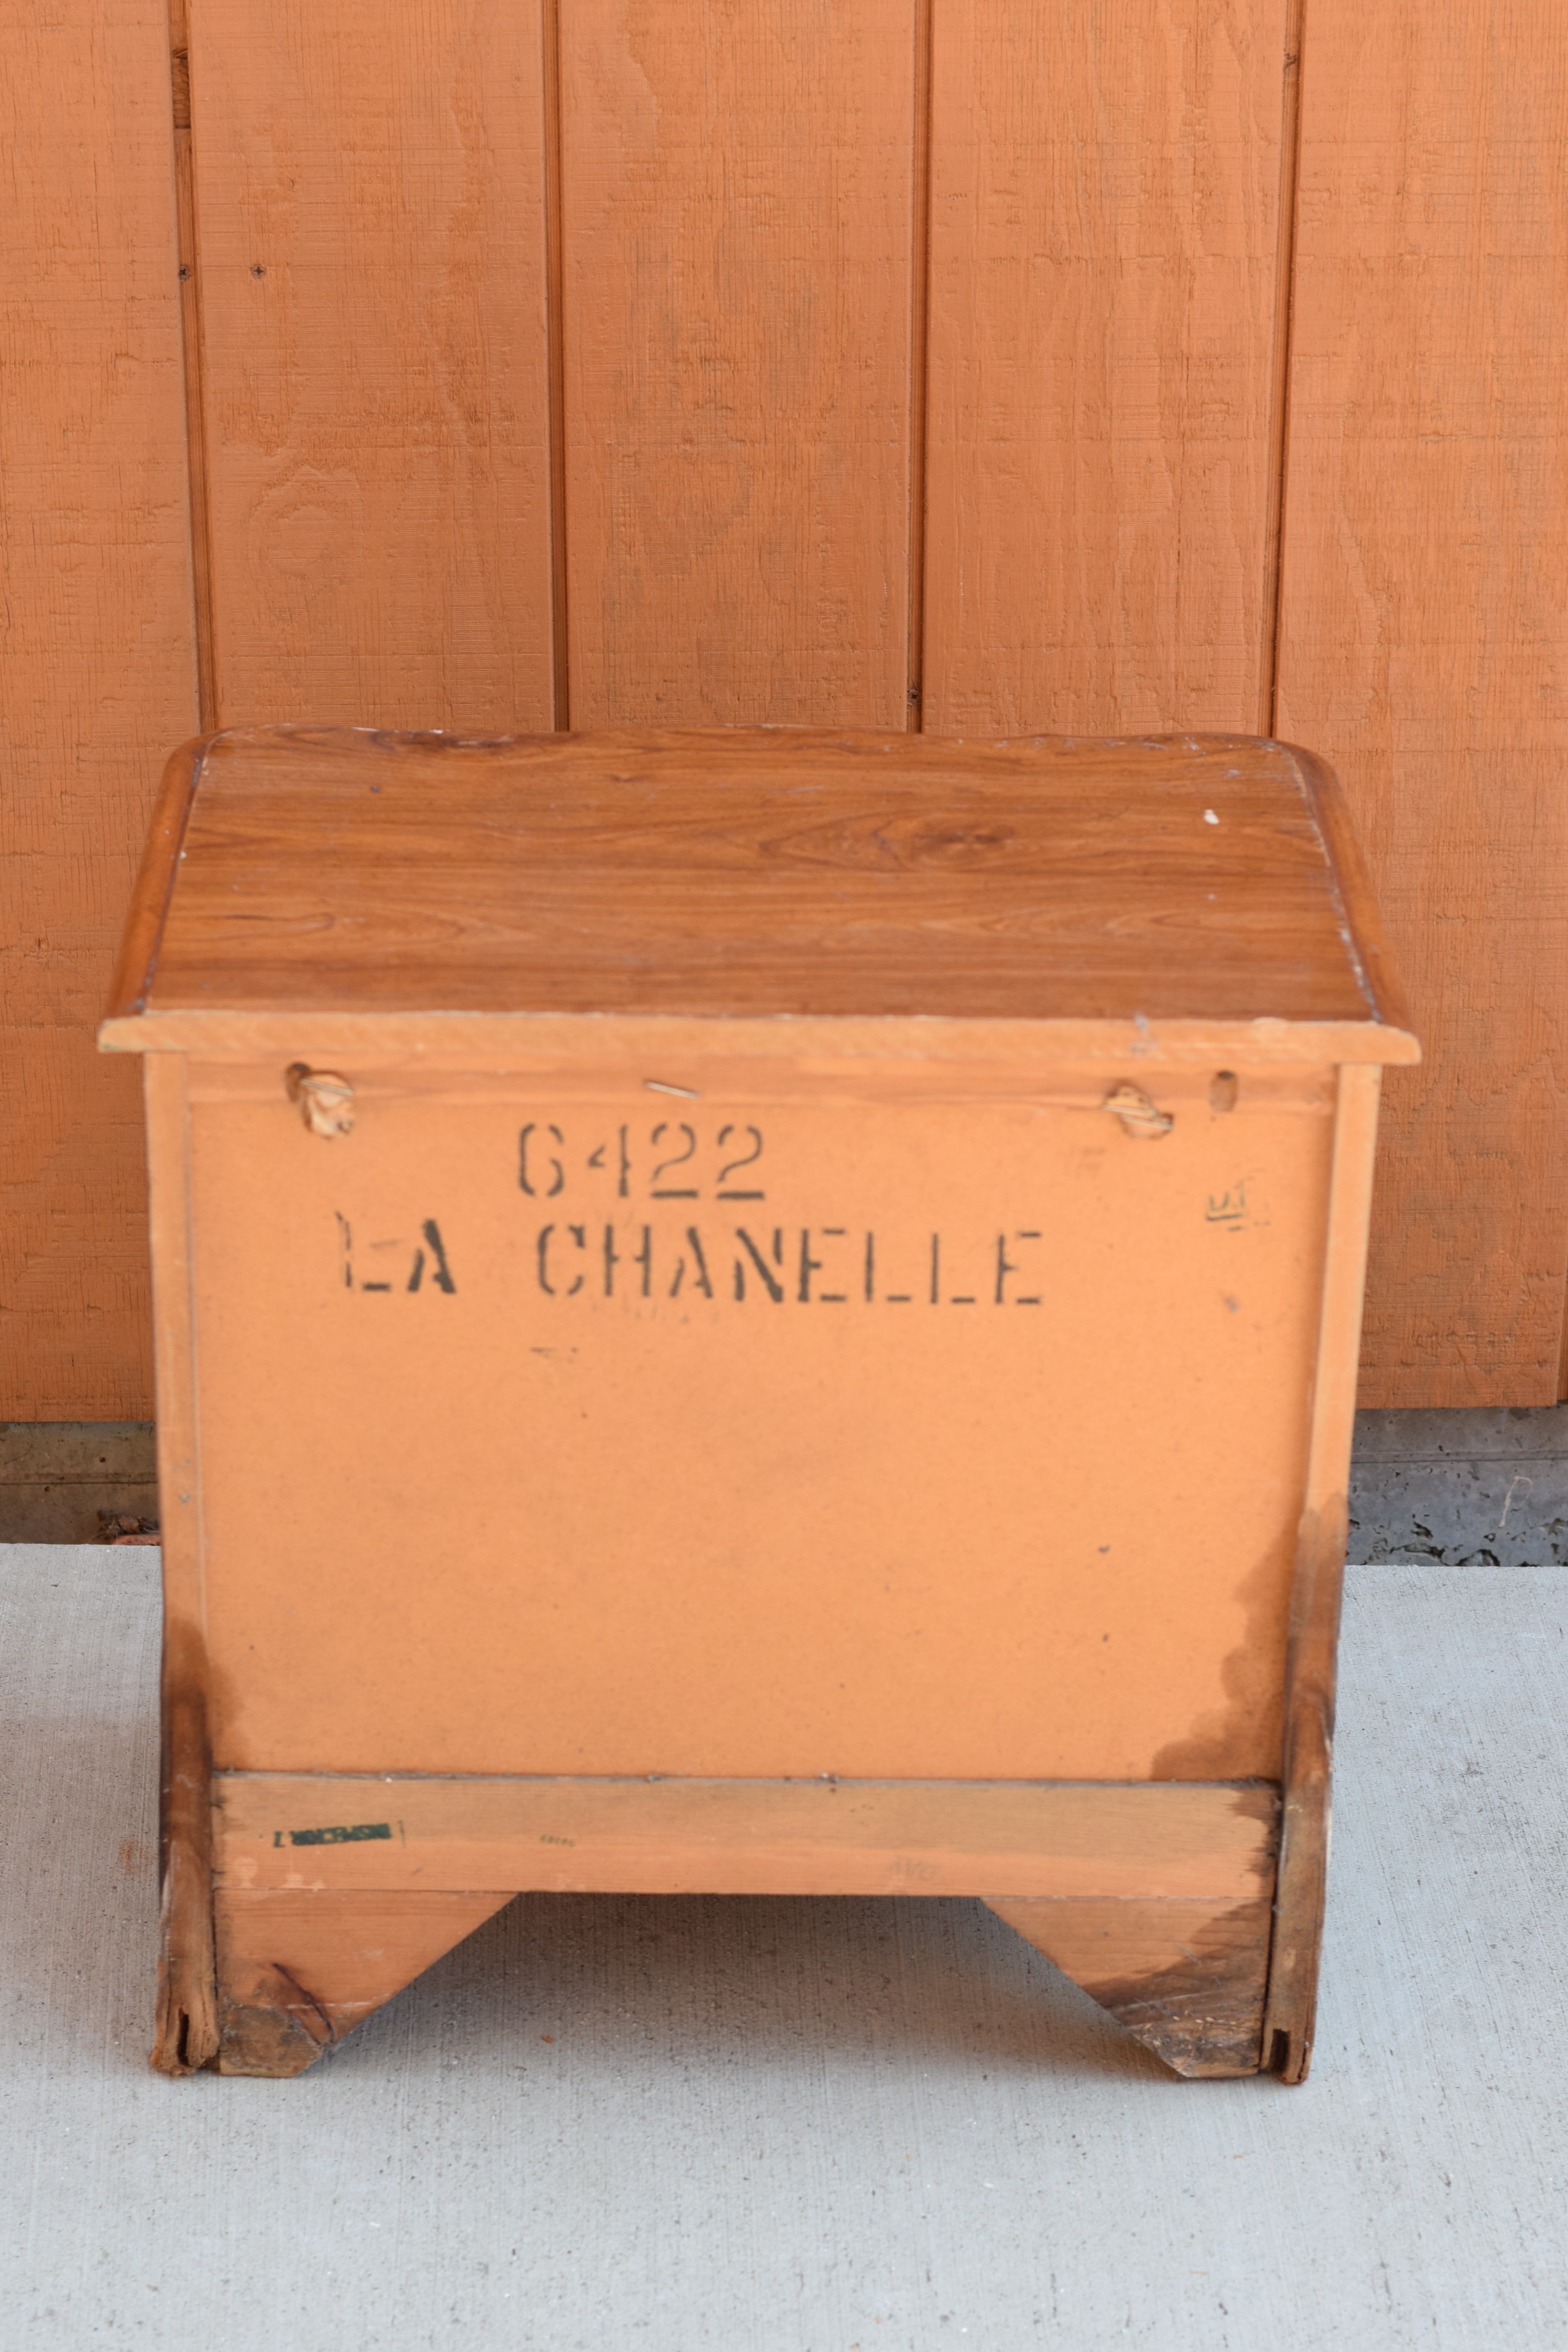
P.S. I tried to look up La Chenelle, but when it wasn’t immediately obvious, I gave up. I’m lazy like that. Let me know if you’ve heard of them?
When I zoom in, you can see that these back legs did NOT look good. I was worried…
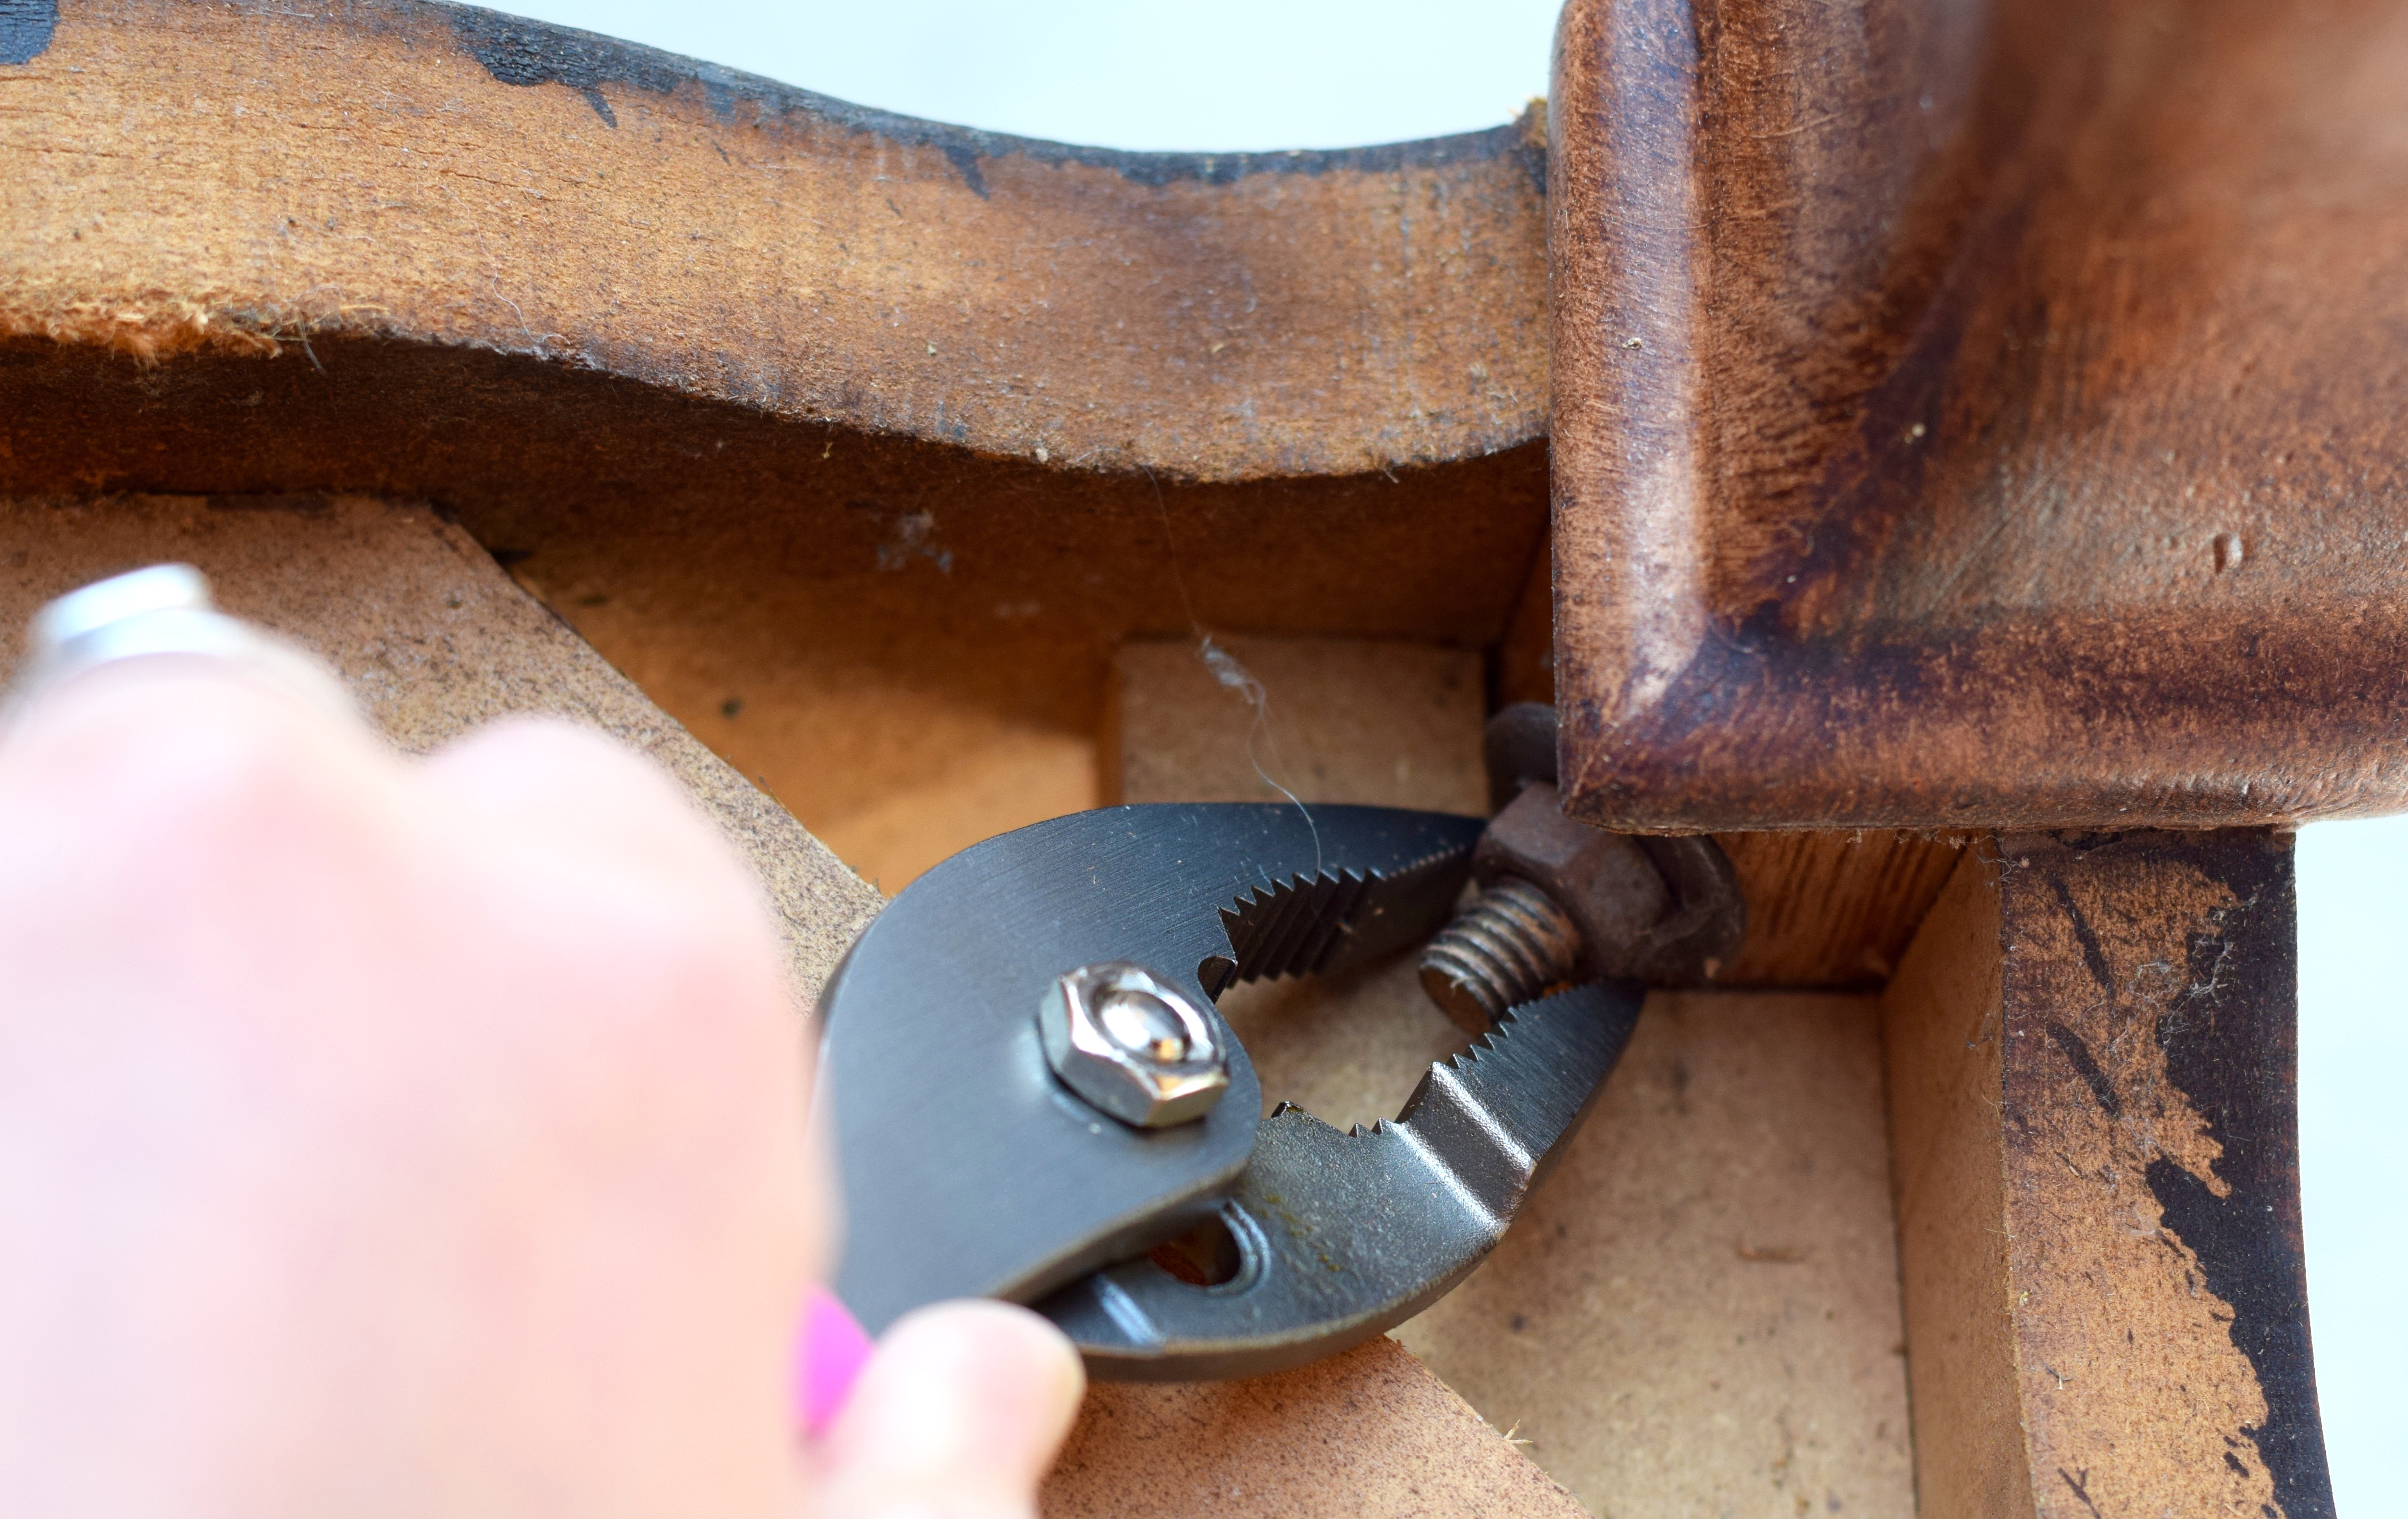
But back to the little guy’s DIY: first I wiped him completely down with an old wet projects sponge I keep around for this express purpose. Then I grabbed a pair of slip joint pliers and tightened the bolts that hold the pretty legs on. The front legs are by far my favorite piece of this dresser and I was happy they were so easily attached and not damaged like the back ones!
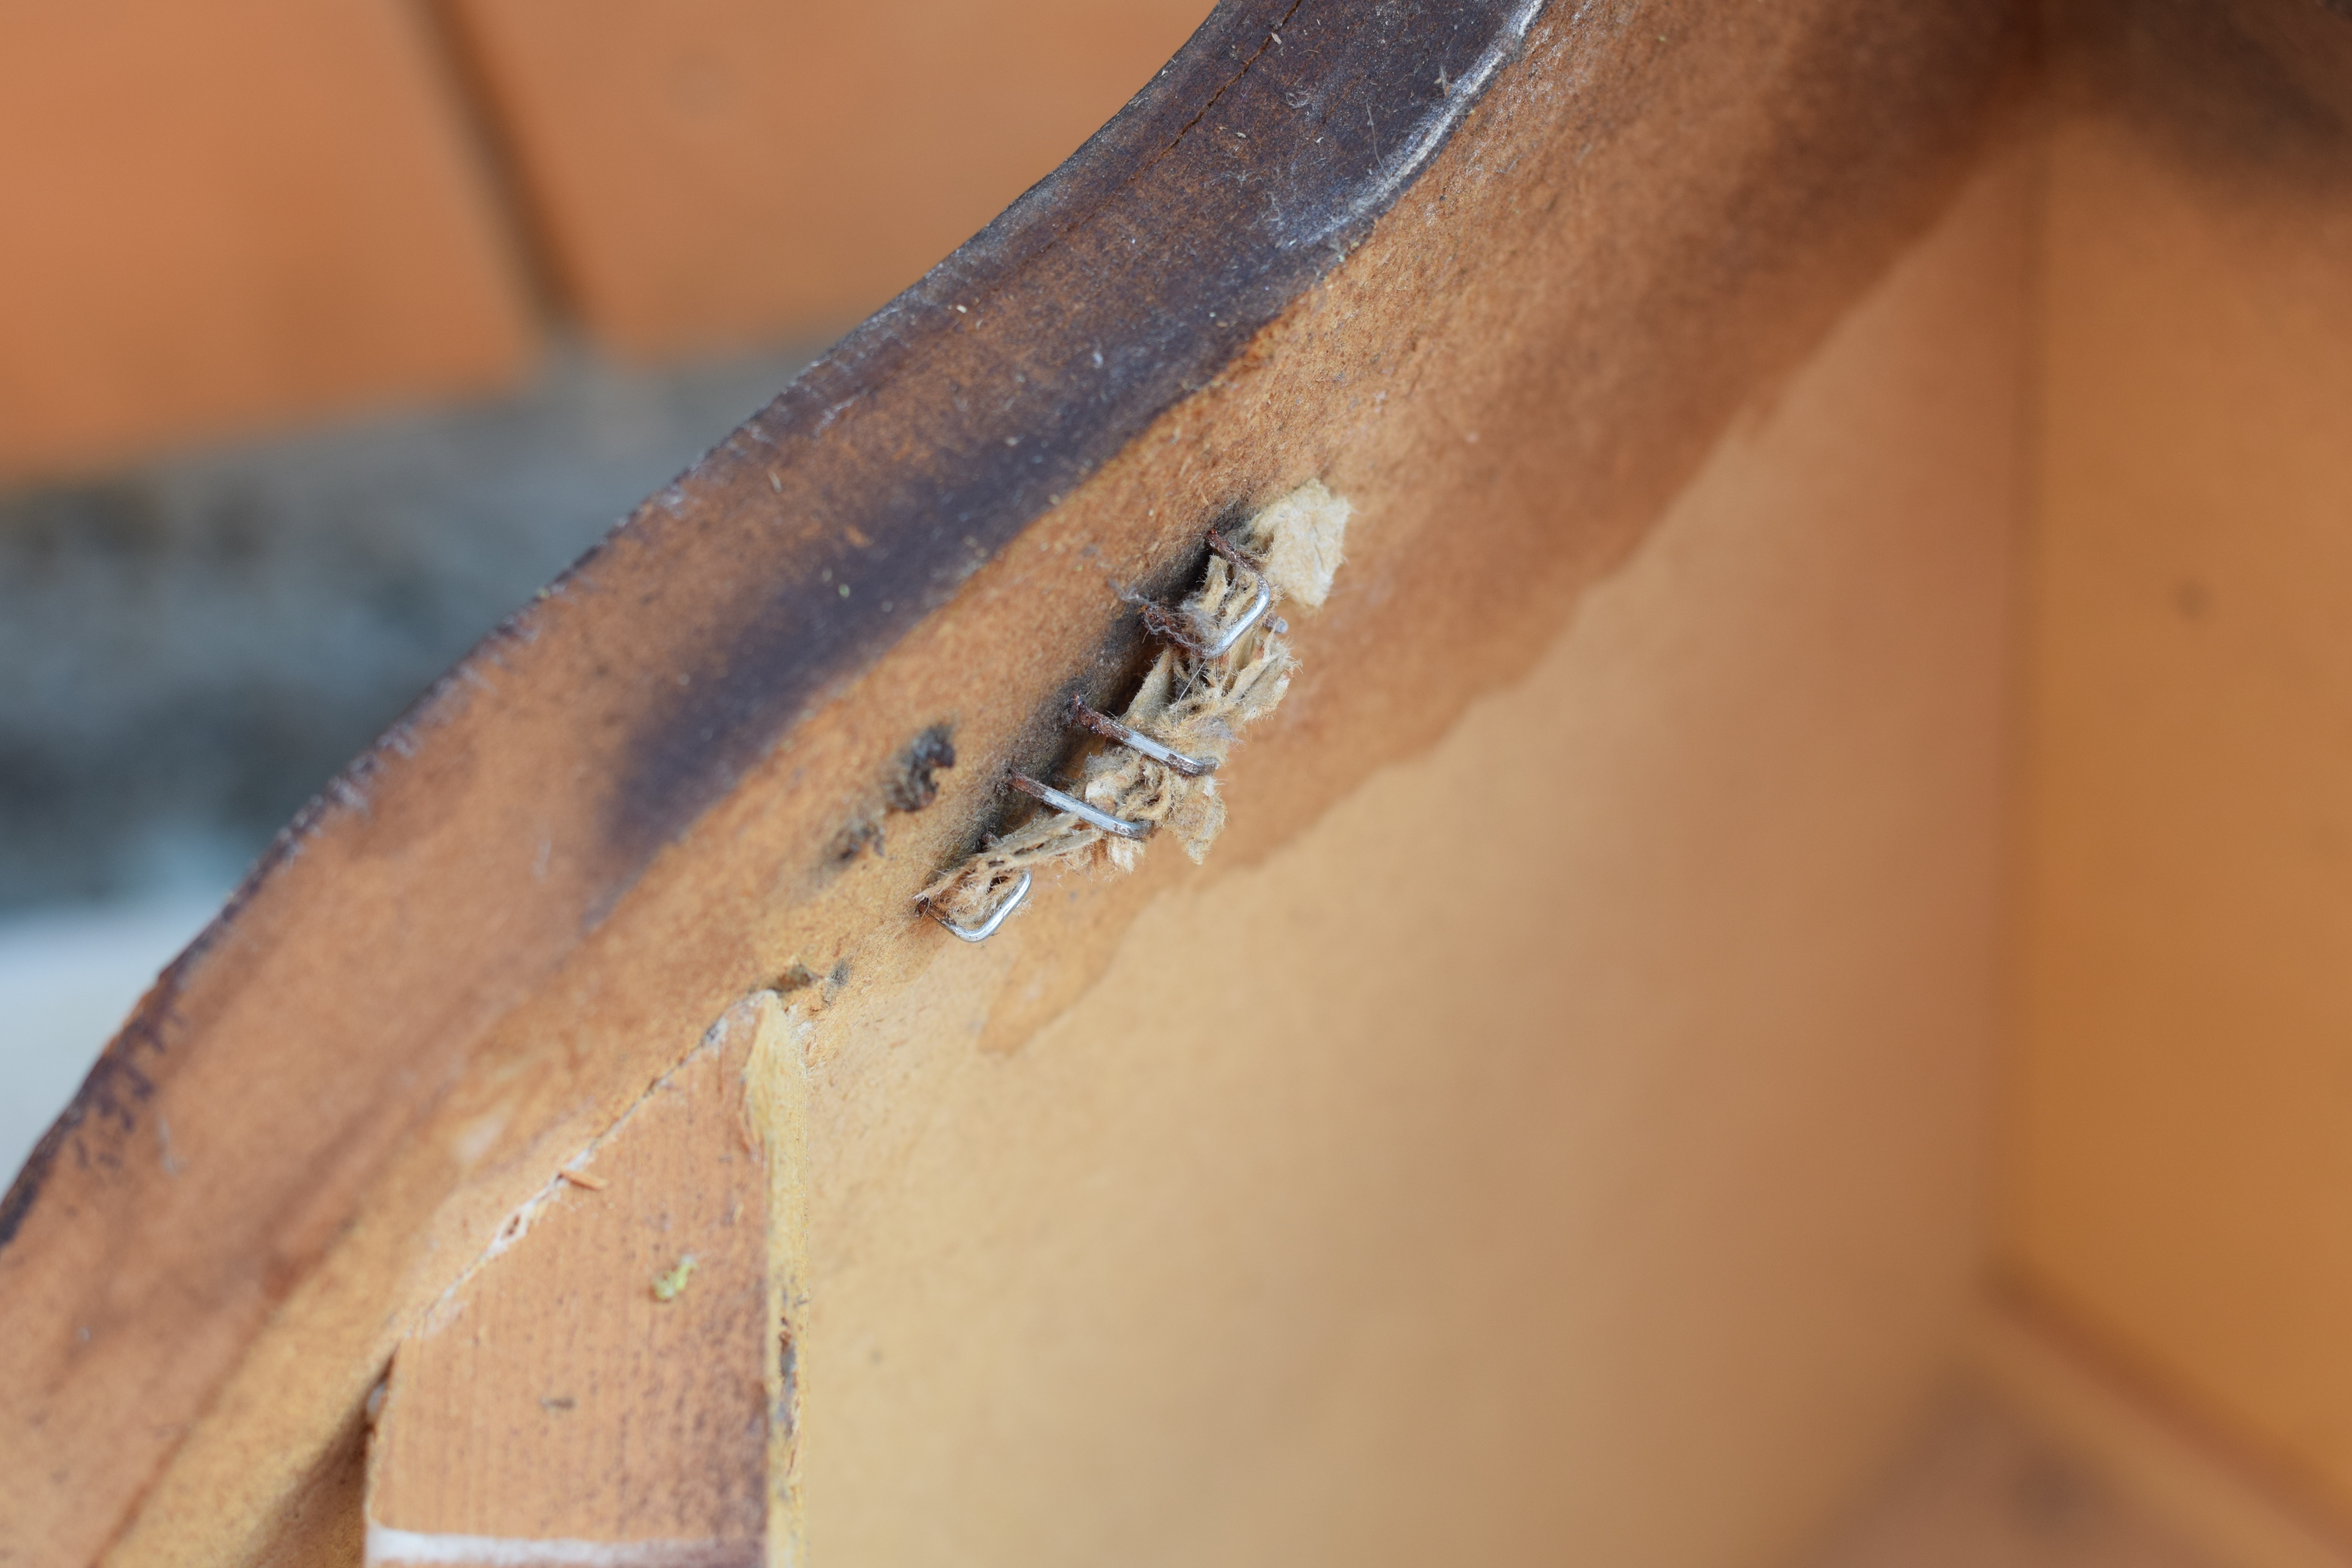
Oddly, once I turned him over the little guy had staples everywhere. I assume they once held something on, but at this point they were worthless and annoying.
I removed the staples in a quick minute with a pair of needle-nose pliers.
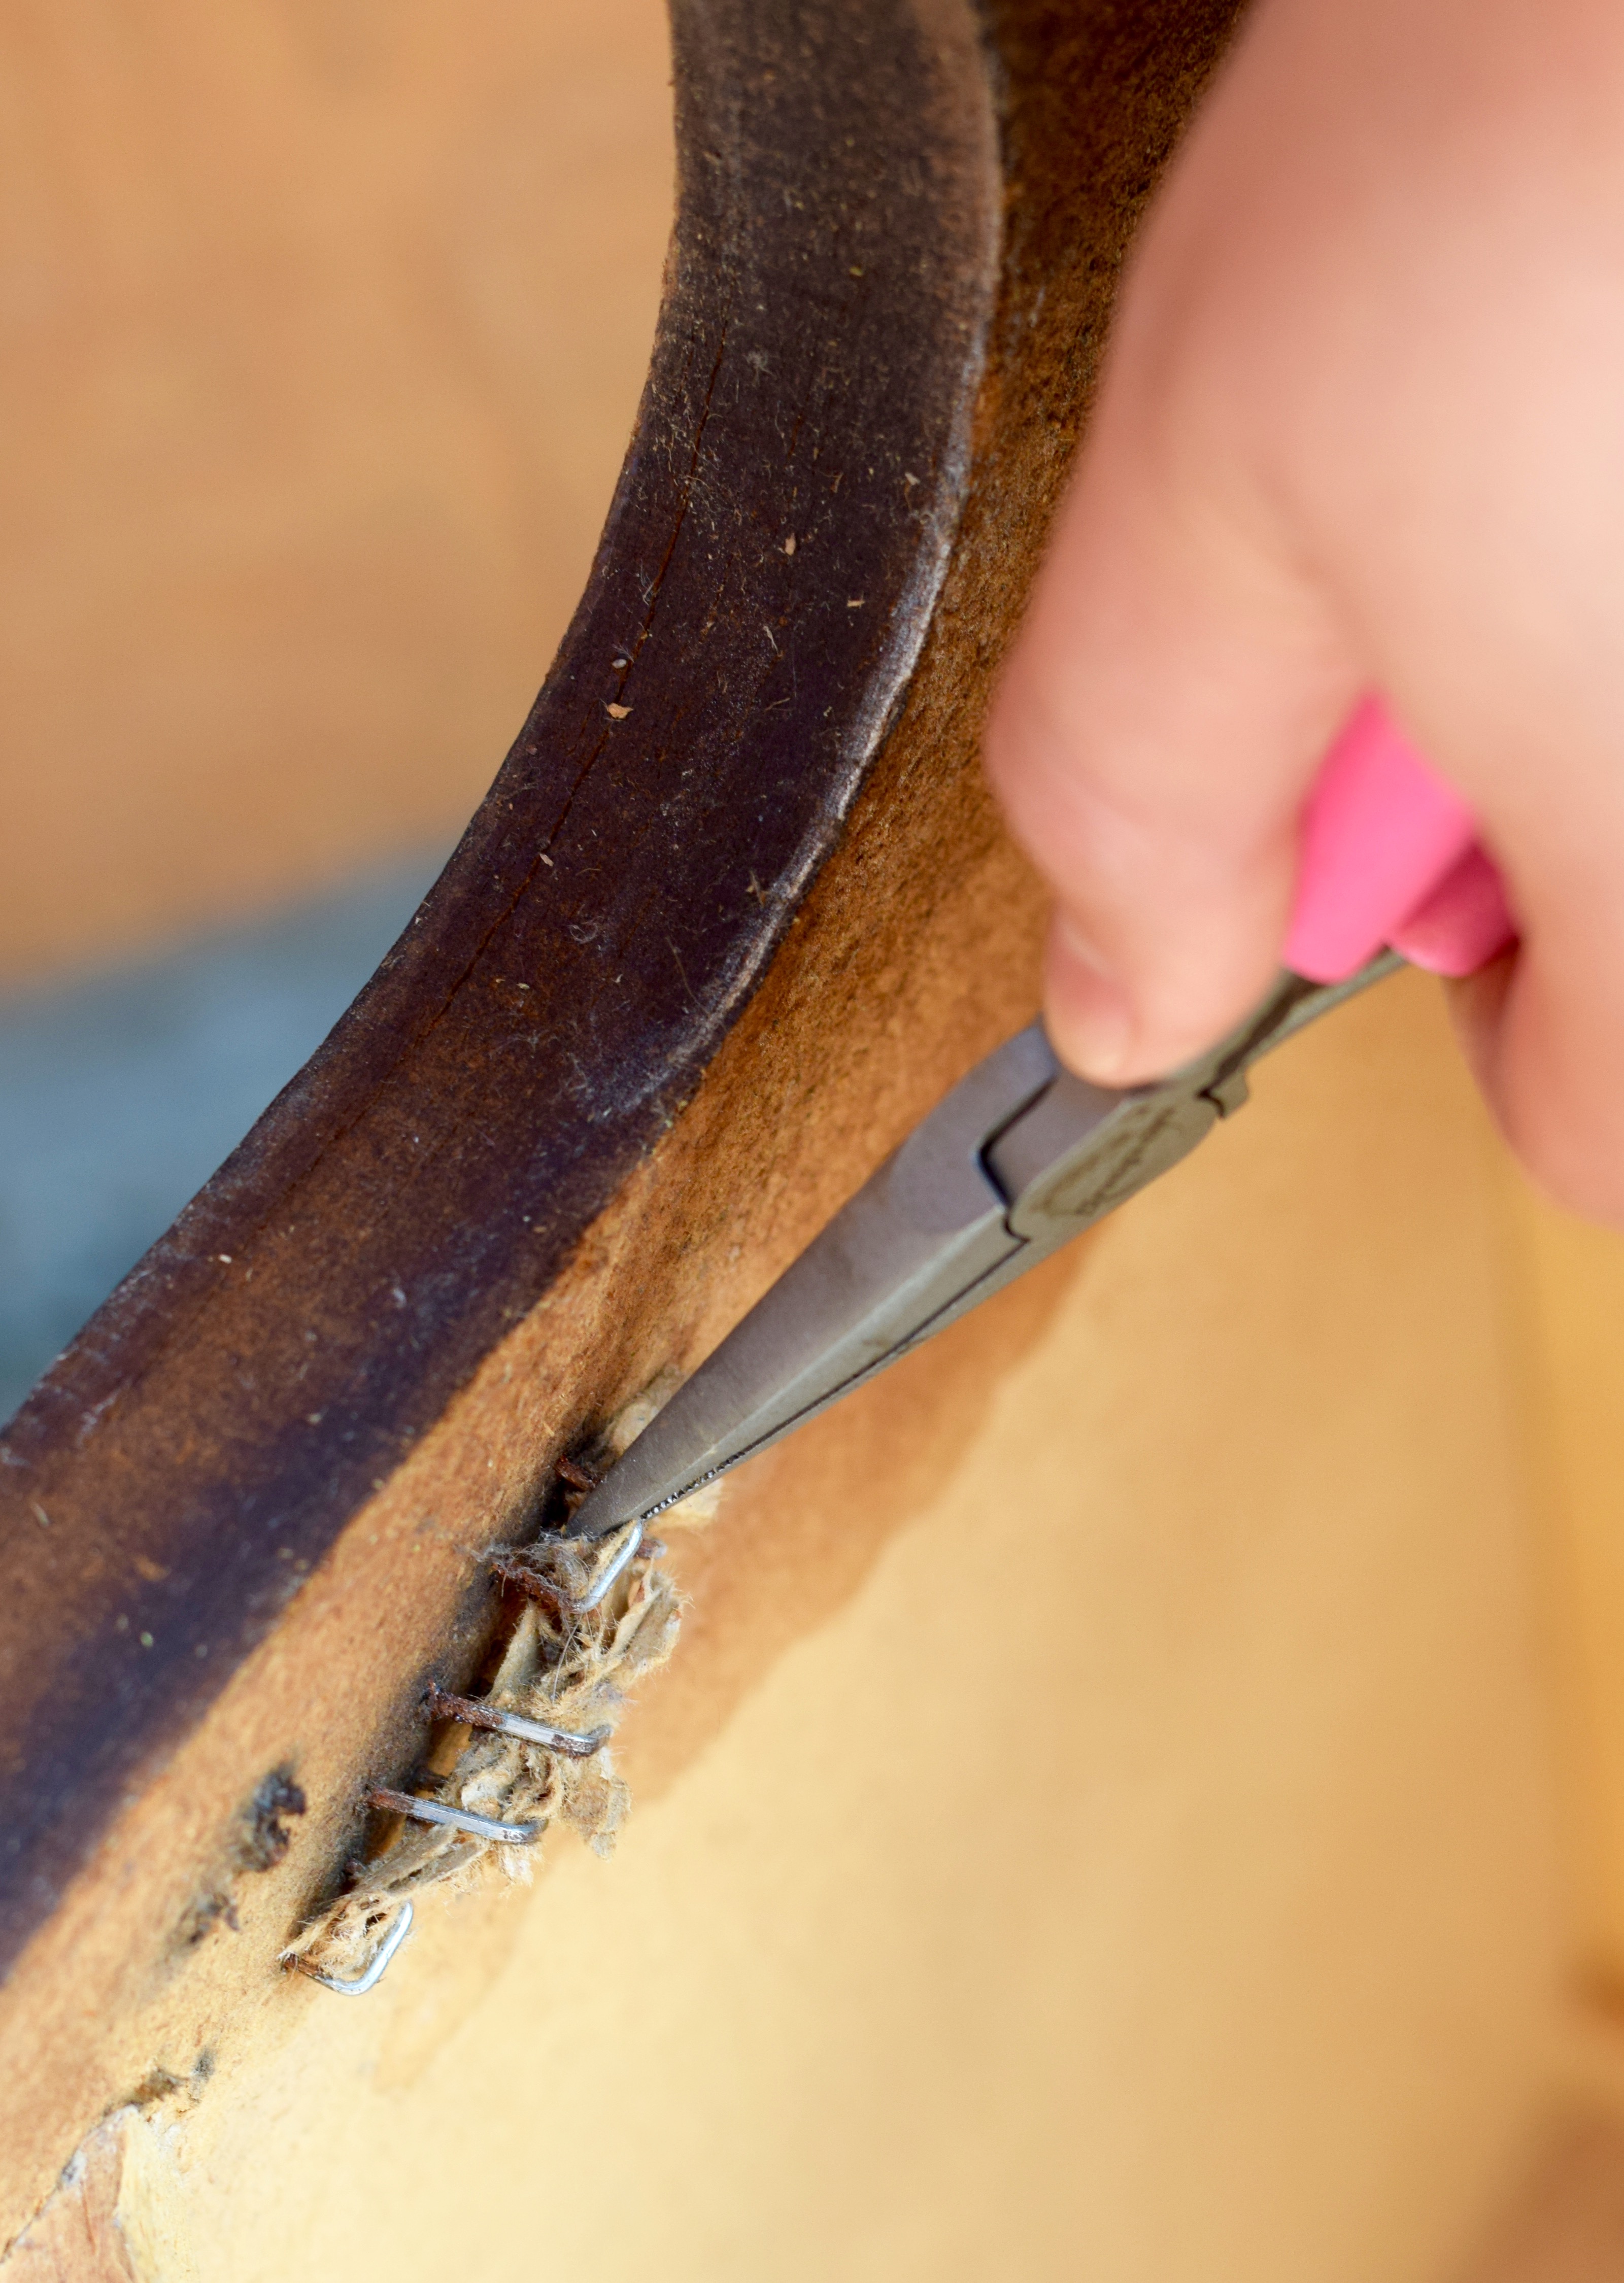
And yes, my pliers are pink. My father bought them for me. Apparently he thought I’d prefer that… Crazy old people! Just kidding. 😛
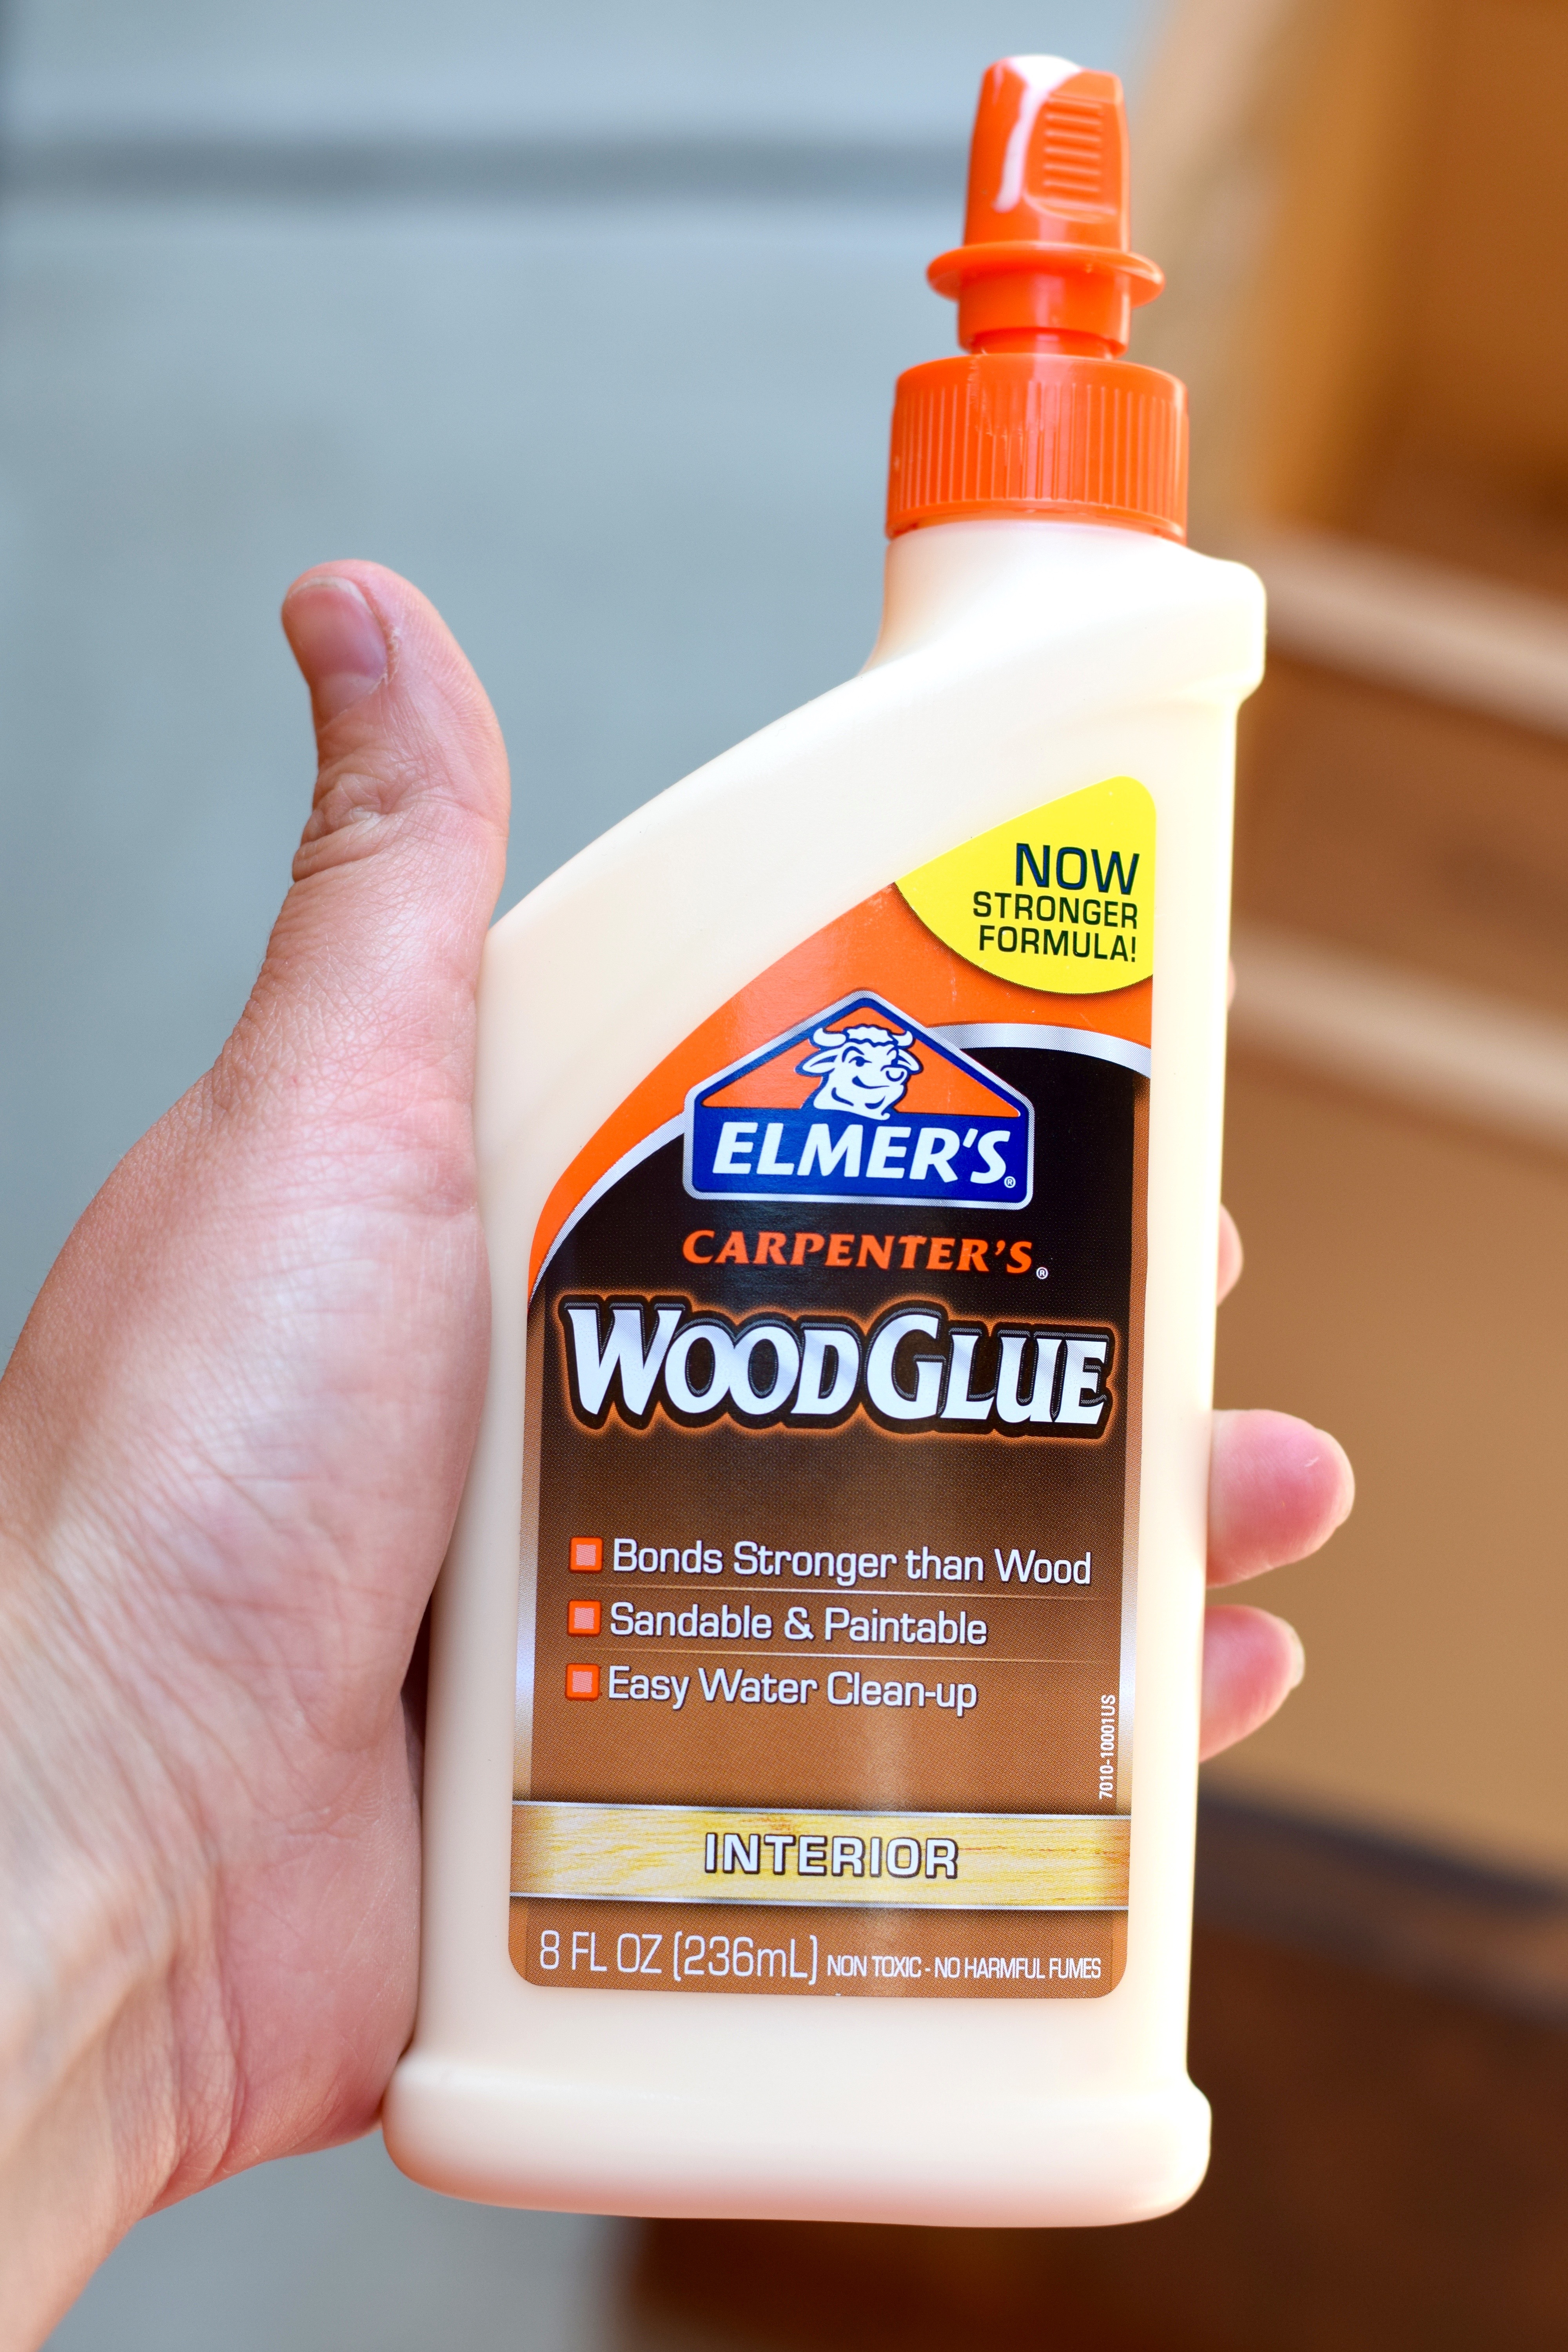
After that, I gave the little guy a decent sanding where needed. The sides were a bit bumpy towards the bottom from the moisture. A little sanding cleaned them up though. Once he was sanded, I got out my wood glue. Elmer’s = life long adhesive ❤
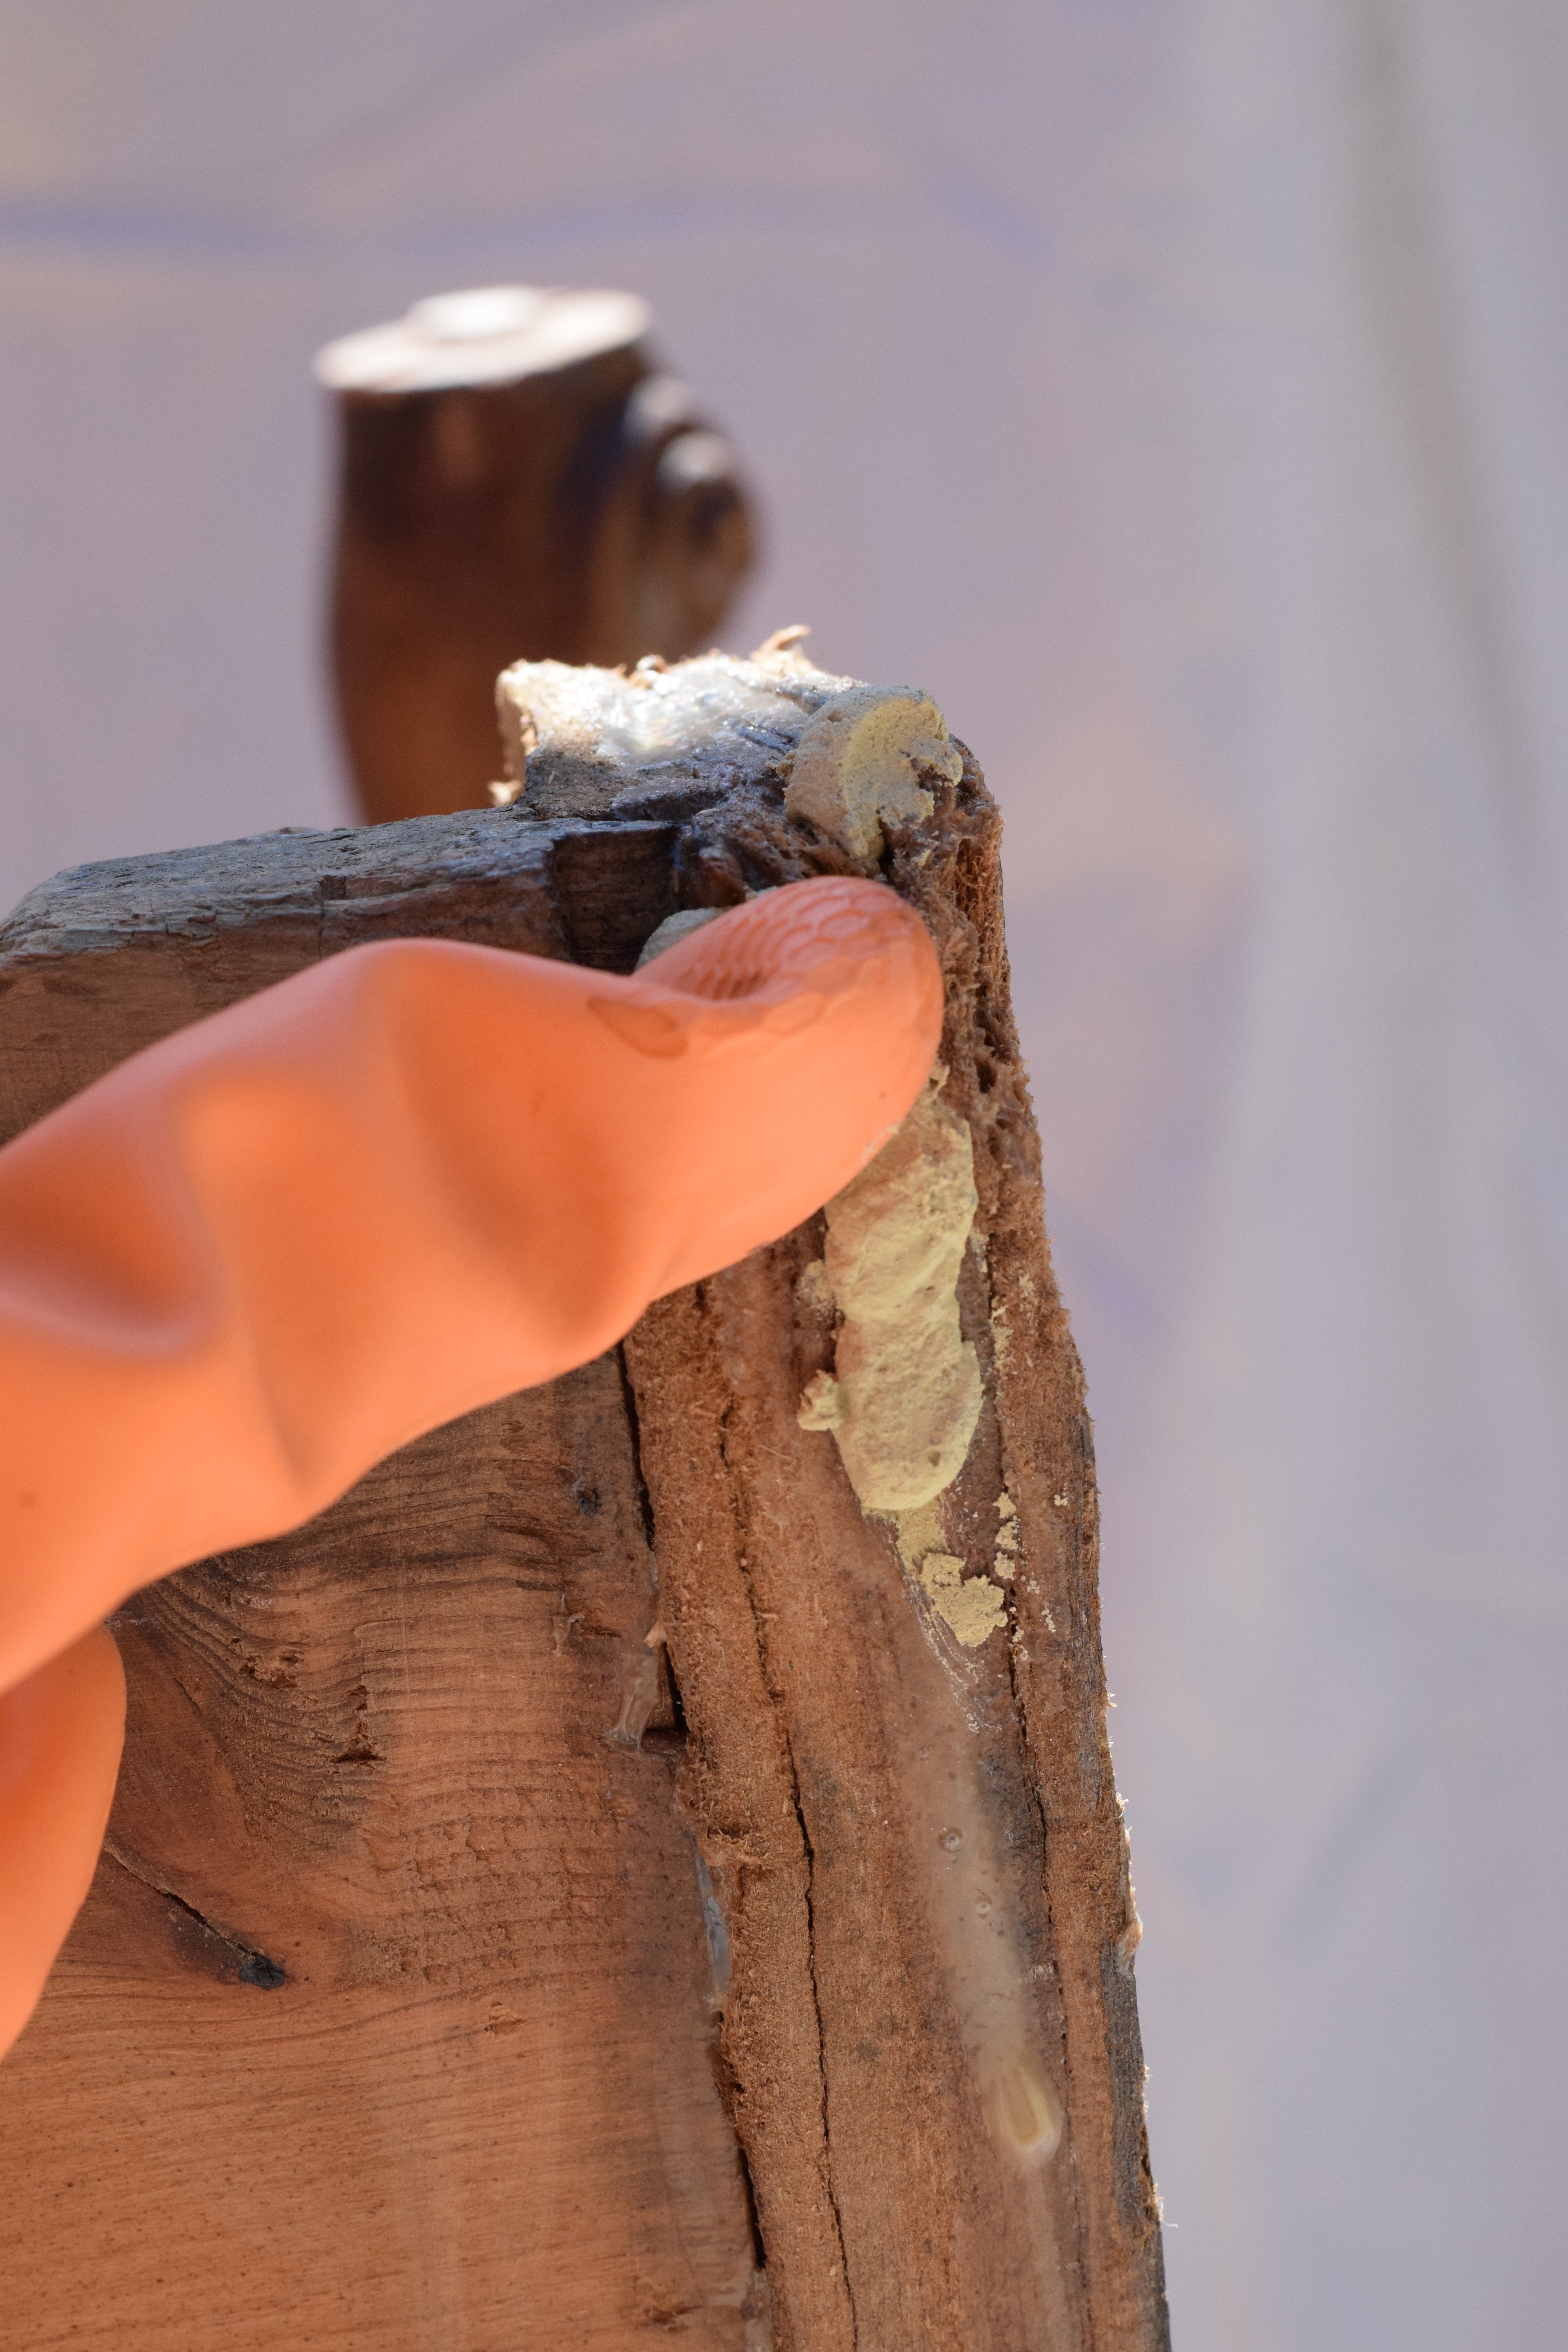
Because I am not known for my poise and restraint, I just squeezed a ton of wood glue on the crappy looking parts.
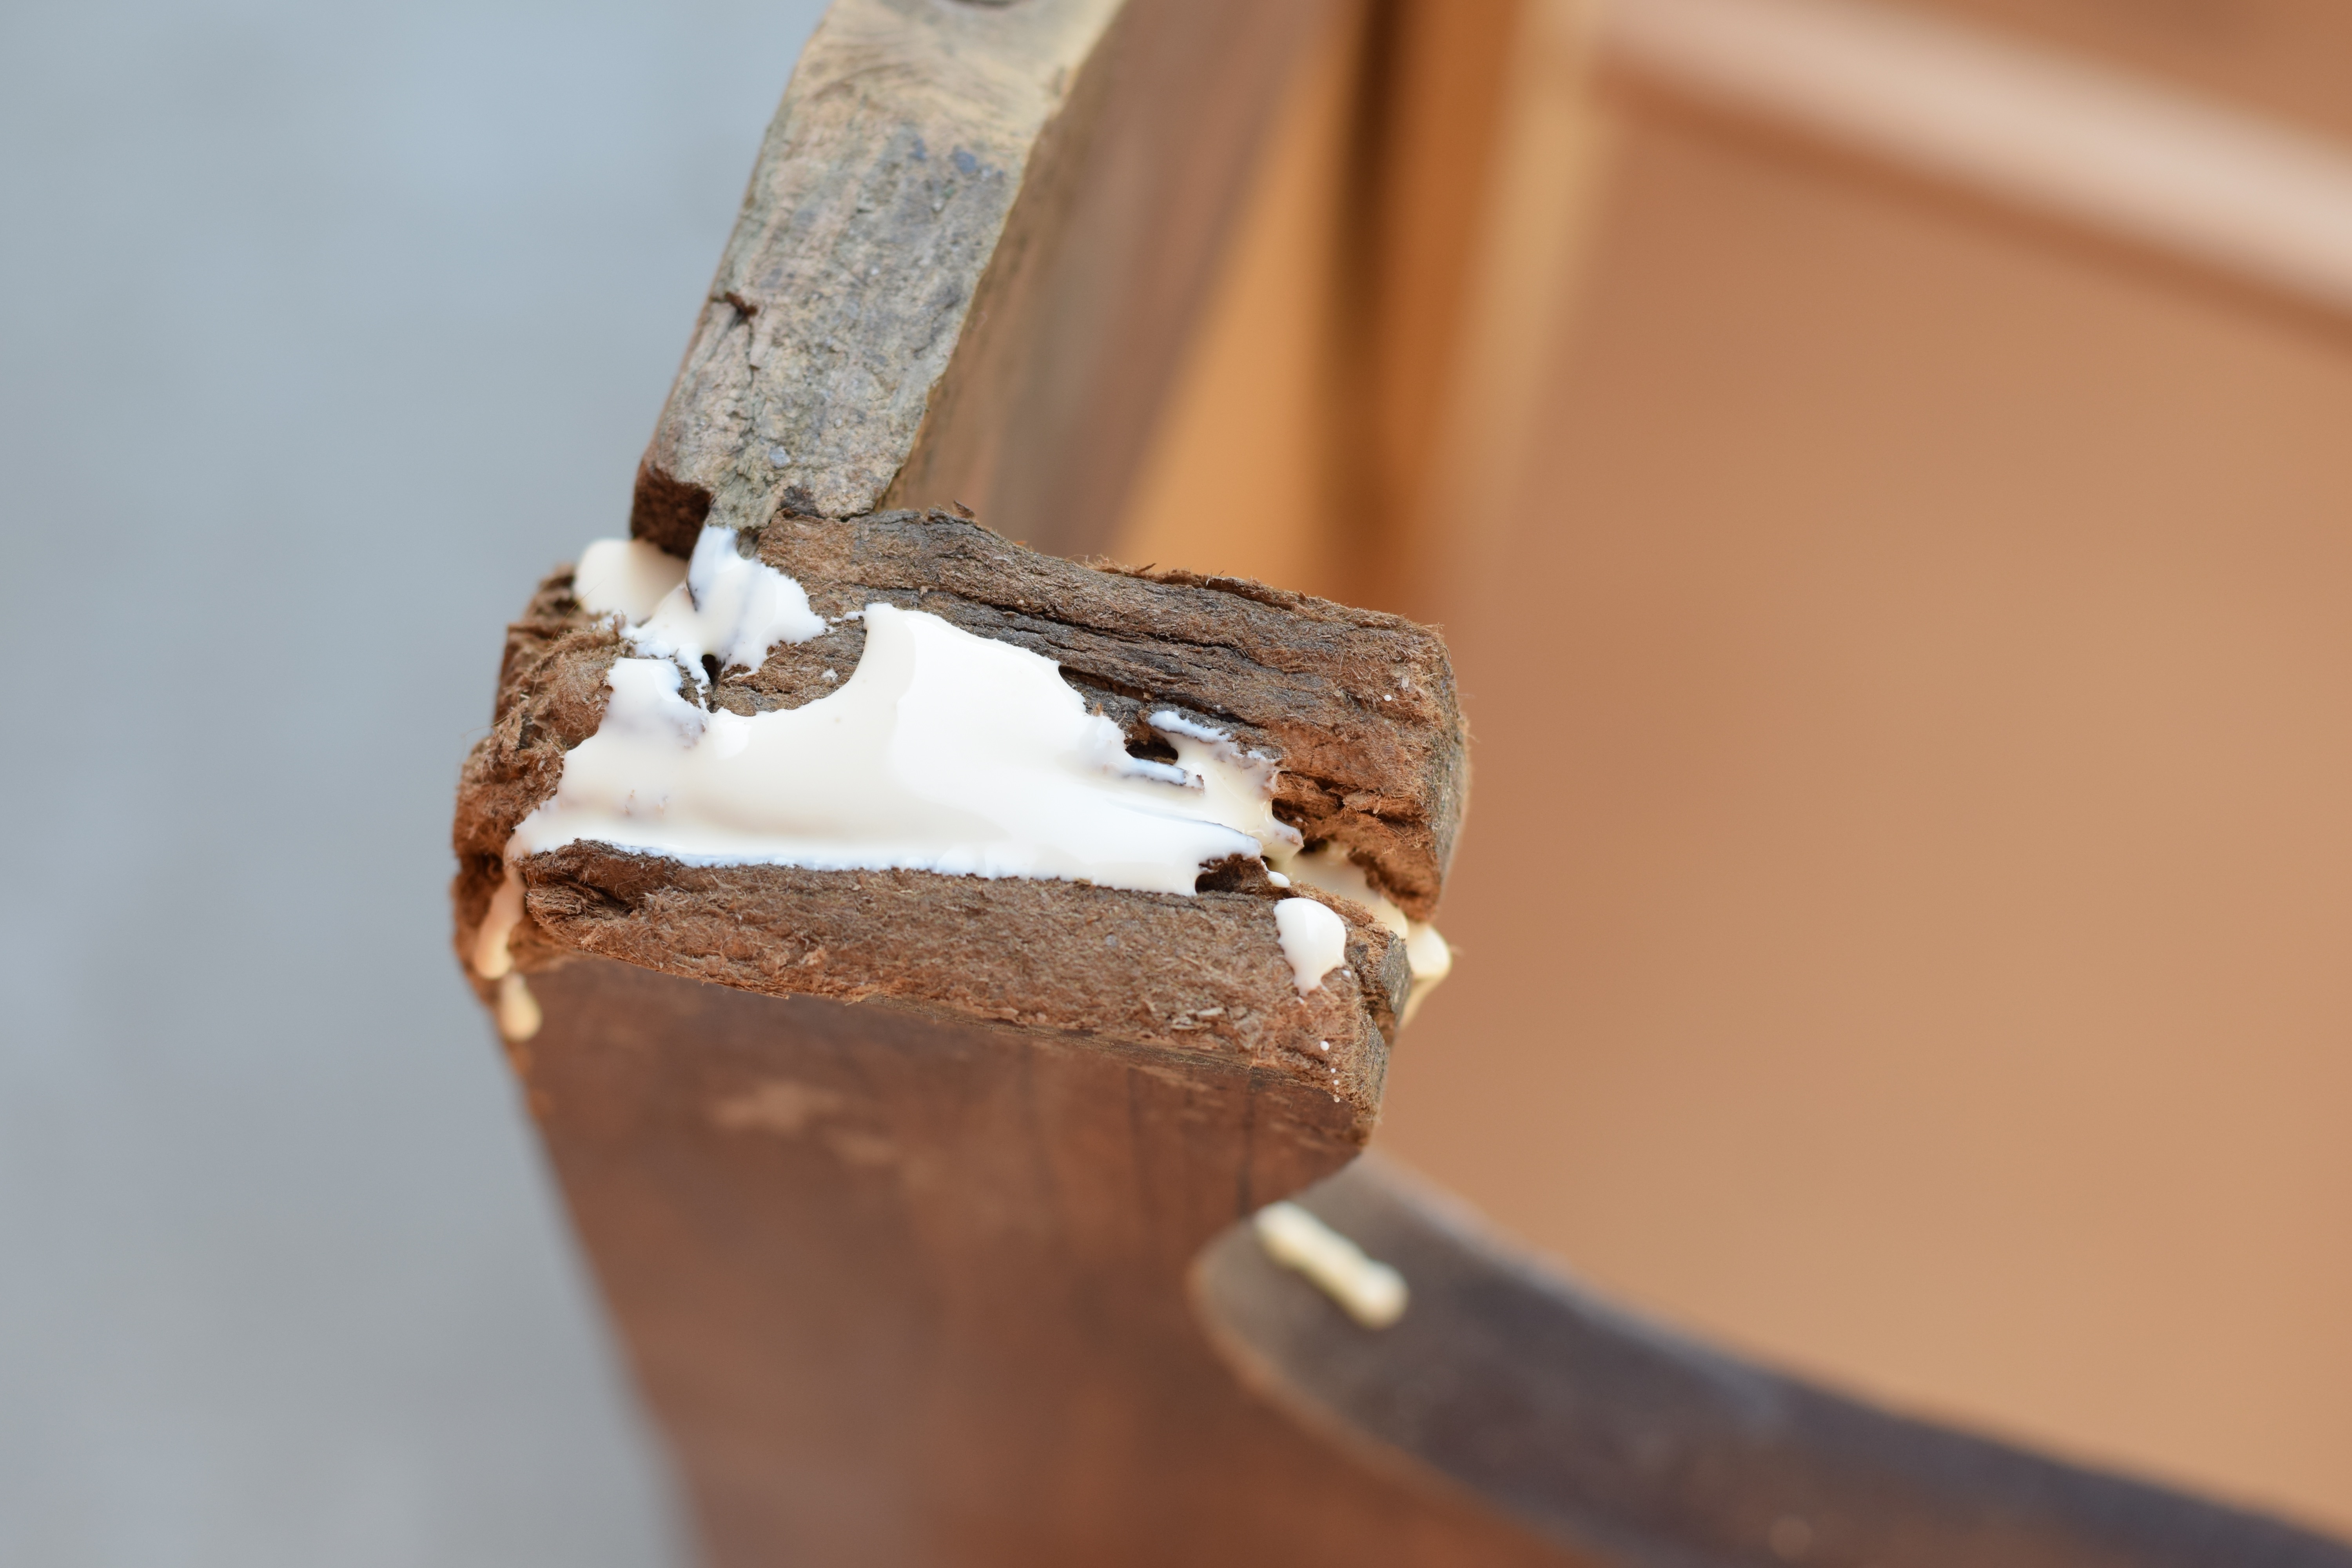
I’d picked up these small clamps the last time I was at Home Depot, so I decided to put them to use. Where the plywood had expanded and split from the moisture damage, I glued and clamped.
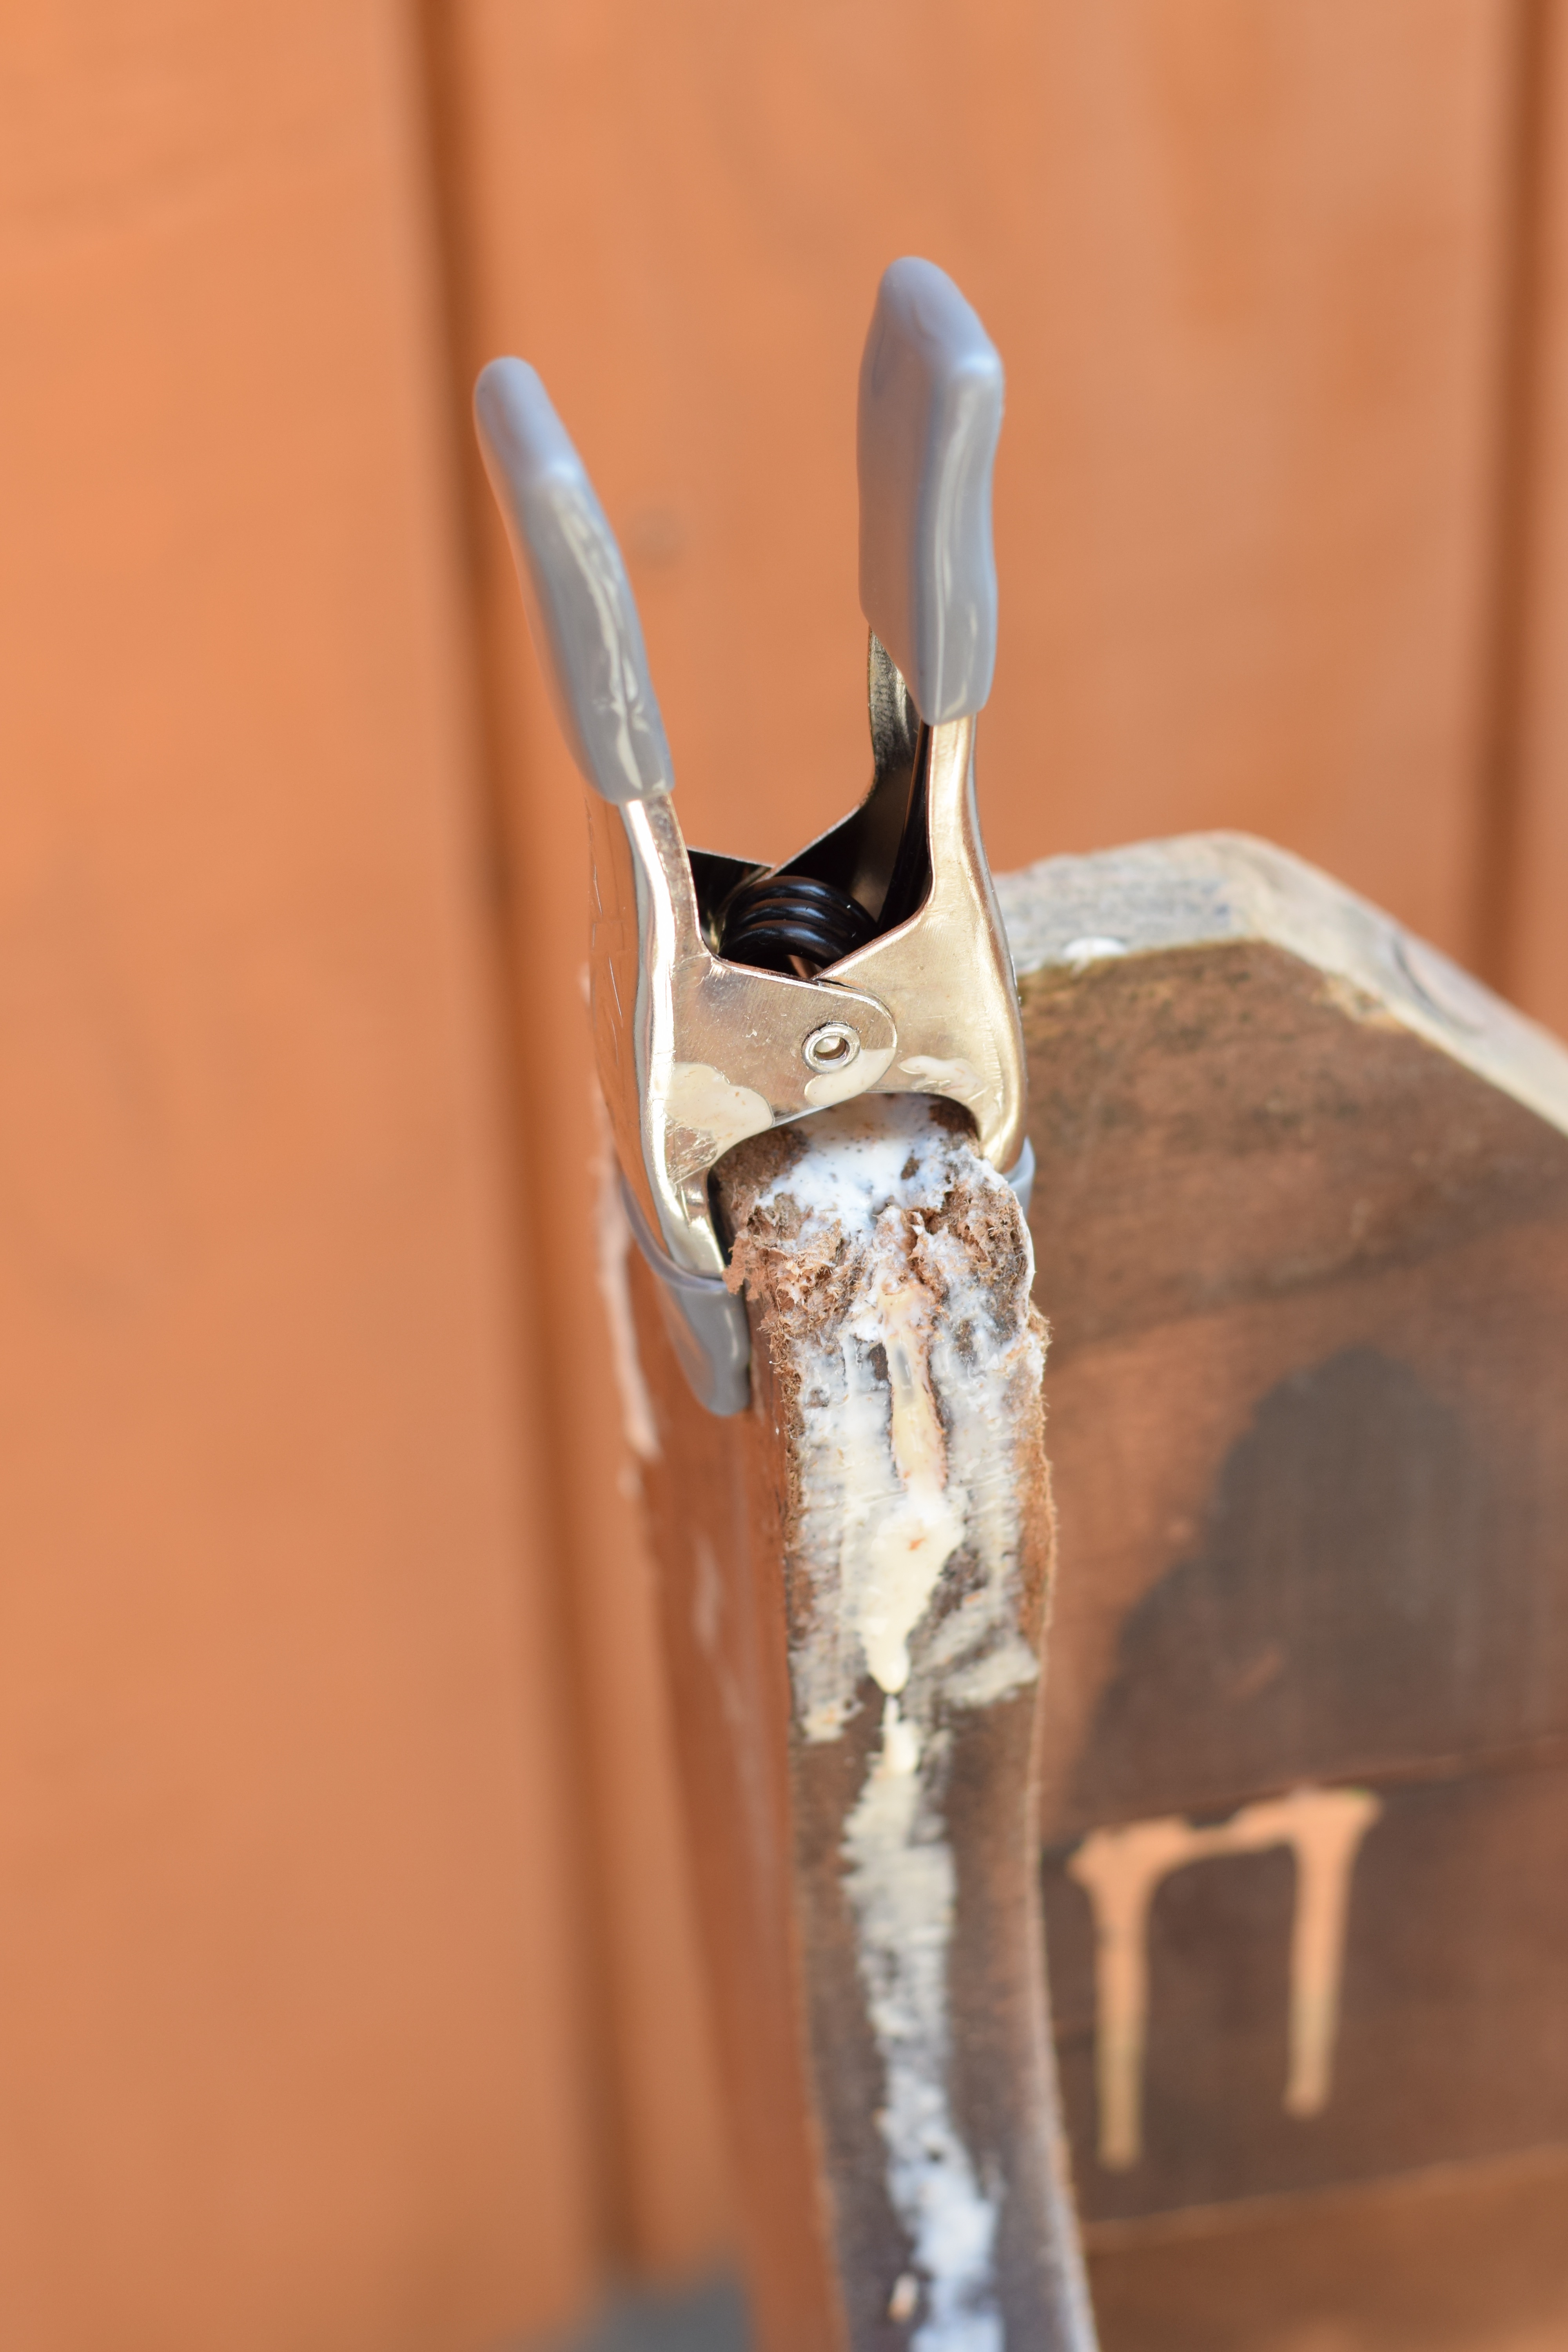
This held the plywood together in a position more similar to what it’d originally been. Since plywood is really just strips / pieces of wood glued together, I figured this really wasn’t any different. Plus, what did I have to lose? I left nightstand upside down and clamped like this overnight.
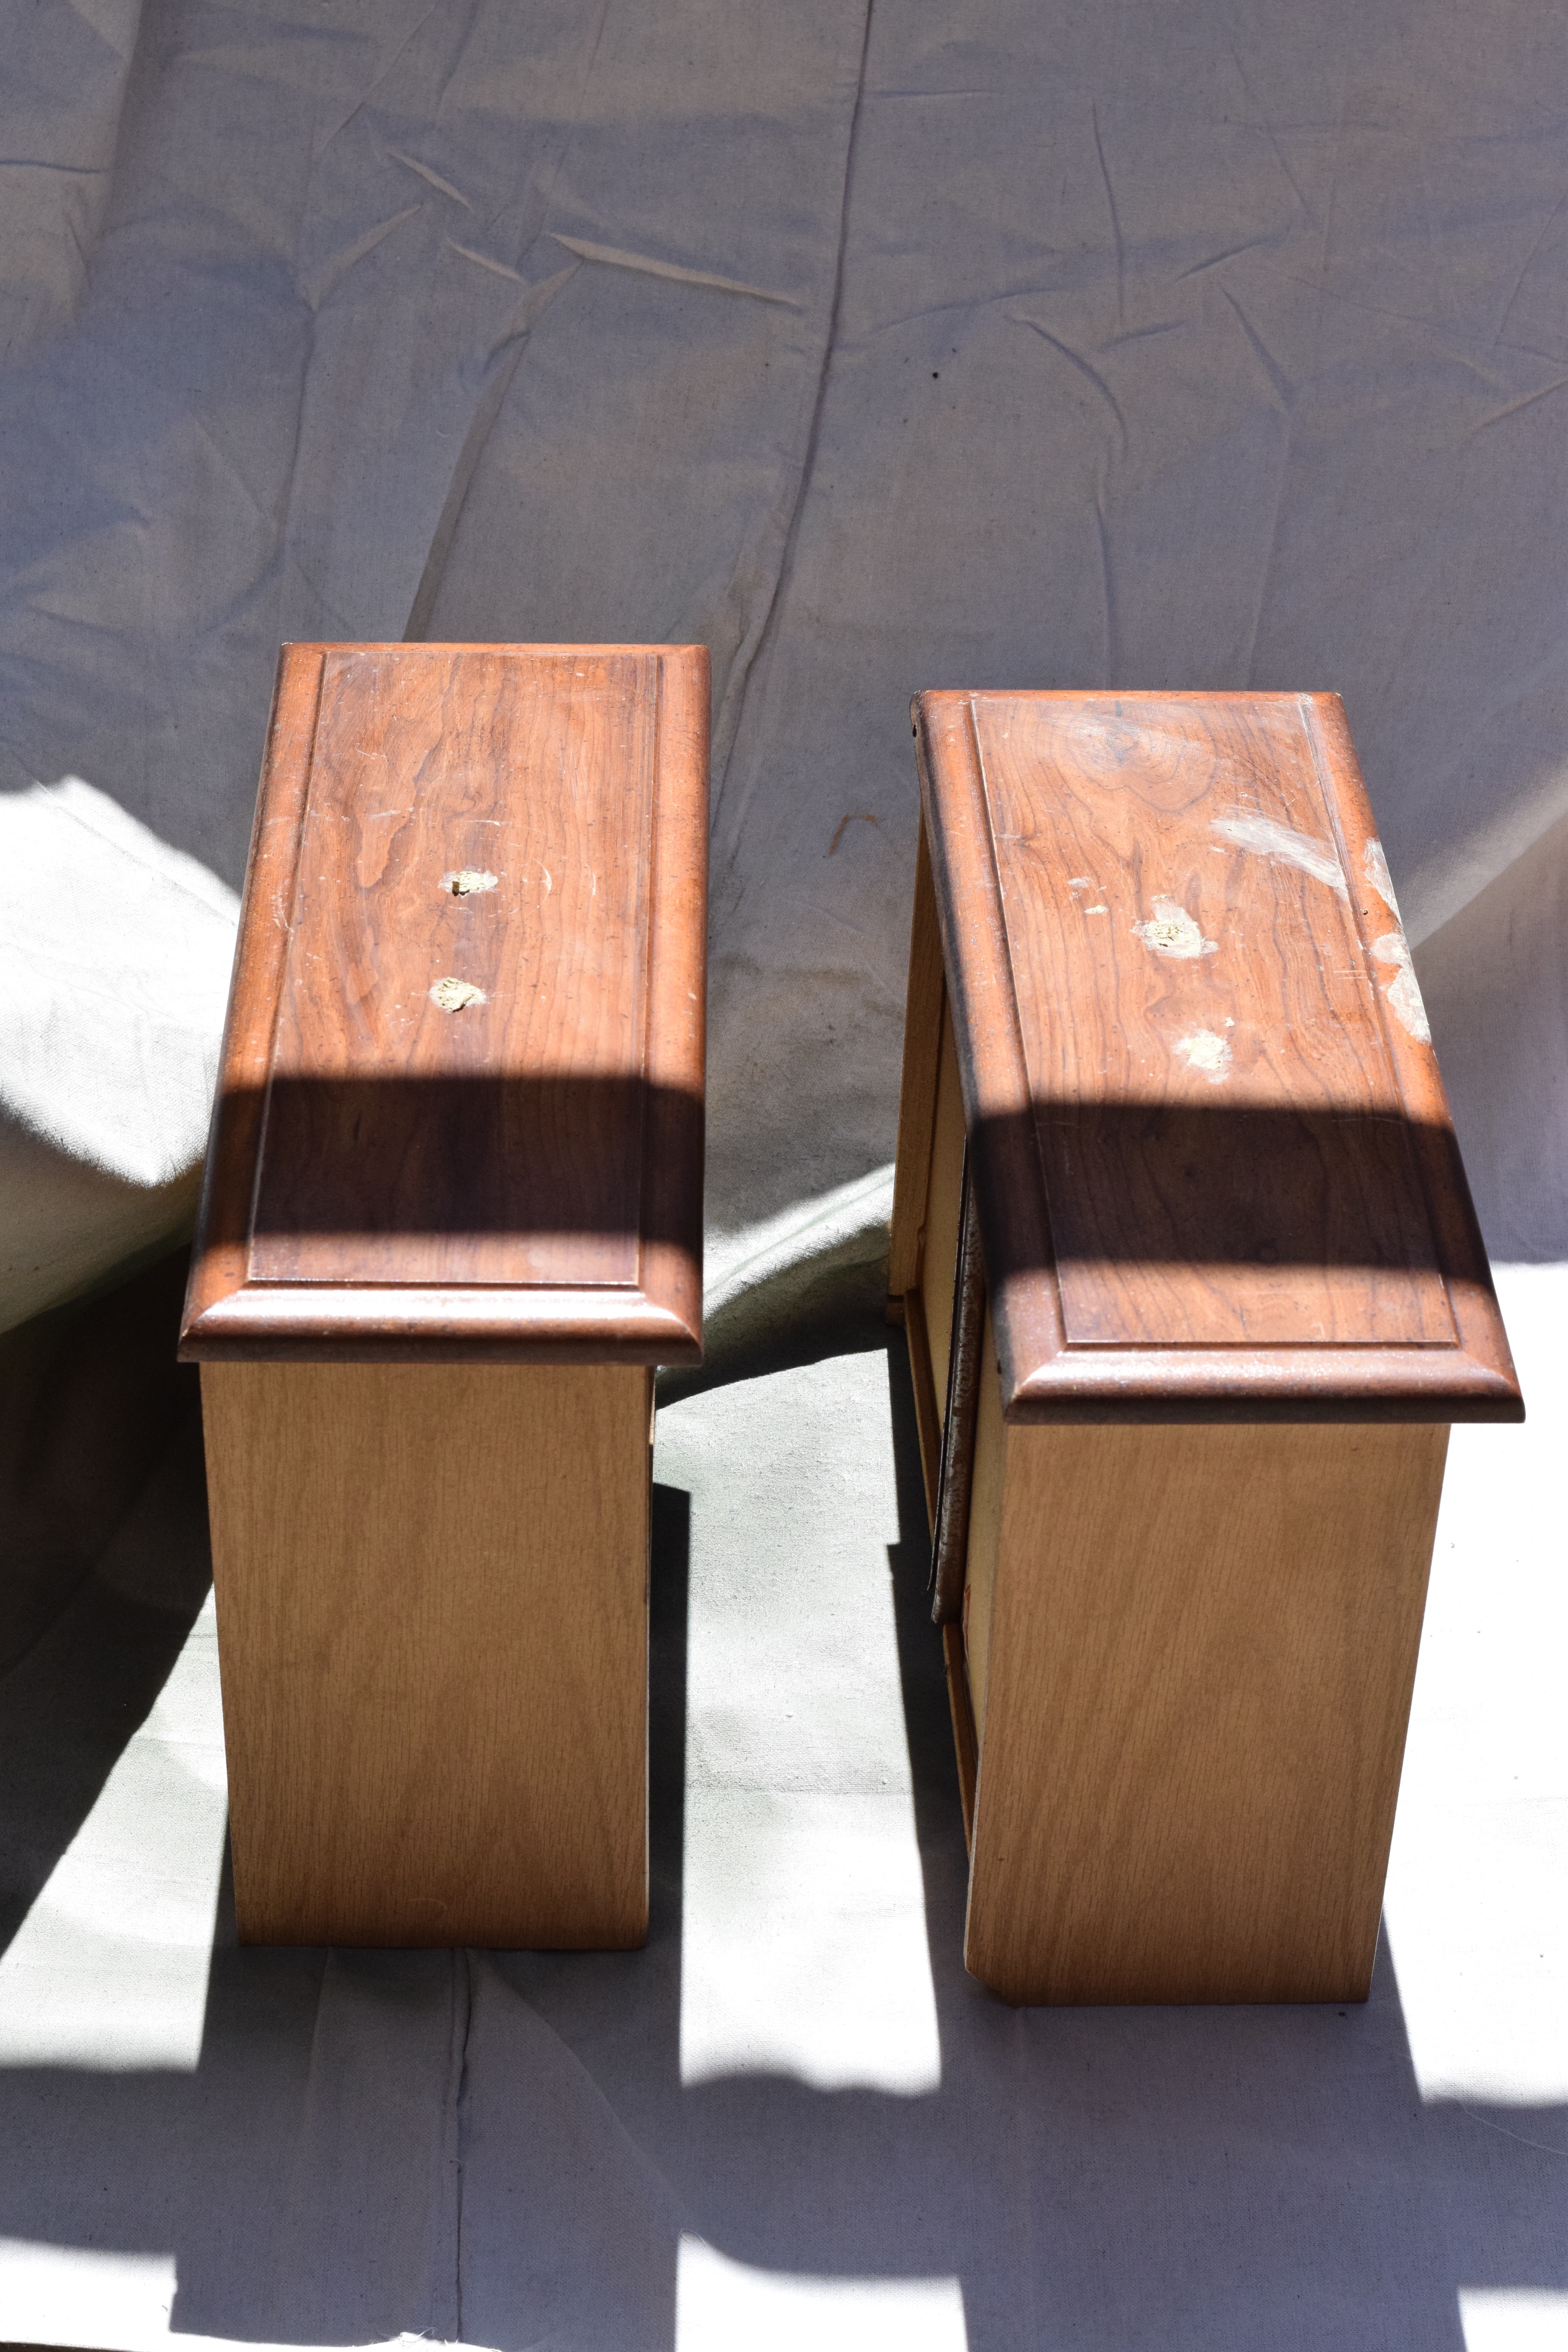
In the meantime, I turned my limited attention span to the drawers. That hardware was coming off! Hannah wanted to replace the pulls with some fun knobs from Anthropologie or World Market.
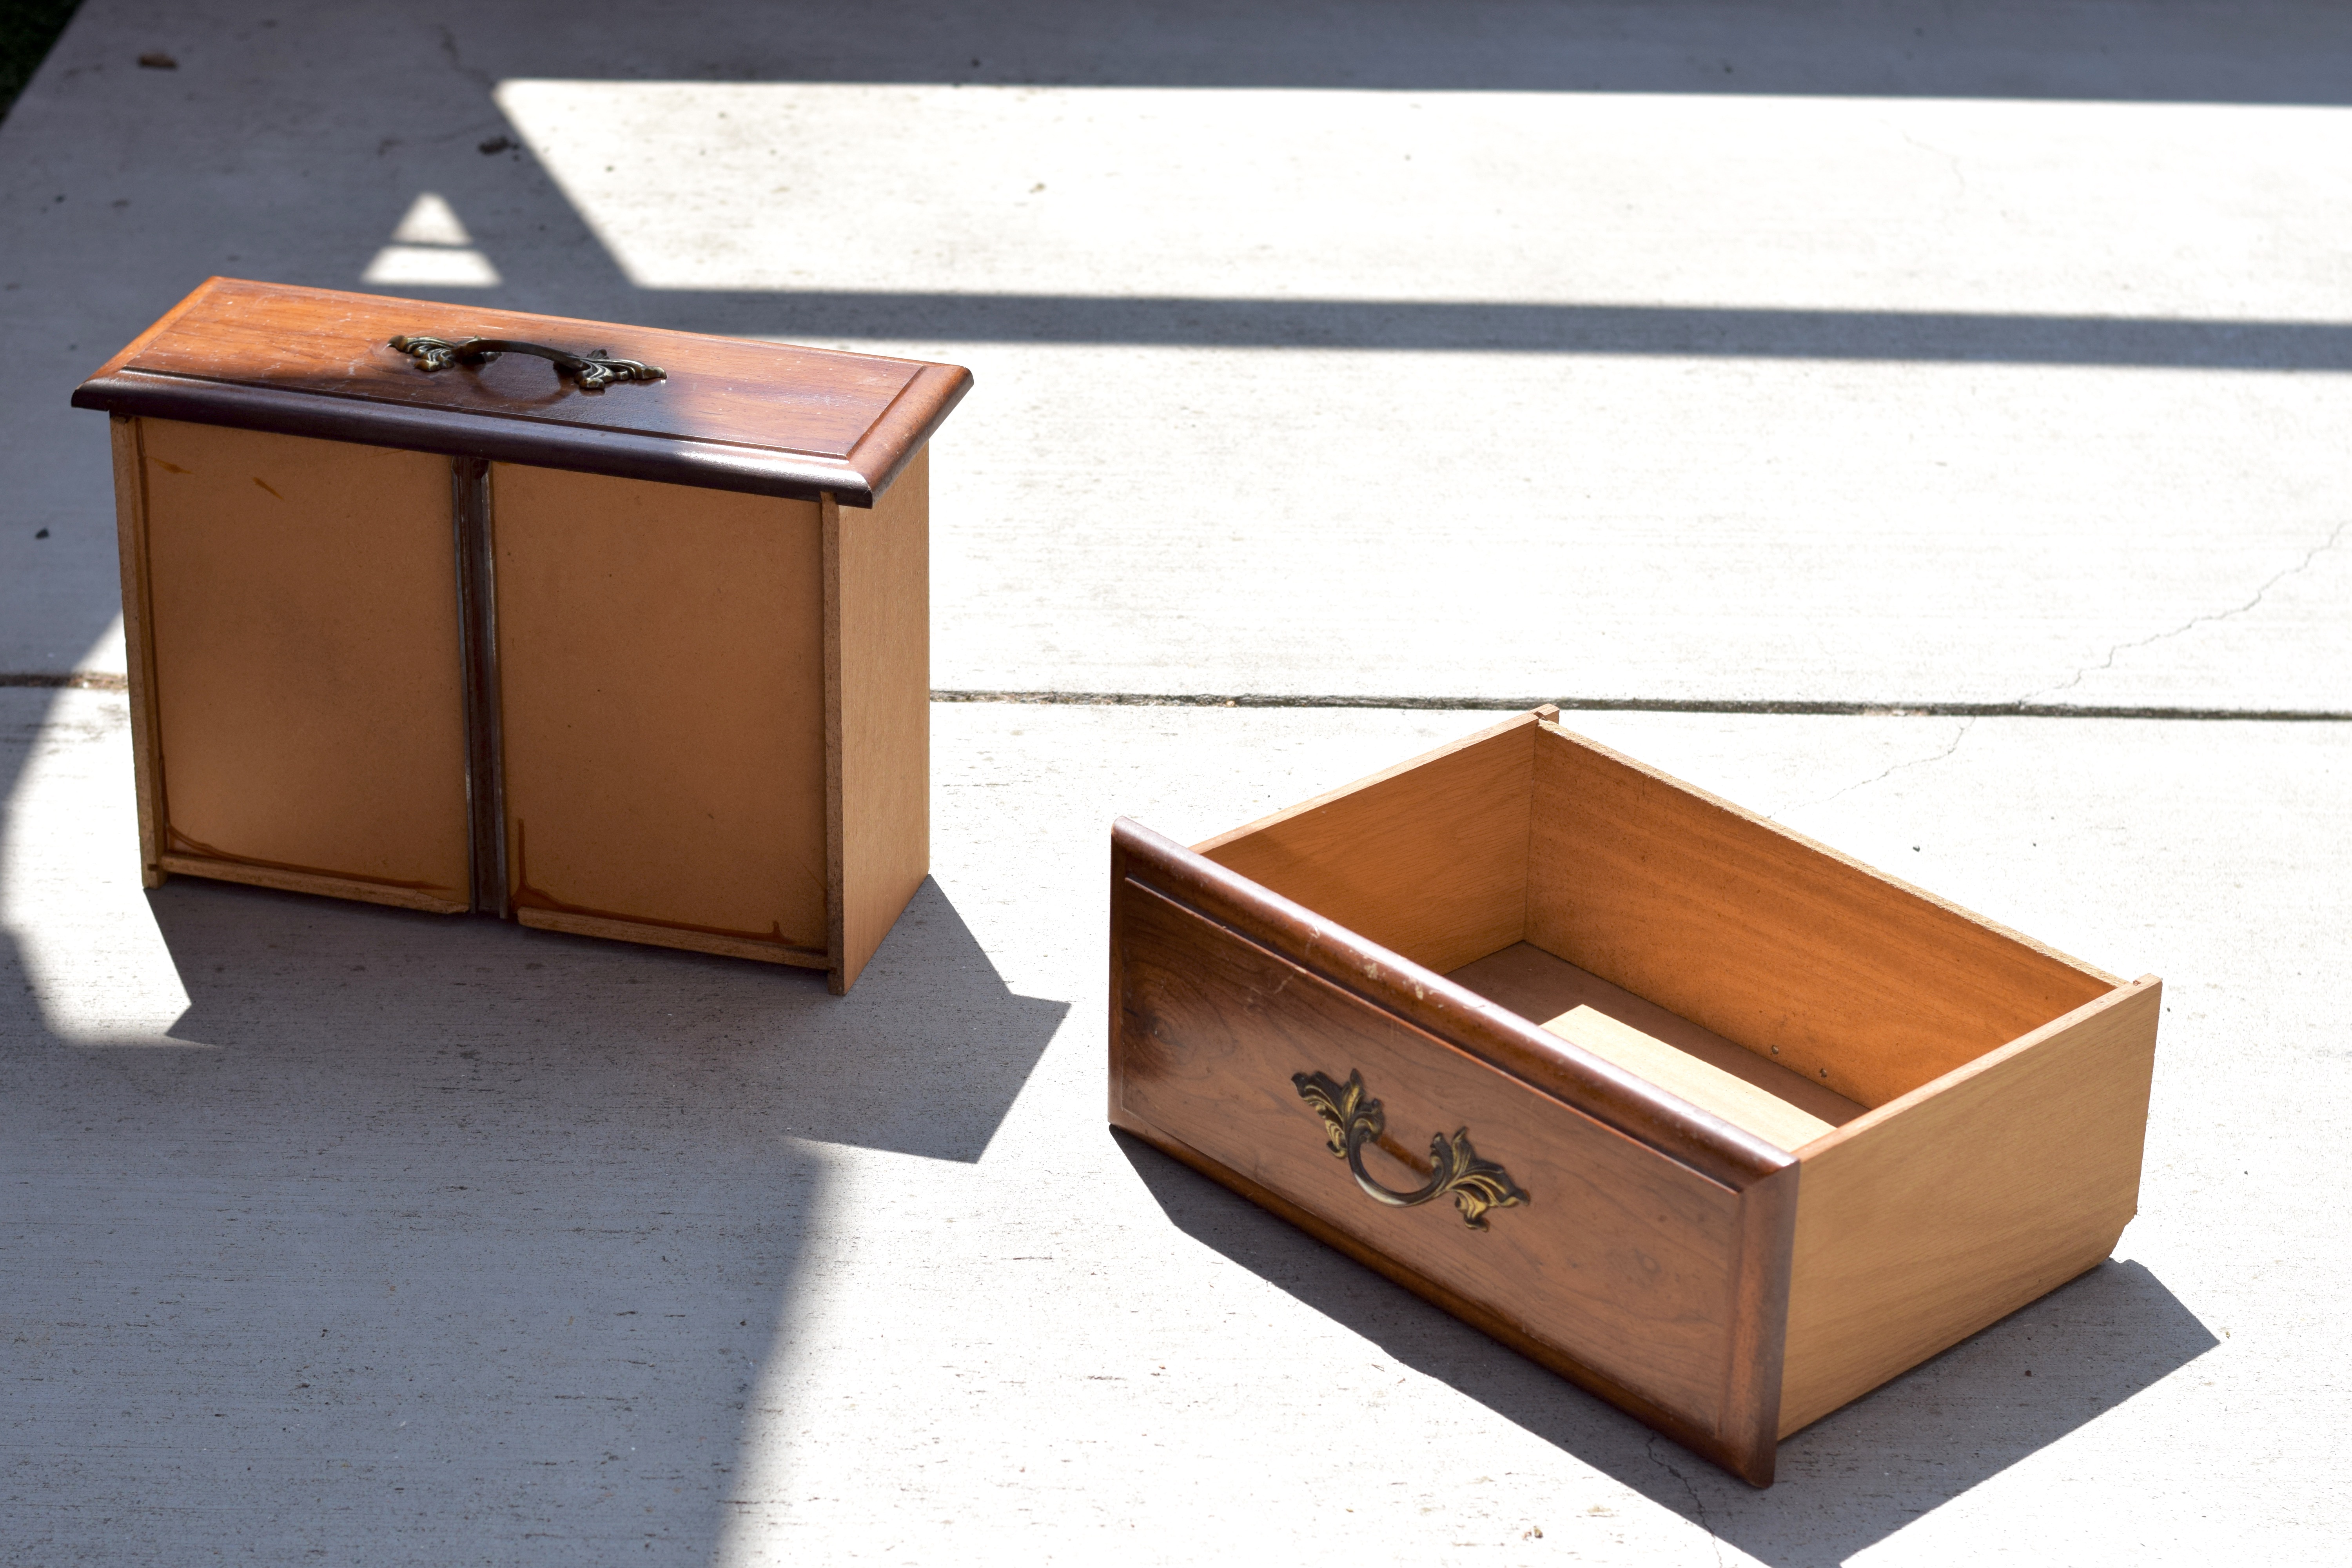
I placed the drawer fronts towards the ground and unscrewed the hardware. This is a really easy fix if you ever want to update a piece of furniture. New knobs add so much personality! Removing the hardware from these drawers took less than five minutes.
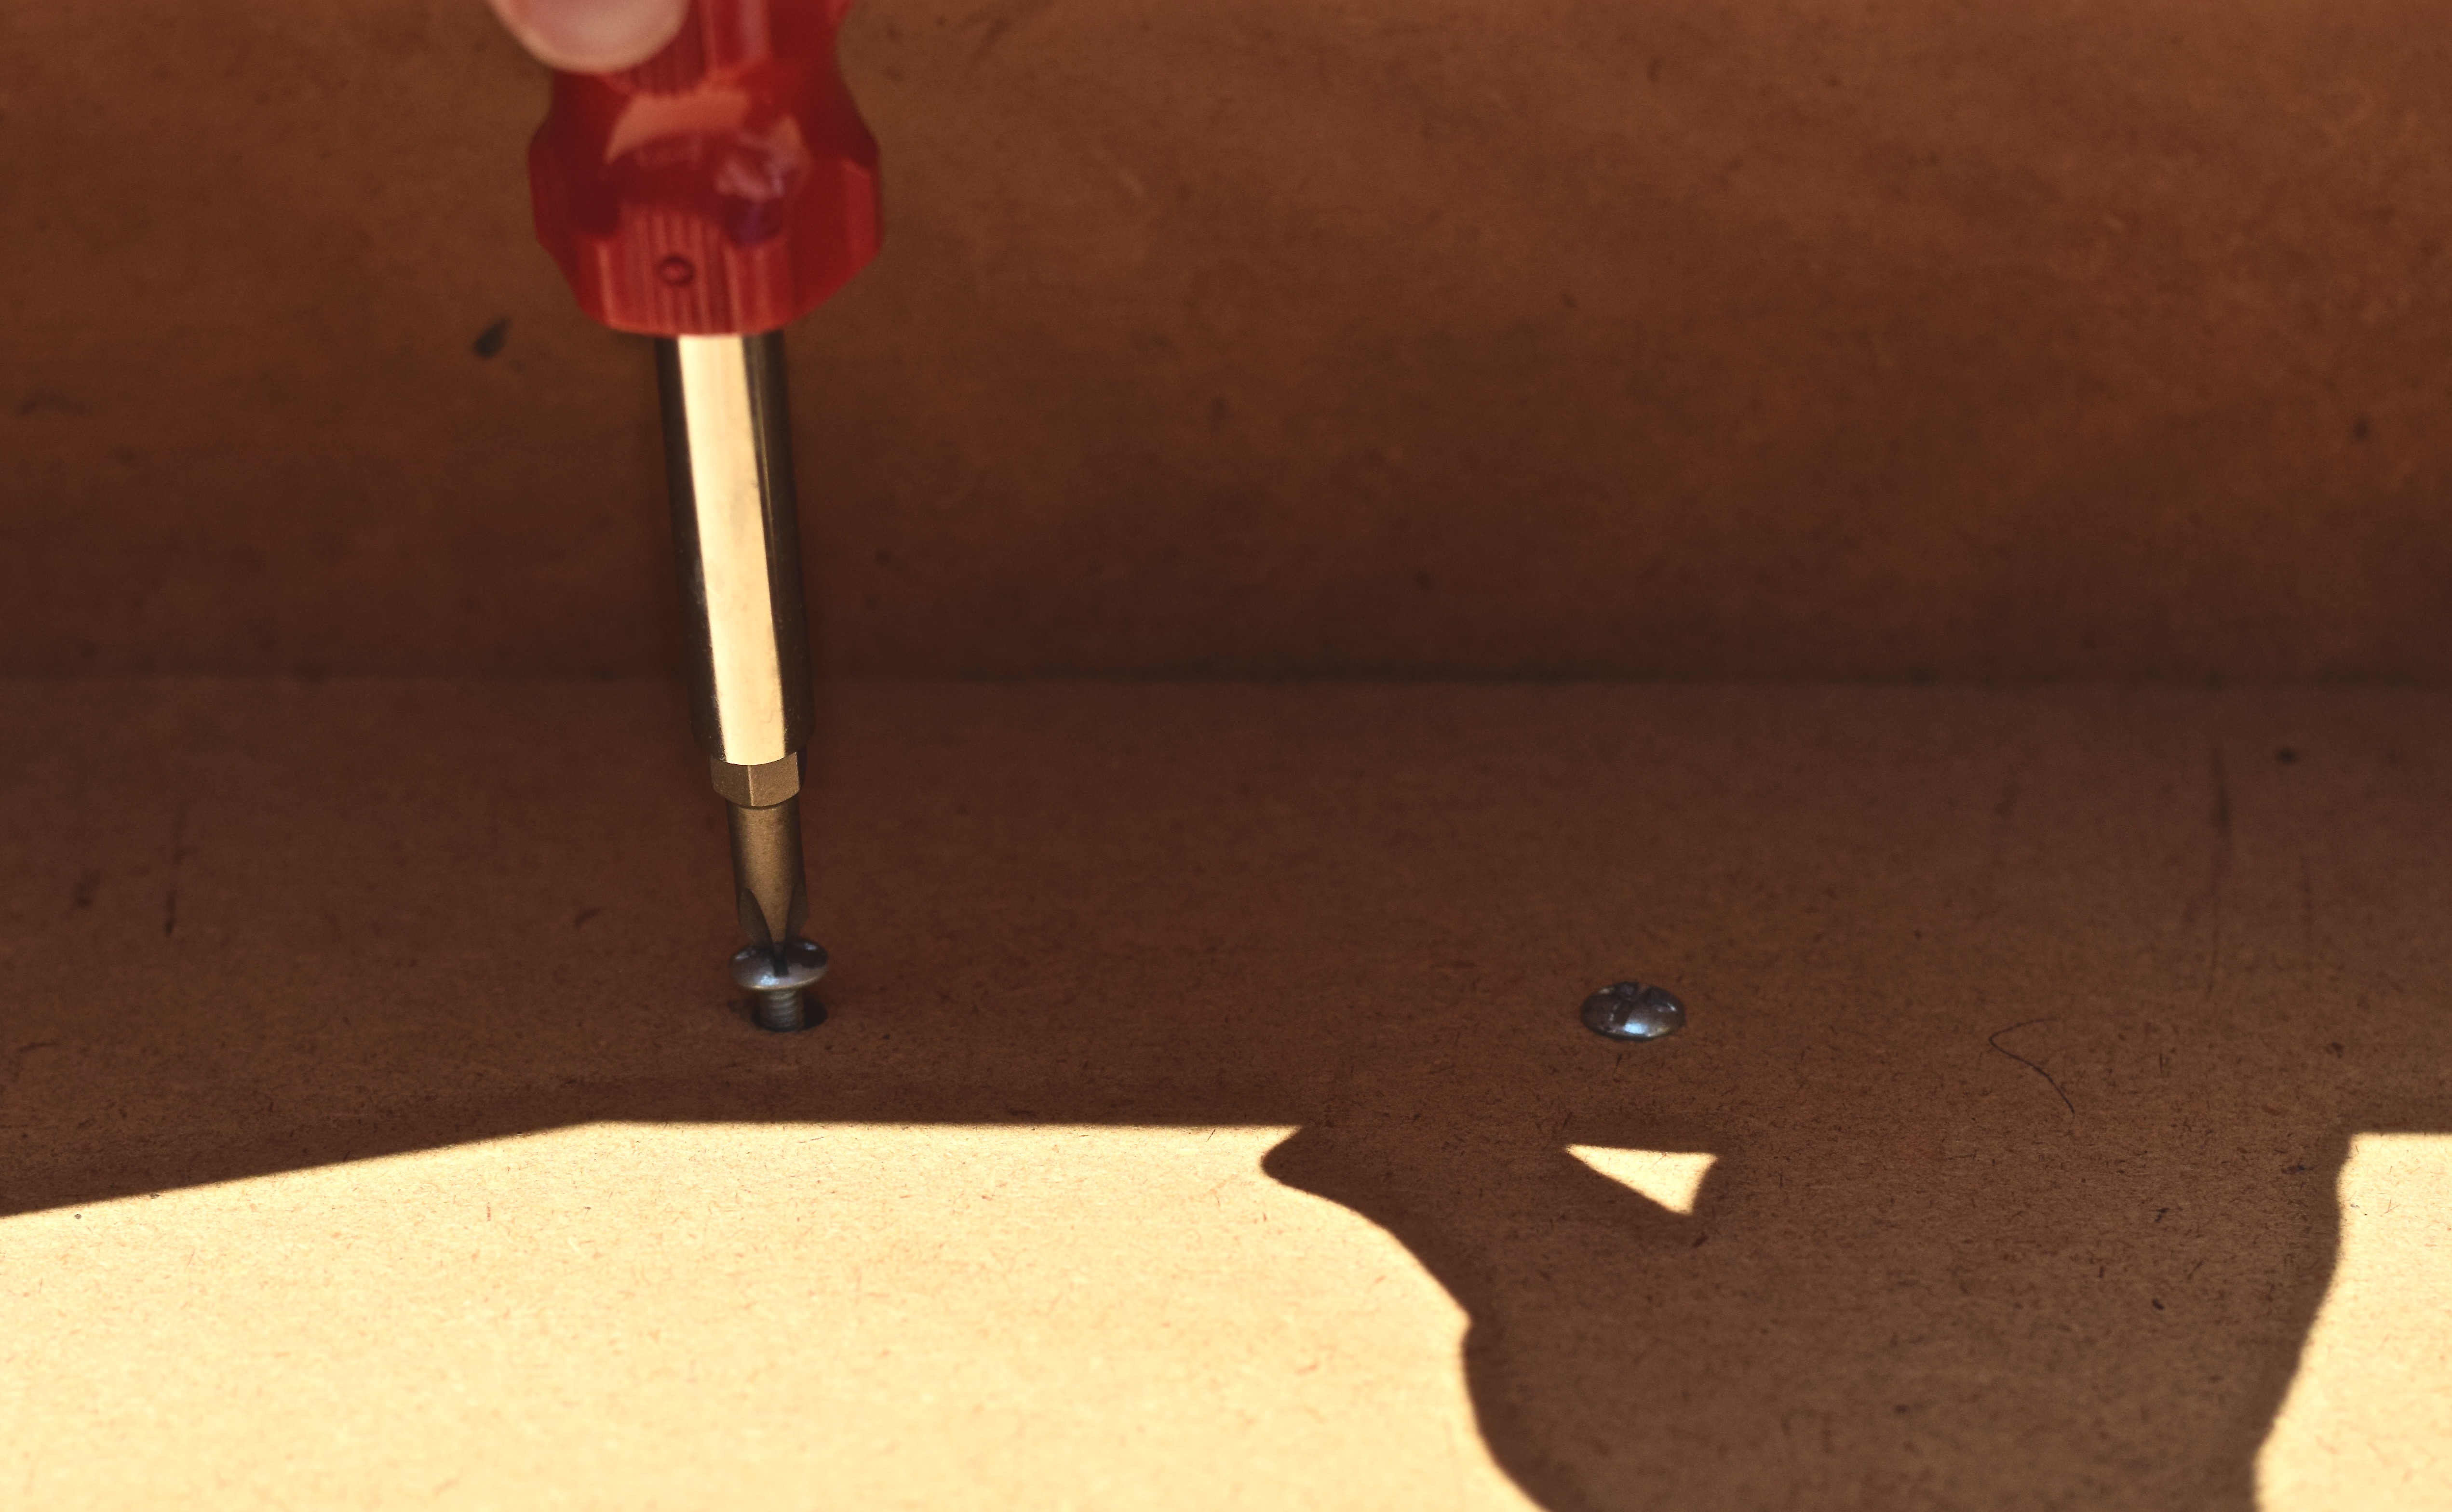
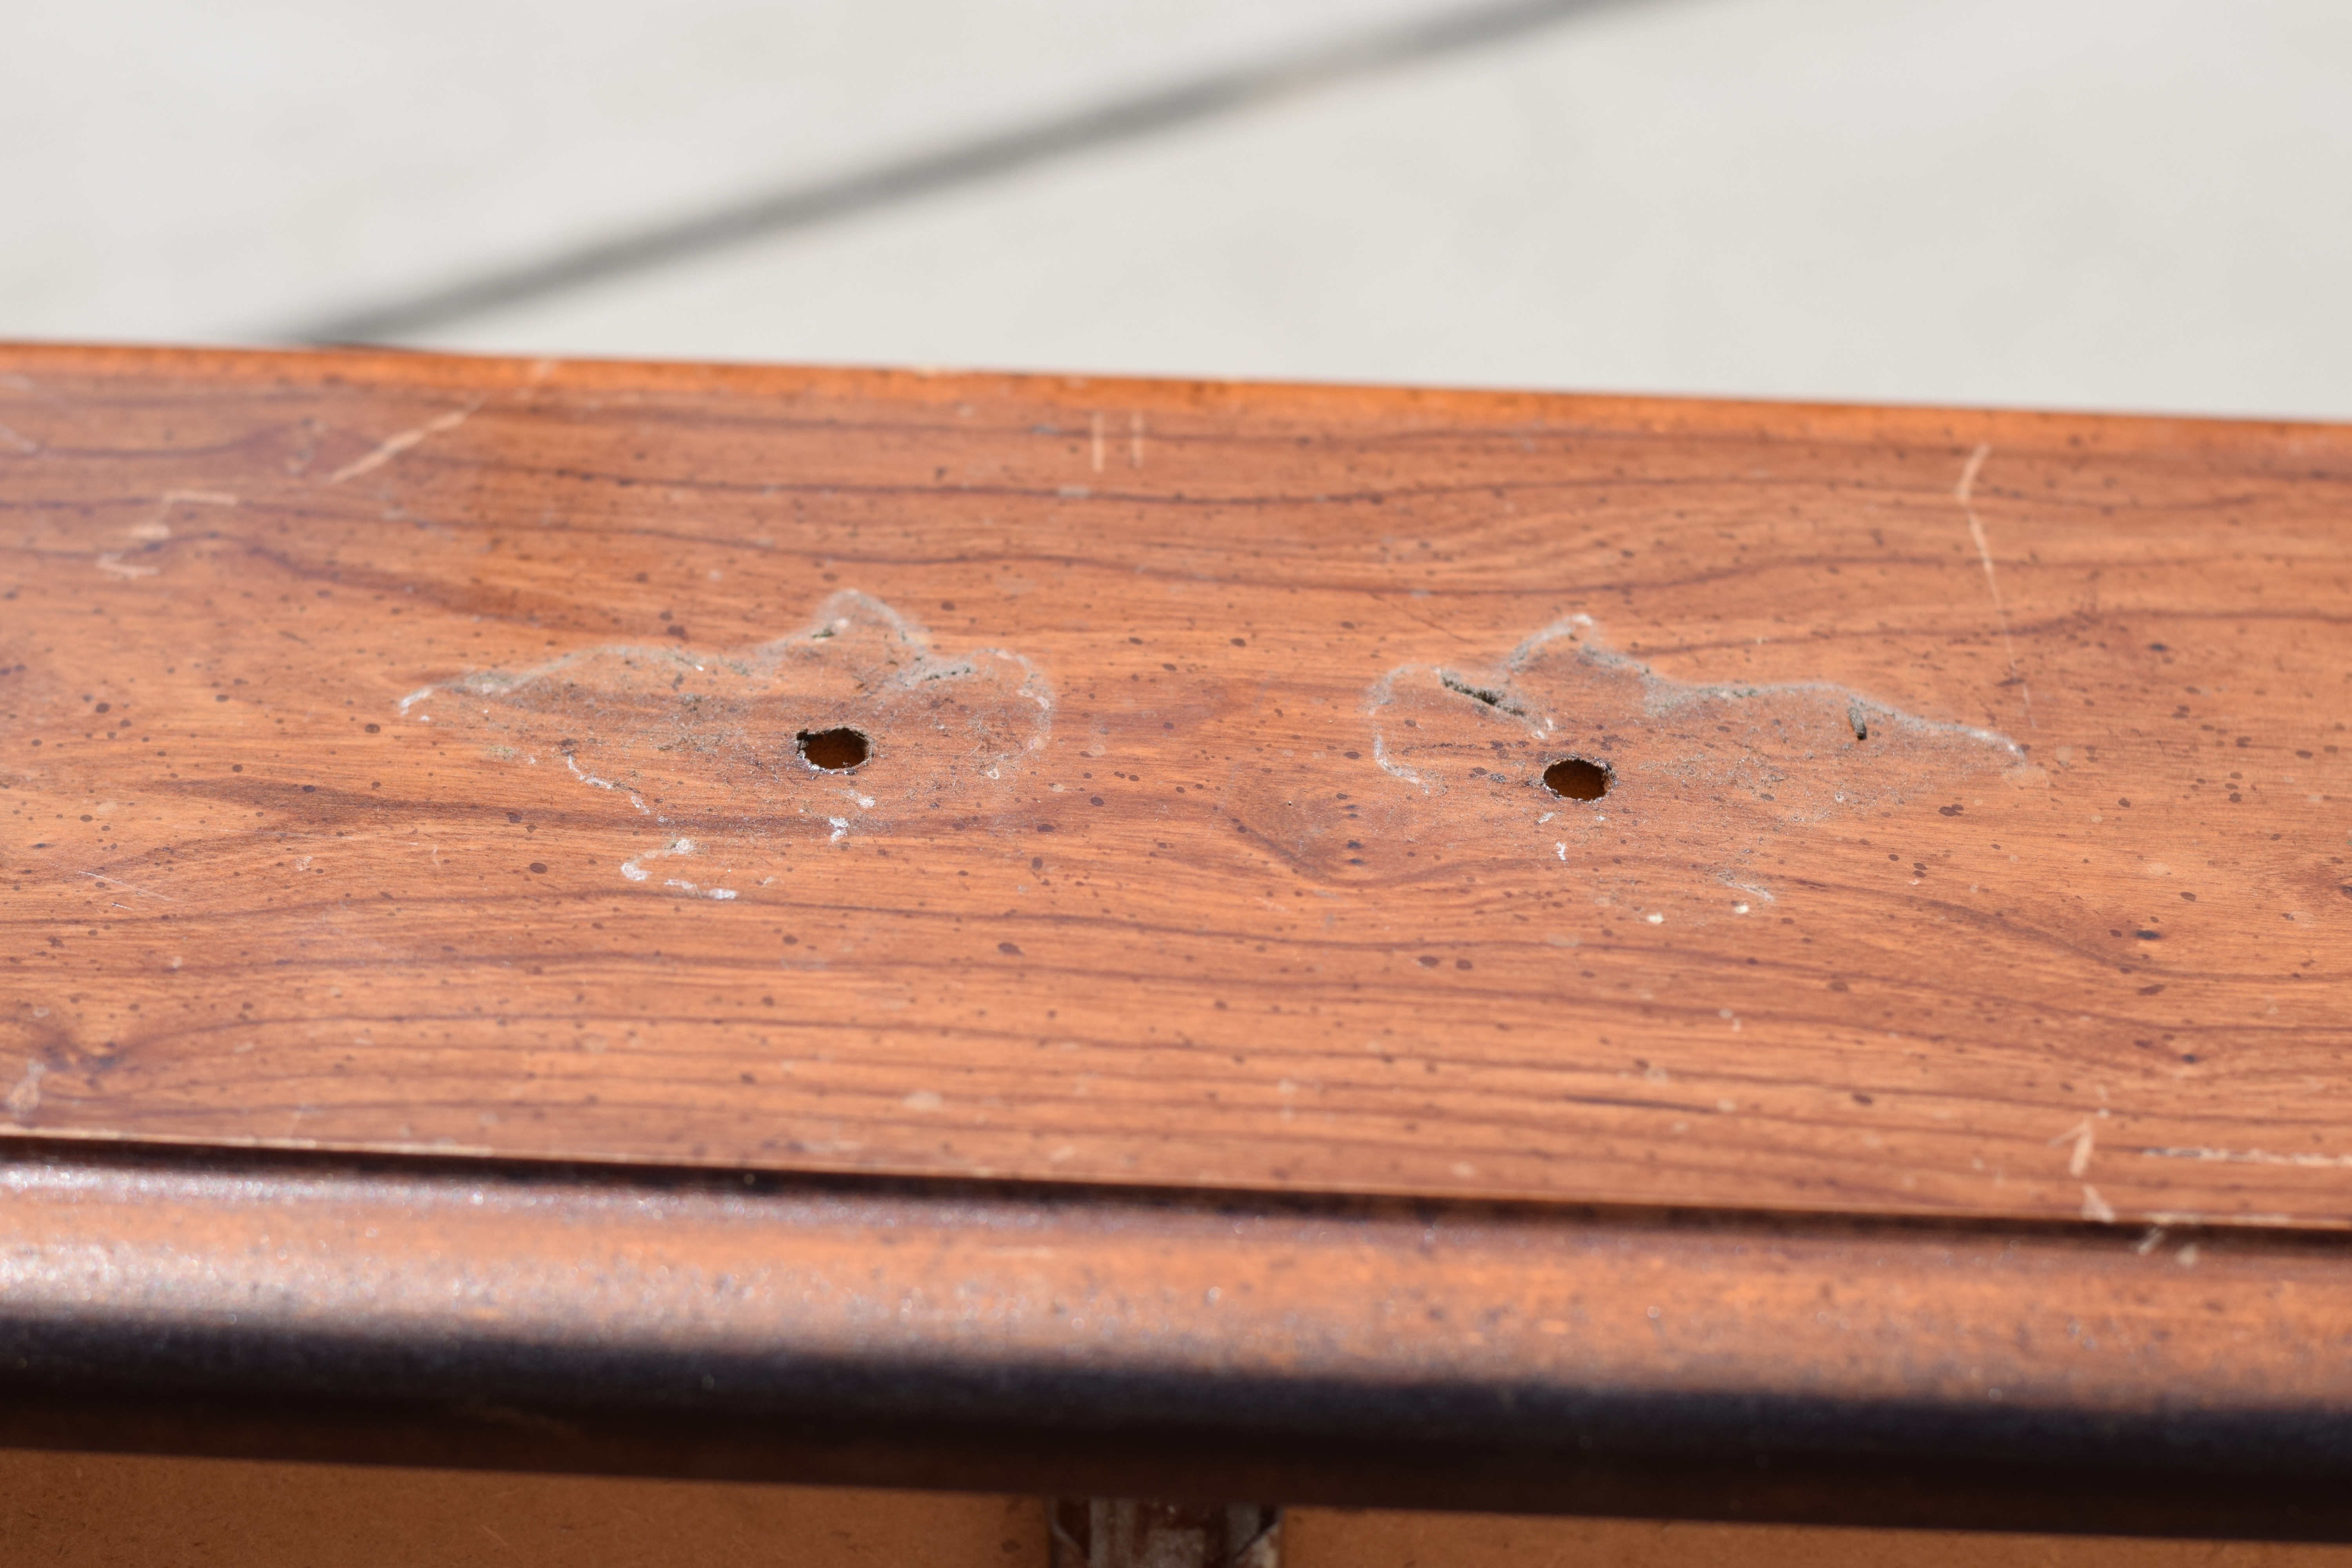
Once the hardware was unscrewed, the pulls popped right off. Super easy! There was some guck on the drawer fronts though, so I wiped that right off with a sponge. After that, except for the wholes, you couldn’t even tell there were once pulls on these drawers!
I left everything and pretended I have a life outside of DIY for a bit. The next day, I pulled the clamps off back legs of the little guy. They looked SO MUCH BETTER you guys! They looked almost totally normal and I knew with a coat of paint, you’d hardly notice at all. Except for the gaping holes! But whatever! I’d regenerated plywood! This was too exciting / such a freakin’ relief for me to worry about the gaping holes!
Remember what they looked like before?!
SO MUCH BETTER!!! Once I’d finished my twirling my happy dance around the courtyard, I decided to do something about those minor huge gaping holes in the little guy’s back legs. With that in mind, I tossed open my big canvas painter’s cloth and pinned it up to protect the courtyard area. I grabbed my wood filler and started filling in the scratches and gaps on the nightstand.

I wear gloves and a mask when I do that because wood filler smells like cancer Seriously. it stinks stinks stinks!
While I was at it, I filled the holes from the drawer hardware as well.
Make sure you lump a whole bunch of wood filler in holes like these. You want it to be bumpy now so you can sand it down to smooth later. Once I’d filled the biggest scratches and gaps I waited for the wood filler to dry, then sanded the entire dresser again, making sure the spots I’d wood filled were nice and smooth.
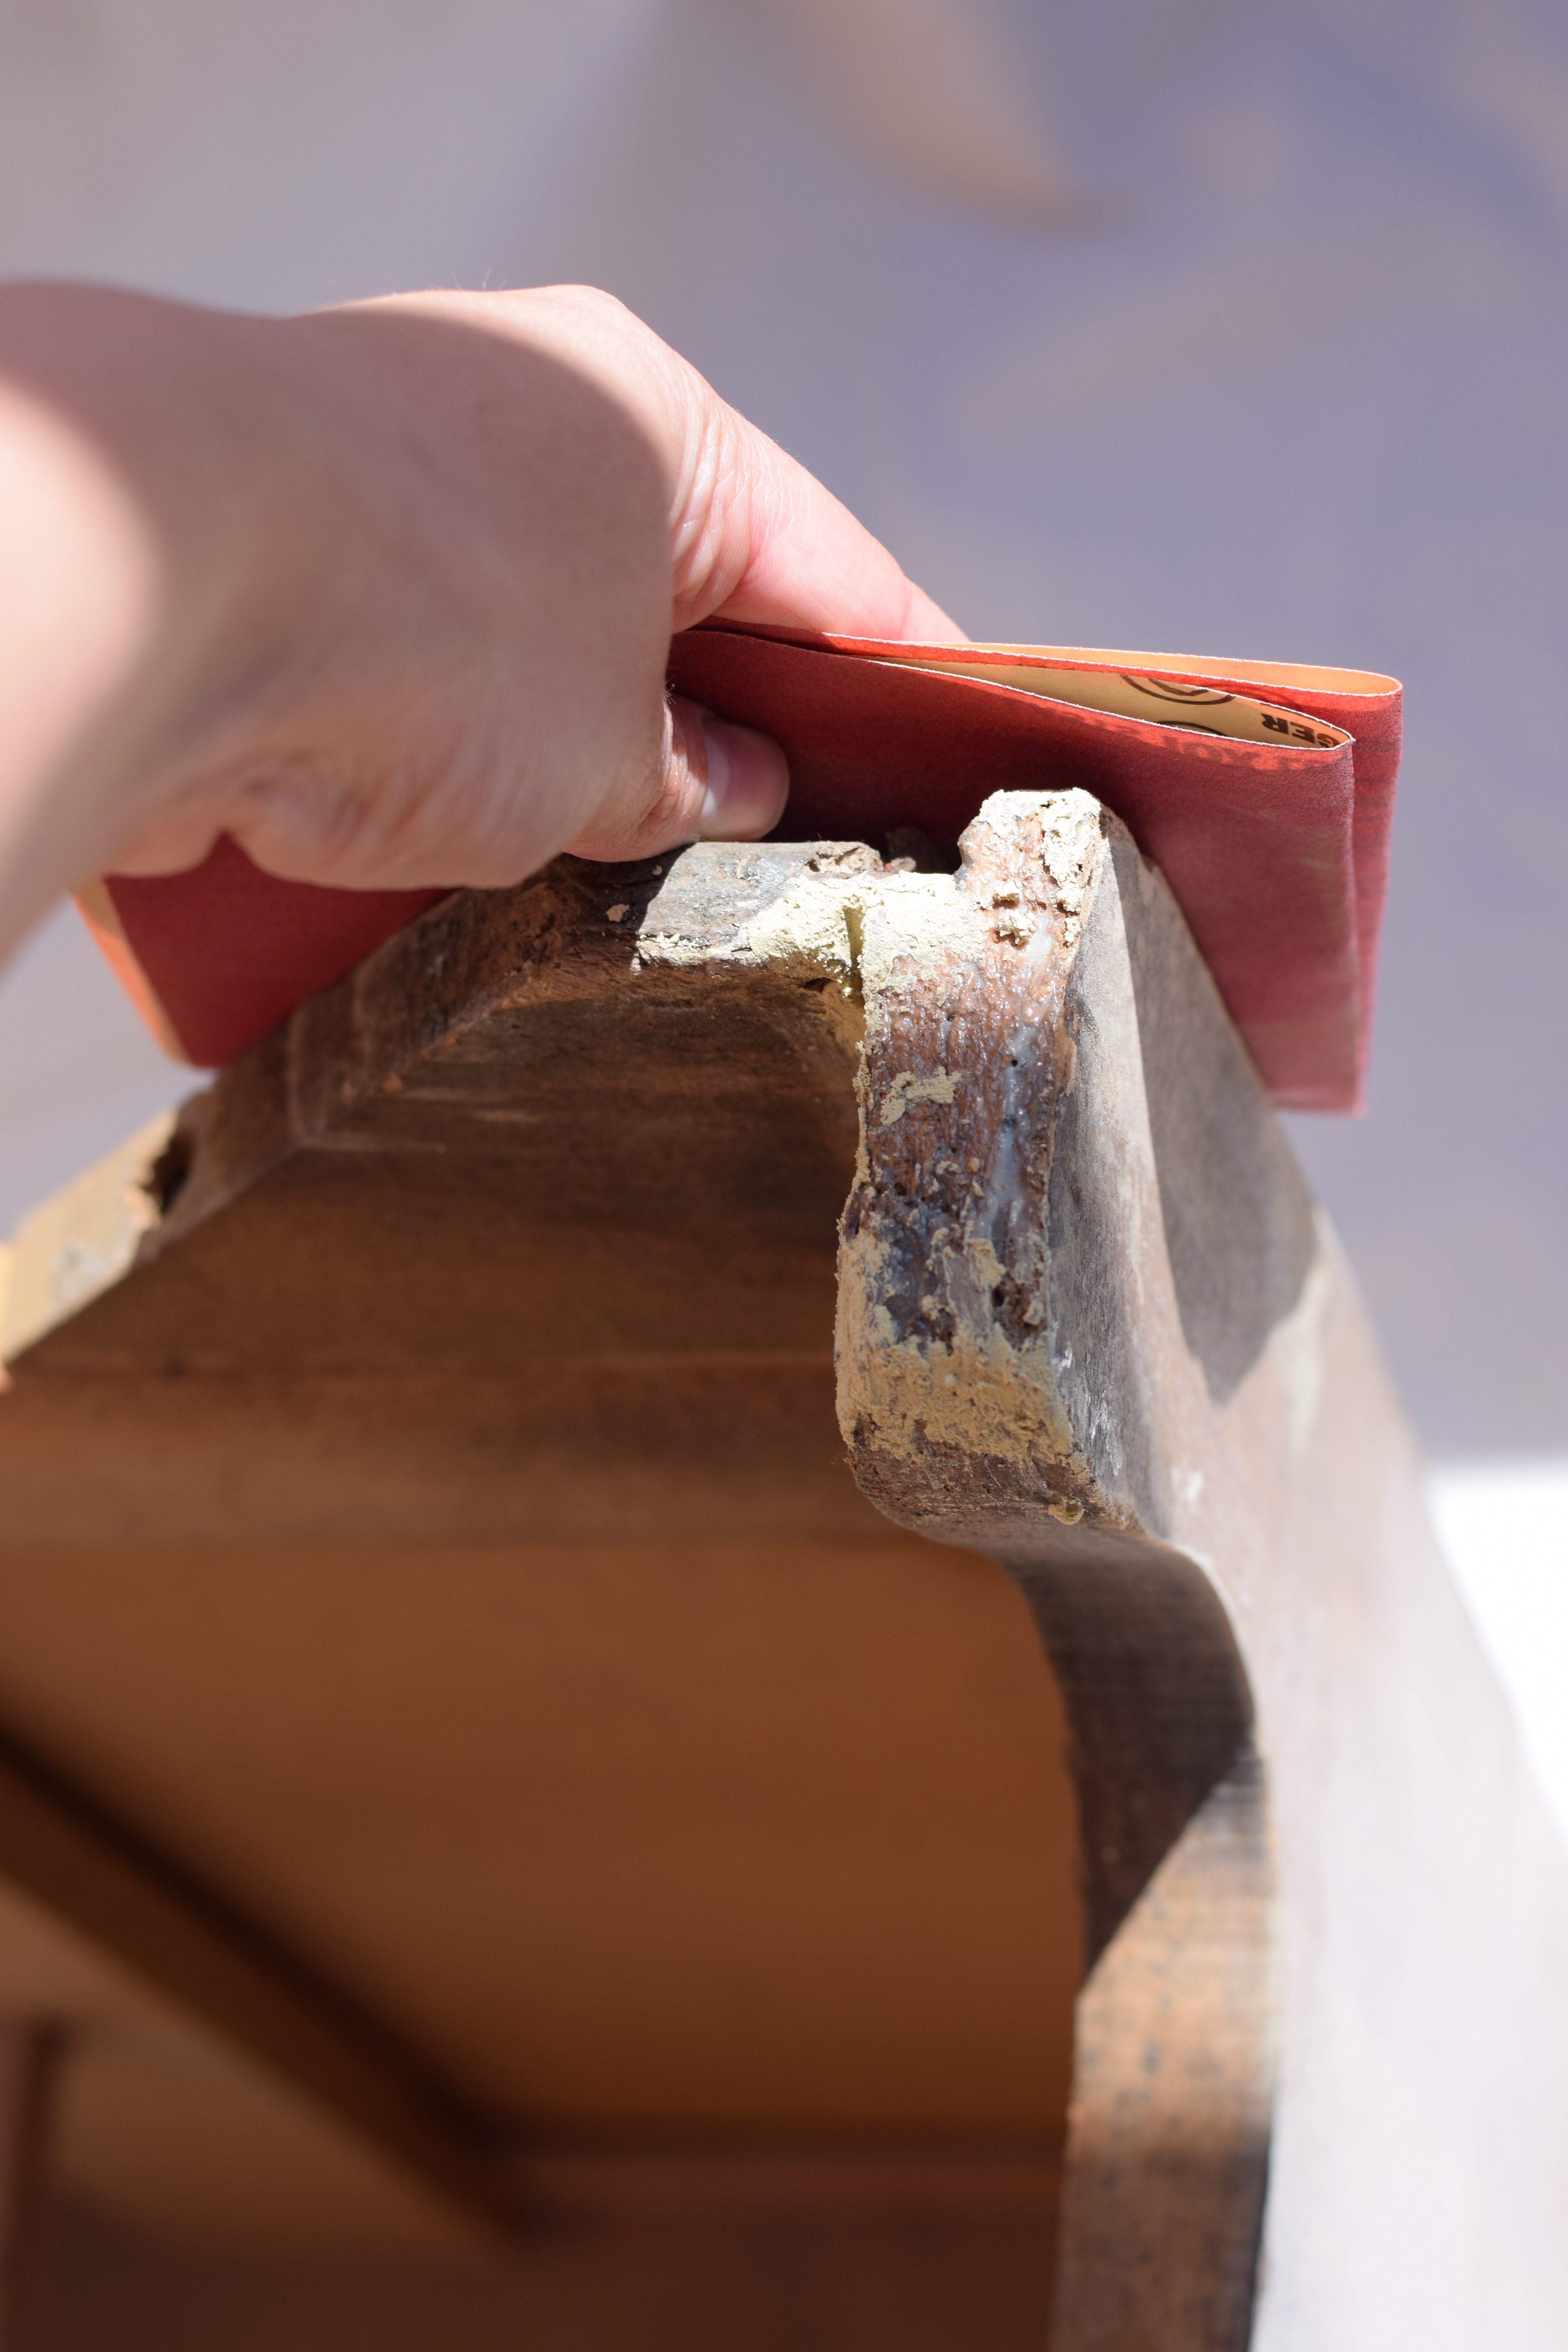
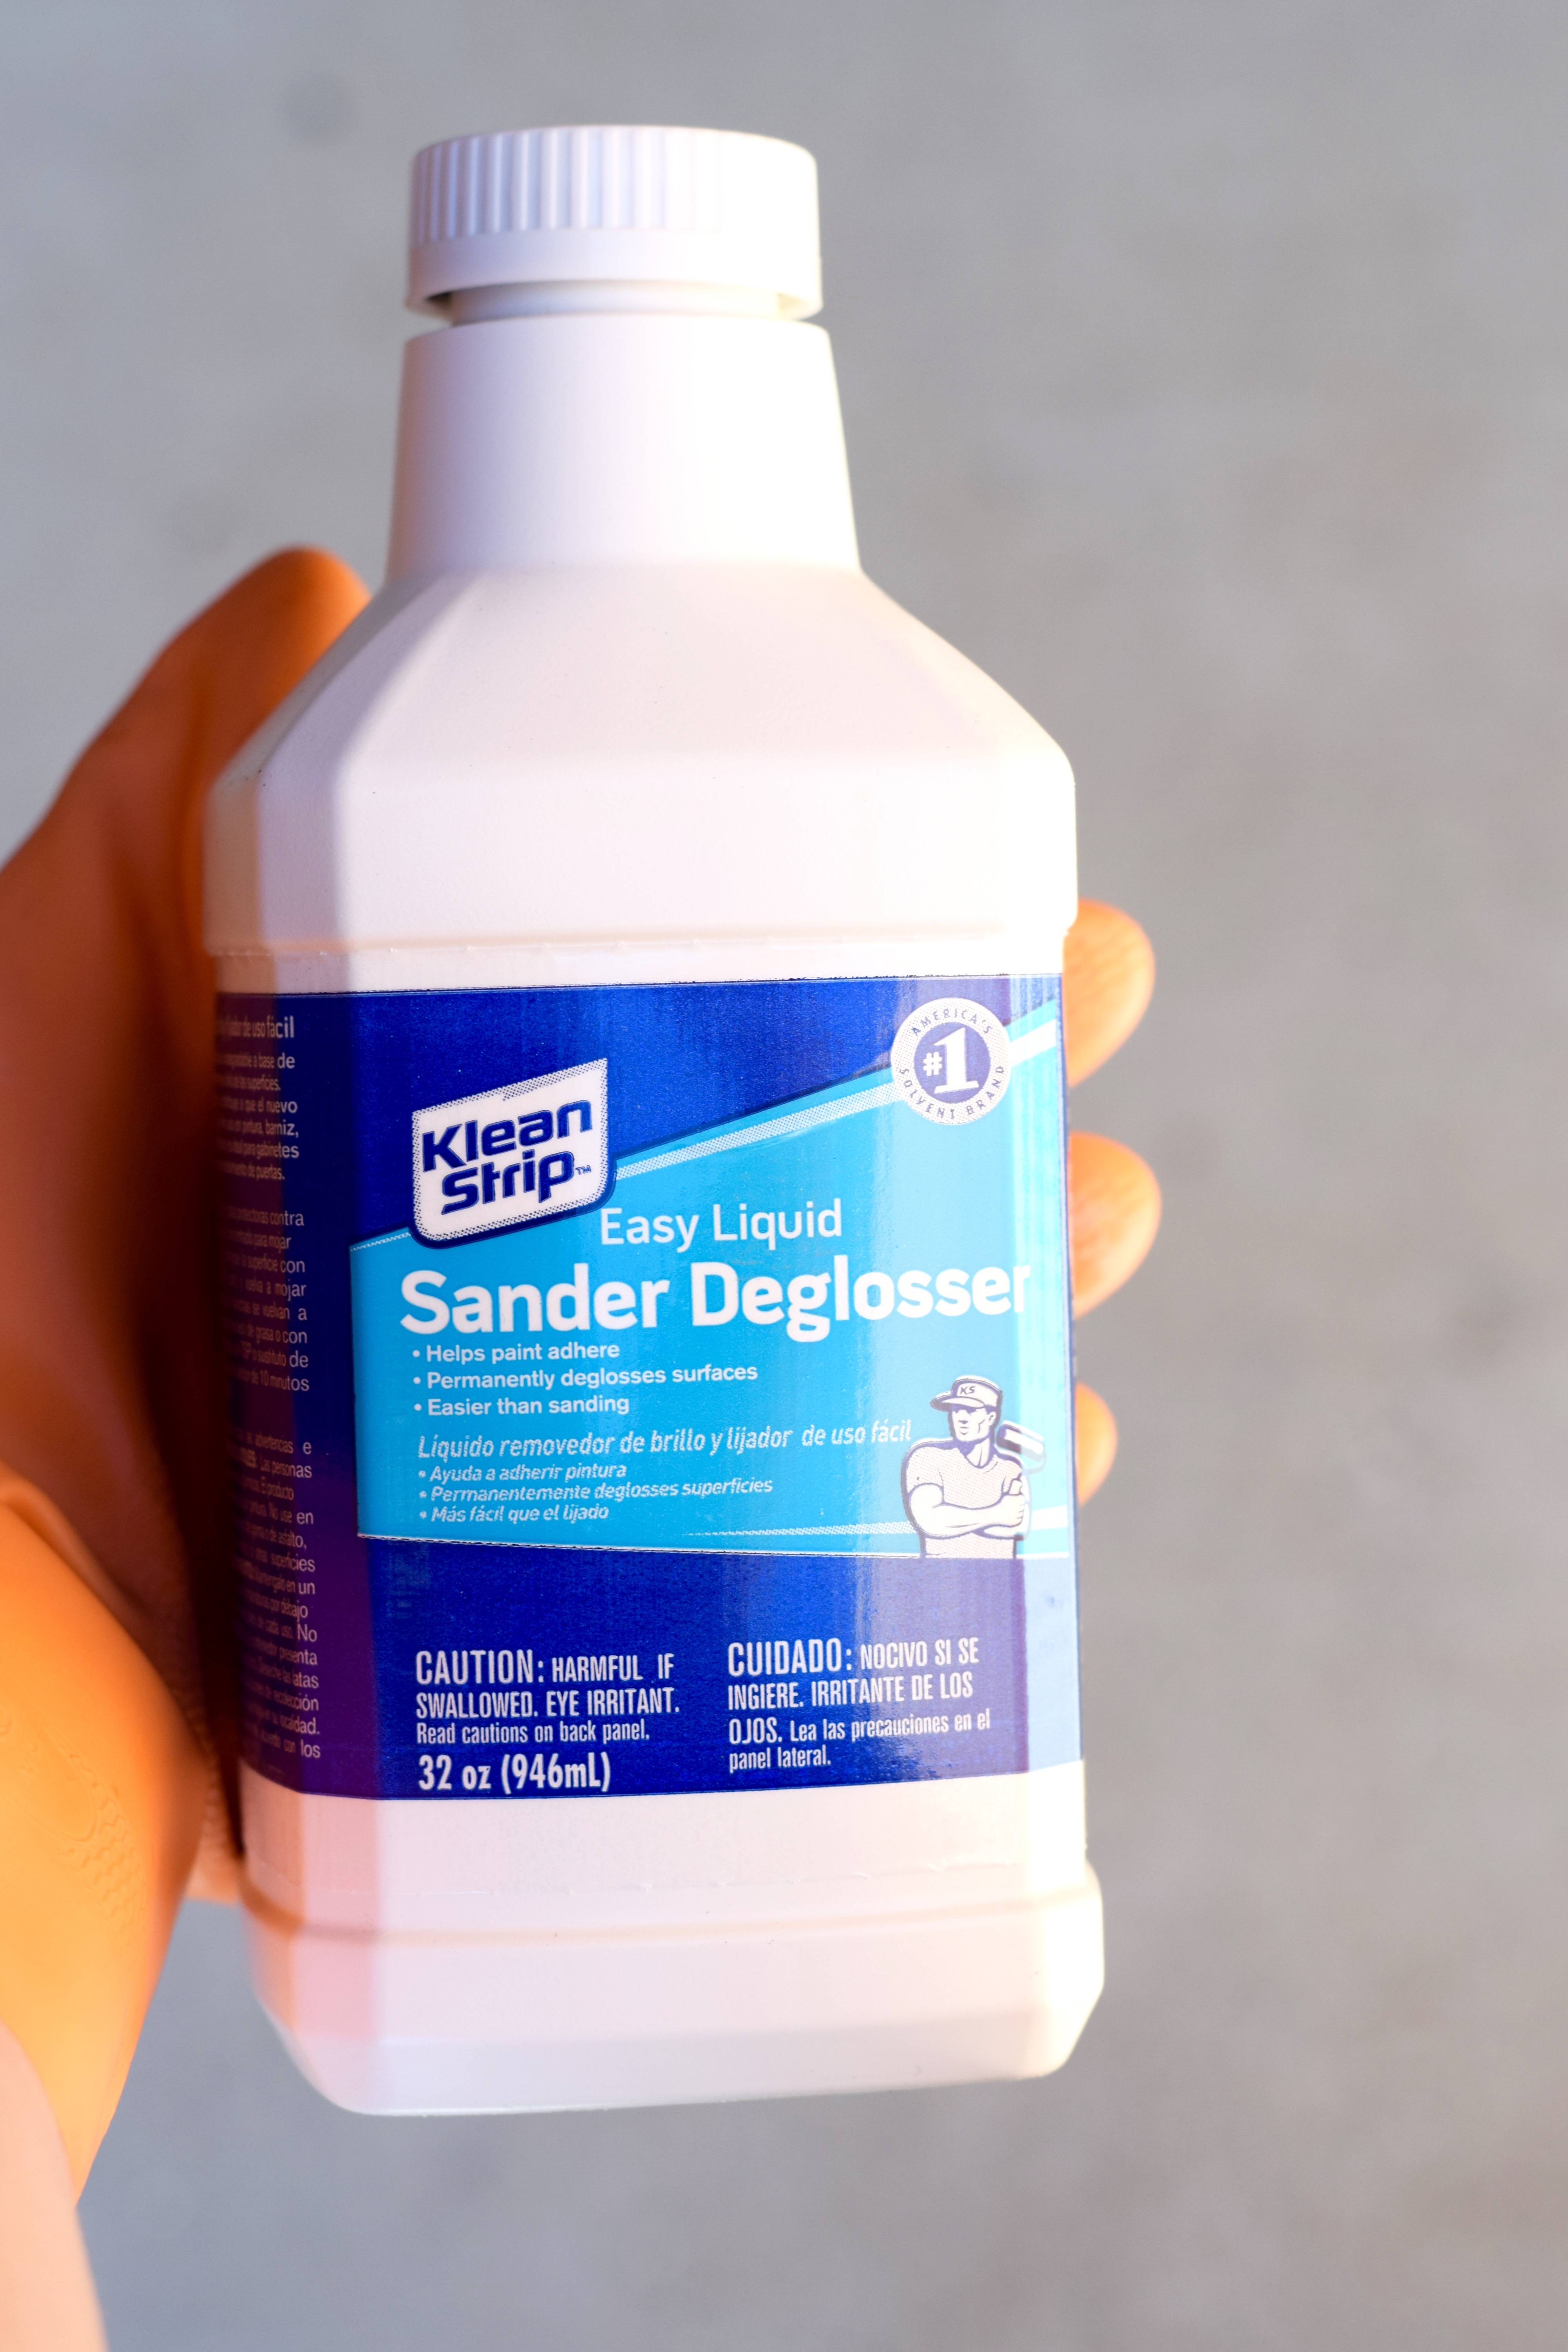
Then I wiped the nightstand down again, but this time I used liquid deglosser. Since the little guy wasn’t solid wood I hadn’t wanted to sand him too hard and I thought this would be good in the nooks and crannies of the nightstand’s details that are always so hard to sand down!
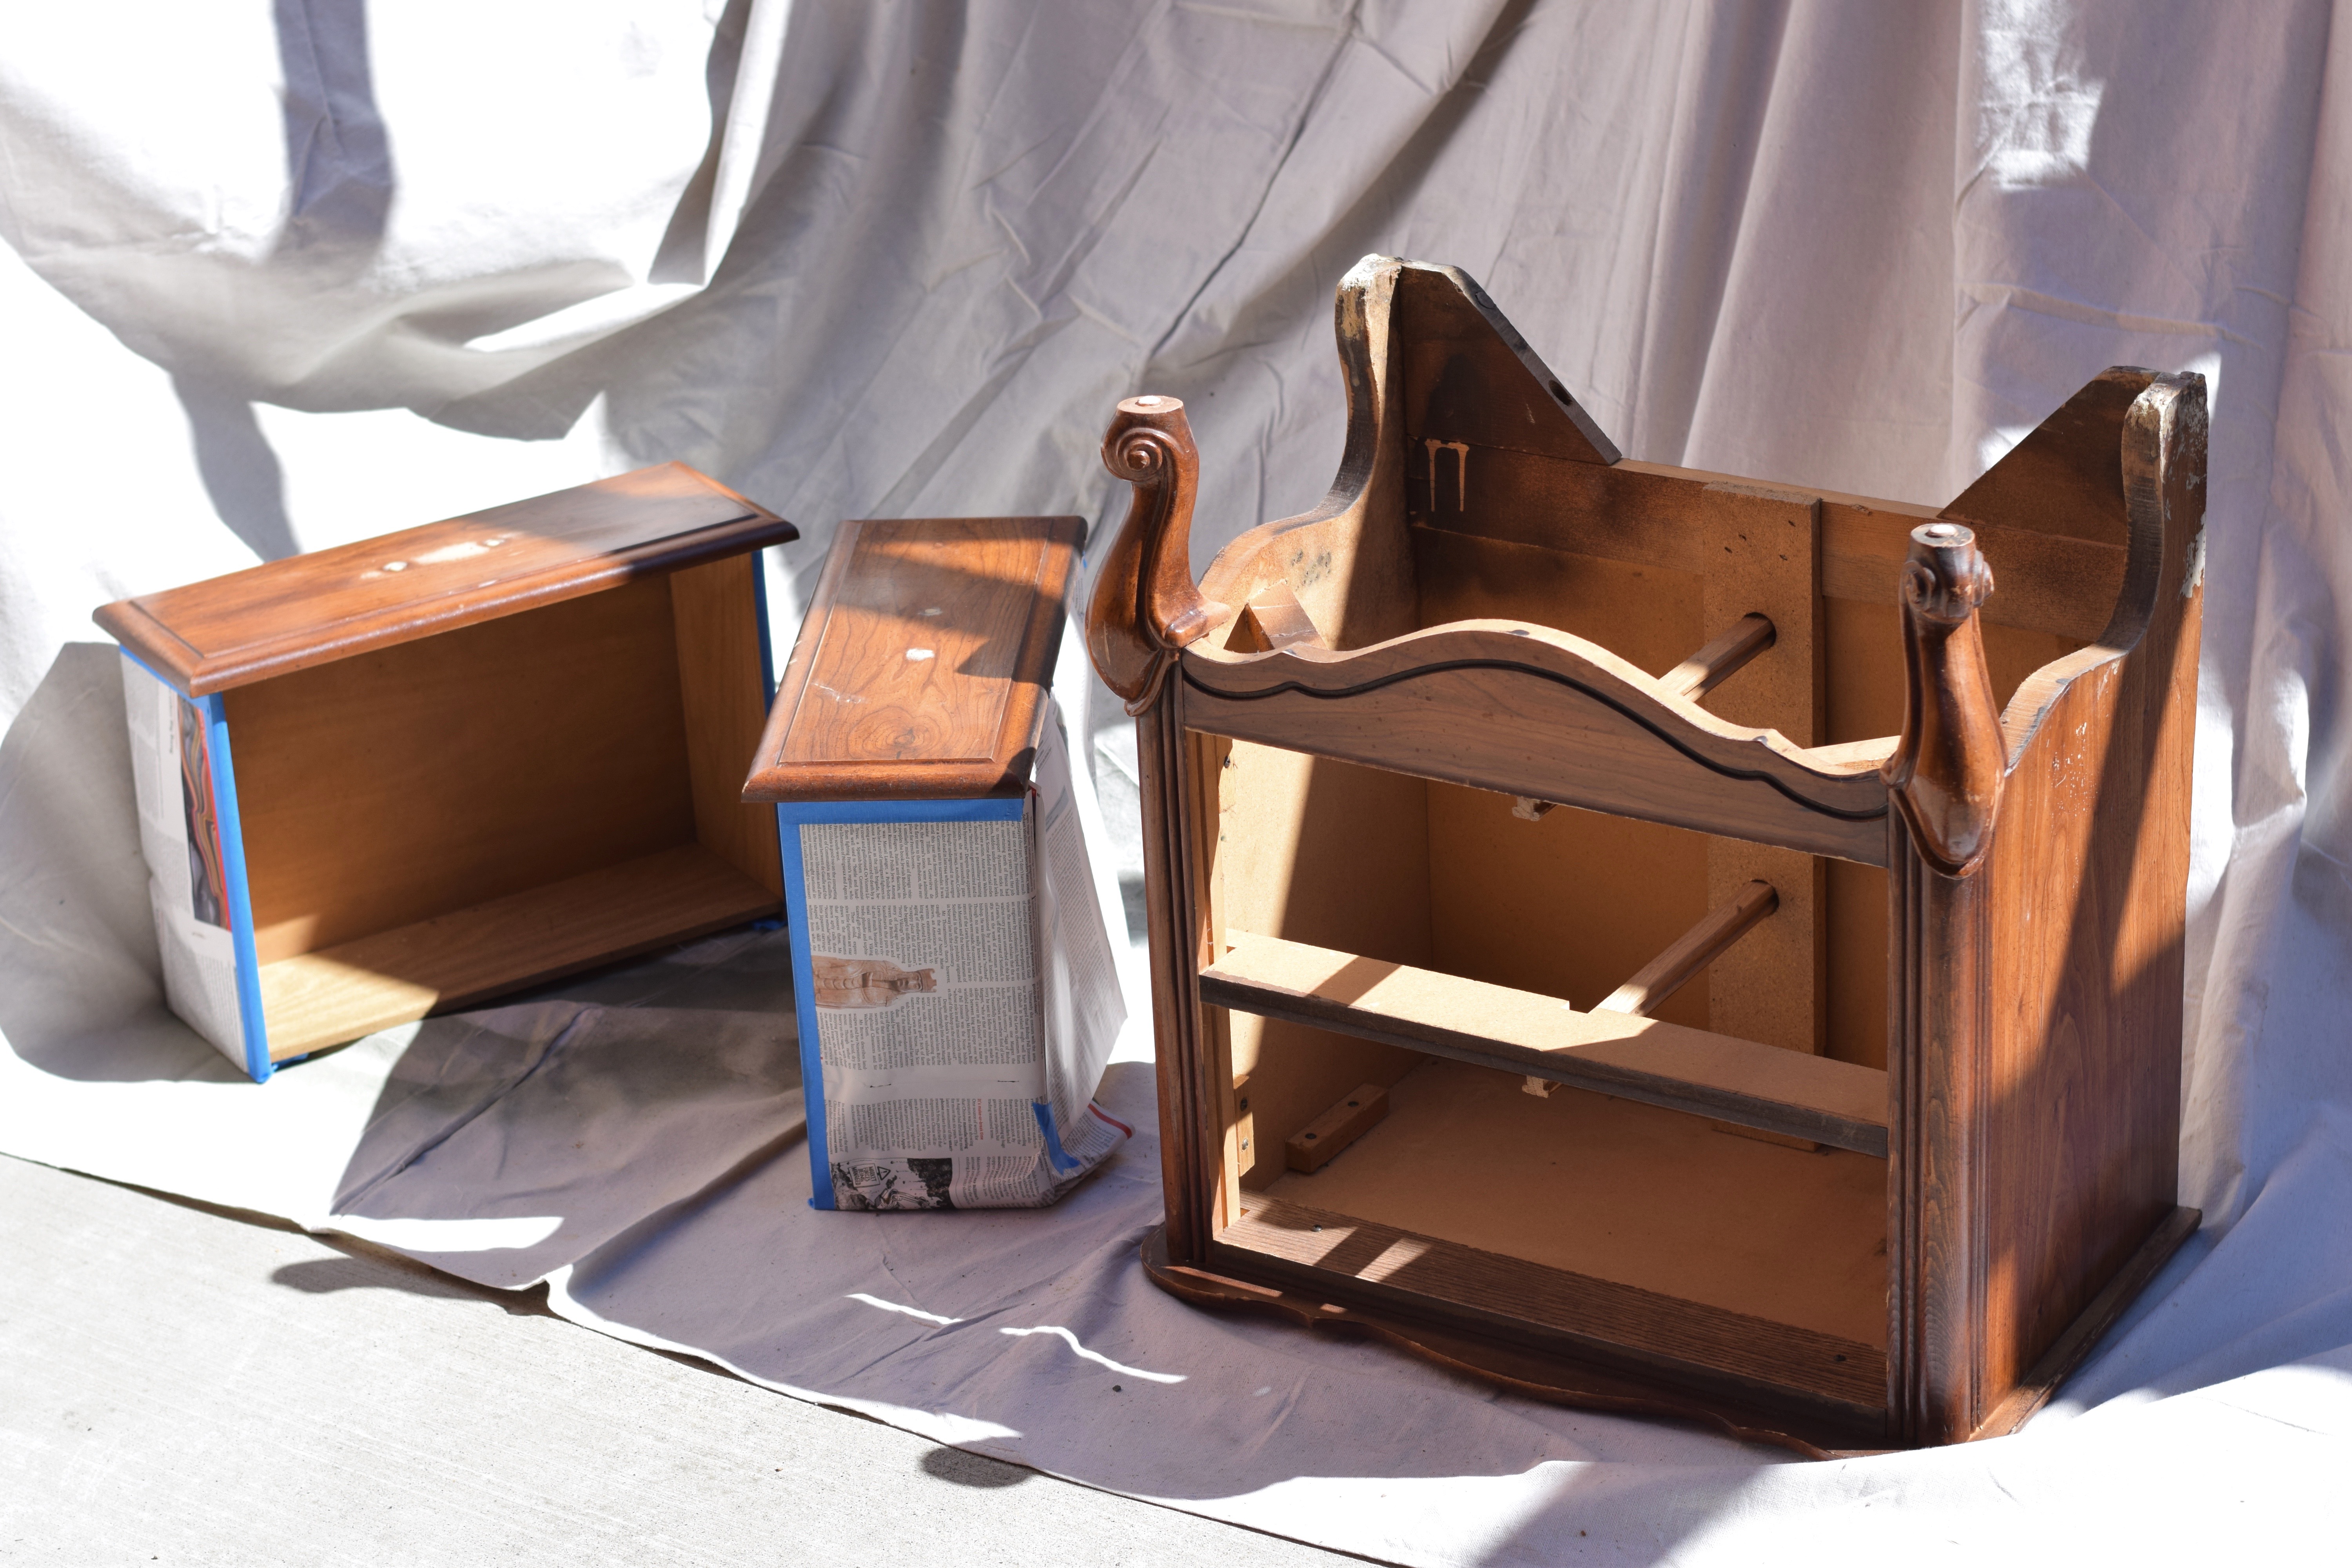
After that, he was looking pretty good and I was ready to paint!!! I’m actually always ready to paint. I love painting! Before I could get anywhere near the little guy, I needed to tape off some areas. I didn’t want to paint the sides of the drawers, because this can mess with the opening and closing glide. I taped the edges of the drawers and used one of my roommates’s old issue of The Economist to cover the larger areas.
The little guy was looking pretty decent actually. I was so relieved that I’d managed to save the moisture damaged nightstand. Now, with a bit of primer and paint, I didn’t expect to notice the little guy’s humble beginnings at all!
Have you ever saved plywood from moisture damage? Did it work? Are you as excited as I am about saving this nightstand from a watery grave?!
