Let’s chat about the Berrybrier kitchen some more! It’s a big project and it started out crazy. Legit, no one wanted to cook in here kind of crazy. You can see more of the before pictures as well as the plan for the kitchen in last week’s post.
Smoothing Old Textured Walls and New Drywall
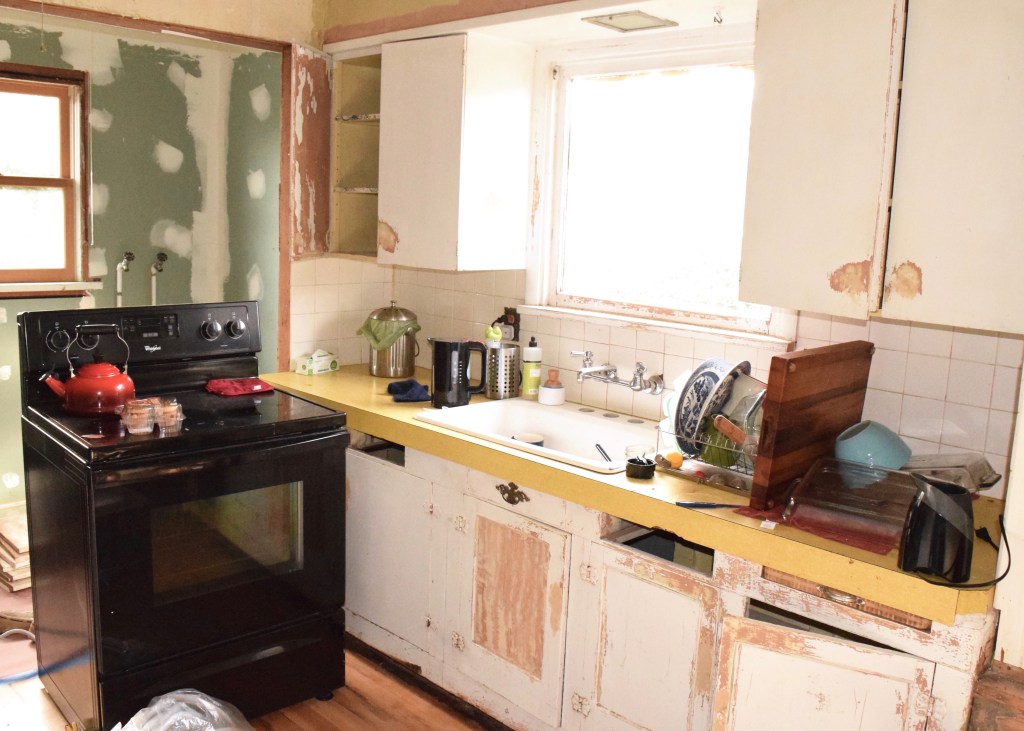
Before anything further could happen in this space, we needed to give the walls themselves some attention. Originally this room was wallpapered and we ripped that down the first week I moved in. Then when my family was in town to help prep the floors for refinishing, we demo’ed the back part of the kitchen down to the studs, insulated, and re-drywalled everything. It looked better, but it certainly was not “done.” So when it was time to address the kitchen again, first I needed to tackle the walls.
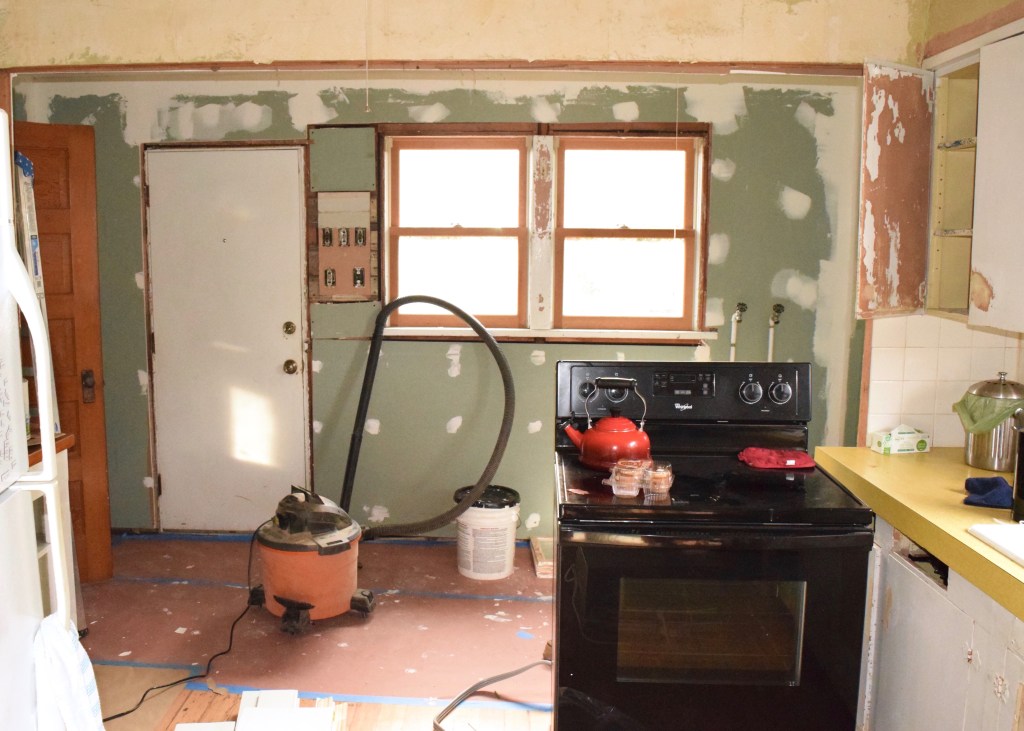
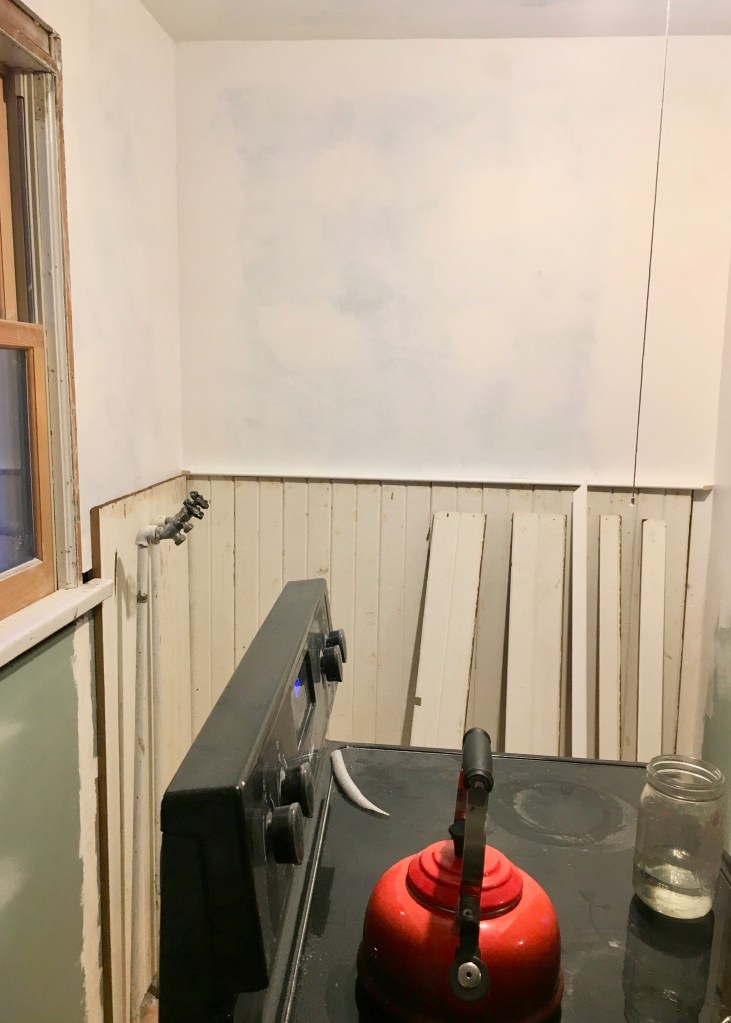
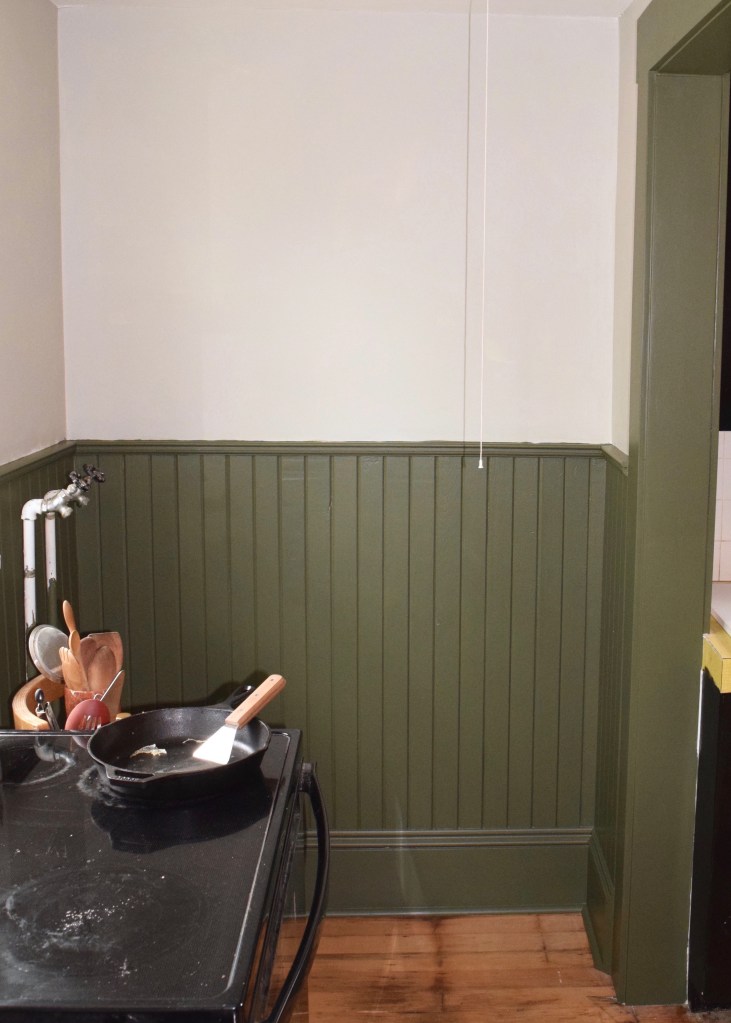
Don’t worry, I still used the kitchen as a kitchen too. Yes, that free-ninety-nine stove is plugged in and operational.
My sister tackled the new drywall areas, mudding and sanding in the same way I had done in the bathroom. It was her first time doing this and she loved it!
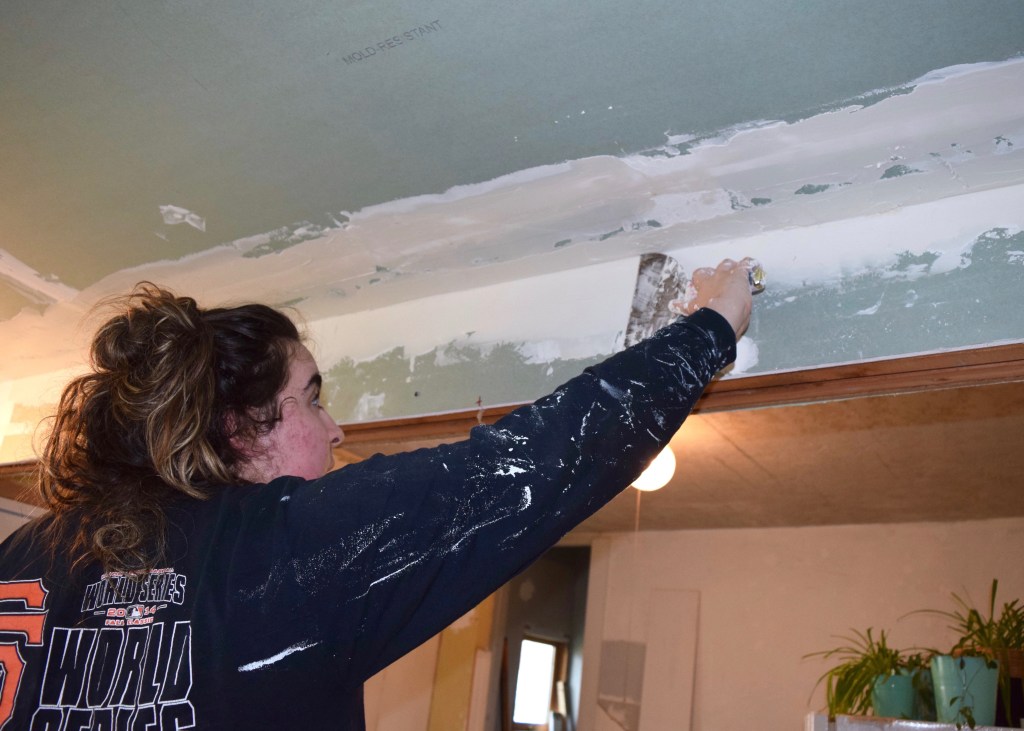
Just kidding, she hated it. Everyone hates drywalling, did you know that? It’s tedious and terrible and very difficult to perfect. But Bronwyn did a great job in this space, so maybe I’ll rope her into further mudding projects down the line? Excuse my temporary light fixture. I really want to switch it out for this cute one.
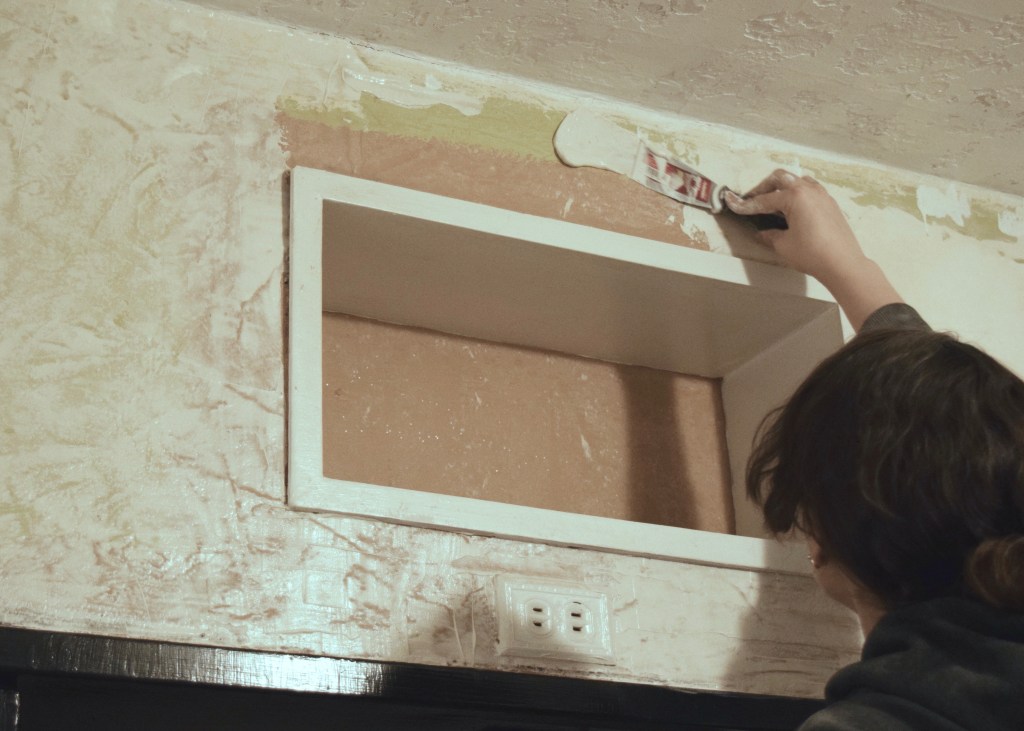
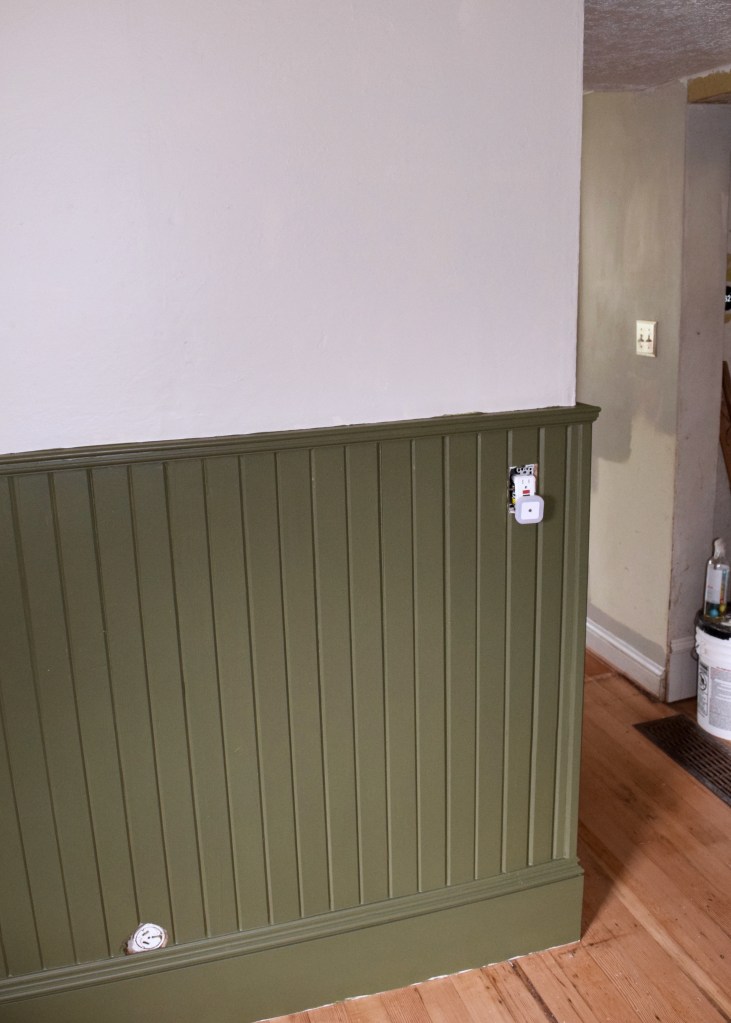
While Bronwyn was working in the back section of the kitchen I was in the front. My neighbor came over one night and convinced me I needed to skim all my walls to cover up with weird warty rock texture that was left behind by layers of wallpaper over homasote. He skimmed this whole wall which was very effective at convincing me to do the rest.
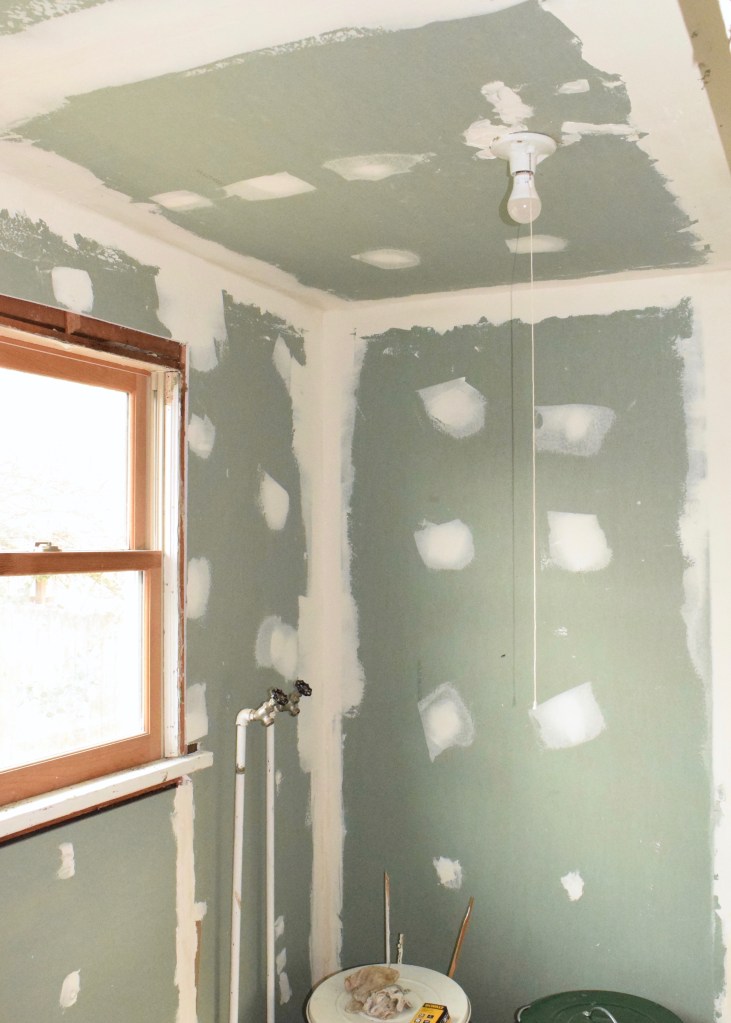
So off I went one evening armed witha 6 inch and 2 putty knife, layering new drywall mud over my weirdly textured walls. You guys, no regrets. This helped way more than I could ever imagine. You see these walls weren’t any sort of uniform texture and none of the texture matched any of the other walls. By skimming everything, the walls looked normal again. I was not, however, willing to skim the ceiling. That’s a huge surface and I decided since it will eventually probably even come down for Phase II, it’s just not worth messing with at the moment.
Adding Reclaimed Wainscotting
This is a Phase I kitchen, thus I don’t want to invest too much money in making this space over, but I do want it to be more functional and look good. Since I am not completely gutting the space, anything new I add needs to work well with all the existing. So I was super excited when a distant relative by marriage reached out to say he had some old V-groove wainscotting that had been pulled out of an older Portland home and I could use if I wanted. Ummm, yes please!
The wainscotting was used and beaten up in the most perfect patina’ed way. It wasn’t 100 years old, but it was true solid wood wainscotting. When it was last installed someone used adhesive and nails though, so it was definitely from the last 50-60 years. The wainscotting is exactly what this kitchen needed to make it feel more like an old house and less like one that went through a series of bad renovations in the middle of the last century.
It’s easy to install wainscotting, just nail it up! Since my walls are full of late and plaster, studs, old siding, etc I didn’t bother worrying about backing or adding glue to this (and since I worked on this part of the kitchen a while back, I can assure you, it’s holding up more than fine).
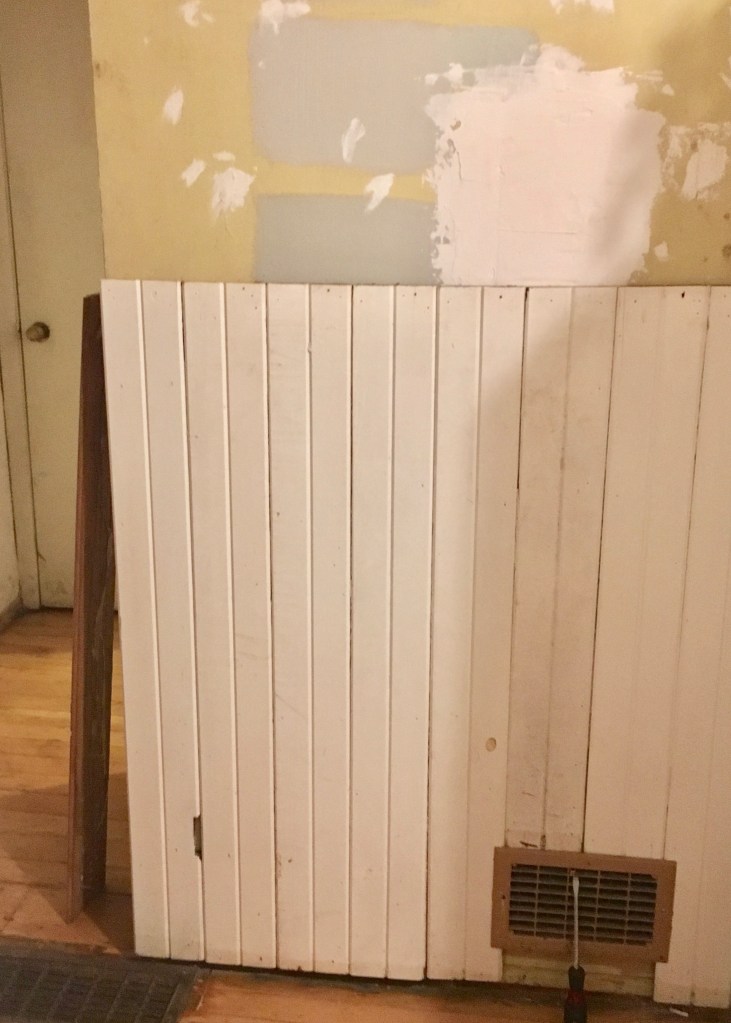
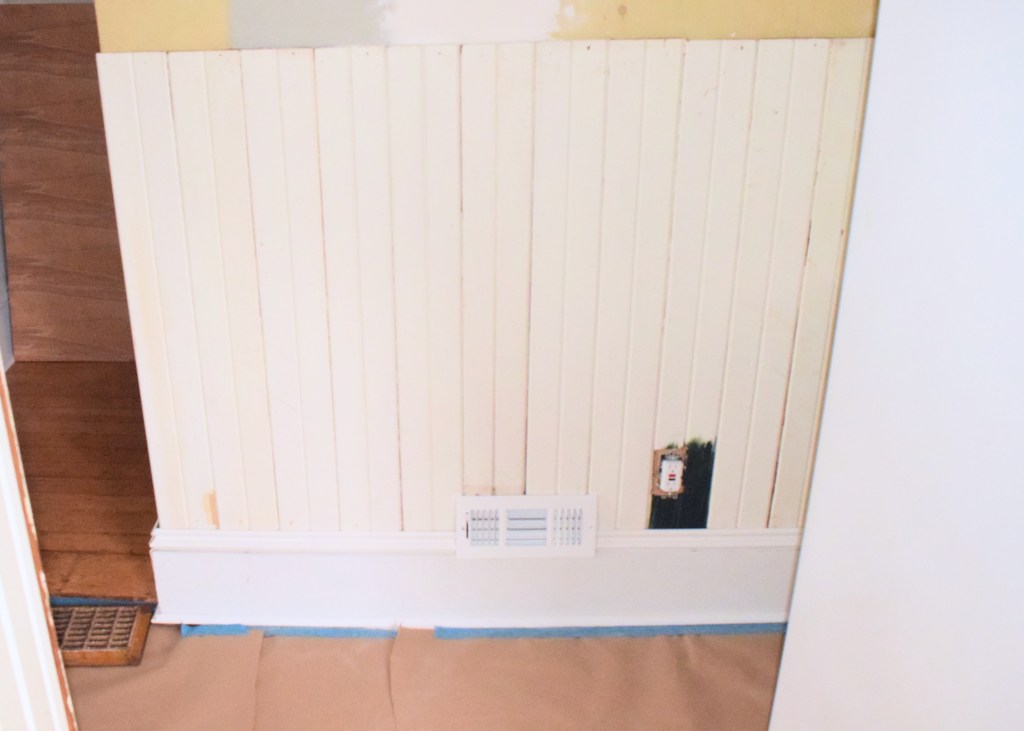
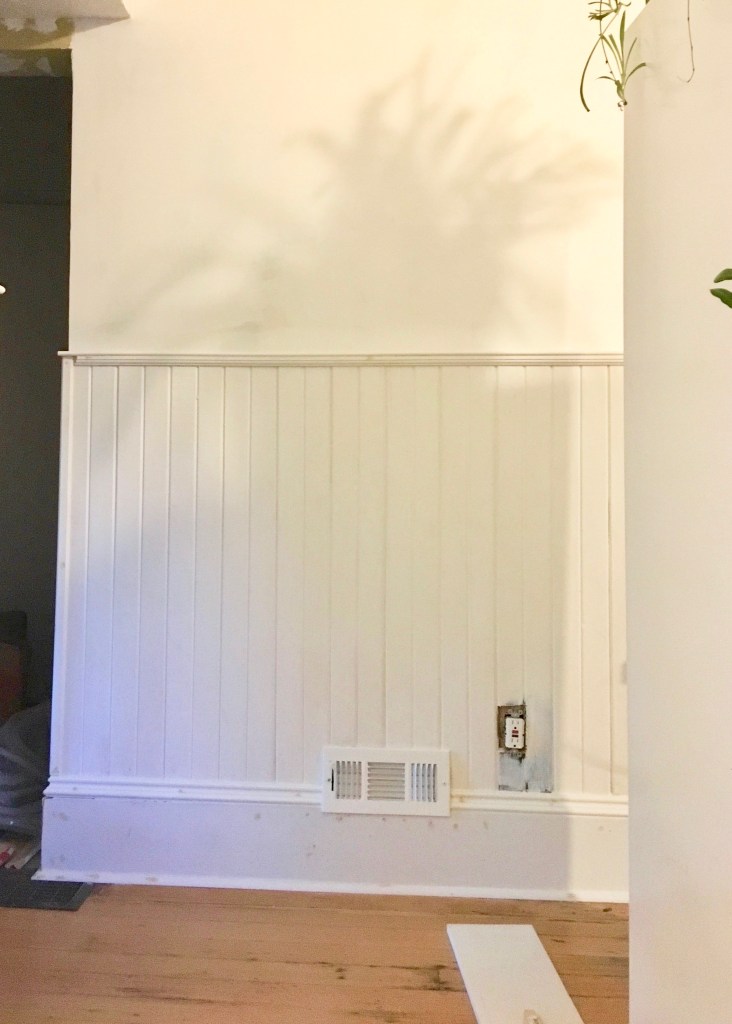
I borrowed my neighbor Erik’s nail gun and air compressor and started at the entry to the kitchen. I nailed the first board at the corner where the wall turns into my bedroom and then used a rubber mallet to tap the tongue of the next board into it and started going across the wall. I had to cut a few pieces short around the heater vent, but that was pretty easy since the baseboad will cover the space below the vent. I can’t tell you enough how much I loved the wainscotting the second it was up. It just felt right for this space and this house!
The thing about the wainscotting is though, it’s a freaking ton of pieces of wood. My V-groove boards were reclaimed from a construction project, but you can still buy similar ones from moulding companies like Metrie. Sometimes they come in single width or like mine in double widths (meaning each board has a central V-groove in it and then each tongue and groove joint creates another V-groove). So first you have to get all your V-groove boards up. Then the 8″ flat stock piece of baseboard, then the decorative top molding on the baseboard, and then the quarter-round at the base. Oh, and we’re not even done yet.
Then you have to install flat top piece of wood and beneath that a decorative trim piece and then because the corners of your paneling aren’t finished, you have to install a decorative corner (I used the same ones I jerry-rigged for the corners of my tiny master bathroom, but as they were intended in here for the wainscotting.). That is 7 pieces of trimwork to measure cut and install, if you’re counting all of the V-groove boards as one piece.
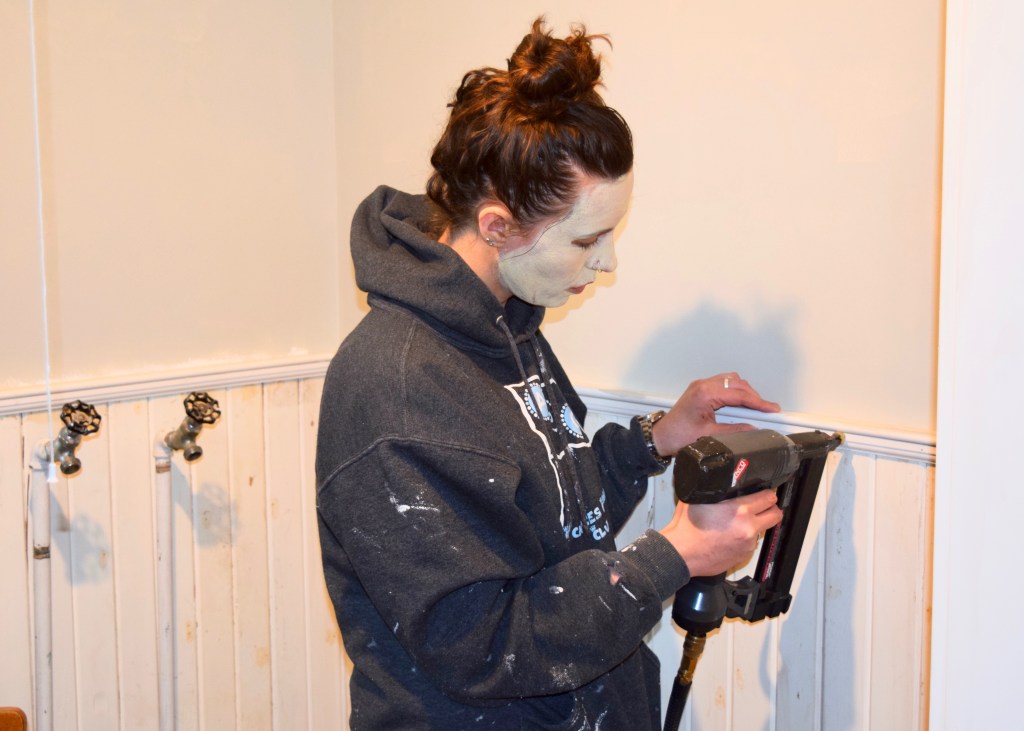
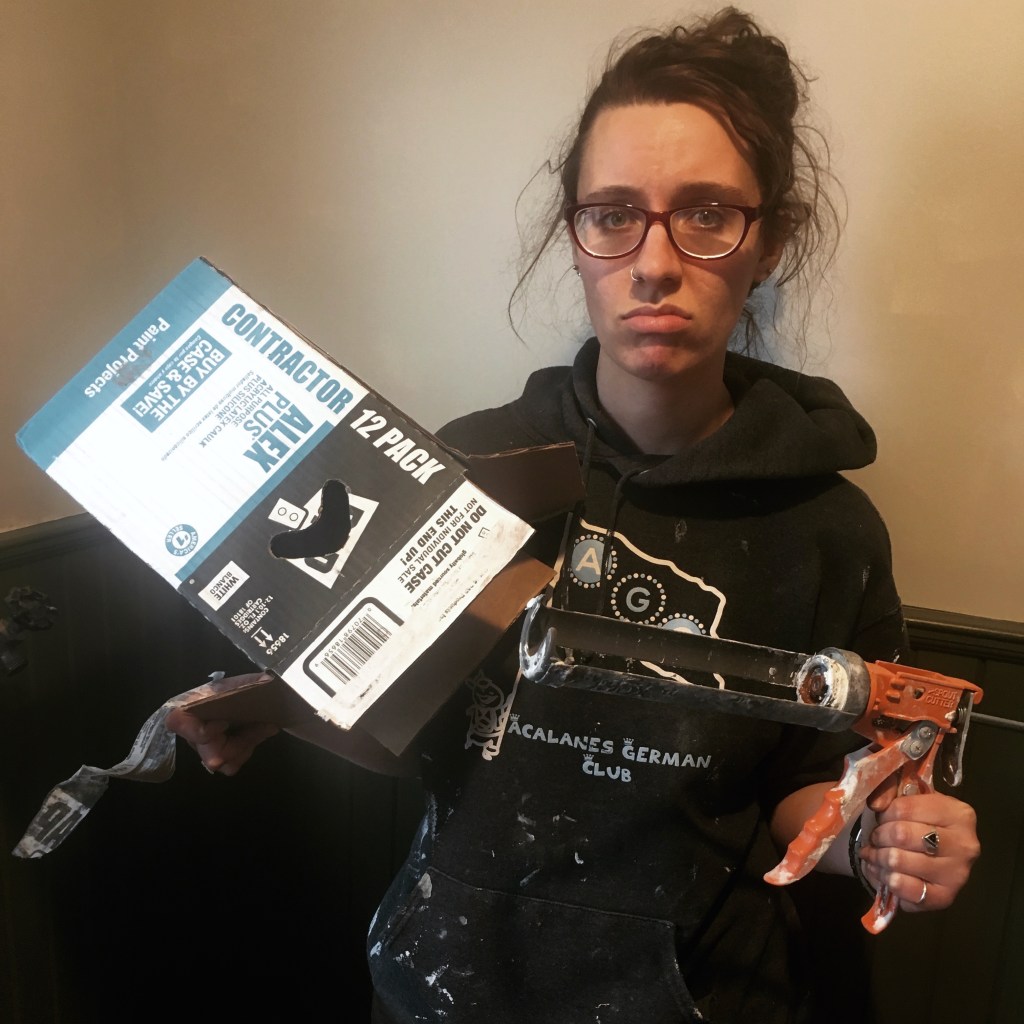
With 7 different pieces of moulding, I used a lot of nails. I stuck with 2″ nails for the V-groove boards and baseboards but switched to 1.25″ nails for the quarterround and decorative trim pieces. I also look rather deranged while nailgunning apparently. You’re welcome for this face of confused concentration.

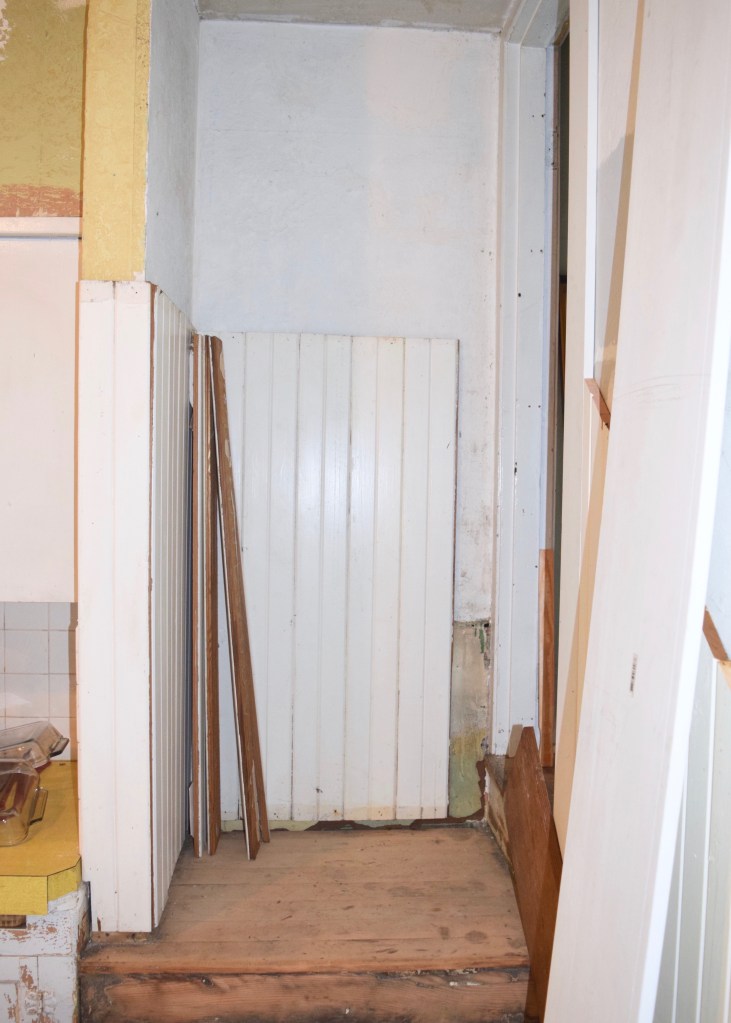
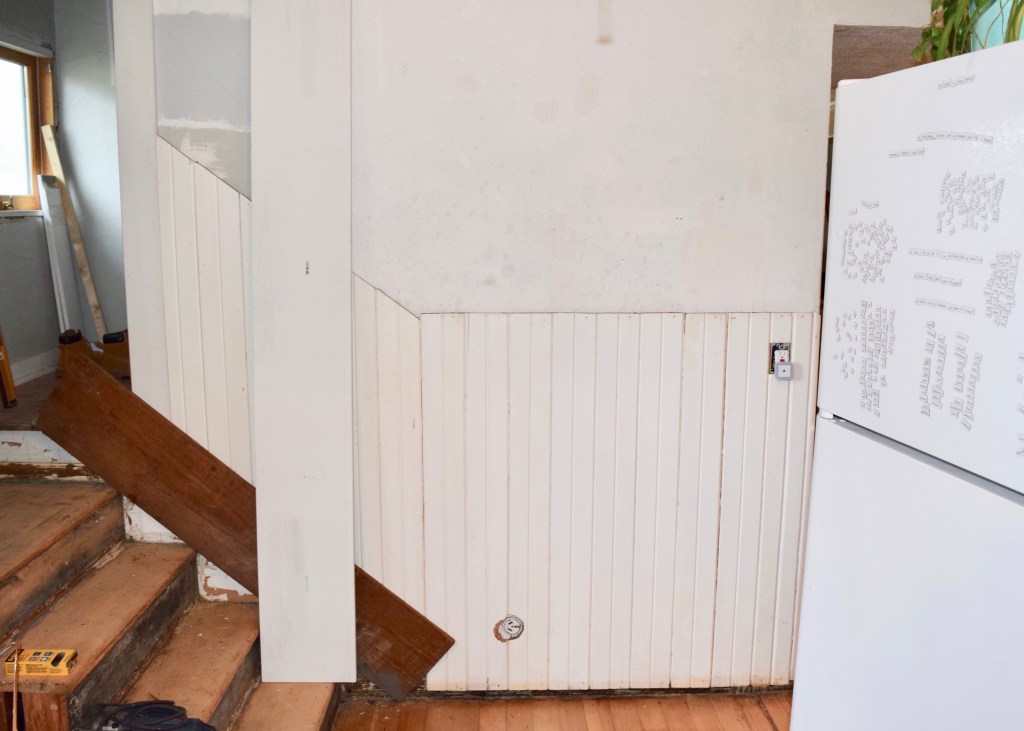
As I went around the room installing wainscotting, I’d first nail up as much as I could, and then go back and measure all my cut pieces so I could do those all at once. It meant that my progress looked like this…
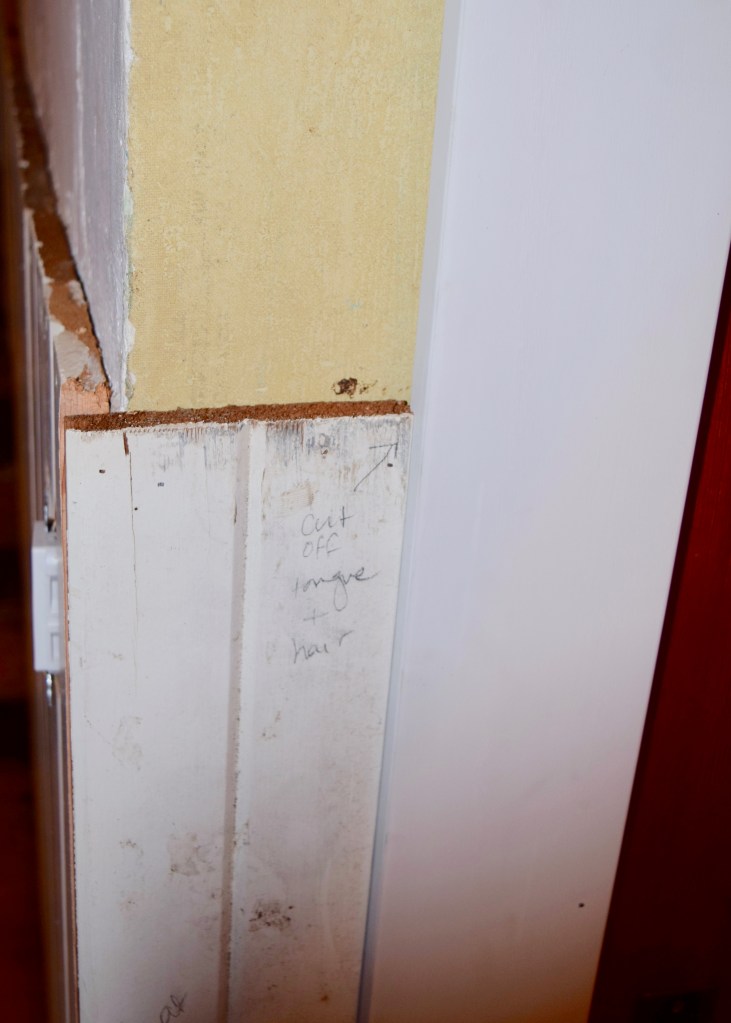
When it was time to cut, I wrote each boards’ location in the room as well as my cut measurement. I was super precise and here is an example below. + hair means this board needed to be just a little bit less wide than just cutting off the tongue, but I didn’t actually want to measure it and I new the corner piece would cover up edge of it anyways. I ripped each piece of wood on my neighbor’s table saw which he kindly lets me borrow whenever I need it.
I also worked with all of one part of the wainscotting before moving on to the next. I started with the V-groove boards then did the baseboard mouldings and finally the top of the wainscotting. Also you can see in this picture below that I hadn’t skimmed the walls yet. That was a mid-wainscotting installation project.
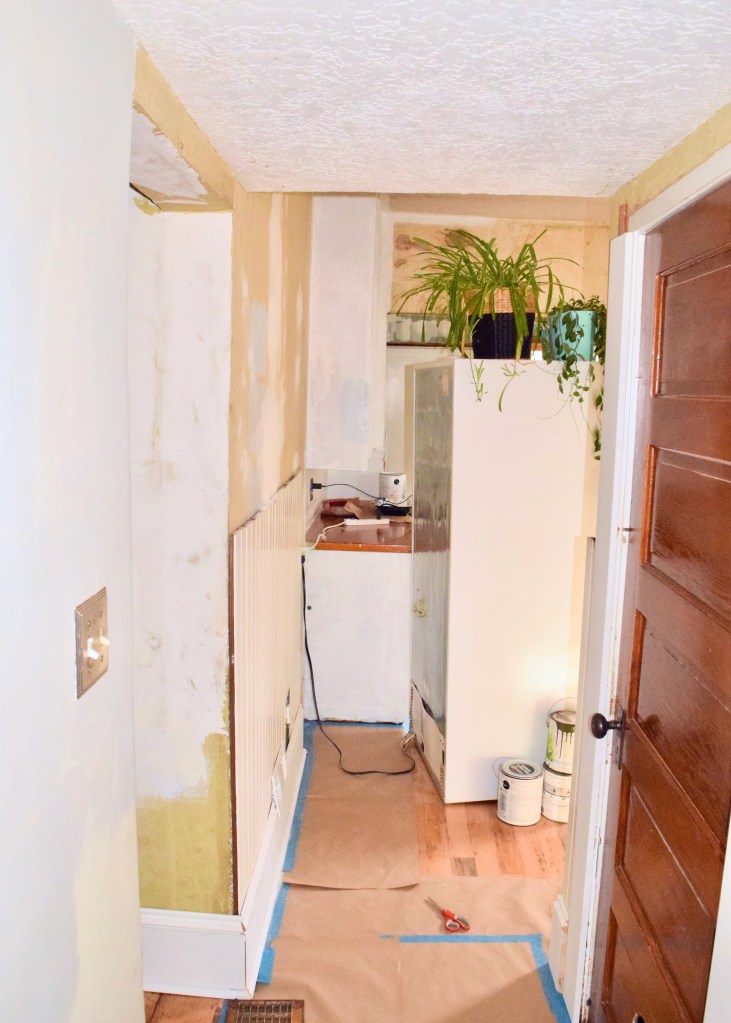
As I went through each area of the kitchen, it really started to look like a real space. Especially with my sister cutting in and priming the walls behind me.
Also when you’re nailing up 4,567 pieces of moulding, it’s important to remember that you are still human. So I highly recommend throwing on a face mask while nail gunning. Jonathan Van Ness would agree that even if you’re Bobby Berk-ing, you need to remember self care.
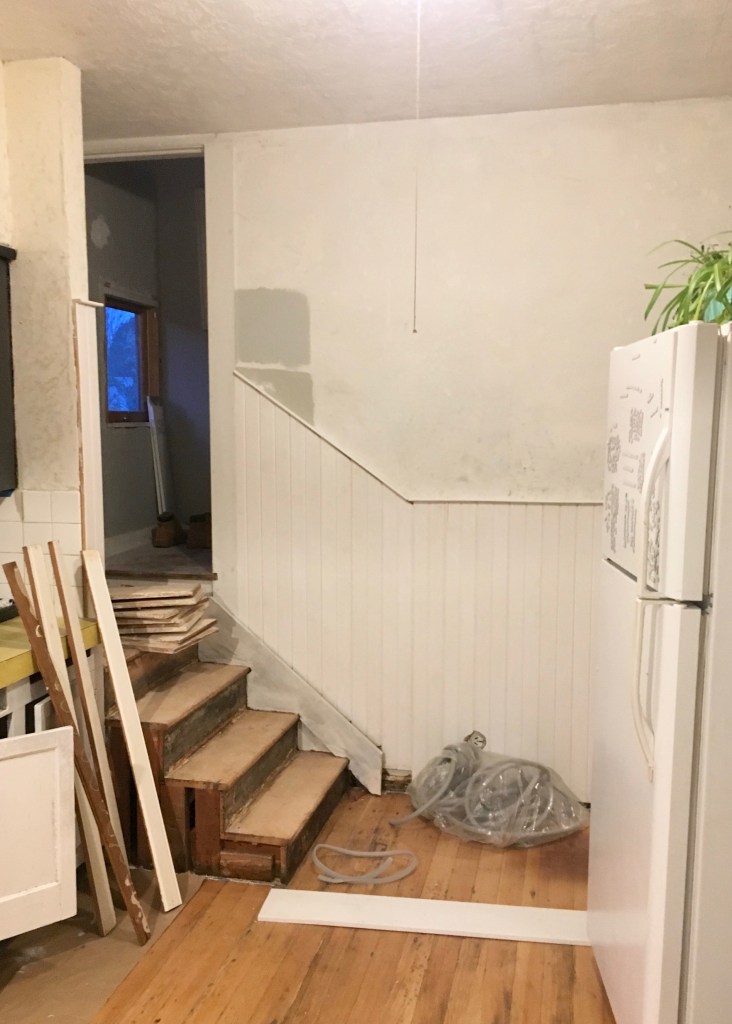
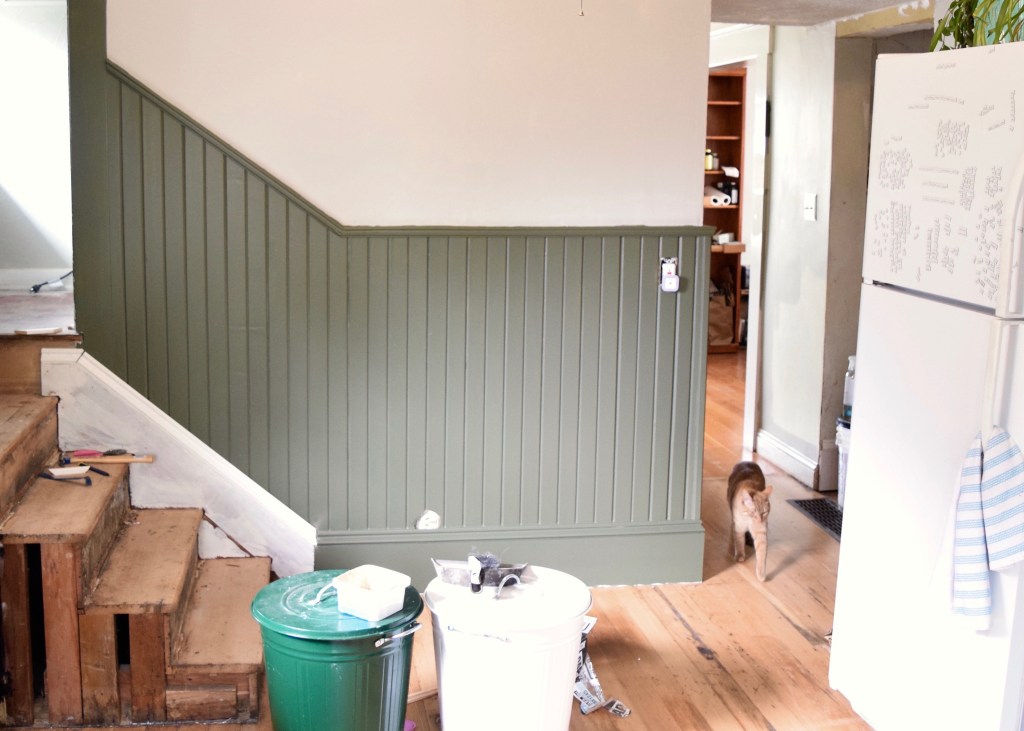
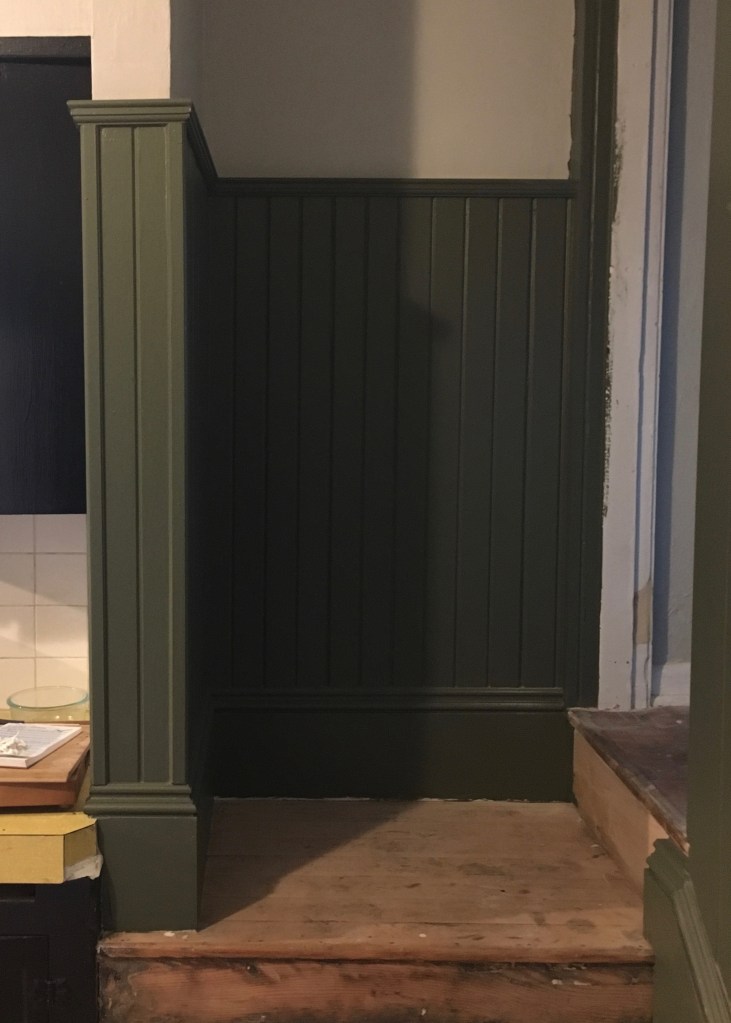
The stairs to the second floor presented another challenge, however. I got a piece of 12×1 scrap wood from my neighbor and used that to make the skirt board for the stair case. Then I had to scribe it to the stairs! It was scary and I didn’t take any pictures, because I didn’t think it would actually work.
But guess what, y’all? I followed this tutorial and it actually worked out perfectly! Ending it at the top of the stairs was bit awkward, but I think it will look fine.
The final step before painting the wainscotting? Caulking! My least favorite DIY. I used an entire 12 pack of caulk going over every single seam in my 53,567 pieces of wood that made up the wainscotting in this room. It was ridiculous.
Painting Wainscotting & Walls & Ceiling
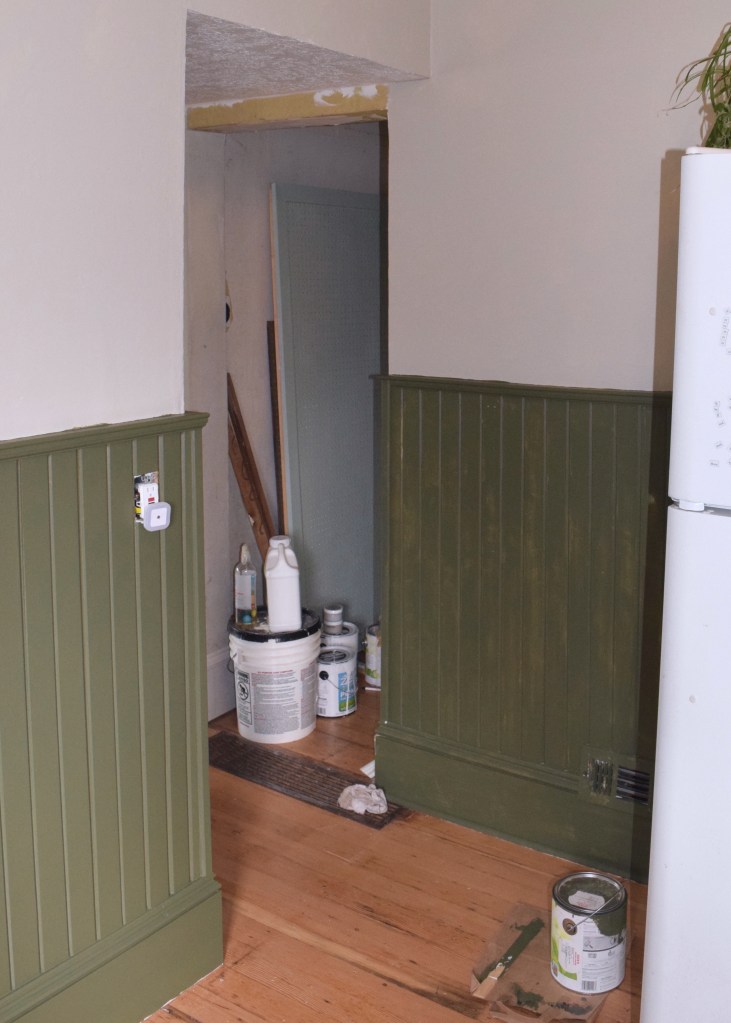
Boy, oh boy, after caulking I was psyched to get to painting this room. Everything was magically transformed! Even after the first coat, I was just ridiculously psyched to see the progress! I used the colors from the other spaces in my house; all Benjamin Moore: Cloud White on the ceiling, Forest Floor on the trim, and Brushed Aluminum on the walls.
I’m not sure why I waited to paint the skit board until after I’d painted the wainscotting, but it happened.
If you look closely you can see how precisely cut my skirt board ended up! The scribing method worked really well!
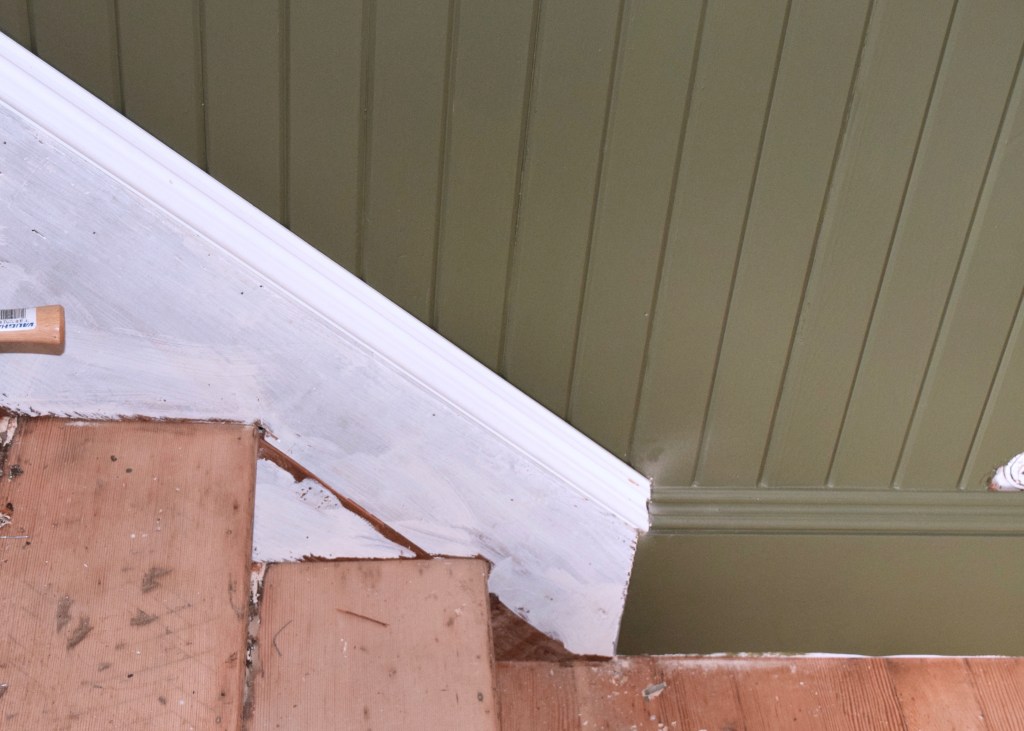
You can see my line where the wainscotting meets the wall isn’t great here, but don’t worry. I always circle back to cut in the wall paint last since it’s much easier to create a crisp line that way.
This weird little corner where my future dishwasher would hook in looked so good it had me screaming! Doesn’t the wainscotting make the space feel so much more old world? I also cased the opening between the two parts of the kitchen to make that more intentional too. A house of this age shouldn’t have any drywalled openings, they should all be cased (meaning trimmed out with wood).
Even though I hadn’t finished refinishing the stairs or painting the trim, he top of the stairs was looking moody and wondrous too!
Installing a New Back Door
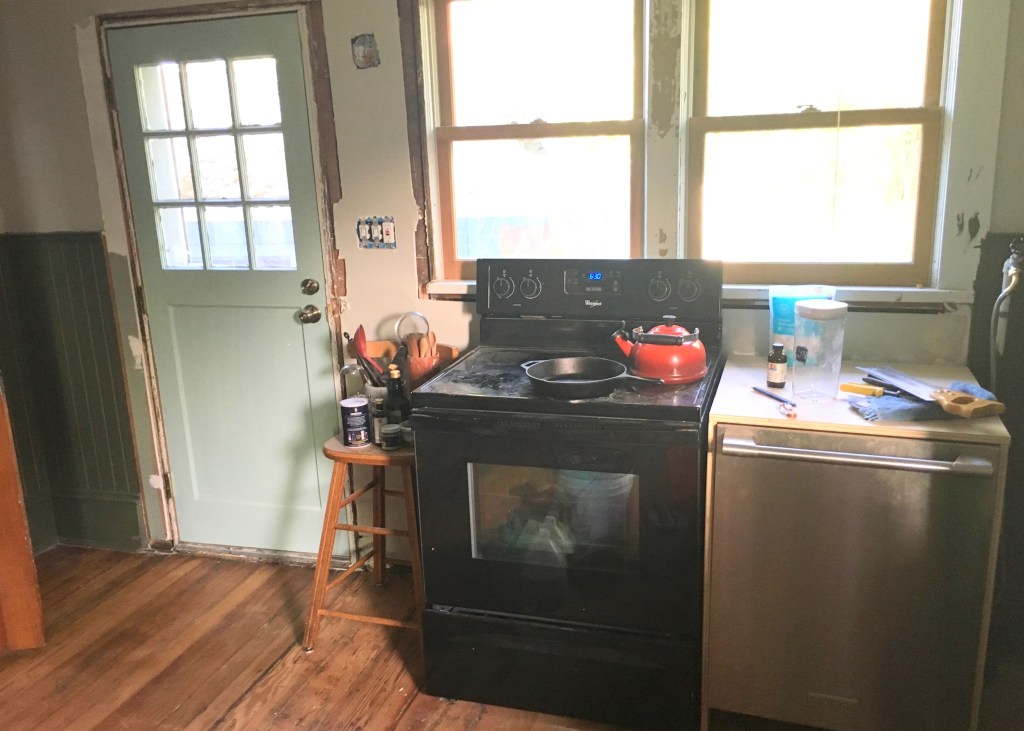
Before I could finish all of this trimwork in the space I wanted to launch another project: installing a new door! The corner of the room by the rear of the house was looking amazing, except for the back door! The old one was clearly a cheap addition to the house and didn’t match stylistically. A slabdoor can look great in a mid-century home, but in a house as old as Berrybrier it should be paneled.
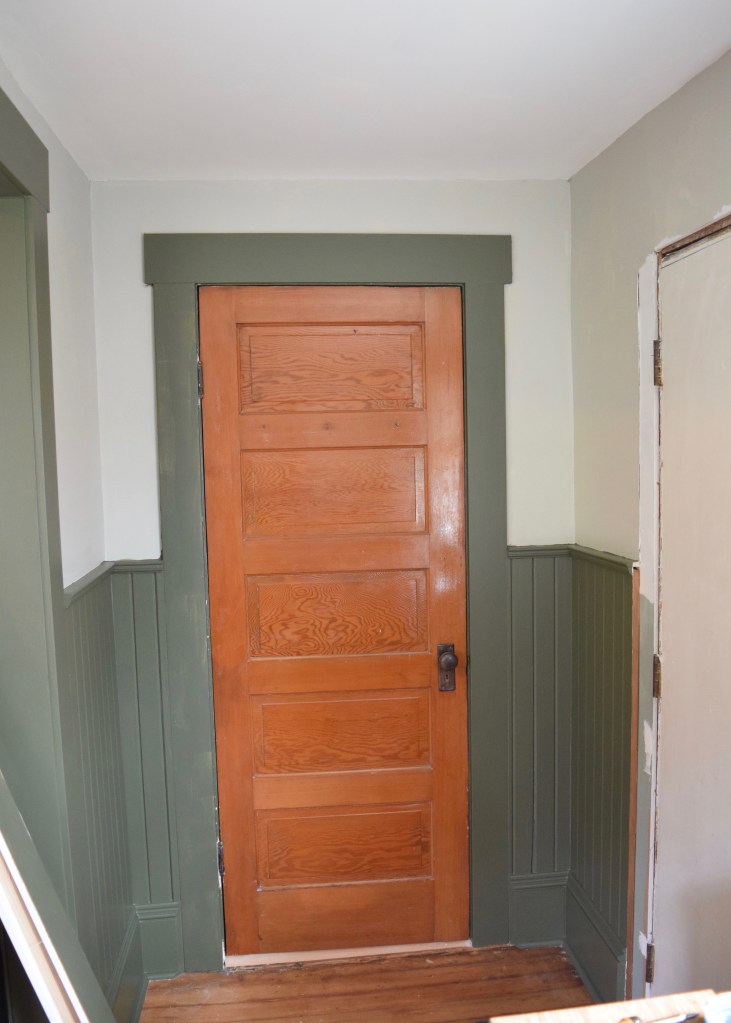
The slabdoor blocked so much light in an already dim kitchen, it clearly needed to go. I also needed to remove some of these defunct electrical switches which my electricians had pulled power from, but not removed when I updated the electrical at Berrybrier.
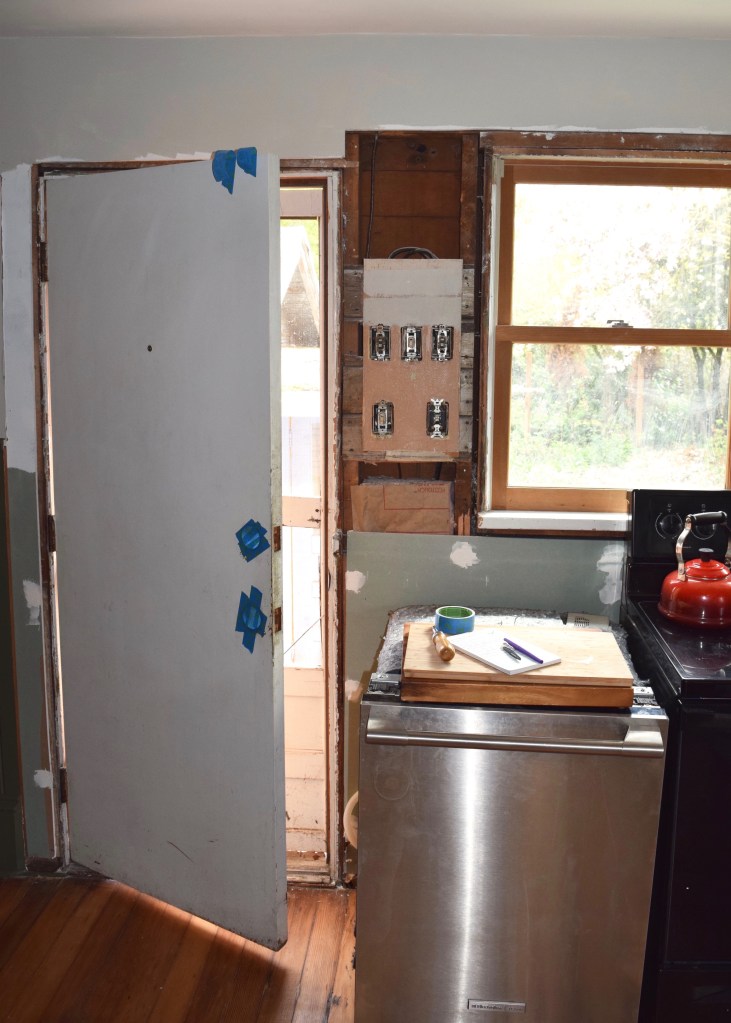
I bought a new-to-me older half-lite door on Craigslist. The glazing on the upper part of the door allows so much more light and views of the backyard! The old electrical got removed and I wired it for a sconce too. I got the door hung one day with the help of my neighbor Erik, but I didn’t have time to install the hardware, so I slung the oven in front of the door and called it “secure” for the night. Good thing Portland is such a safe city!
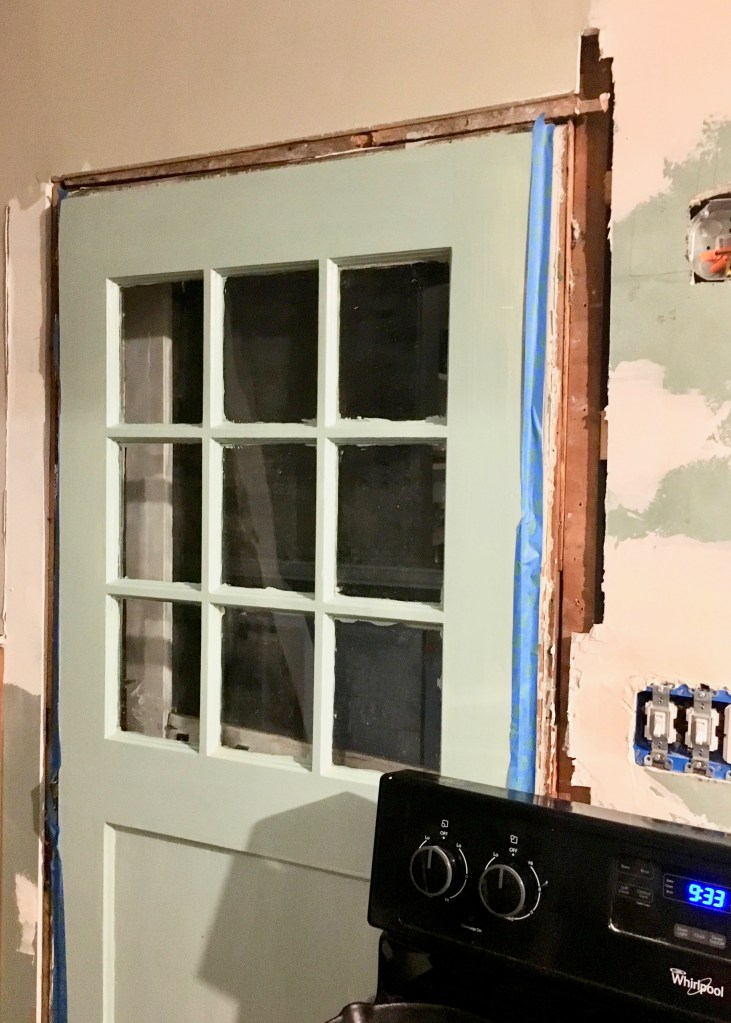
The next morning I was able to install the same hardware set I’d bought for the backdoor when I first moved into Berrybrier. I’d love to update it one day to this snazzy set from Rejuvenation, but that’s not happening this One Room Challenge!
There were still a few more pieces of trimwork to complete in this space, but for now that’s all I’m sharing. It’s amazing what the wainscotting did to make this room feel so much older. I couldn’t be more pleased!
Be sure to check out the other One Room Challenge projects too! There is so much amazing inspiration on their site. I’m particularly pleased that my tiny master bathroom made the cut to be showcased on their bathrooms page!


That wainscotting looks so amazing, especially in the dark paint. love it!
Thanks so much!! I’m really excited about it.
First of all, your hair is beautiful.
Second of all, I actually enjoy drywalling! And the mudding/taping/sanding that goes along with it. Painting furniture and cutting crown trim, however… that’s another story. 🙂
Third of all, IT LOOKS AMAZING! Great job! This kitchen is going to look so fabulous, I can’t wait to see the end result. ❤ ❤
Oh thank you! So nice! Really you enjoy all the drywalling process?! Come over any time! 😂-xo – LO
Great job on the wainscoting! And I love the color you chose. I bet you’re glad that part of the project is behind you now, but it looks like it was worth the work for sure.
It was definitely worth it! The result is so much better than I’d ever imagined! xo – LO
The bead board looks sooo good with the floor. Can’t wait to see the next part!
This looks so great! I’m loving your project so far!
Thanks so much! I’m loving all the changes – slowly getting this space so much more useable! -xo, LO
Wow! You’re tackling such a huge project for the ORC! I was just looking at your week #5 and it looks like the green and wainscotting really belong with the house.
Awww thank you! I love the green wainscotting too! It 100% feels like it was meant to be here!