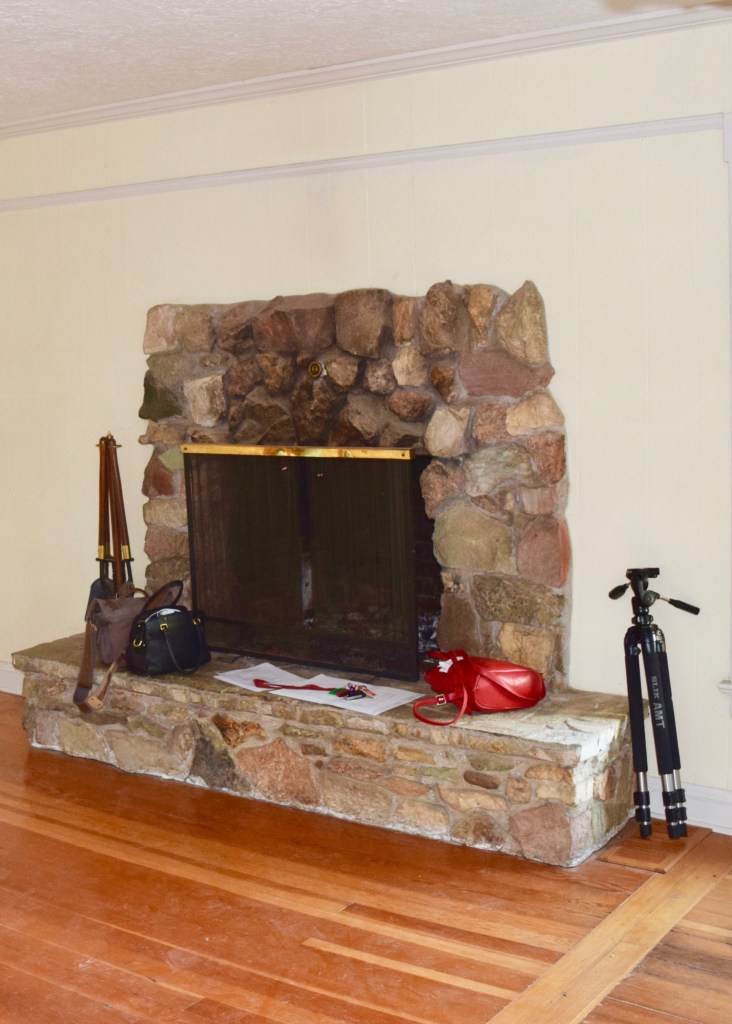
When I first moved into Berrybrier I knew something would need to change on the Living Room fireplace. It was a stacked stone fireplace and clearly added onto the house in the 60s or 70s. The center was slightly blackened with soot and the stones were wildly different color tones, varying from yellow to red to brown. I did not like it at all and it felt like a jarring mid-century accent in the midst of the turn of the century house.
I’m pretty sure this house didn’t even have a fireplace when it was built, just wood stoves in each room. There are two chimney’s on the house. A central one with old bricks that goes through the center of the house and has access holes for stove pipes in many of the rooms and then the one this fireplace vents through which is all 60’s/70’s orange brick. Not my favorite!

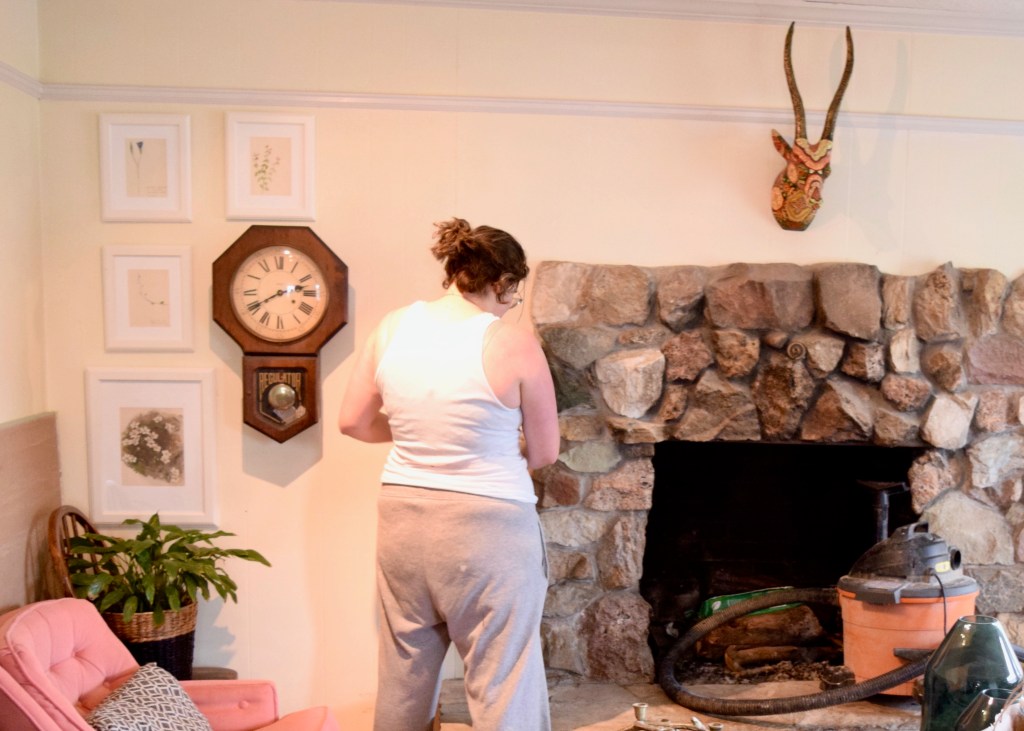
Of course, the busy stone of the Living Room fireplace is also one of the first things you see when you opened the front door and walked into Berrybrier! So in the midst of the insanity that was the kitchen renovation I roped my sister in to complete a quick fireplace refresh. I wanted to do a modern take on whitewashing, something that would still let the stone shine through, but would look a lot more subdued.
I considered painting the whole thing white and found some really cute inspiration like this one below. However, after I finally landed on paint colors for the main areas of the house, I thought white would look a bit odd against mushroom walls and forest green trimwork. Plus, I wanted to still have a bit more of the texture of the varying stone colors and true paint would have wiped that out.

Eventually I found a number of photos of white and greywashed stone. Many of them came from blogs who’d had similar fireplaces as me and needed a quick update! I decided I liked the grey color created by greywashing and decided to go with that route.

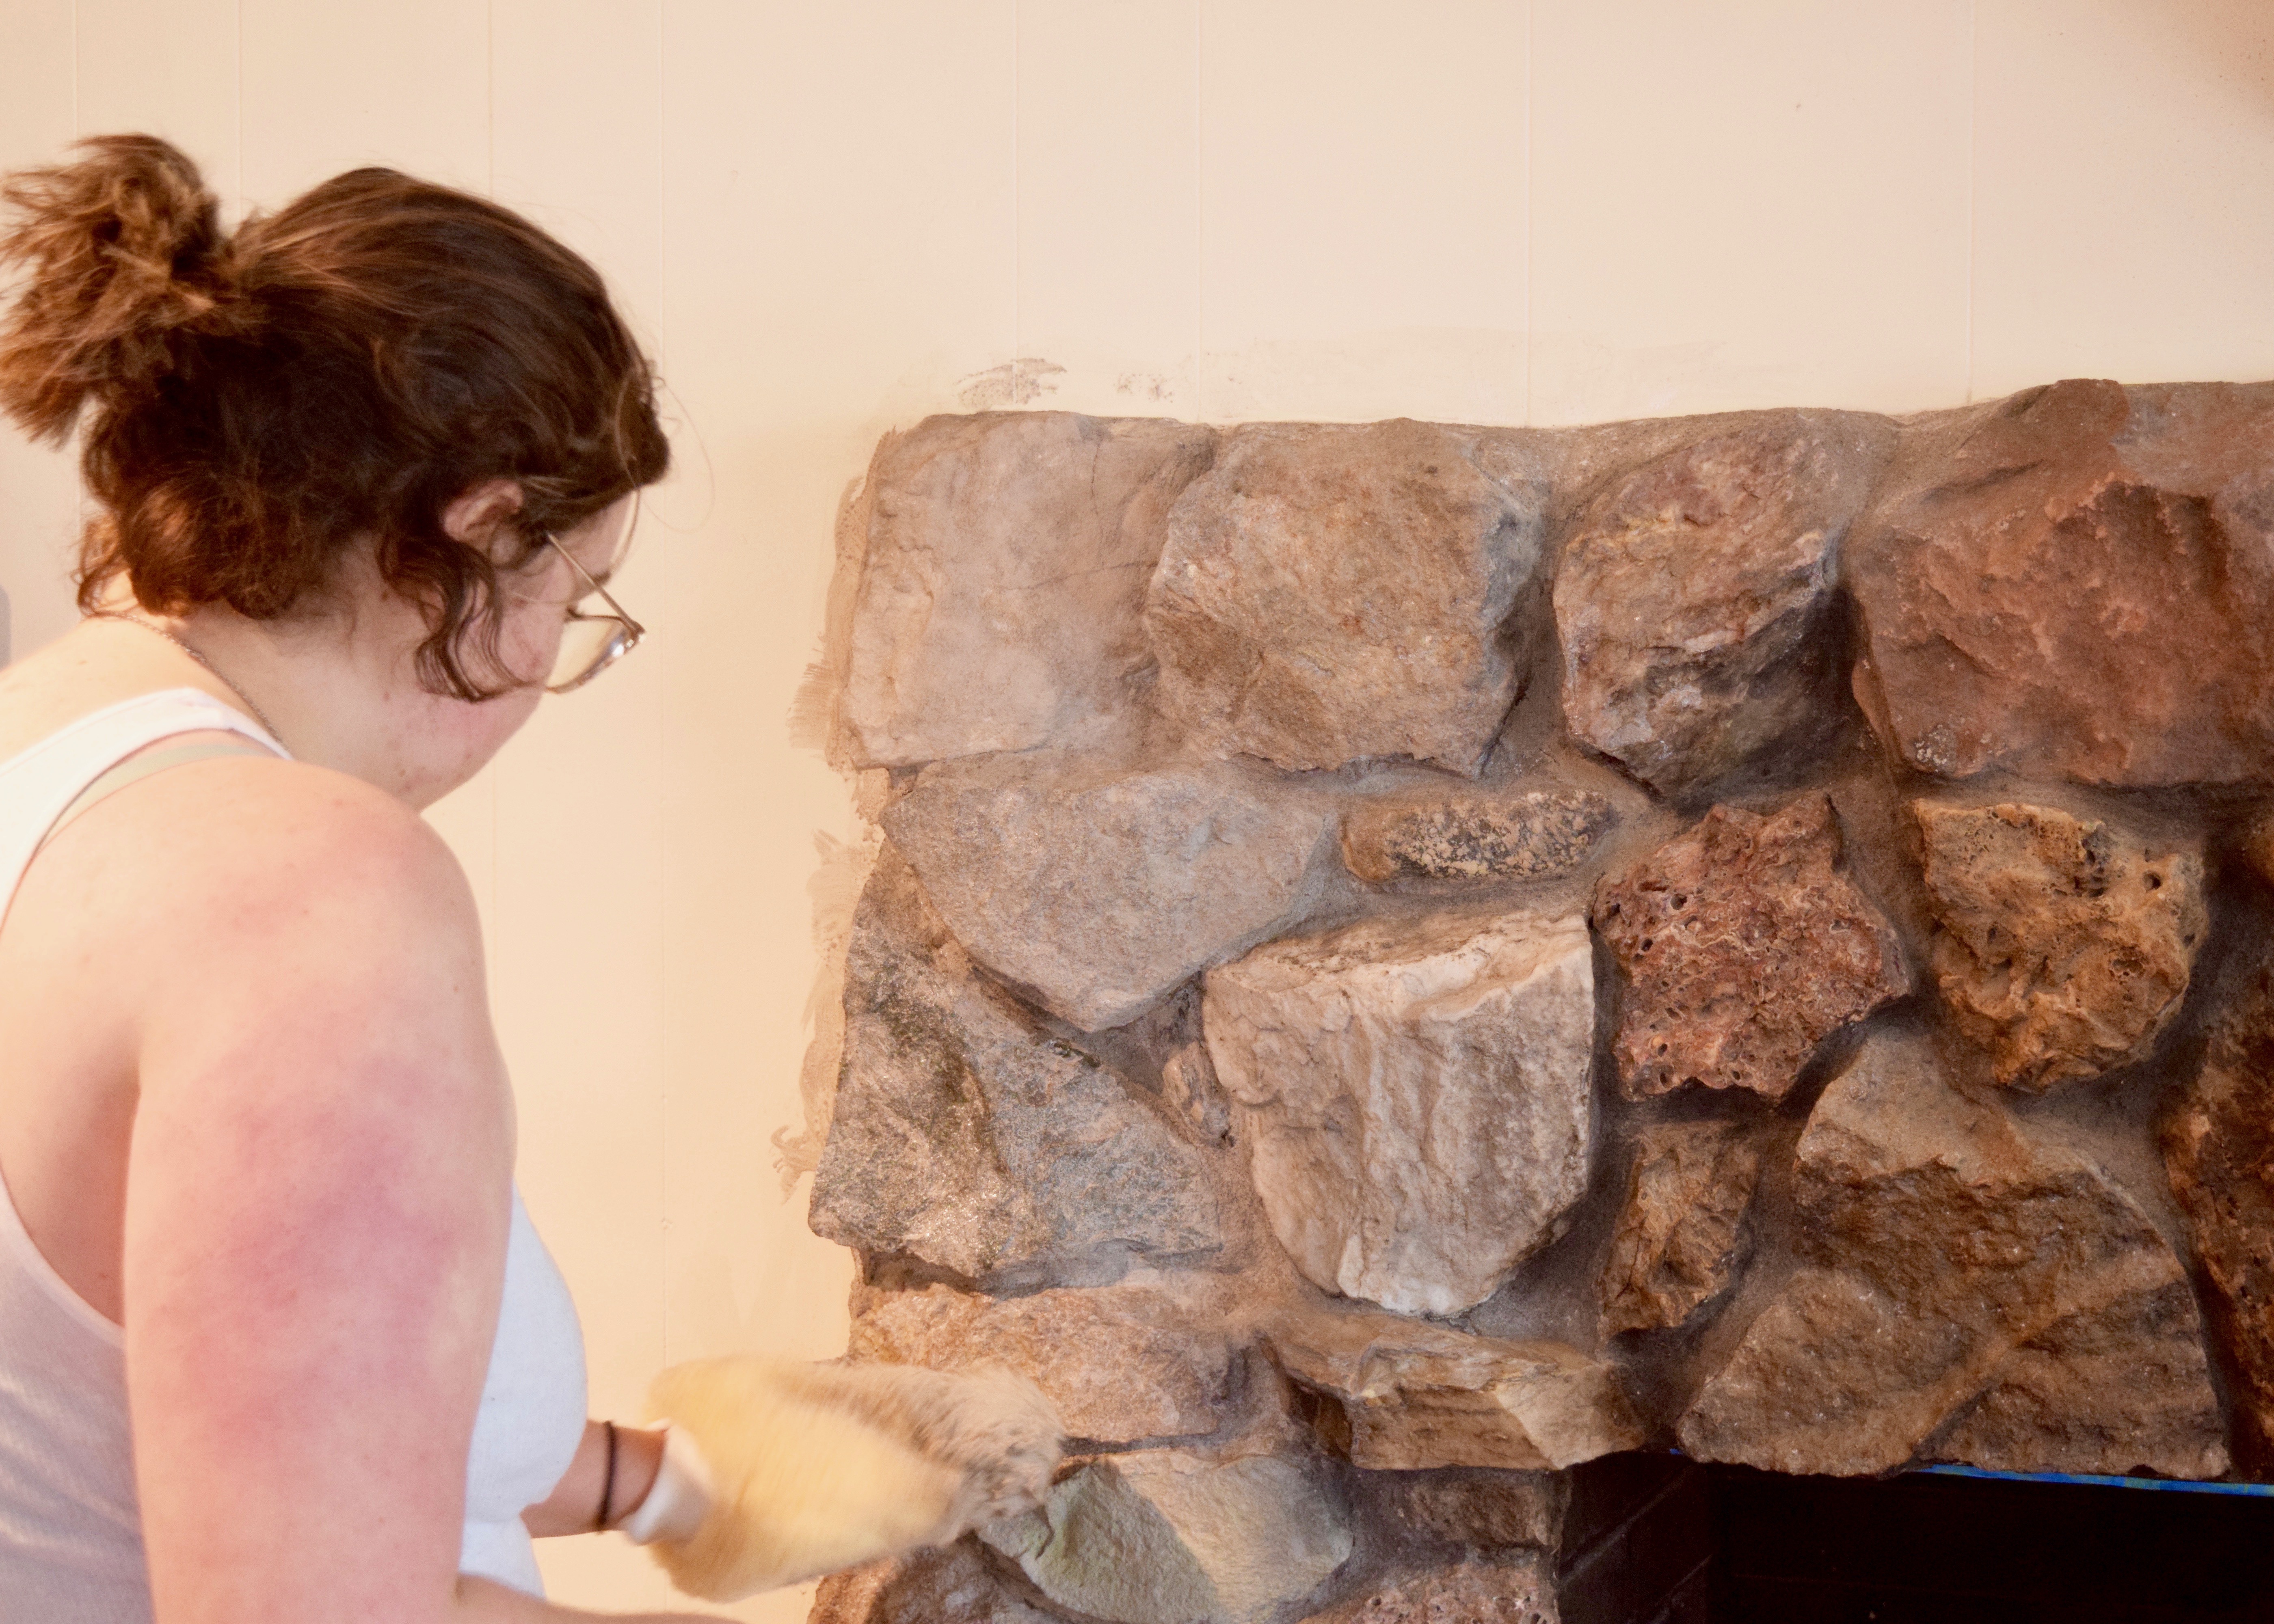
I picked up a can of Benjamin Moore’s 1475 Greystone and a painting mitten at the local Ace Hardware. Using a spare bucket and a paint stick I had my sister Bronwyn mix up a 50/50 batch of water and the Greystone paint. One it was well mixed, she dipped in her painting mitten and began gently brushing the stone. You could use a paint brush to do this, but I thought the mitten would make it a) easier and b) allow for a lighter sponged on look that would look more natural than a brush stroke.
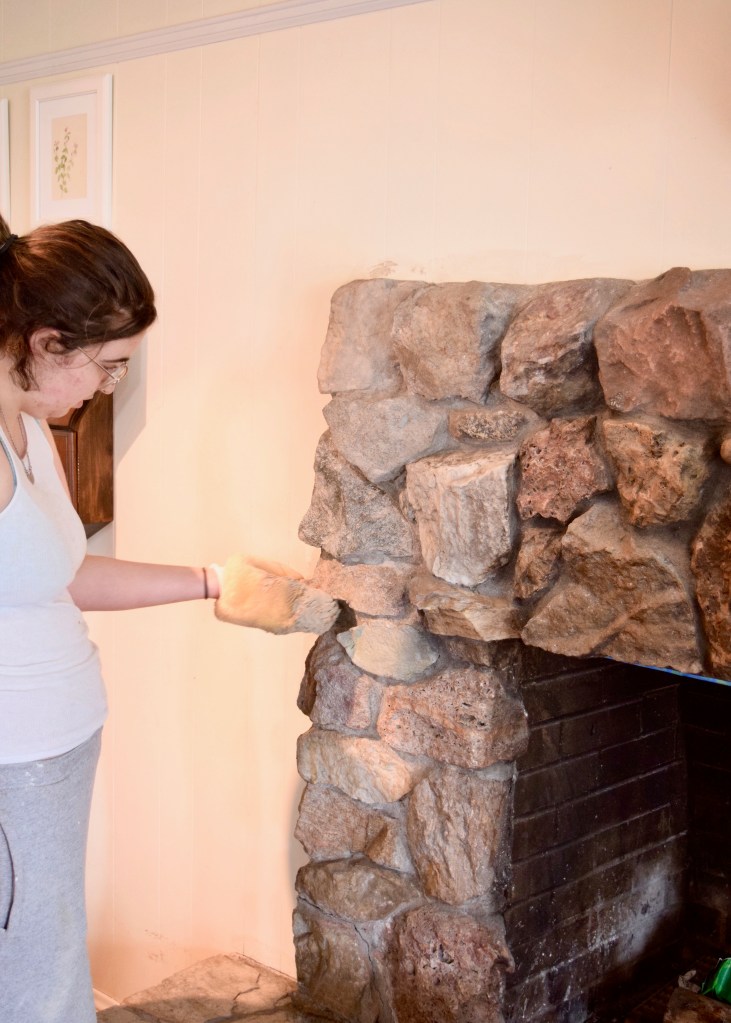
When Bronwyn first started sponging on the 50/50 mix, she worked on the four right most stones at the top of the fireplace. When I came back a few minutes later, I could barely they’d been greywashed. Especially when I looked from afar.
We decided to up the ratio of paint to water from 50/50 to 75/25. This gave us a bit more coverage. I’d definitely recommend starting low and working up to more paint if you try this yourself, because you can definitely always add more paint or more layers later, but you can never remove it!
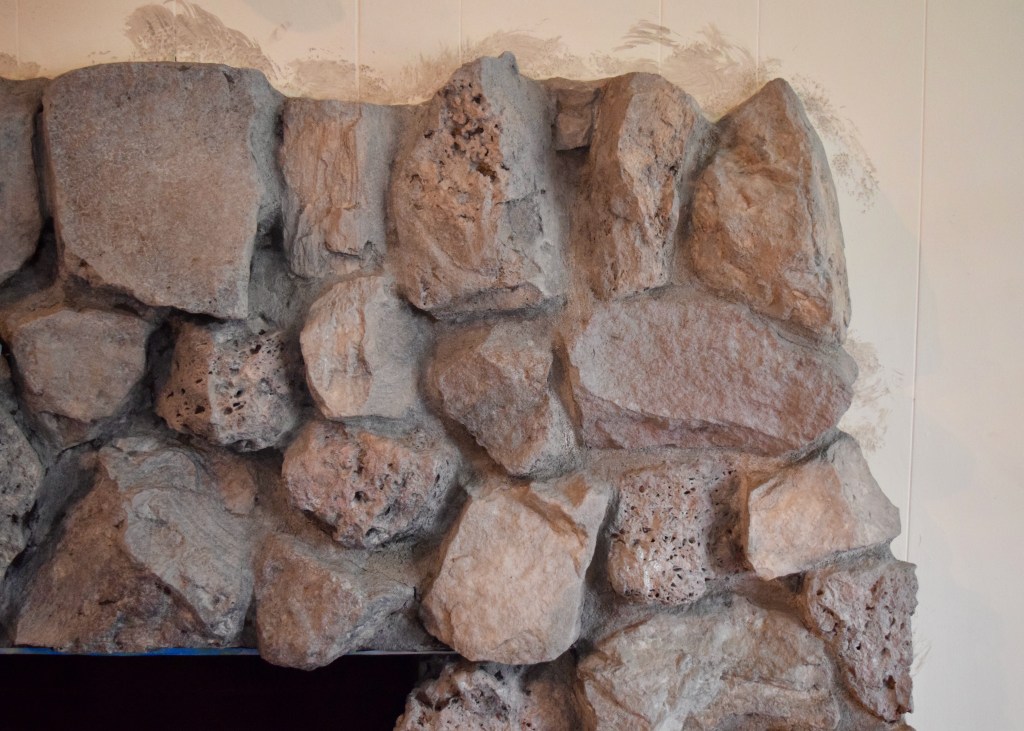
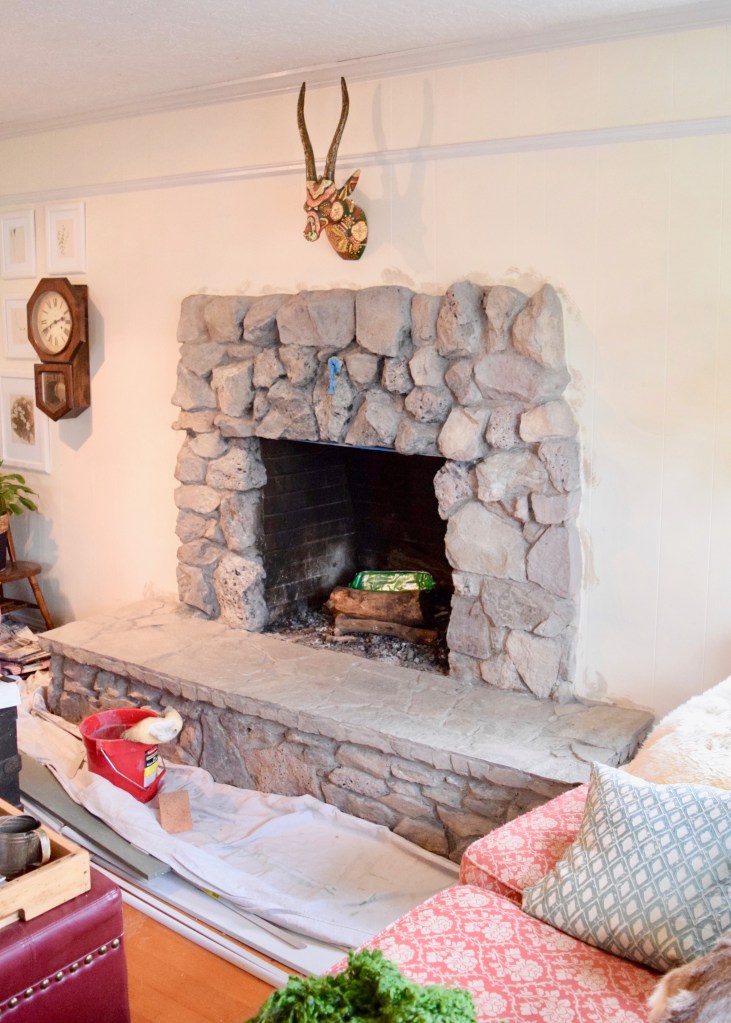
Once we had the 75/25 ratio, the colors became much more calm and cohesive, exactly as I’d hoped!
In under and hour she was able to finish greywashing the whole fireplace. It looked so much better! I instantly loved how the varying stone color tones came through, but didn’t scream in my face anymore. It was subtle and relaxed and it no longer looked dirty! Don’t worry, I am painting the walls and trim in here, so we didn’t even bother to try to keep the greywash off the wall.

And yes, this wall is wood paneling… unlike every other wall in the room / house which is lathe and plaster or drywall. WHY? I wonder what it’s covering up / hiding?! Eventually I will completely demo this fireplace and wall and put drywall up instead. For now, I get to just live with it. Sigh.
Back to the fireplace though. Look how much prettier it looks up close! It’s 1000x better. The stone is so rough and incorporates porous volcanic rock as well as more traditional stones, but once it’s more unified in color, that’s a lot less obvious.
I love looking at this side by side, just to see how much this changed it up! Even though it’s just a progress shot on the right, does it looks so much lighter and lifted and newer and cleaner?!
Soon after we finished this project, I painted the rest of the living room Benjamin Moore’s 1485 Brushed Aluminum with Benjamin Moore’s 1498 Forest Floor for the trimwork, just like in the stairway. The wall paint contrasts perfectly with the fireplace. I love paint so much! So quick and easy and *BOOM* huge change!

This room is coming along! I have a post cooking up for you on the evolution of this space. Even thought I’ve only been here at Berrybrier just under 2 years, this room has already had quite a few lewks! Though I don’t know if you can count complete and utter chaos as a lewk…. Ha!
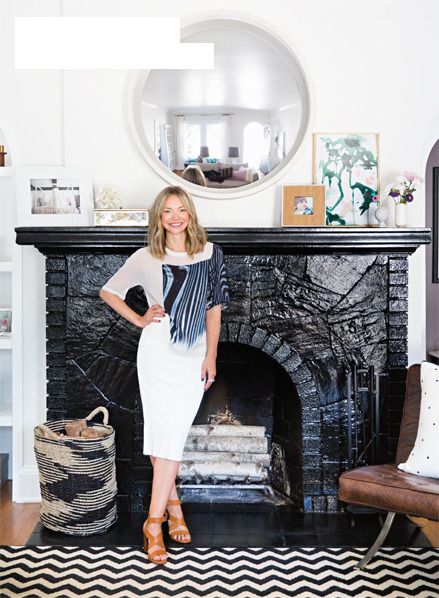
Also I just found this picture when I was looking through my Pinterest board and now I’m wondering if this fireplace should be glossy black at some point in the future?! Hmmmmmm…
Have you ever painted or whitewashed brick or stone? Did you like the end result? I would struggle to paint old brick or stone, but cheap mid-century or later stone? Slap some paint on that!

The whitewashing made a great difference. I am
Thinking I could do that with the brick behind my wood stove.
You totally could! It would definitely be a way to change it up!