Happy Monday everyone! I wanted to share this fun garland I made with all of you. I worked on this before Christmas actually and finished it about two weeks before hand. I never showed our holiday decorations though, because I was too busy celebrating! This garland is just so fun though, I think it deserves a shout out.
On the Sunday after Thanksgiving, my mother and her three sisters got together to make holiday crafts. This isn’t a family tradition, but something new this year, and we all loved it! My Aunt Chrisy ended up not being able to make it, but my mother and her two other sisters got together at my Aunt Karolyn’s in Davis for a little holiday magic. My cousin Kelly and I decided to crash the party too! Because I am a planner, I got incredibly excited and started scrolling through Pinterest to see what kind of inspiration I could find. Crafting is basically my own personal Pinterest-Challenge. I fell in love with several ideas, but the one that truly captured my heart was this. It was just so colorful and happy! I knew instantly that it was perfect and I had to try to make it. Yes, it’s not very Christmas-y, but that was what I inherently loved about it! The garland is bright and exciting and could be used for absolutely any holiday or celebration. Multi-use decorations? Count me in!
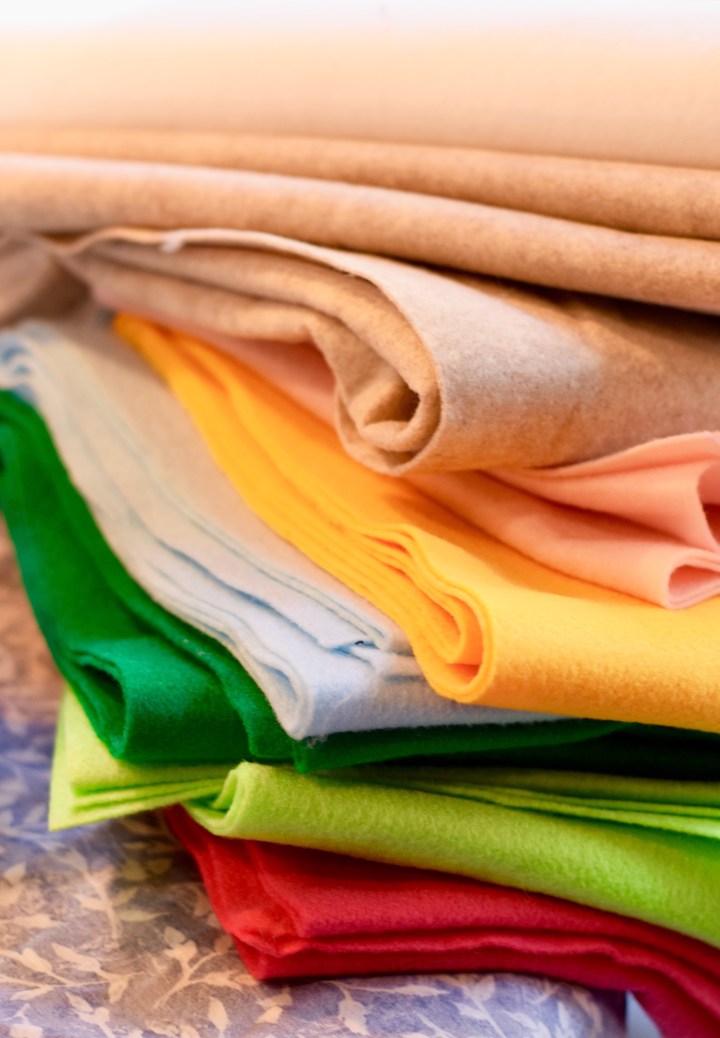
First I headed to Joanne Fabrics to pick up some supplies. I debated which colors to use before settling on light blue, teal, yellow-gold, yellow, bright magenta, baby pink, maroon, lime green, forest green, white, and neutral beige. I tried to coordinate my colors so there was a darker and a lighter version of each hue. I added the neutrals in because I didn’t want the color to be too overwhelming. I got 1/4 yd of each of my colors, and a 1/2 yard of the white and neutral. In the end, I had way too much fabric, especially of the neutrals. I’d suggest getting only 5″ strips of fabric for anyone planning on trying this. That’s less cutting for you too! The fabric on the bolts was doubled over, so in the end I got 9″ wide and 96″ long strips of each color except the neutrals.
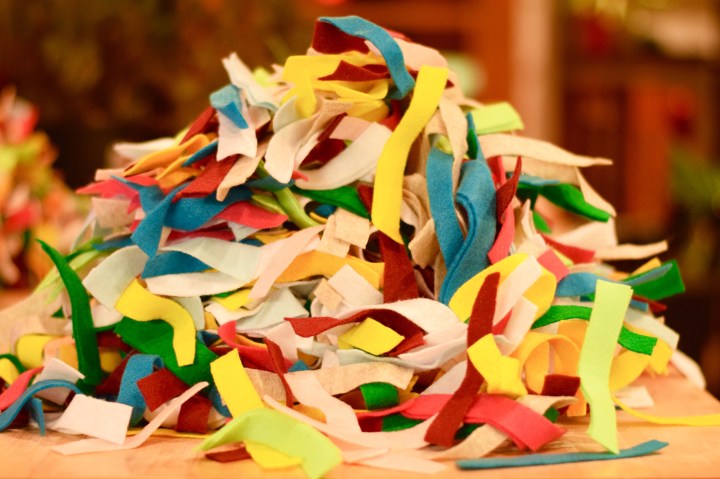
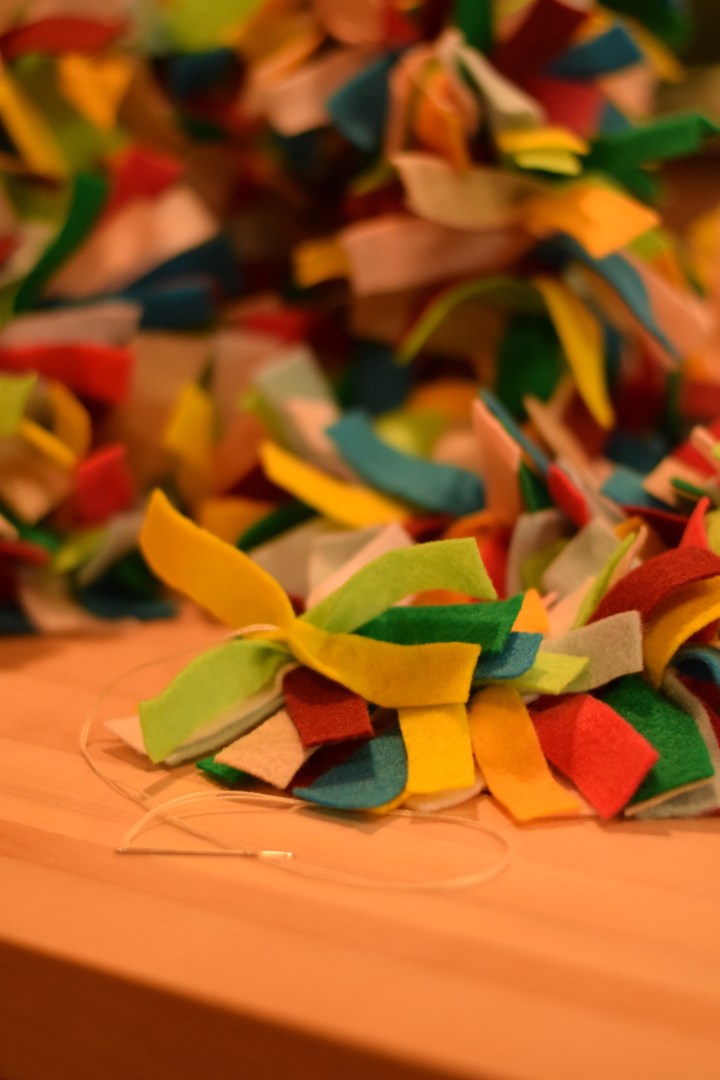
I decided to make my life easy and simply cut my fabric down the middle until I had two long strips of felt approximately 4.5″ wide. Then I cut my long strips into 3/4″ pieces. I ended up with a ginormous pile of colorful felt strips. So happy and bright!
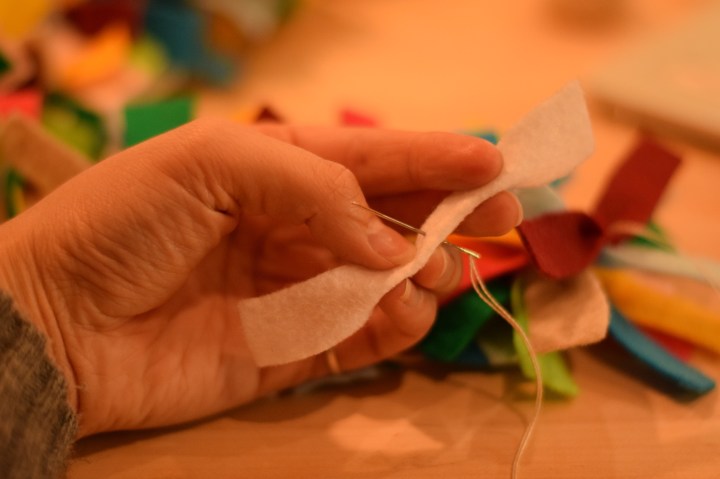
I then took strong, white embroidery thread and a needle and got down to stringing my garland together. Because felt is so easy to puncture, I used a nice big blunt needle. I started with a big knot in my thread. Then I took a piece of felt from my pile and quickly found a good way to string them together.
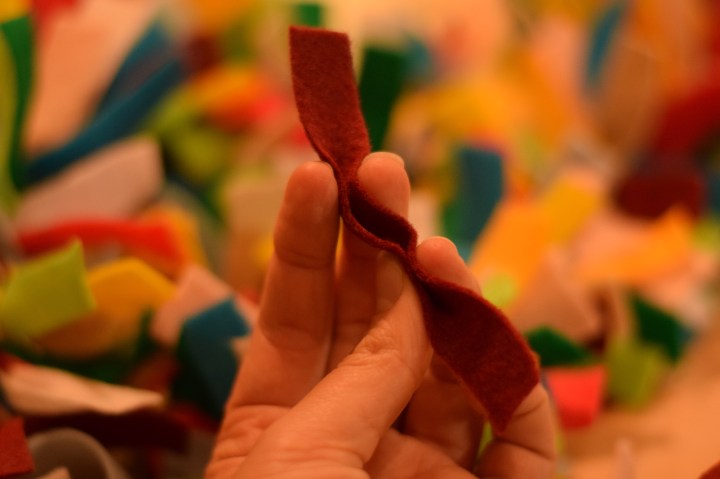
I took each piece of felt in my hand…
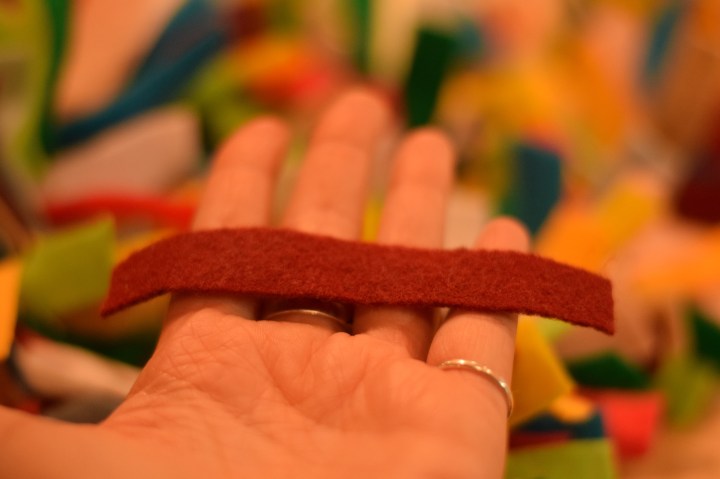
… and then pinched it in the center like so.
Then I took my needle with my other hand and stabbed it through the pinch fabric pulling it through both sides of the pinch.
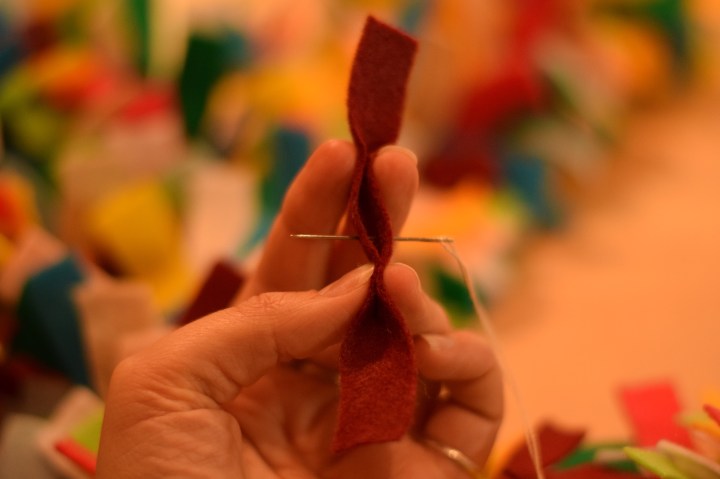
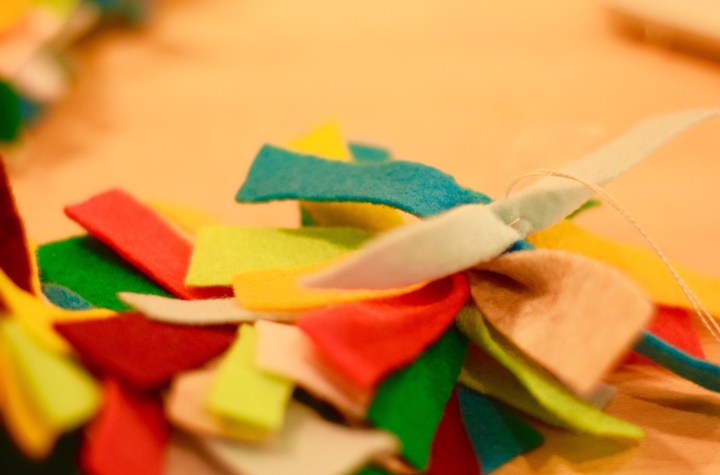
I wanted my garland to be extra strong for years to come, so I then threaded that needle back through the pinched felt a bit higher than the original hole. Here you can see the two strings coming out the one side of the felt (one attached to the needle, the other to the rest of the garland) and the small white stitch on the pinched fabric.
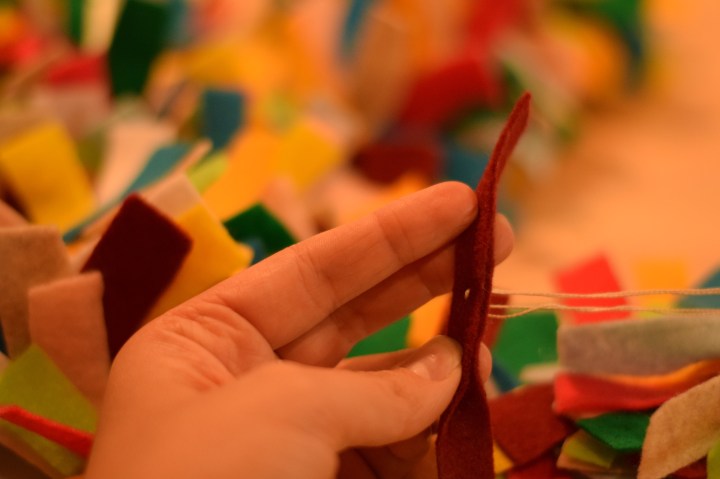
I pulled the embroidery threat tight which pinched fabric together more and then pulled the felt strip to the rest of the garland. Once it the felt strip was tightly pushed against the garland, I threaded a third stitch, taking the needle and pushing it through the center of the pinch and up.

This kept the fabric pinched, but left the thread and needle coming from the center of the strip, ready for the next piece of felt.
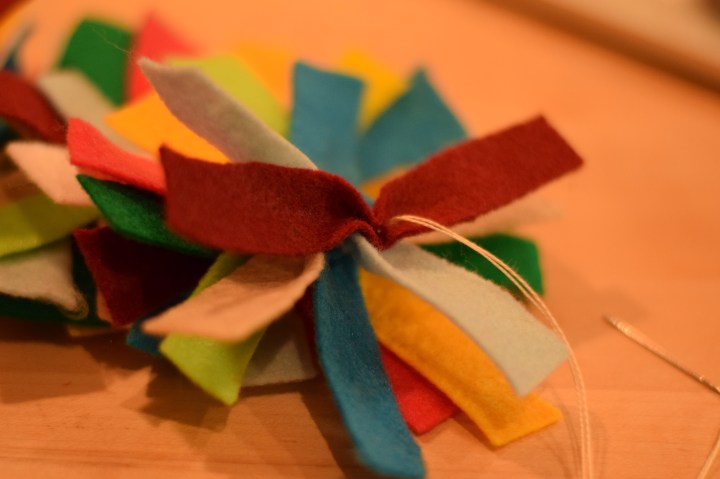
You guys, I did this about ten million times over the course of two weeks.
Since I was using doubled over strings of embroidery thread about one yard long, I would periodically run out of thread. When I got to that point, I would thread my needle through the last three felt strips twice and tie a big knot. I would cut off any excess thread. Then, with my new length of thread, I’d go back through those three strips of felt again. Basically, my transition points between thread lengths are super, duper strong rather than being weak points! I’m hoping this will help the garland last for years to come!
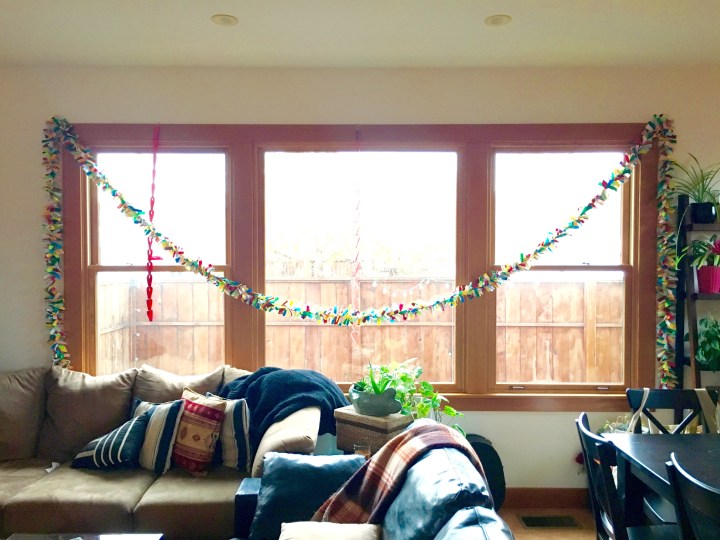
I planned to hang my garland across the front windows in the living room. The windows are huge and I wanted the garland to hang down each side as well! It took forever to get the length I needed for this, but it was totally worth it! The process of threading the strips of felt became oddly addicting and almost meditative. I sat at the island and worked on it. Then I sat in bed and threaded felt strips. I made my garland while watching TV, waiting for food to roast in the oven. I made my felt garland before bed, before breakfast, after dinner, first thing in the morning, and last thing at night. It was a HUGE time suck, but all the supplies for my garland cost less than $15.00 and it’s much stronger than anything you’d find for that price in stores!
In the end, I was able to stretch it across our big living room windows. It looked lovely. This is kind of a terrible iPhone picture, but it really shows how long this thing was when I finished!
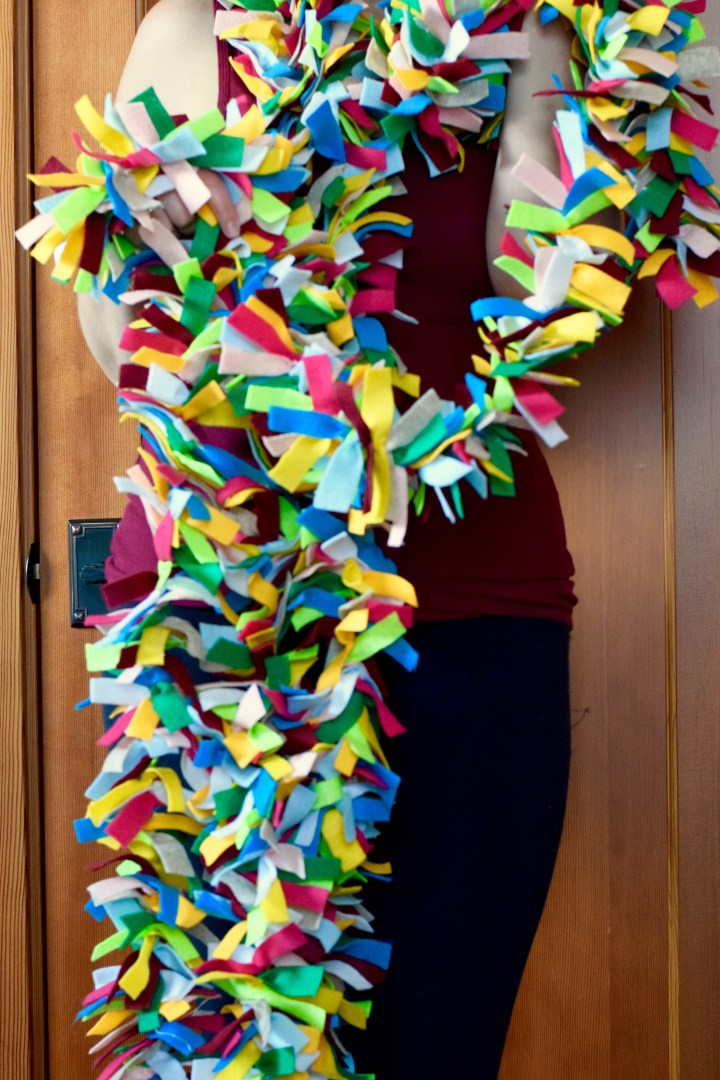
The felt garland also looked great when I wrapped it around myself. Haha! It was like swimming in a sea of happy, bright, fun, and exciting color!
I am so pumped for this garland! It’s perfect for the upcoming Valentine’s Day, for Easter, for Birthdays, for any and every occasion! I’m so glad I went with the colorful option rather than doing holiday colors. I have so much felt left over, I plan on making another similar garland in all neutral colors! Anyone else tried something like this?
