Apple pie is one of the most classic American dishes. It’s the perfect dessert when you want something a little bit lighter that flourless chocolate cake; which for me, is admittedly rare since I’m a crazy chocolate fiend, but even I switch things up now and again! What I love about apple pie is how super easy it is to throw together. All the ingredients are typically ones you have stocked at home and the recipe is pretty fail proof. It’s easier than pumpkin pie to make and just as delicious!
To me, apple pie means fall and Thanksgiving, it means winter and foggy windows, it means filling the house with the smell of cinnamon and cloves, but most of all it means a gathering of friends or family. I like my apple pies tart and spicy, just like my friends, so it’s pretty much the perfect dessert for a girls night. Ha! Plus, apple pie is the perfect house freshener: put an apple pie in the oven 20 minutes before your guests come over and your whole house will smell like heaven! It’s a multipurpose dessert y’all! Check out the recipe below for a super easy and delicious evening.
Ingredients
1 – pie crust
7 – medium, organic, green apples, granny smith is the classic
1 – medium, organic, multi-colored apple, fugi or gala work well
1/2 cup – organic, brown sugar
1 – lemon, zest and juice
1/4 teaspoon – salt
1 teaspoon – cinnamon
1/2 teaspoon – cloves
1/4 teaspoon – nutmeg
4 tablespoons – organic butter
1 – organic egg
Recipe
Split your ball of pie crust dough in two and roll out half, keeping the other half cool in the refrigerator for later as it will form the top crust. Use your rolling pin to help convey the rolled bottom pie crust dough from your counter to you pie pan, then use your fingers shape the dough inside. Leaving half an inch over the edge of the pan, cut off the excess dough. Pop the bottom crust into the oven to pre-bake at 400 degrees for 15 minutes. Once baked, remove from oven and set aside to cool. Turn the oven to 425° to pre-heat for the pie.
While the bottom crust pre-bakes, begin peeling, coring, and thinly slicing your apples. You want your apples to be roughly peeled, so don’t worry about getting every last bit off. I use this awesome kitchen aide attachment I have and love, and then slice the peeled, cored, and spiral sliced apple in half. The kitchen aide attachment or counter-mounted version are fantastic because they do all the peeling, slicing, and coring at once, but this isn’t difficult to accomplish with a simple knife alone.
Place the apple slices into a large bowl, add all other ingredients except the butter andegg, and use your hands to toss everything together. Once apples are evenly coated, place in cooled, pre-baked pie shell in a spiral pattern, coating the bottom before placing additional layers. Use small or broken slices to fill any odd spaces. Once you’ve piled your mound of apples into the bottom shell, you will have some excess liquid in your bowl, pour about half over the apples in the pie shell and compost the rest. Cut butter into 8 evenly sized pieces and sprinkle over mounded apples.
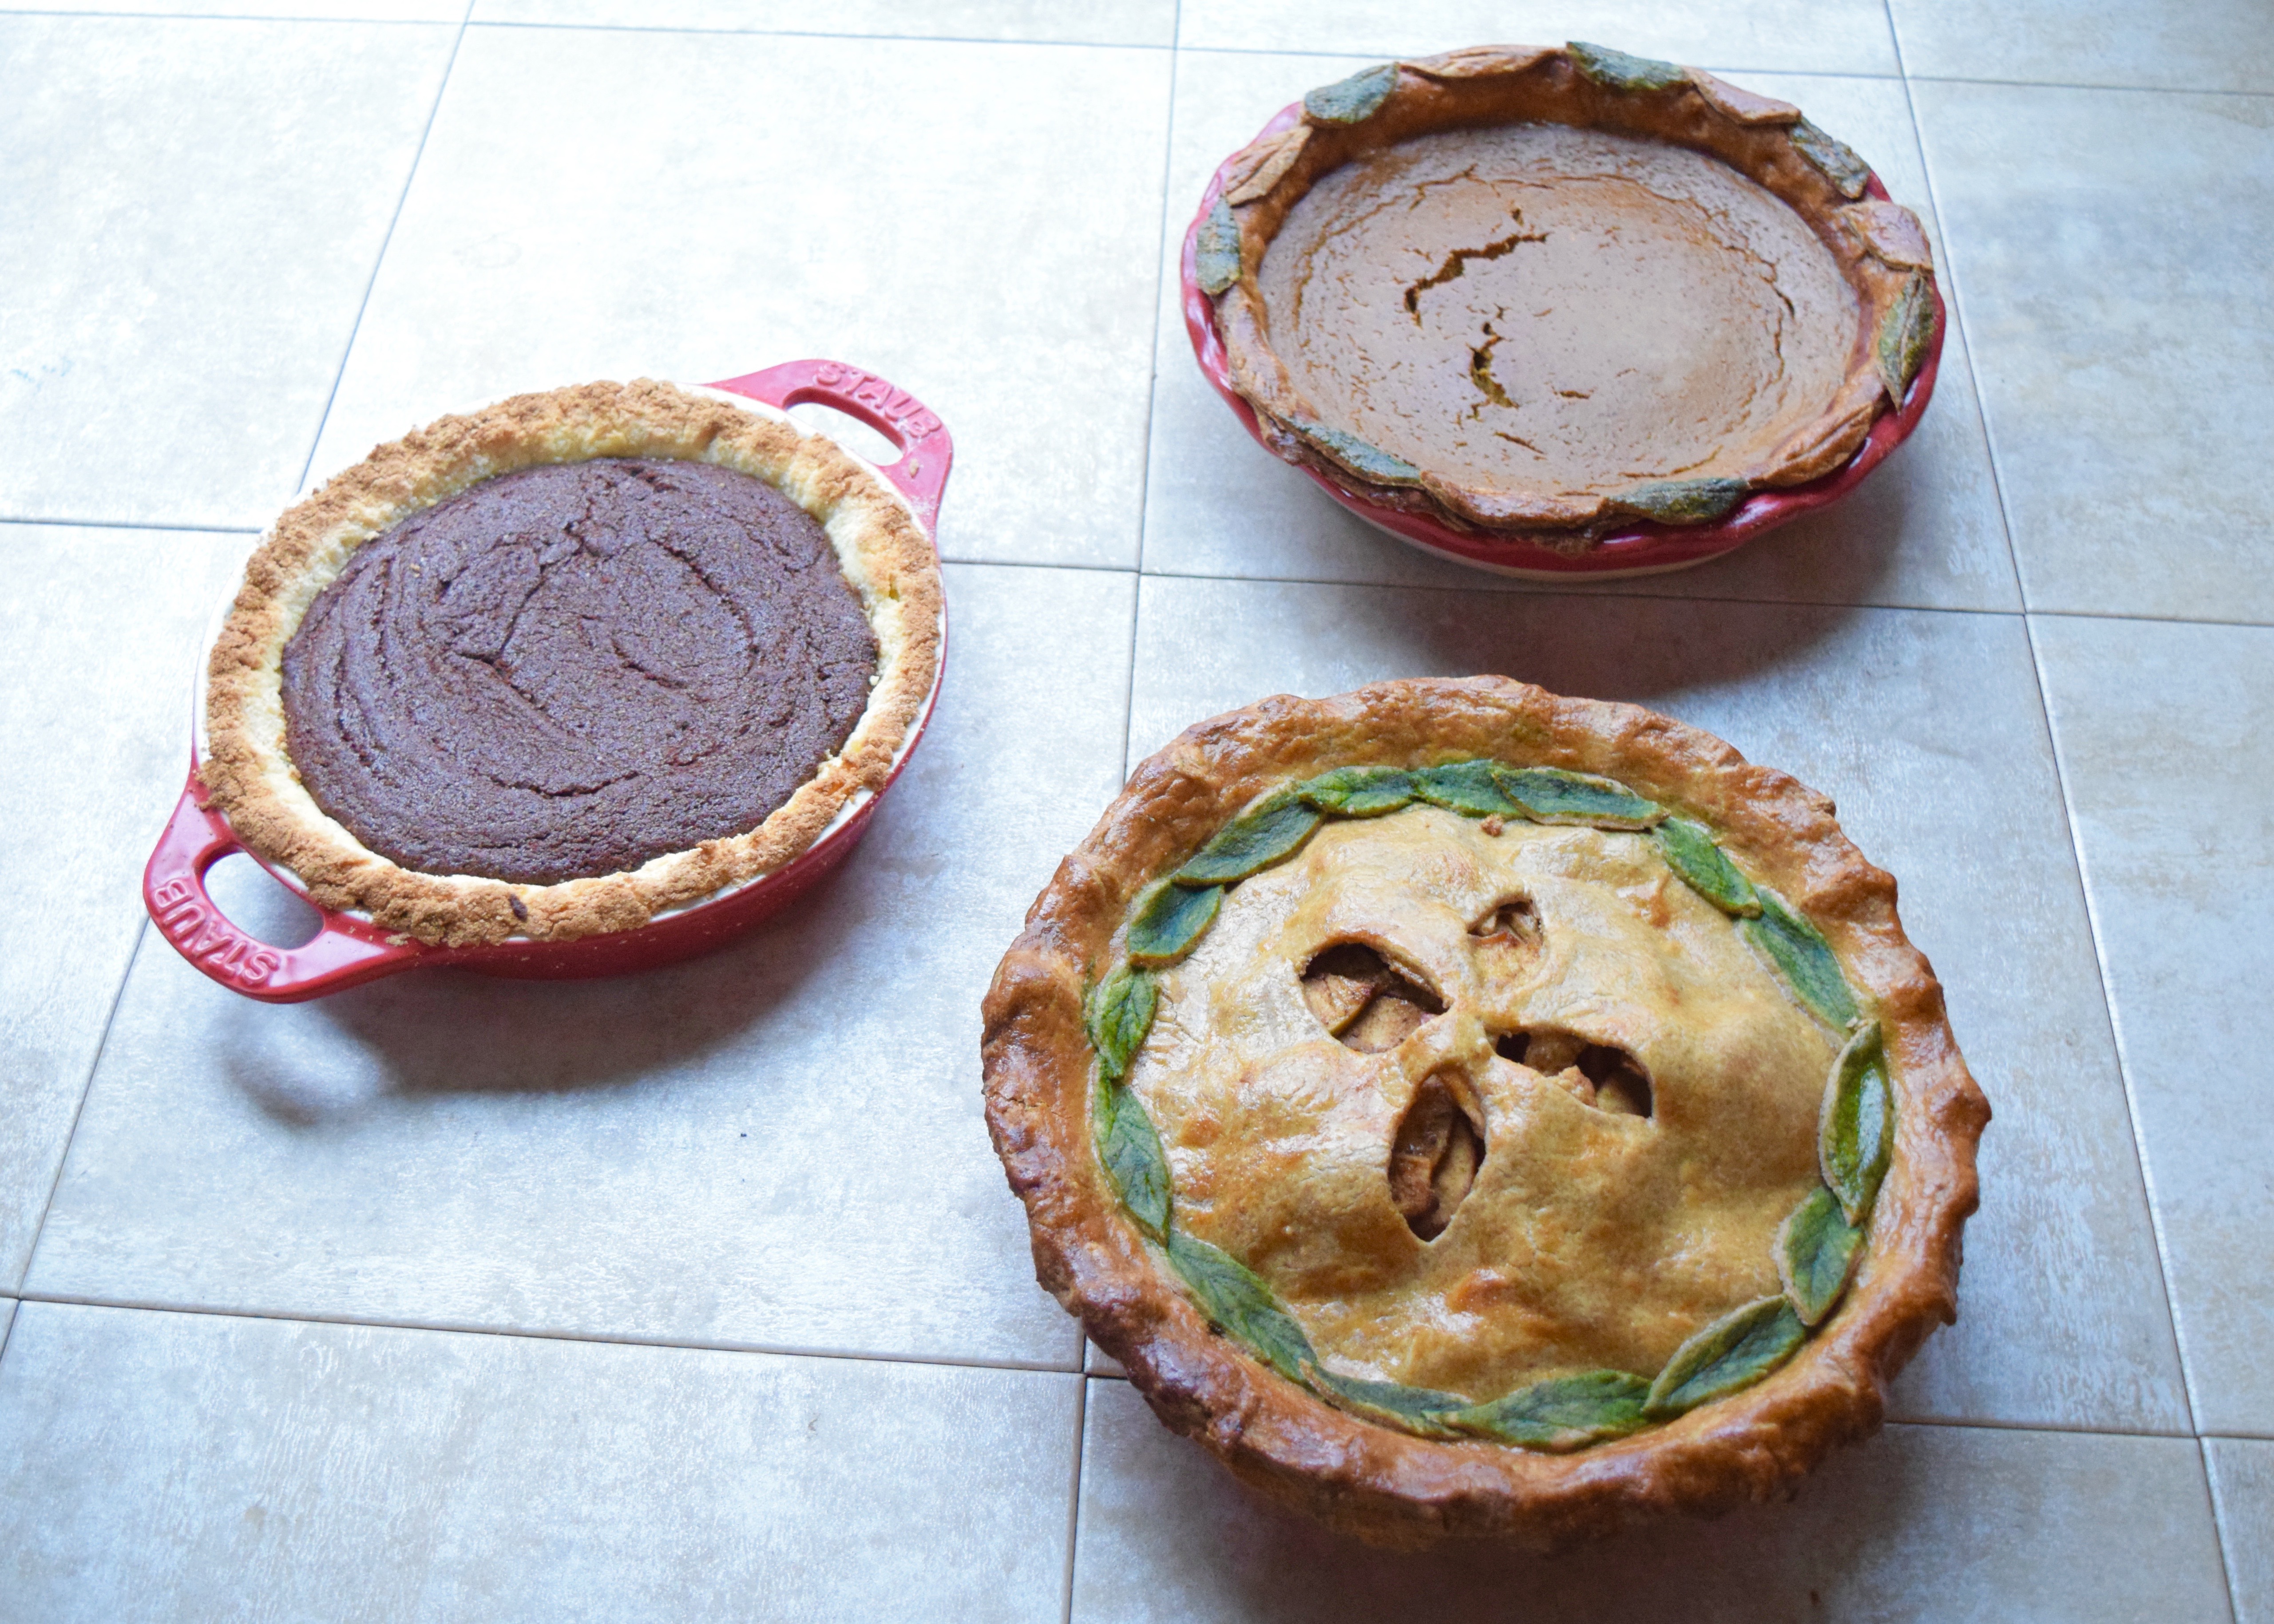
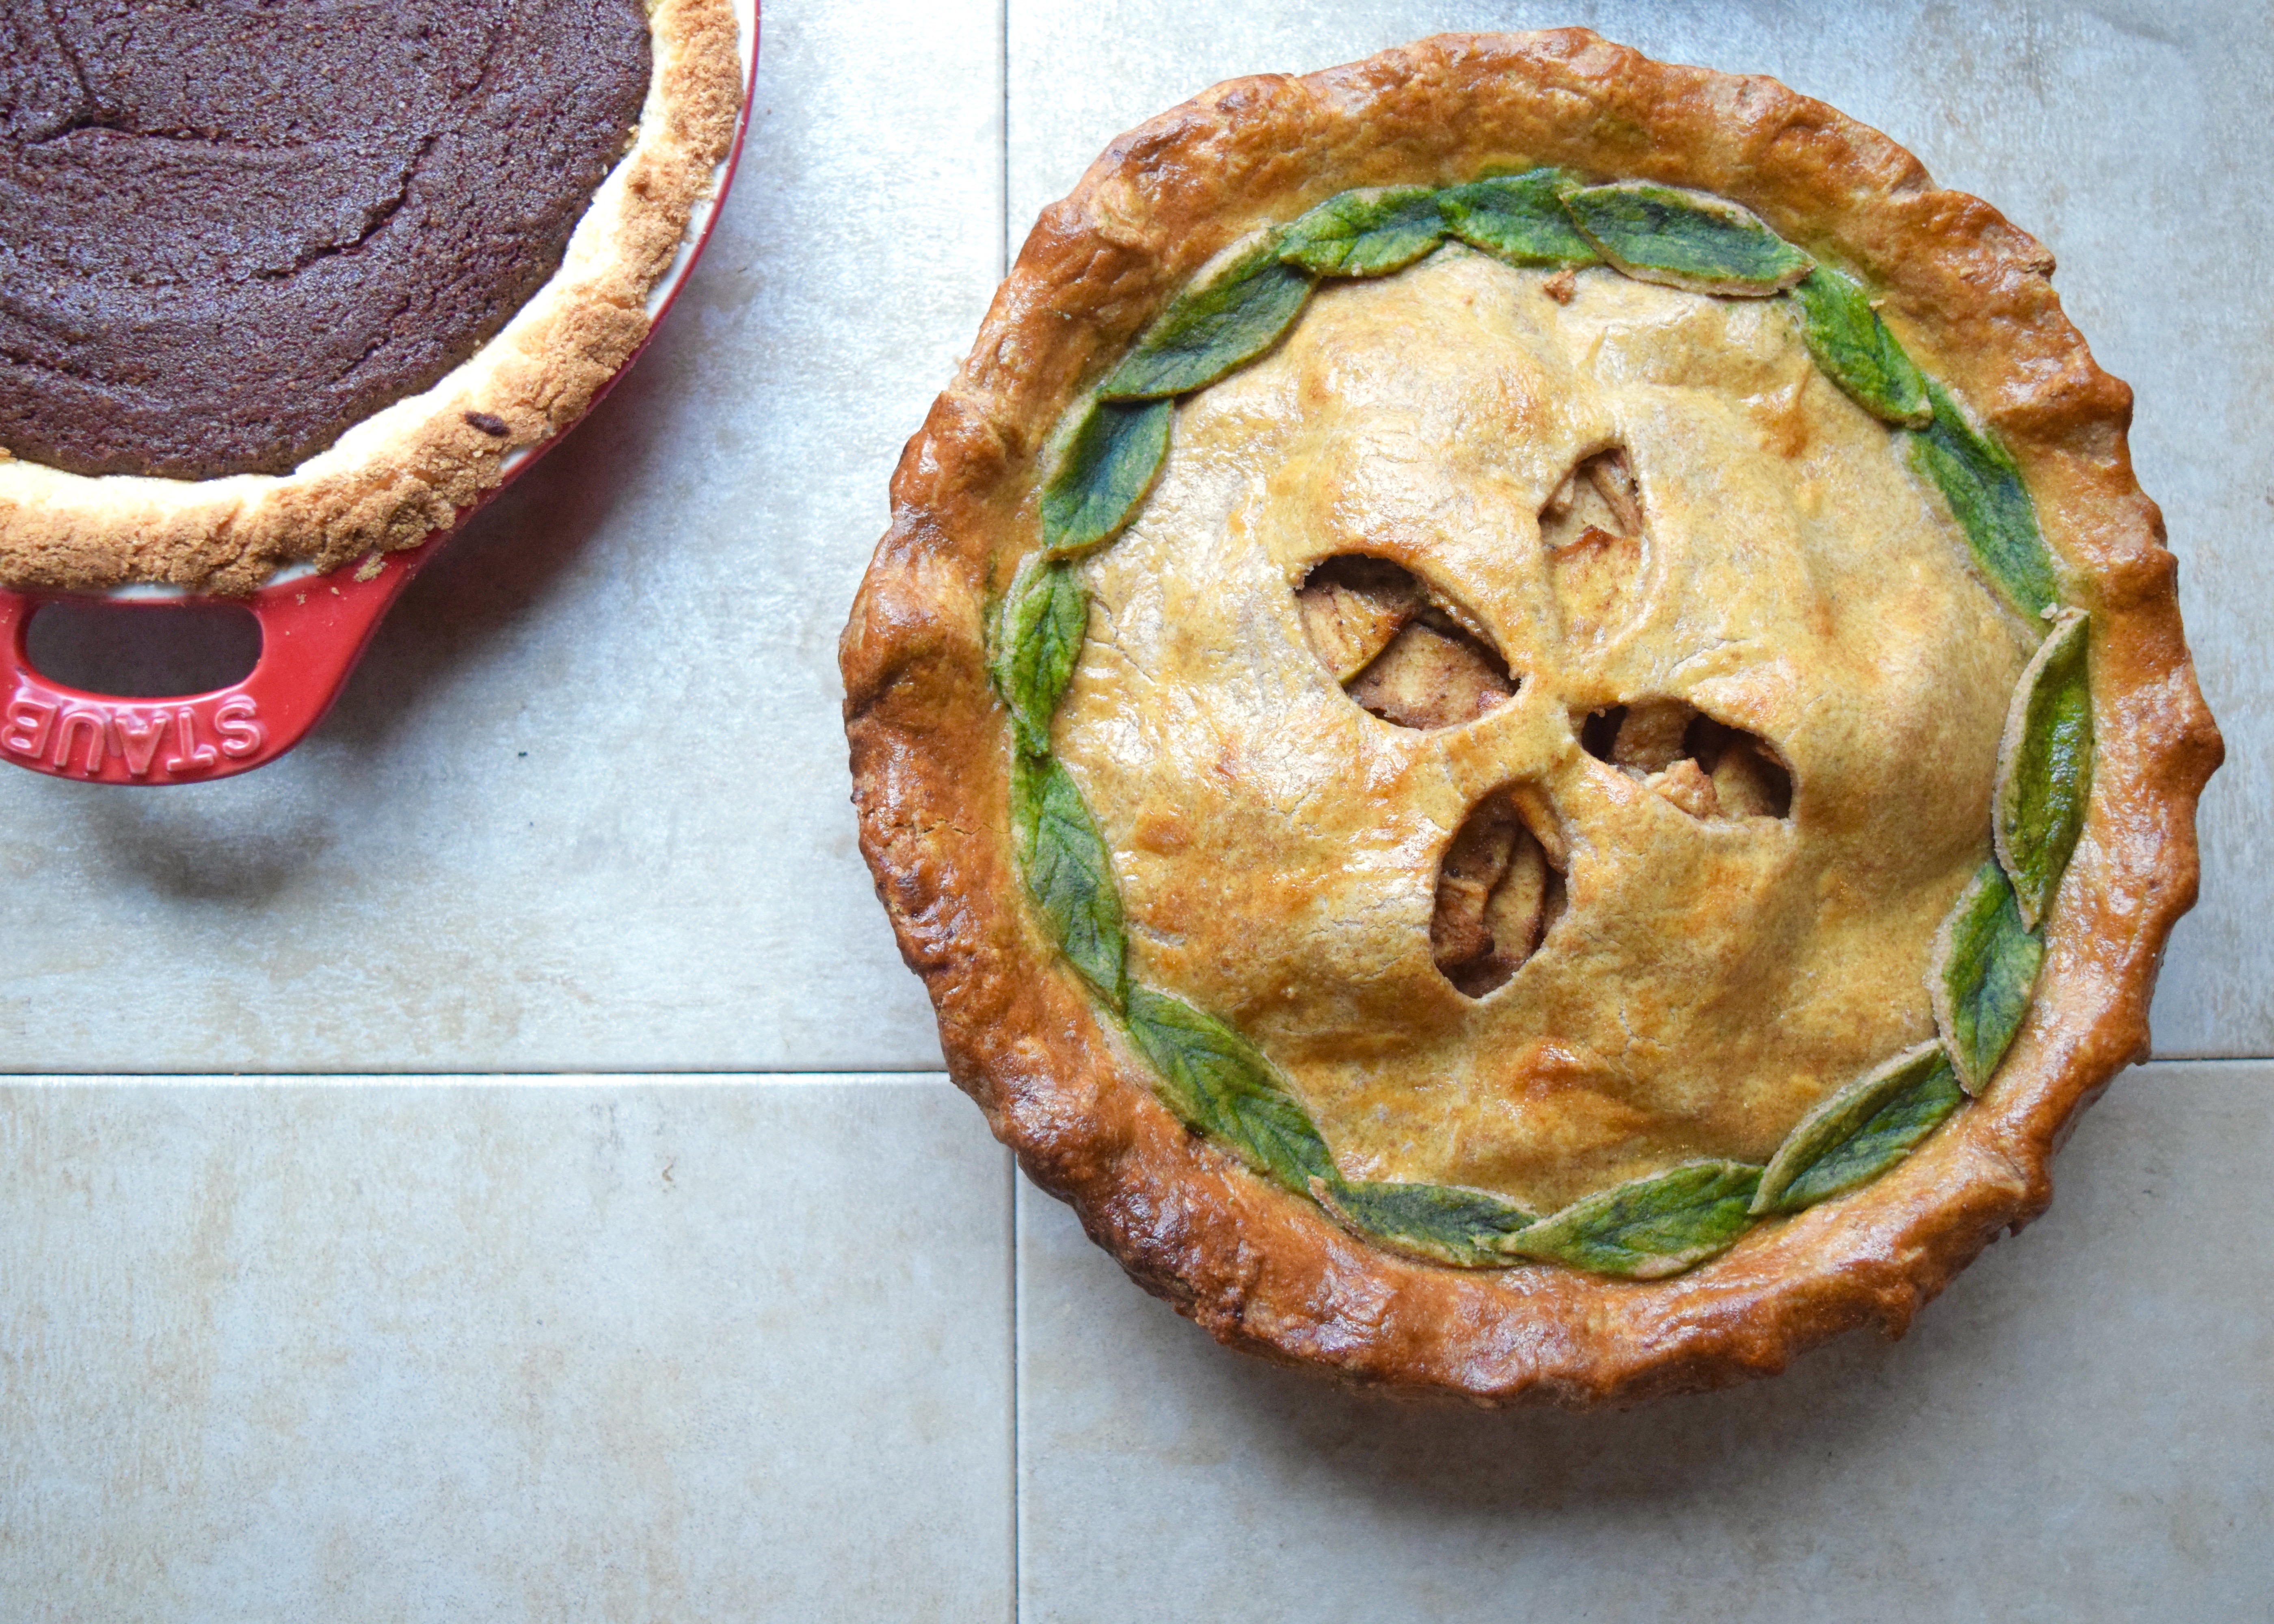
Roll out the other half of your pie dough and use it to cover your mounded apples. Pinch the edges into the pre-baked bottom crust and remove any excess. Cut openings in the top crust to allow steam to escape. Coat the top pie crust completely with a whipped egg yolk to give it a deep finished sheen. To make decorative leaves, cut leaf shapes out of excess down, using the knife to carve leaf veins into the tops. Coat leaves with lightly whipped egg white mixed with food coloring and place on pie shell.
Bake at 425° degrees for 10 minutes, then reduce temperature to 350° and bake for another 40 minutes or until crust is lightly browned. Allow to cool at least 10 minutes before serving, refrigerate after slicing. Pie keeps well and can be baked and left on counter up to 36 hours in advance, before serving. Serve with vanilla ice cream or whipped cream for best results!
*This post contains affiliate links*