Styling a Bookshelf with Actual Books

Styling a Bookshelf with Actual Books

So we’ve all seen them, the “How to Style a Bookshelf” posts, they’re everywhere! But have you ever noticed what’s most lacking in these bookshelves? Books! Almost ever tutorial, every blog post, every instruction manual I’ve ever read on styling a bookshelf maintains that you need many knickknacks and very few books. Well, for all my fellow bibliophiles, let’s take a minute to acknowledge how little that makes sense. If you’re anything like me, you have tons of books. You may reread them, they may be on your to-read list, they may sit untouched just looking gorgeous on your shelves, but doggone it, there’s tons of them! The joy of having too many books and not enough book storage has haunted me ever since I memorized the words to the Velveteen Rabbit and told everyone who would listen that I knew how to read. It has never been uncommon for me to have stacks of books sitting all over my home. After college, I stacked books 3 and a half feet high in my bedroom on my childhood dresser. Miraculously they withstood the 2014 Napa Earthquake.

Stacks of Books | Land of Laurel

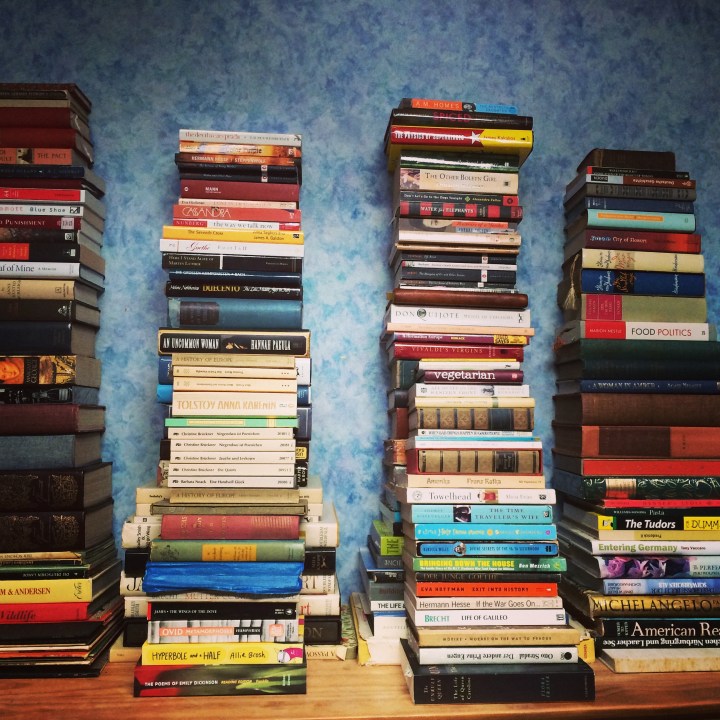
Every time I see another “How to Style a Bookshelf” tutorial, I sigh, think, hmmm that’s pretty, and move on, because for me, that’s completely impractical. My bookshelves are groaning under the weight of years of reading material. They’re packed to the brim with thousands of pages of paper, trillions of words, hundreds of stories. And that’s how I like them: full of books. The bibliophile in me wants more and more, collects them even. The romantic in me dreams of home libraries packed to the brim and smelling of paper and ink. The designer in me pauses a minute and thinks, how can I make this collection attractive?

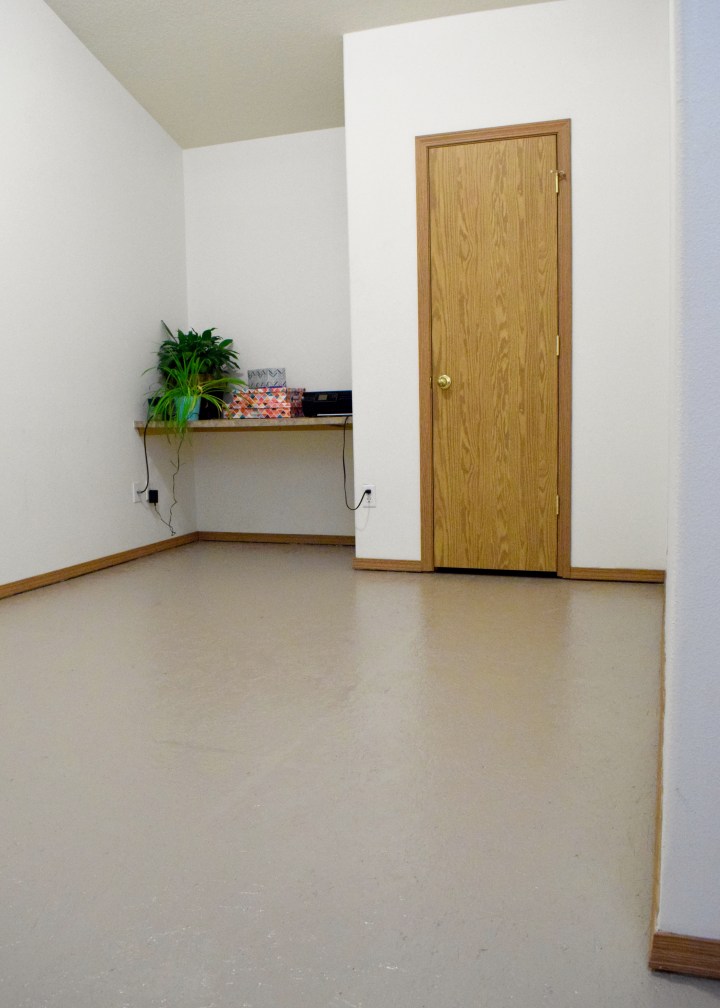
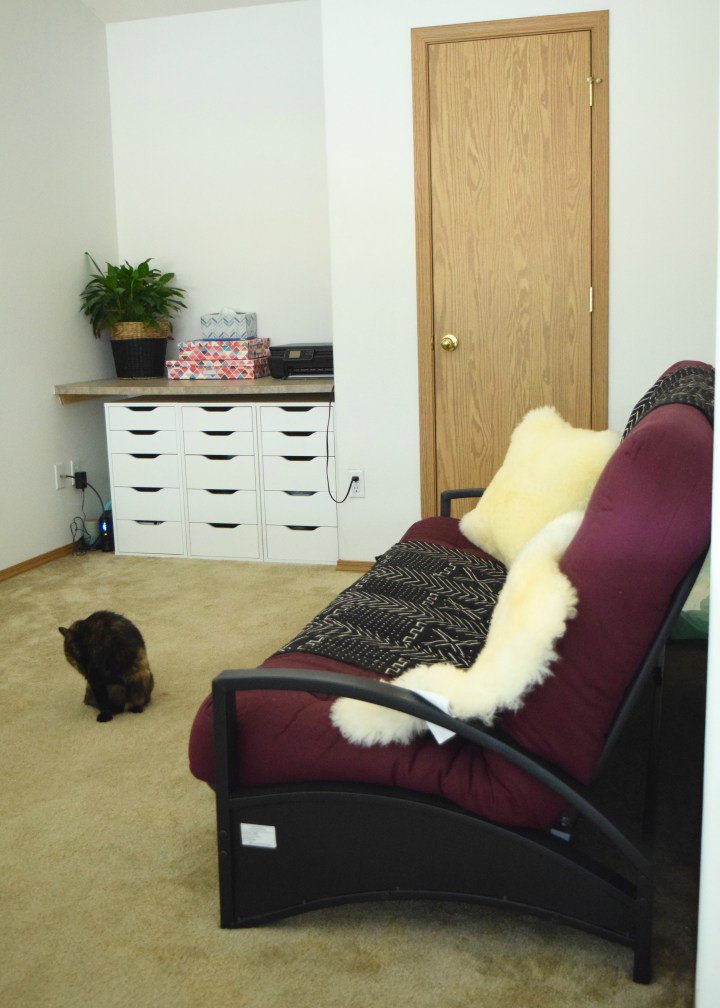
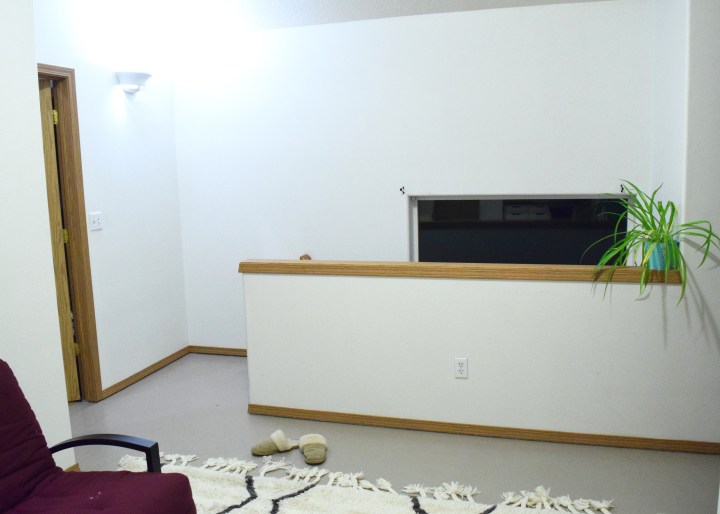
This past weekend I moved around the furniture in my room and this bookshelf got booted out and into the bonus room upstairs. I packed it full of as many books as I could, styled the top, and it’s beginning to set the tone for this whole room.

Without further ado, how to style your bookshelf with actual books! If you follow these guidelines, not only will you have an attractive bookcase filled with books, but you will also be able to store more books than you would normally. Booklovers rejoice! You can use any books for this, hardcover, paperback, falling apart, old, new, used! Is this the only way to style a bookshelf full of books? Definitely not. But this method is fun, fresh, and brimming with books!

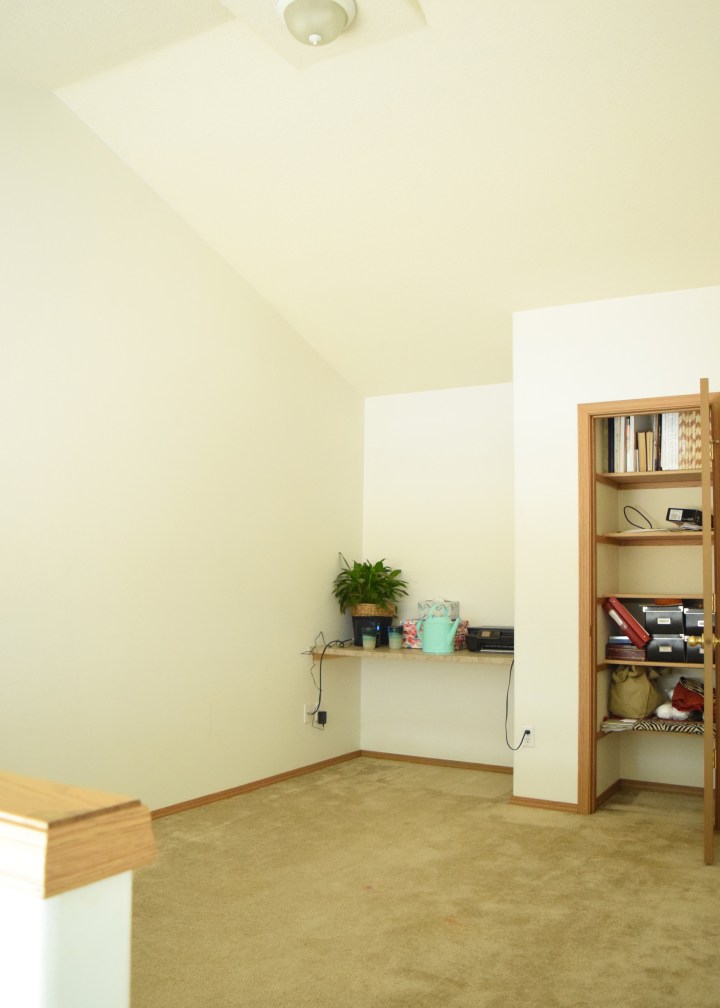
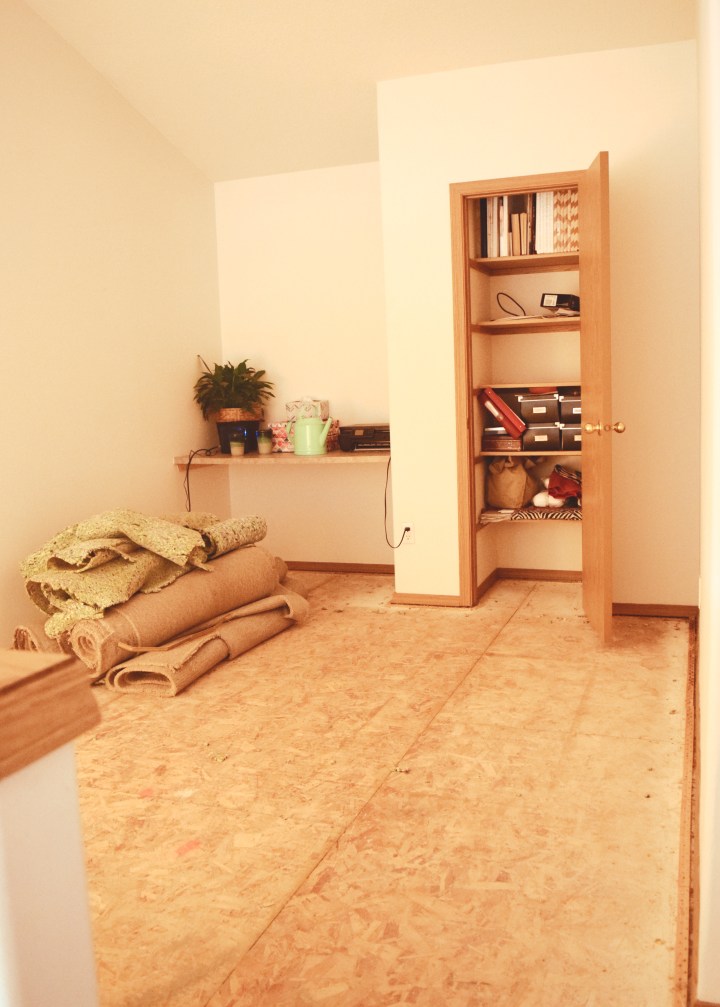
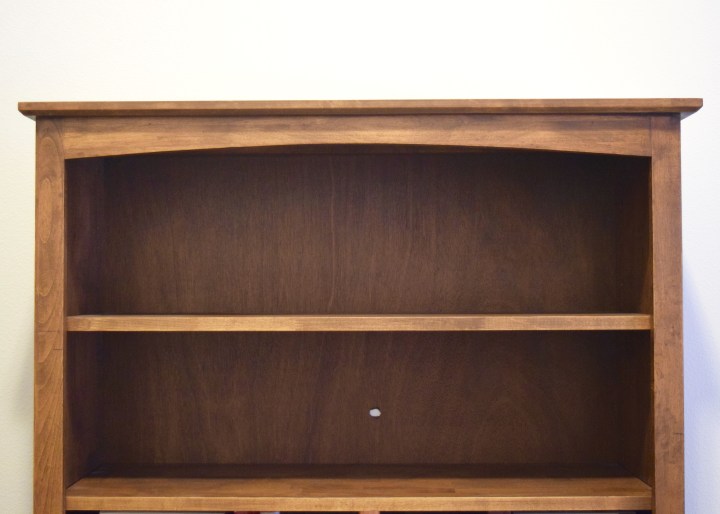
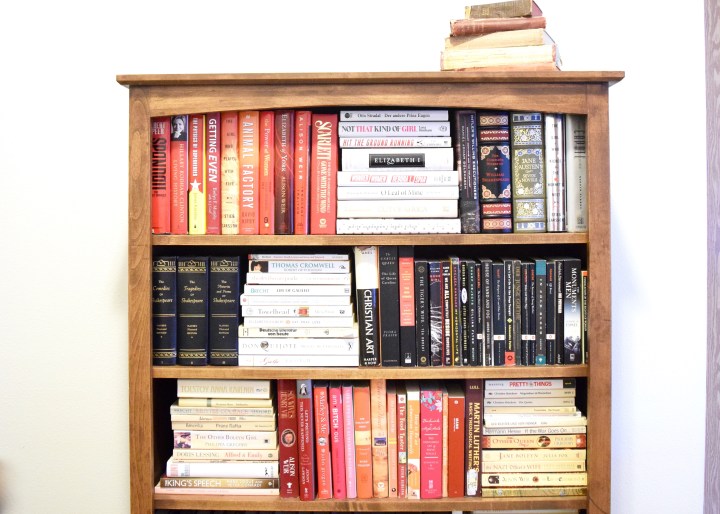
First start with an empty bookshelf. The small hole drilled in the back for your childhood stereo is essential. Just kidding! Pretend it’s not there…

Styling a Bookshelf with Actual Books | Land of Laurel

Gather a stack of books in the same color family, you want the stack to be about as tall as your shelf when laid horizontally. Place that on one of the shelves.

Styling a Bookshelf with Actual Books | Land of Laurel

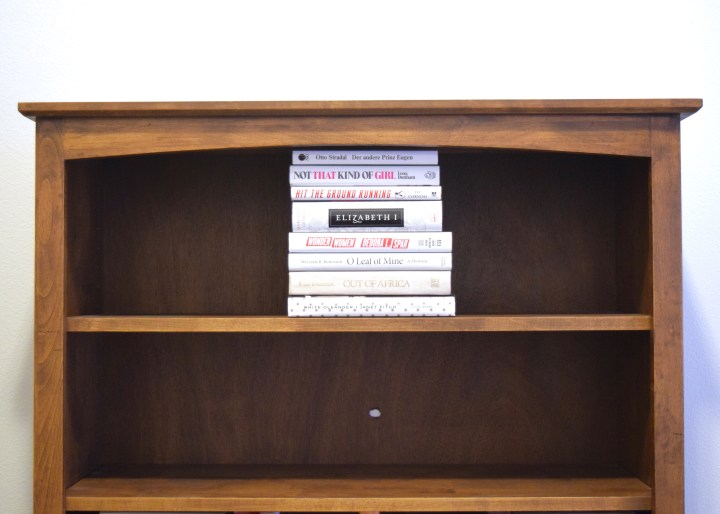
Gather another stack of similarly colored book spines. Place that next to the horizontally stacked books.

Styling a Bookshelf with Books | Land of Laurel

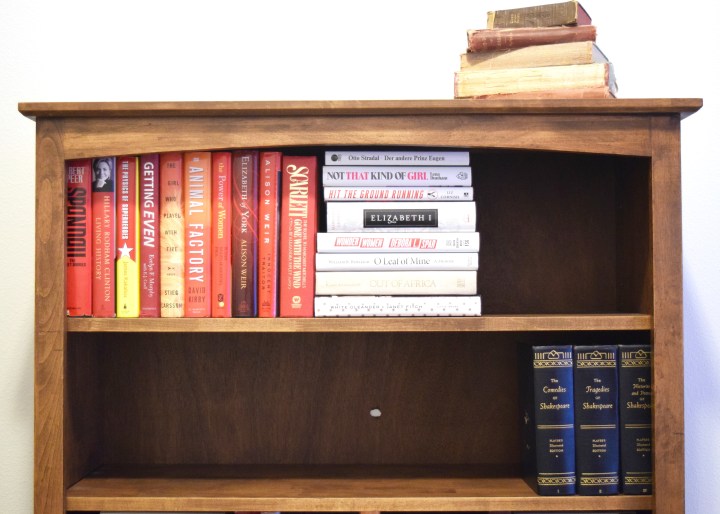
Add more books in this spine color to finish out this half of the shelf. Begin gathering books of other spine colors. At this point you might want to pop in a special books you have. For me, this means a collection of dilapidated books on top of the bookshelf and a three volume series on a shelf below.

Styling a Bookshelf with Books | Land of Laurel

Now things began to move quickly. Continue adding stacks of books vertically and horizontally until your shelves begin to fill up. Things will move around a bit as you adjust for different spine colors. Don’t be afraid to mix hard- and soft-cover books together! At this point your goal to to pack the shelves and keep your horizontal stacks misaligned for a more collected look.

Styling a Bookshelf with Books | Land of Laurel

As you continue on past the first few shelves, you may vary between one horizontal book stack and two per shelf. This helps keep you eyes moving around the shelves.

dsc_0542Styling a Bookshelf with Books | Land of Laurel

As you get further down your varying colored books help give the shelves blocks of color, creating a more appeasing and “styled” look over all.

Styling a Bookshelf with Books | Land of Laurel

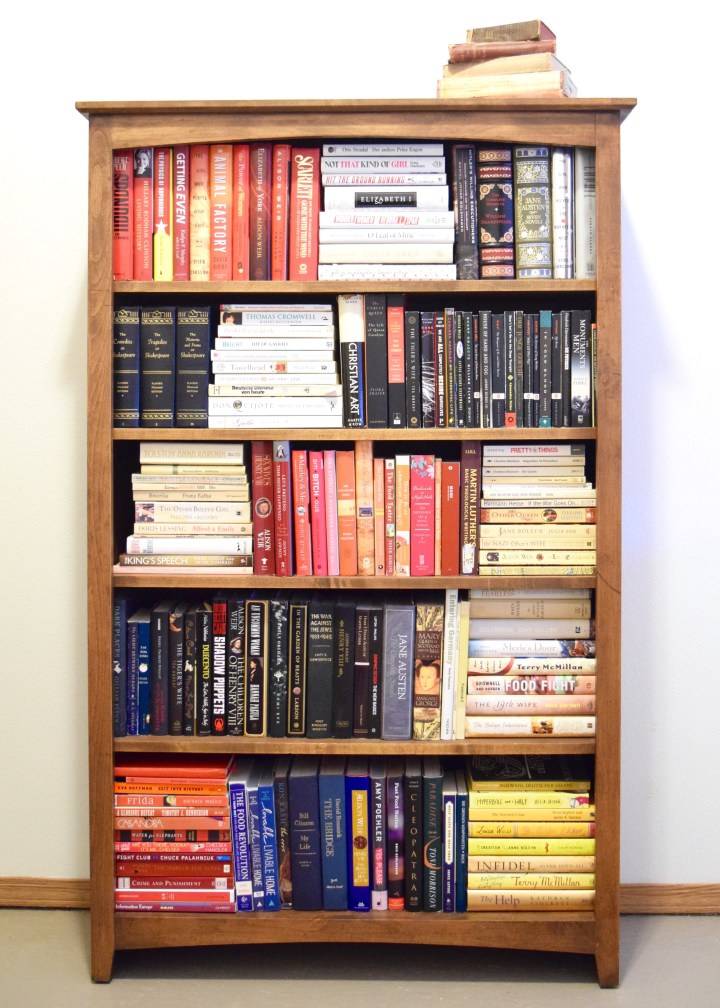
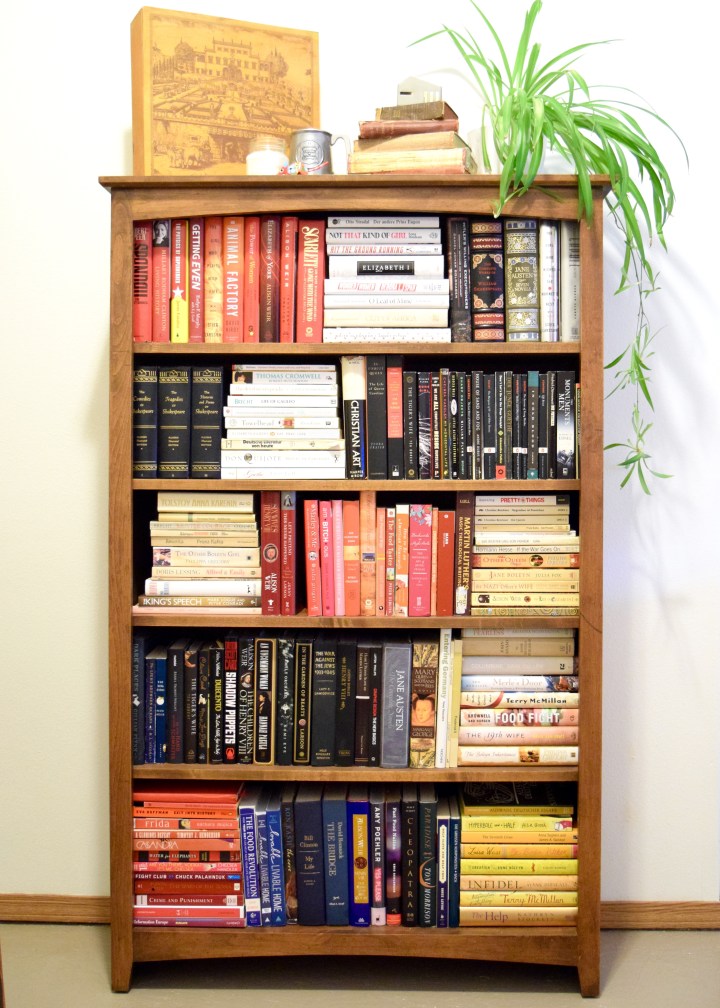
At this point, your shelves are full, but don’t stop there! Add an arrangement to the top of your bookshelf to tie the entire thing together. I used an old printed wooden box I have which mimics the blocks of colors formed by the books in the shelves below. The plant adds some organic shape and life; it’s long tendril down the side of the shelf visually binds it to the books on shelves below. A candle, a little metal house, a silver stein, and a happy painted armadillo fill in the remainder of the space.

Styling a Bookshelf with Books | Land of Laurel

And that, is a bookshelf styled full of books! I love this because not only can I fit way more books on this shelf, but it looks clean, collected and modern rather than cluttered. There are many ways to style shelves, I don’t have anything against most of them. But for me, it’s important that my styled shelves are packed with the books I need them to store, and not just interesting objects!

I made a gif so you can follow along with this step by step as well!

How to Style Your Bookshelf with Actual Books | Land of Laurel

I’ll share the bookshelf I have downstairs later, to show you how I style shelves with fewer books too. And guess what? I need more bookshelves… I’m out of room and there are stacks of books everywhere around my house, eek!

Do you run into the problem of not having enough book storage? Have you styled your shelves full of books in a different way? Let me know your secrets!

Lemon Veggie Wild Rice

Lemon Veggie Wild Rice

Well, it’s officially autumn here in Portland! The leaves are falling, the skies are grey, and it’s been raining a good amount. Autumn makes me want warm food, a hot fire, and a good book. Since I keep my pantry well stocked with yummy grains and non-perishables, I often buy a bunch of veggies to sauté together which I throw on top of rice or lentils or whatever else Fred Meyer’s organic bulk section is stocking. I decided to mix it up a little bit the other day and stumbled into this yummy new dish I’ll be cooking up for years to come. I brought it to my first-cousin-once-removed-in-law’s uncle’s 76th birthday (sometimes it’s easier to simplify familial relationships). I was pleasantly surprised by how delicious this simple dish is! Give yourself some time in the kitchen to get everything going, but then pop it into the oven and socialize until it’s time to eat. Covered after removing from the oven, this will stay plenty hot for 30-40 minutes, so it really is great for taking to a friend’s house or to make ahead for your own gathering!

Lemon Veggie Wild Rice | Land of Laurel

Lemon Veggie Wild Rice

Serves 6-8 as main dish and 12-14 people as a side.

Ingredients

1.5 cups organic, tri-color wild rice

2 cups organic vegetable broth

1.75 cups water

1/2 stick butter or 2 tablespoons olive oil

5 small, organic carrots

4 stalks organic celery

1 small onion (I used a yellow onion, but a red onion would taste amazing in this!)

1 medium, organic leek

6-8 leaves sliced, fresh sage

1 tablespoon fresh thyme

1/3 cup chopped, fresh parsley

3/4 cup dried cranberries

3/4 cup toasted sliced almonds

1 organic lemon

1/4 teaspoon salt

1/2 teaspoon pepper

feta cheese to sprinkle

Lemon Veggie Wild Rice | Land of Laurel

Recipe


Start by putting the rice, broth and water in a medium sized pot over high heat, bring to boil, then reduce heat to medium-low and allow to simmer for 20-30 mins until water is absorbed. Melt butter (or heat oil) over medium heat in 4 quart dutch oven (or other large oven safe vessel). Chop carrots and celery and add to pot with butter, sauté for 5-1o minutes, stirring frequently. Pre-heat oven to 350° F. Chop leek, and onions and add to carrot celery pot, sauté together ten minutes, stirring frequently. Test rice, it should be soft with a slight crunch. Once rice is cooked, turn off heat on both pots and add rice to sautéd veggies. Add cranberries, salt, pepper, sliced almonds, and the grated rind and juice of one lemon. Stir together, cover with lid, and place in oven. Bake for 40 minutes. Remove lid, and let rest for ten minutes, then serve sprinkled with feta cheese.


Let me know if you try making this! It’s perfect for a fall night, but the easily found ingredients make it a dish that can be served year round.


The Long Weekend

The Long Weekend

Before we moved in, I walked the Duplex with my landlord and she pointed out several issues. One of those issues was the poorly laid LVT tiles downstairs, the other was the gross, old, stained carpet in the bonus room. She mentioned during this tour that she was considering replacing it with laminate. I heartily agreed. In my opinion, hard surface flooring is the way to go in rentals. Carpet simply doesn’t last and gets gross quickly. For anyone who has allergies to dust or dander, carpet traps dirt and dust and even the strongest of vacuums can’t get it out. It’s affordable in the short term, but over time, the cost of ripping up and replacing carpet adds up quickly.

Fast forward two and a half months. I reached out to our landlord via email and asked about her timeline for replacing the flooring on the stairs and in the bonus room. The carpet was nasty and a little smelly. I’d gone to Home Depot and gotten a quote on the installation and labor for a laminate floor. Home Depot estimated $250 in costs to remove the existing carpet and $850 in labor and materials to replace everything with an inexpensive laminate. The bulk of that cost was in the expensive laminate stair treads.

Unfortunately, life happens, and due to some unforeseeable personal matters, replacing the flooring was no longer in her plan or budget. So I suggested something else. What if I ripped out all the carpeting and painted the subfloor? A quick look around the internet told me I could do this for under $250. I proposed this solution as a way to make me happy in the short run, and allow her to spend on new flooring when she was ready. With her approval (yay! Happy dance!) I planned my attack. It was less than 200 SF so I figured I could knock everything out in a weekend. Little did I know how back breaking that would be.

My weekend commenced and proceeded to look a little something like this:

Friday

5:50pm – arrive home from work

6:00pm – quickly eat left overs from fridge, change clothes

Bonus Room | Land of Laurel

6:15pm – move all the furniture out of the bonus room

Empty Bonus Room | Land of Laurel

6:30pm – begin ripping up all the carpet

7:30pm – finish ripping all the carpet out

Carpet Gone! | Land of Laurel

7:45pm – finish ripping all the carpet pad out, try not to gag looking at the amount of dirt that’s been hidden under the carpet for going on 20 years (see brown smears in picture, much more obvious in person!)

Dust Under Carpet | Land of Laurel

8:00pm – finish carting all the carpet and pad into the car (laying it on top of a tarp to protect the van)

Stairs Carpet Pad | Land of Laurel

9:30pm – finish pulling up all the tack strips, add these to the pile of stuff in the car

9:45pm – sweep floors

10:00pm – vacuum flooring

10:15pm – begin pulling the 253 billion staples out of the stair treads/risers with a pair of needle nosed pliers

10:30pm – my roommate comes home and helps pull out staples from the bonus room

11:30pm – roommate goes to bed

1:00am – finish removing all the staples I can find (approximately 589 trillion)

1:30am – fall into bed, showered, but sore

Saturday

8:00am – alarm goes off

8:45am – finish breakfast and dress in project clothes

9:00am – sweep floors

9:15am – vacuum floors, assess supplies, realize I don’t own a spackling knife, hope the tinted primer works well with the paint selection

Supplies | Land of Laurel

9:30am – wipe down floors with wet cloth, remove the 33 million more staples I find while doing this

Ready for Paint | Land of Laurel

10:00am – run to Home Depot for spackling knife

10:30am begin filling screw holes, saw cuts, and spaces between particle board panels, day dream about how much easier than paint prep, painting will be

Wood Filler | Land of Laurel

1:00pm – eat quick lunch of something you just pop into the oven from Trader Joes

2:00pm – hop into car

2:30pm – buy Benjamin Moore Natura Semi-Gloss paint in Waynesboro Taupe at Powell’s Paint. Color selected quickly as the swatch  isn’t yellow-brown, but doesn’t clash with the trim and is light enough to help reflect light around this dark windowless room

3:00pm – arrive at Environmentally Conscious Recycling and weigh van

3:30pm – finish unloading car at ECR, weigh car again, pay minimum $25 fee

3:45pm – stop by Home Depot again for more wood filler and wood transition strips

4:00pm – fill remaining holes and cut marks

5:00pm – hop into shower

6:00pm – wash ibuprofen down with wine (not recommended) at Nikki’s, eat authentic homemade Japanese curry, try not to fall asleep on her sofa

10:00pm – fall into bed, more sore than before

Sunday

7:30am – alarm goes off, groan in pain, take more ibuprofen

8:00am – finish breakfast and get dressed in work clothes

8:15am – beginning cutting in Kilz Max Stain and Odor Blocker water based primer (highly recommend! Not too smelly – though I wore a mask – and had excellent coverage)

11:30am – finish cutting in primer, begin rolling primer

12:30pm – finish rolling in primer, eat lunch, take break while primer dries, realize I’ve missed tons of screw holes/cuts that will need to be filled

2:00pm – start second coat of primer in certain areas (like those that now have exposed wood filler)

3:00pm – wash brush and roller, eat snack, take break

6:30pm – install wood transition strips at entries to bedrooms and bathroom

7:00pm – start cutting in paint, realize wet paint is nearly the exact same color as dry primer and it is basically impossible to tell where you’ve painted or just primed, discover the paint (luckily) dries much darker. Primer is the main field color below with cut in dry paint on the right and cut in wet paint on the left!

Primer vs Paint | Land of Laurel

10:00pm – finish cutting in paint, start rolling

Cut in Paint | Land of Laurel

11:00pm – finish rolling, eat dinner,  shower


Painted Particle Board Subfloor | Land of Laurel

11:30pm – fall into bed more tired than ever, dreading work the next morning.

Whew! I’m exhausted just remembering all this! Yup, that was my weekend. My exhausting, back breaking, someone please feed me, weekend. And I am 100% glad I did it and 100% not willing to do it again any time soon. Especially since the next weekend I went back in, touched up a few spots I missed with paint (got to love Benjamin Moore paints that only required 1 coat!), and then sealed the floors with Safecoat Acrylic. I let that dry for another week before bringing the furniture back in.

We still have the futon in here for guests and all of the electronics on the built-in counter I want to drill a few holes and add some grommets to tame that mess. I did buy a nice big West Elm rug which I’m hoping will cozy up the space!

Furniture in the Bonus Room | Land of Laurel

You can see here how the window in the stairwell sits low, below the half-wall railing in the bonus room, preventing much light from illuminating this room. Even in the middle of the afternoon, this room is pretty dim. A light colored paint on the floor was a must for brightening up the space!

Bonus Room | Land of Laurel

Our yellow brown trim will always stand out pretty starkly, but that’s the nature of it. If the room was brighter, I would have painted the floors a nice deep black. The trim would still have popped against the black, but the room would have been dark dark dark! In person the color is the perfect blah tone that fades away on the floor, letting everything else speak for itself. I don’t mean that in a bad way at all! It’s a nice safe background. This picture below shows it very close to how it looks in person.

Painted Particle Board Subfloor | Land of Laurel

And this post wouldn’t be complete without a kitten photobombing, so here we go, model pose!

dsc_0405

How much did it all cost?

Supplies and a Gallon of Primer cost about $60

Benjamin Moore Natura Paint Gallon also $60

Recycling Fee for the carpet $25

Safecoat Acrylic Sealer $95

Which left me spending about $240 which my landlord happily reimbursed me for. Although the labor was quite demanding, I’m pleased with the result and couldn’t be happier for the change! It’s mush nicer walking on the painted and sealed subfloor. I don’t miss that gross carpet one bit!

Have you ever painted subfloor? How has it held up for you over time? Although painting didn’t take long, I was a bit shocked at the number of staples that needed to be pulled up. My hand had the imprint of the pliers for a week afterwards!