Nothing like a Thanksgiving dinner to clog the sink, right? That’s exactly what happened to me on Thursday evening! My sister and I were working on doing some dishes, she had a full sink of water and started to let it go down the drain. My sink is connected to my dishwasher which has an open pipe in the corner of the kitchen that the dishwasher then drains into. When Bronwyn let the water start going down the sink drain, the pipe for the dishwasher started gushing out water all over the floor! We quickly plugged the sink back up to prevent any more water from going down and called quits on dishes for the night.
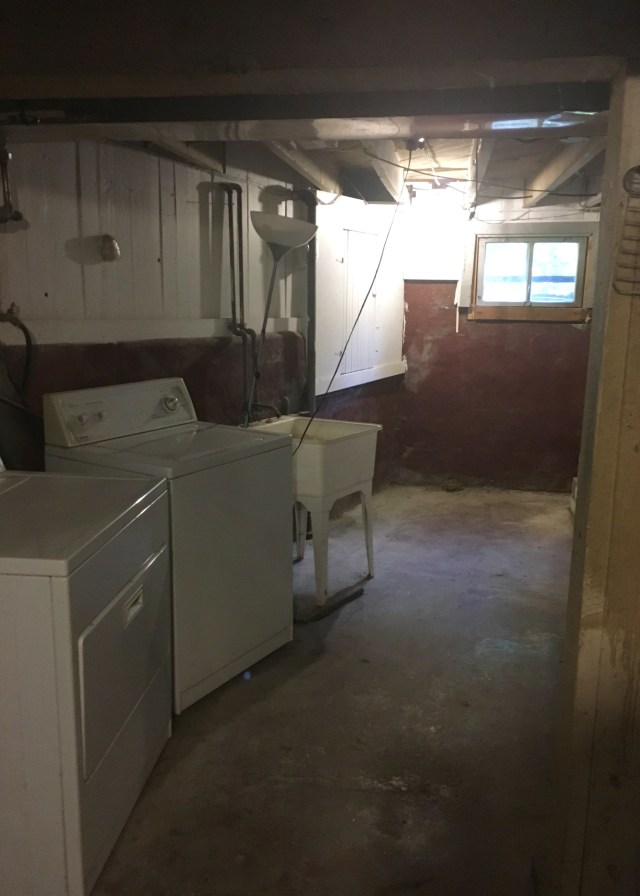
The next morning I saw that both the sink and the pipe had drained overnight. I tired flushing things out with baking soda and vinegar followed by boiling water to see if that would fix the clog. It did nothing and I could only get a few cups of water down the dishwasher pipe before the water rose to the top. Not a good sign. A little while later, I headed into the crawl space to see if I could figure out what was going on (a lofty idea for someone as naive as I am about plumbing!). I am not particularly fond of my crawl space. It’s damp and filled with spiders and there’s lingering molten tar that dripped down between the floor boards when I accidentally liquified the tar mastic in the kitchen . I should probably replace the plastic tarps that are affected by the latter… but that would just add more to my to-do list! So instead I leave it be and crawl through the grime. The crawl space is accessed through this half-door in the corner of the basement. You can see it here at the edge of this photo from when I first toured the house.
So, I climbed into the crawl space and opened up the flexible coupling (this type) with a screw driver to see if I could identify the problem. It’s one of those rubber-like couplings with metal clamps on either end, so it’s easy enough to loosen the clamps and open the pipe. Of course, idiotically, I didn’t think my plan through. When I opened the clamp and pulled it up the pipe, the whole thing started gushing dirty dishwater in all directions! It started off by splashing right up into my face of course! Yuck!

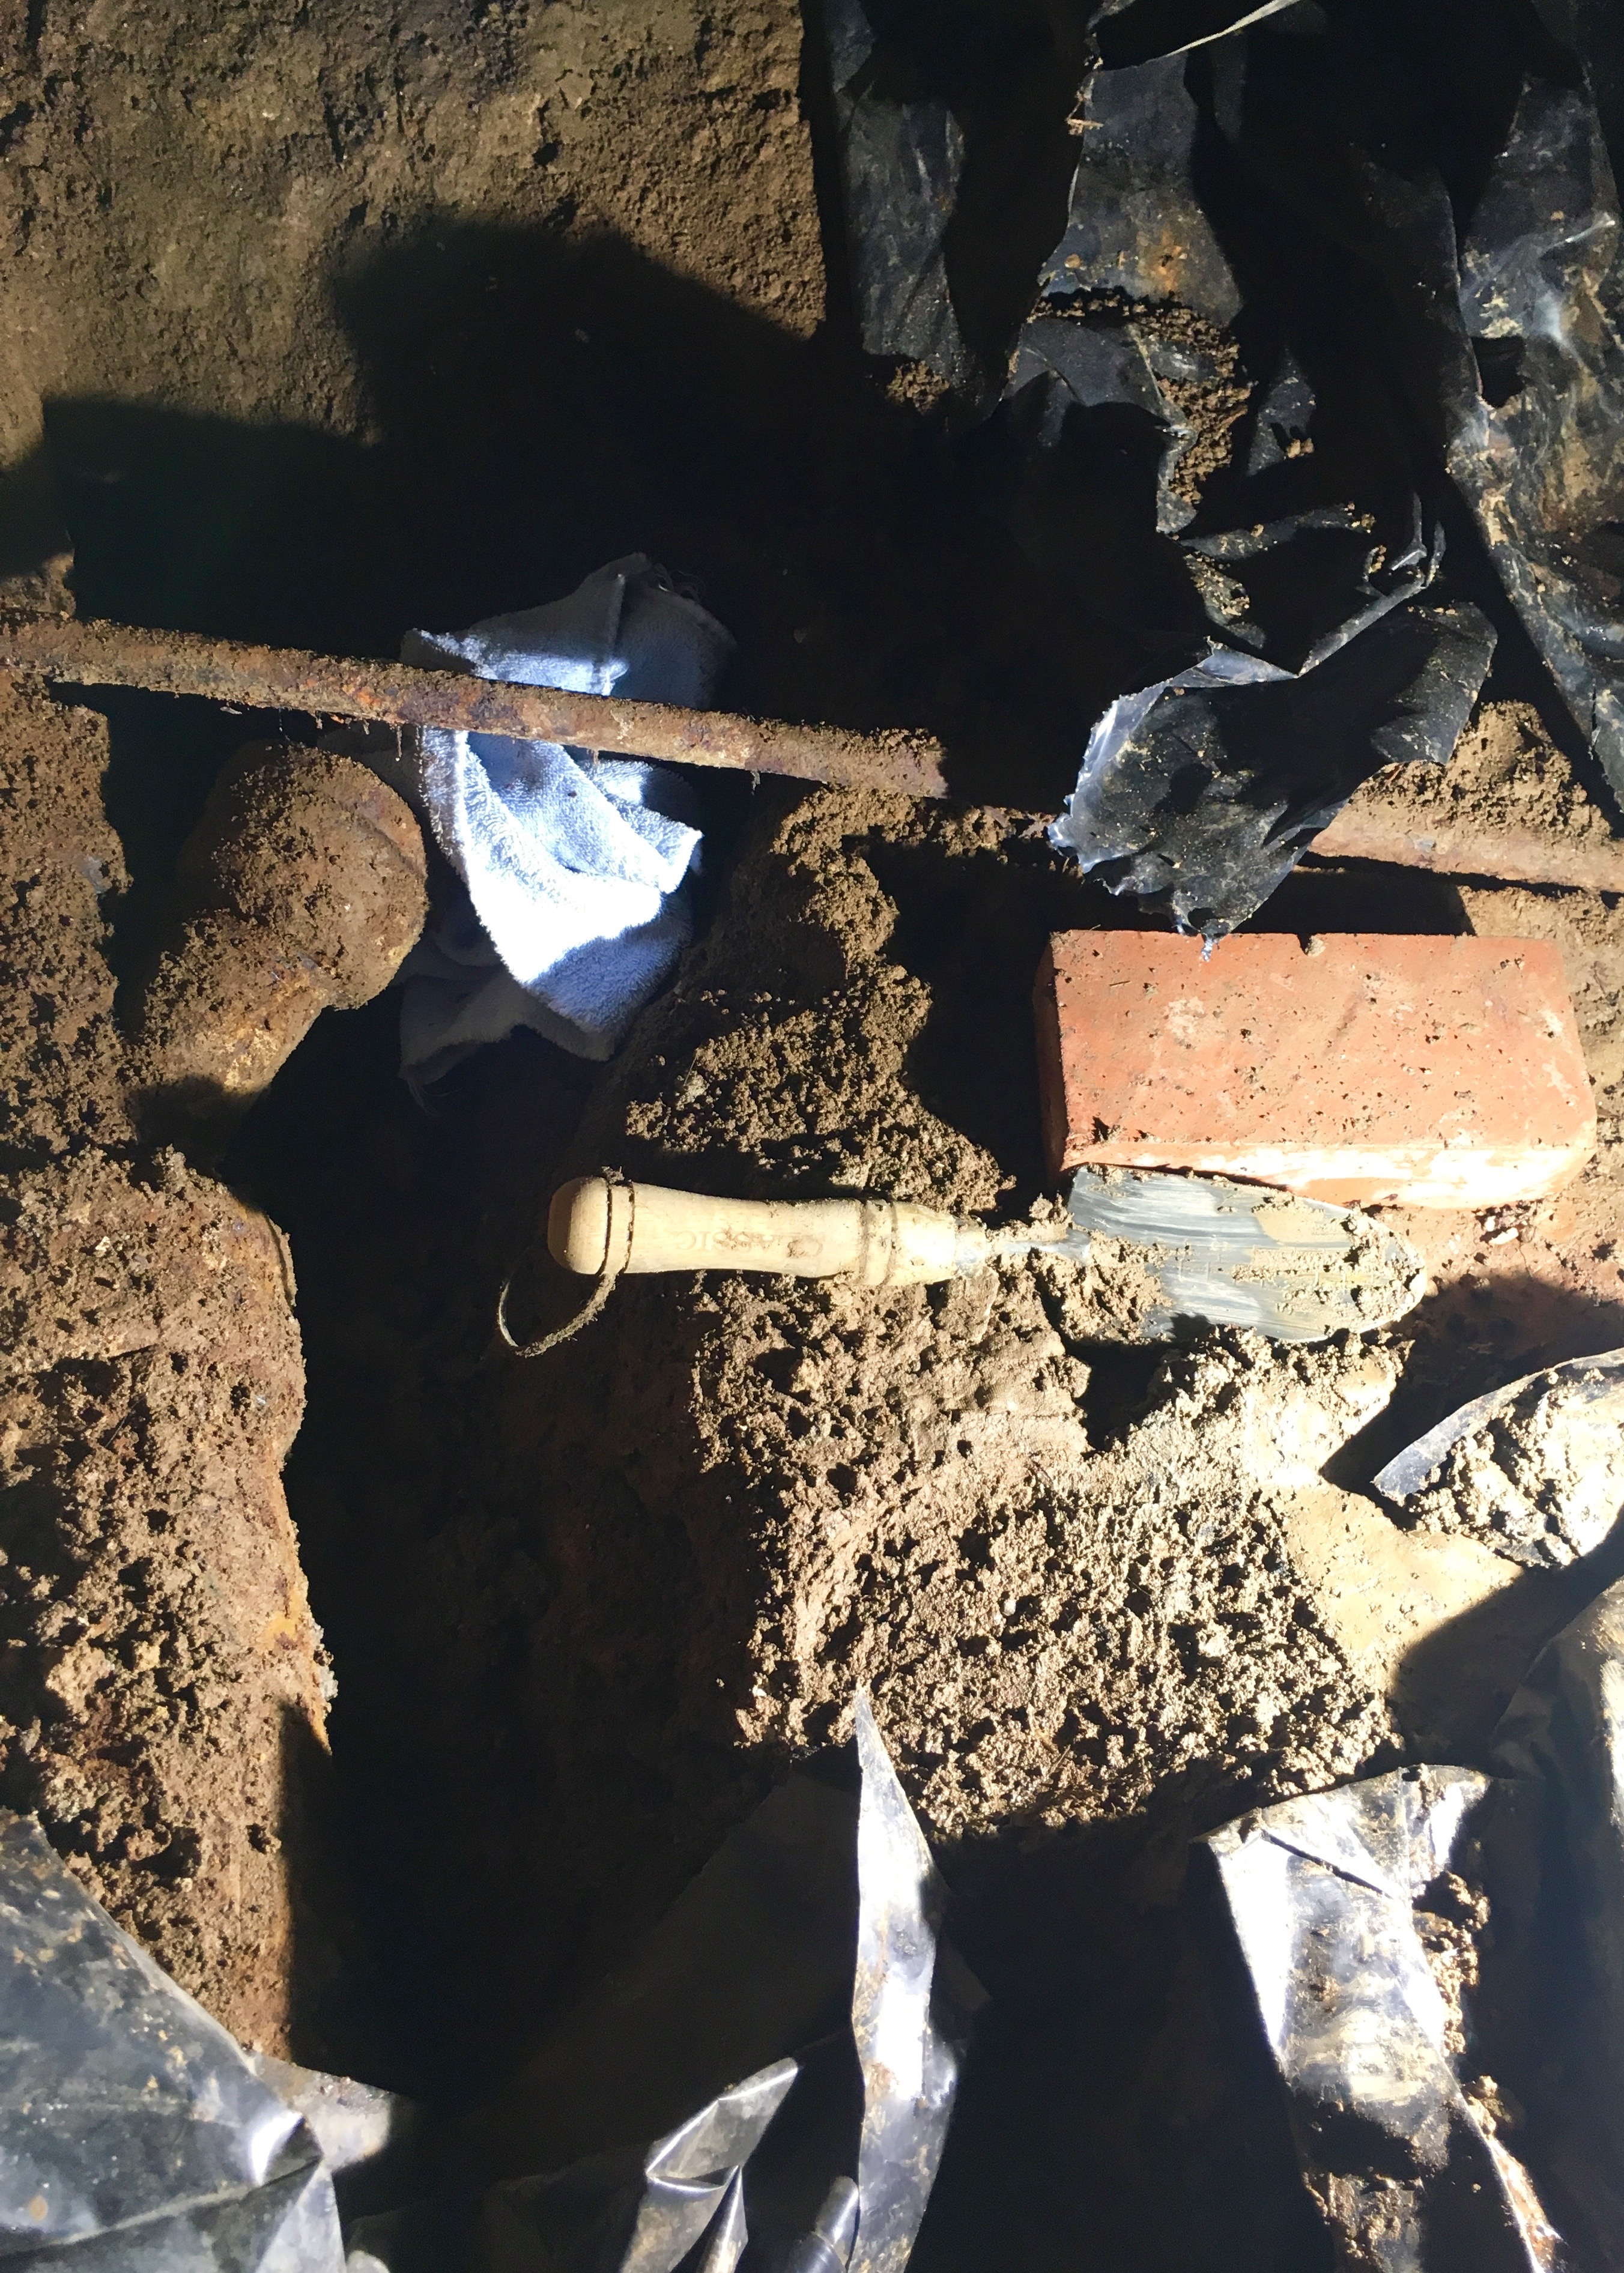
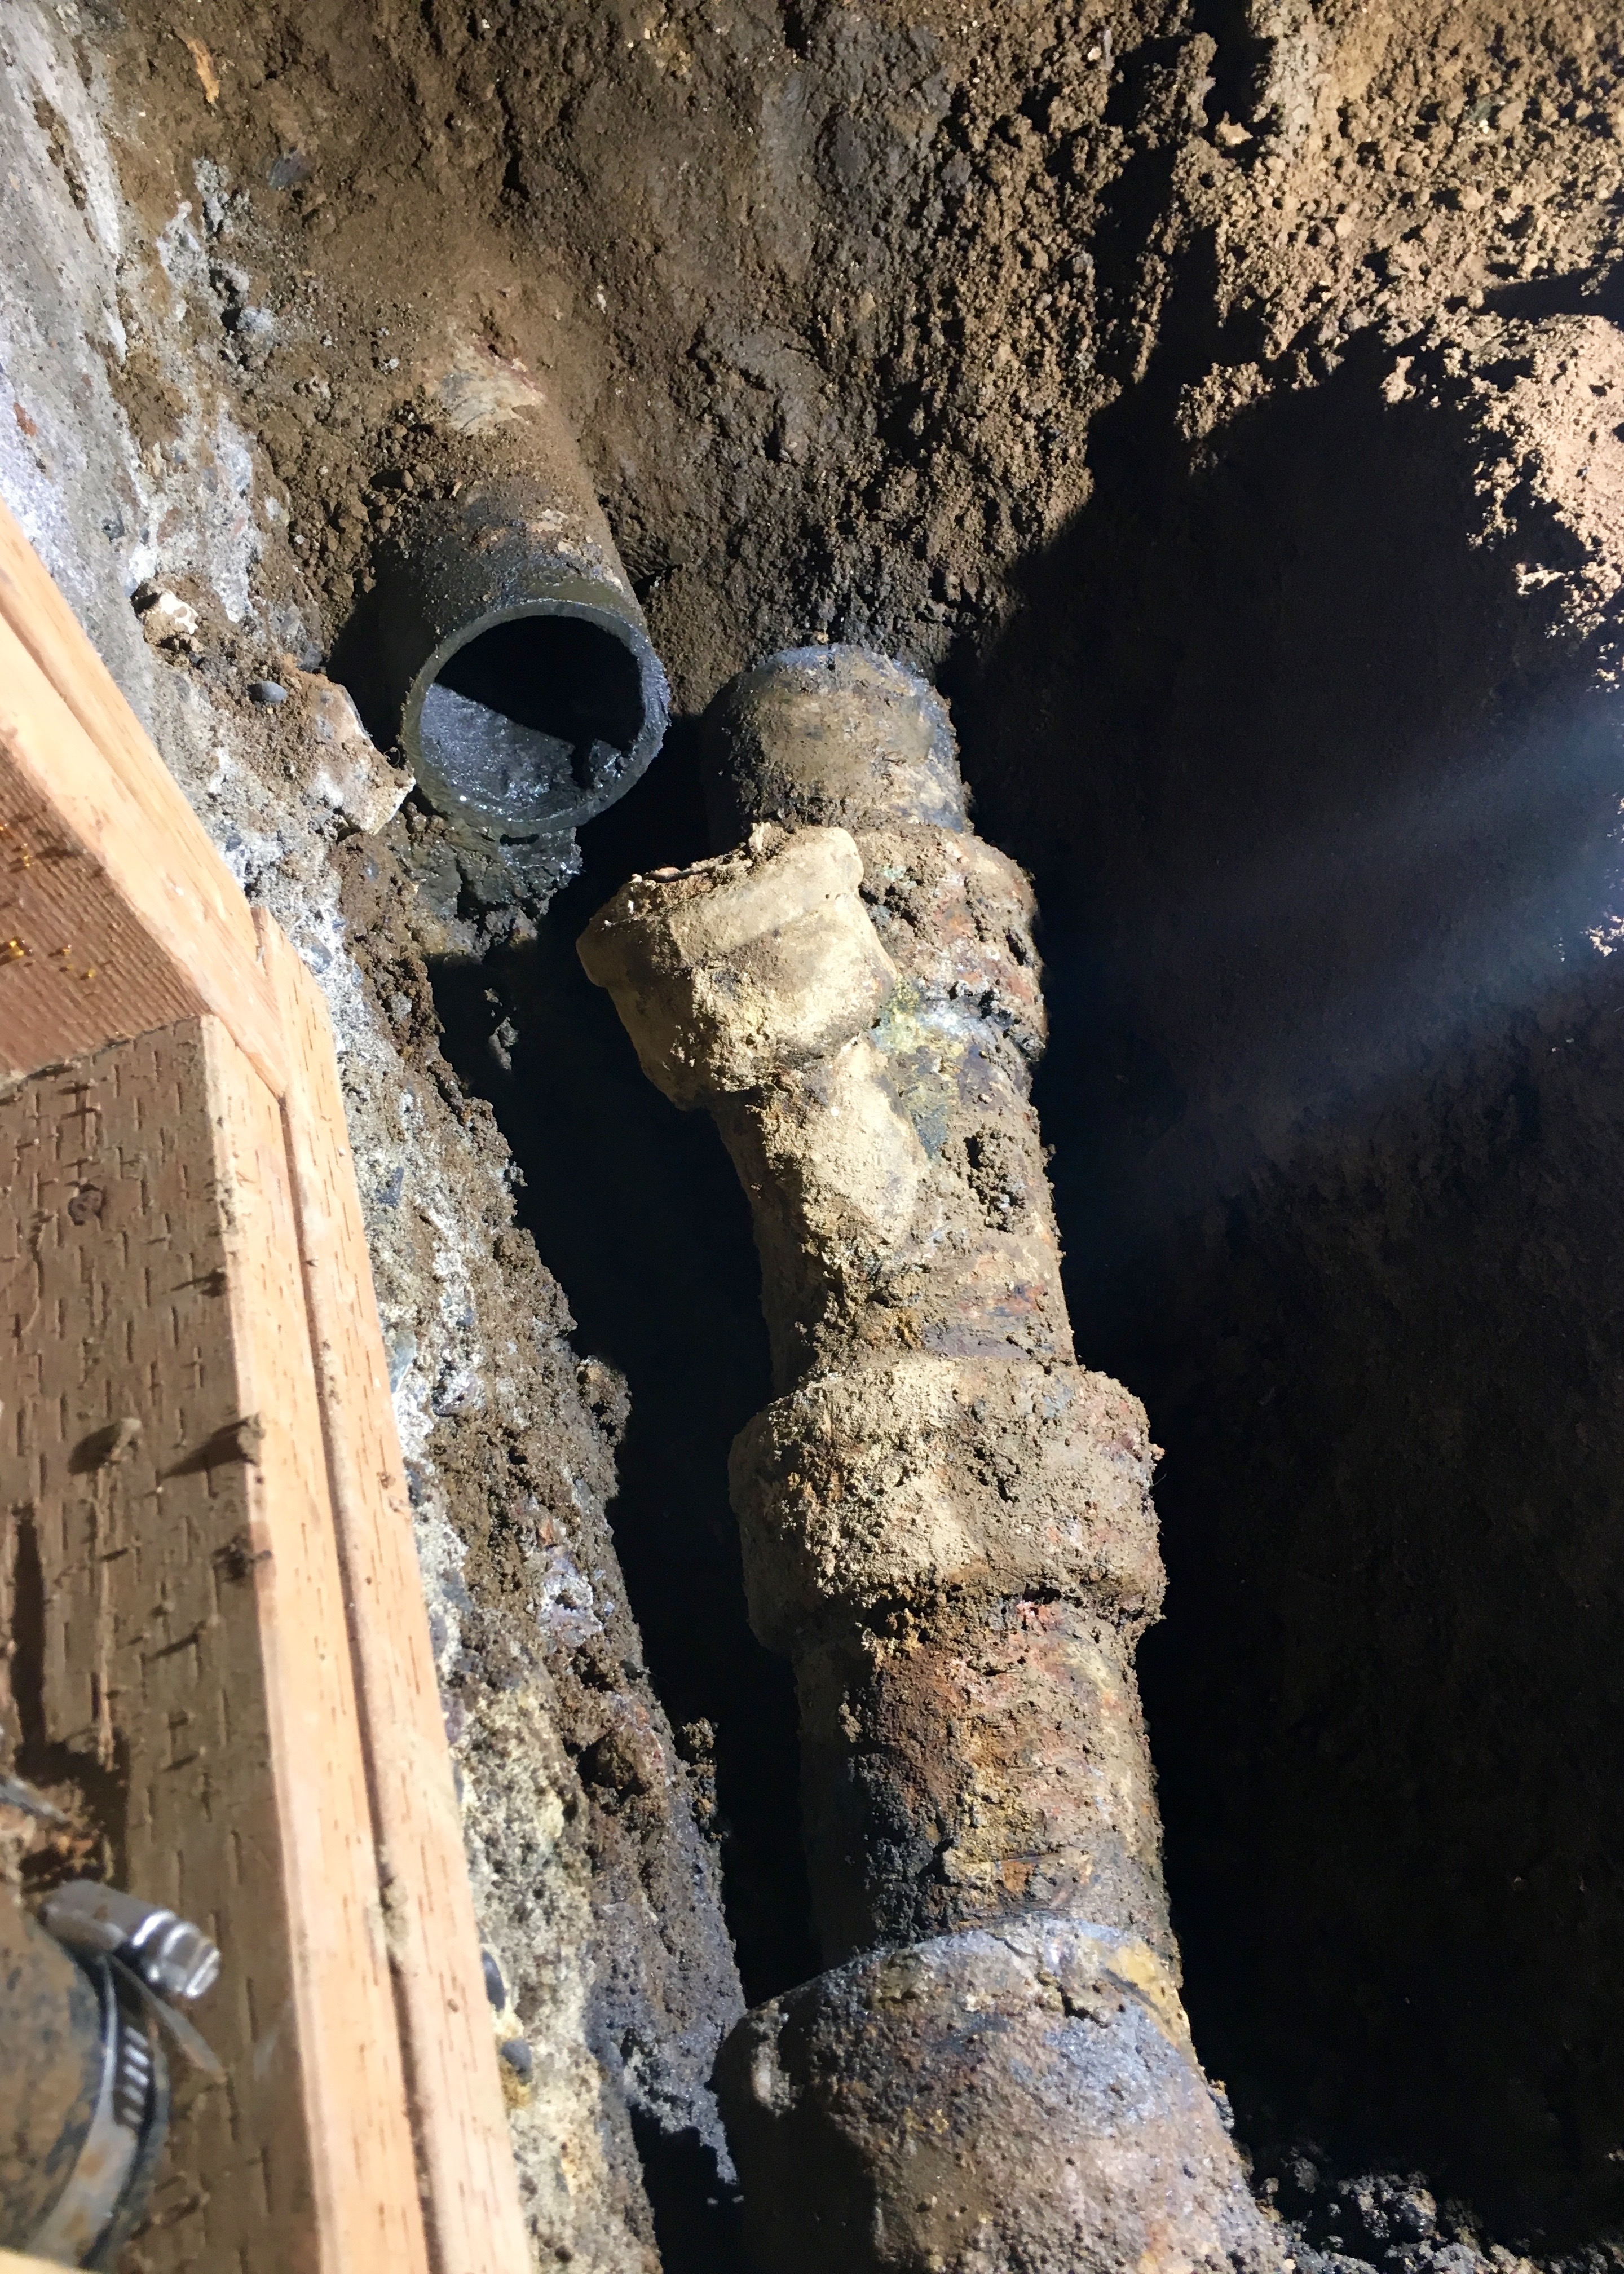
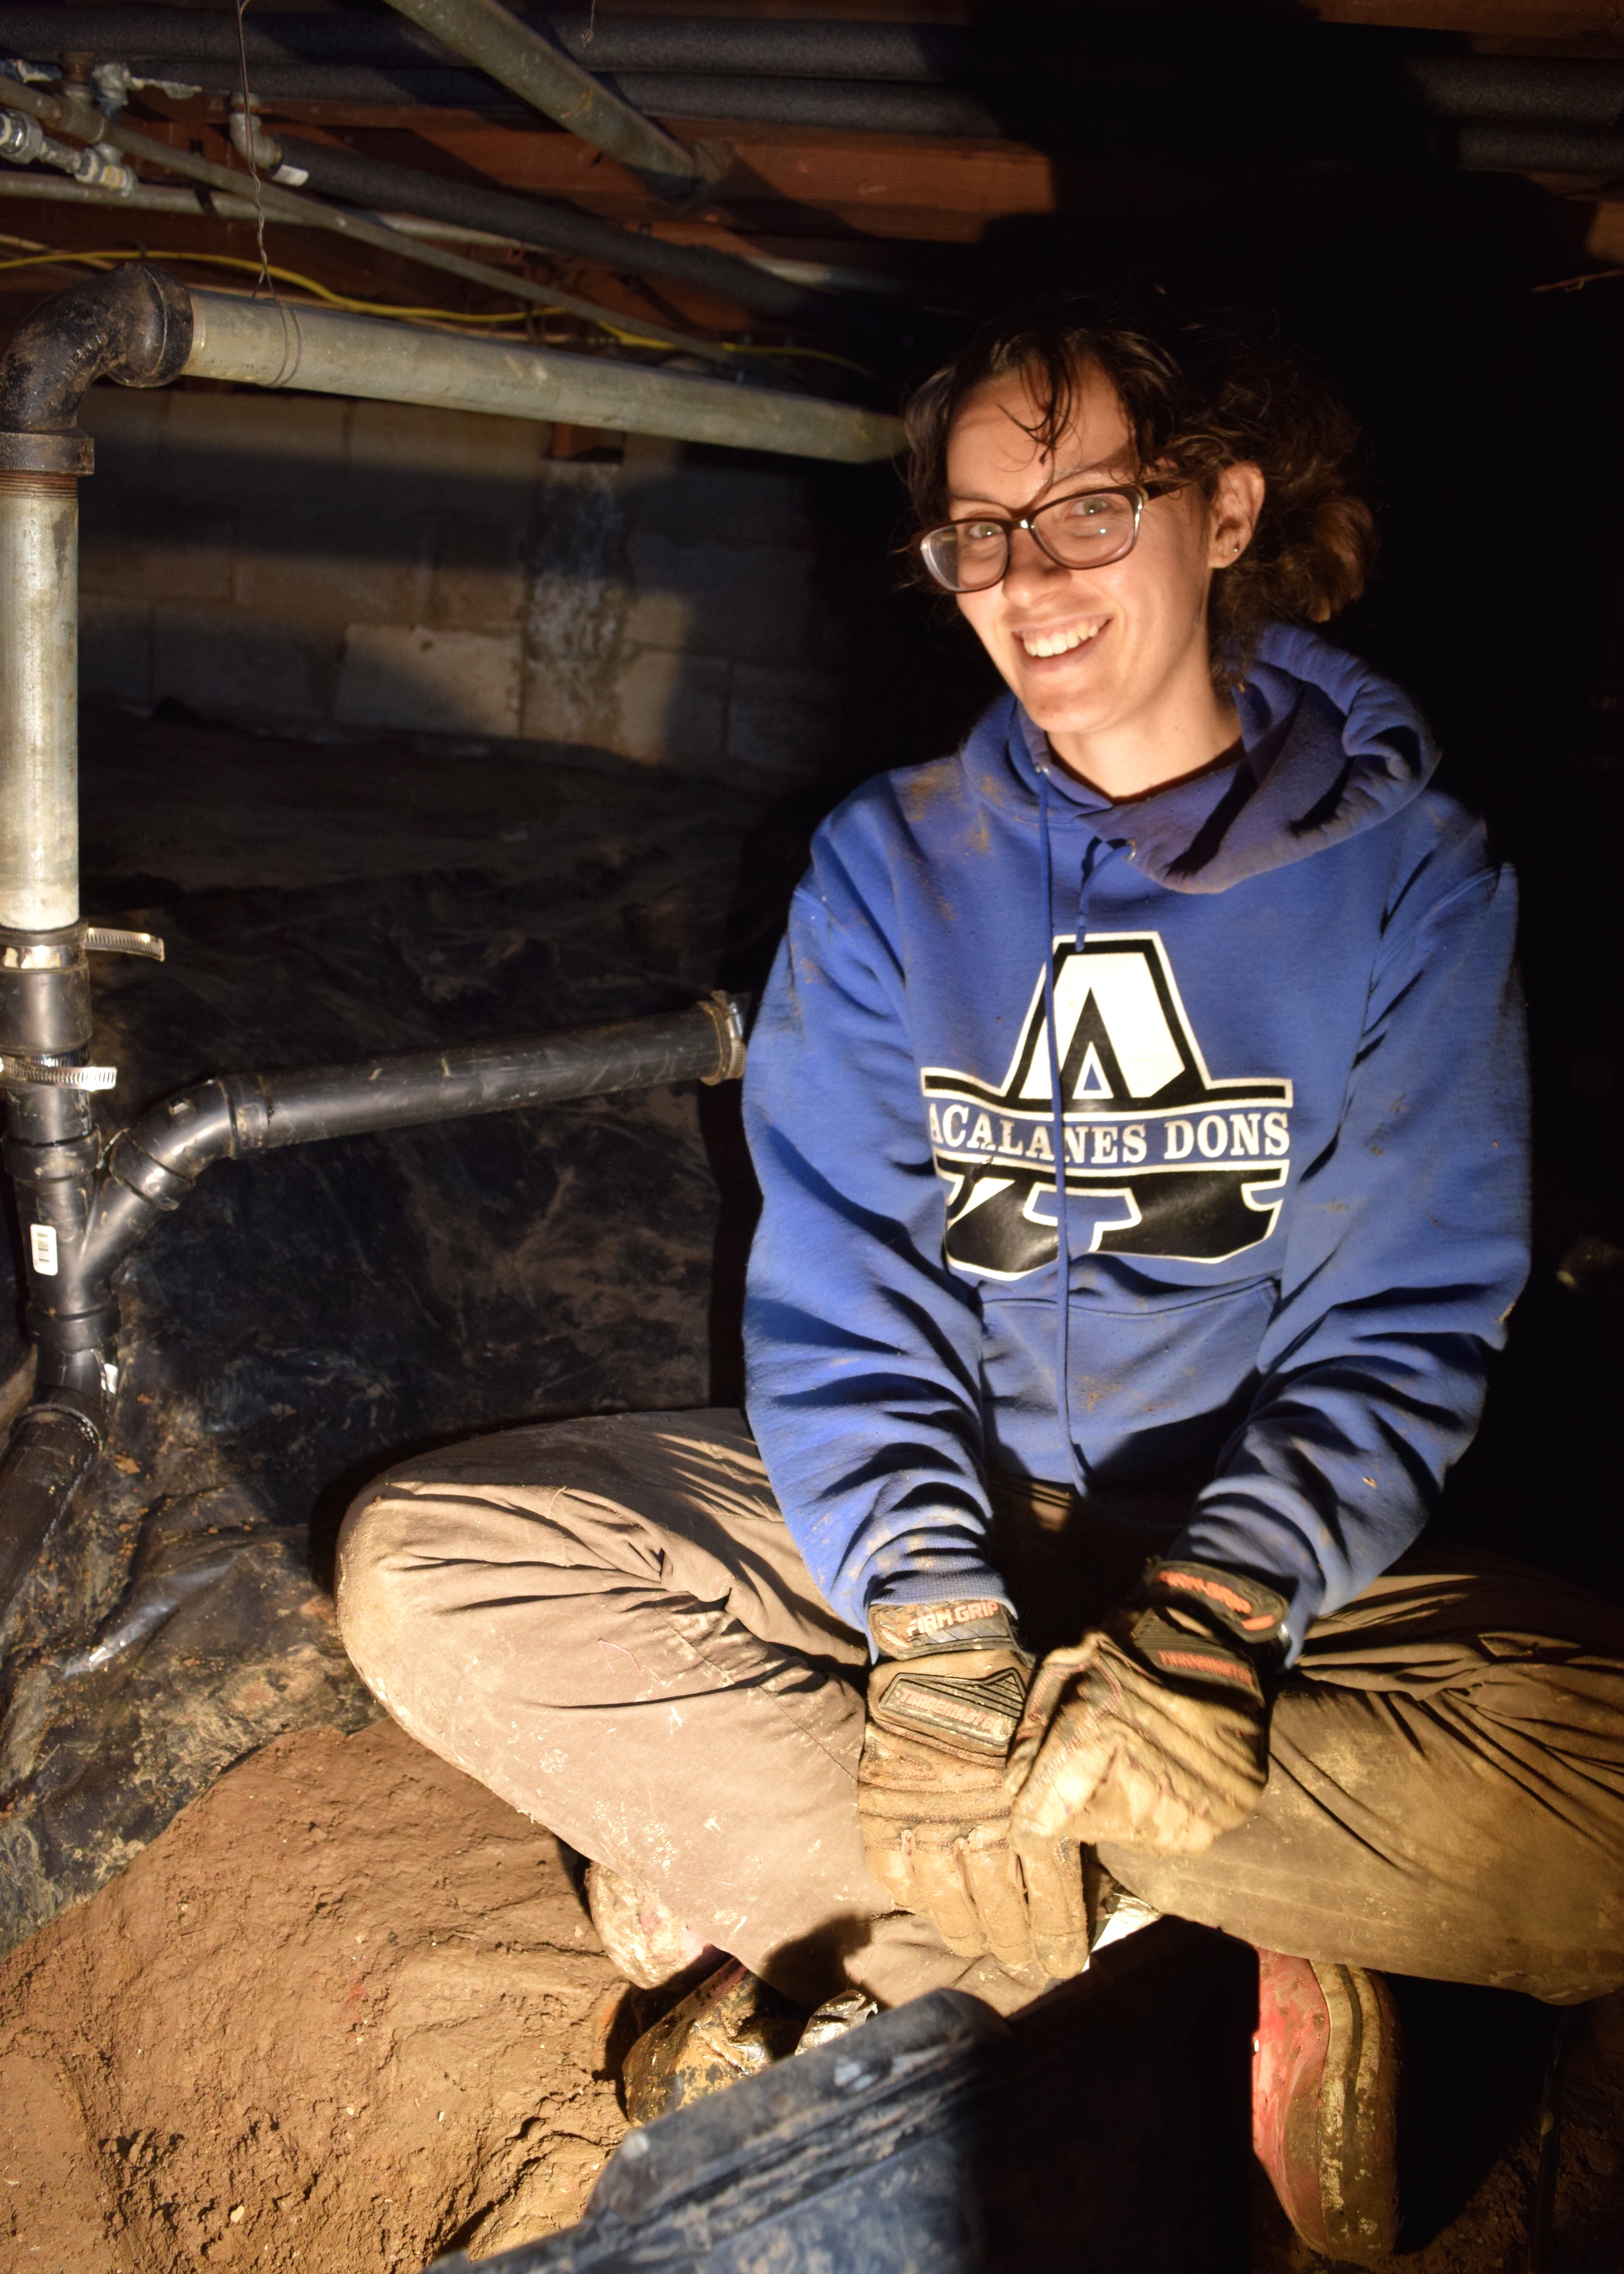
After I drained an unexpectedly large amount of water all over myself, I removed myself from the dark cavity that is my crawl space and texted my neighbor Erik. This was clearly over my head. He popped over shortly after with a snake and we stuck that into the pipe where I’d opened the coupling. After getting the snake in nothing seemed to be happening, but when Erik went to remove the snake, the whole pipe moved with it. Uh oh. I reached out to steady the pipe and realized it didn’t even matter! The whole pipe section had just snapped off. And snapped off not close to where we were snaking, but farther down the pipe. See the dirt in the picture above? That’s where it broke, buried down in that! So I slathered a smile on my face and pretended I loved the crawl space and got to work.

I took out a shovel and started digging in the dirt to figure out where the pipe had broken and found the house’s 4″ cast iron sewer line. The old galvanized pipe that connected the sink and dishwasher drains to the sewer had corroded away and the slight motion from snaking it, broke it off right where it connected to the sewer. Not good! Because it was broken, I couldn’t even get it out of the sewer line and simply sub in a new section of pipe. Nope, I had to get way more involved and replace a section of the sewer line itself! Erik headed out with the promise to help me tomorrow. After I finished digging out around the pipe I called it quits for the night and stuffed a rag in the broken off pipe to prevent the sewer gases from filling the basement. The only good thing about this clog is that it caused me to find this corroded (now broken) pipe. This pipe had been leaking into the soil hidden below where I’d be able to see it if I had not been digging!
The copper pipe that runs perpendicular to the sewer line above is a random pipe that does not connect to anything. Helpful vestiges of plumbings past!
There’s a special tool that would have made cutting the cast iron sewer line quick and easy. It’s a ratcheting soil pipe cutter. You can buy one for about a billion dollars or rent one. Home Depot rents ’em, but the store closest to me didn’t have one so I went to a local tool rental. They pulled it out of the back and I took one look and teared up. There was no way this could work. My basement wall is oddly angled on this side. Guess why? Because the sewer line was built first. And when they carved out the basement, rather than moving the pipe and making a straight wall, the built the concrete wall about 1/2″ away from the sewer line. The ratcheting pipe cutter gears were about 1.25″. It wasn’t going to fit!
On to plan B! Sawzalling the cast iron pipe with diamond blades. I headed to Home Depot to grab that and the rest of the supplies needed. Two cast iron sawzall blades for $15 buck each was a lot better than paying a plumber. I also headed to the pipe section to look for the proper couplings and accoutrements. Of course, I have no idea what I’m doing so I just took out a ton of parts and put them on the floor and then texted pictures like this to Erik until my phone died and I was left to fend for myself in the plumbing section!
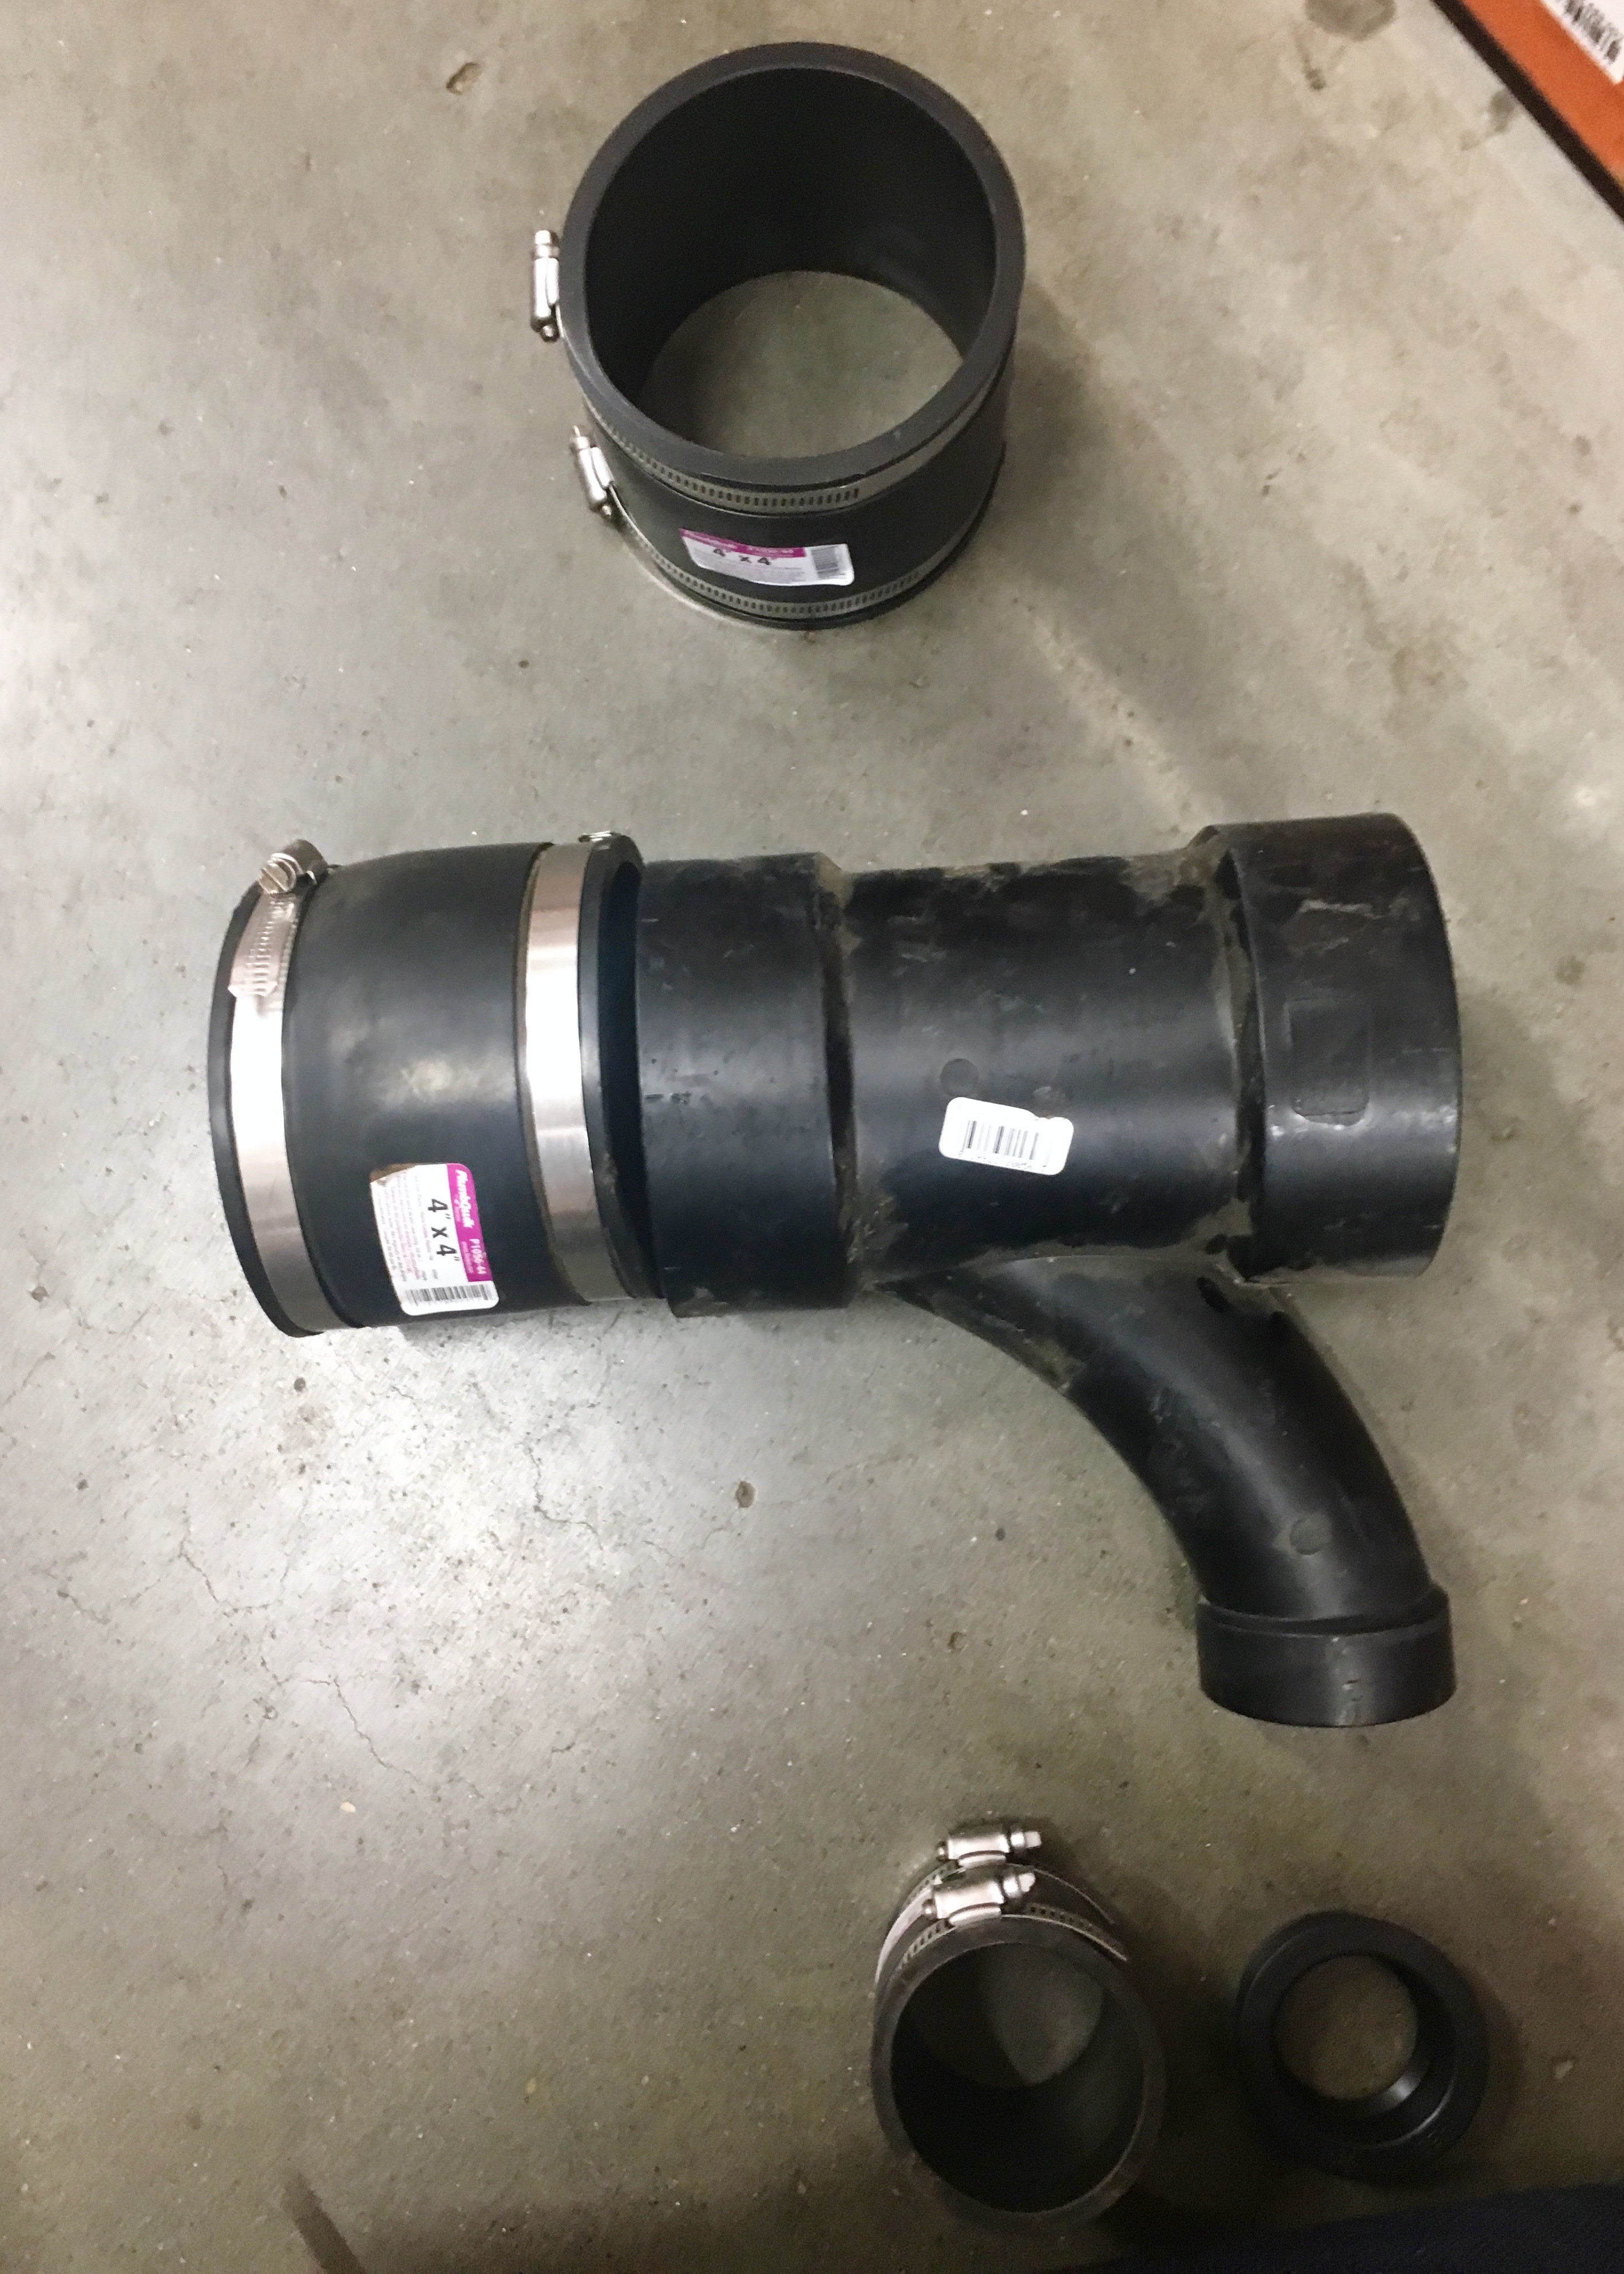
I ended up with a four inch wye pipe with a 2″ offshoot and then because I couldn’t remember if I needed a 2″ or 1.5″ pipe to connect to the sink and dishwasher lines, I just bought a bunch of parts for both sizes. I definitely prefer to err on the side of way too many things to return than oh hey let’s run back to Home Depot four times. So $200 later, I had everything I could possibly use.
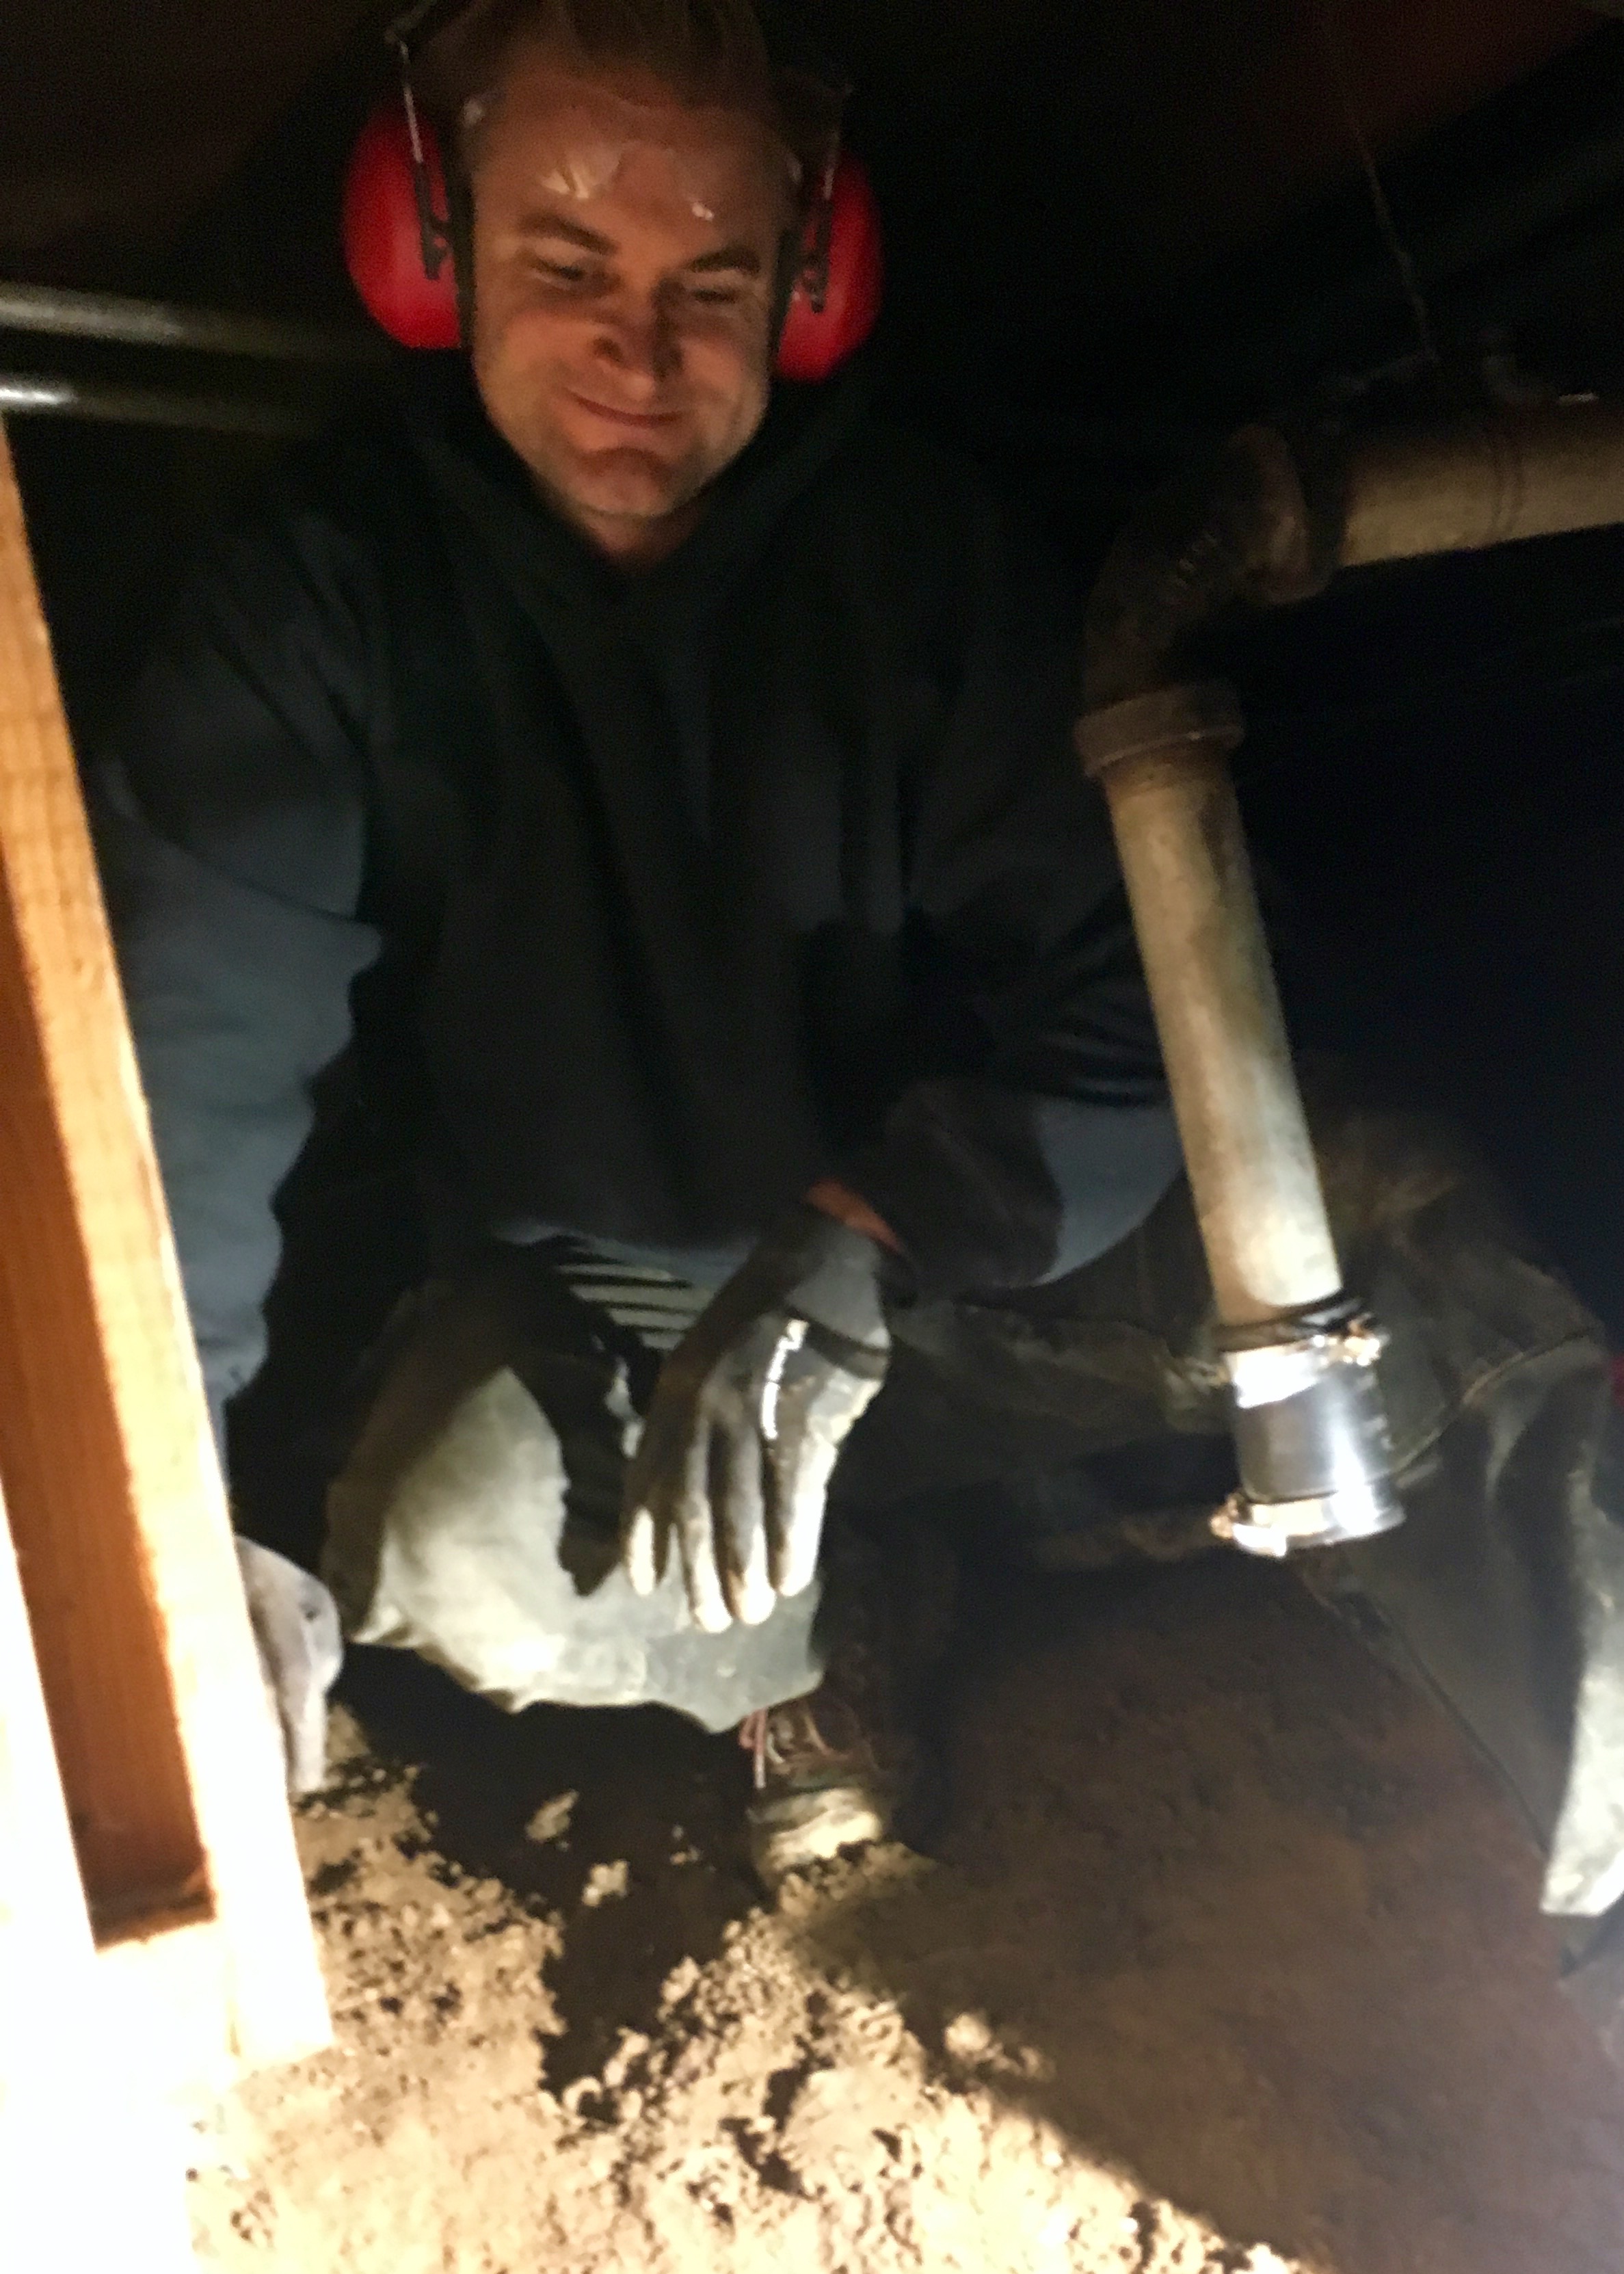
I bought Erik a bagel sandwich for lunch which is definitely not enough to repay him for the next several hours he spent helping me in the crawl space. I set up the light and then I clambered into the crawl space with my corded sawzall and Erik followed with his battery powered sawzall. We then spent the next fourty or so minutes crouched over simultaneously sawzalling at the cast iron pipe. It took a LOT of effort and was so very uncomfortable and not fun. And of course Erik did his section faster than me and then traded so he could finish off my cut. Apparently he’s stronger or something boring like that. Ugh!
But then the cast iron pipe was completely cut! It was a wonderful sight to see! 4 inches over 40 mins, but hey, who’s counting? Look at this glorious exposed sewage. Just delightful!
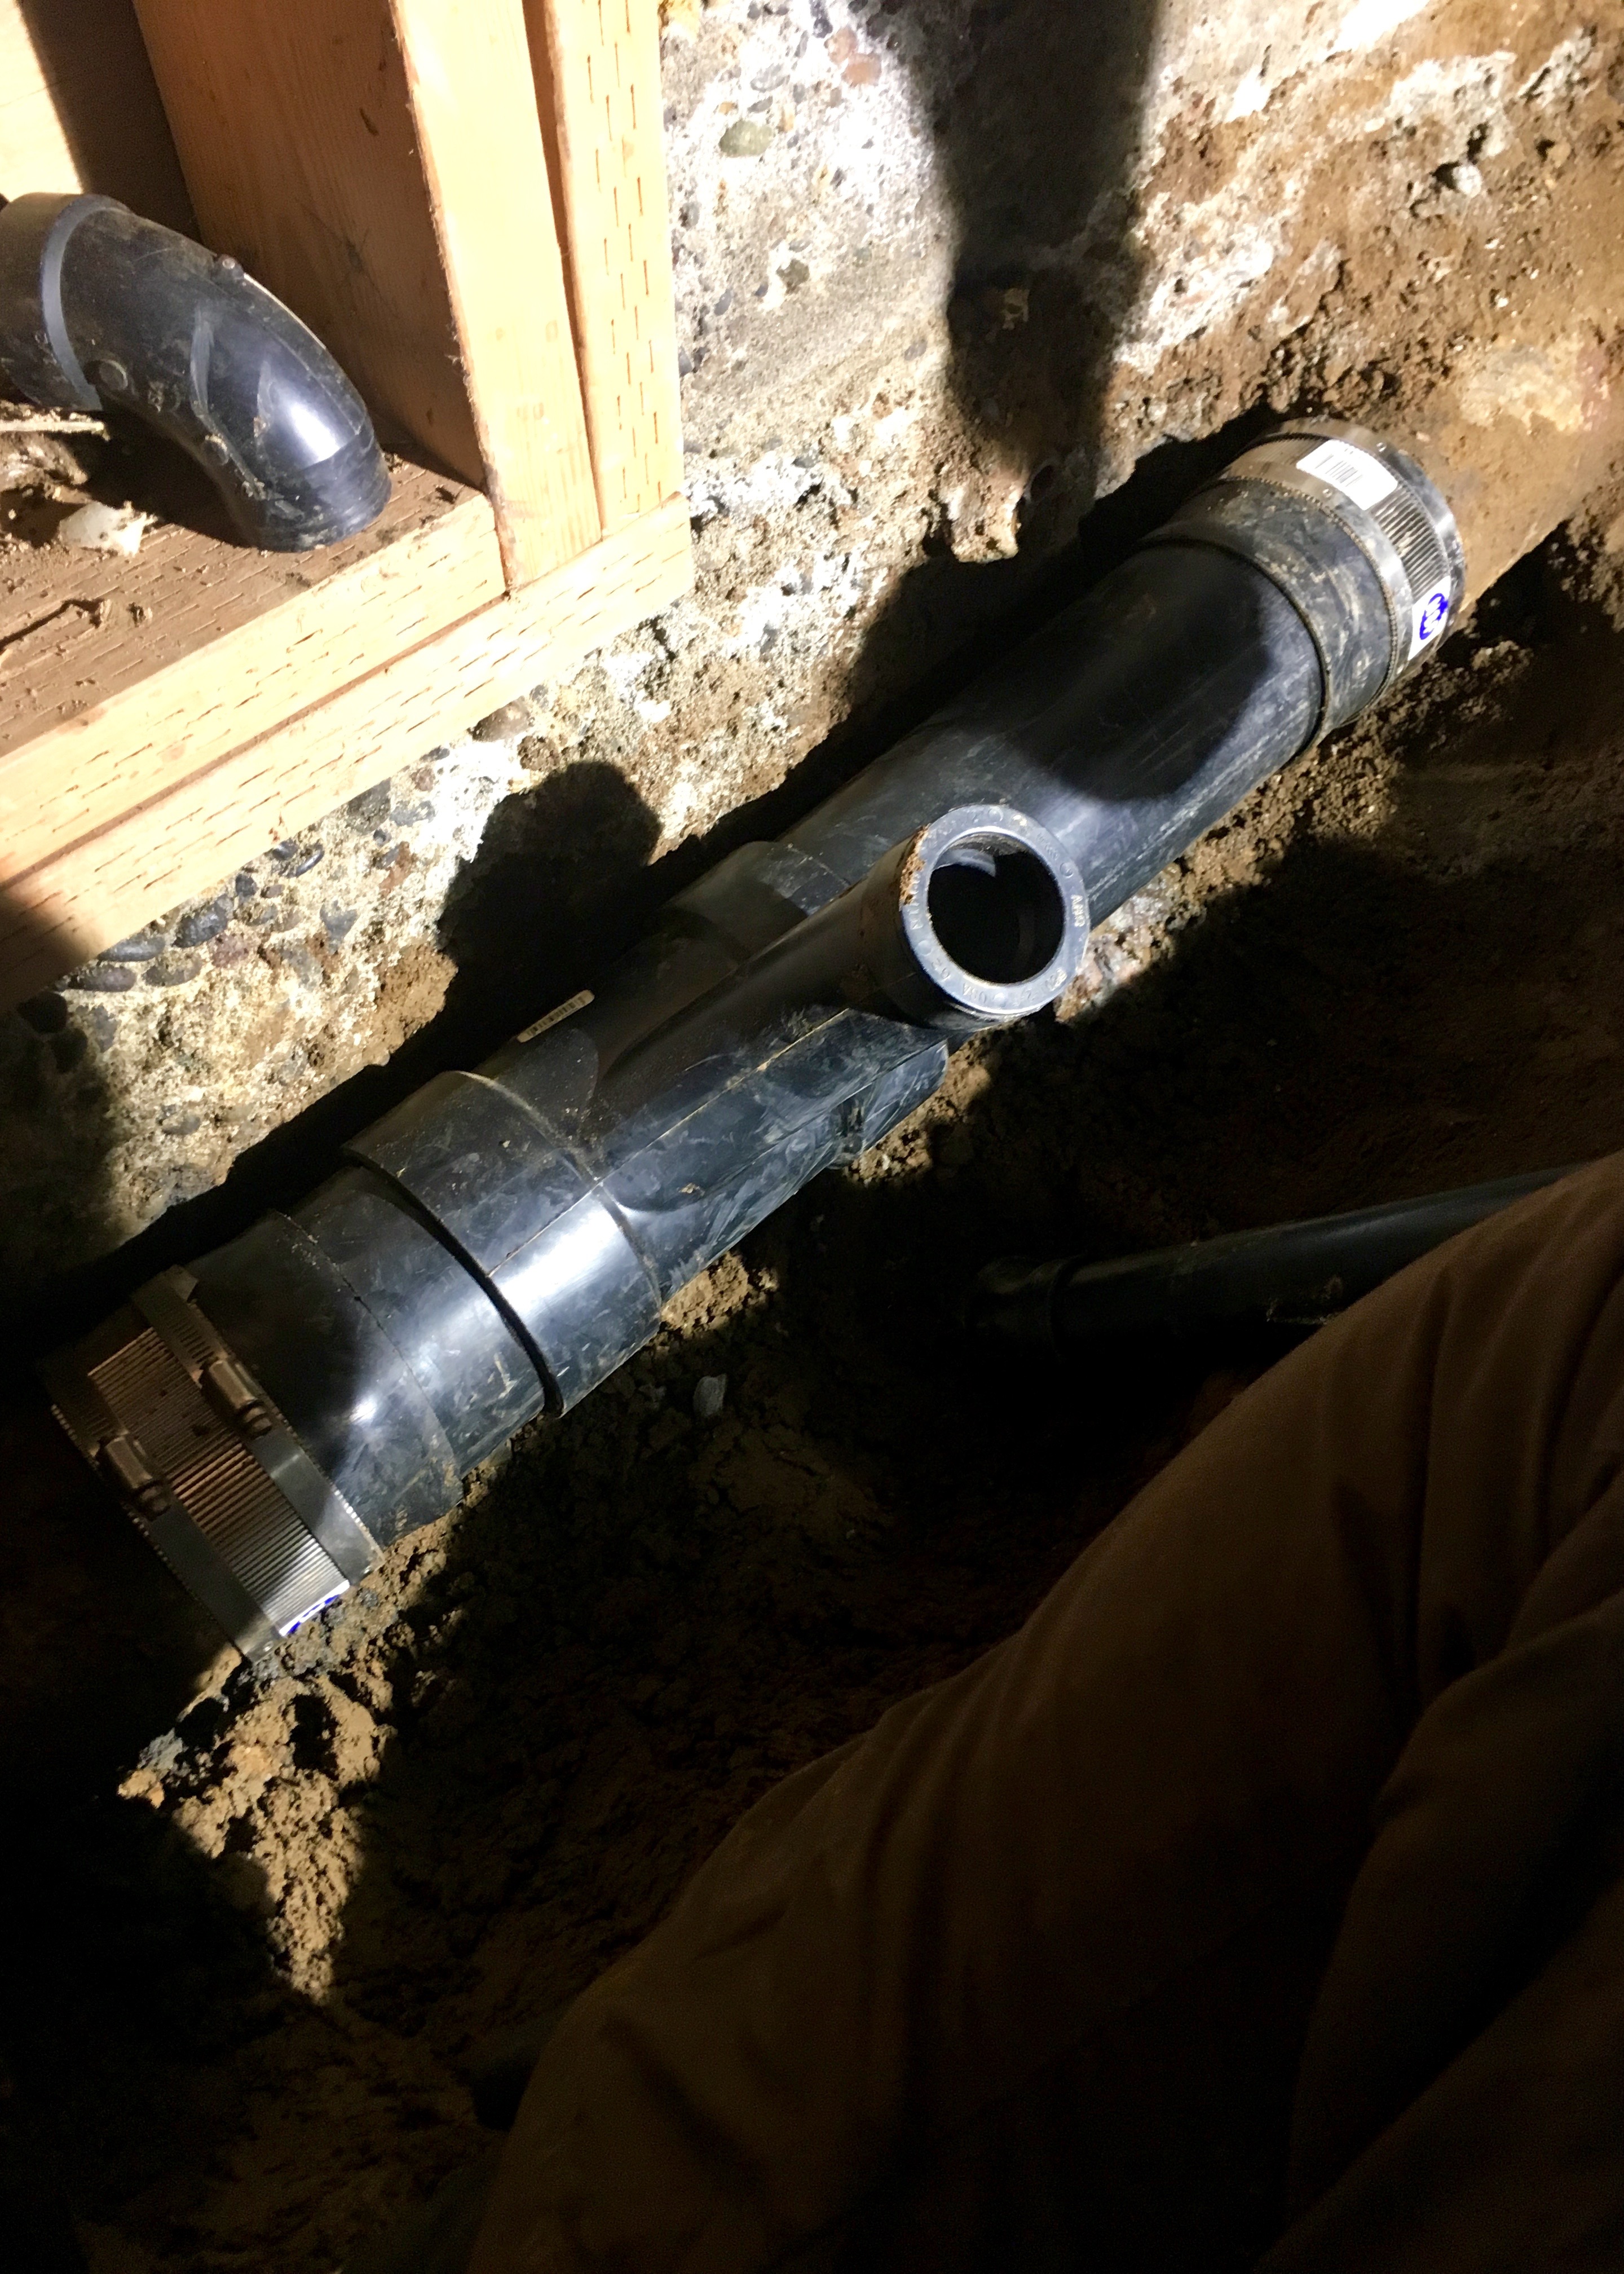
Then it was time to get the fittings together. Ugh. This was a gross project. First I got the special cast iron to ABS pipe couplings fit over both ends of the cast iron. That took some work to get the rubber fitting over and then I slid the double clamp over the rubber fitting and started lining up the rest of the pipes. Erik cut a short section of 4″ pipe to fit into the coupling. The wye went in next and then Erik cut another 4″ pipe section to fit the remaining part.

Stuffing the section of pipe into the wye and then into the coupling was a bit of a challenge. But about 5 minutes of fanangling later and I made it work. But then, of course, I had to take everything apart to glue it all. I used ABS pipe glue stuff which smells disgusting and sticks to everything. It has a ball to apply and you put glue on both ends about as wide as the radius of the pipe.
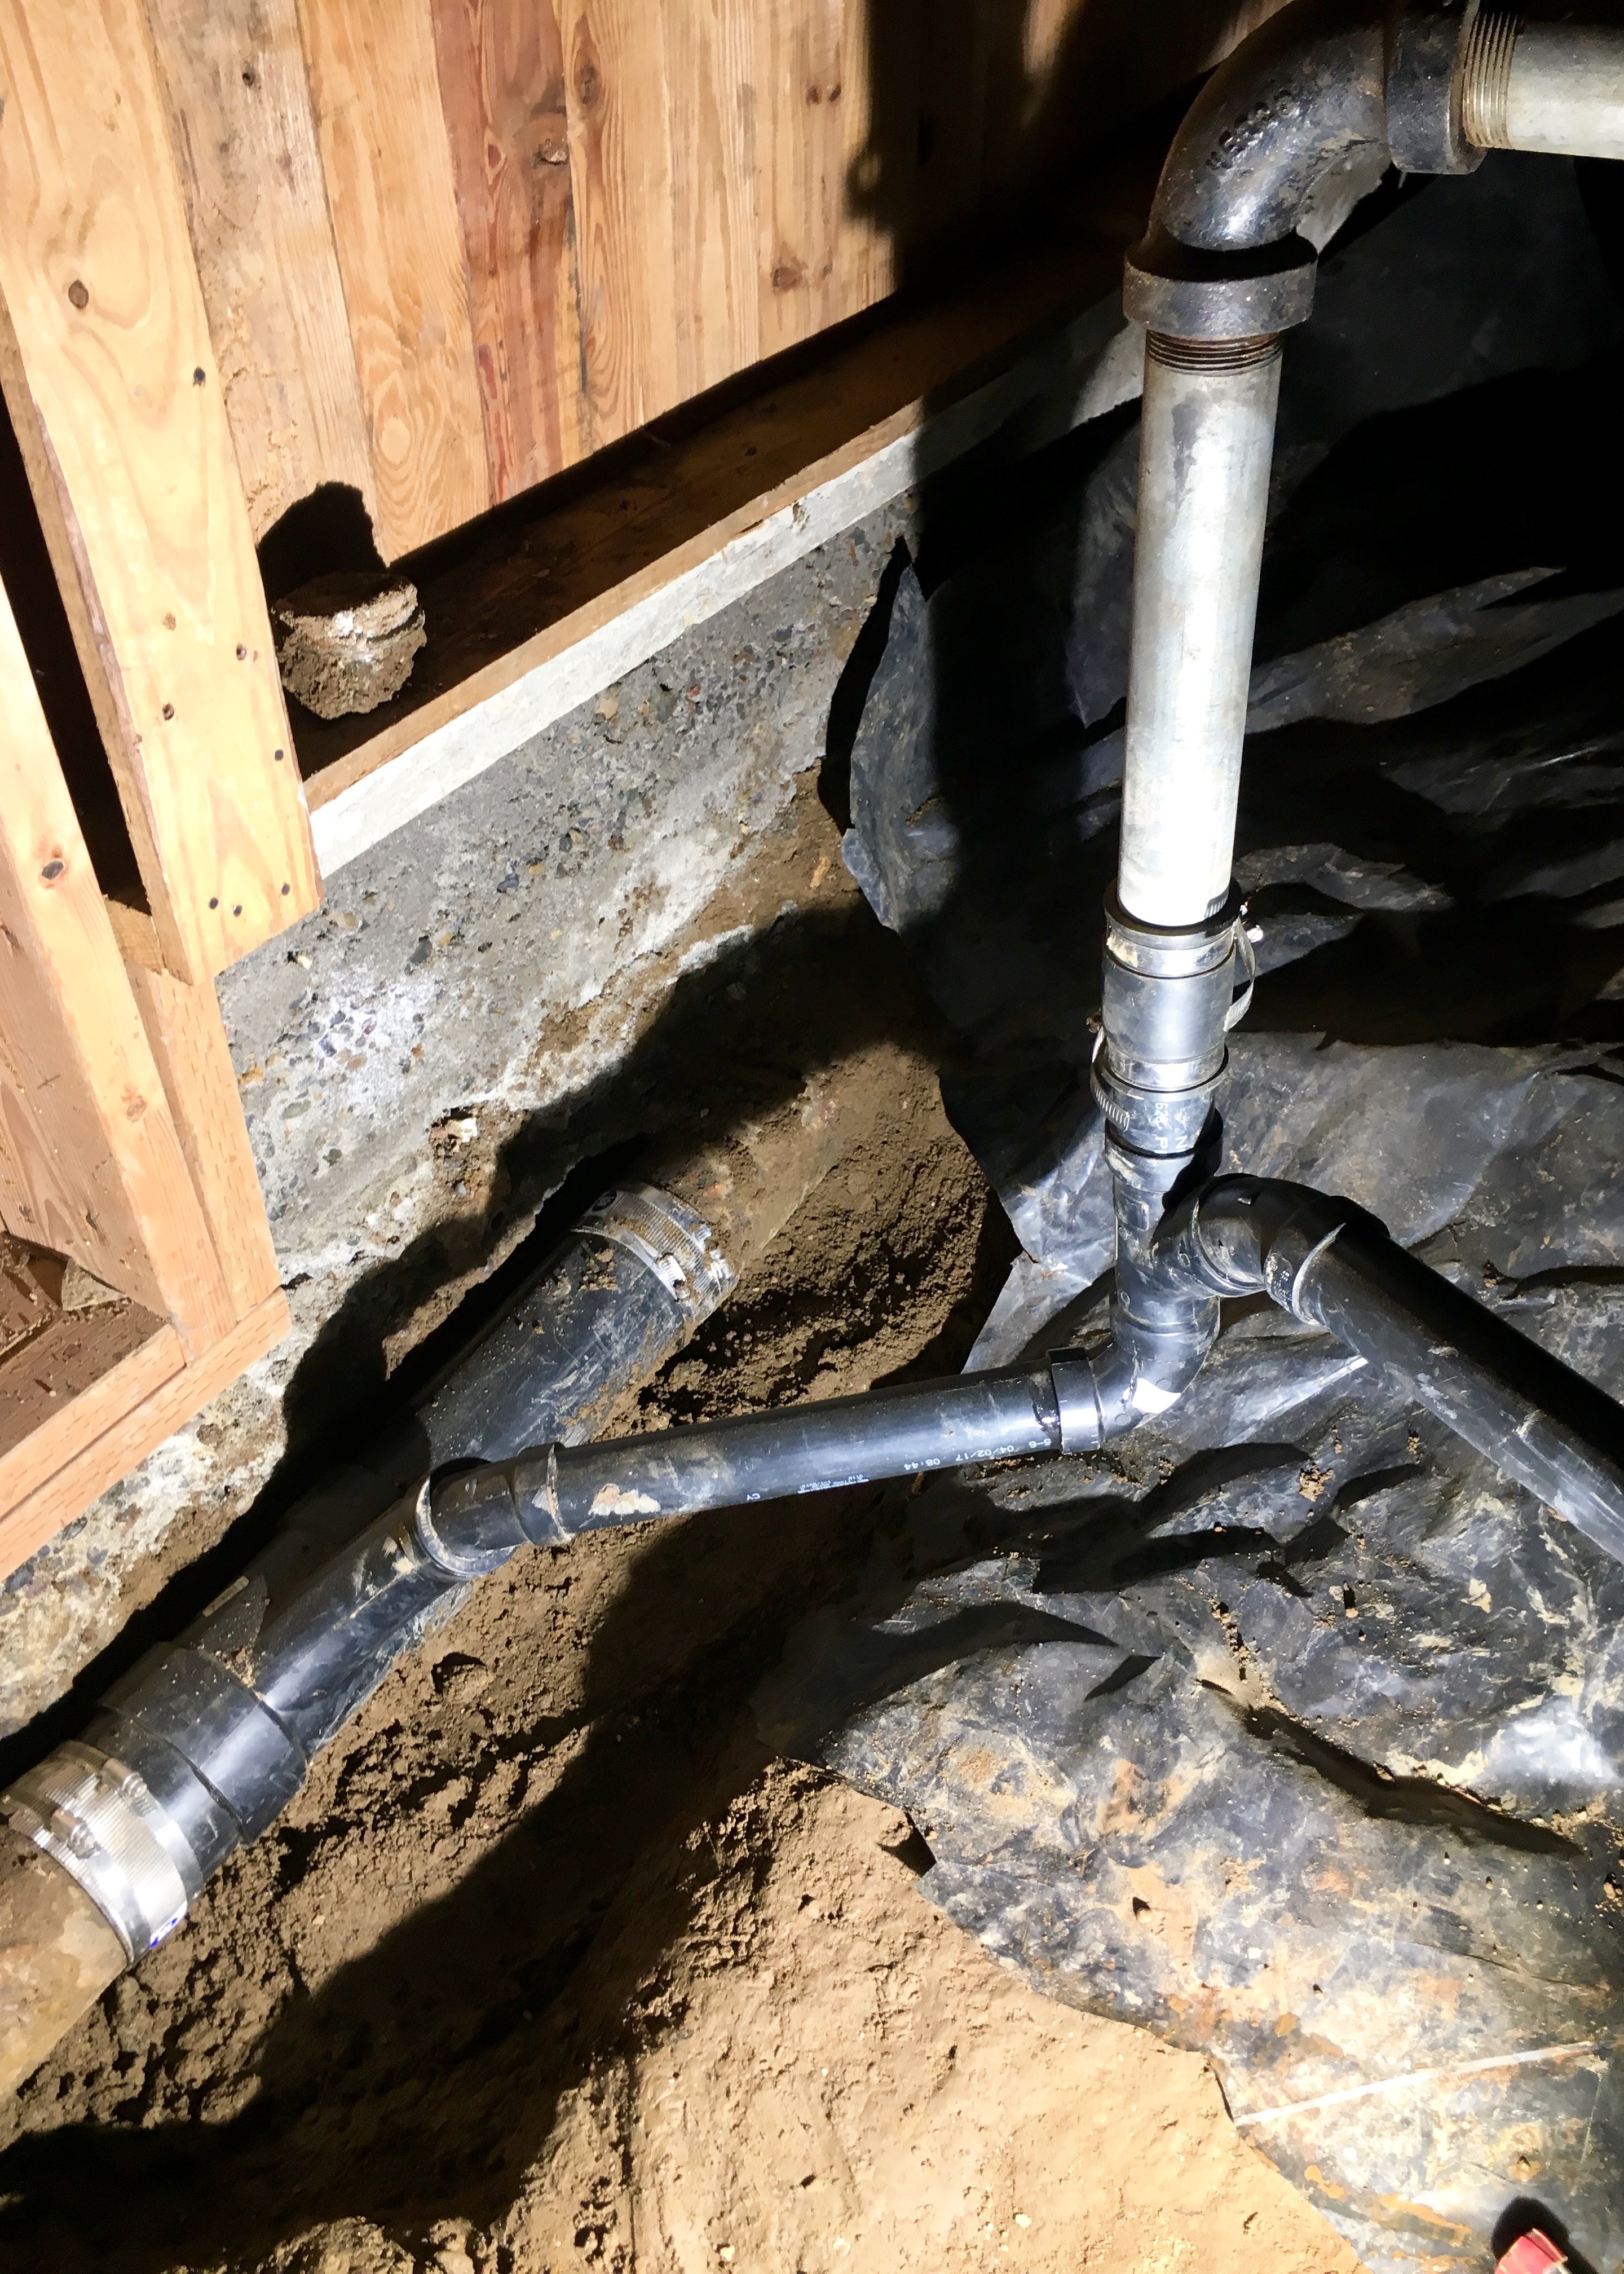
The rest of the pipe fit more easily together, it’s like highstakes marble races, but the marbles are sewage. Again, delightful! A 2″ to 1.5″ pipe converter went on the main wye first, then a 45° angle, then a section of 1.5″ pipe, then a 90° angle.

That then connected to another forked wye pipe, this one was 1.5″ all around. That allowed me to slip on the original pipes from the dishwasher and sink drains into the new wye with a couple short sections of 1.5″ pipe and a whole lotta glue.
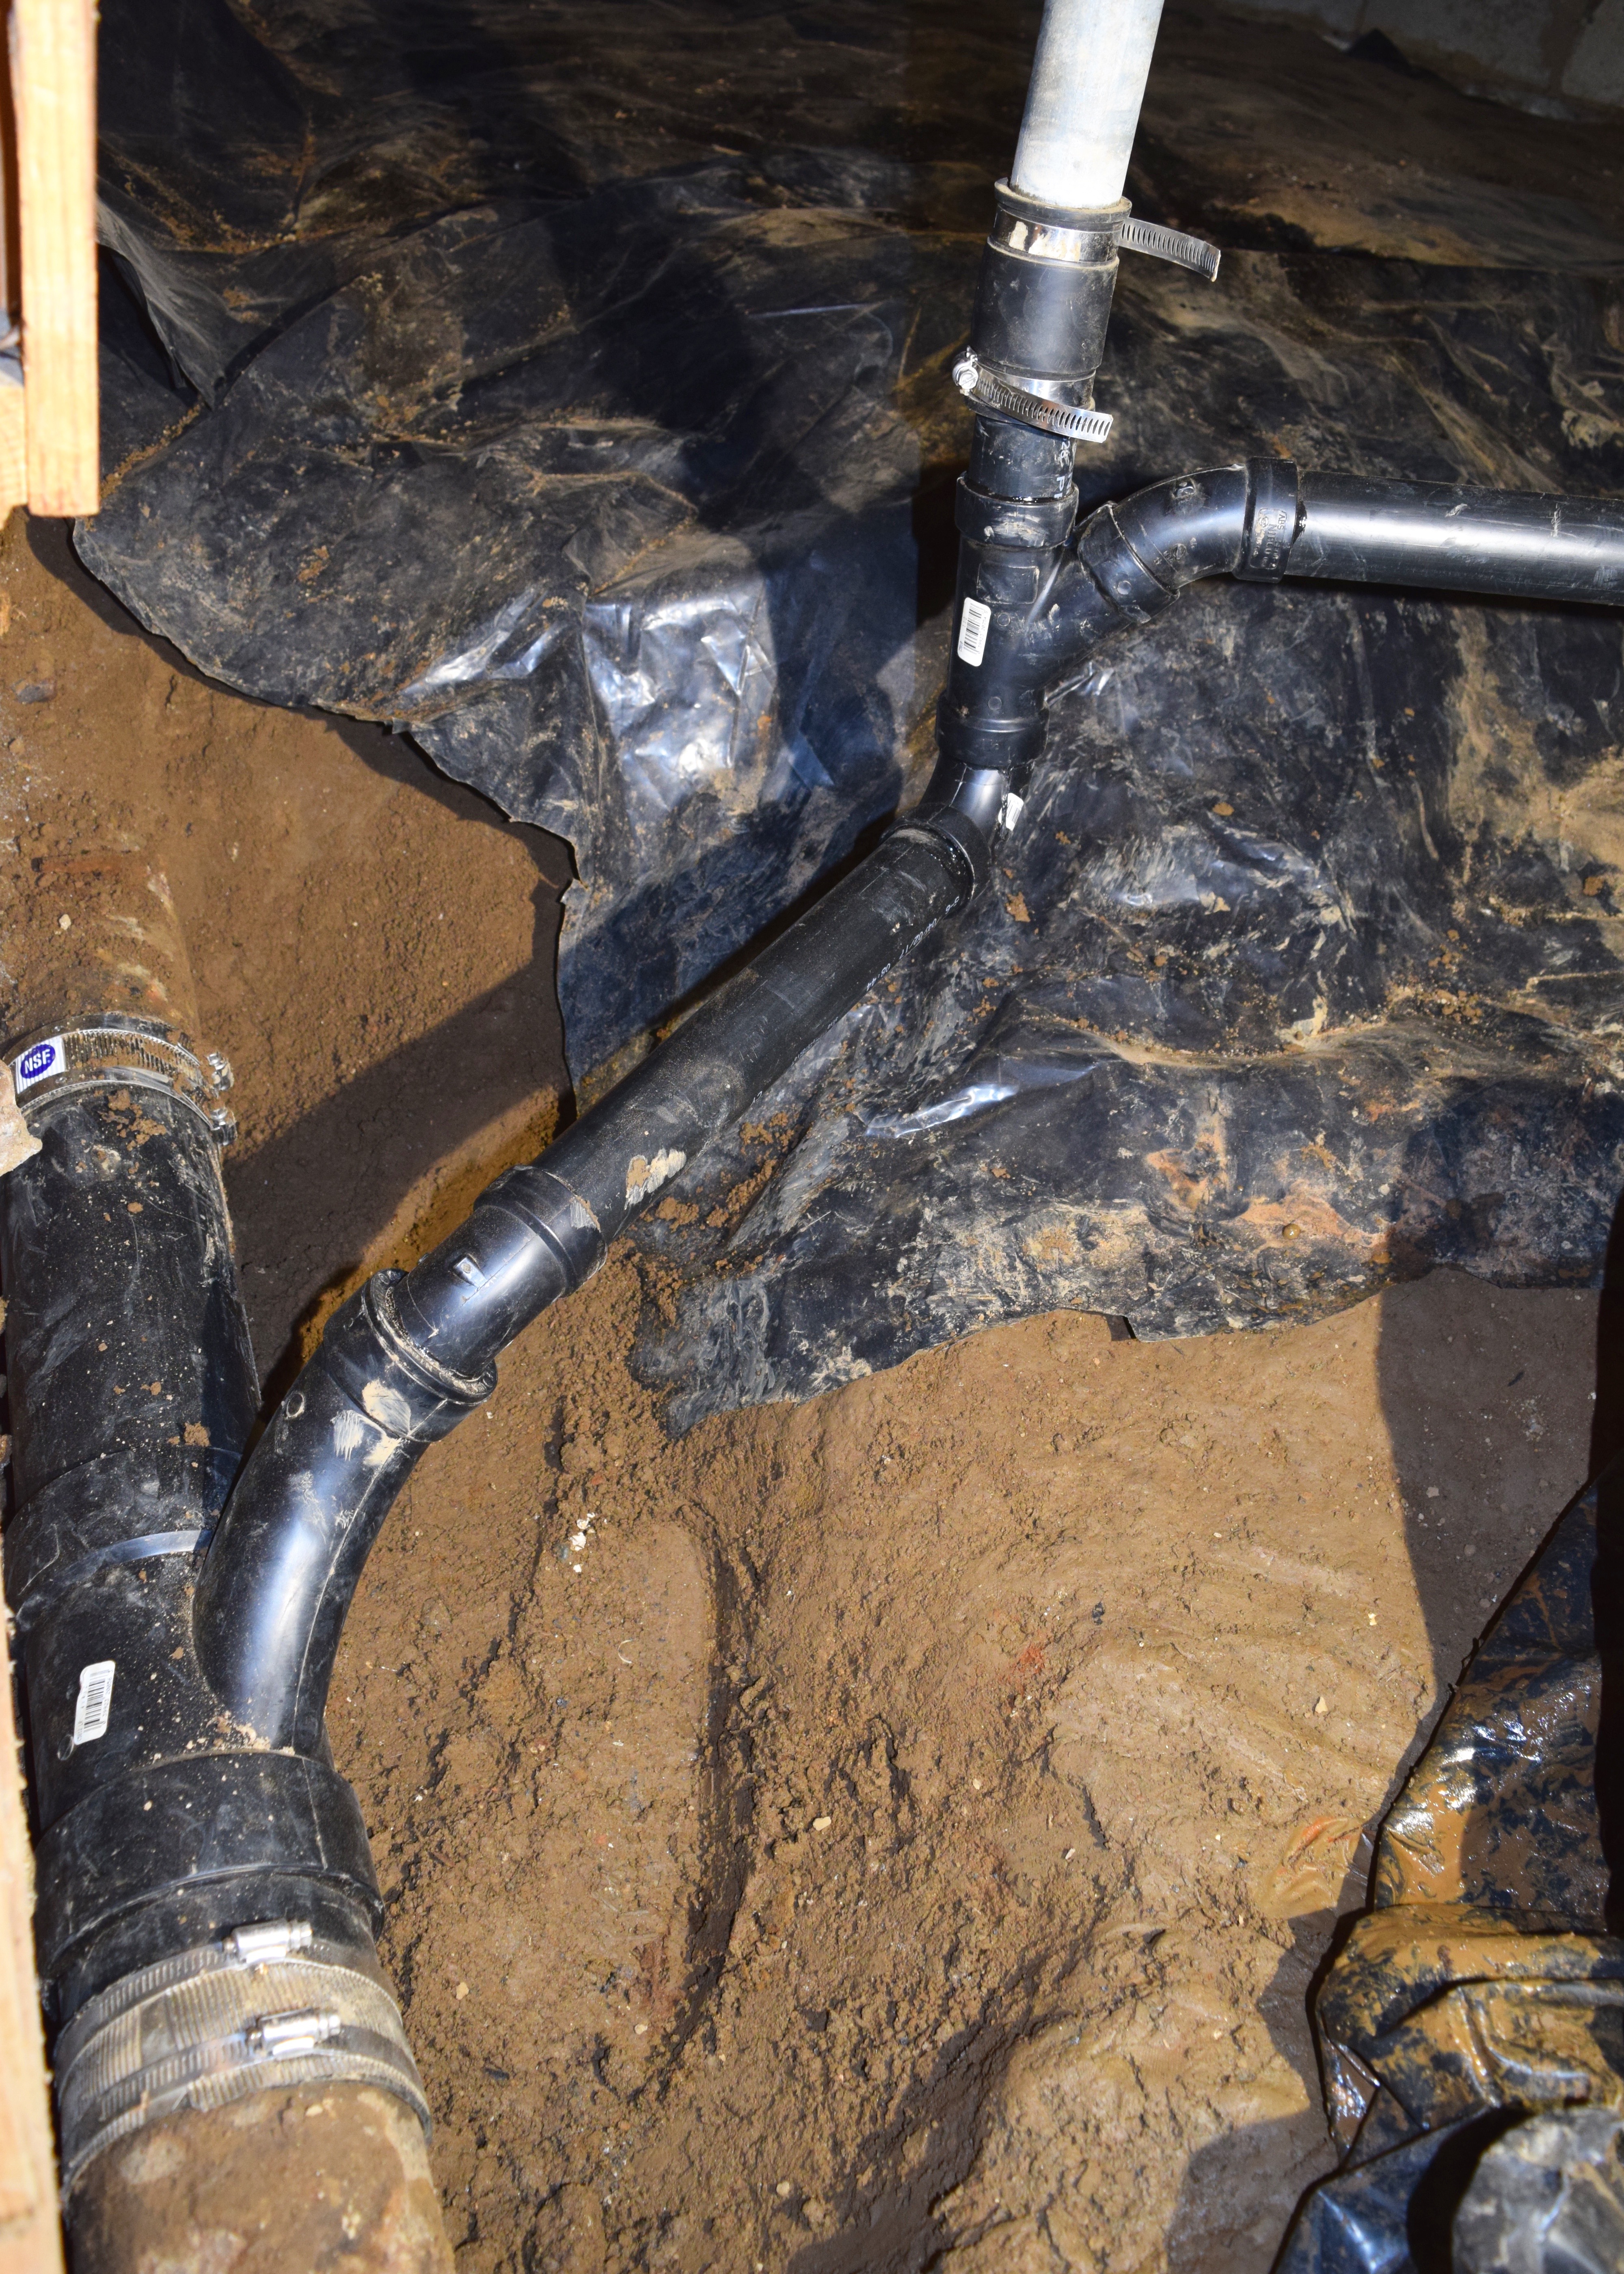
A bit of tightening of the coupling clamps later and the plumbing was all connected!

Erik ran upstairs to flush the toilets a couple times and run the shower to test the lines. A couple more rotations to tighten the clamps on the sewer line later, we were leak free and basically done! I threw the rest of the dirt back into the space and called it quits. Typing this took no time at all, but in reality I climbed into the crawl space at about 12:30pm that day and came out about 4:30 and then spent and hour and half cleaning up. Not too shabby, but it doesn’t count the couple hours of digging from the day before!
It’s funny how projects like these: gross and dirty, but quick can make you feel so accomplished. I could never have done this without my neighbor though. I simply wouldn’t have had the confidence to even try. But saving several hundred dollars sure feels good! Plus the more of these I do, the more confident I get to try this on the next round. Though I hope that next round is a long ways away!
In the meantime, I saved a whole lot of money. At least 4-6 hours of a plumber’s work so let’s call that $400-$600. And honestly, it wasn’t all that hard once I got going. I think I could do it again… if I wanted to! Has anyone else tried plumbing things? How’d your project go? Did your DIY job hold up over time? There’s one connection I’m a little nervous about…!

Amazing! That’s more ambitious than I would take on. Hurray for success!
Thanks Robin! Yeah I was definitely super nervous going into it!
I plumbed the sprinklers in the backyard but the stakes were much, much lower. You are amazing in your ability to do anything. You amaze me!
Awww thank you so much!